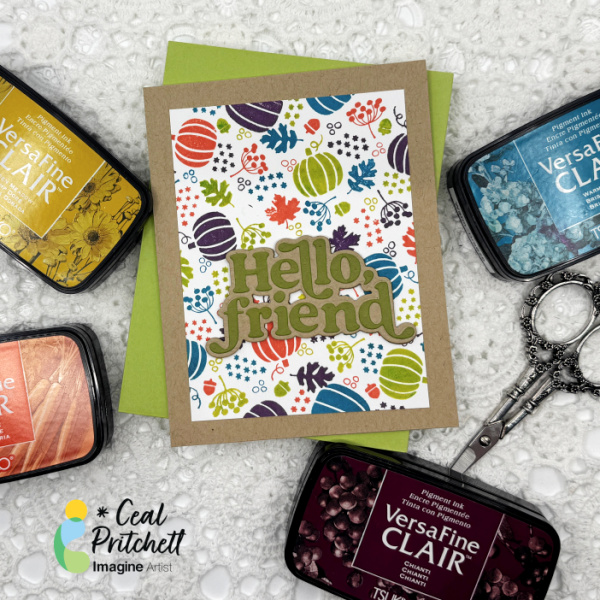
Hey there crafty friends! It’s Ceal, here. Today I am sharing how I made this colorful fall card using a turnabout stamp set, some VersaFine ink pads and the Stampwheel.
Time: 45 Minutes Skill: Intermediate
Directions:
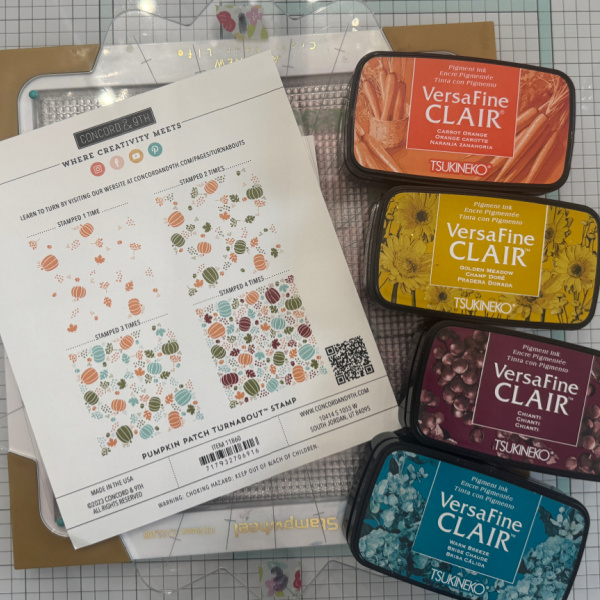
Gather Supplies: I haven’t shared a turnabout card here yet and I wanted to do that because they are my favorites. Gather your supplies, you will need a stamp platform, a Turnabout stamp and some of your favorite inks. I love VersaFine Clair because they are so vibrant.
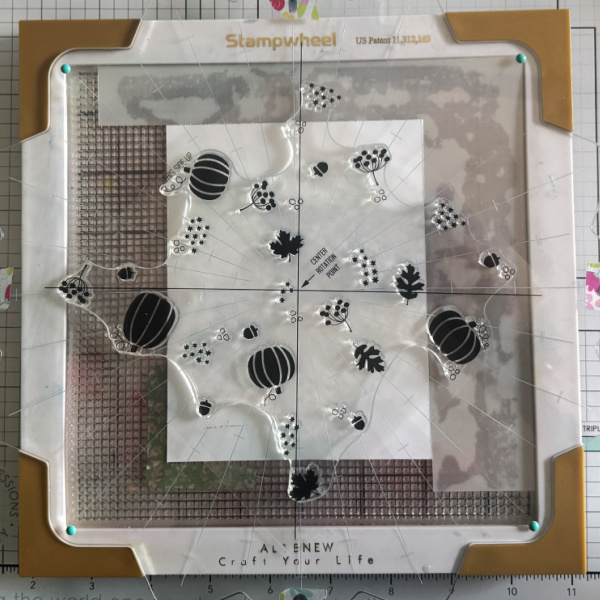
Step 1: Line up our turnabout stamp using the alignment guide that comes with the stamp. The Stampwheel is easy to line it up because you line up the lines.
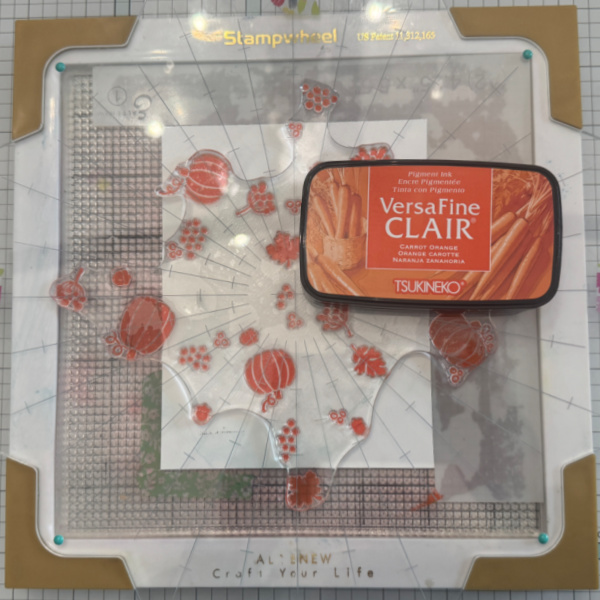
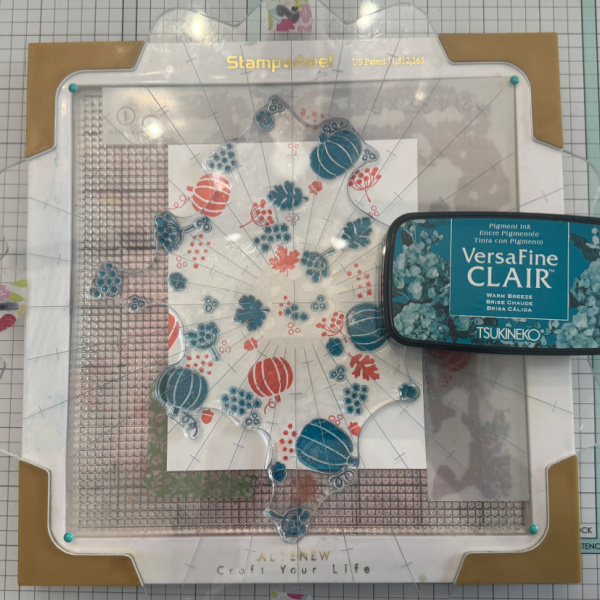
Step 2: Ink up the stamp with the first color, I used Carrot Orange and placed it in the tabs at the top of the stamp wheel. I labeled my stamp wheel 1-4 so I would know where I am when stamping.
Step 3: Rotate the top, ink up the stamp with the next color (I used Warm Breeze) and place the plate down in the tabs.
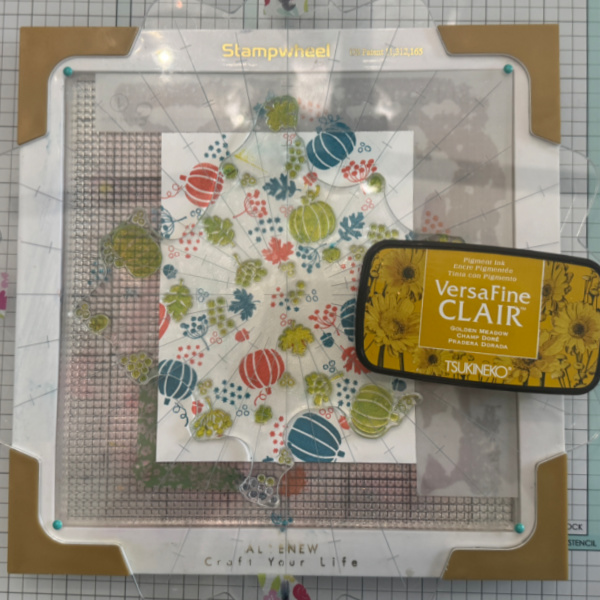
Step 4: Rotate the plate and ink up with the next color, I used Golden Meadow (I think I had some blue left on my stamp therefore it turned green).
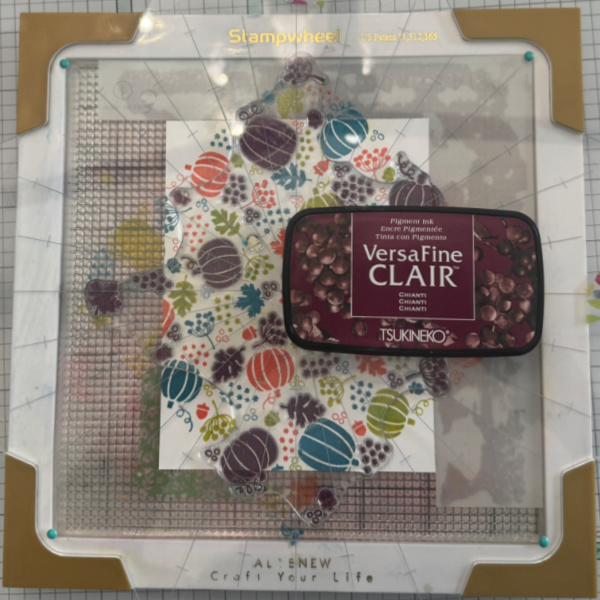
Step 5: Rotate the plate and ink up the final color, I used Chianti. Next cut down your panel to 5 x 3.5 and adhere to the wheat panel
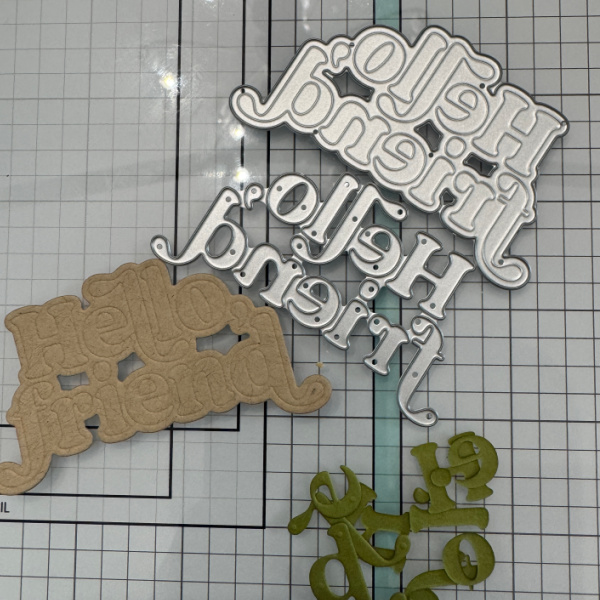
Step 6: Die cut the sentiment and backer panel. I love how the die has where it scores the words into the backer so when you go to add the letters they fit perfectly. To finish the card add the sentiment to the card.
Supplies:
Imagine Products VersaFine Clair – Carrot Orange, Warm Breeze, Golden Meadow and Chianti
Other Products Pumpkin Turnabout – Concord & 9th Hello Friend – Kristina Werner for Concord & 9th
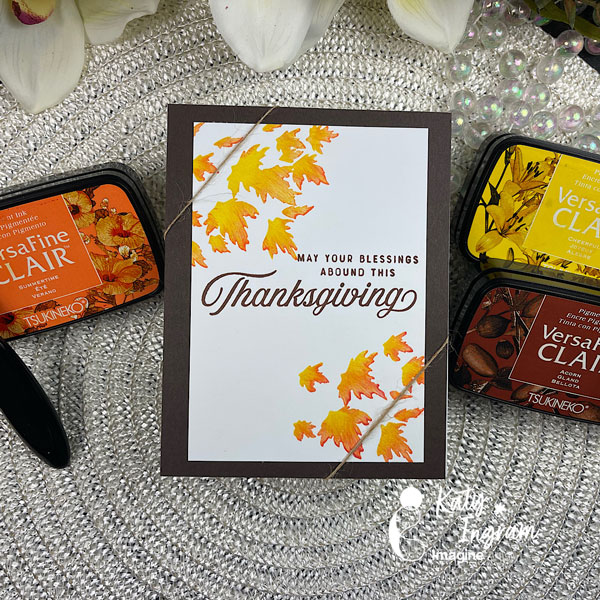
Hello Friends! Katy here with another quick project. In today’s video I create a simple Thanksgiving card and I share with you an easy way to ink blend directly on your stamp. This is a great technique to use on your silhouette stamps and a great way to change up the color from just basic black.
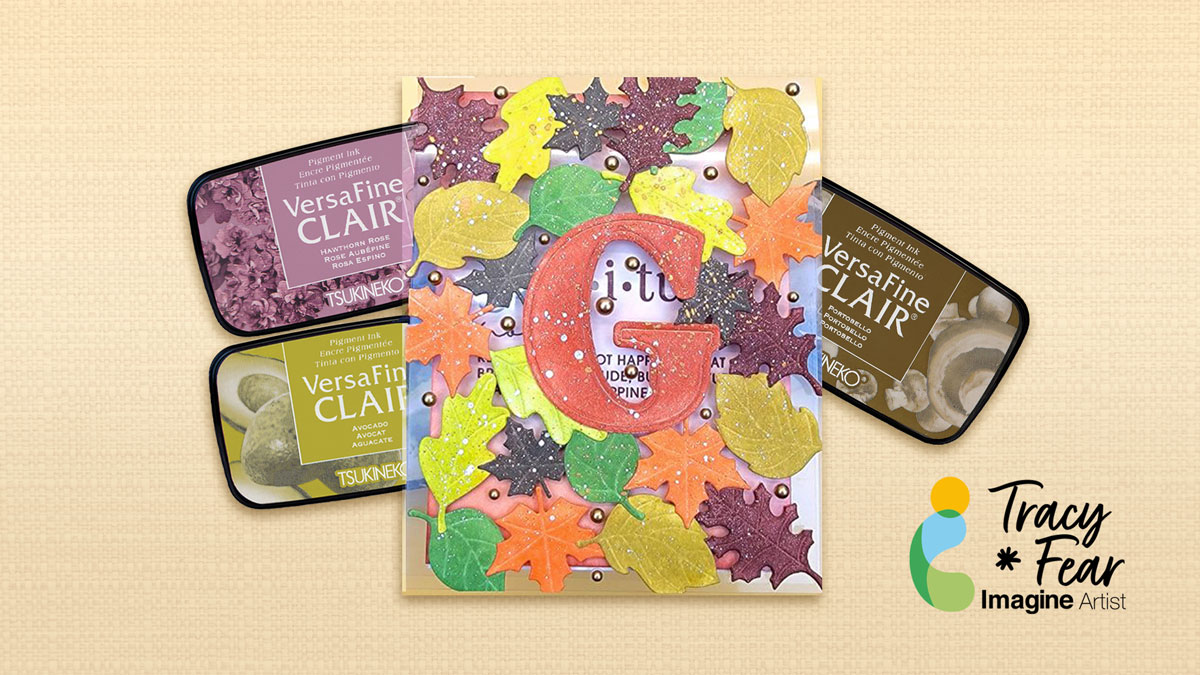
Hello Friends! Today we are going to have some fun and create a see-through Thanksgiving card with a sort of mosaic created from die cut leaves on a clear card base.
Other Products Used • Scrapbook.com Stamps and die set Gratitude and die set Autumn Leaves • Gold Flatback Pearls • PVA Adhesive • Leaf shaped die cuts • Sentiment Stamp • Die cut machine • 100lb white paper • Stencil Brushes or blending brushes • Flatback Pearl Embellishments • Adhesive • Paint for splattering
ALTERNATIVE PRODUCTS THAT CAN BE USED TO RECREATE SOMETHING SIMILAR Any Inks any combination of background stamps, dies, and feature stamps
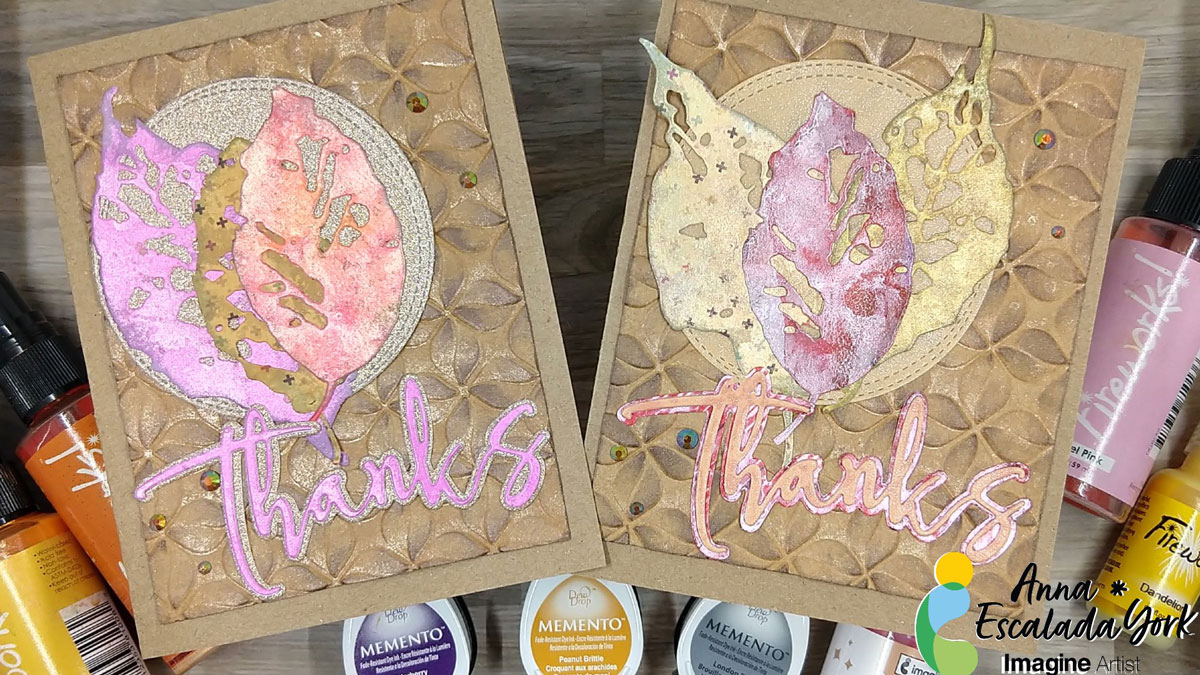
To me, Thanksgiving is mostly about food but also an excuse to say thank you to those people who are a part of my personal and professional life. So I decided to make a thank you card to let people know that I am grateful for them. I decided to use some paper scraps because I always have too many and to enhance them with sprays or ink to transform them. At first, I was planning on making one card with a lot of leaves, but changed my mind after die cutting the leaves, so ended up making two.
Skill: Intermediate Time: 1.5 hours
Directions:
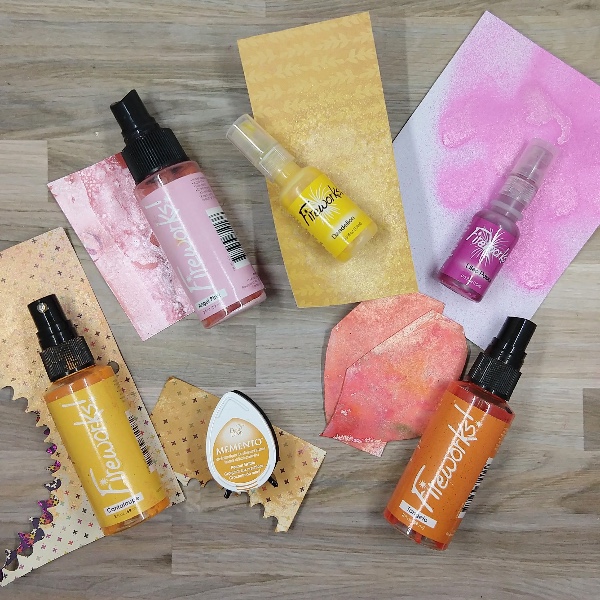
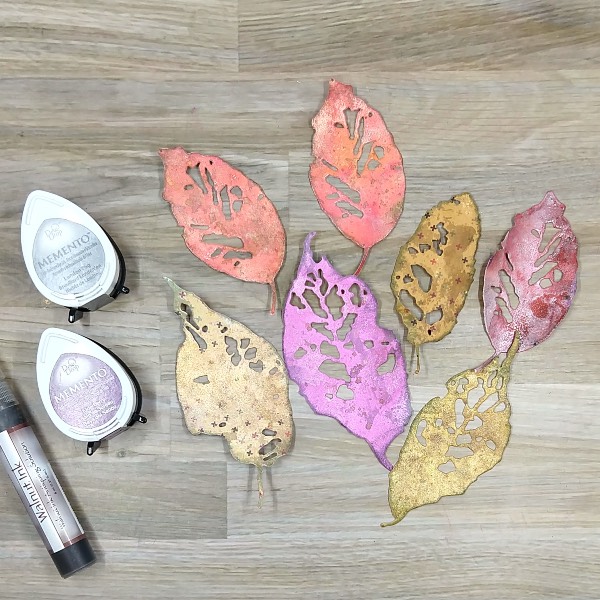
Step 1: Pull out some scraps of paper from your stash and a variety of sprays and ink. Spray the scraps with the sprays. My scraps were colored with Cantaloupe, Angel Pink, Dandelion, Lilac Posies, and Tangelo Fireworks! Craft Sprays as well as Peanut Brittle Memento Ink. After the spray dried, die cut the scraps of paper with leaf dies. Reserve some of the sprayed paper for later.
Step 2: Press Walnut Ink colored Walnut Ink Antiquing Solution as well as Elderberry Memento ink onto acetate packaging. Add water to the different parts of the acetate and splatter the die cut leaves with the Elderberry Memento ink. Then watercolor smoosh the leaves with both the Elderberry Memento ink and the Walnut Ink Antiquing Solution. After the leaves dried, rub the edges of the leaves with the London Fog Memento ink pad. Allow everything to dry again.
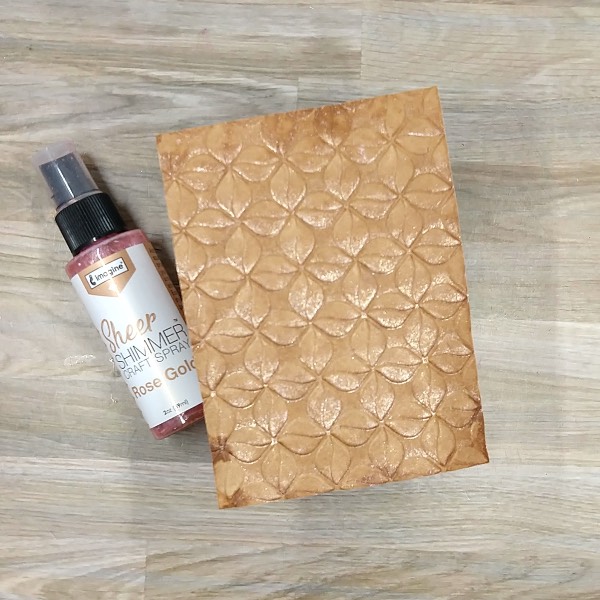
Step 3: Trim a piece of kraft cardstock with a paper trimmer to about 5 x 3.75 inches. Then spray Rose Gold Sheer Shimmer Craft Spray directly into an embossing folder. Place the kraft cardstock panel into the embossing folder and then run the whole thing through a die cutting machine.
Allow the panel to dry.
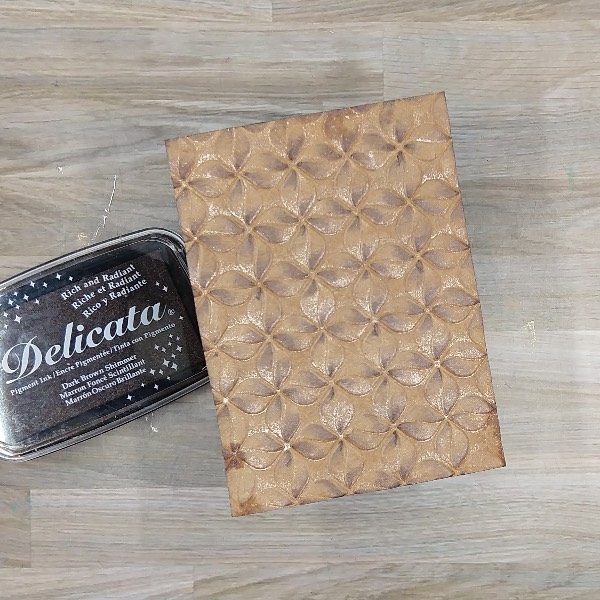
Step 4: Use Dark Brown Shimmer Delicata ink to add some color to the panel by brushing the panel lightly across the embossed paper. The raised part of the embossed panel will pick up the dark brown ink, while the other areas will be untouched. Then press the edges with the same Dark Brown Shimmer Delicata ink panel to add color to the border.
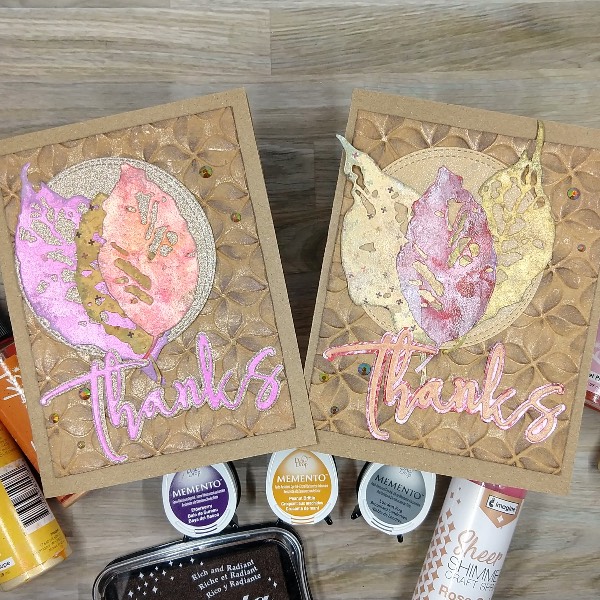
Step 5: I die cut a scrap piece of rose gold glitter cardstock with a stitched circle die as well as the shadow die of a two-layer sentiment die. In addition, I die cut another piece of the lilac (purple) sprayed cardstock from step 1 with the top layer of the two-layer sentiment die. I also die cut two pieces of scrap cardstock with the same sentiment die. The layers of the sentiment die were glued together to give dimension and then they were glued on the rose gold shadow die cut.
Then the card was assembled. I glued three of the leaves onto the glitter cardstock die cut circle and then glued the whole thing onto the embossed panel. Next, the sentiment was glued onto the panel. Sequins were glued onto the panel. Finally, the whole thing was glued onto a kraft cardbase.
A second card was made with the leftover die cut leaves in the same manner. The only changes were that I used a light orange vellum and some more of the sprayed scrap paper from step 1 to create the die cut circular background and the sentiment.
• Alex Syberia Designs – die set – Large Thanks • HAI Supply – embellishments – Cola Crystalline gems • Simon Says Stamp – Embossing folder Modern Loop • Sizzix – die set – Leaf Fragments by Tim Holtz • Circular die • A2-sized kraft card base Clear Embossing Powder Kraft cardstock • Glitter cardstock • Light orange sparkly vellum • Patterned paper scraps and magazine pages • Die cutting machine • Paper trimmer Scissors • Glue
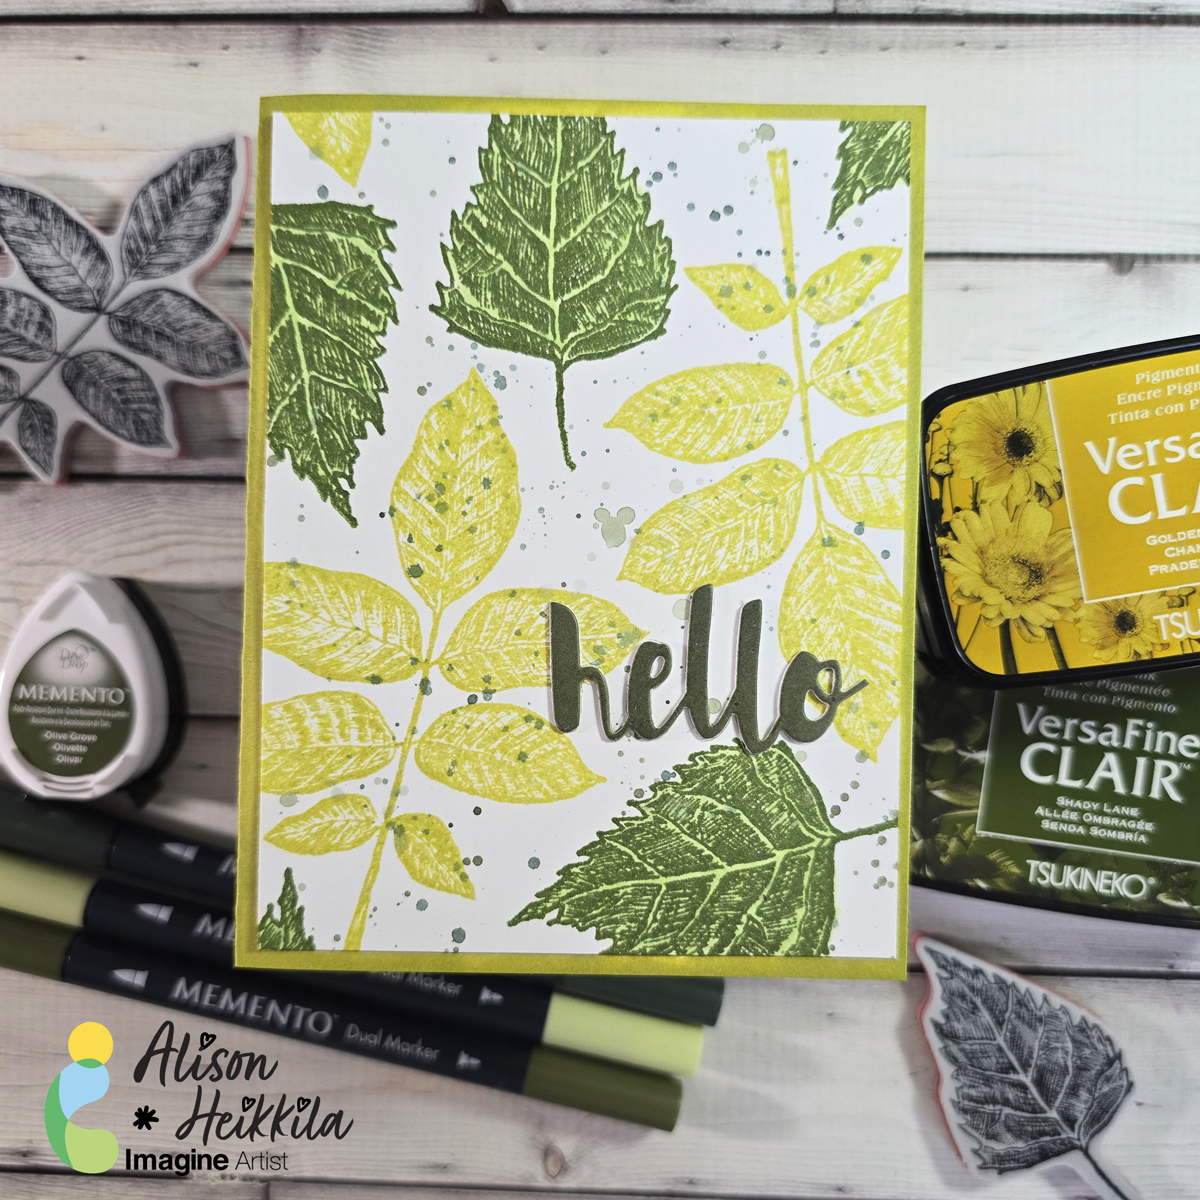
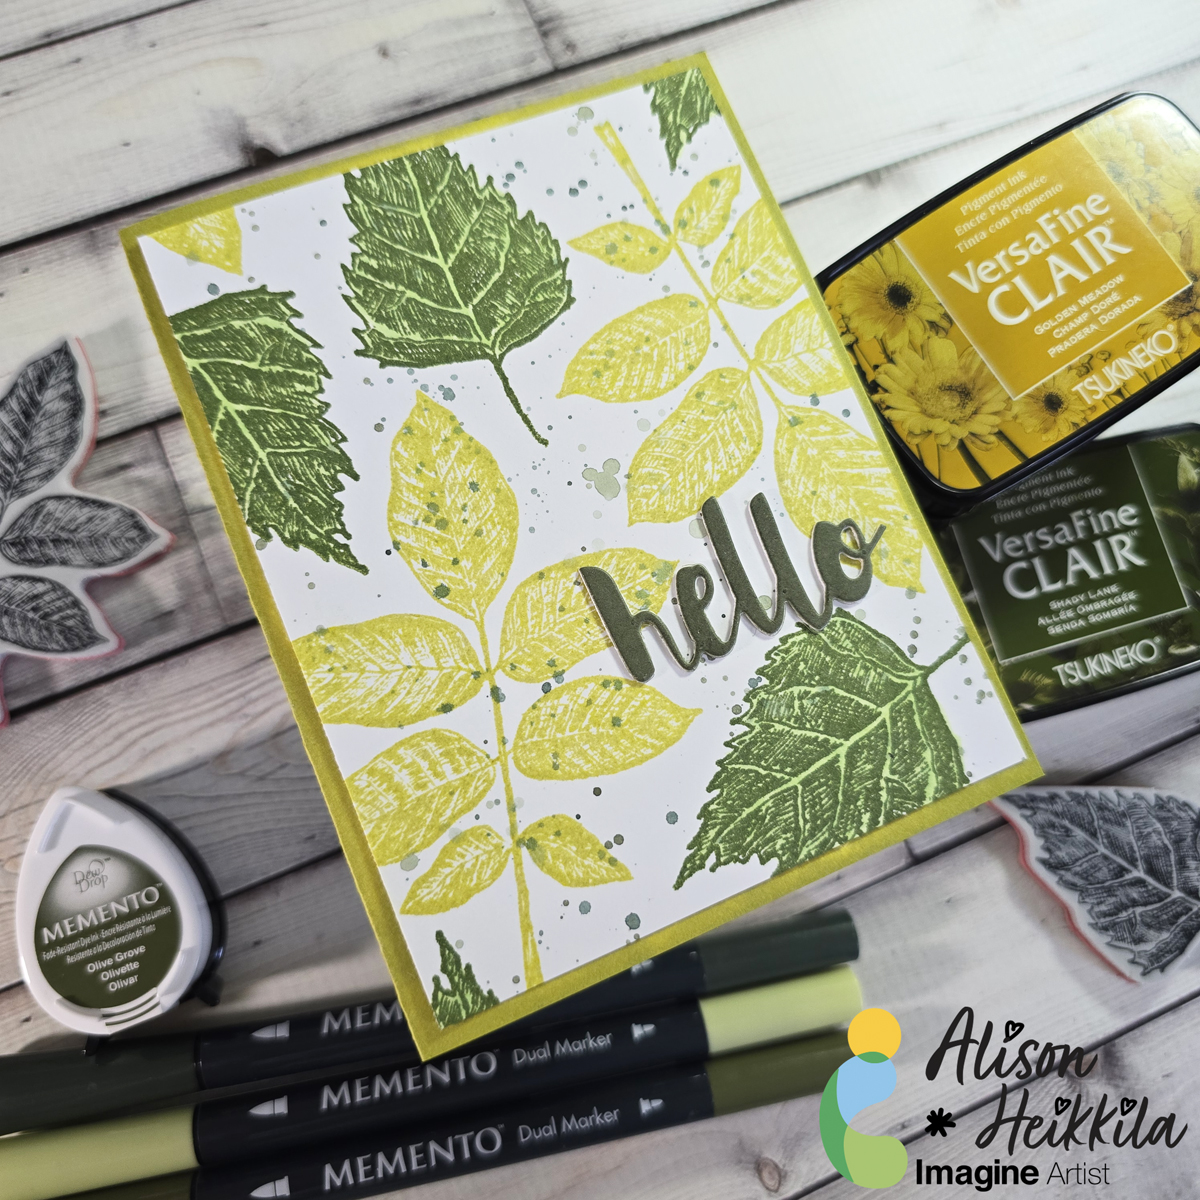
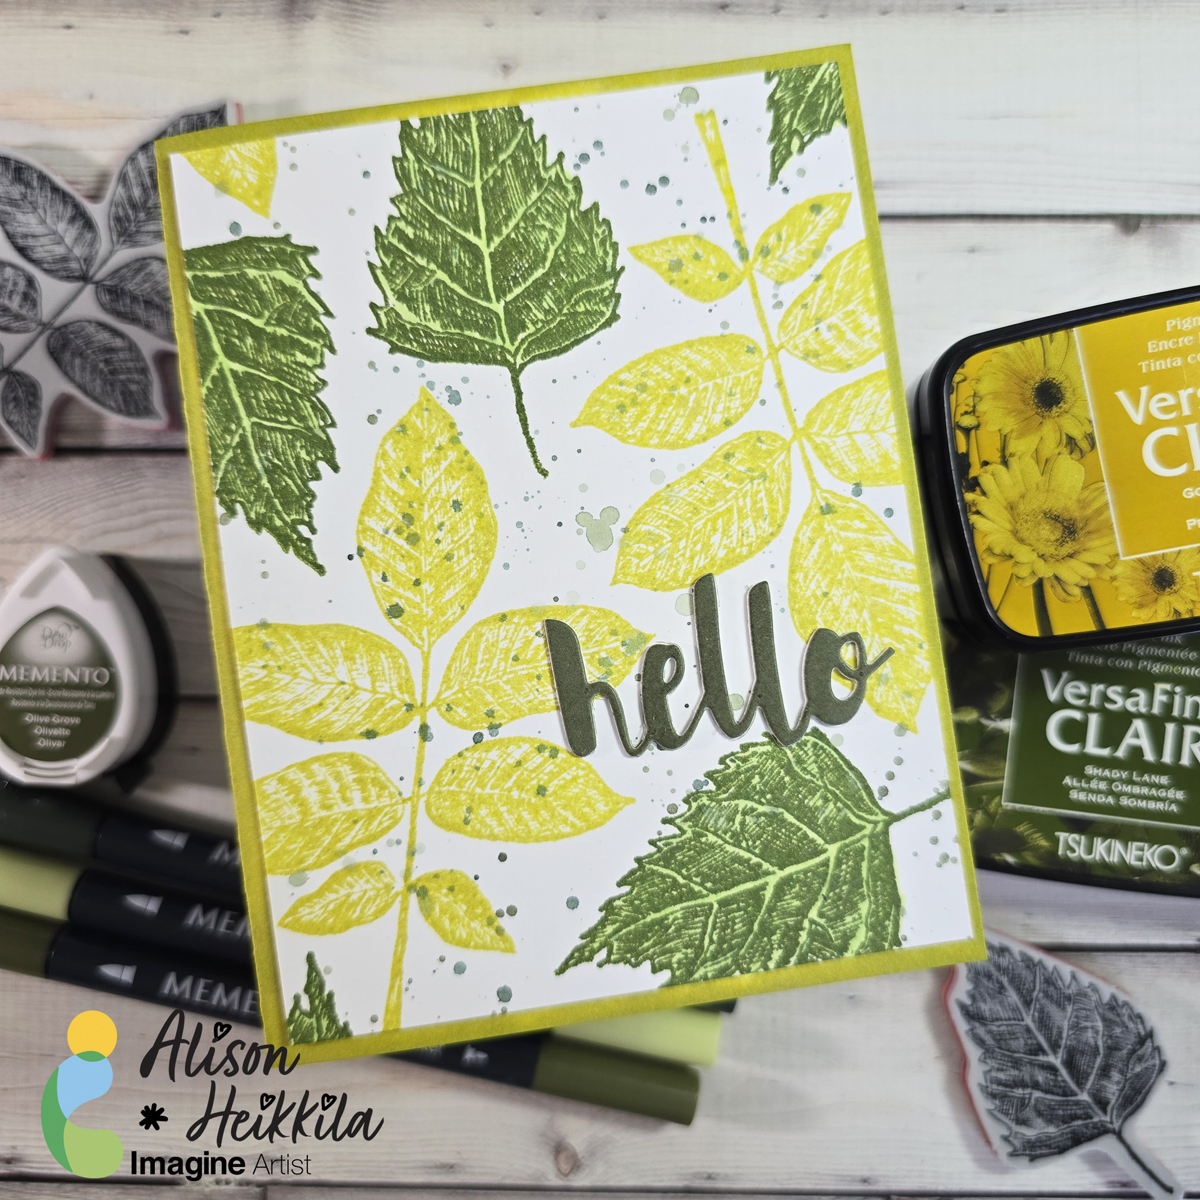
Hello! I’m Alison Heikkila and today I have a fun card with a foliage theme today that you can use for pretty much anyone, and almost any occasion. We’re going to use a variety of greens and a couple of fun tricks.
*Some affiliate links are used in this post. That means that if you shop through these links, I may receive a small compensation, at no cost to you. For more information, please see my Affiliates page, where I also have some coupon codes.
Skill Level: Beginner Time to Complete: 20 minutes
I love how this came out, and it was so fast to make. Wouldn’t it be fun to try it with different colors….even like pinks and purples? That’s it for me today. Thanks so much for stopping by. Have an inspiring day!
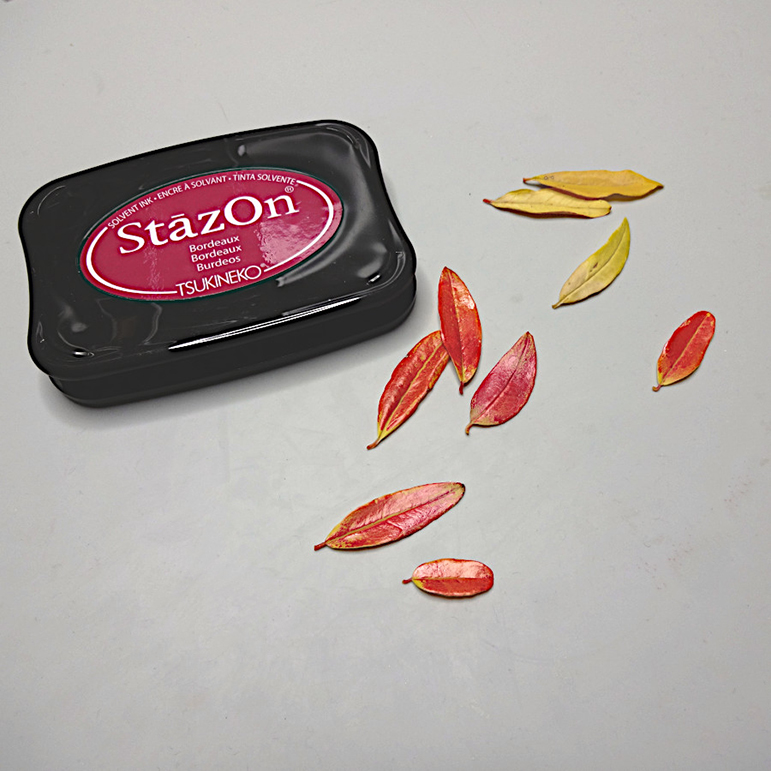
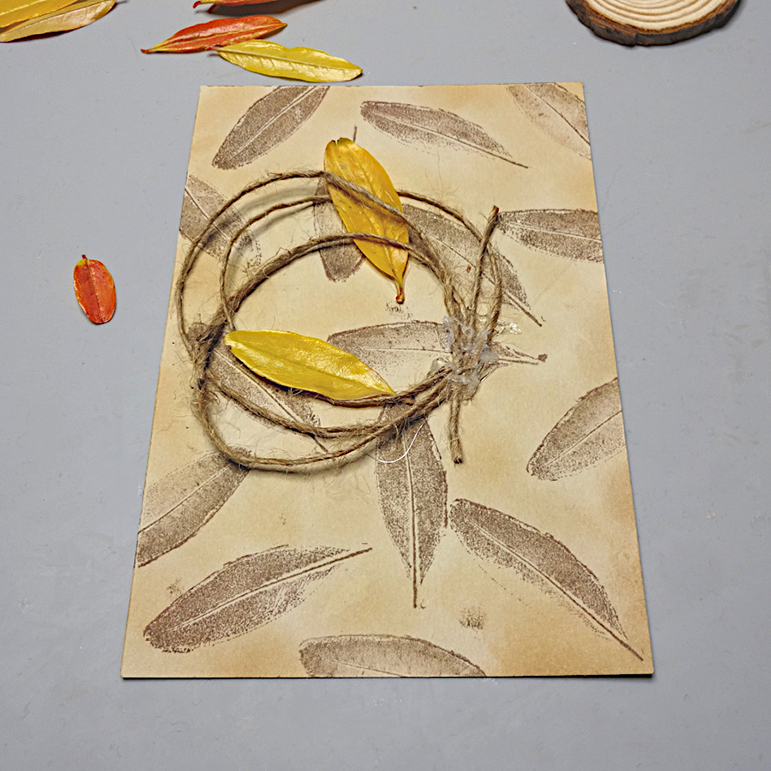
Use a small leaf to stamp on a card with MEMENTO ink and color real leaves with StazOn ink to decorate it. Seal the leaves with Creative MEDIUM to protect and easily use them as embellishments.
Skill: Beginner
Time: 1 Hour
Directions:
Step 1
Place Tack’ N Peel on a stamping block and set a leaf. Cut around the leaf using a sharp blade and remove the Tack’ N Peel.
Step 2
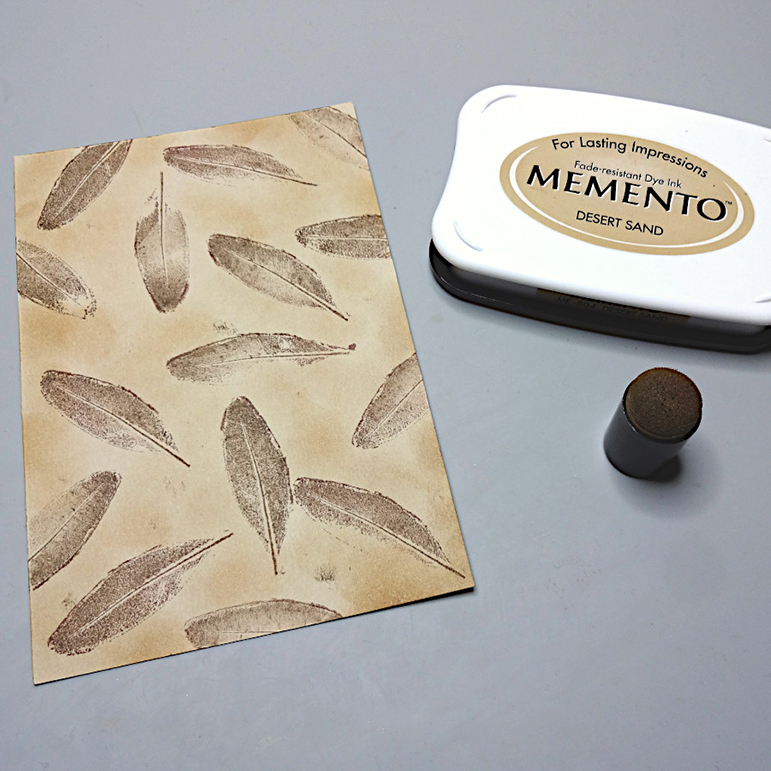
Stamp with MEMENTO Rich cocoa on a 4x6in piece of card stock.
Step 3
Distress with MEMENTO Desert sand.
Step 4
Color leaves with StaZon Black cherry ink pad.
Step 5
Cover all the leaves with Creative MEDIUM using an Ink blusher.
Step 6
Stamp a thank you sentiment with StazOn Black cherry and cut around.
Step 7
Wrap some jute cord and glue on the card. Continue adding leaves.
Step 8
Place the wood slice and the thank you sentiment. Attach on a card base using Tear It! Tape.