By Von Marie
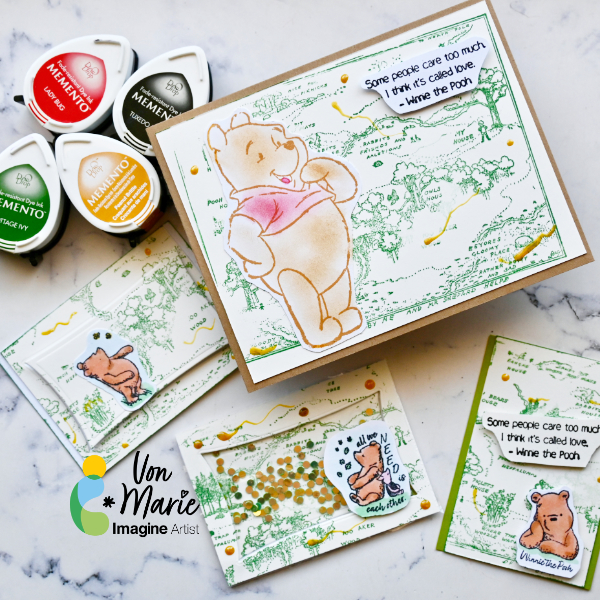
Hello everyone. Von Marie here with my latest Video. How about we make a cute Bear Card Fan Fiction Project for today and some matching ATC(Artist Trading Cards). I love this bear. He is a fan favorite for sure and of all ages. Memento Dew Drops make these projects so much fun. There will be more details in the video https://youtu.be/GA-L2Snz2L4
Skill: Intermediate
Time: 50 Mins
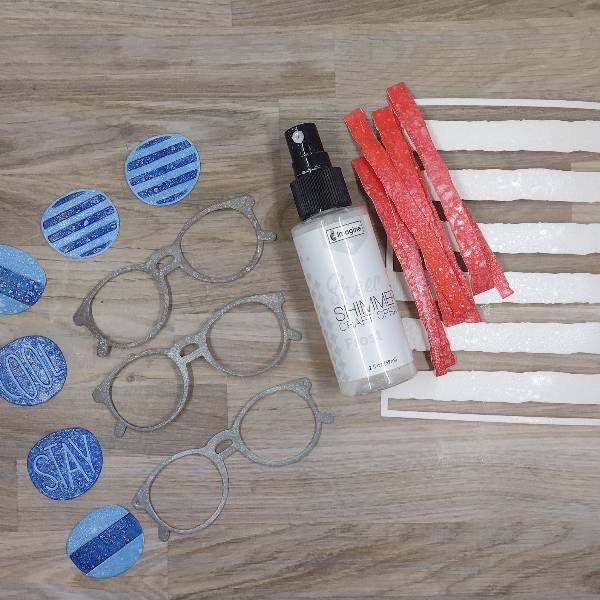
Craft Supplies
Imagine:
• Memento Dew Drop (Tuxedo Black, Peanut Brittle, Lady Bug, and Cottage Ivy)
• irRESISTible Pico Embellisher Gold
• Tear It! Tape
• VersaFine Clair Ink Onyx Black Full Ink Pad
Other Supplies:
• Cardstock
• Bear Woodblock or any kind of stamp
• Bear and Friends Clear Stamp
• Background map Stamp or any Background
• Scissors
• Decorative die small for tag or tag dies
• Kat Scrappiness Brilliant Emerald Confetti Dot Sequins
• Clear Packaging or Acetate
• Foam Tape
• Die-cutting machine
• Inks
• Kat Scrappiness Blending Brushes
• Prismacolor Colored Pencil Goldenrod
• Unity Stamps Winnie The Pooh Hundred Acre Woods
• Unity Stamps Winnie The Pooh I think it’s Called Love
• Taylored expressions Box Top Stacklets Dies
• OLO Markers Used:
• OR 4.2, OR 4.4, OR 2.2, R5.1, G 0.1, G 0.4, BG 7.0
You can easily make this anytime using some of the similar products. Use a Fan Fiction Favorite for your next project. Use different colors and stamps and have fun.