By Anna Escalada York
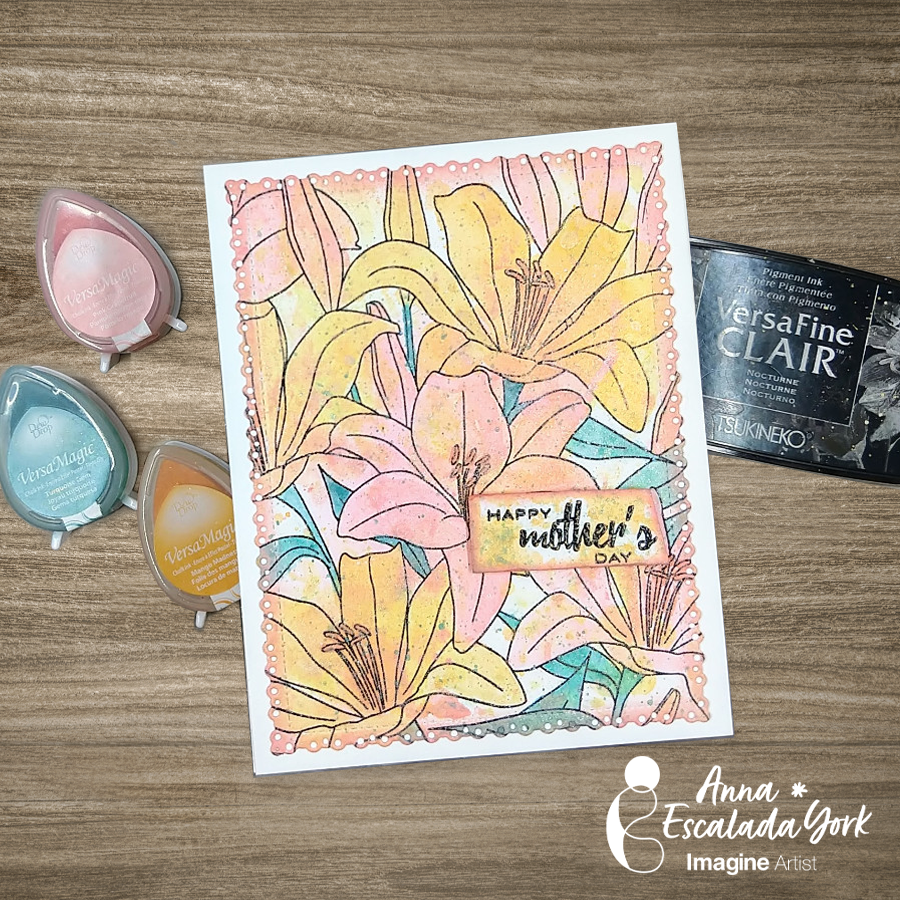
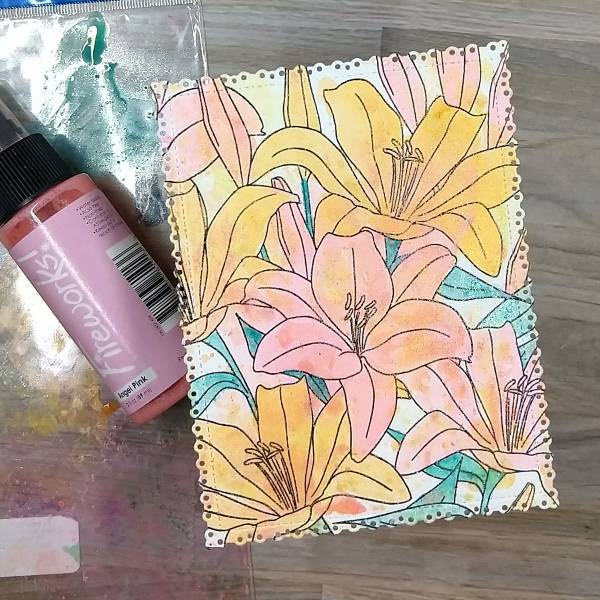
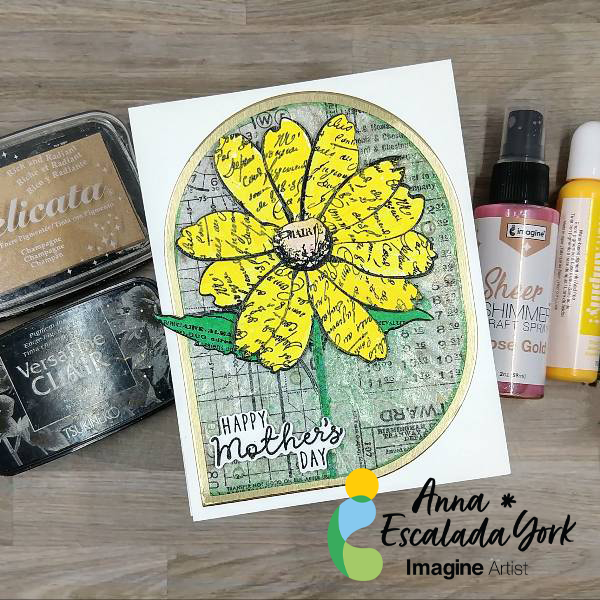
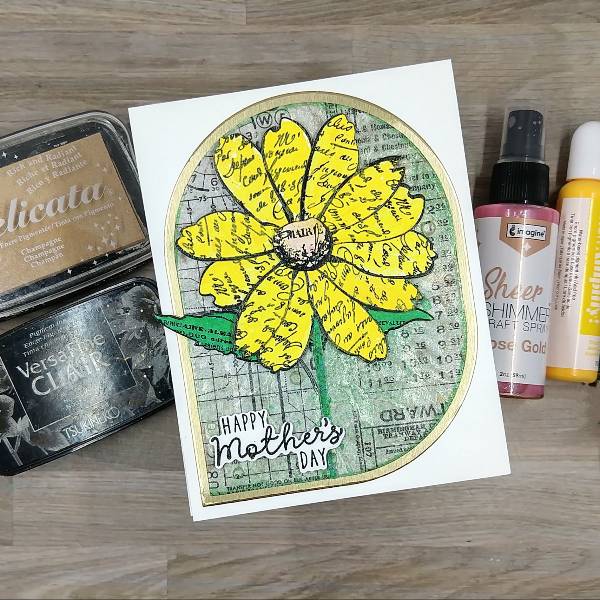
– I wanted to make a card that represents both my mom and myself. My mom’s favorite color is yellow, and I am all about the grunge and sparkle! Now I just need to be out of my craft room long enough for my kids to have to sneak in and make me a card….
Skill: Intermediate
Time: 1.5 hours
Directions:
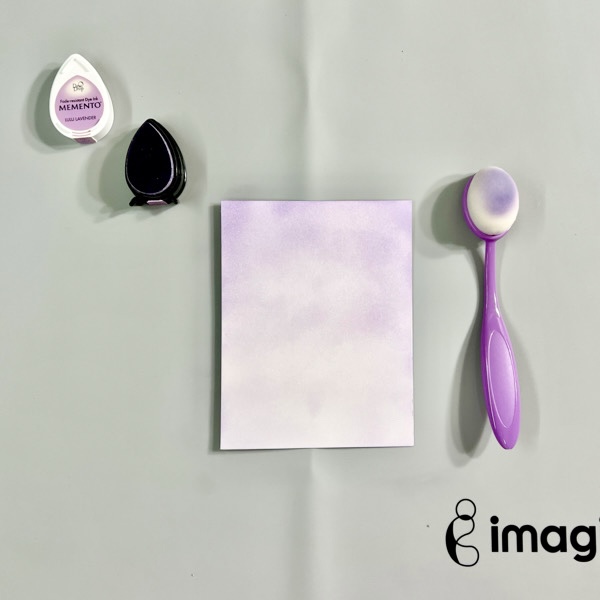
Step 1:
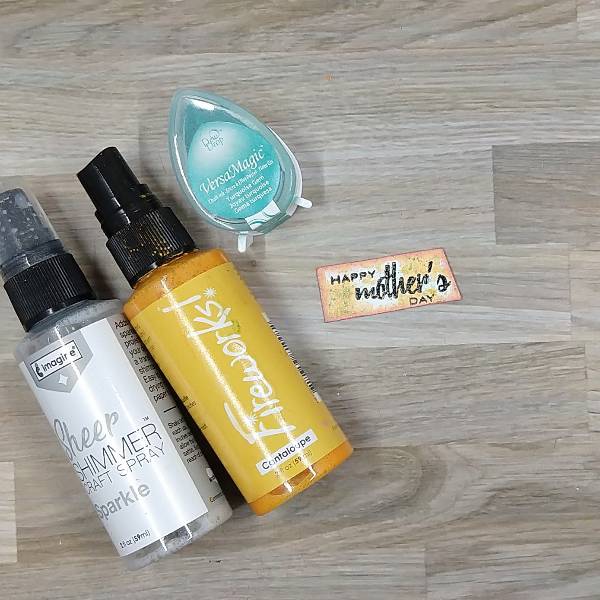
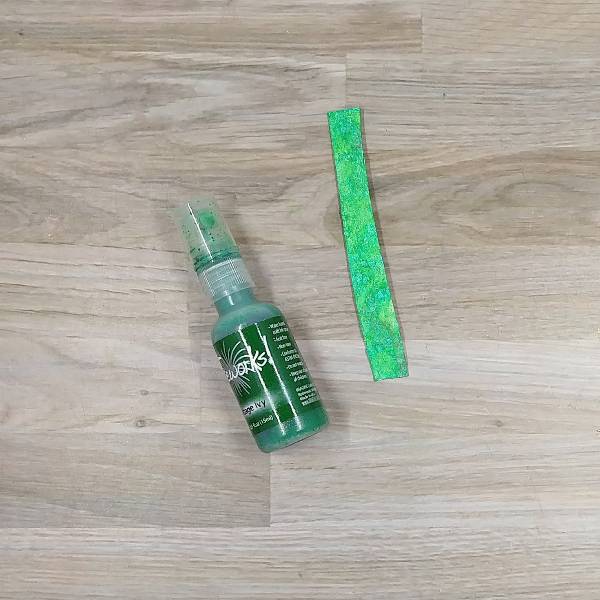
Place a small piece of watercolor paper on some acetate and then spray both with Cottage Ivy Fireworks! Spray. Use a heat tool to dry the spray on the watercolor paper and then flip it over to watercolor smoosh the remaining Cottage Ivy Fireworks! Spray on the acetate and then dry the spray on the watercolor paper again. Repeat the watercolor smooshing once more and dry. Then die cut the watercolor paper with the stem die cut and set aside (not pictured).
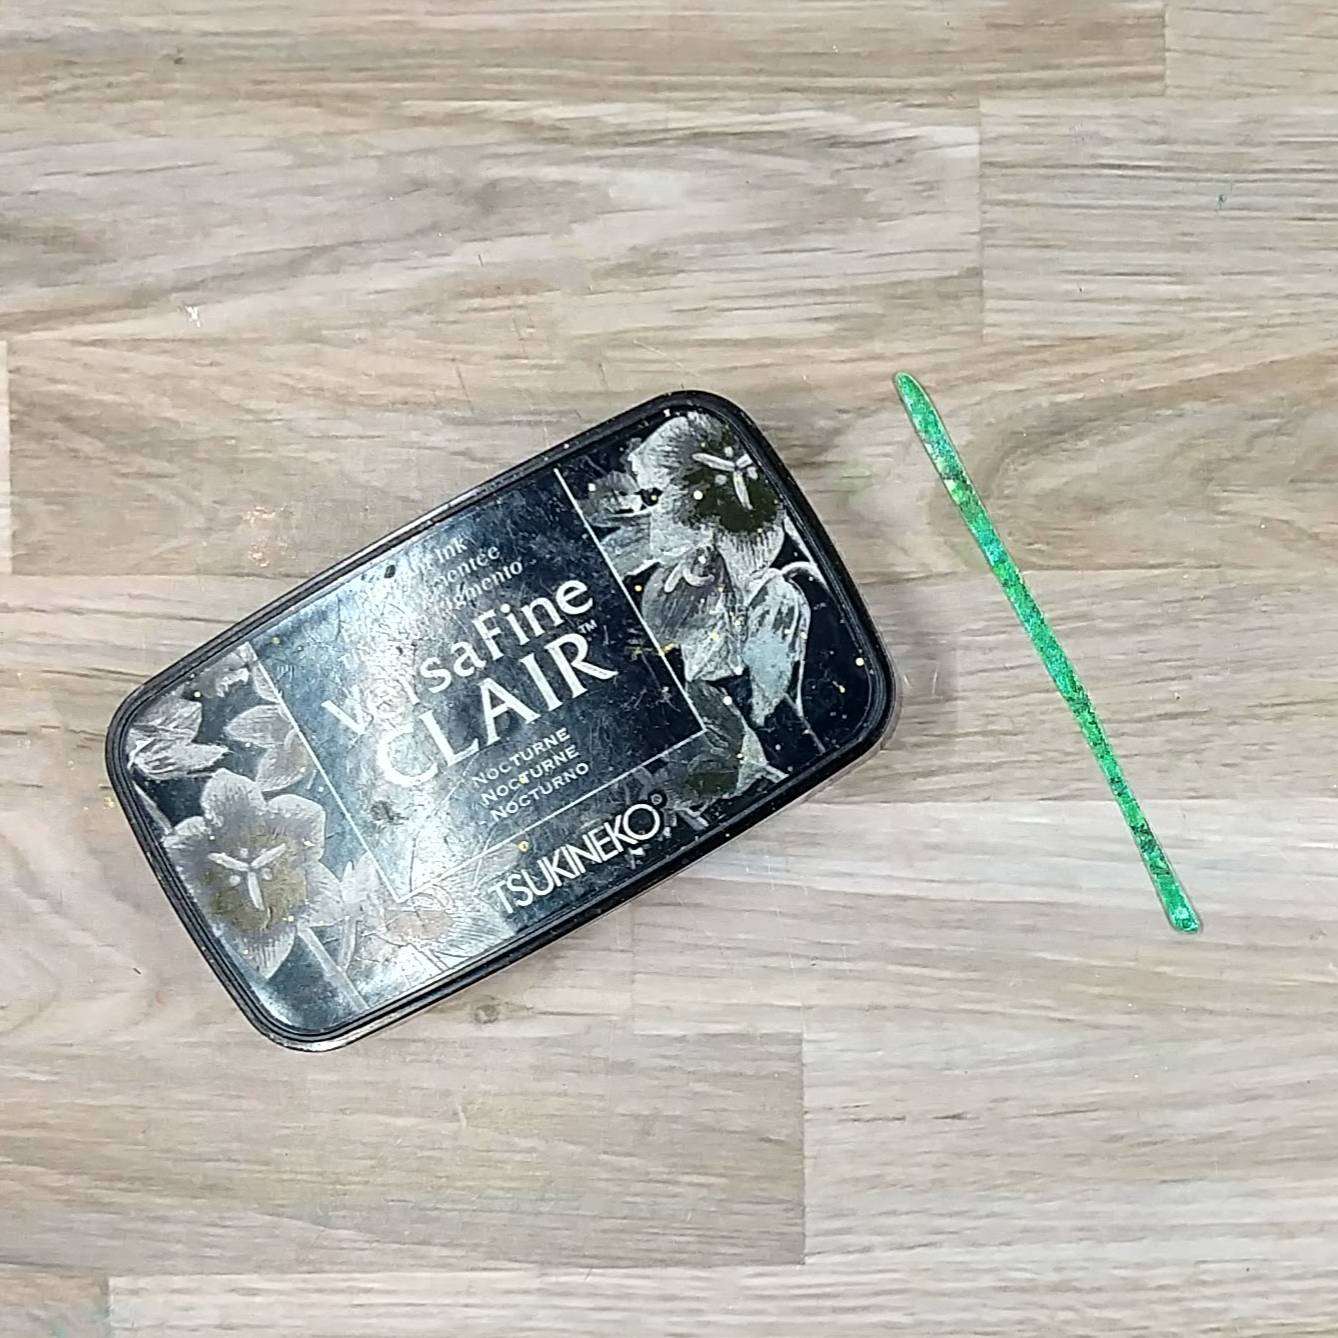
Step 2:
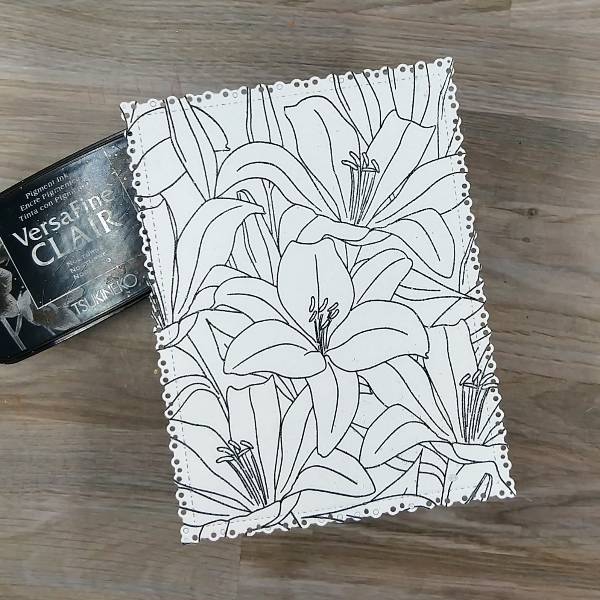
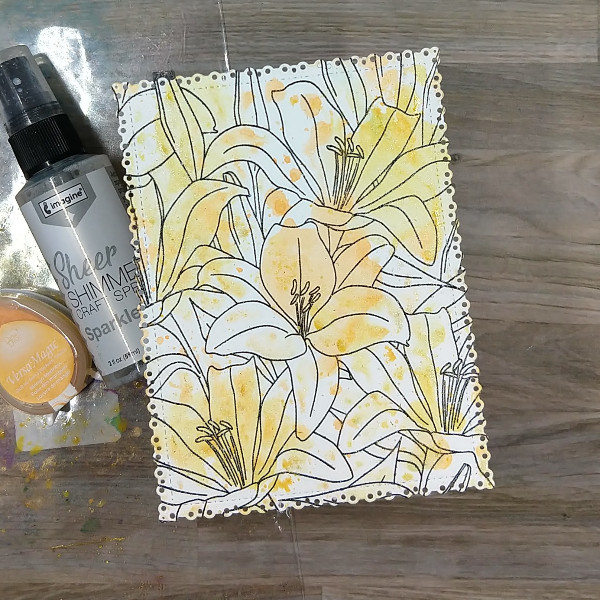
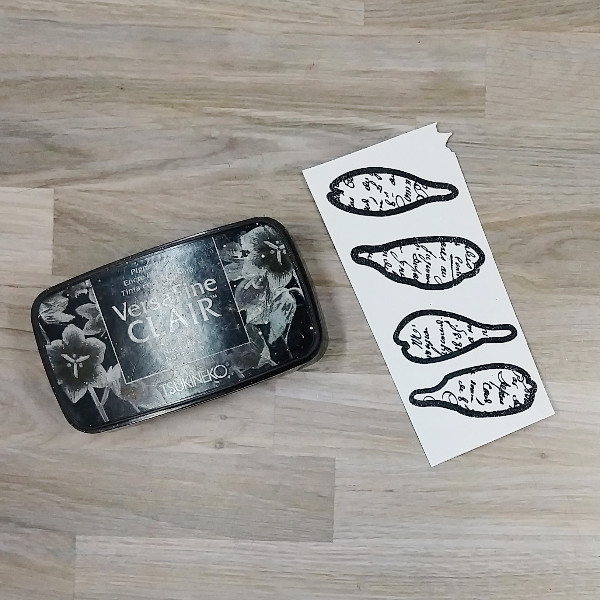
Stamp the flower’s petals, leaves and center stamps with Nocturne VersaFine Clair ink and heat emboss with clear embossing powder. While only one set of petals is pictured here, 12 petals (3 sets of all 4 petals) and both of the leaves and the center were all stamped in the same way
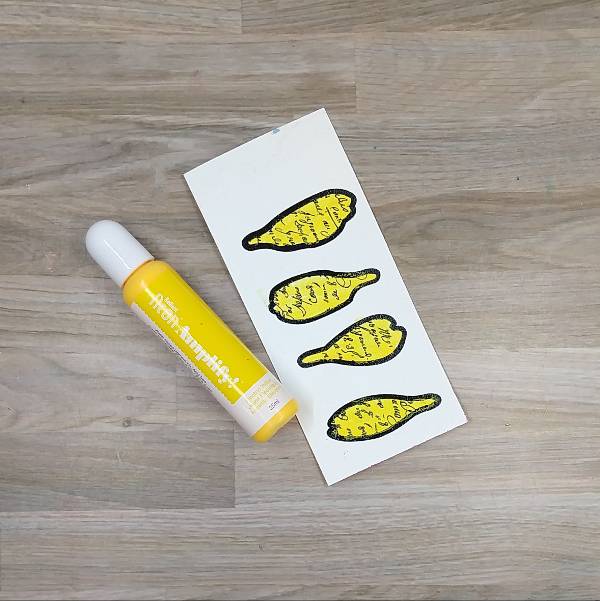
Step 3:
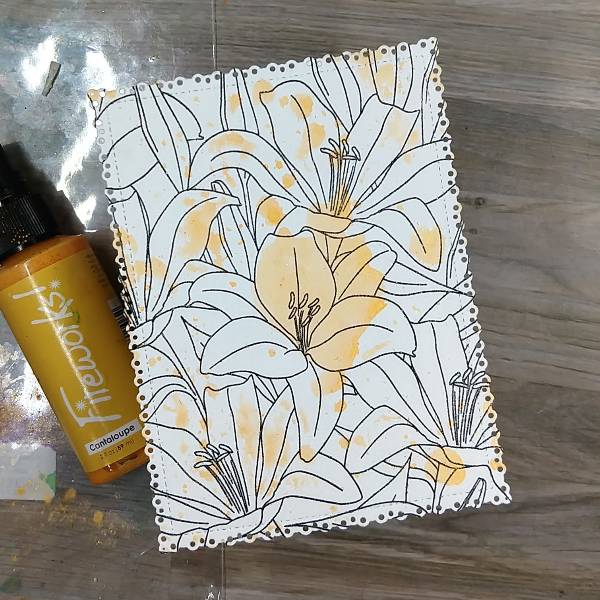
Mix Electric Yellow Amplify! with a small amount of water to dilute the Amplify! Ink. Then use to paint the petals. Use a heat tool to dry and add texture. Die cut all of the petals.
Step 4:
Stamp the faux stitching texture stamp onto the stem die cut with Nocturne VersaFine Clair Ink.

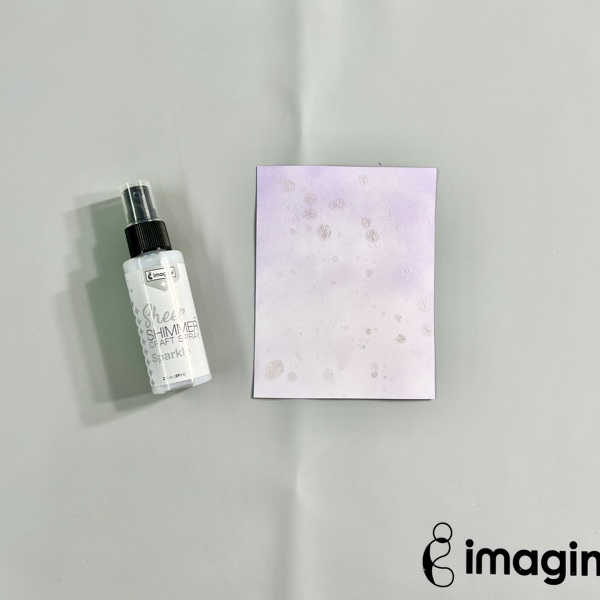
Step 5:
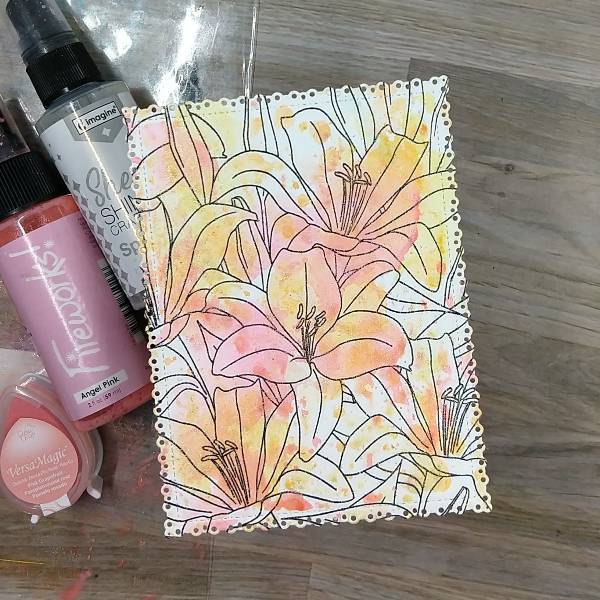
Watercolor smoosh the stamped center of the flower with the leftover mix of water and Electric Yellow Amplify! Ink. Dry with a heat tool. Then spray the center with Rose Gold Sheer Shimmer Craft Spray and set aside to dry. Then die cut the center with the corresponding die.
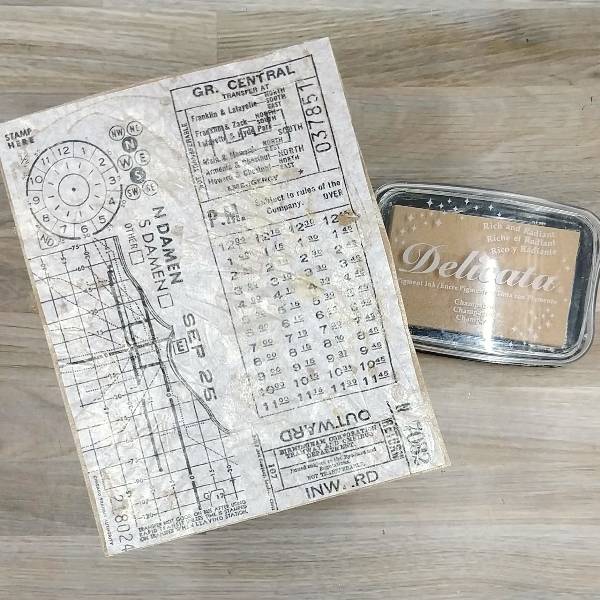
Step 6:
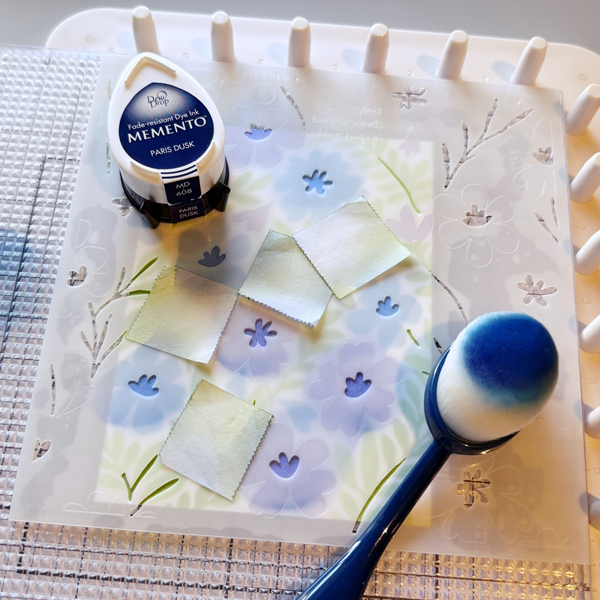
Glue collage paper onto a panel of kraft cardstock. After the glue dried, press the Champagne Delicata ink pad onto the collage paper to add sparkle and obscure some of the collage paper’s print.
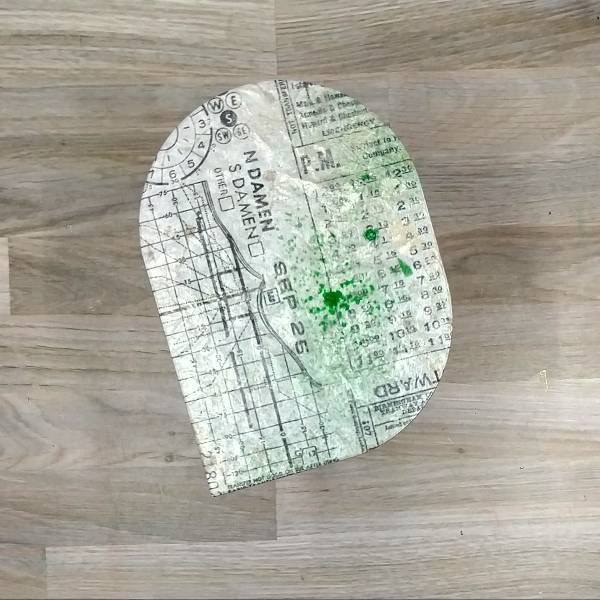
Step 7:
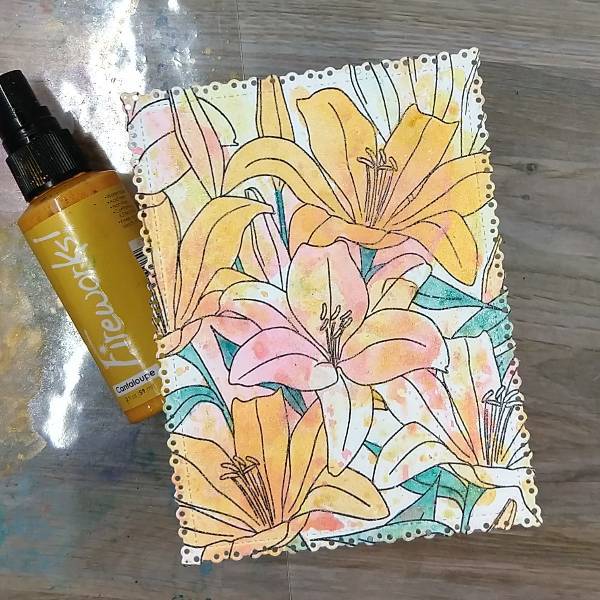
After die cutting the collaged panel, spray part of the panel with Cottage Ivy Fireworks! spray. Set aside to dry.
Off camera, die cut a piece of gold metallic cardstock with the next size up panel die.
Step 8:
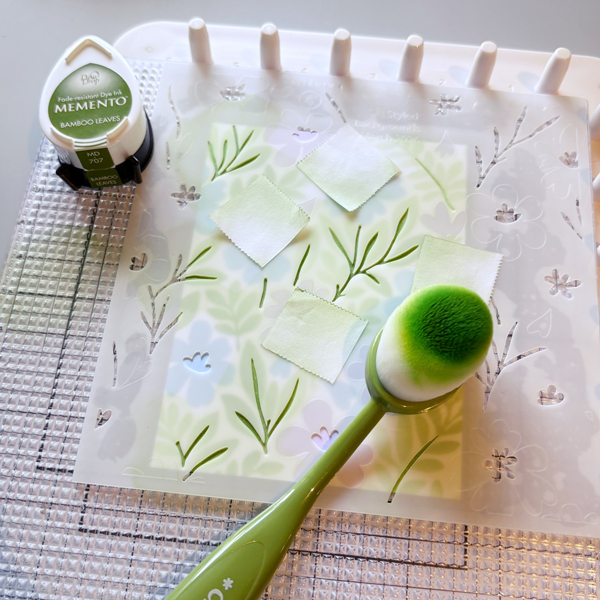
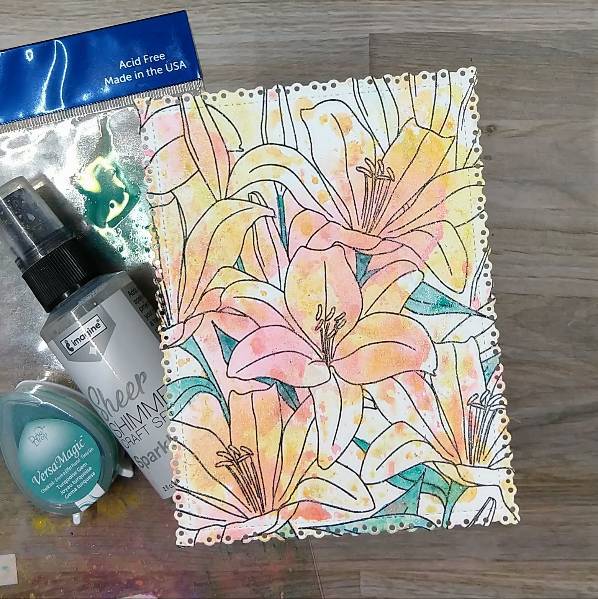
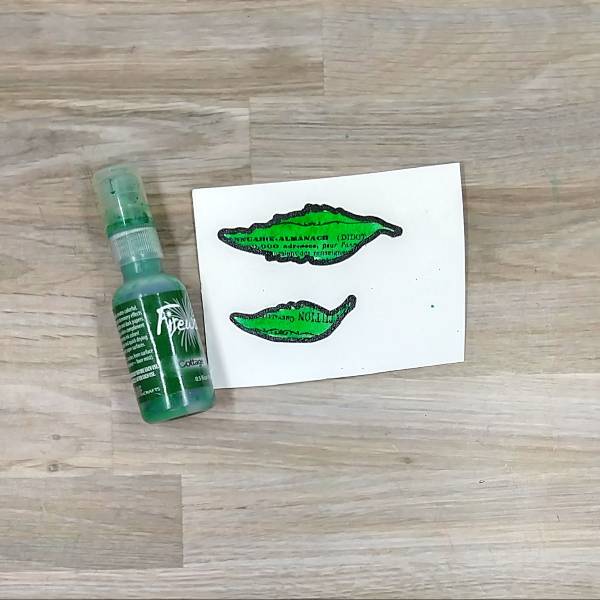
Spray some more of the Cottage Ivy Fireworks! spray onto another piece of acetate and then watercolor the leaves with the green color. After the spray dried, die cut with the corresponding dies from the die set.
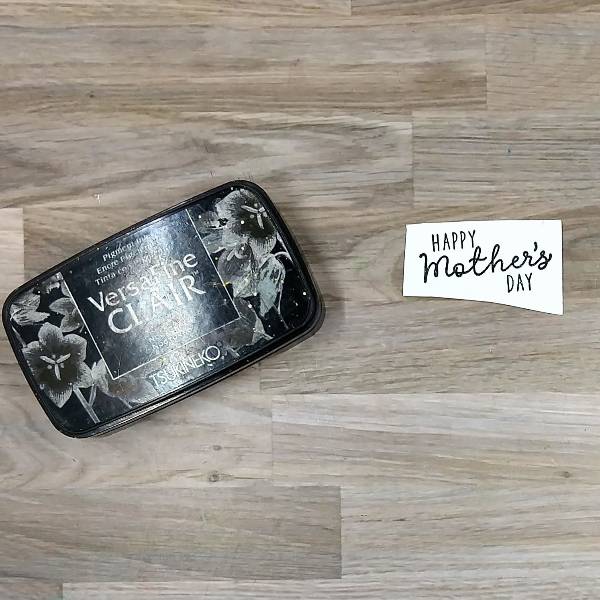
Step 9:
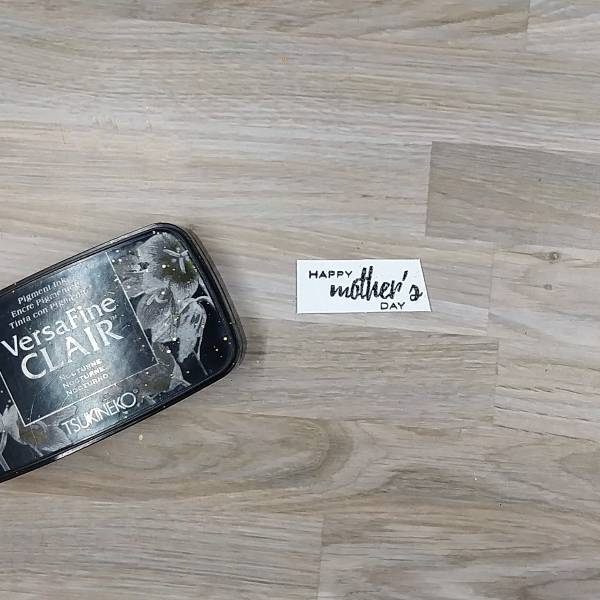
Stamp the sentiment on a scrap of watercolor paper with Nocturne VersaFine Clair ink. Then heat emboss with embossing powder.
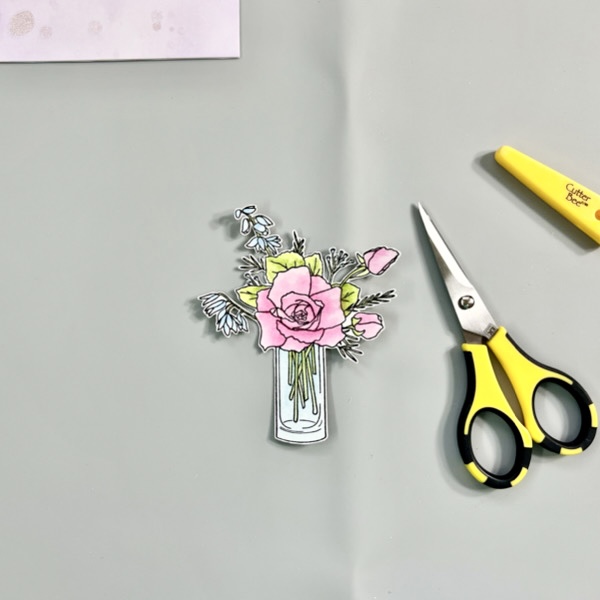
Step 10:
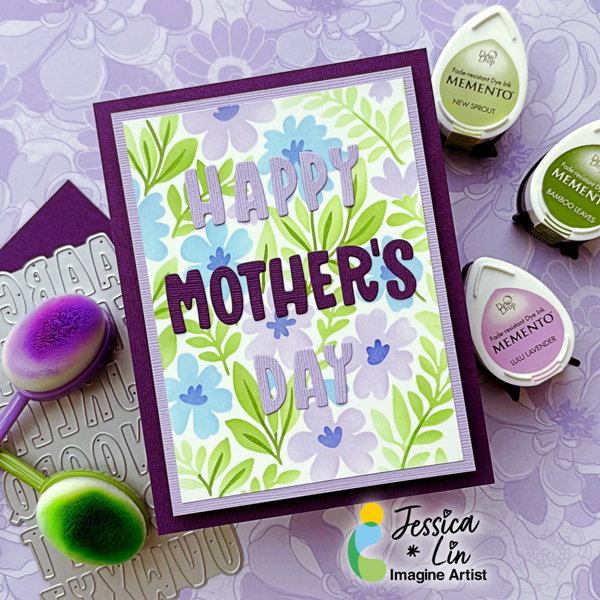
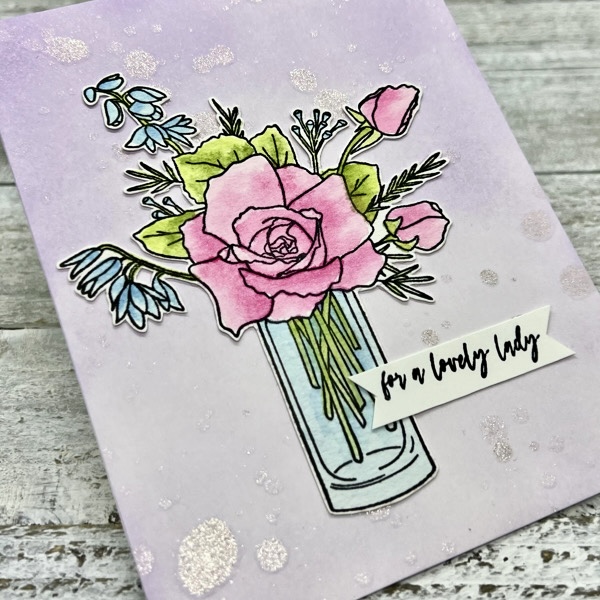
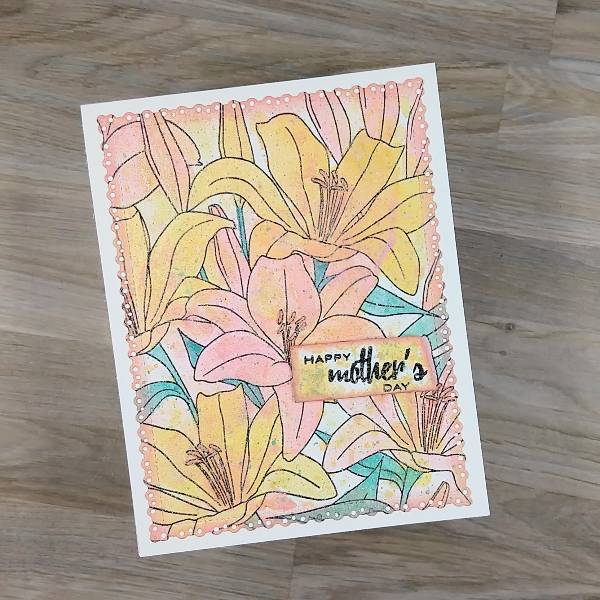
Assemble the card. Glue the stem onto the collage panel. Glue the leaves onto the panel. Glue the petals behind the center of the flower. (If desired, use some scraps or other small pieces of cardstock to glue behind the petals to help them stay together.) Then glue the flower petals and the center of the card onto the collaged panel. Then paint the edges of the panel with more of the Cottage Ivy Fireworks! spray. Then glue the sentiment on the lower left part of the panel. Add clear gems onto the panel.
After all of the glue has dried, glue the panel onto the gold metallic panel to add a matte layer. To finish the card, the whole thing was glued onto an A2-sized white card base.
Art Supplies
Imagine
• Amplify! Pigment Ink – Electric Yellow
• Delicata Ink – Champagne
• Fireworks! Spray – Cottage Ivy
• Sheer Shimmer Craft Spray – Rose Gold
• VersaFine Clair Ink – Nocturne
Other
• Idea-ology and Tim Holtz – collage paper – Archives
• Scrappy Crafts – embellishment mix – Amethyst
• Simon Says Stamp – die set – Love You Mama
• Simon Says Stamp – die set – Squovals
• Simon Says Stamp – stamp set – Love You Mama
• Spellbinders – stamp and die cutting set – Sculpted Scripted Floral
• Clear Embossing Powder
• Gold metallic cardstock
• Kraft cardstock
• Heat tool
• Glue
• Watercolor paper