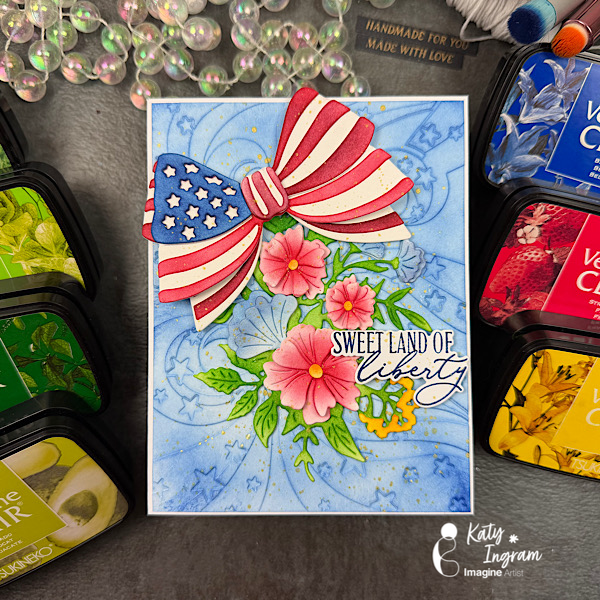
Hello Friends! Katy here with my latest video showcasing VersaFine Clair inks once again to create a floral and patriotic theme card. Video has all the details. Thanks for watching.
Other Products Used 100% Cotton or Watercolor Paper The Greetery Stars & Stripes Bow Die The Greetery Best Bouquet Details Die The Greetery Star Stream 3D Embossing Folder Papertrey Ink Land that I love stamp and die set White Cardstock Blending Brushes
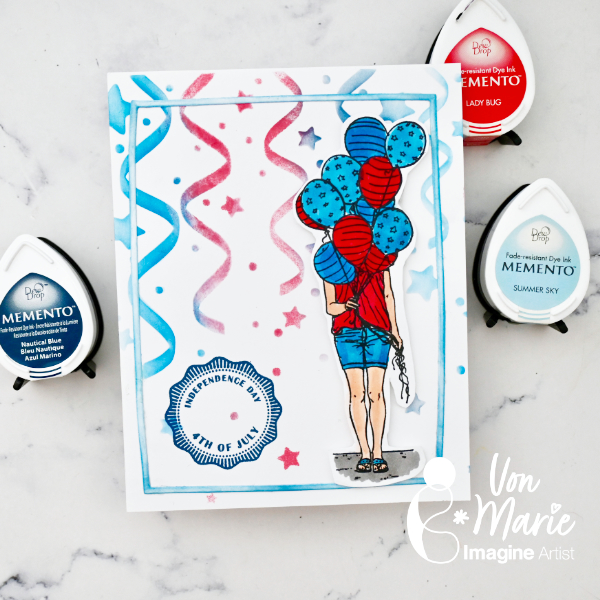
Hello everyone. Von Marie here with my latest Video. Let’s make a festive 4th of July card. I had a blast using Memento Dew Drop inks and stenciling. I hope you will enjoy. There will be more details in the video.
Other Supplies: Cardstock A2 Card base 4 ¼ x 5 ½ A Colorful Life Designs Star Streamers Stencil Colorado Craft Company Red, White, and Blue Copic Markers R29, R46, B14, B06, T3, E01, E11 Scissors Foam Tape Rectangle die Cardstock Blending Brushes
You can also make any other celebratory card using some of the similar products used on this card. Use different colors and have fun.
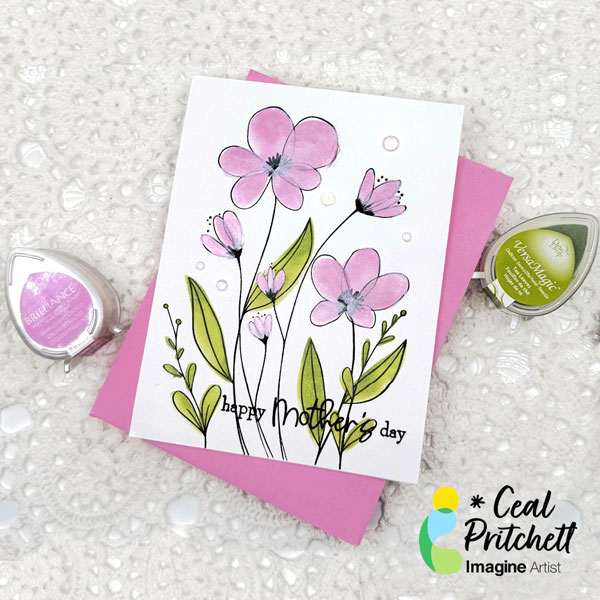
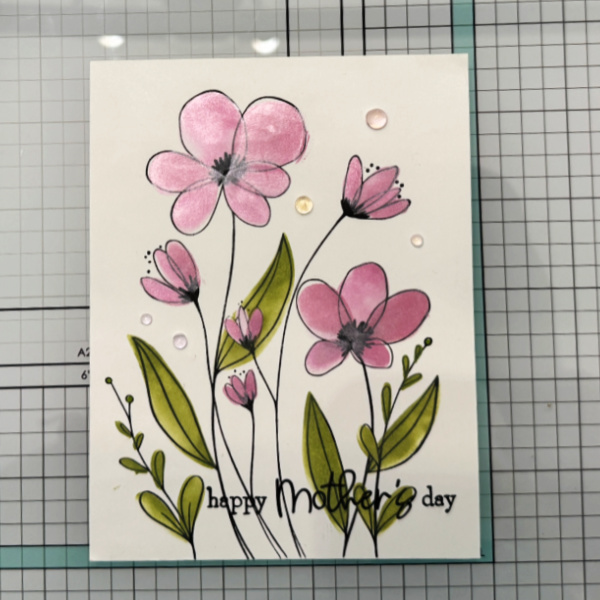
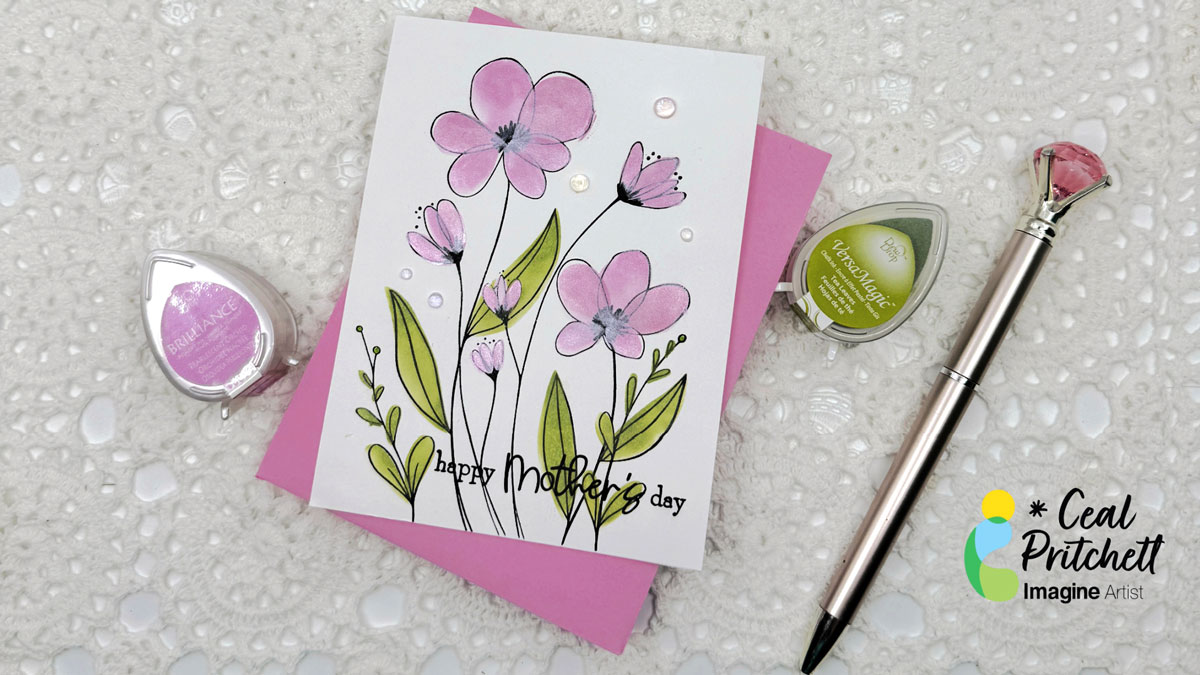
It’s Ceal, here. Today I am sharing how to make this Clean and simple Mother’s Day card using the Brilliance for shimmer and VersaMagic dew drops.
Skill: Beginner to intermediate Time: 30 mins
Directions:
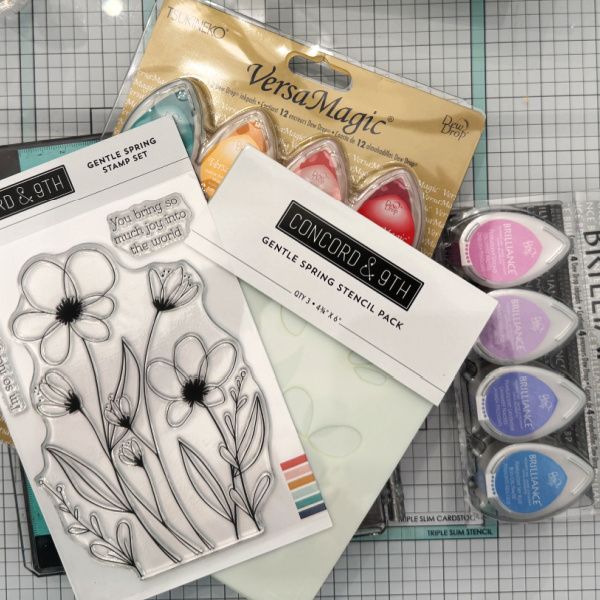
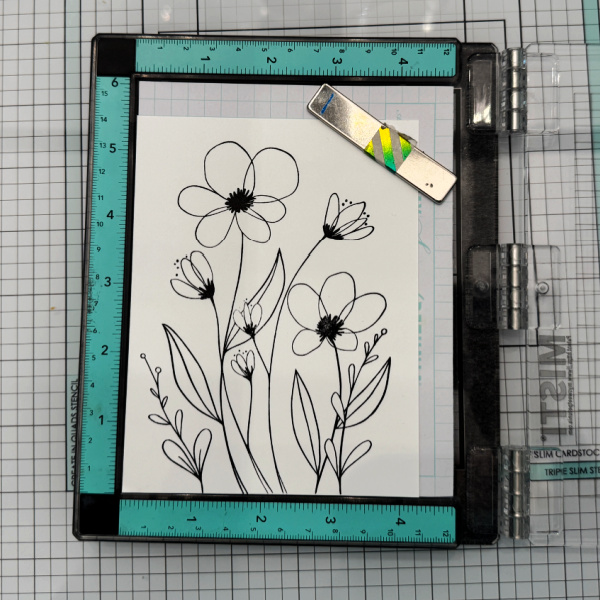
Gather your supplies. You will need a Mother’s Day stamp set or floral set as I have used here and a Mother’s Day sentiment. For inks I used a Brilliance Dew Drop and a VersaMagic Dew Drop
Step 1: Ink your stamp with a black ink
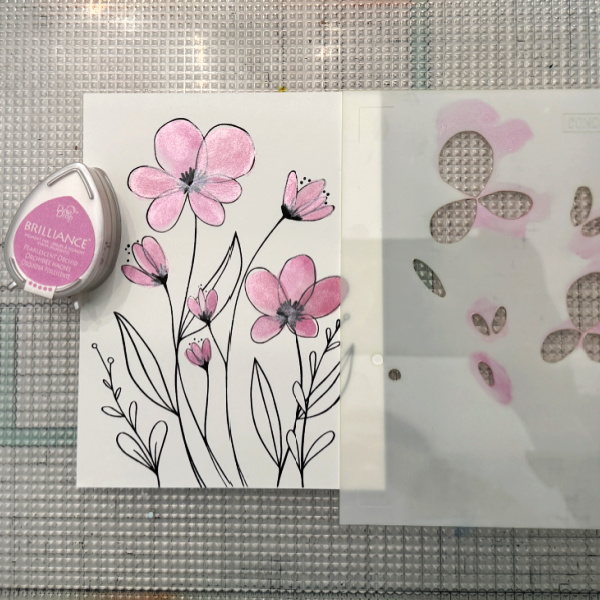
Step 2: Using the coordinating stencil and a blending brush or sponge dauber, ink blend a pearlescent pink on the flowers.
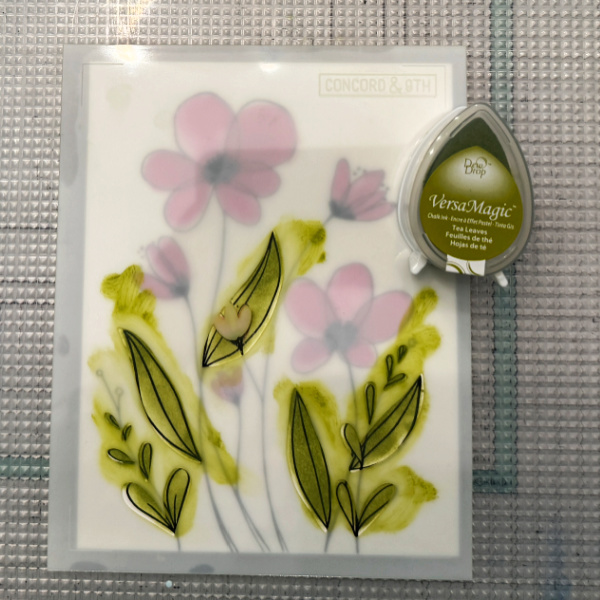
Step 3: Using the coordinating stencil and a sponge dauber or blending brus, ink blend green chalk ink on the leaves.
Step 4: Add embellishments of choice. I used some dew drops.
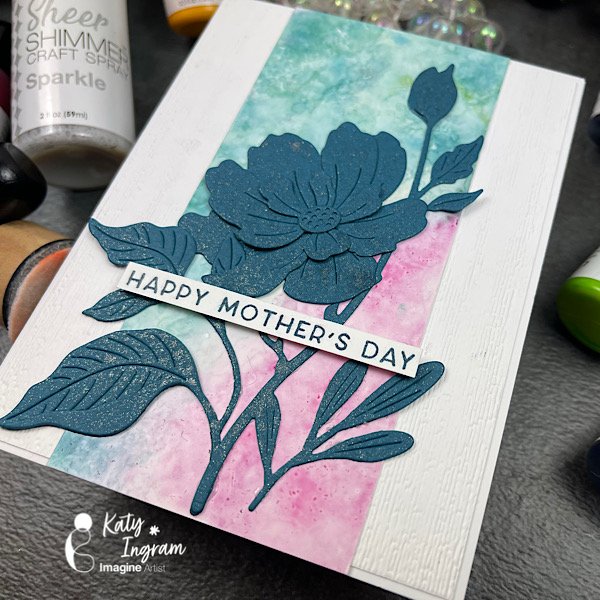
Hello Friends! Katy here with my latest video sharing a great way to use VersaFine Clair re-inkers on Craft Plastic with felt pads and Isopropyl Alcohol. Video has all the details. Thanks for watching.
Other Products Used Yupo Paper Simon Says Stamp Devine Peony Die Spellbinders Oceanside Cardstock Stampin up Subtle 3D folder The Greetery Mothers Day Stamp- To Mom with Love Stamp Set Gina K White Layering Cardstock 100 lb Accent Opaque Cardstock Felt Pads Isopropyl Alcohol
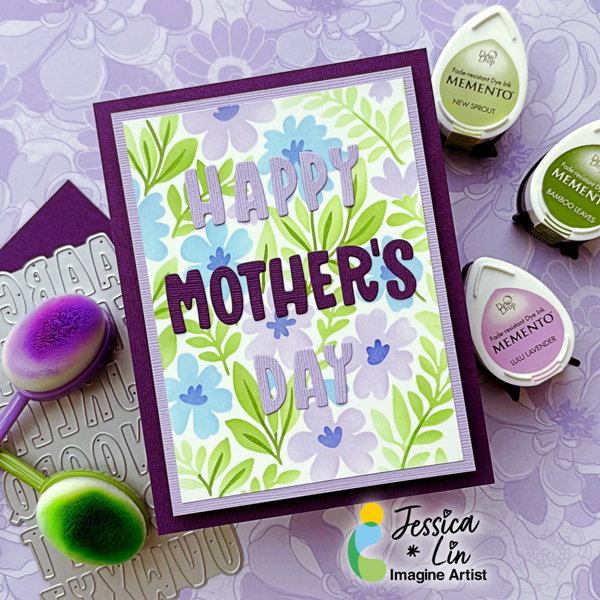
Hi everyone! It’s Jessica here. Are you planning on making a Mother’s Day card this year? I want to share a simple sketch that you can use with any layering stencils you may have.
Let’s begin crafting!
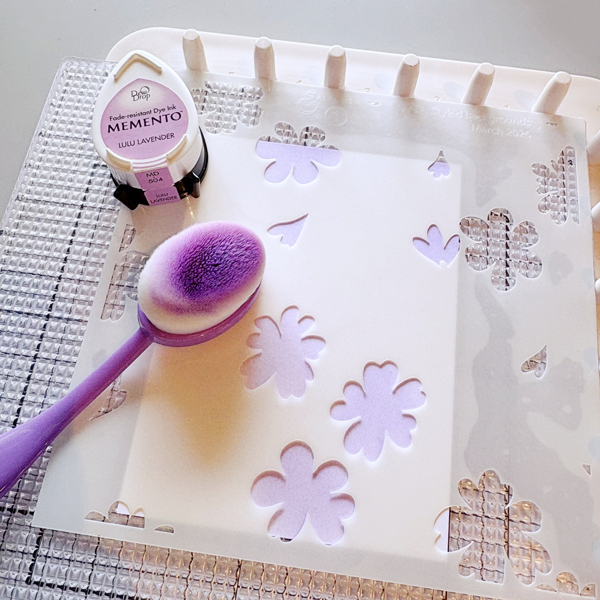
Step 1: I am using Altenew’s Styled Background layering stencil set for today’s card. Let’s start by trimming a piece of Classic Crest Solar White to 3 ½’’ x 4 ¾’’. After that, we can start ink blending stencil 1 with Memento Lulu Lavender ink.
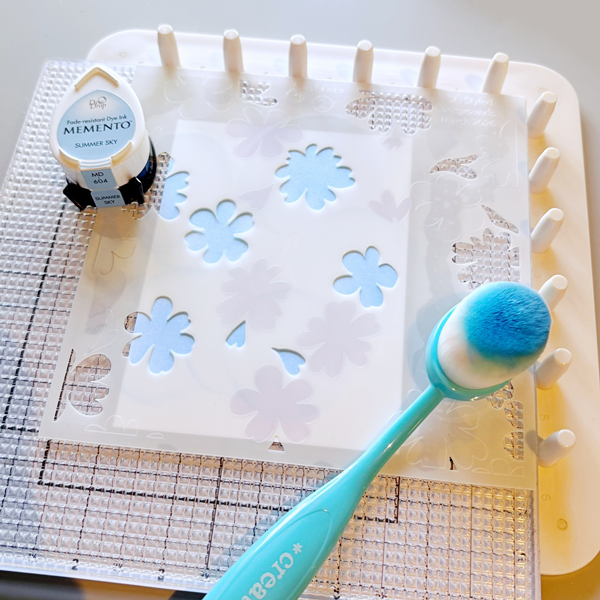
Step 2: Next, ink blend Memento Summer Sky ink with stencil 2. I really like the idea of separating the floral images into two layers; it gives us so much creative freedom and the color combination is endless!
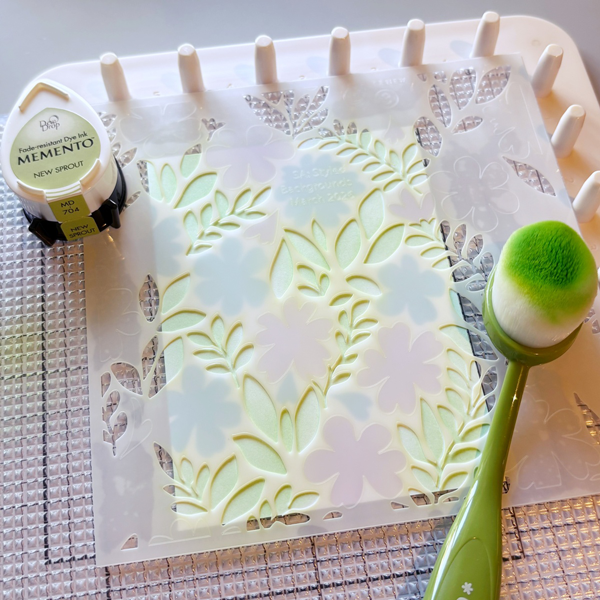
Step 3: Stencil 3 is the base layer for leaves. I used Memento New Sprout ink. It may be difficult to spot in this photo, but I created a color gradient by blending more ink in some areas and having a lighter hand for others.
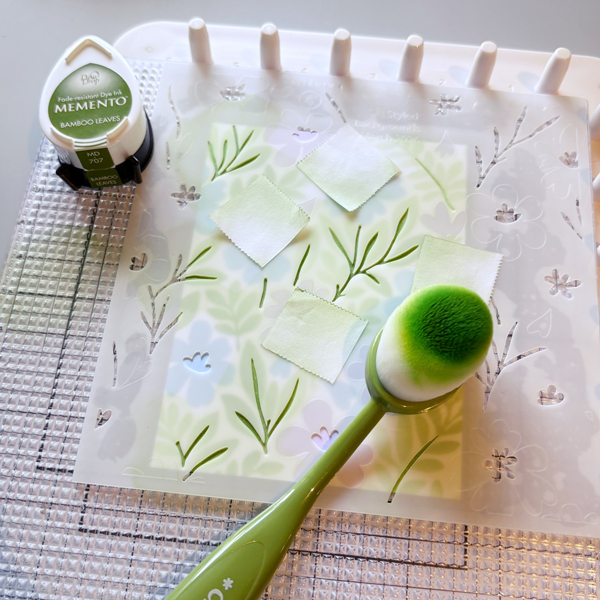
Step 4: Now that the base images are ink blended, we can start with the layering. Stencil 4 includes leaf stems, and I used Memento Bamboo Leaves ink. This stencil also contains floral centers. Since the stems and floral centers are quite close to each other, I had to mask some areas while ink blending. If you have smaller blending brushes, you could skip the masking step.
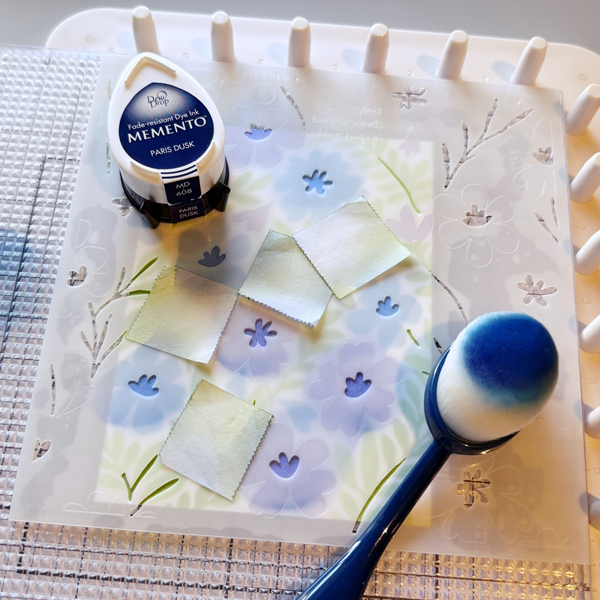
Step 5: I used Memento Paris Dusk ink to ink blend the floral centers.
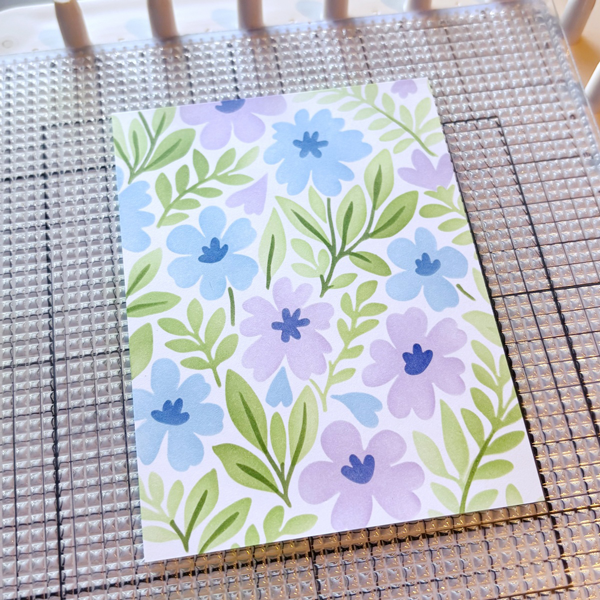
Step 6: This is what the background panel looks like after ink blending all 4 layers. I love the look of soft, pastel colors and am so pleased with the final result.
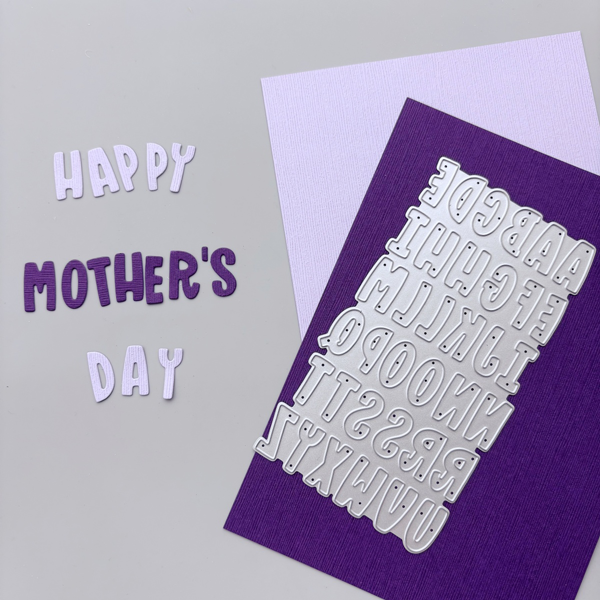
Step 7: After ink blending, we are ready to add the sentiment of the card. I chose Stampin’ Up’s Mini Alphabet die to spell out “Happy Mother’s Day”, but you could use any sentiment die you may have. I decided to die cut with CutCardStock DCS Hydrangea Purple and Plum Purple for some added contrast. These cardstock have a smooth side and a textured side; I opted for the textured side today.
Step 8: Next, trim a piece of CutCardStock DCS Hydrangea Purple to 3 ¾’’ x 5’’ and mount the ink blended panel on top. Then adhere it to a CutCardStock DCS Plum Purple card base. Finally, apply On-Point Glue to the back of the letter die cuts and adhere them to the card panel to complete the card!
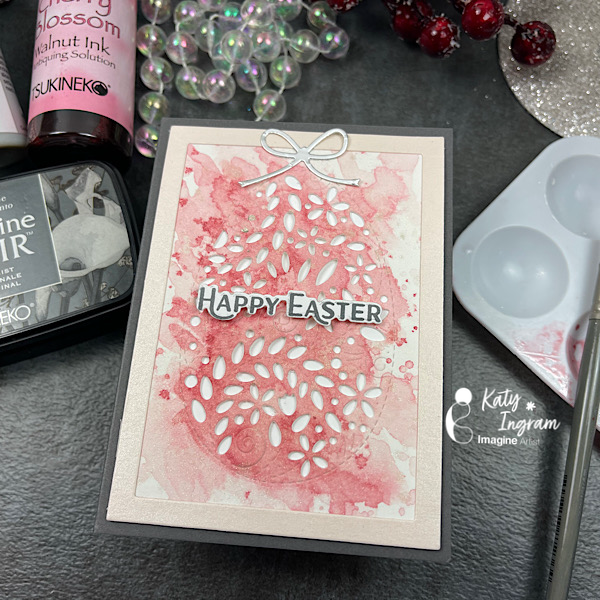
Hello Friends! Katy here with my latest video! In todays video I use some Cherry Blosom Walnut Ink to create a simple background for an Easter egg die cut I have in my stash. I kept the background simple and made an A1 size card, also known as an RSVP card size. I love that I can use the Walnut Inks like watercolors to create simple backgrounds. Video has all the details. Thanks for watching.
• Hot Pressed Watercolor paper • The Greetery Easter Morning Sentiments Stamp • Simon Says Stamp Filigree Egg Die – no longer available • Matte Silver Cardstock • Small bow die cut