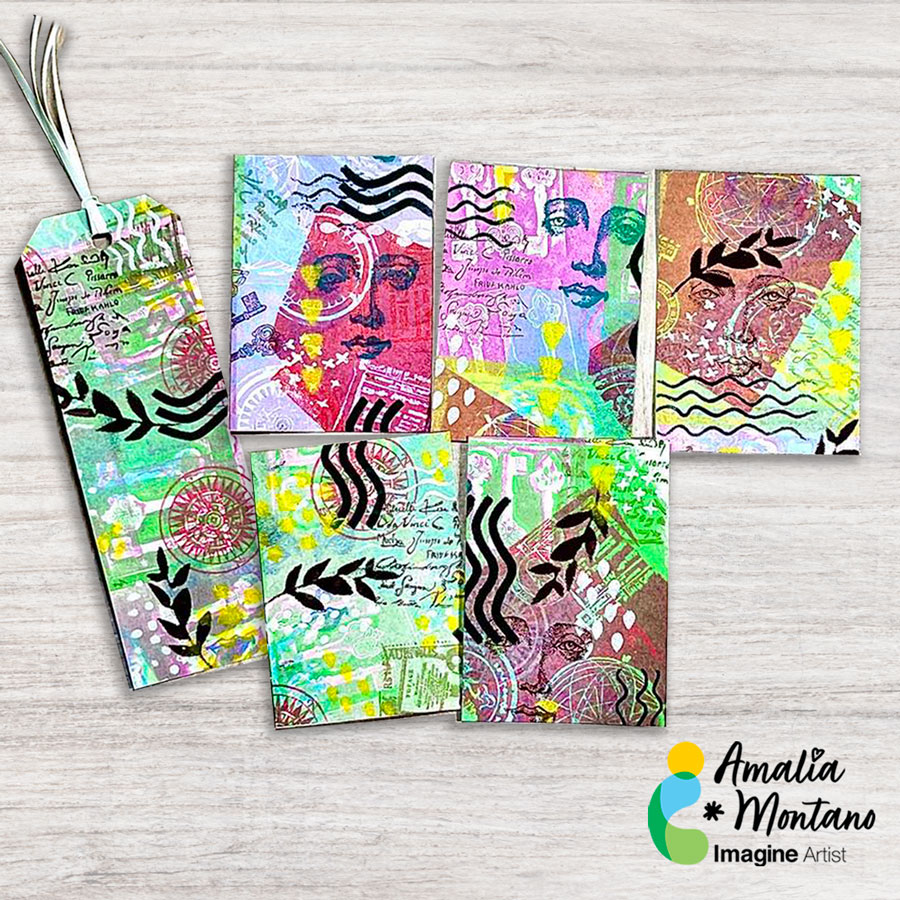
Hello, friends! Amalia here with a project from Imagine. In this video, I’m using the new VersaFine Clair ink colors to create masterboards, which will later be cut into ATCs and a bookmark. VersaFine Clair inks are highly pigmented and provide a perfect stamp impression on the first try. Their vibrant colors are ideal for watercoloring, as they won’t bleed when wet. I’ll also be incorporating stamps, stencils, and stamping foam to bring these ATCs and the bookmark to life.
I love to color! I am an avid Copic marker fan and adore using watercolor on stamped images. Sometimes I like taking a more liberal rather than literal approach to coloring images. If you do not like to color this is the video and project for you! Find some simple lined floral images and use sponge daubers to daub, rub, smear or pounce color on. Versacolor inks are blendable and provide jut the right dry time to create a smooth finish to your design. I used heat embossing with white MBoss powder on white cardstock so the outline would stand out but not overpower. This created a soft feminine hue to the image. This would also look great in black ink. Give it a try!
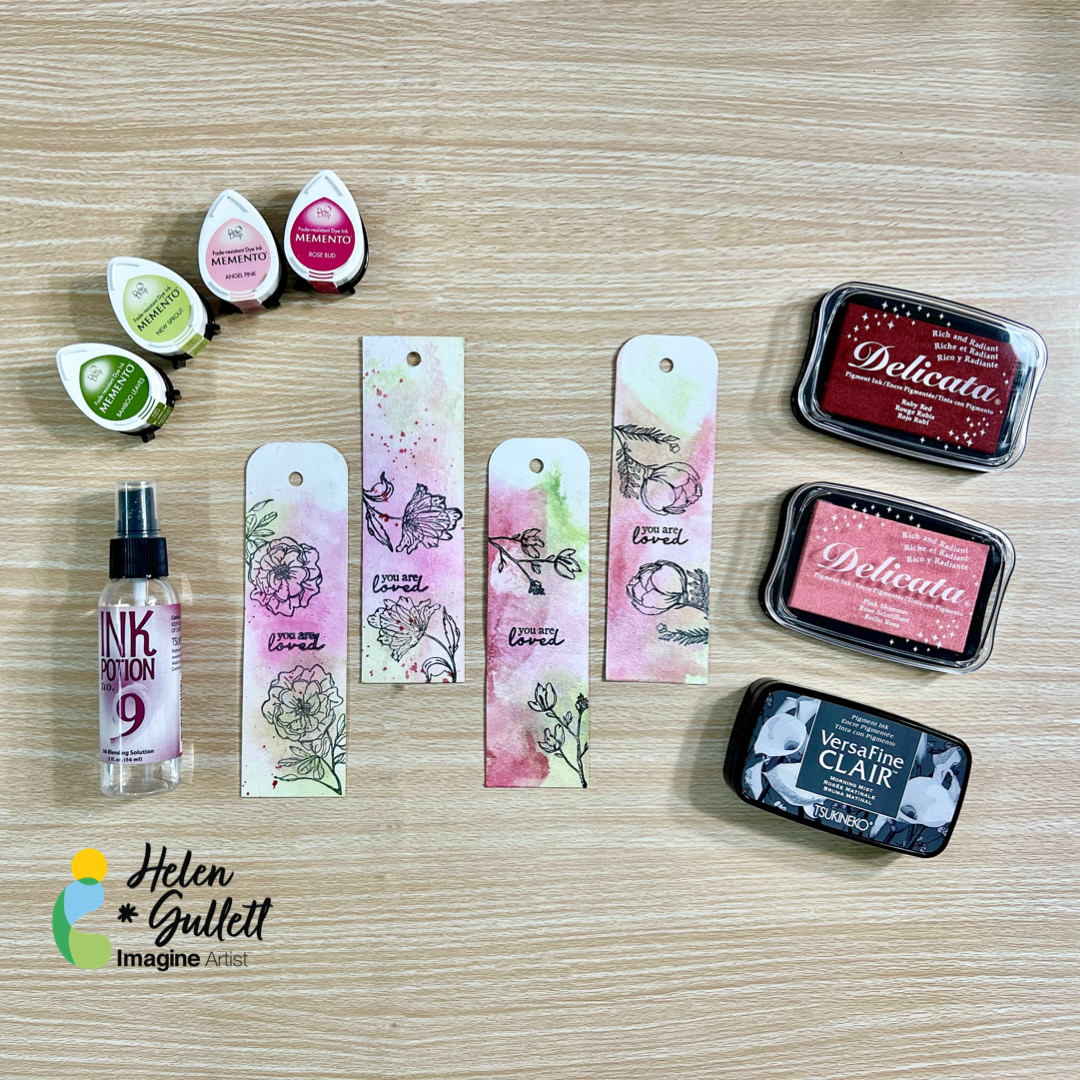
Hello crafty friends! Today, I want to share with you how to make these Spring themed bookmarks, using Imagine Crafts products and simple crafting tools. These bookmarks are a great gift for book lovers, or donating to your local library, or even just for you to use personally. You can make a batch of them in a short time!
Skill: Beginner Time: 15-30 minutes
Directions:
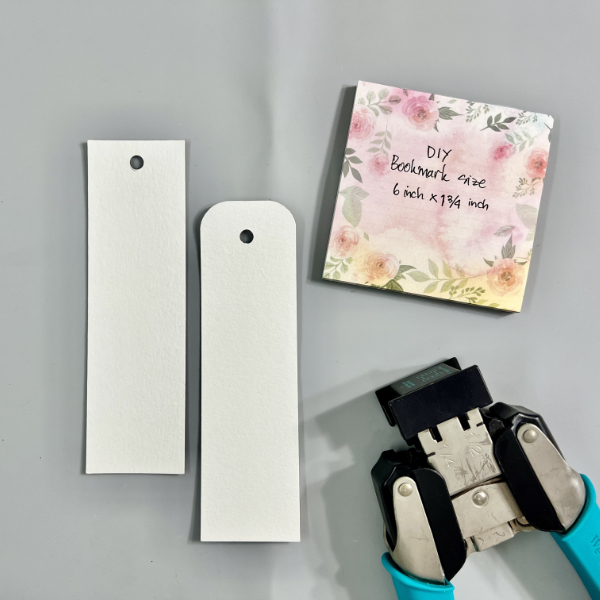
Step 1 I find that Canson Watercolor Paper 140lb is the best to make bookmarks. They are not only thick and sturdy, but also you can use any craft techniques with this paper – either simply stamping, or watercoloring, or even mixed media.
Cut a piece of watercolor paper into 6 inch x 1 ¾ inch size. One piece of this 9 x 12 watercolor paper, you can get 10 bookmarks.
You can leave it as a rectangle or you can round the corner with the corner rounder punch. Next, use a ¼ inch hole punch to punch a hole at the center top of the bookmark for ribbon or teasel.
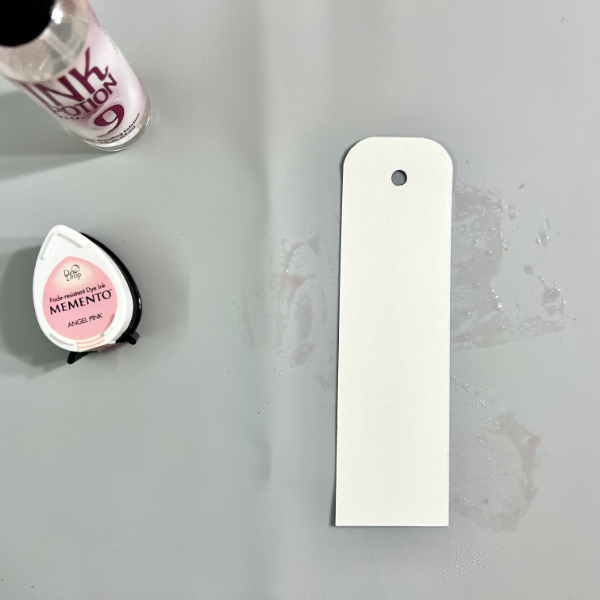
Step 2 Next step is to create the watercolor wash background using Memento DewDrop ink and Ink Potion No. 9 Spray on each of the bookmarks.
Dab the Memento ink on the craft mat and then spray with some of the Ink Potion No. 9.
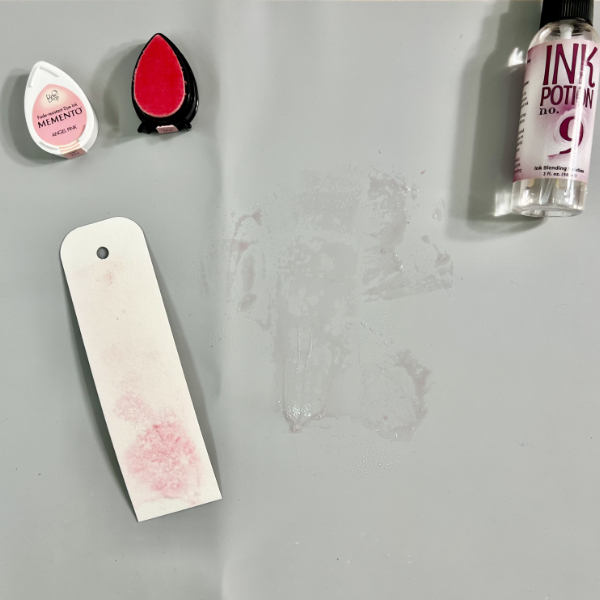
Step 3 Smoosh a bookmark into the ink. Gently press to get the ink transferred to the bookmark.
Step 4 You can repeat this step as many times as you want to get the first color wash you like to get. You can spray the ink more to get lighter color, or spray the ink less to get more darker color.
And then repeat the step 2 and step 3 with different colors that you want to use on your bookmark background. For mine, I used the Memento Dew Drop Inks Angel Pink, Rose Bud, New Sprout, and Bamboo Leaves colors.
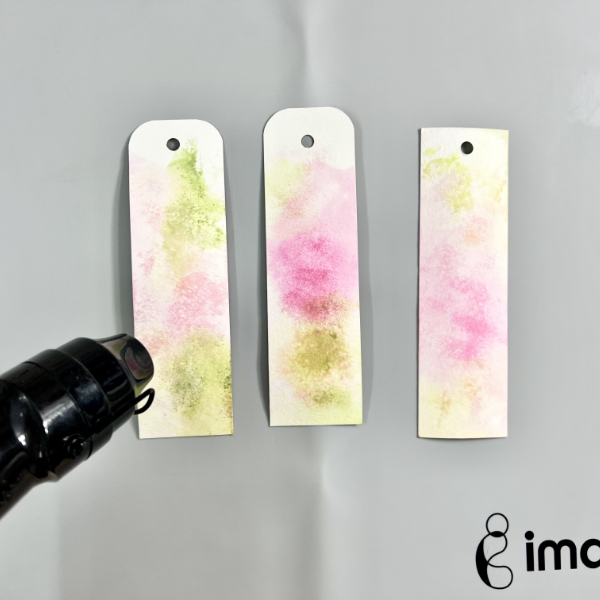
Step 5 When done with adding watercolor washes on the bookmarks, use the craft heat gun to dry them.
Option step, you can repeat step 2, step 3, and step 4, if you want to add more color to them.
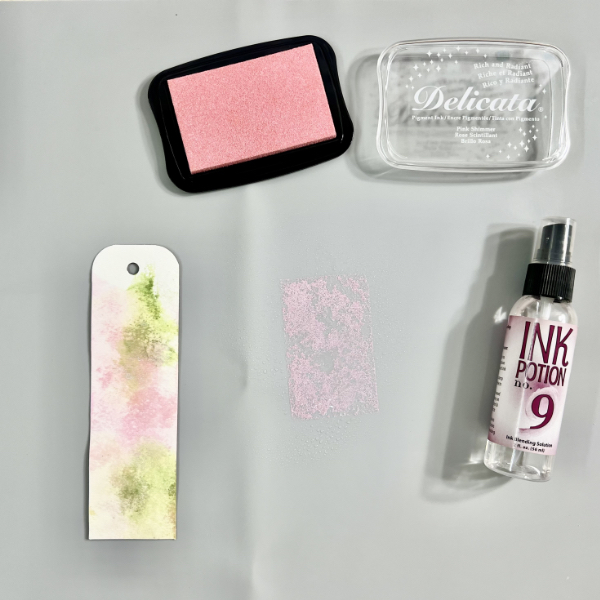
Step 6 Dab some of the Delicata ink on the craft mat, spray it with the Ink Potion No. 9, and then smoosh the bookmark into the ink. Gently press it to get the ink transferred well.
You will get a shimmer look on the bookmark with this step.
Dry all the ink on the bookmark with a craft heat gun.
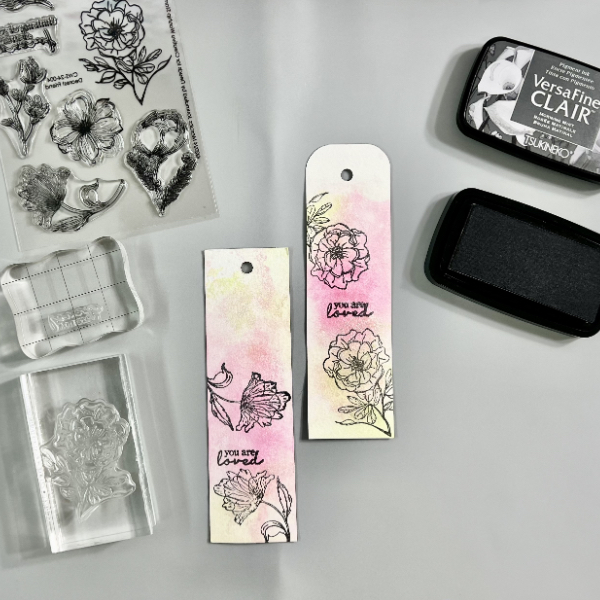
Step 7 When the bookmark background is completely dry, stamp the image and sentiment on them with VersaFine Clair ink using acrylic blocks (or stamping tool of your choice).
Use a craft heat gun to dry the stamped images and sentiments.
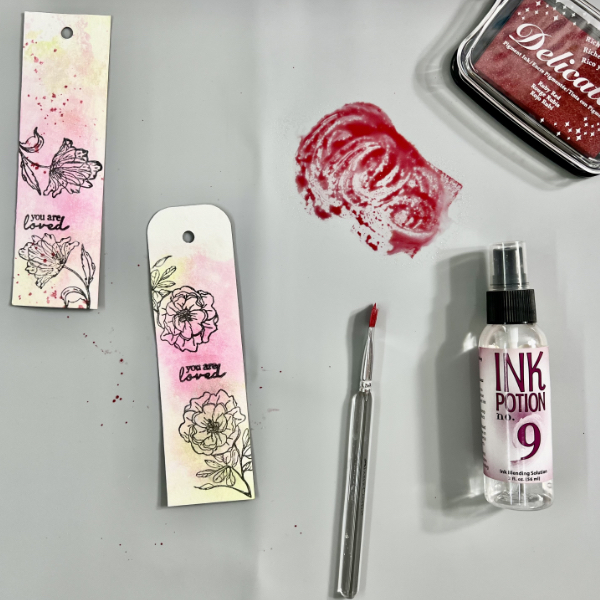
Step 8 This is optional. You can leave the bookmarks as they are, or you can add some more ink splatters to them.
To add more splatters to the bookmark, dab some of the Delicata Ruby Red ink on the craft mat, spray it with Ink Potion No. 9, and use a flat brush (or fan brush) to add the splatters.
Use a craft heat gun to dry the bookmarks.
Add some ribbon or teasel to the bookmarks.
Hope that you like this project and give it a try. Thanks so much for stopping by our blog today. Have a wonderful day!
I wanted to create some backgrounds just to get my creative juices flowing. I am so glad I did because I was able to use many of the different cardstock scraps and designer paper scraps to make some really cute backgrounds.
I used different stencils from my stash, some blending brushes, and a few Imagine Crafts inks and daubers to create backgrounds that I turned into Birthday cards.
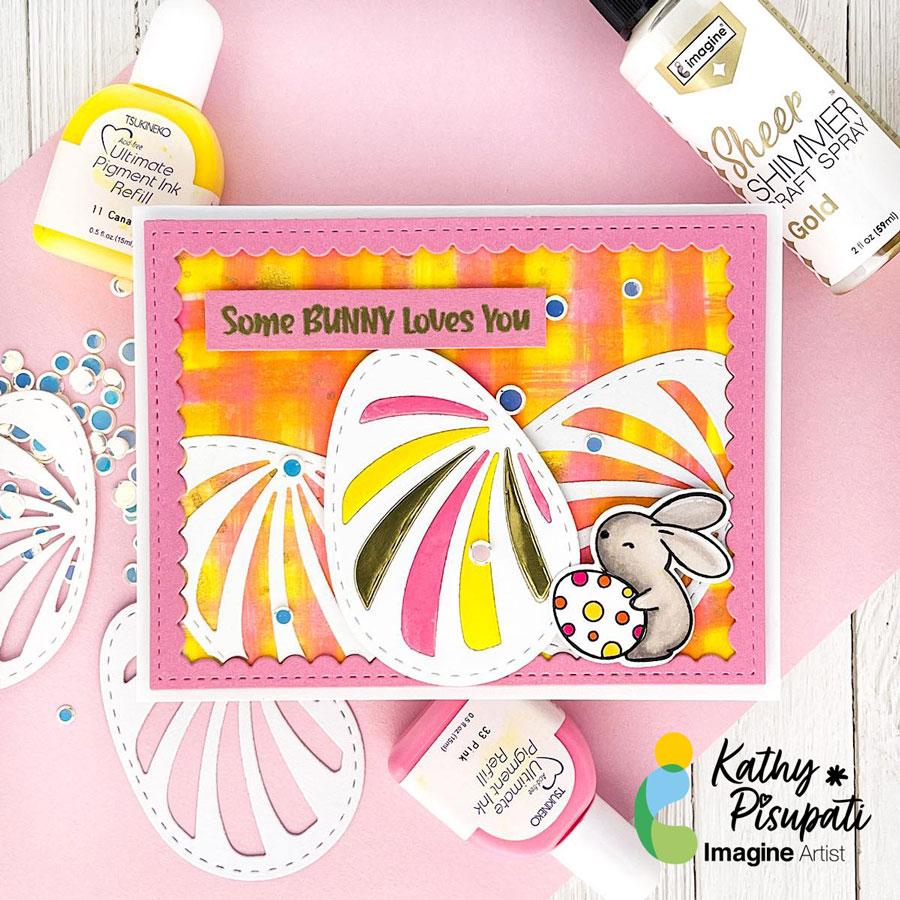
Good morning! Kathy here, creating art for Imagine Crafts! Today I have a new tutorial for you. Today’s project is an Easter card but it is also about creating your own backgrounds with Imagine Craft’s Ultimate Pigment Ink Refills! If you don’t have much patterned paper this is an easy background using the refills and baby wipes!
Skill Level: Easy
Time to complete: 1 hour
Step 1
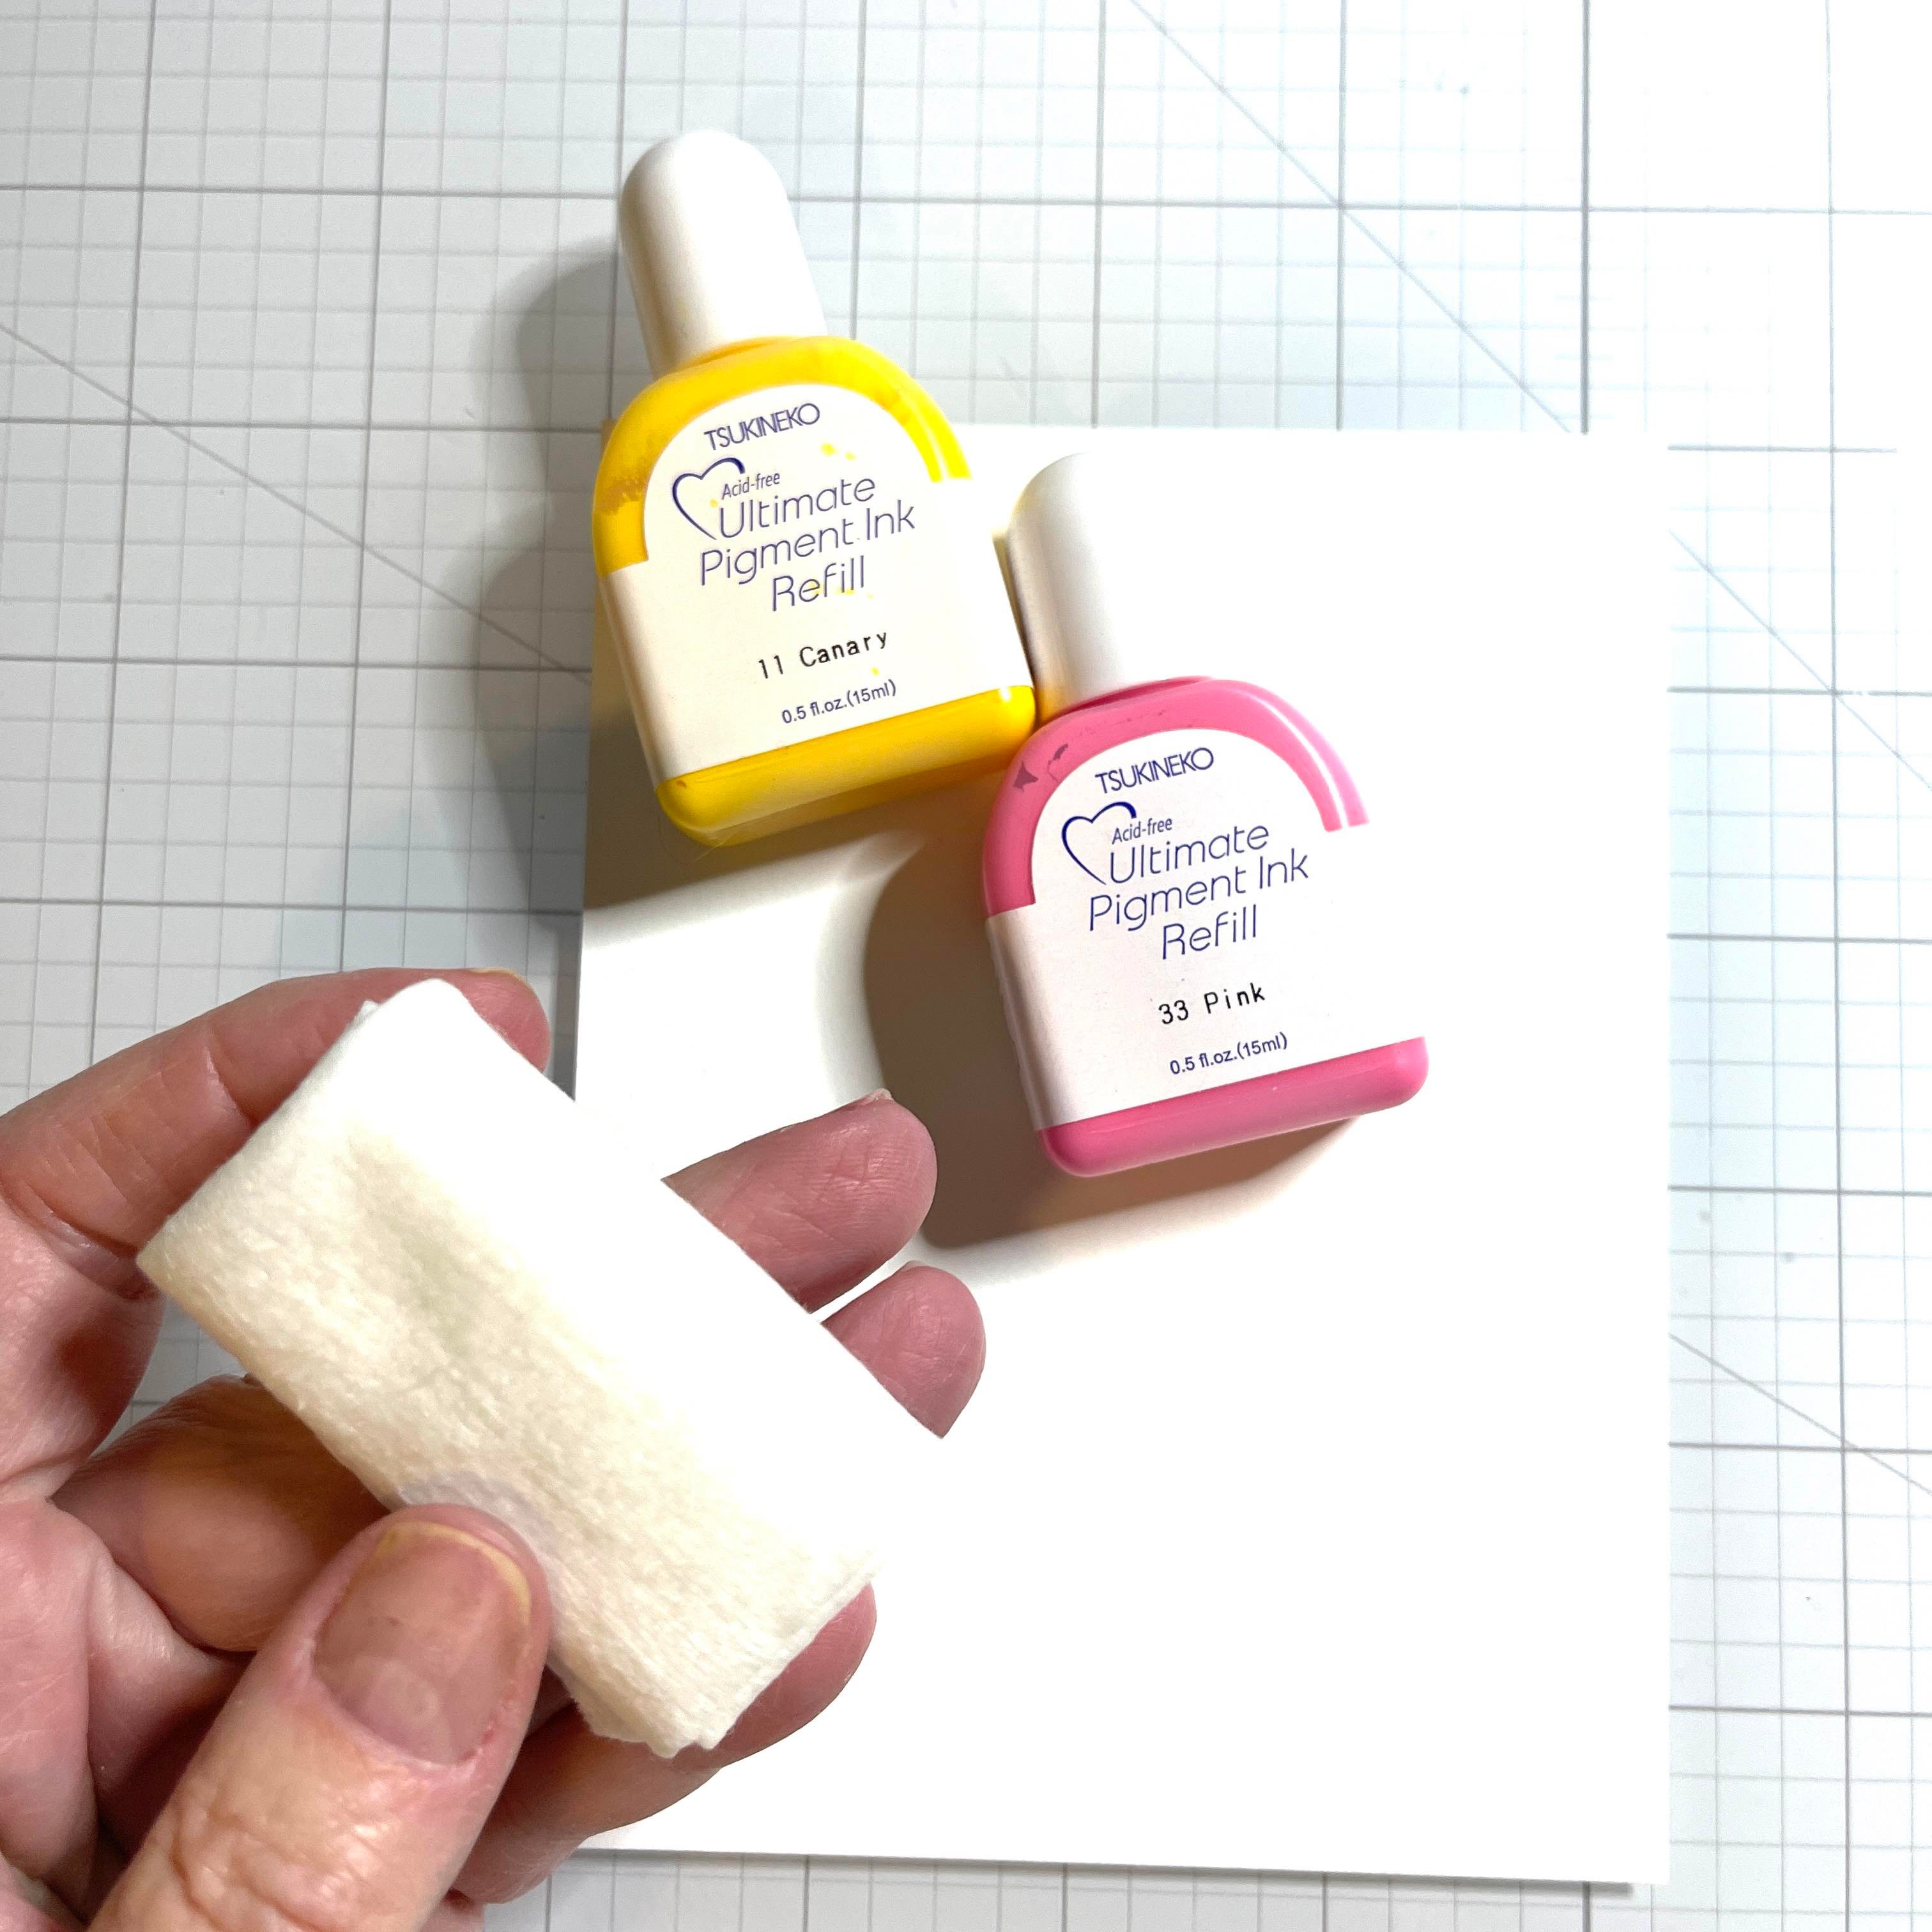
Cut a piece of a layering weight, white card stock to 4.25” x 5.5”. This will be enough for three holders. Grab your favorite ink refills. For today’s card I used Imagine Craft’s Ultimate Pigment Ink Refills in Canary and Pink. Grab a baby wipe and fold it up nicely.
Step 2
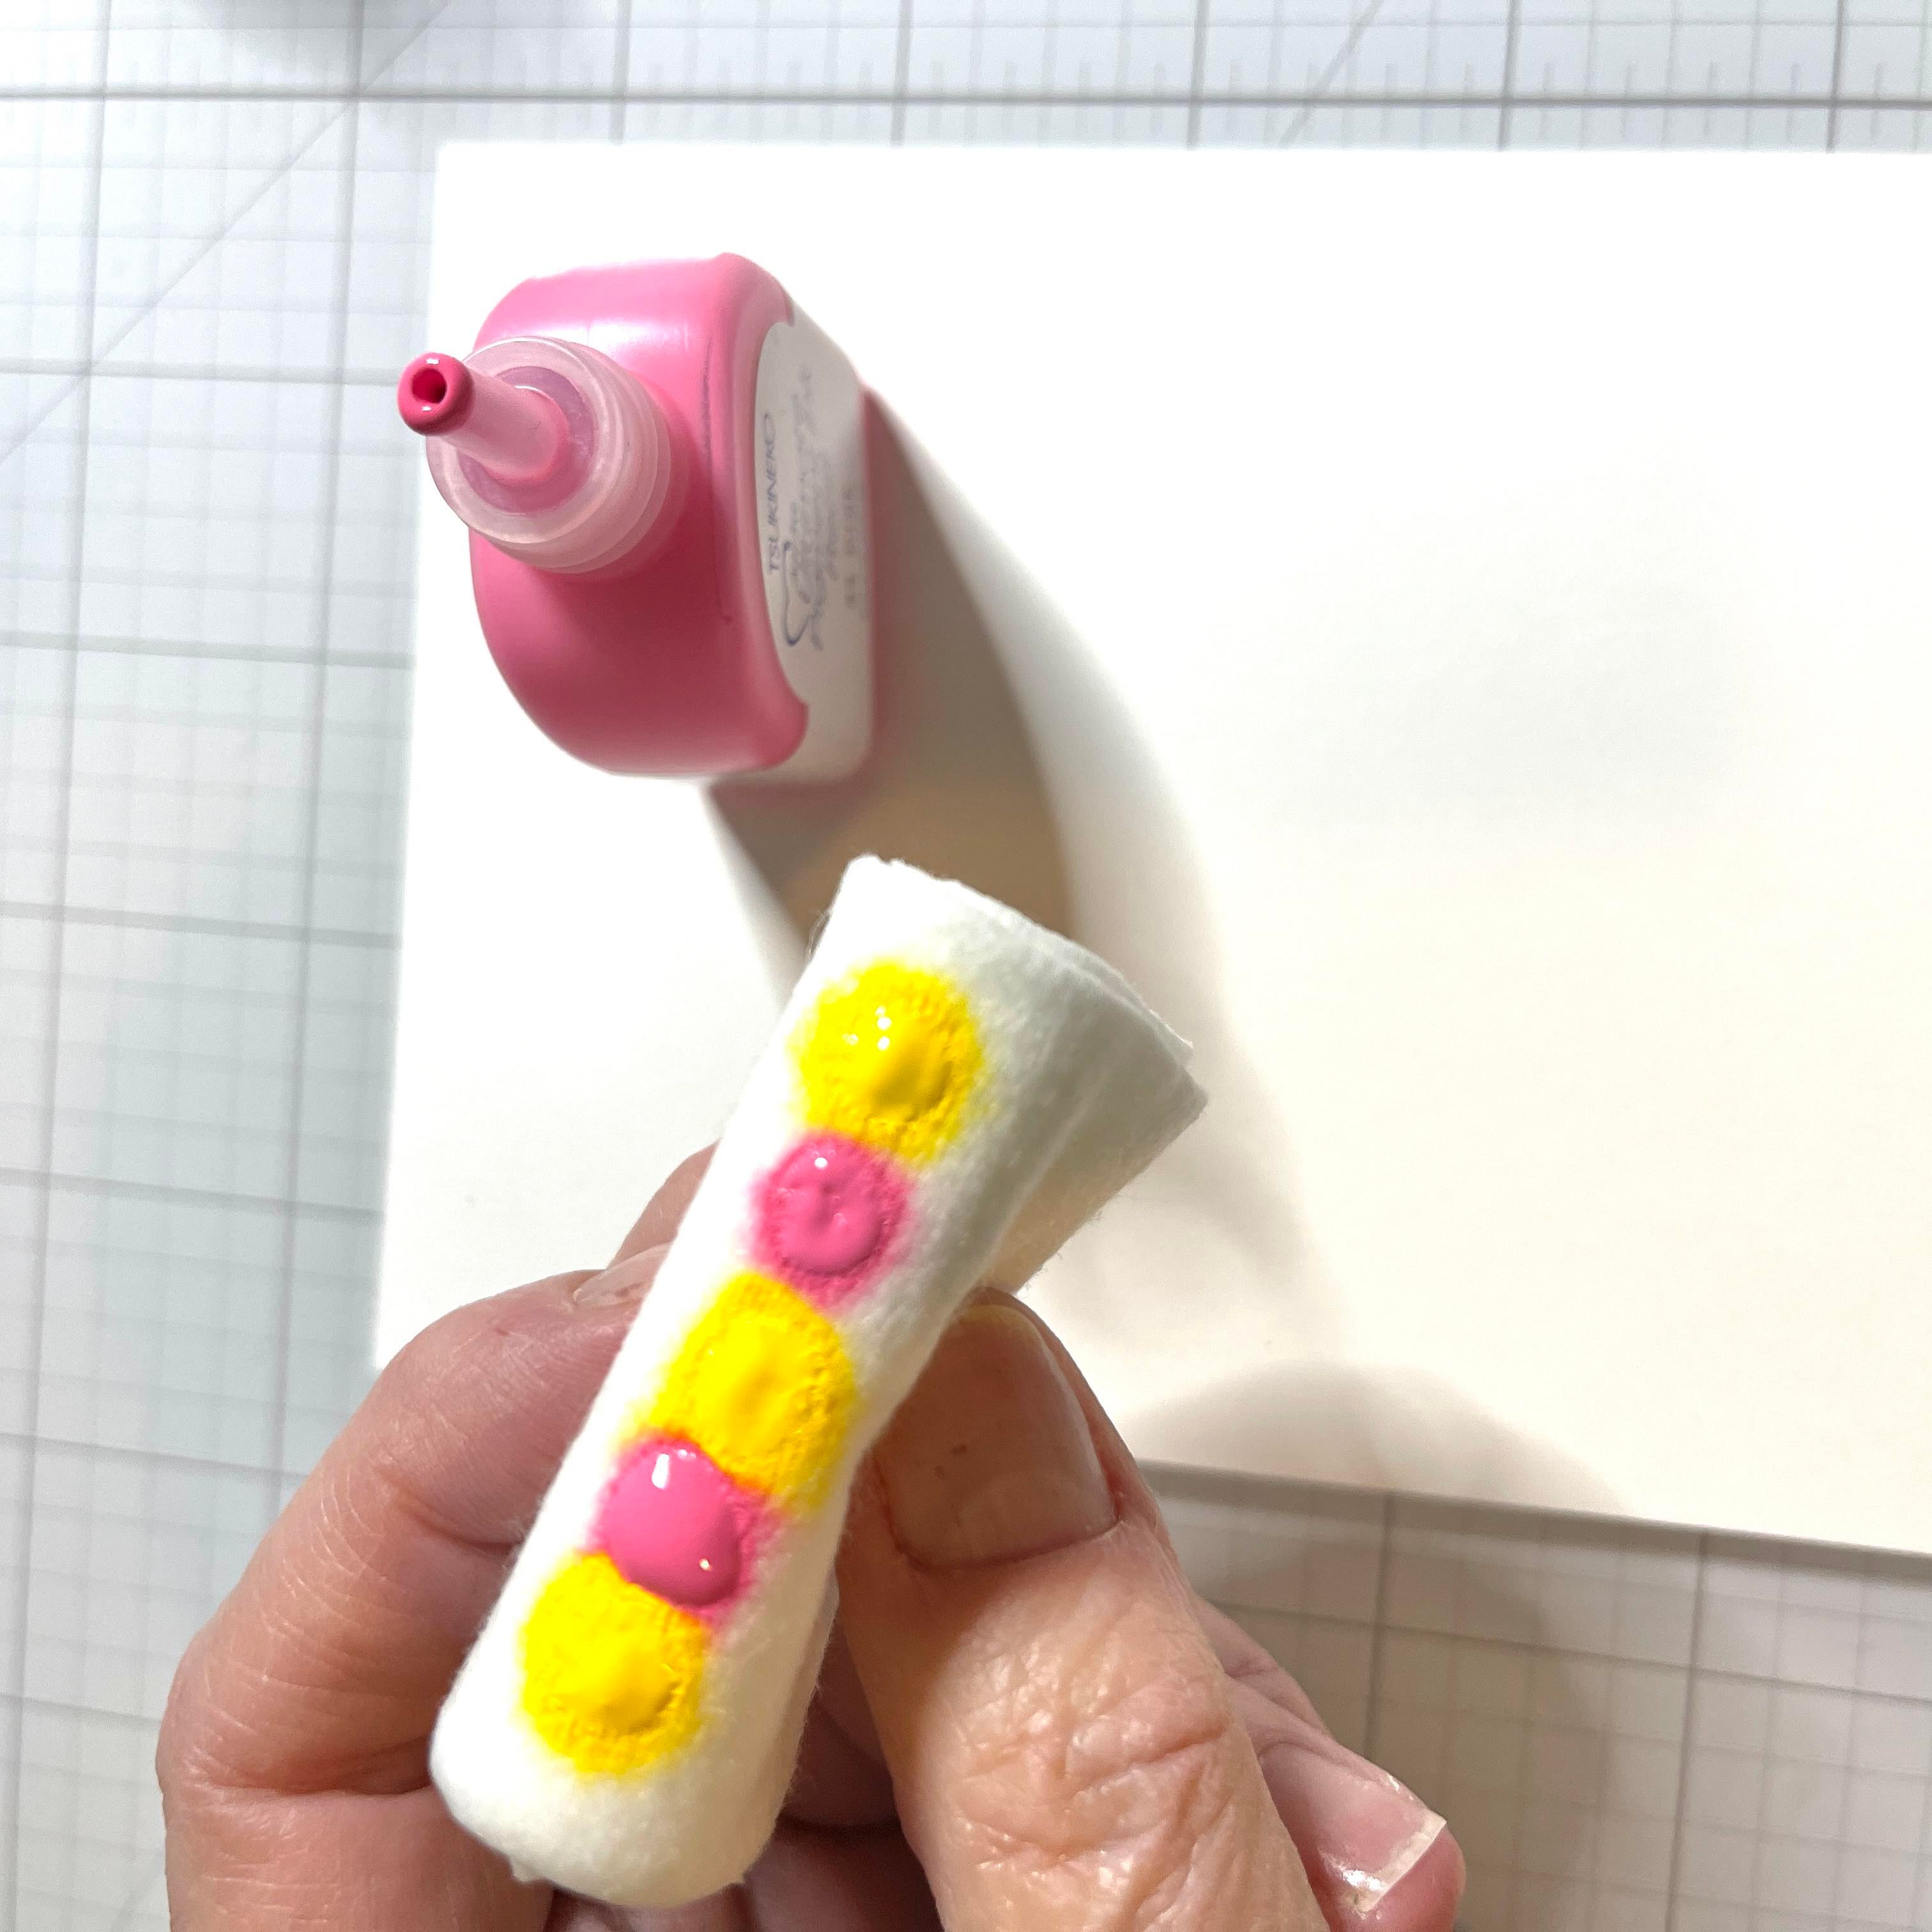
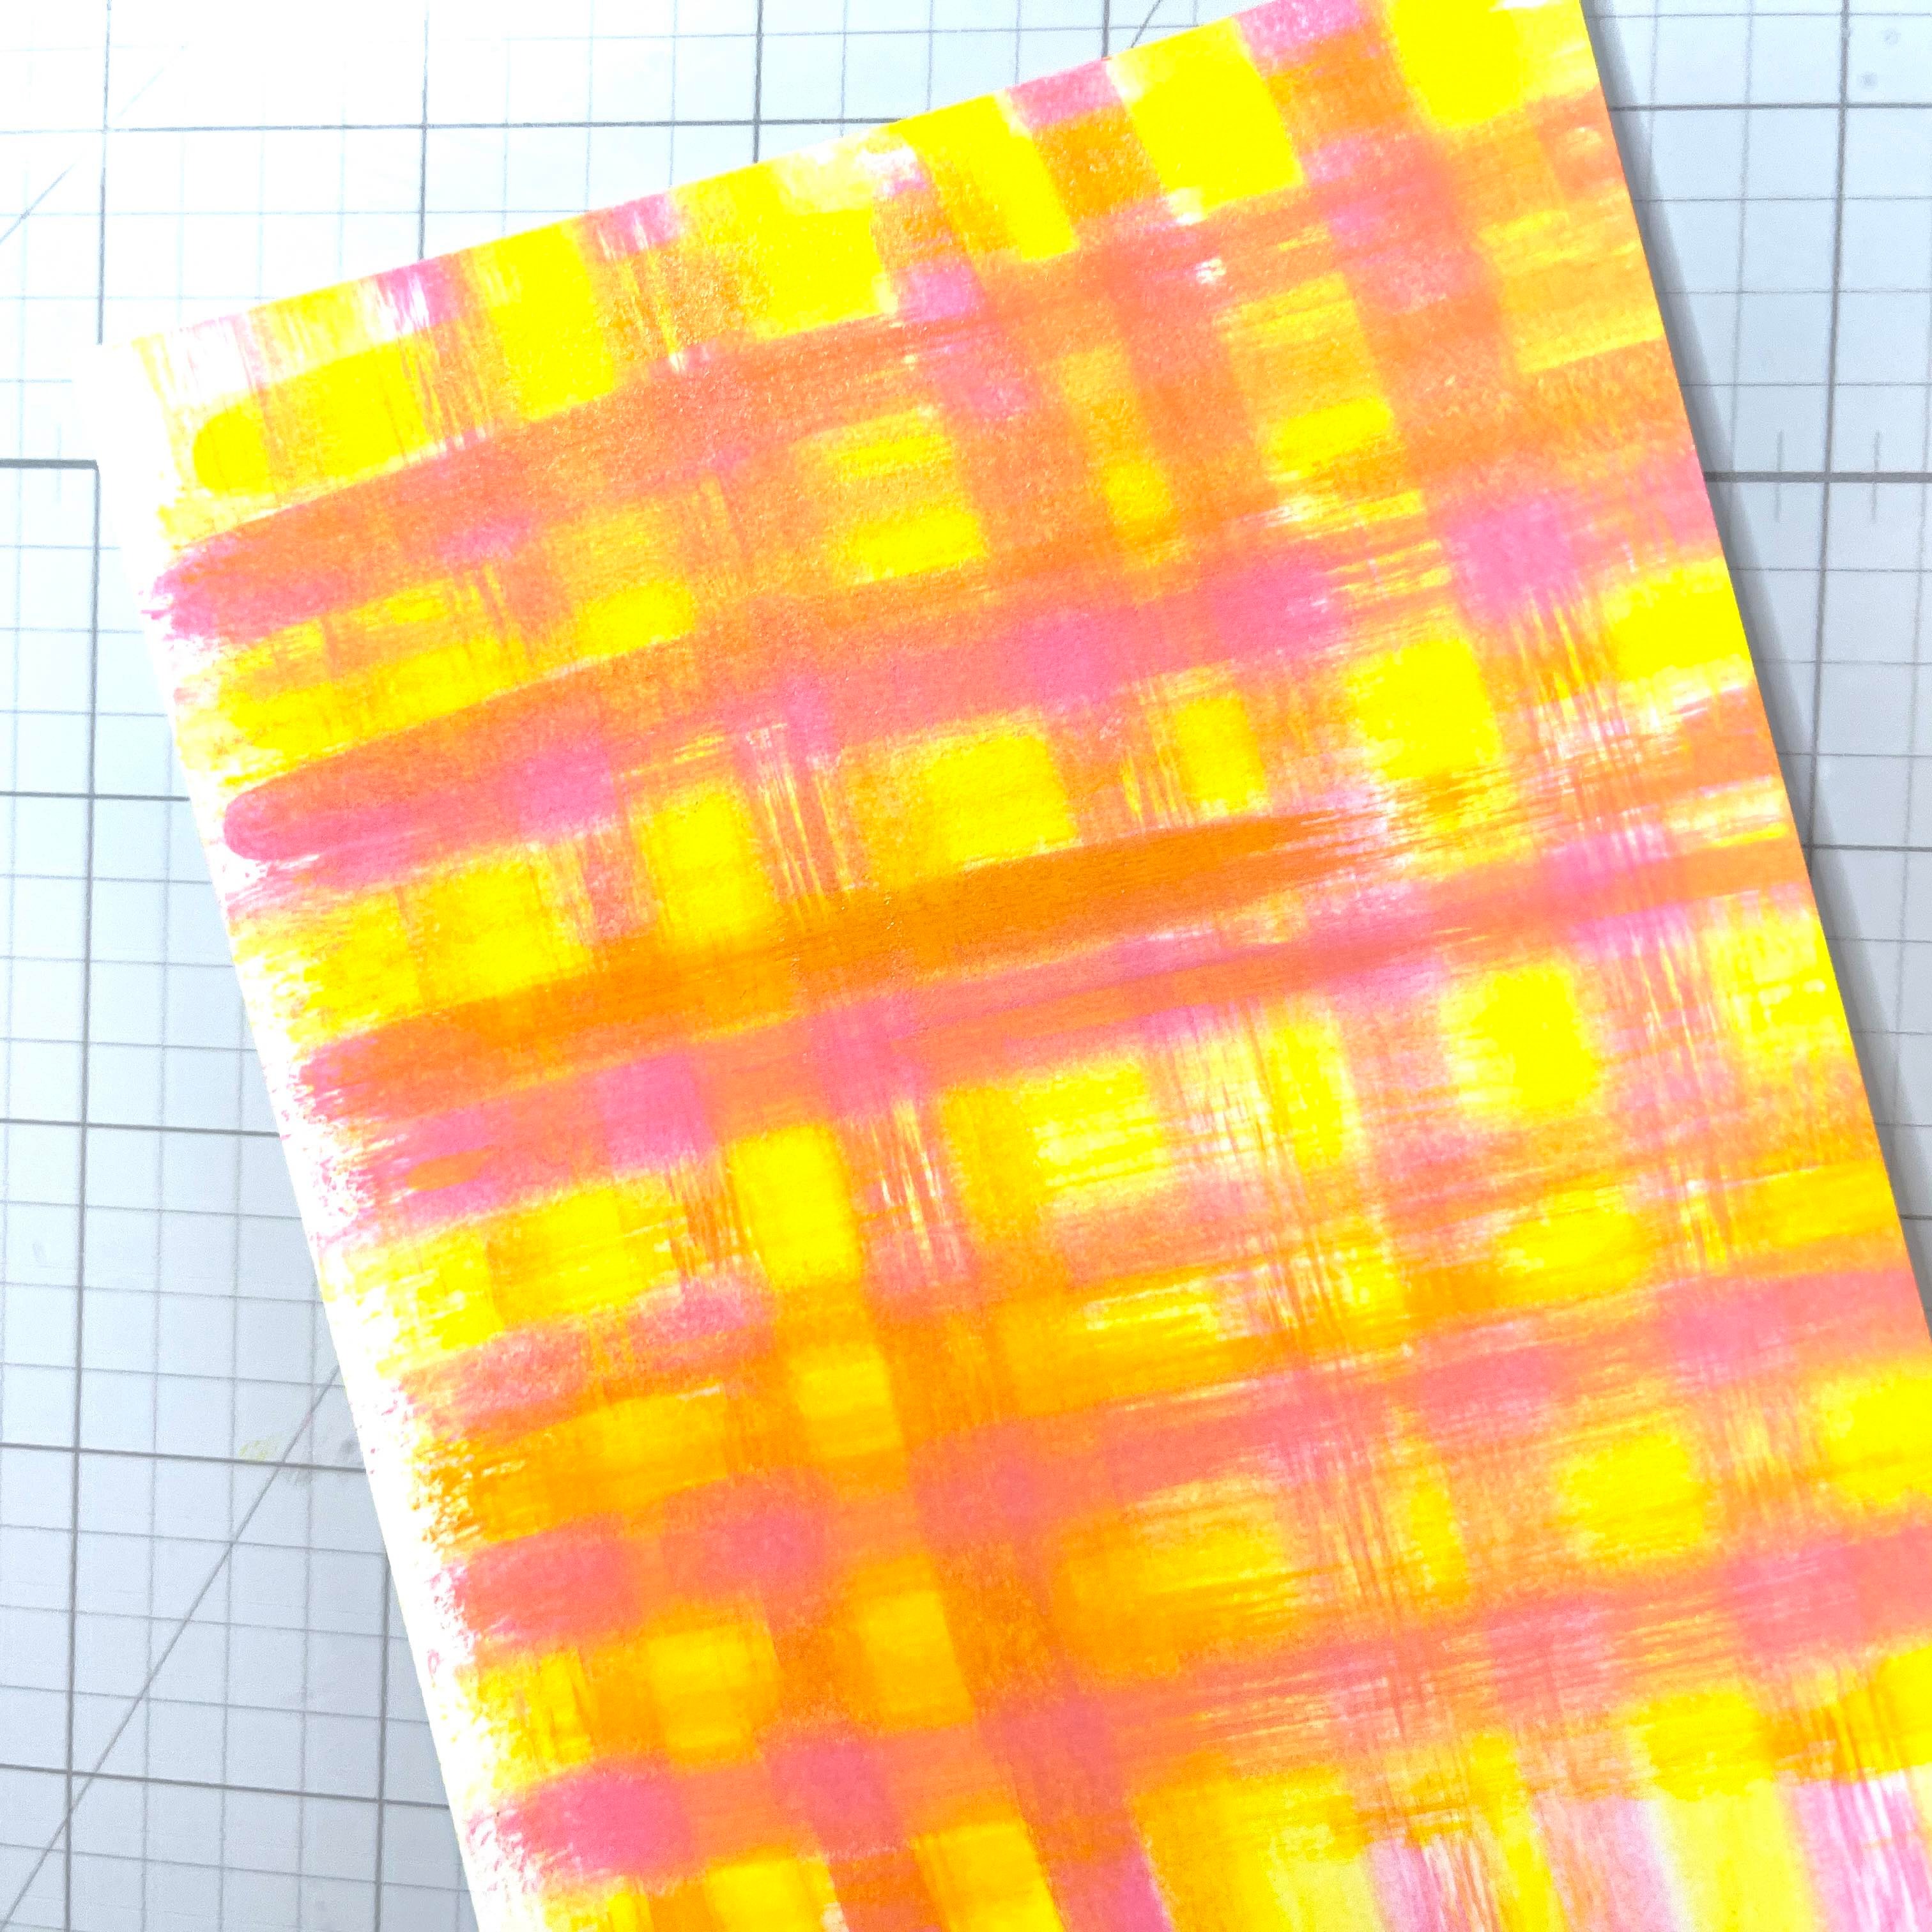
Dab your ink onto the baby wipe in an alternating order.
Step 3
Now just swipe across your card stock. YES you will get messy! But it’s fun. You may need to add some more drops. Make sure when swiping that you line up your baby wipe with the last swiped color as you move along.
Step 4
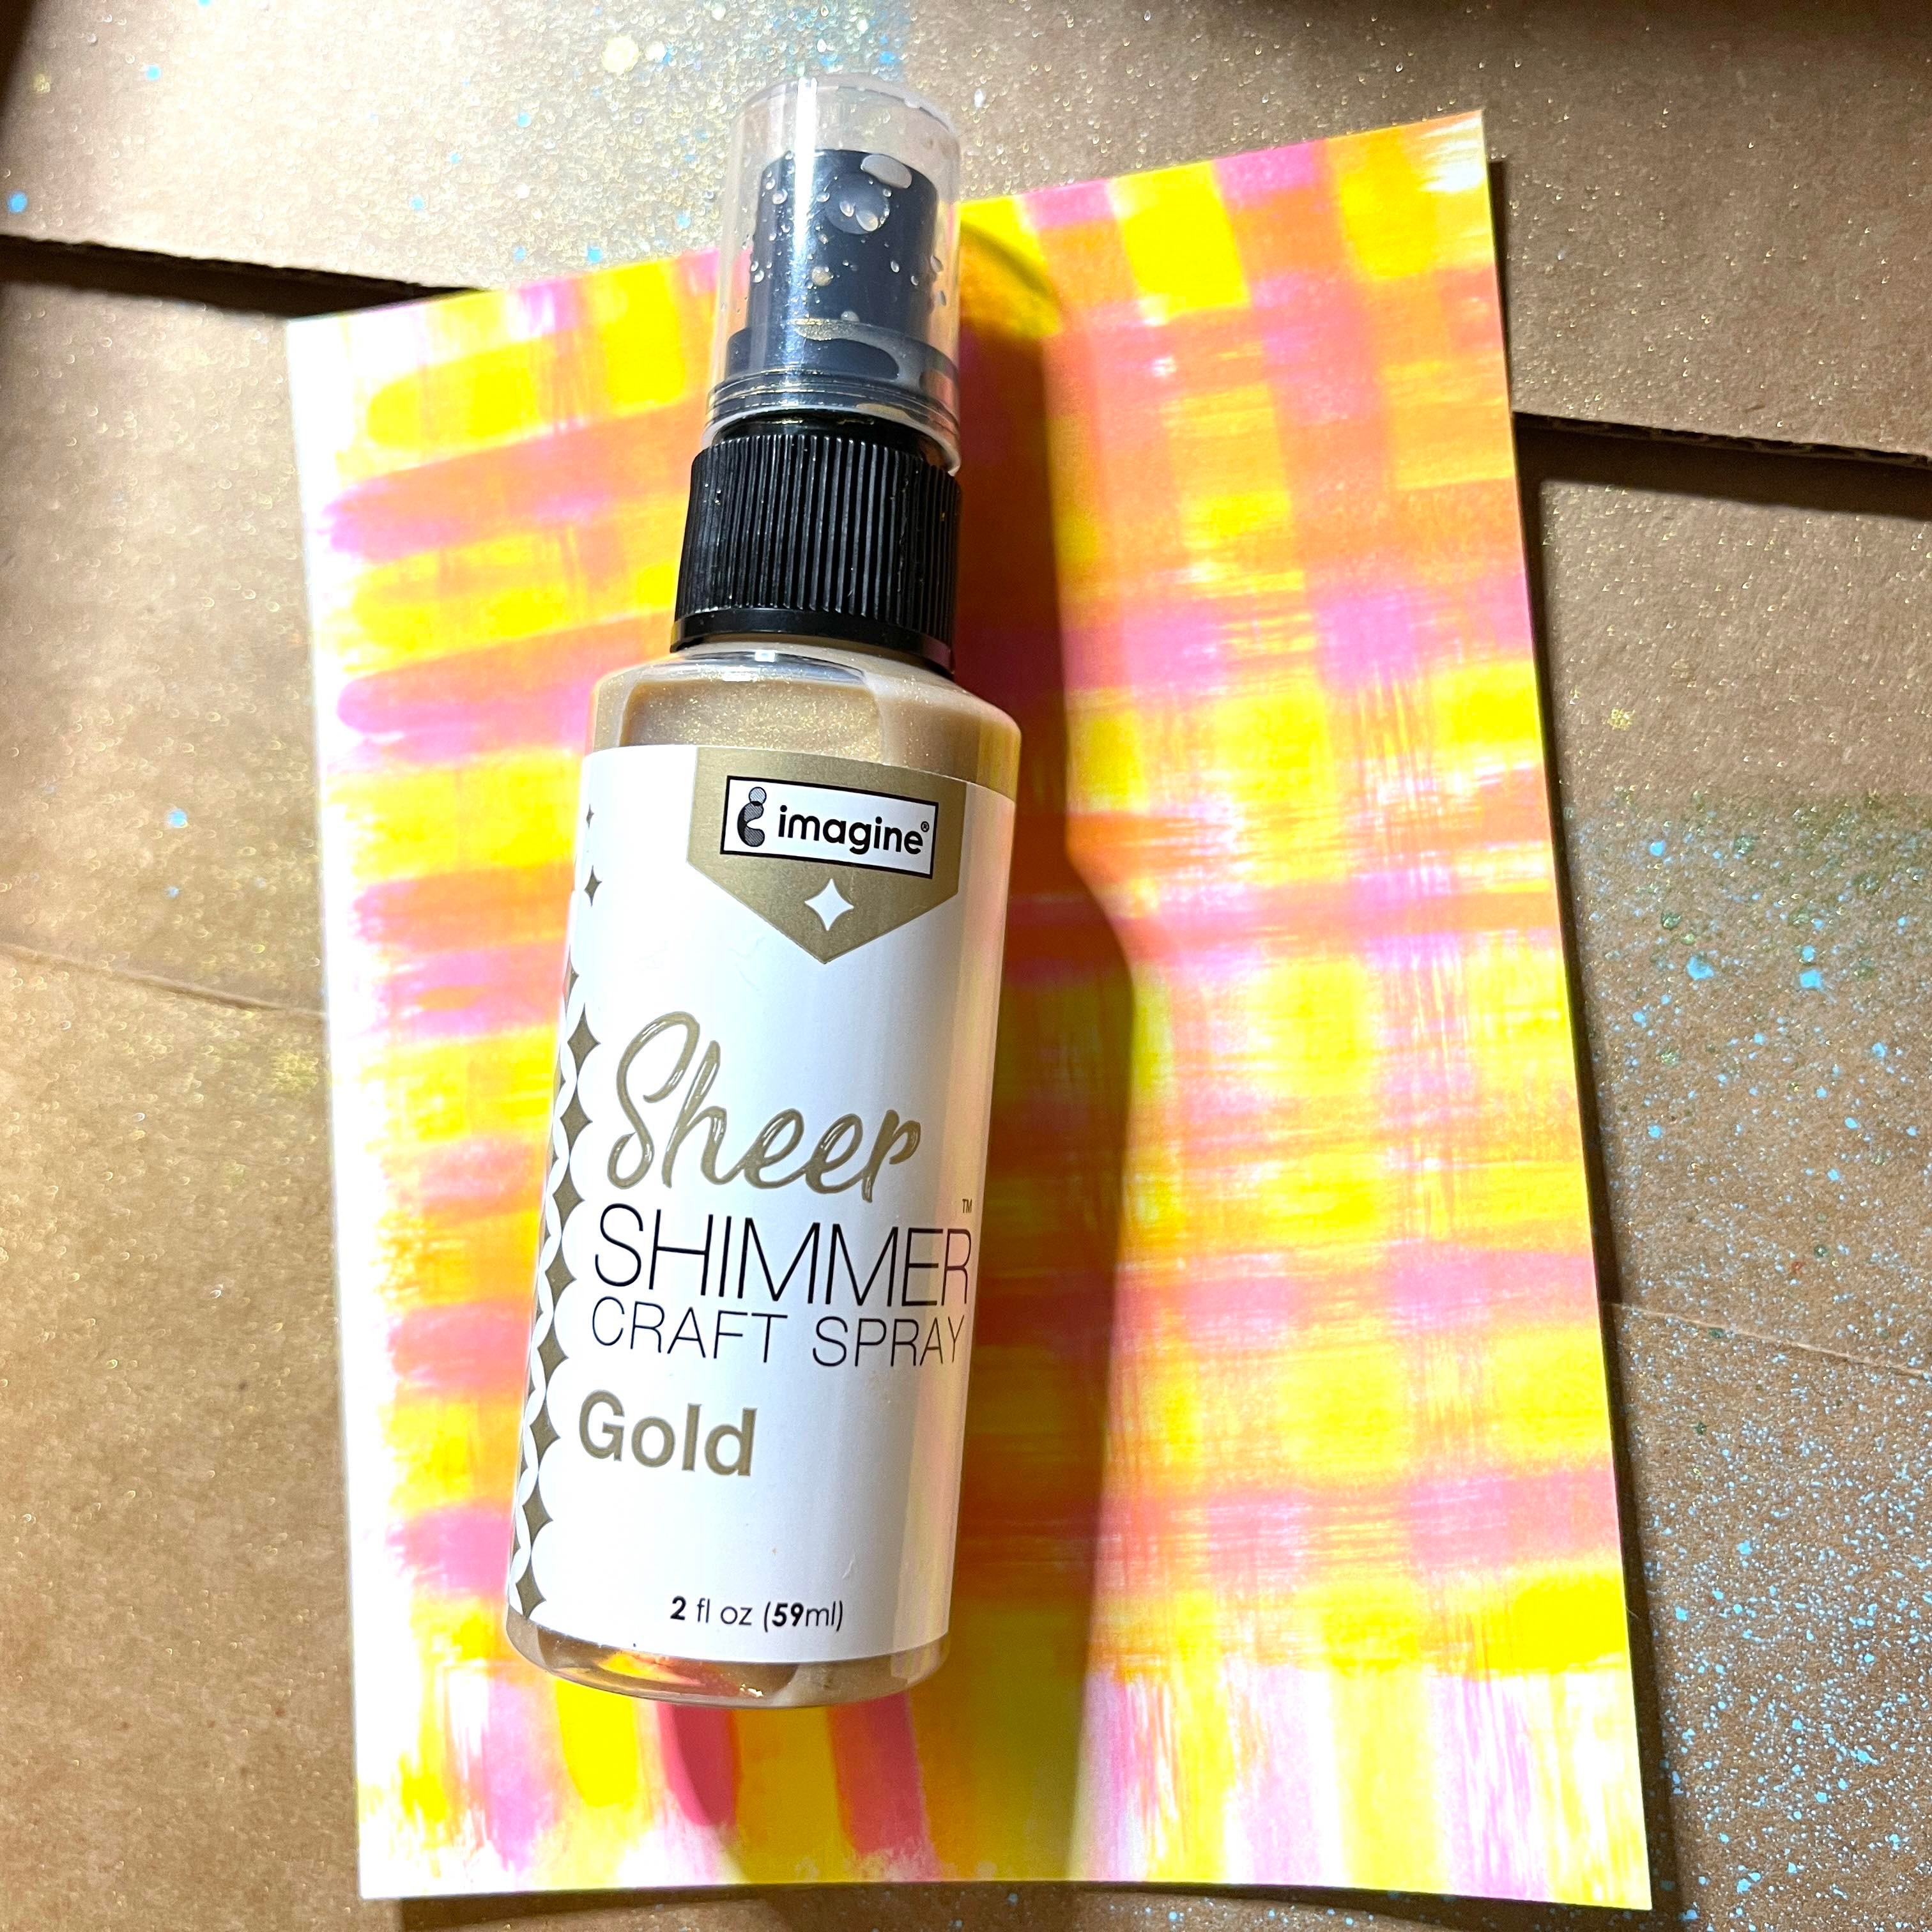
Time to get messy again! We will spray Sheer Shimmer Spray in Gold all over the panel. I use an old box and lay the panel inside. This contains the spray a bit. The sparkle of these sprays is so pretty and available in so many colors!
.
Step 5
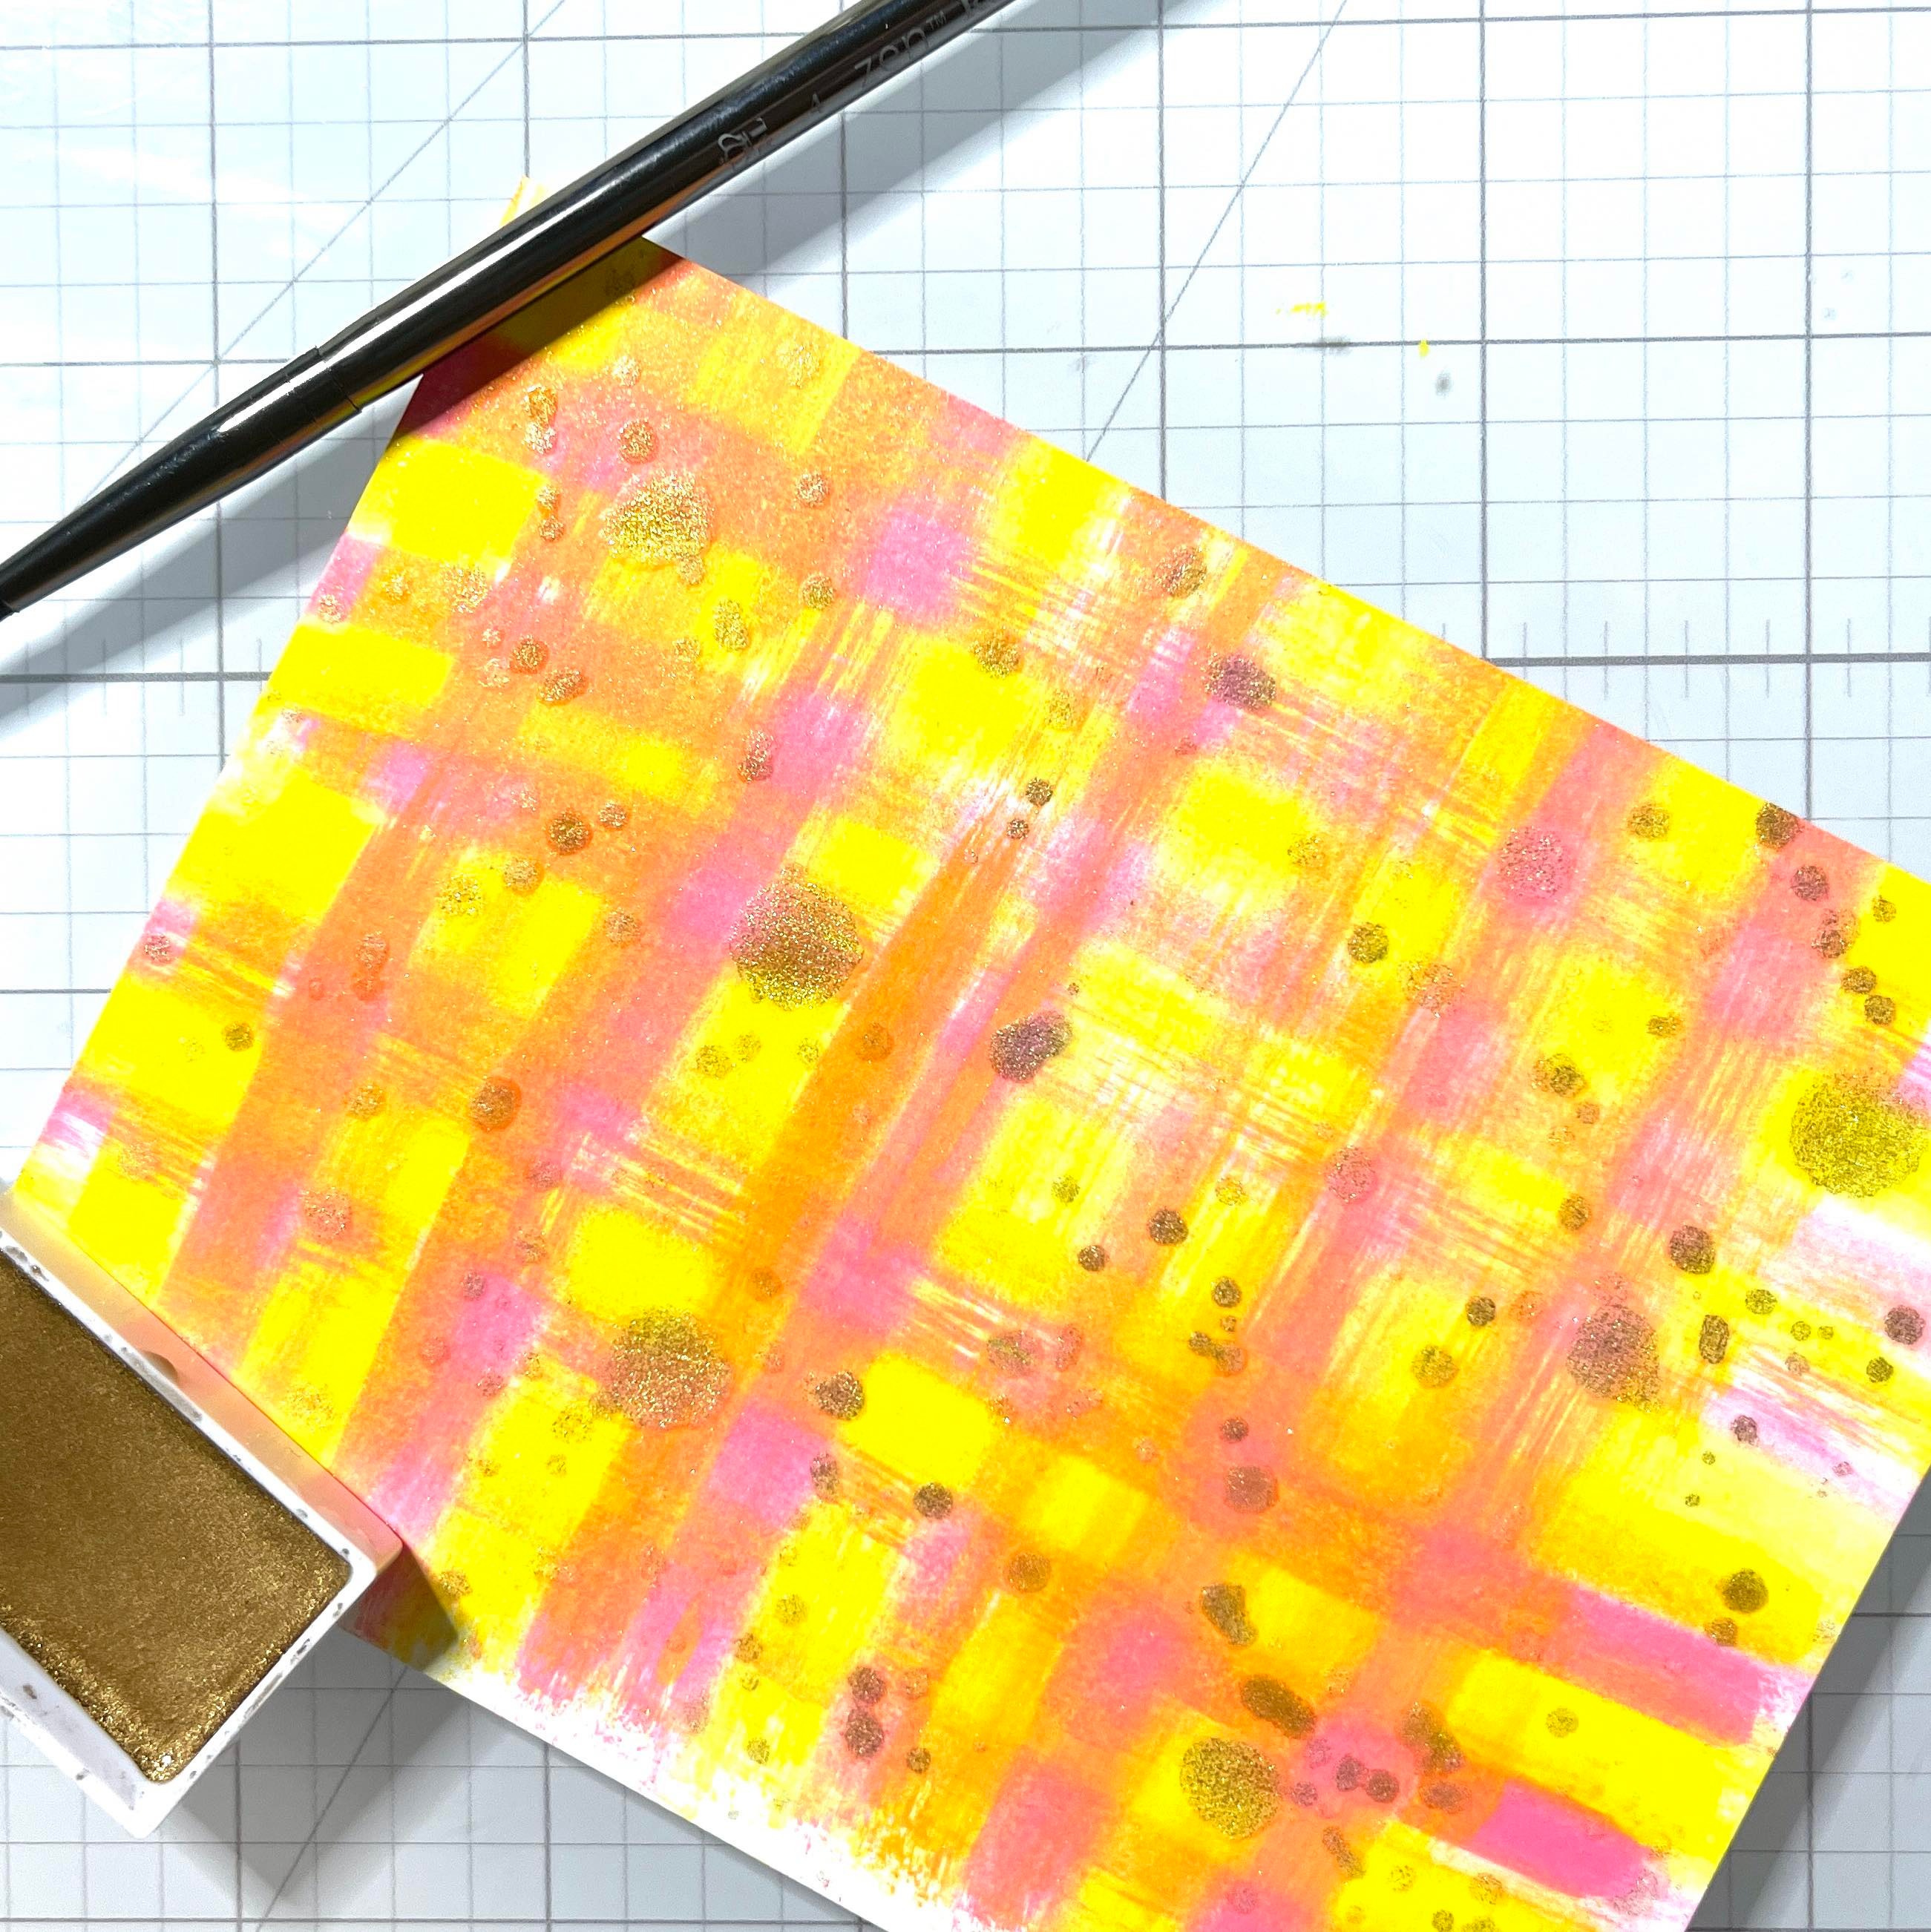
I also unscrewed the top of the Shimmer Spray and splattered some random spots. I splattered some small spots using metallic watercolor paint.
Step 6
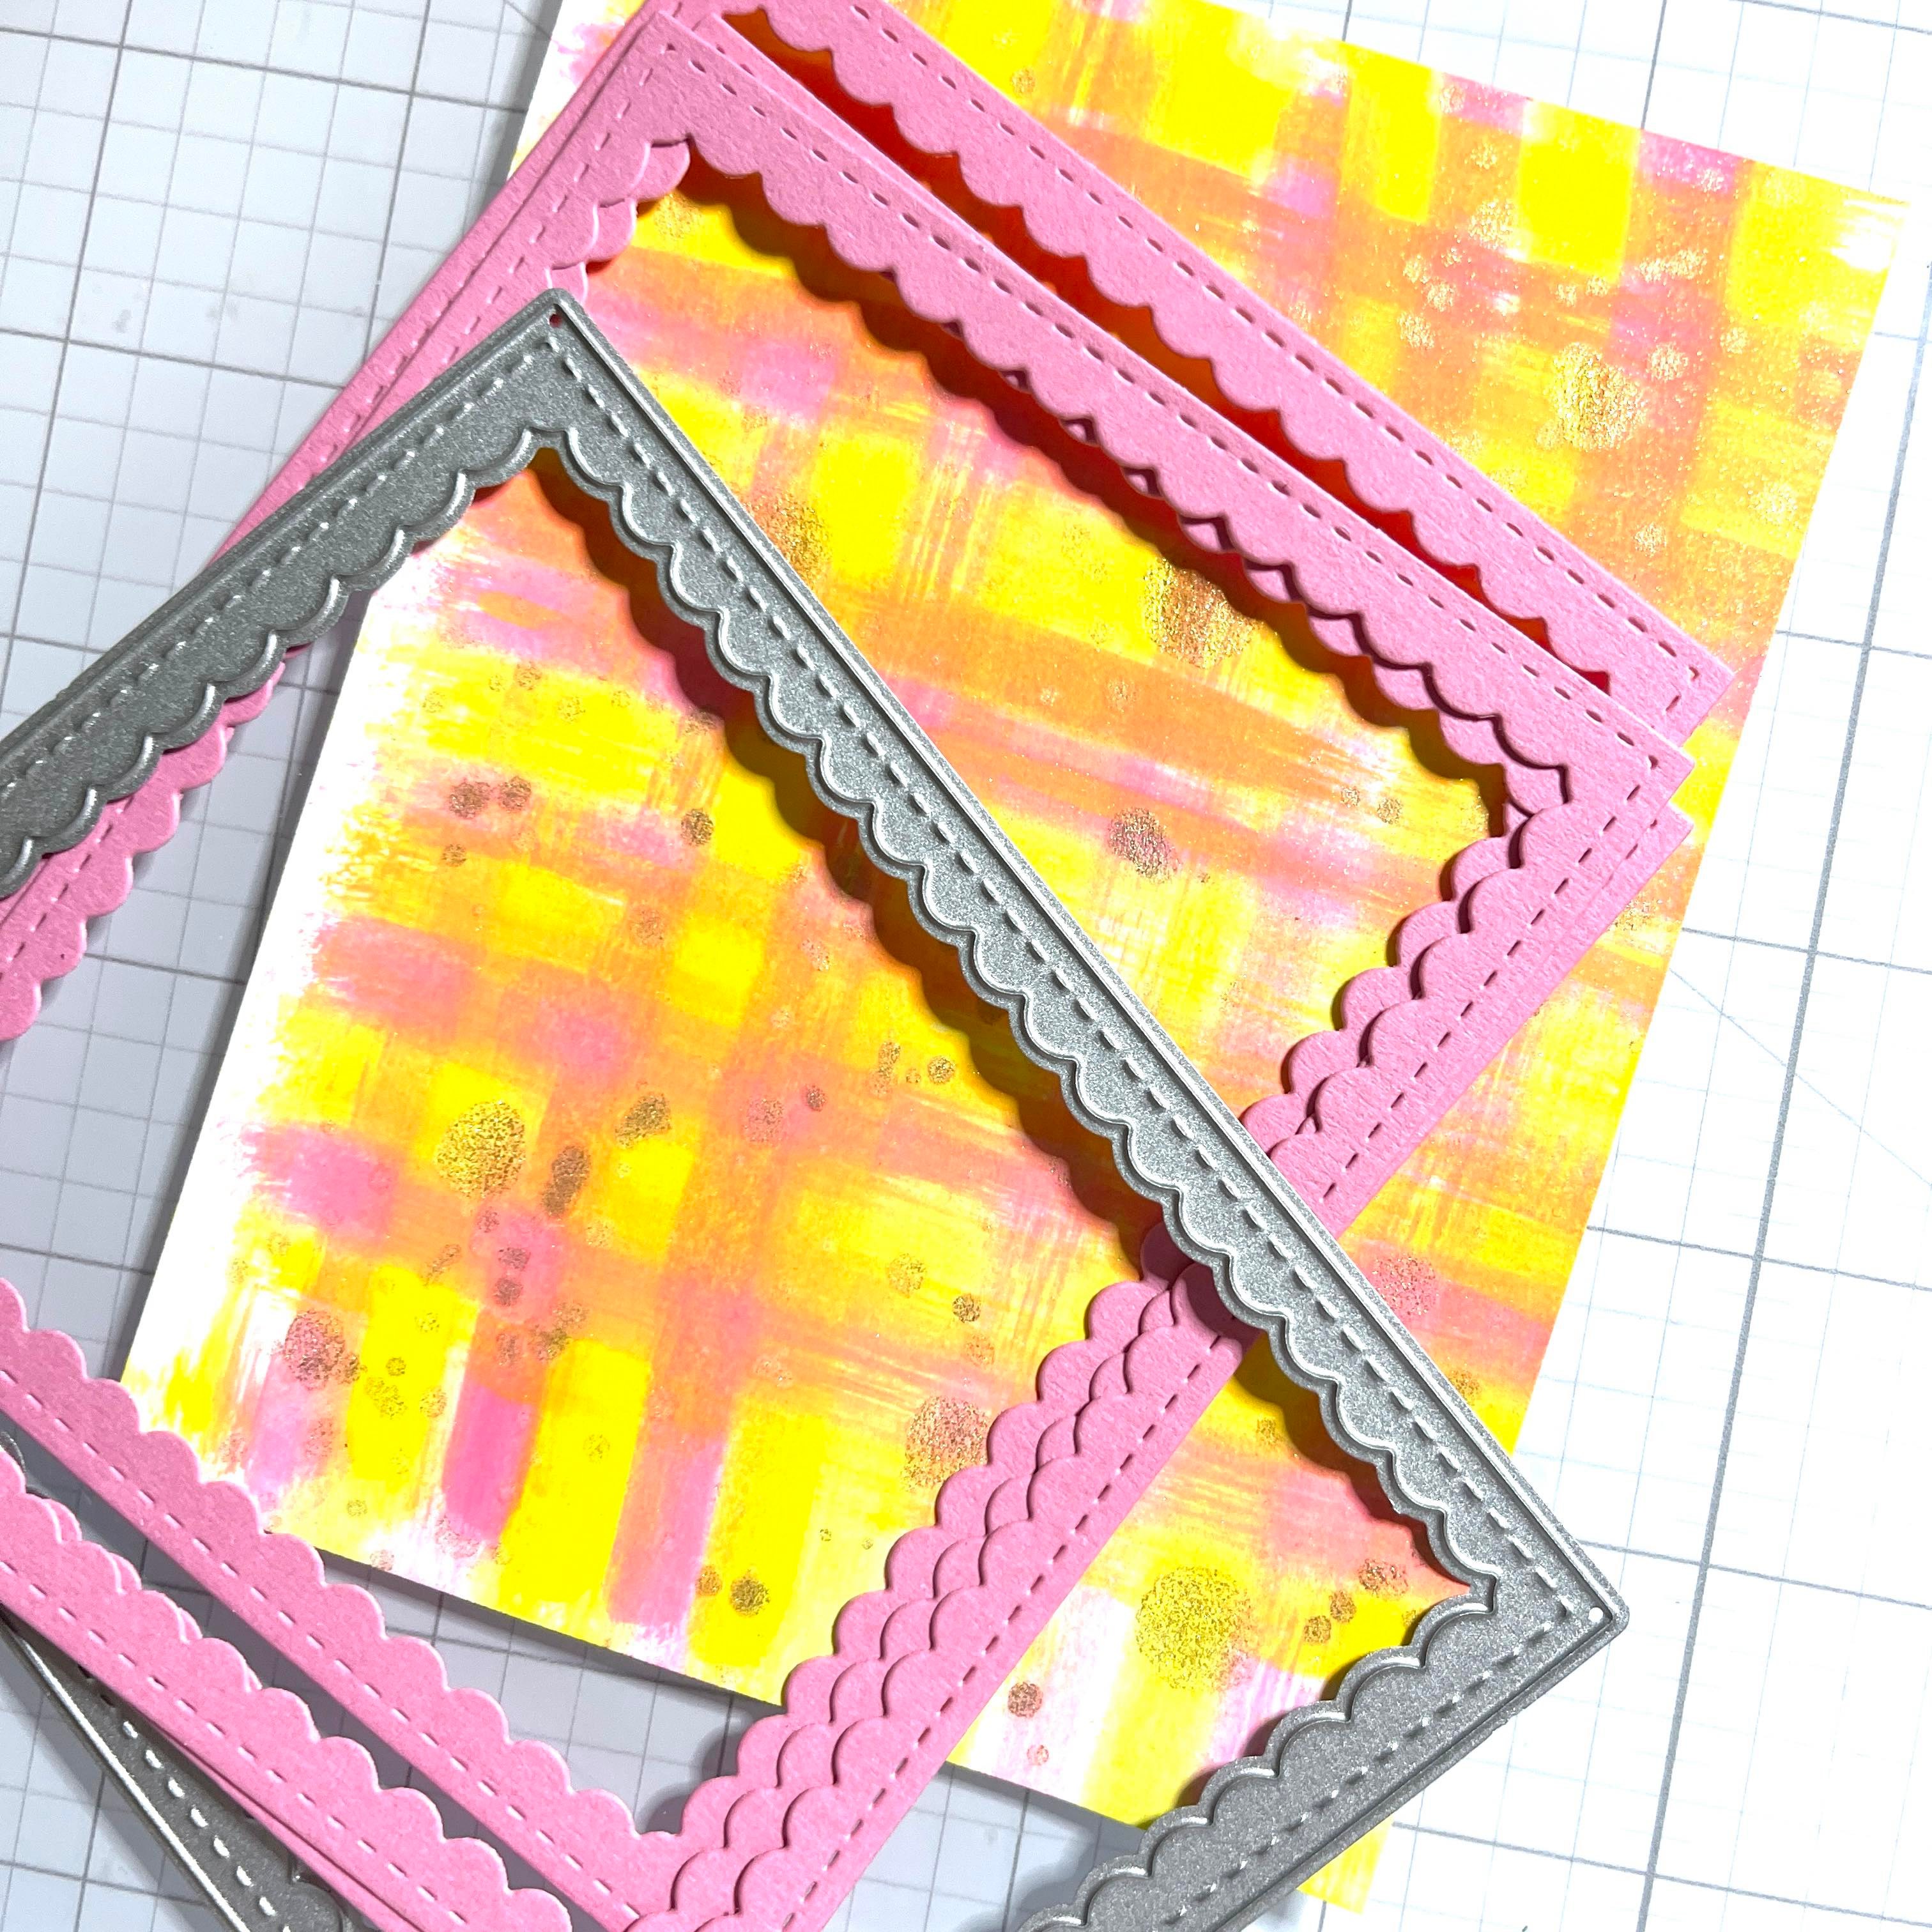
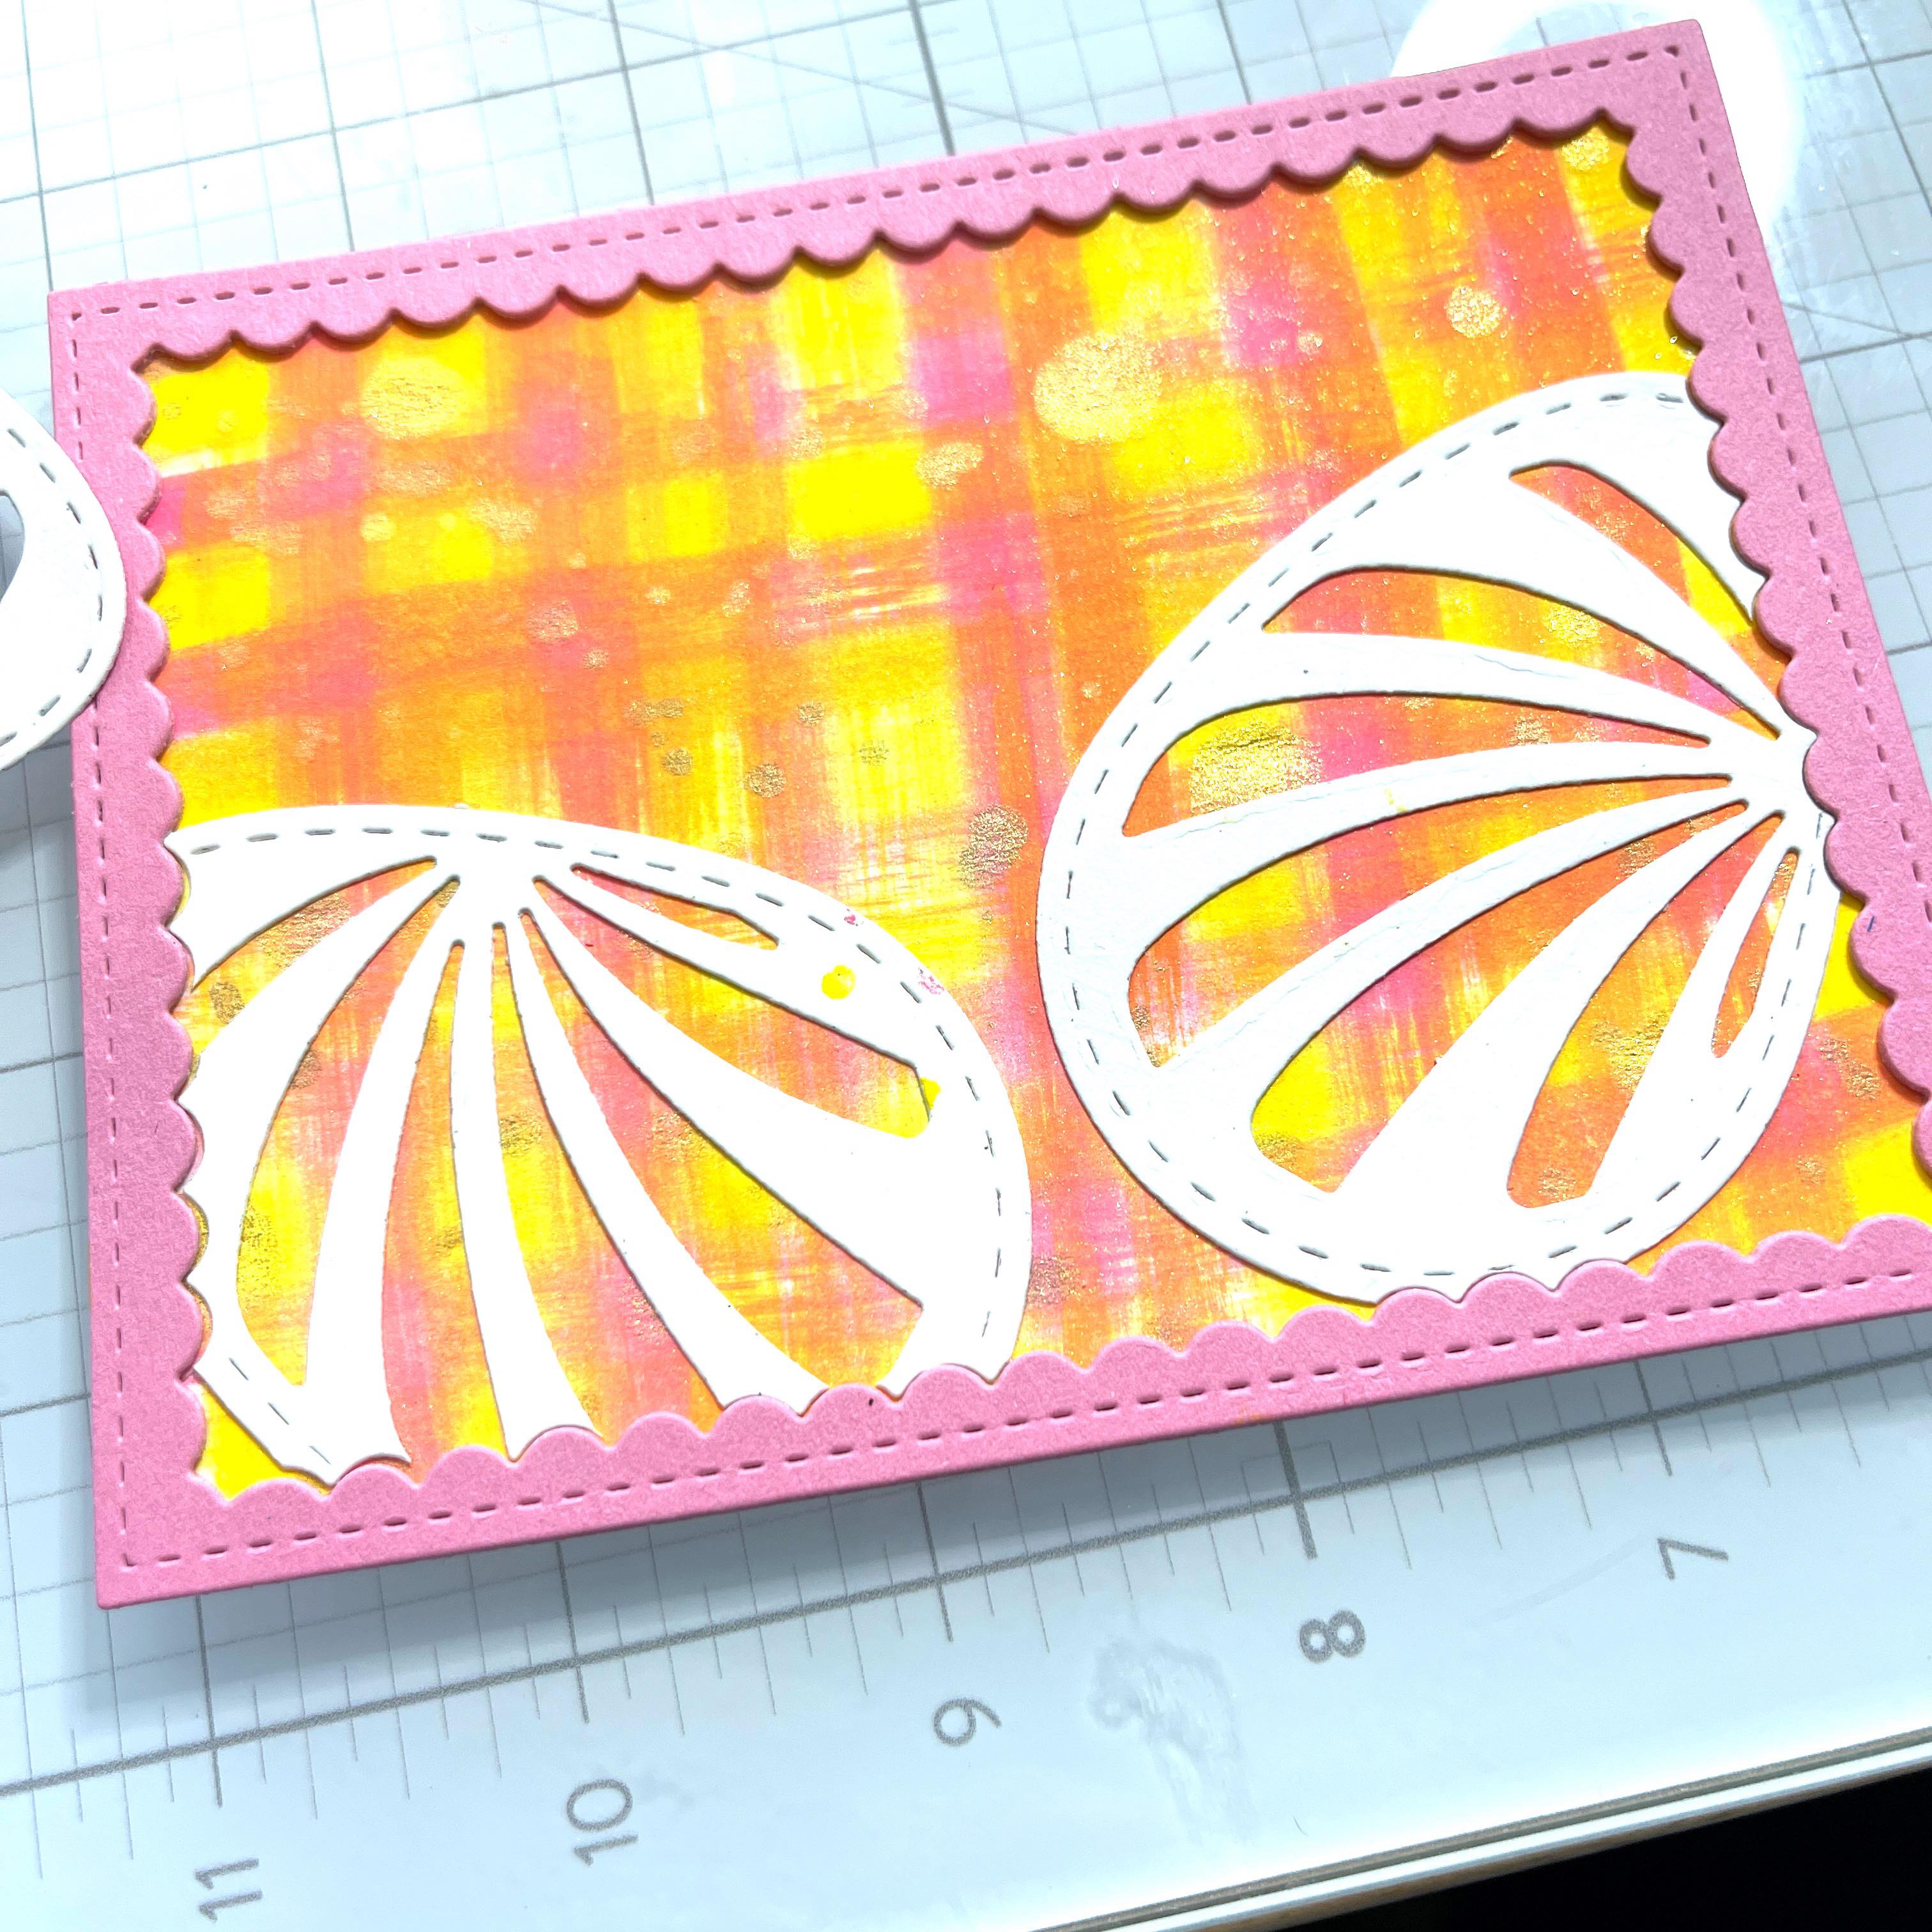
Next, I cut some scalloped frames and glued them together with On Point Glue. I used a coordinating pink card stock. Trim the background panel to fit behind the frame and adhere with On Point Glue from Imagine Crafts.
Step 7
I die-cut some an Easter Egg I had in my stash several times. I used the scalloped frame to die-cut the edges so they would fit perfectly against the frame. I also cut an additional egg to use as the main focal point.
Step 8
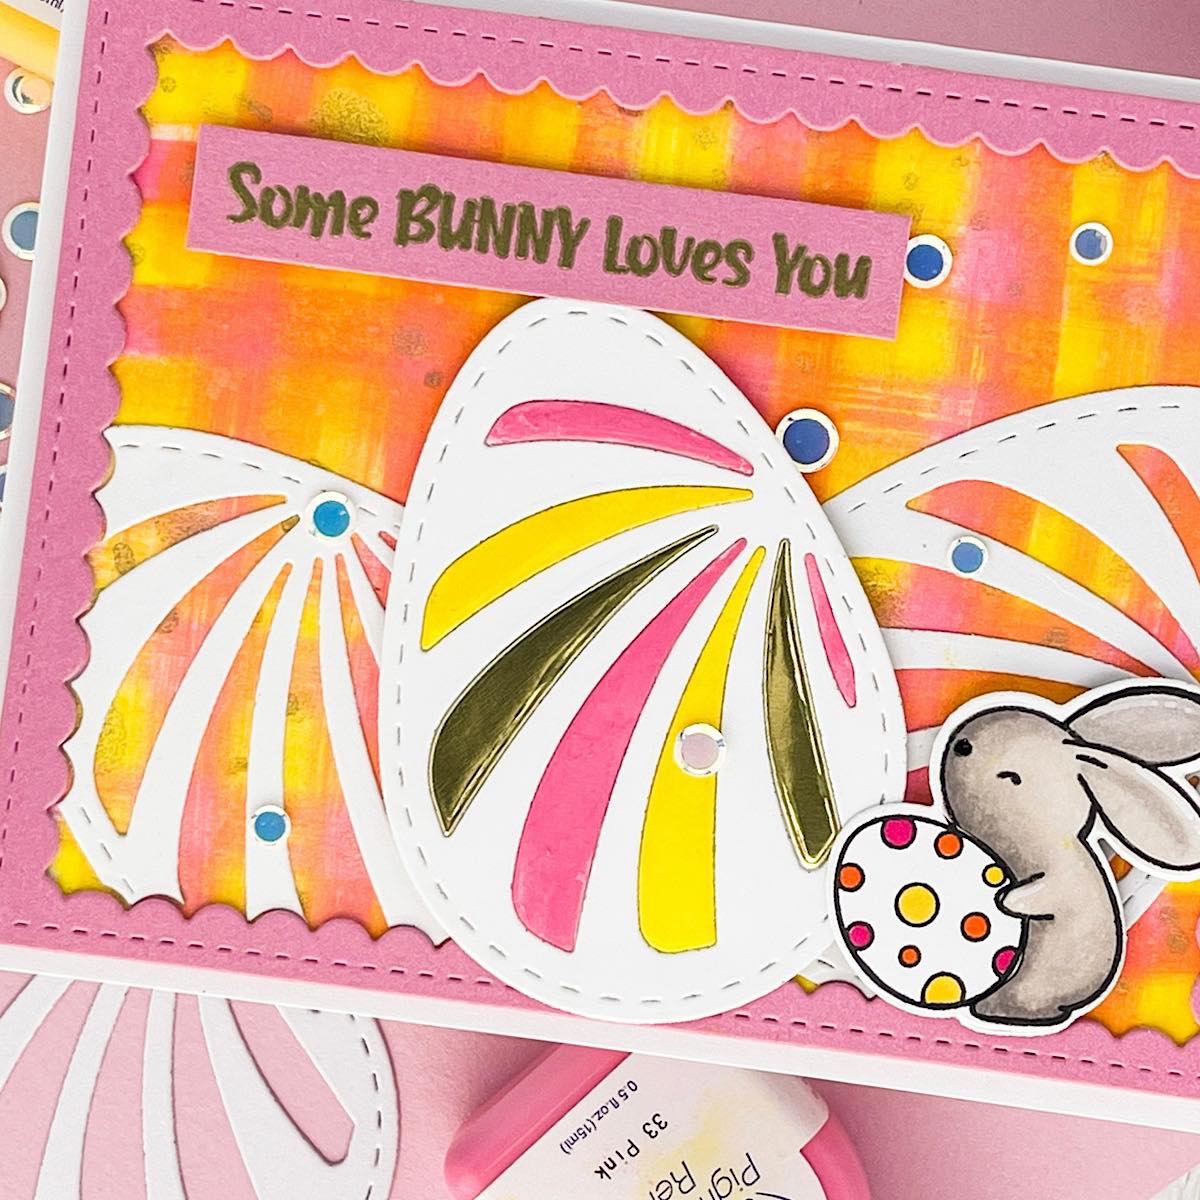
I traced the actual die and cut a solid egg out. I adhered this behind the main egg and adhered with glue. I took the insides of the die cut and just painted some of the pink and yellow refill ink on alternating stripes I also added 2 gold stripes from a metallic card stock.
I stamped, colored and die-cut a cute bunny. I used alcohol markers but any coloring medium will work. I stamped the Easter sentiment on the same pink card stock. I used VersaMark Ink, covered with gold embossing powder and heated. The sentiment, main egg and bunny are popped up with foam tape. The entire panel is added to a horizontal folded A2 card base with foam tape as well. The last thing I did was add a few confetti sequins!
I hope you enjoy this card and the tutorial. Thanks for stopping by I appreciate all of you! Please head over to the Imagine Crafts website to see all the beautiful products. Here is the link IMAGINE CRAFTS.
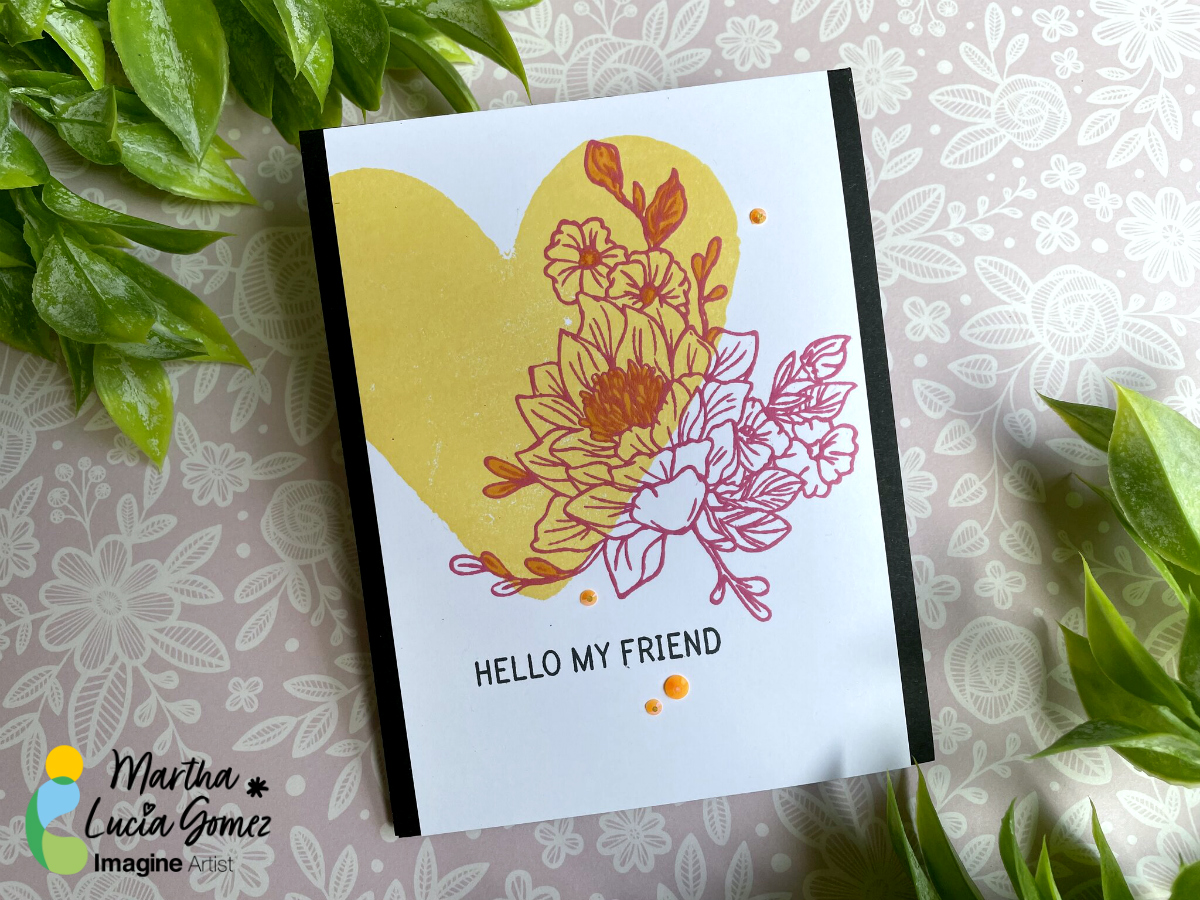
Hello there! Today’s tutorial is using only one type of ink, the Memento. It is one of the most versatile and secure ink that you can use. Memento Ink is ideal to use with alcohol markers or simply to stamp, with solid or lineal stamps. It is also available in markers and liquid, like Fireworks! Shimmery Craft Sprays.
Skill Level: Beginning
Time to Complete: 45 minutes
Directions:
Step 1:
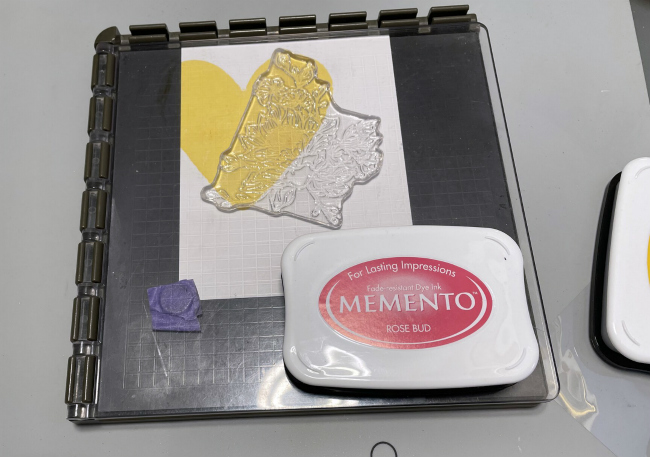
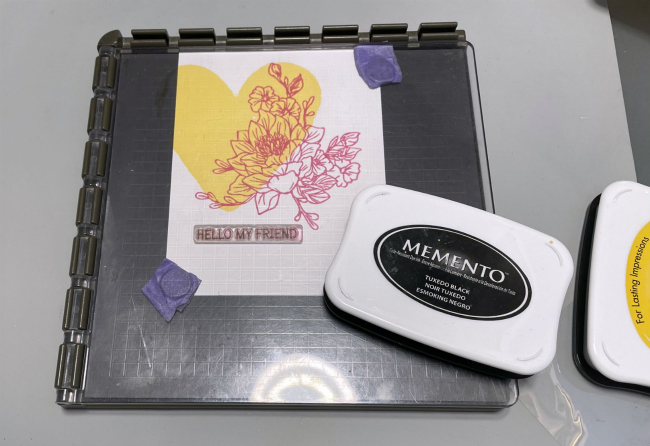
Take a piece of white smooth cardstock and ink well your solid stamp with Memento Ink. In my sample, I am using the Dandelion color. If you want you can use a stamping tool to have a better result or obtain a crispy image.
Step 2:
Select a lineal stamp and place it covering partially the image previously stamped. You can use a different color of Memento Ink to create a contrast. I am using the Rose Bud Memento Ink.
Step 3:
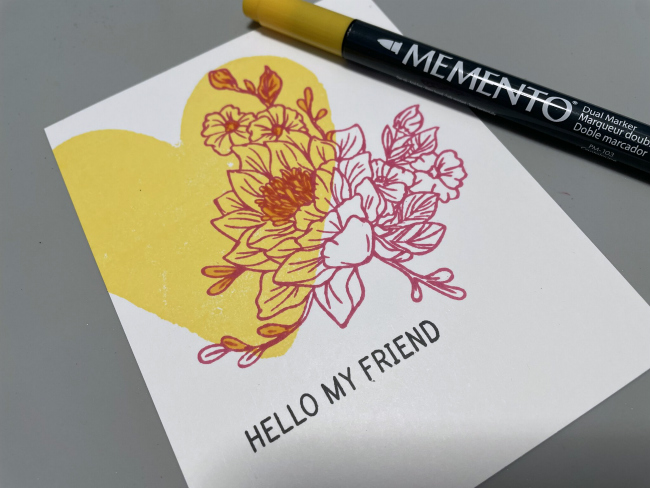
Stamp your sentiment with Memento Tuxedo Black.
Step 4:
To enhance special details of your stamped image you can use Memento Markers. I used the same Dandelion color just in a small spaces on the floral image to enhance the details.
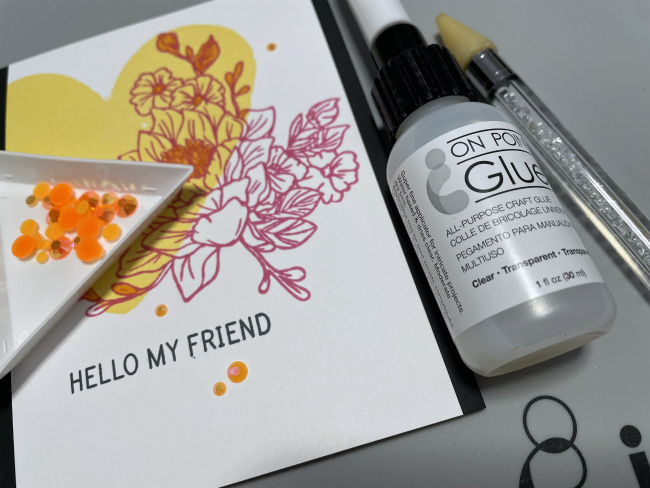
Step 5:
As final step, you can embellish your card using Diamonds on different colors. To paste it, I used On Point Glue.
Step 6:
Resize the decorative layer and paste it over a card base using Tear It! Tape.