By Martha Lucia Gomez –
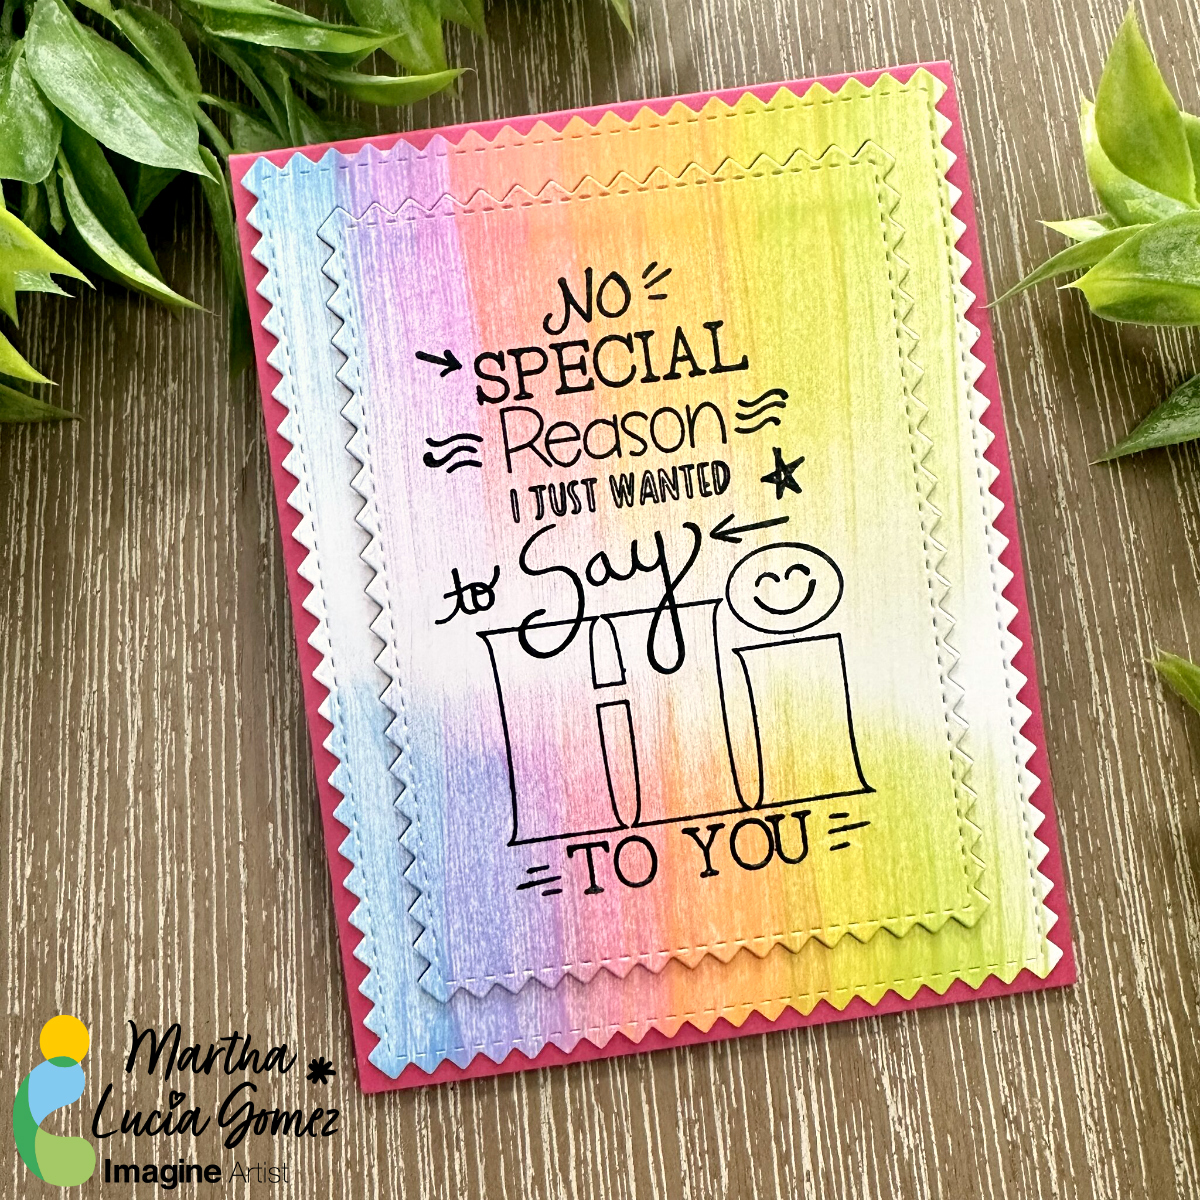
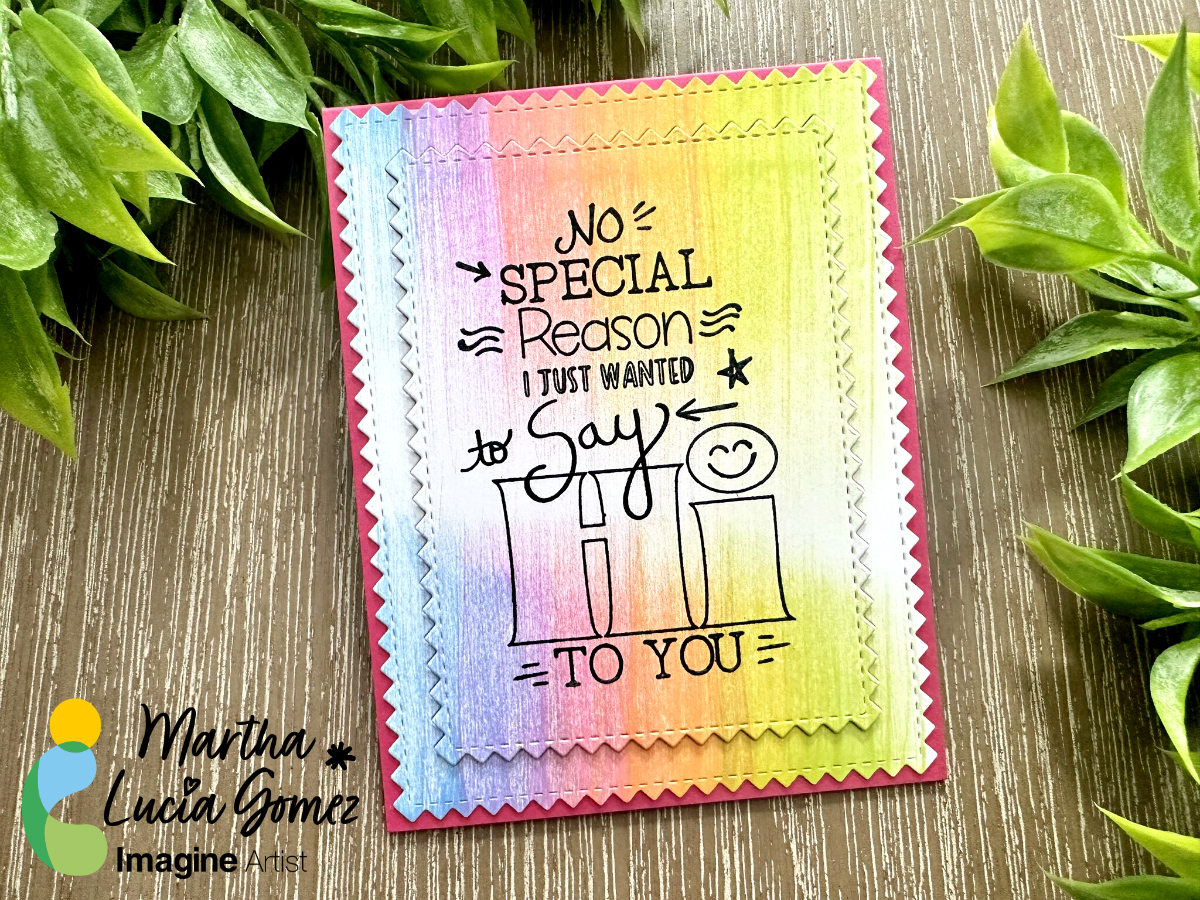
Hello crafty friends! Today, I have a different way to use your VersaMagic Ink Pads. You only need a embossing folder and different colors of ink to create a colored background.
Skill: Intermediate
Time: 60 minutes
Directions:
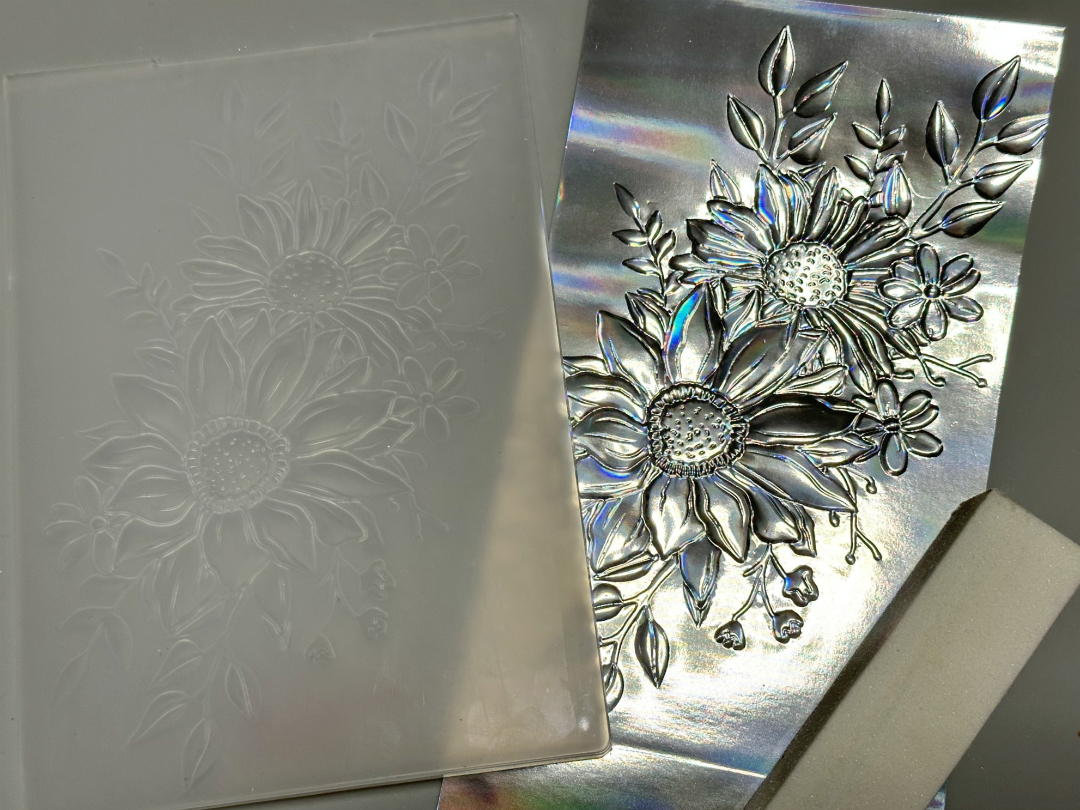
Select an embossing folder of your preference. If you use a 3D Embossing Folder, you will note a bigger difference in the background.

Step 1:
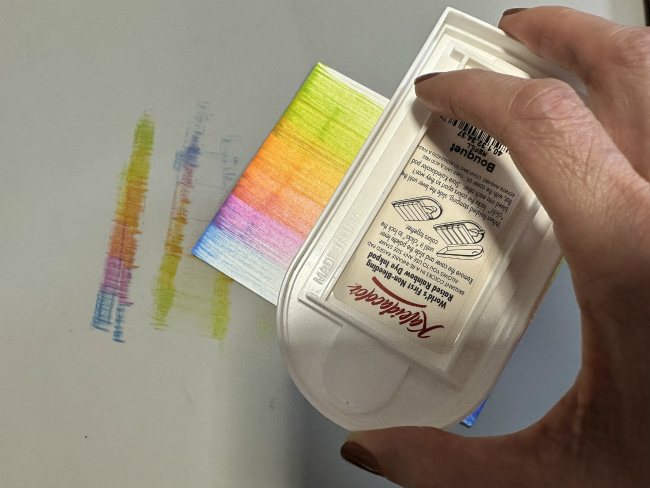
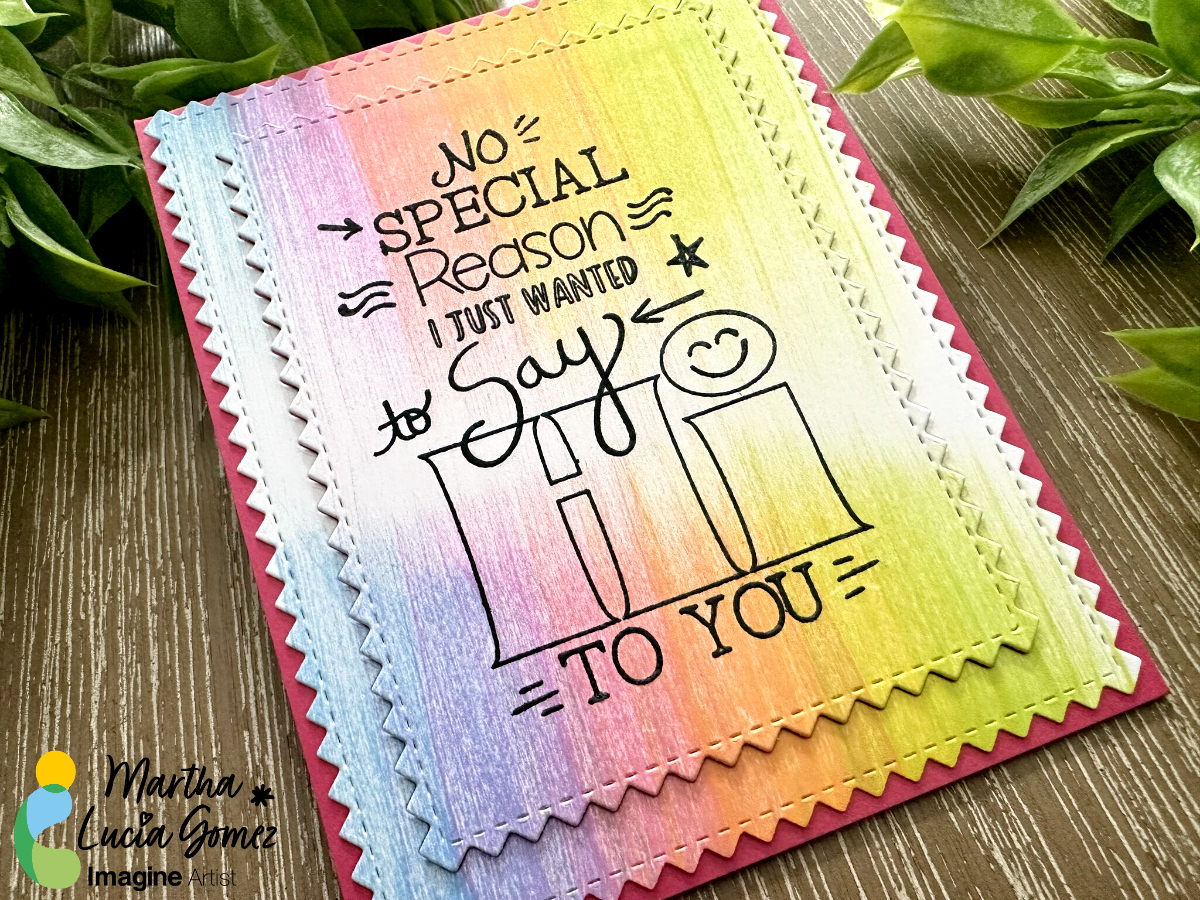
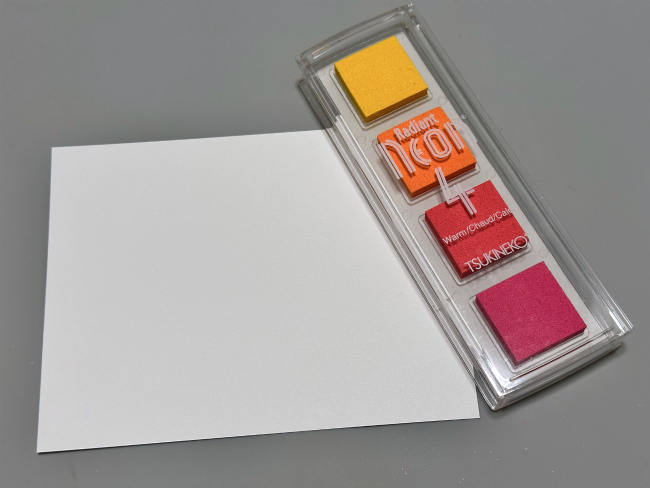
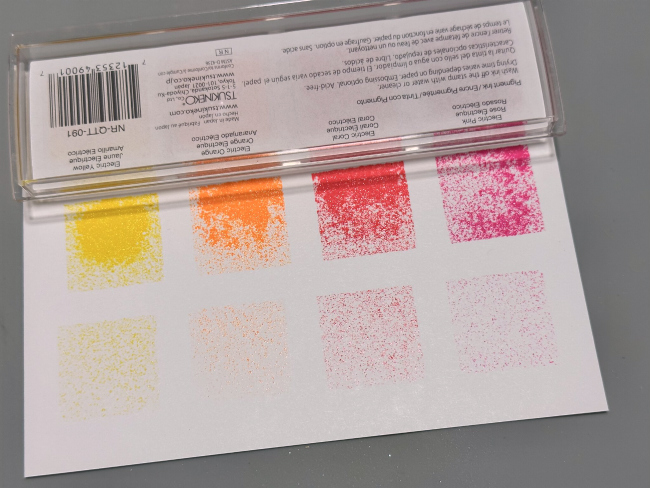
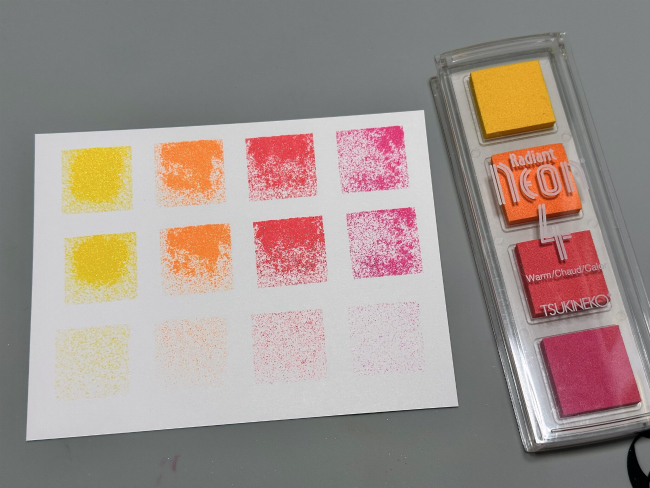
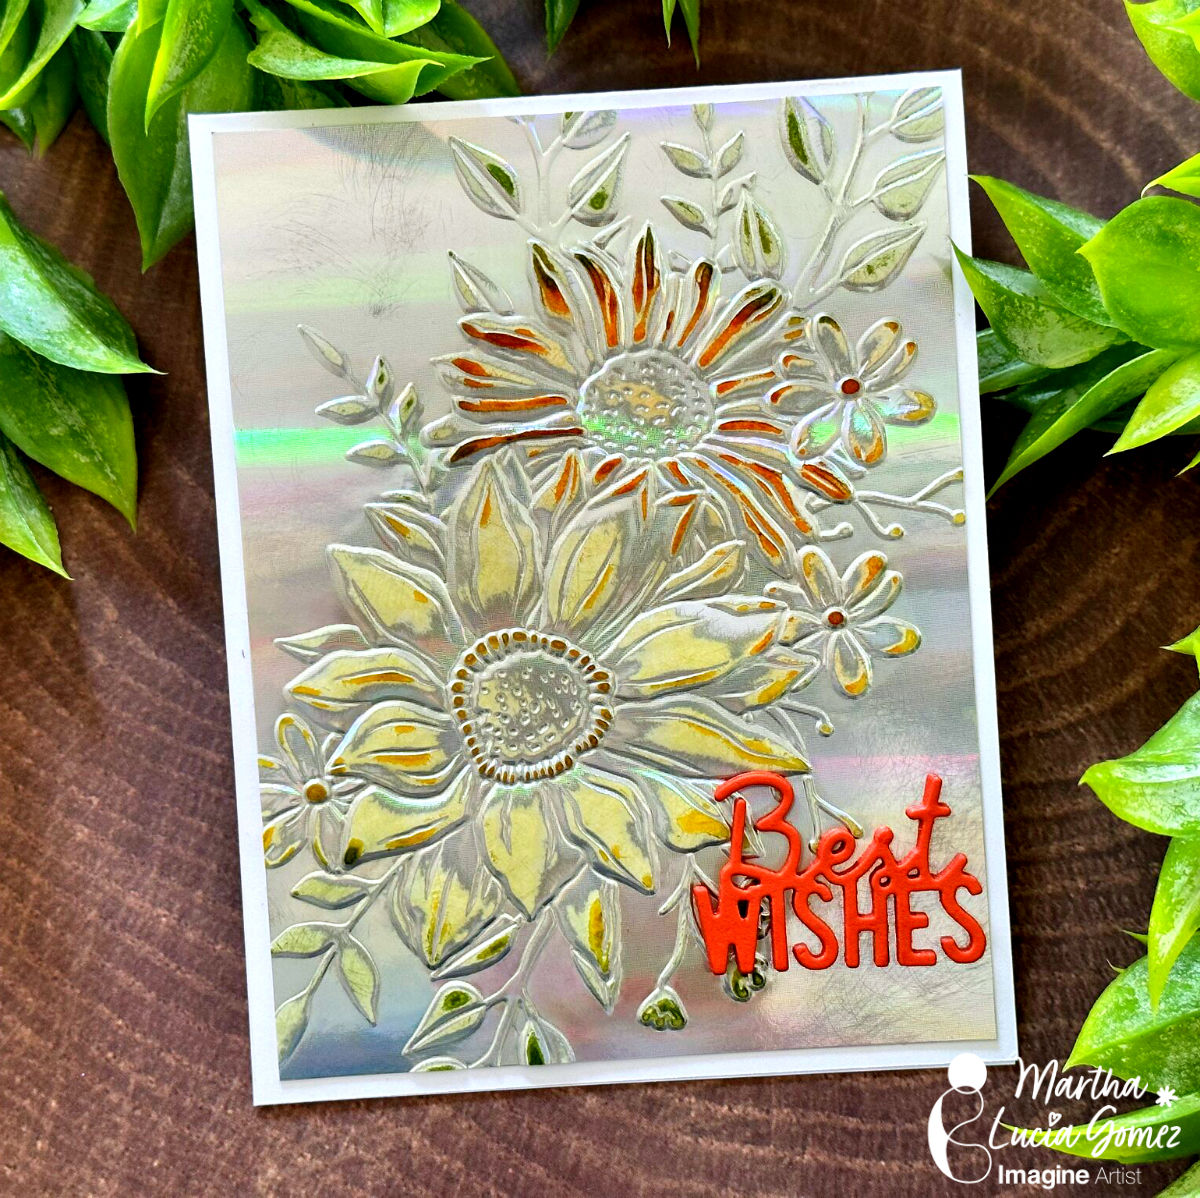
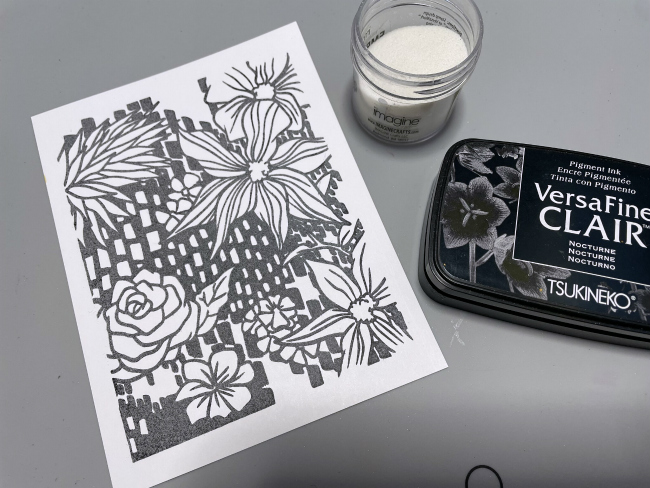
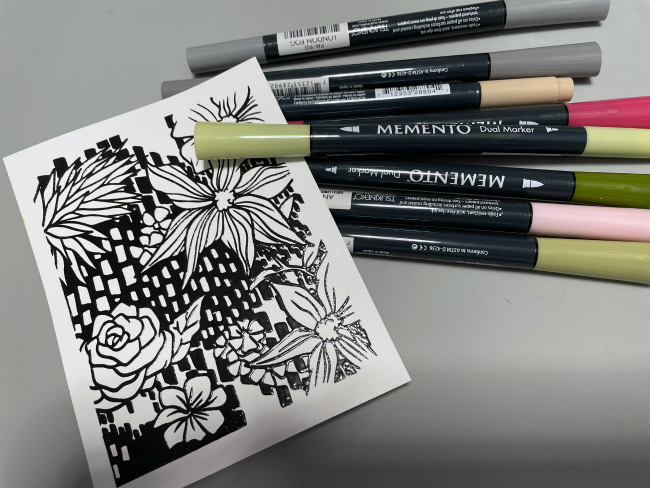
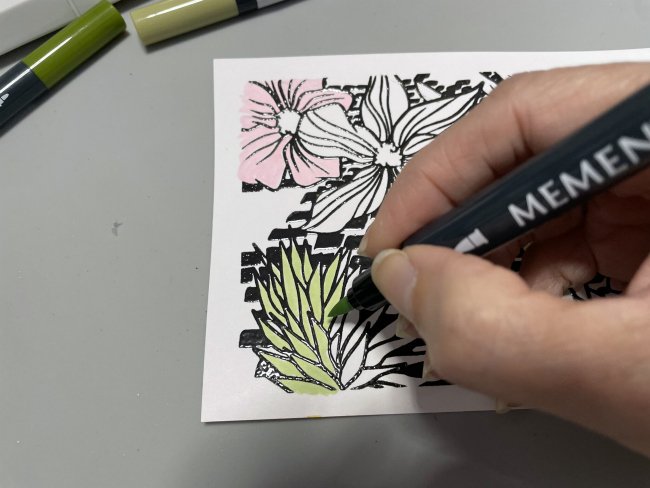
Select the colors of VersaMagic Ink that you want to use. In today’s card, I am using Purple Hydrangea, Red Magic, Mango, Ocean Depth and Turquoise Green. Also select the embossing folder that you wanted to use.

Step 2:
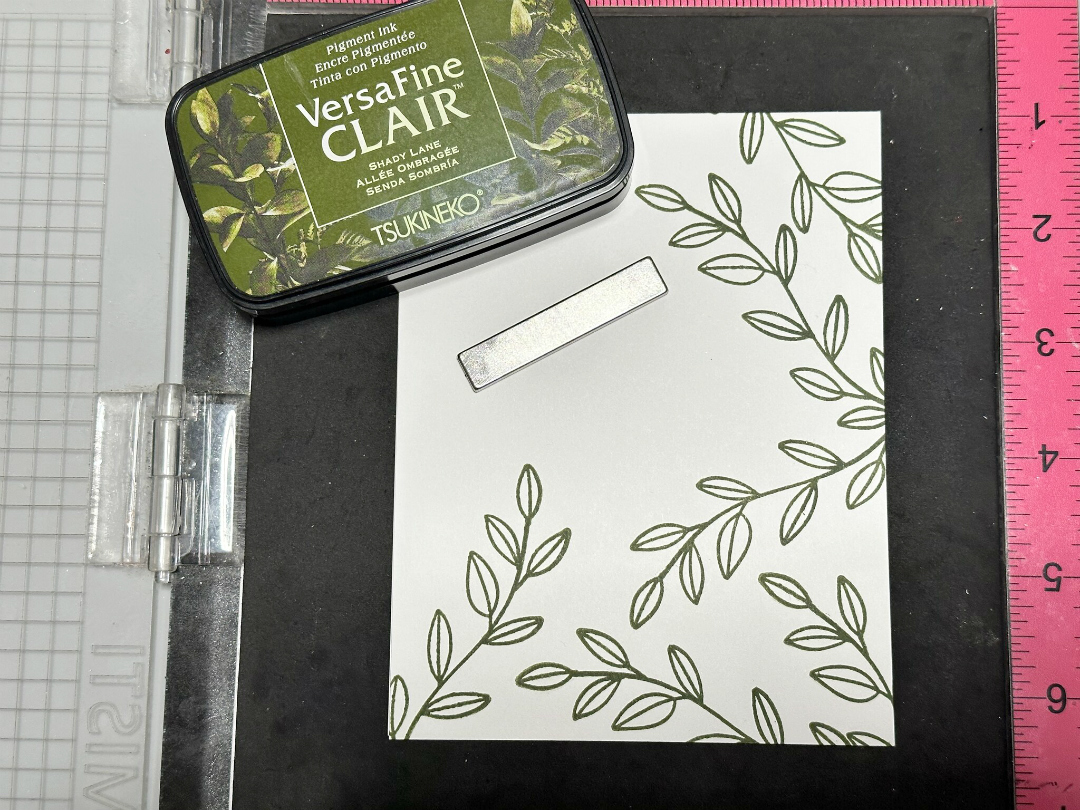
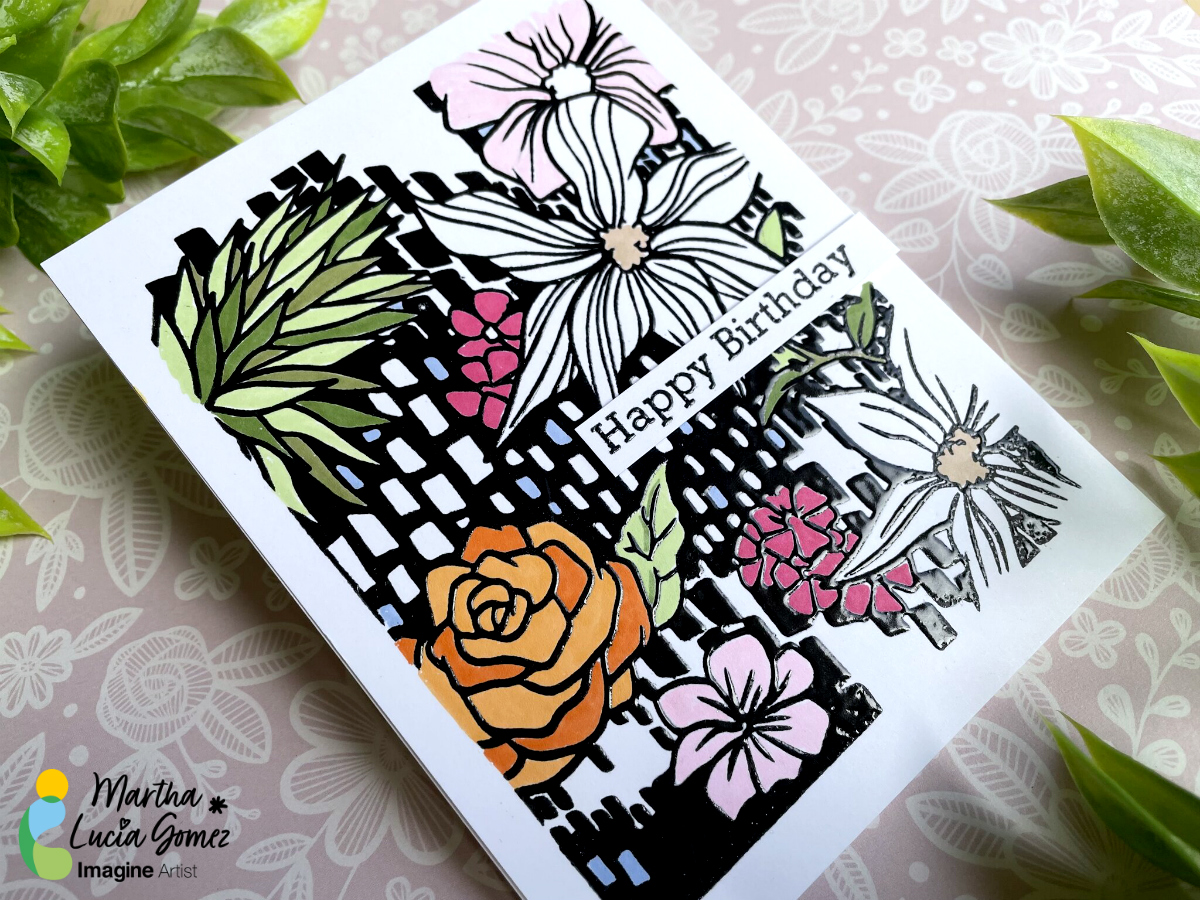
Place the piece of cardstock behind your embossing folder before applying the ink to the embossing folder. With this you will see clearer how the colors will look on your background. Apply the ink directly with the ink pad over one of the sides of your folder. Remember that it has an embossing side and a debossing side. In my sample, I used the debossing side.
Insert the piece of cardstock inside of your embossing folder and pass it through the die cut machine before the ink dries.

Step 3:
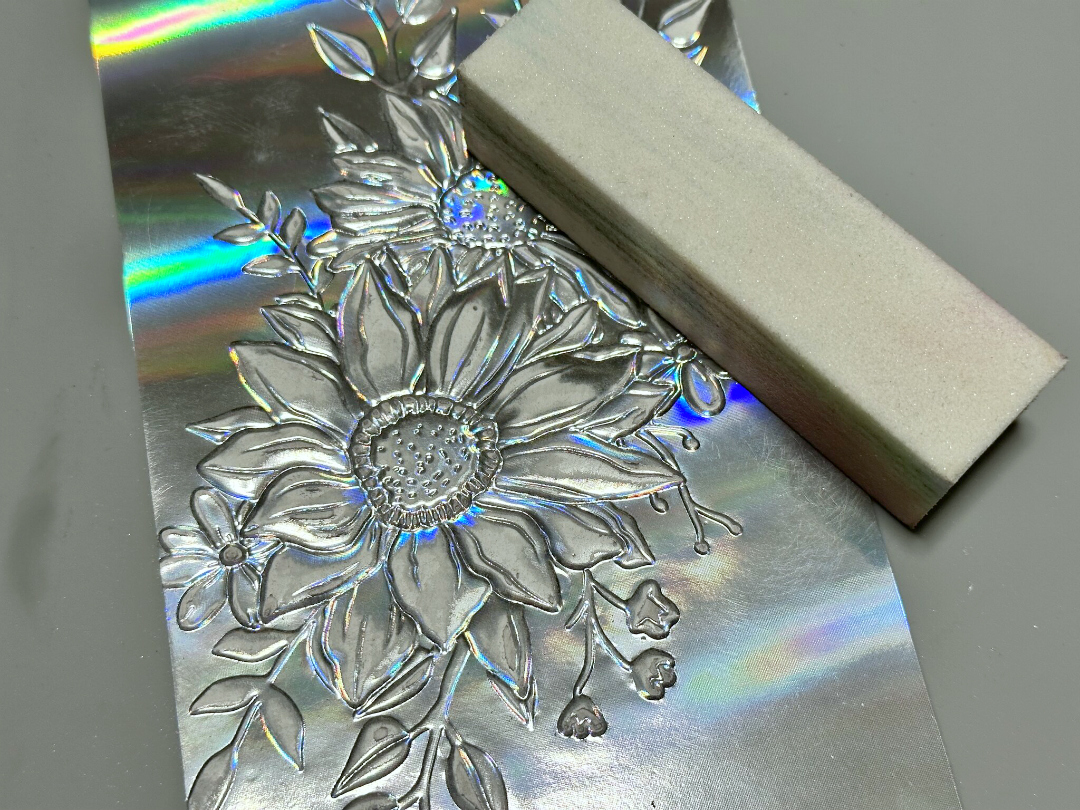
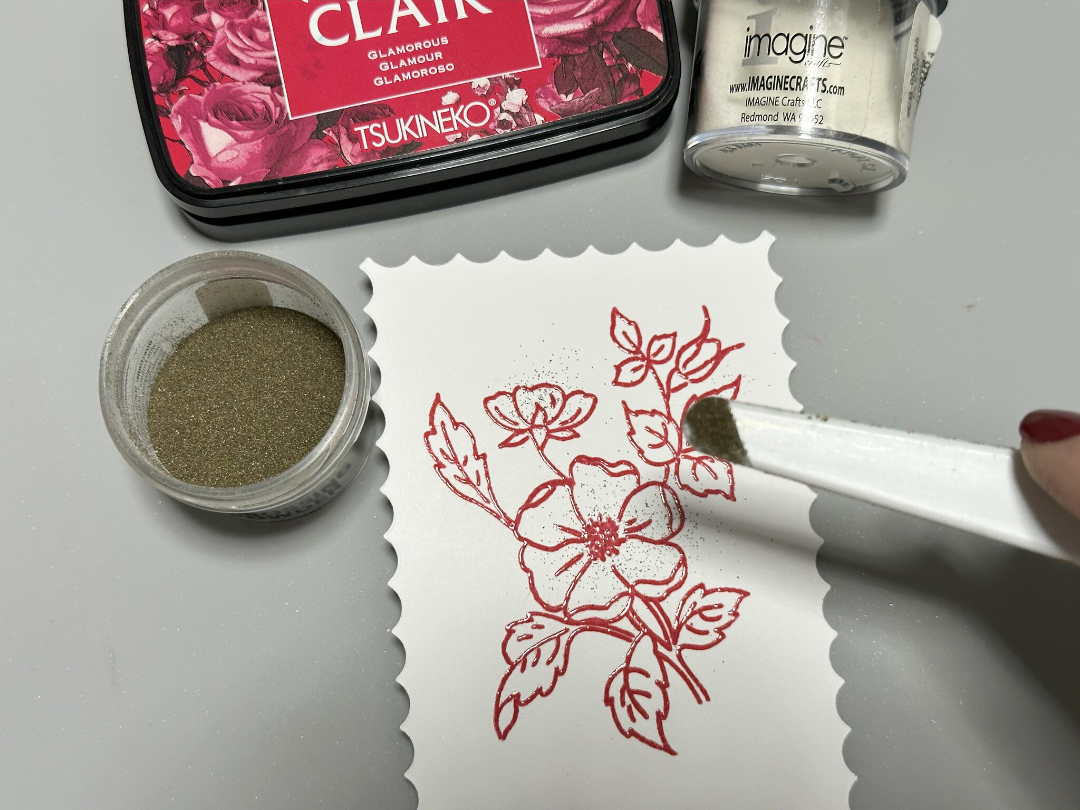
To enhance the details that were not covered by the ink, you can use the Sheer Shimmer Stix Dauber. Just softly press the dauber directly over the details where you want to add the shimmer look. I used the Frost color to keep it neutral.

Step 4:
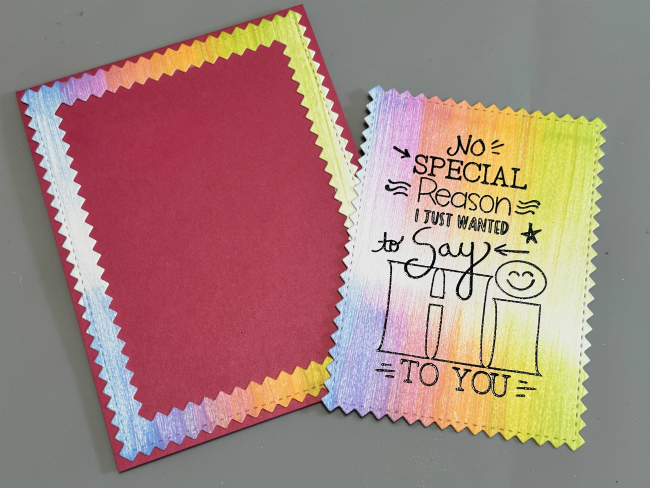
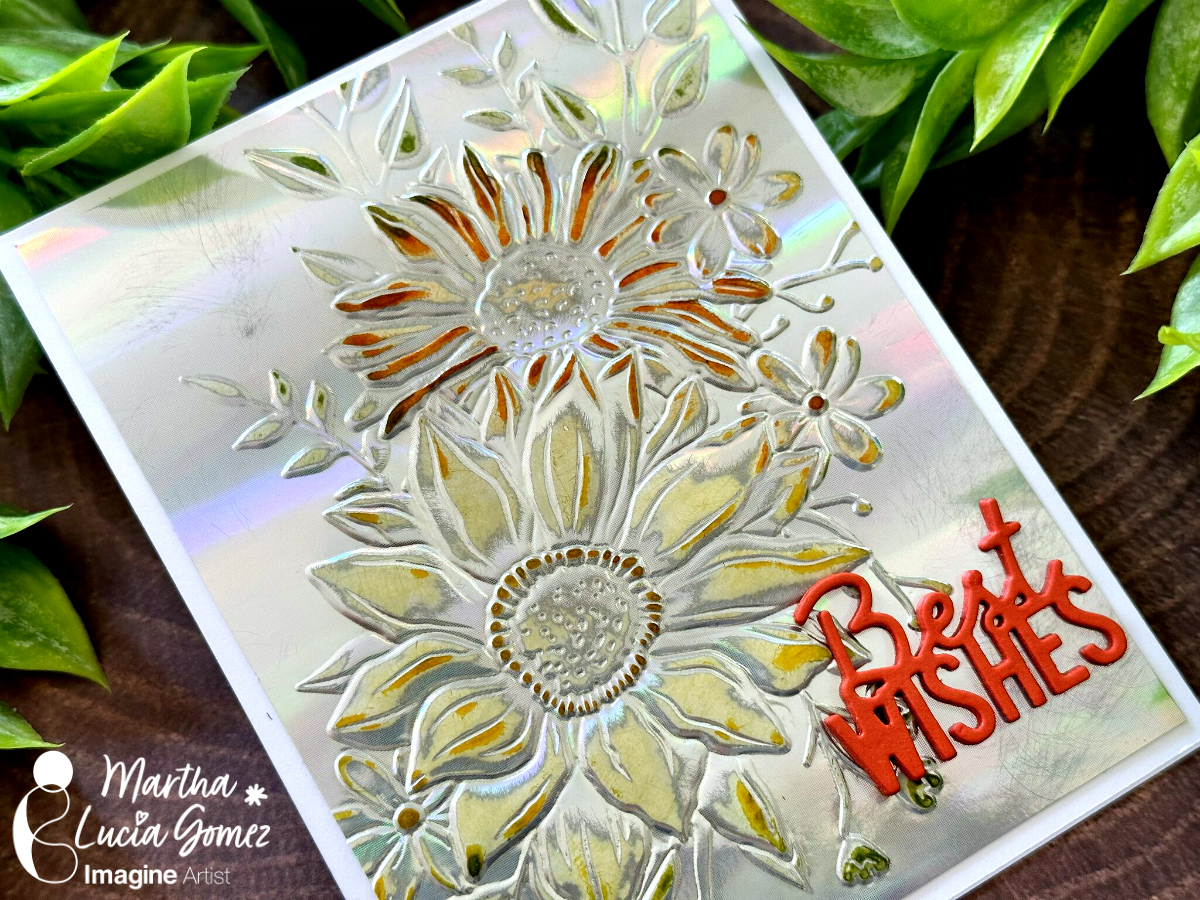
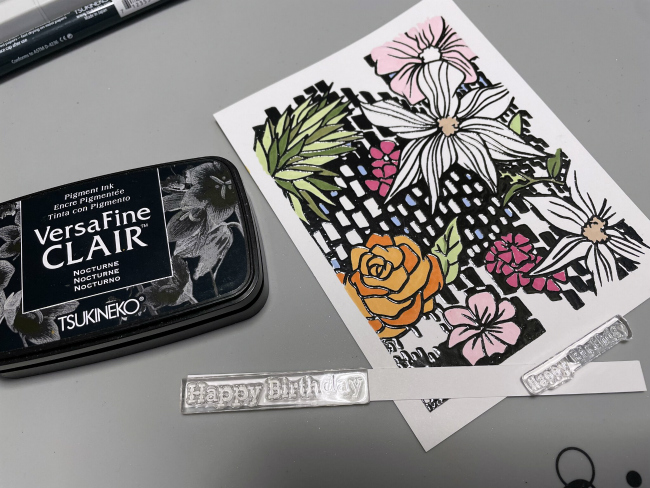
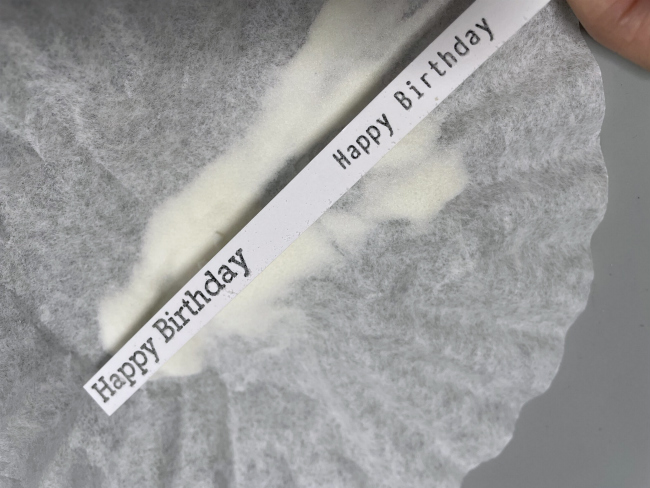
Now is the time to add the sentiment. I didn’t want to cover the colorful background, so I went for a large die cut sentiment. First, I inked a piece of white smooth cardstock with one of the colors used in the background. In my model it is the Turquoise Green. I applied it directly with the ink pad and let the paper dry naturally before the die cut the sentiment.
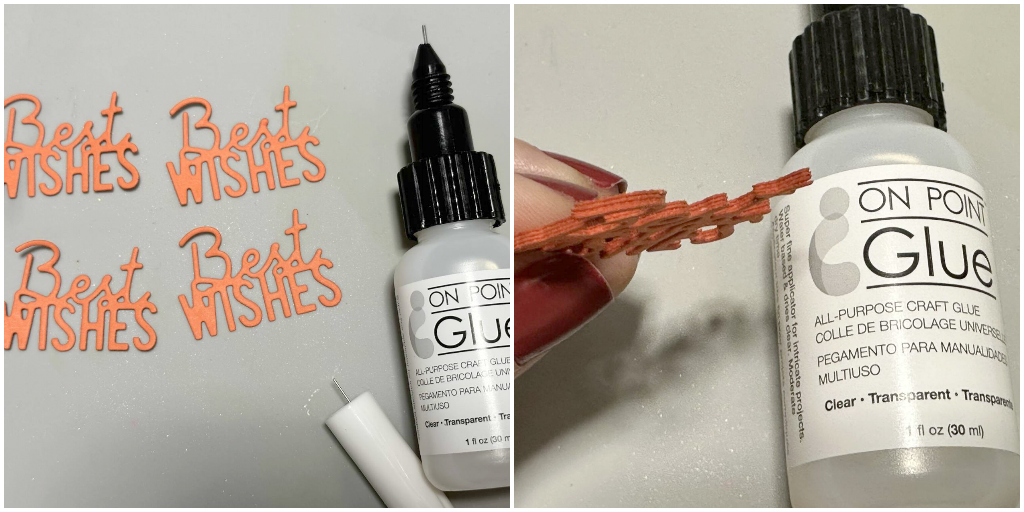
To add more contrast, I also die cut a tiny complement of the sentiment in a coordinated card stock. I pasted it directly over the large die cut sentiment using the OnPoint Glue.

Step 5:
Resize your layer and paste it directly over the card base using Tear it Tape. Paste the large sentiment over the colored background using crafty foam tape to add more dimension to the card.
Thanks for stopping by and remember, you don’t need to create complicated projects. Just use the best inks and let your creativity shine!
Art Supplies:
Imagine:
- VersaMagic Dew Drop in colors: Purple Hydrangea, Red Magic, Mango, Ocean Depth and Turquoise Green
- Sheer Shimmer Stix Dauber Frost
- Tear It! Tape
- OnPoint Glue
- Craft Mat
Other:
- 3D Embossing Folder
- Die Cut Machine
- White and colored cardstick
- Crafty Foam Tape