By Anna Escalada York
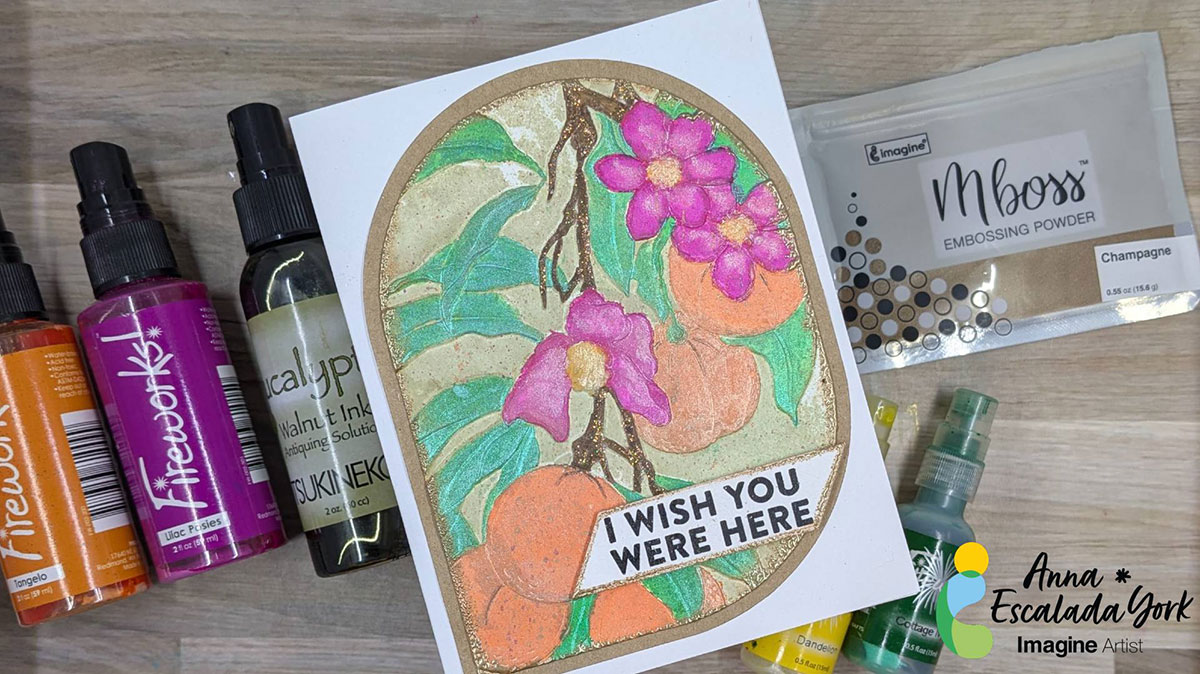
– My dad passed away a few years ago, so I didn’t feel like making a traditional Father’s Day card. Instead, I wanted to make a card that reflected his life as a farmer. He grew citrus in central Arizona for over twenty years and citrus trees always remind me of him.
Skill: Intermediate
Time: 2 hours
Directions:
Step 1:
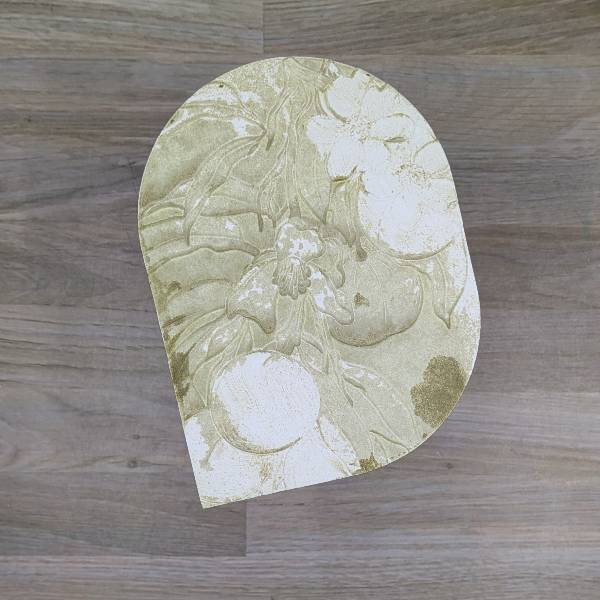
Die cut a piece of watercolor paper with a mid-sized die cut in a nesting A2-sized die set. Then spray the inside of a citrus-themed embossing folder with Eucalyptus colored Walnut Ink Antiquing Solution. Wipe off the Eucalyptus colored Walnut Ink Antiquing Solution off of the lower tangerines and the flowers and tangerine on the upper right corner of the embossing folder. Then place the watercolor paper panel inside the embossing folder before running it through a die cutting machine. Remove the panel from the embossing folder and set aside to dry.
Step 2:
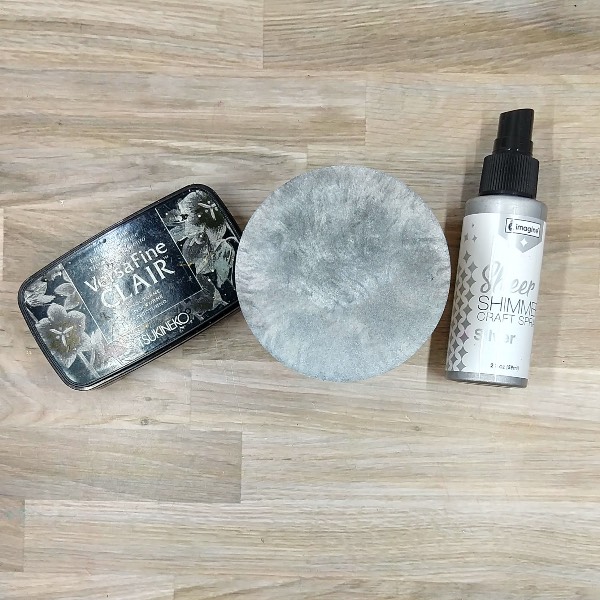
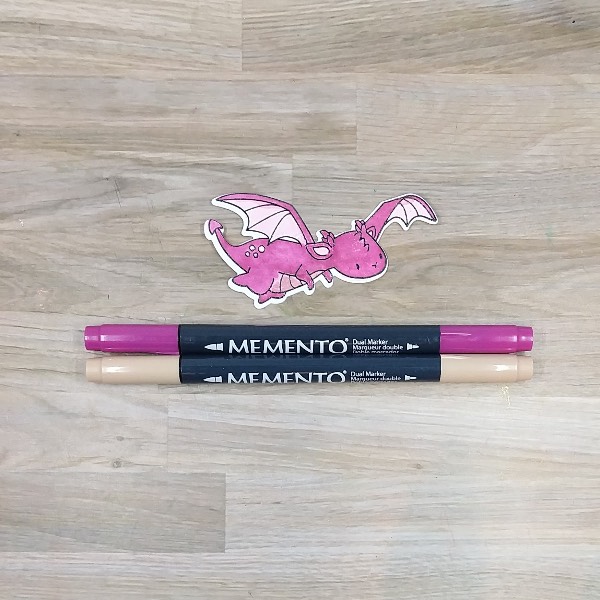
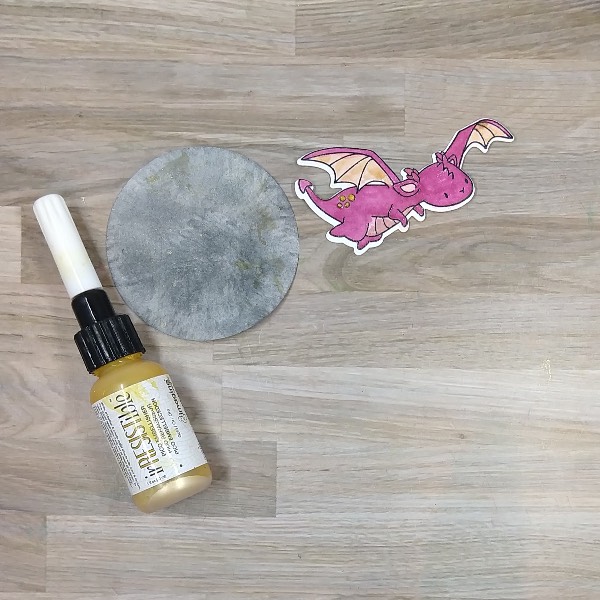
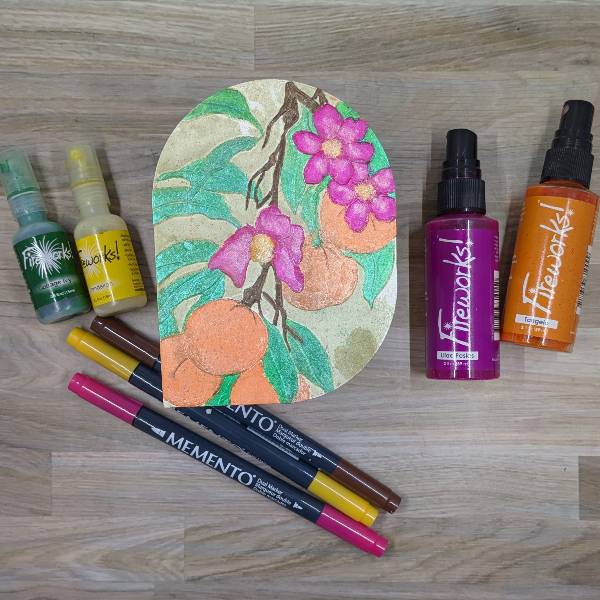
Use a combination of Memento Markers and Fireworks! Shimmery Craft Spray to color in the flowers, tangerines, branches and leaves on the card panel. Starting with the flower petals, I colored the flowers’ outlines with Rose Bud Memento Marker and then watercolored the petals with Lilac Posies Fireworks! Shimmery Craft Spray. The centers of the flowers were colored with Cantaloupe Memento Marker before watercoloring them with Dandelion Fireworks! Shimmery Craft Spray. The leaves were watercolored with Cottage Ivy Fireworks! Shimmery Craft Spray.
The branches were watercolored with Rich Cocoa Memento Marker and the tangerines were watercolored with Tangelo Fireworks! Shimmery Craft Spray. After everything dried, a light watercolor layer of Dandelion Fireworks! Shimmery Craft Spray was painted over the flower petals. Splatter some of the remaining Dandelion, Cottage Ivy, and Tangelo Fireworks!
Shimmer Craft Spray over the panel. Set the panel aside to dry again.
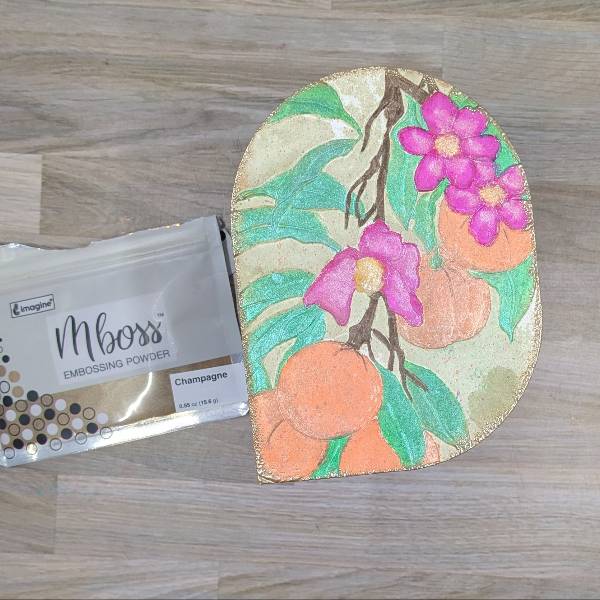
Step 3:
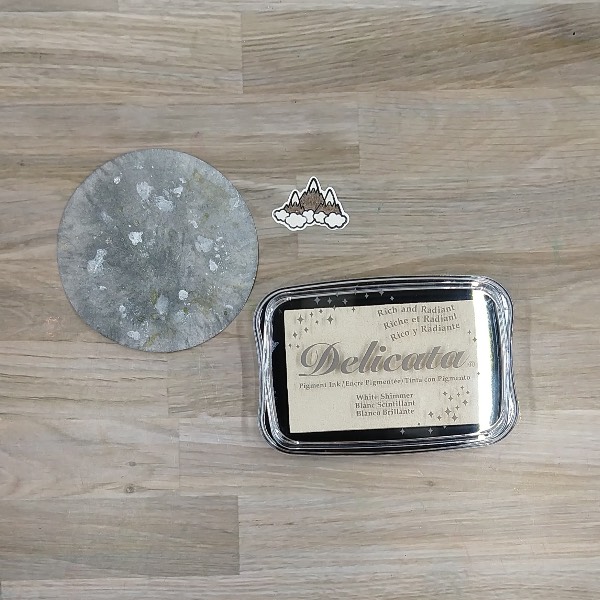
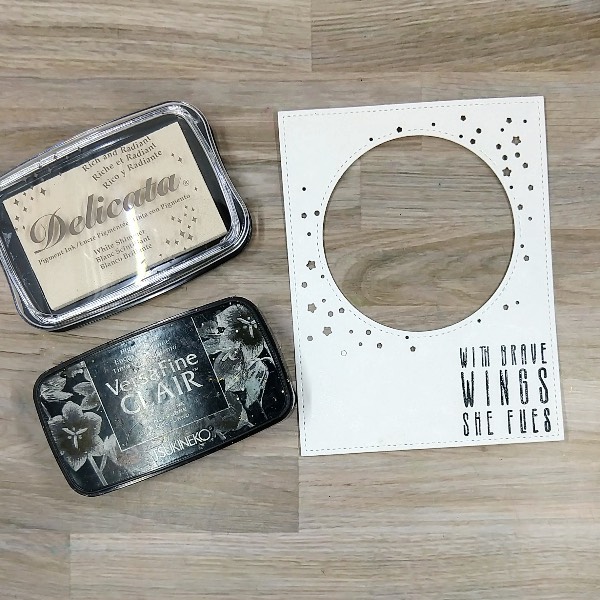
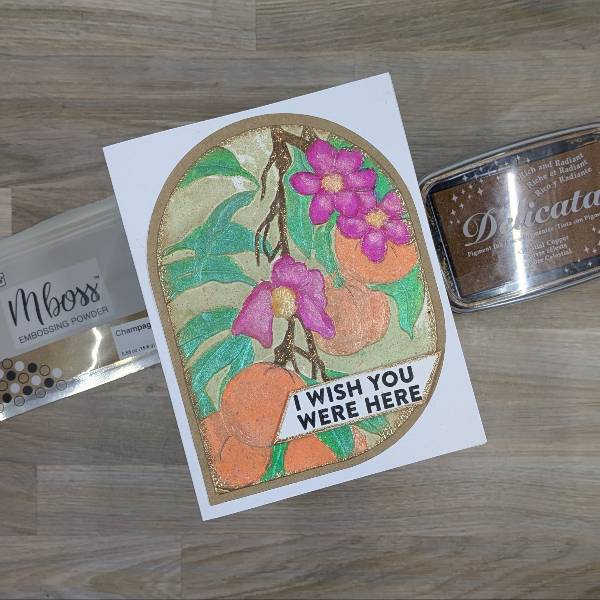
Press edges of the card panel into Celstial Copper Delicata Ink pad and heat emboss the edges with Champagne Mboss Embossing Powder (retired-substitute)
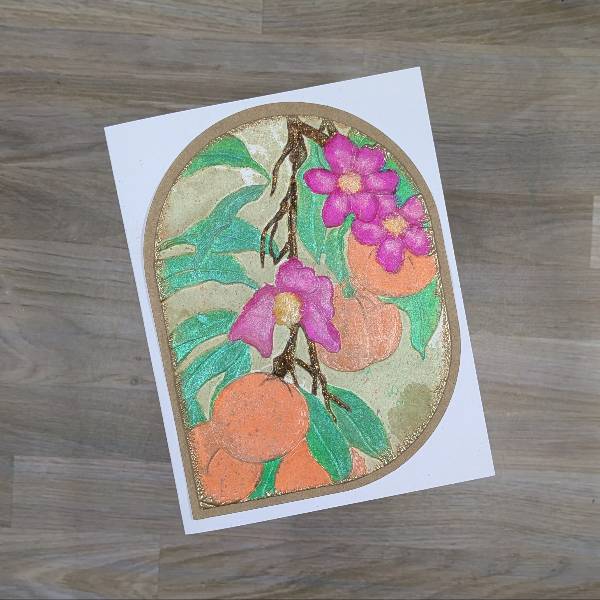
Step 4:
Die cut a piece of brown cardstock with the next-largest die from nesting die set from step 1. Paint the branches with glitter glue. Allow to dry and then glue the two panels together and then glue the whole thing onto an A2-sized white card base.
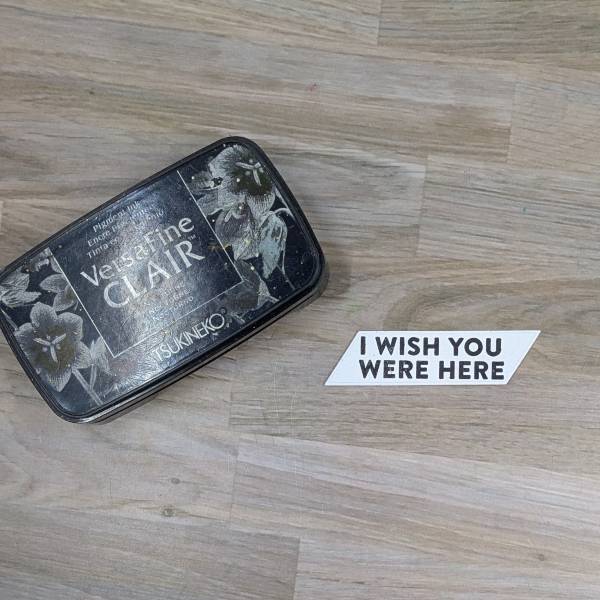
Step 5:
Stamp the sentiment with Nocturne VersaFine Clair ink and heat emboss with clear embossing powder. Use a sentiment strip die (from the same set as the sentiment itself) to die cut the sentiment.
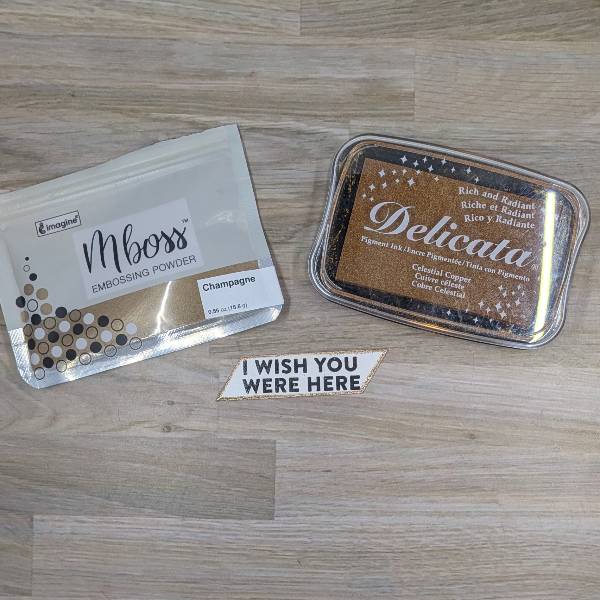
Step 6:
Press the edges of the sentiment strip into the Celestial Copper Delicata ink pad and heat emboss with more of the Champagne Mboss embossing powder (retired).
Step 7:
To finish the card, attach the sentiment strip onto the card panel with foam tape.
Art Supplies
Imagine
• Delicata Pigment Ink – Celestial Copper
• Fireworks! Shimmery Craft Spray colors:
– Cottage Ivy
– Dandelion
– Lilac Posies
– Tangelo
• Mboss Embossing Powder – Champagne (Retired)
• Memento Marker – Cantaloupe
• Memento Marker – Cantalo, Rich Cocoa and Rose Bud
• VersaFine Clair Ink – Nocturne
• Walnut Ink Antiquing Solution – Eucalyptus
Other
• Altenew – Embossing Folder – Tangerine Grove
• Altenew – Foam Tape – Instant Dimension Foam Tape
• Hero Arts – Stamp and Die Set – Essential Messages Stamp & Cut XL
• Glitter Glue
• Simon Says Stamp – Die Set – Squovals
• Clear Embossing Powder
• Heat Tool
• Glue
• Watercolor Paper
• Brown Cardstock