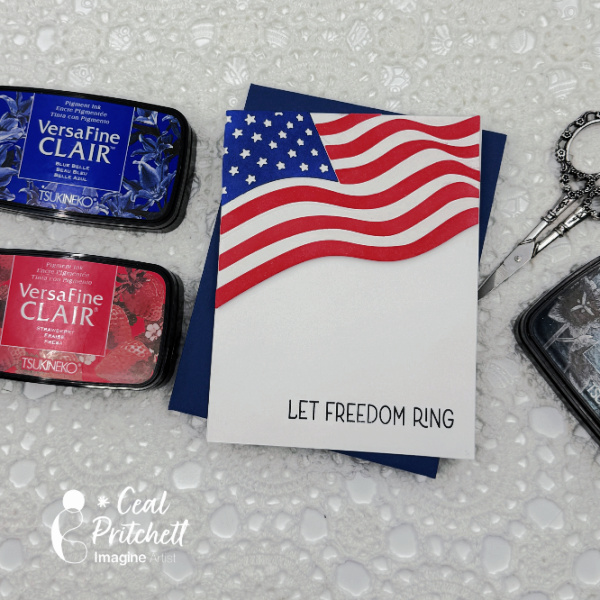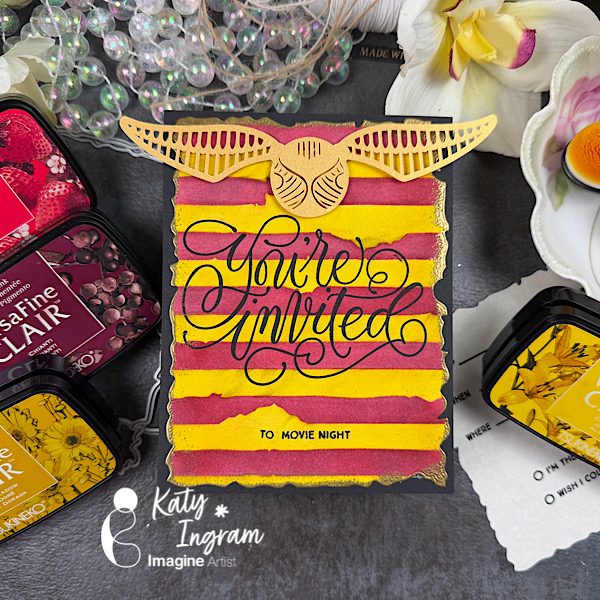
By Katy Ingram
Hello Friends! Katy here with my latest video showcasing VersaFine Clair inks once again to create a Harry Potter theme invitation. Video has all the details. Thanks for watching.
Skill: intermediate, advanced
Time: 15 minutes
Art Supplies
Imagine Products
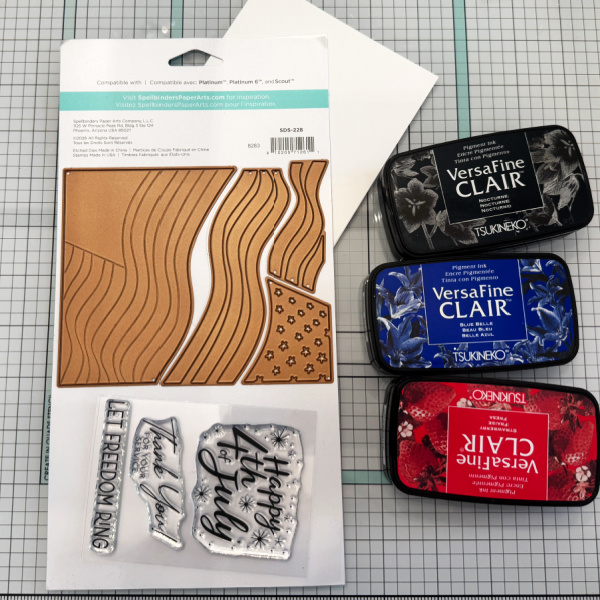
• VersaFine Clair inks https://www.imaginecrafts.com/versafine-clair
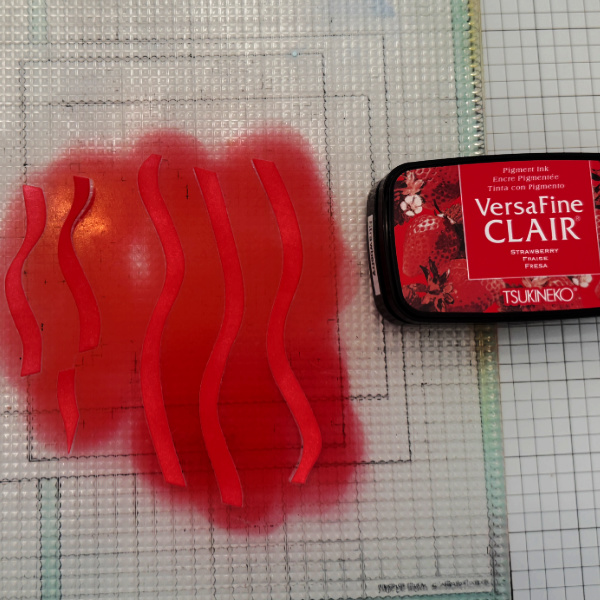
- Strawberry
- Cheerful
- Golden Meadow
- Chianti
Other Products Used
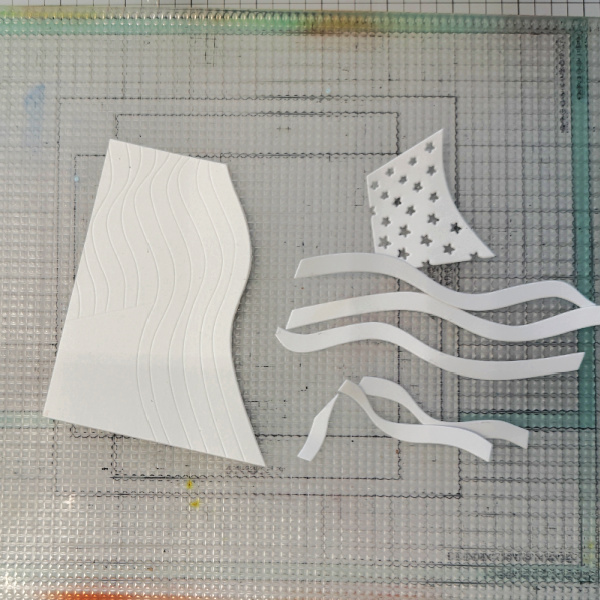
• 100% Cotton or Watercolor Paper
• Striped Stencil
• Blending Brushes
• Black Cardstock
• Ivory Parchment Paper
• Mama Elephant Invitation Stamp Sets
• Gold Embossing Powder