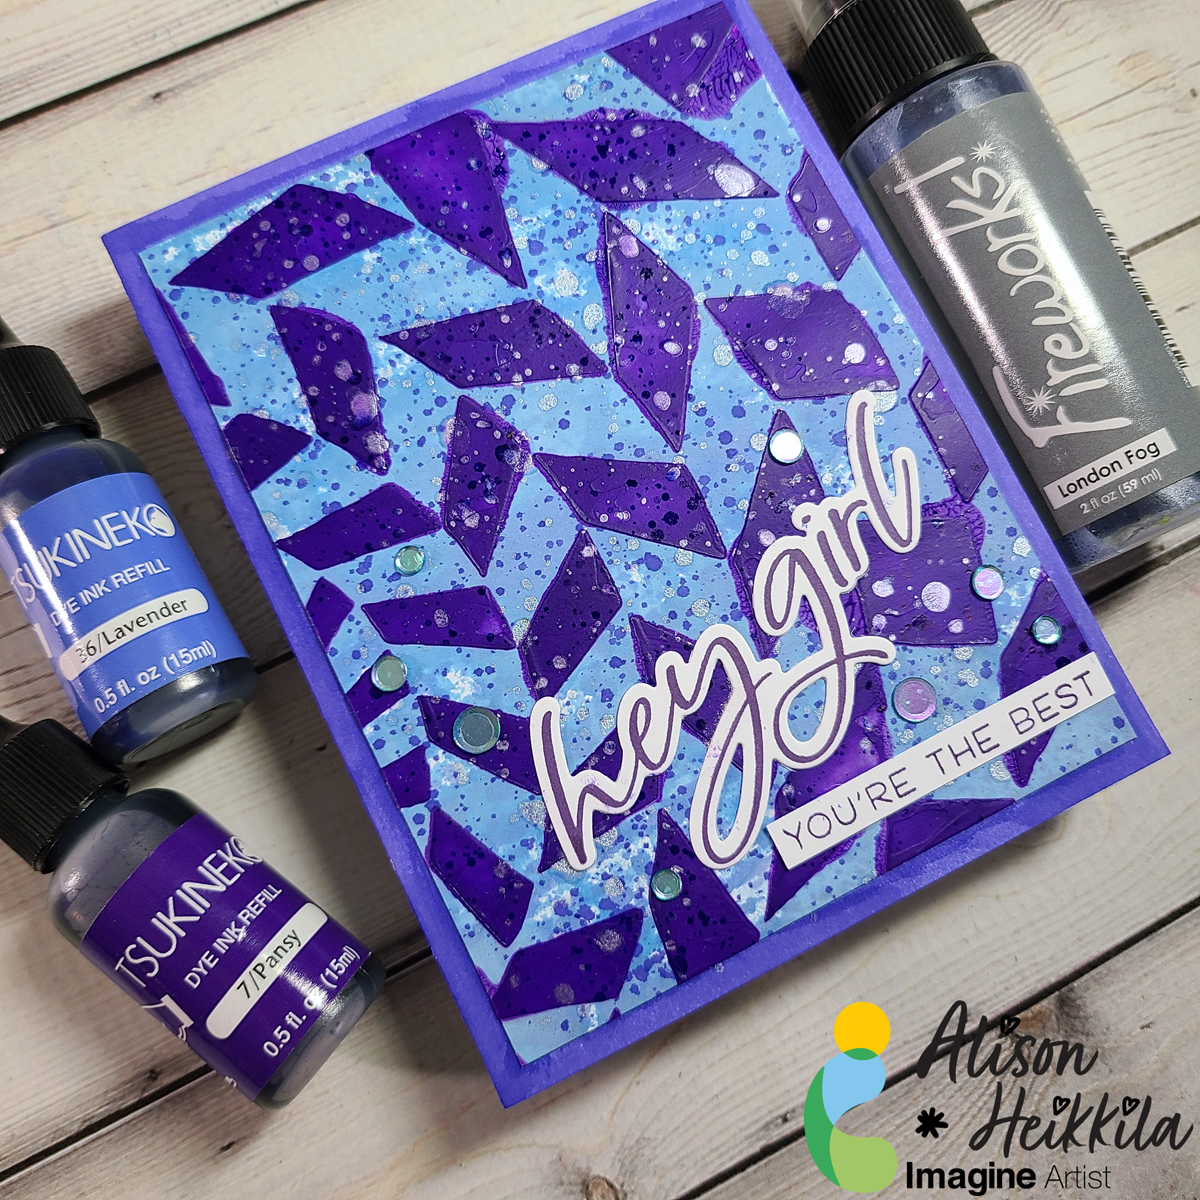
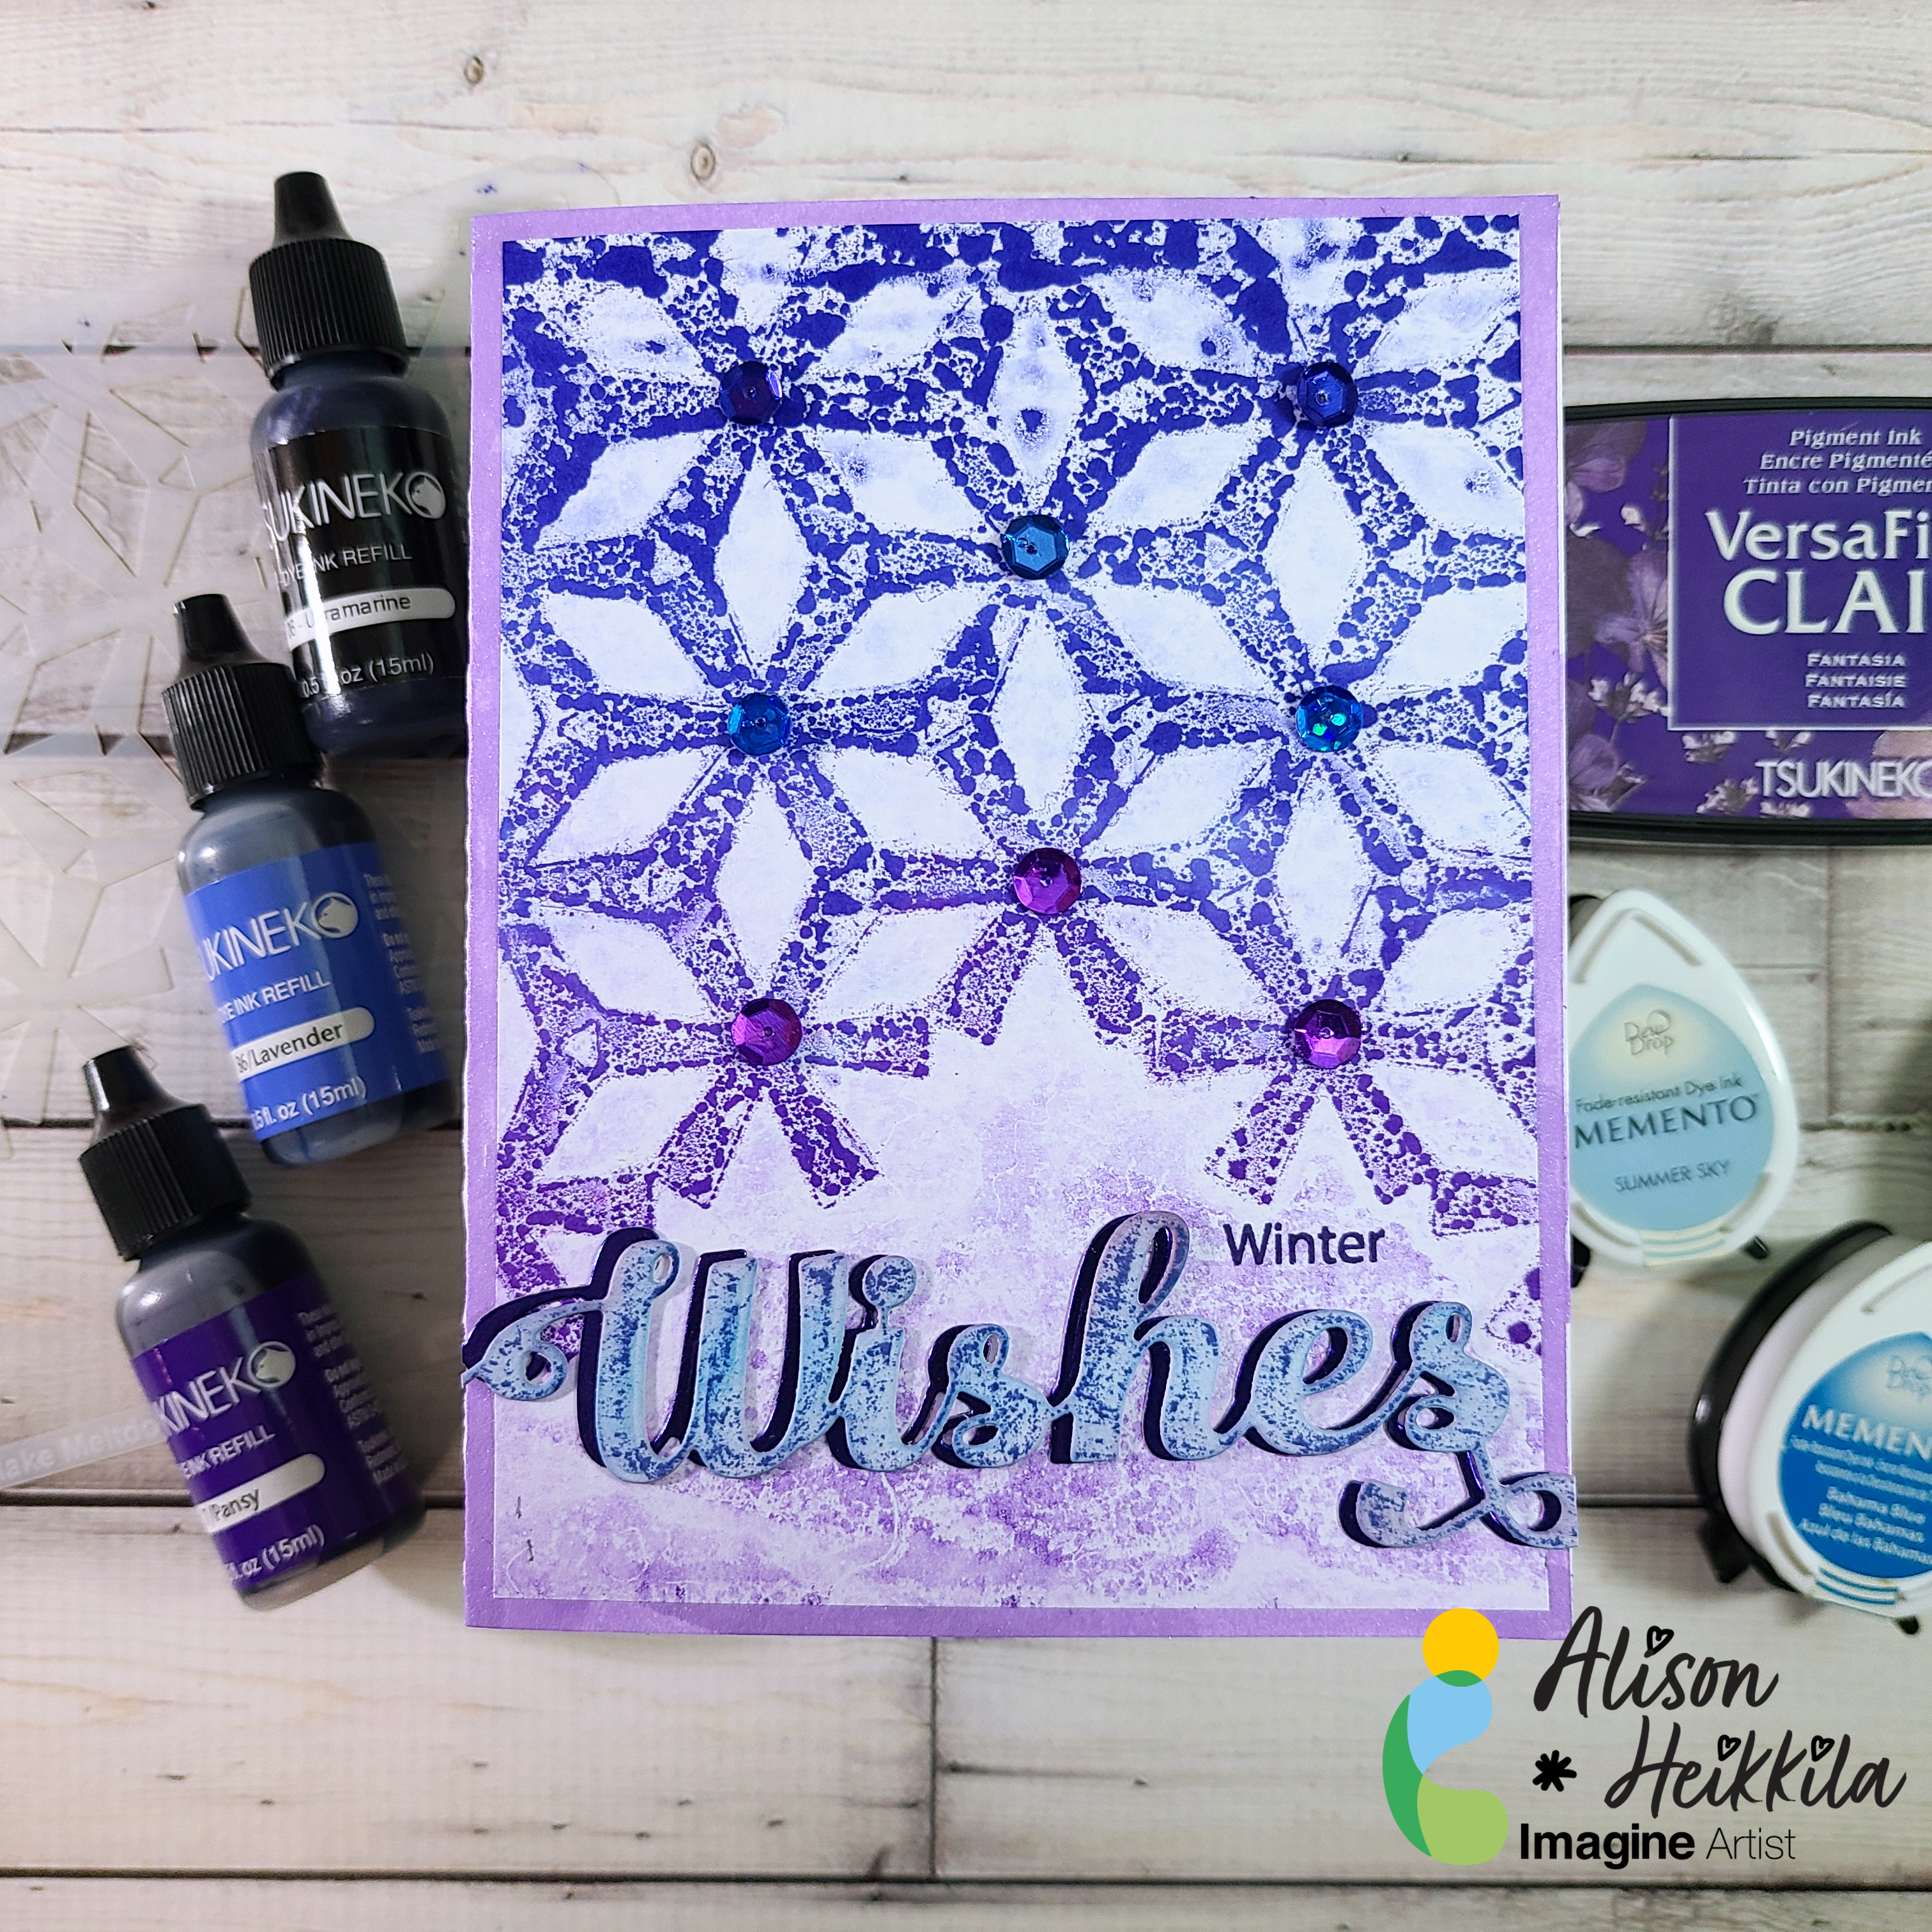
By Alison Heikkila
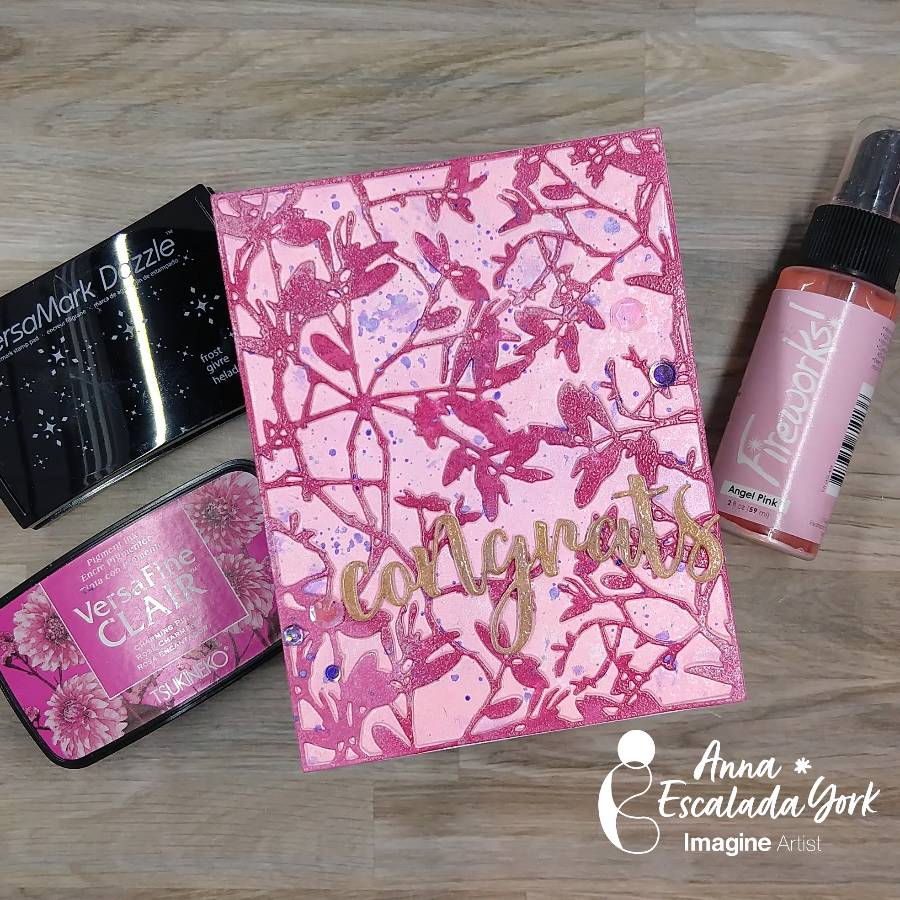
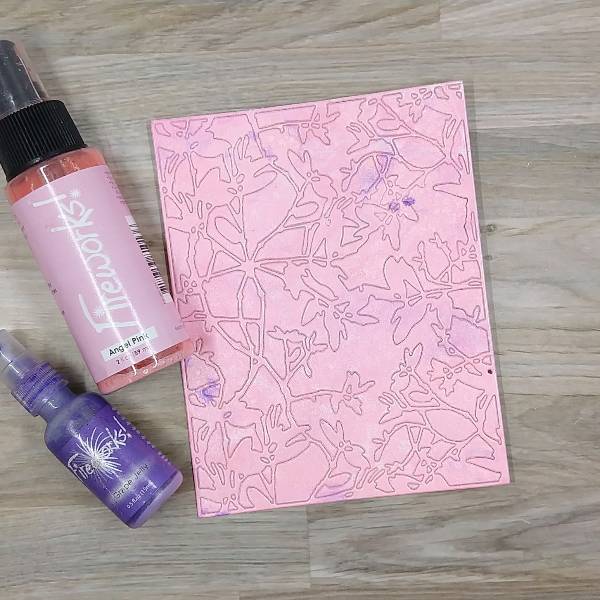
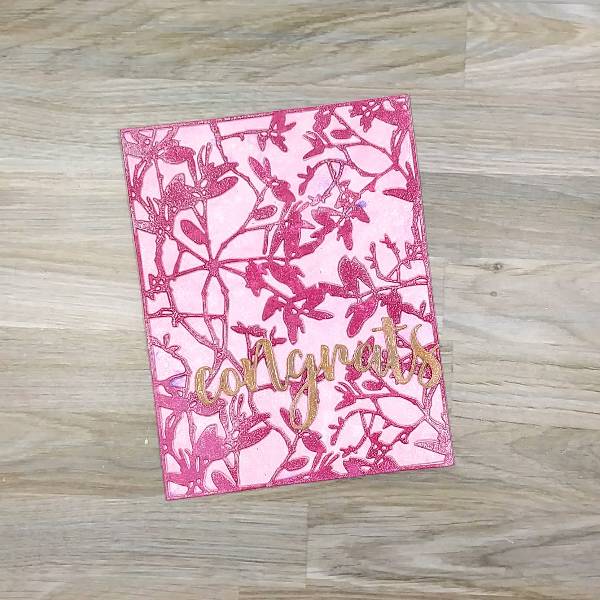
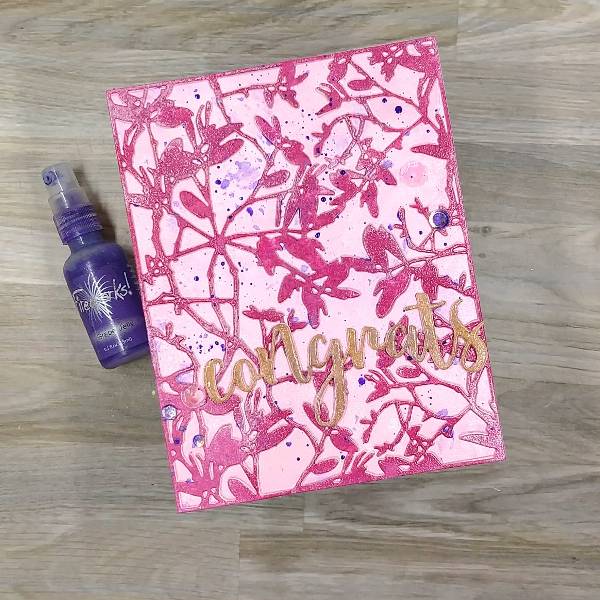
Greetings! Let’s get a little messy and make a spooktacular Halloween card with Fireworks! Sprays. I’ll be using them in 3 different ways on this card. Which way is your favorite?
Skill Level: Beginner-Intermediate
Time to Complete: 20-30 Minutes
*Some affiliate links are used in this post. That means that if you shop through these links, I may receive a small compensation, at no cost to you.

The video is below. If it doesn’t play properly, please click HERE.
Supplies:
Imagine:
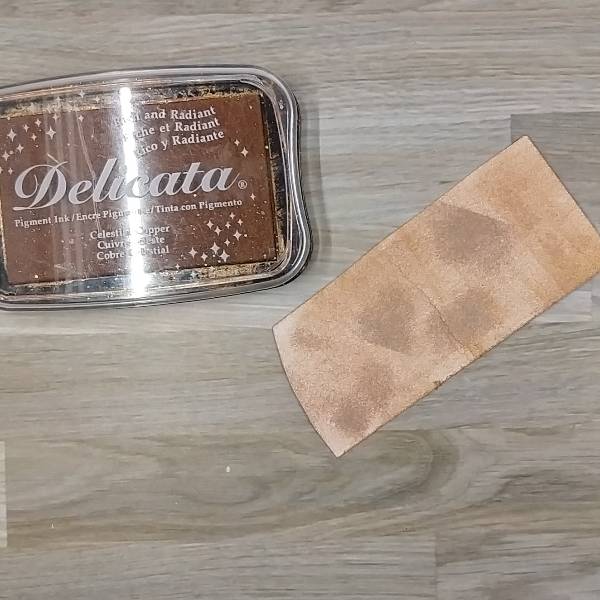
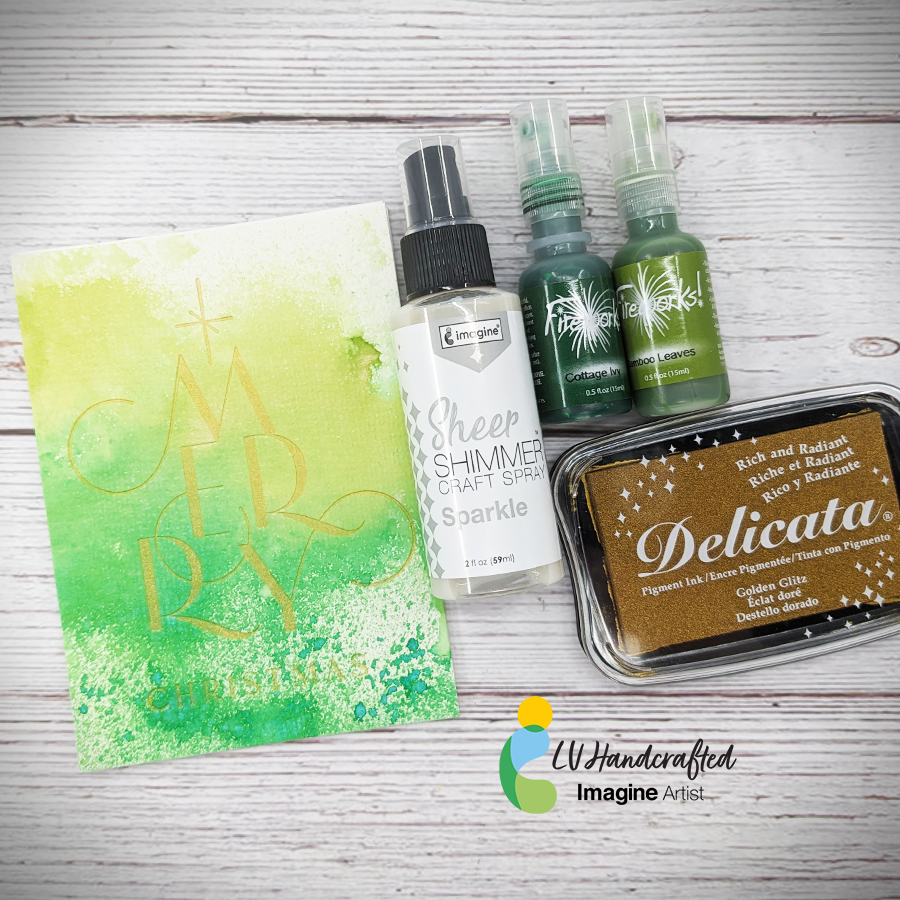
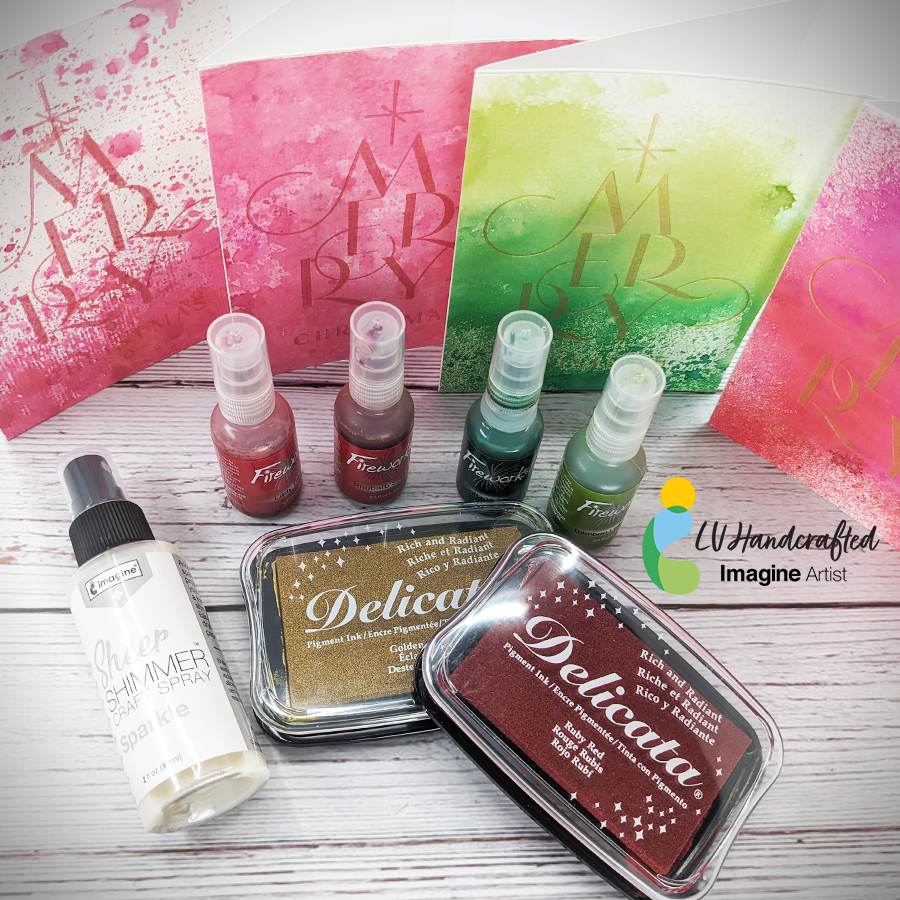
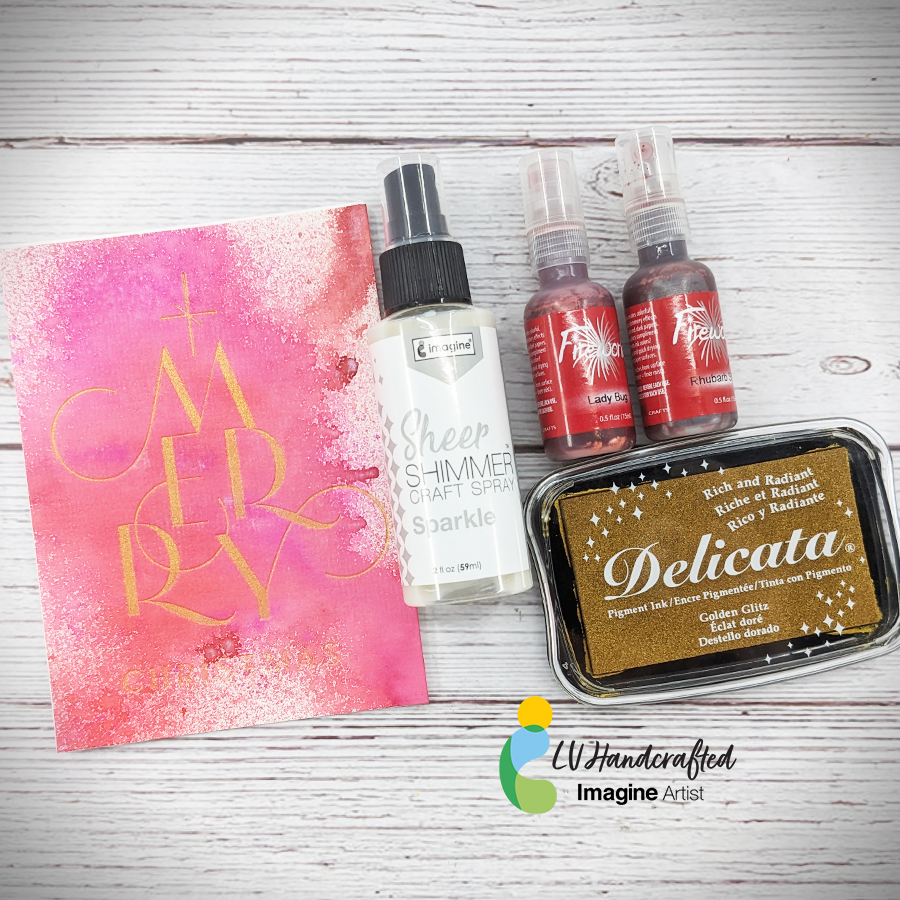
Fireworks! Sprays in Cantaloupe, Tangelo, Love Bug, and Grape Jelly
Memento Ink in Desert Sand
Memento Ink in New Sprout
Sponge Daubers
Tear It! Tape
On Point Glue
Other:
Tim Holtz & Sizzix: Big Frights Die Set
Tim Holtz & Sizzix: Tree Rings Texture Fades Embossing Folder
Strathmore: Smooth Bristol Cardstock
Scrapbook.com: 1mm Foam Tape
Scrapbook.com: Artis Craft Glue
Accent Opaque: 100lb. White Cardstock
Vellum
Purple Cardstock
Paintbrush

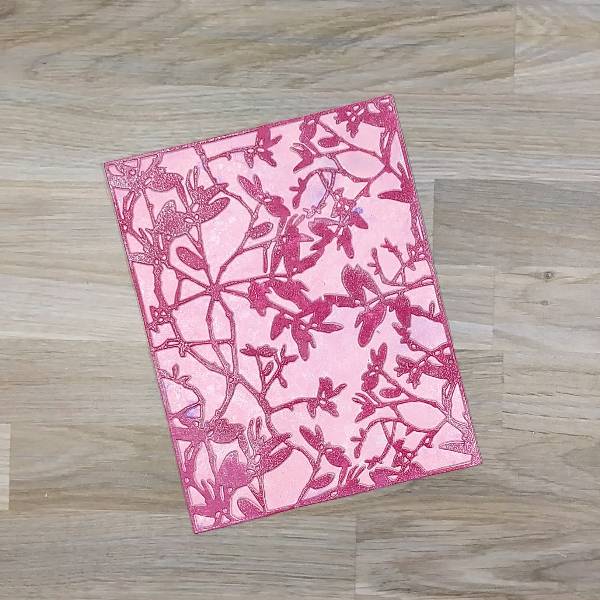
Making backgrounds like these can be so satisfying. Watching the colors swirl together, then seeing the shimmer after they’re dried….it’s a great way to spend some time, especially if you’re not feeling super crafty. What are some of the ways you would use Fireworks! Spray? Be sure to visit Imagine to see all the beautiful colors they come in. Thanks so much for stopping by. Have an inspiring day!