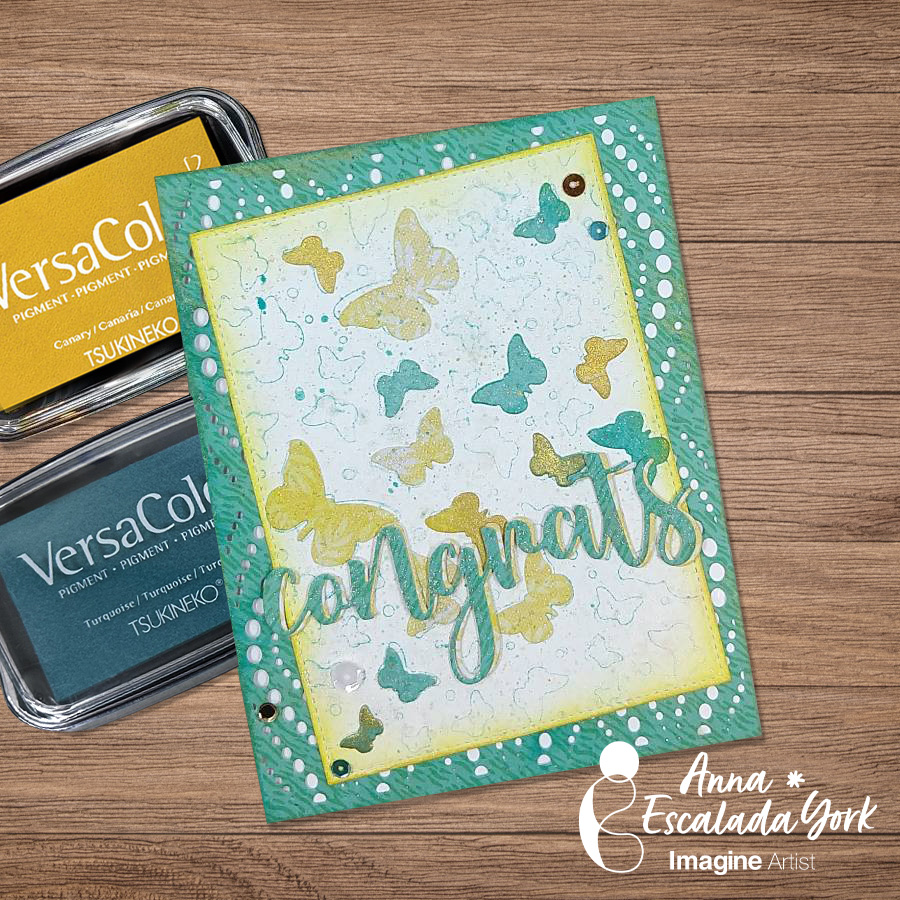
Let’s Stretch Our Crafty Supplies!

By Anna Escalada York

– In today’s post, I will share a way to stretch your crafty supplies like using a die to stamp and to
use ink to change the color of some patterned paper.

Skill Level: Intermediate
Time: 1.5 hours

Directions:
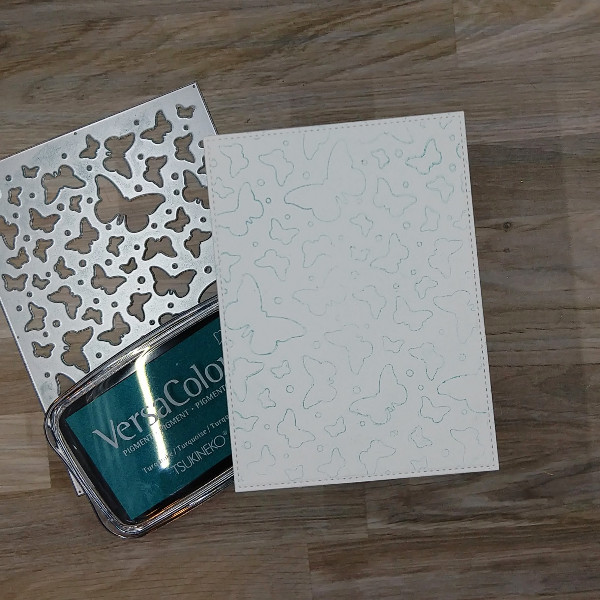
Step 1:
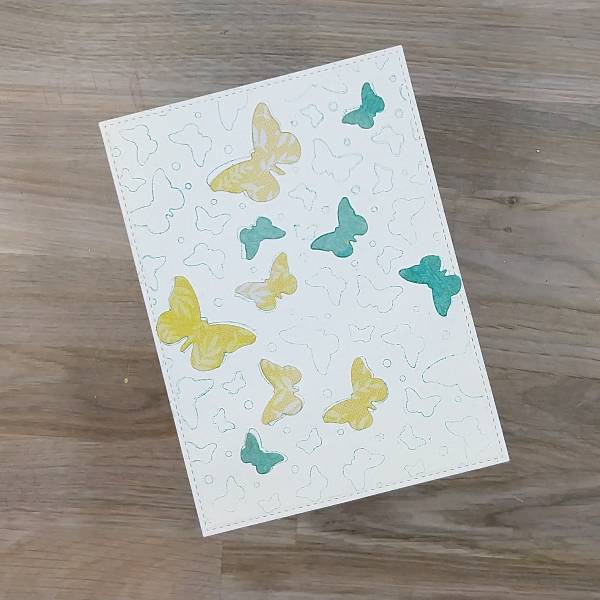
Use a die as a stamp by pressing a Turquoise VersaColor ink pad into the raised edges of a
background butterfly die. Then press a piece of previously die cut piece of watercolor paper into
the die and lift the panel. You will have the outlines of the butterflies stamped on your panel.
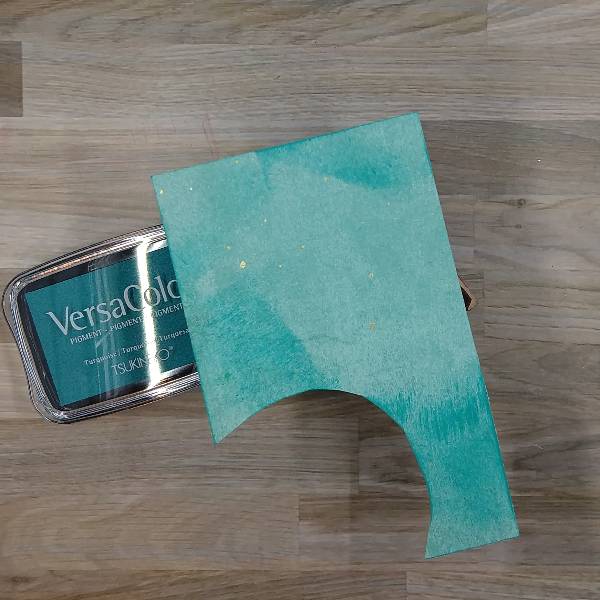
Step 2:
Run the Turquoise VersaColor ink pad across some blue paper to enhance the blue color of the
paper.
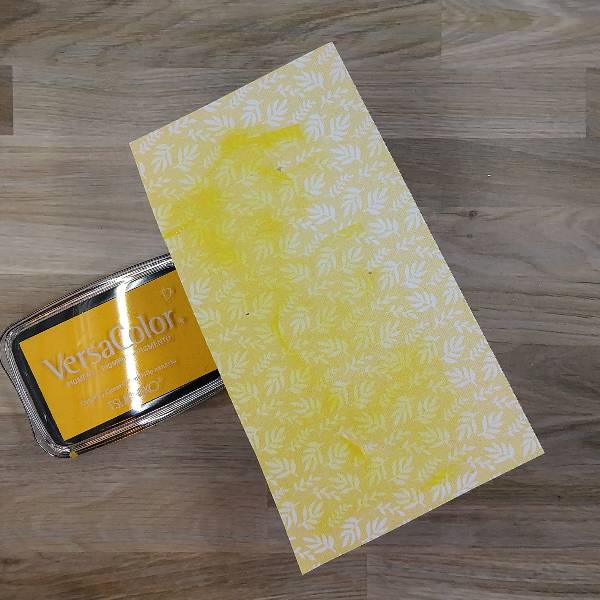
Step 3:
Rub the Canary VersaColor ink pad across some yellow patterned paper to enhance the color of
the patterned paper.
Steps 4 and 5:
Die cut the yellow and blue patterned paper with the butterfly die.
Glue some of the die cut butterfly pieces onto the stamped watercolor panel, making sure that
the butterflies don’t line up totally with the stamped butterflies.
Step 6 and 7:
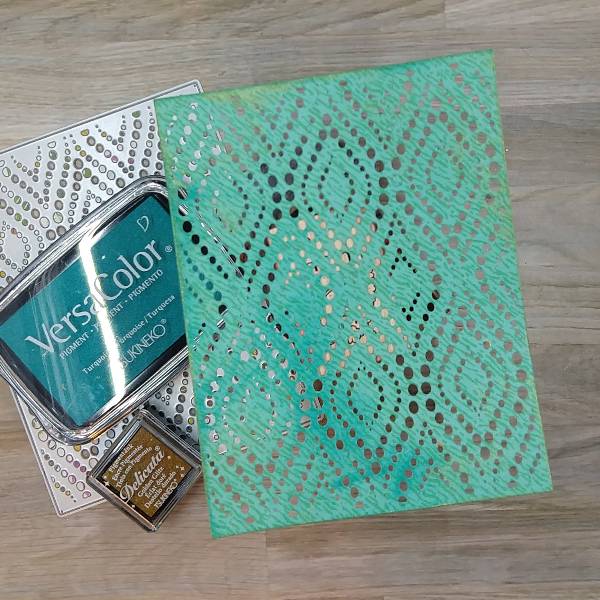
Die cut another piece of blue patterned paper using another background die.
Run the Turquoise VersaColor ink pad and the Golden Glitz Delicata ink pad over the blue
patterned paper to add some more colorful interest onto the panel.
Step 8:
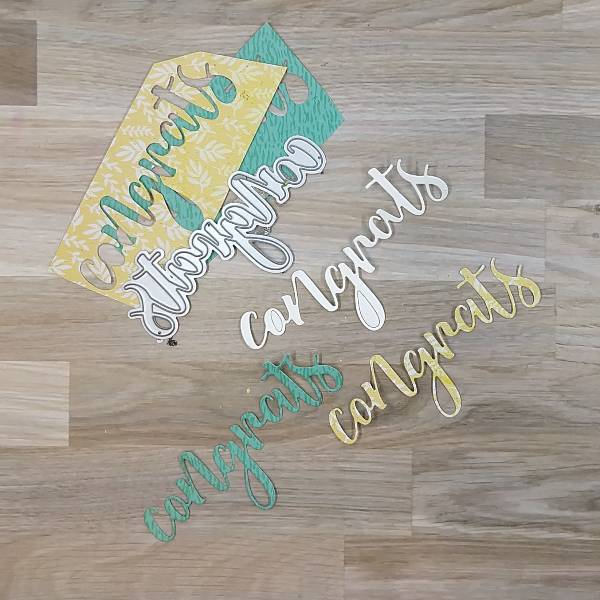
Using a congrats die cut to die cut three layers– a scrap piece of cardstock as well as the yellow
and blue patterned paper.
Step 9:
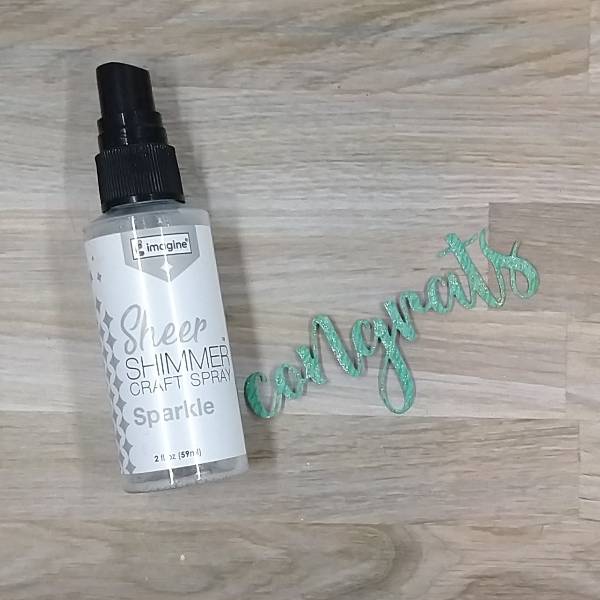
Spray the blue patterned paper with Sparkle Sheer Shimmer Craft Spray and let dry.
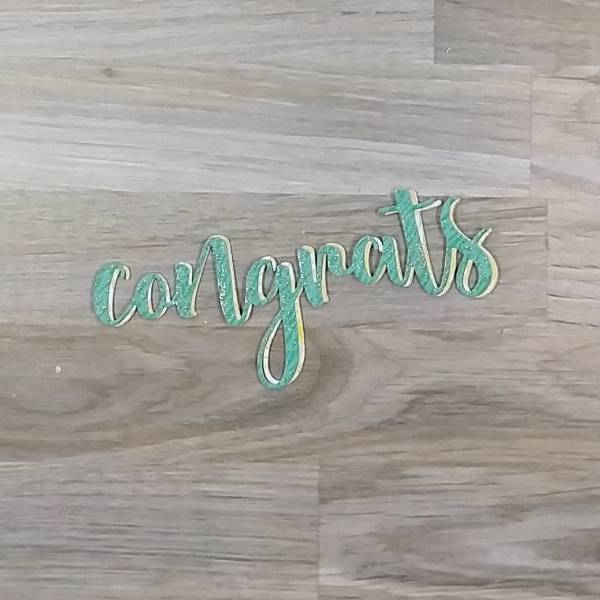
Step 10:
Glue all three layers of the die cut sentiment together, with the blue layer on the top, and the
yellow layer in the middle. Don’t line up the blue layer exactly on top of the yellow layer so that
you can see both. Set aside.
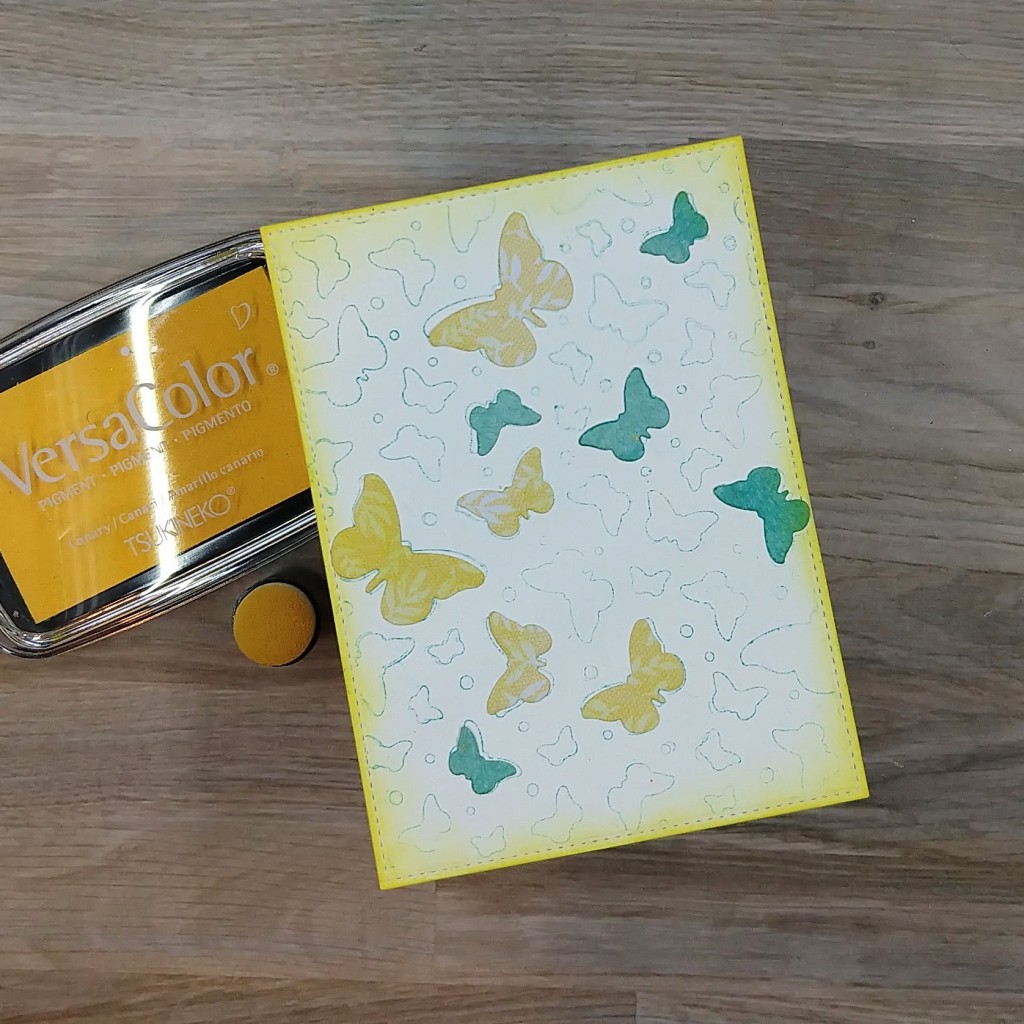
Step 11:
Ink blend around the edges of the stamped layer with more of the Canary VersaColor ink with
an ink dauber.
Not pictured: Spray the panel with more of the Sheer Shimmer Craft Spray. Mix some more of
the Sheer Shimmer Craft Spray with more Turquoise VersaColor ink and spatter it across the panel.
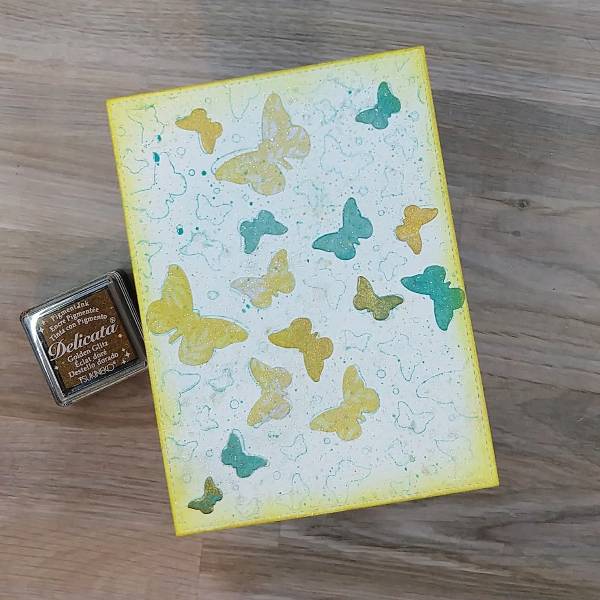
Step 12:
Press some of the remaining yellow and blue patterned paper die cut butterflies into the Golden
Glitz Delicata ink pad. Glue those butterflies into the stamped panel.
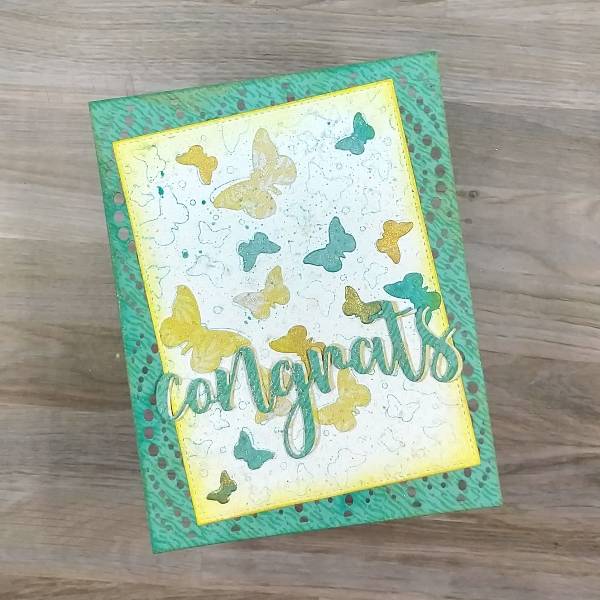
Step 13:
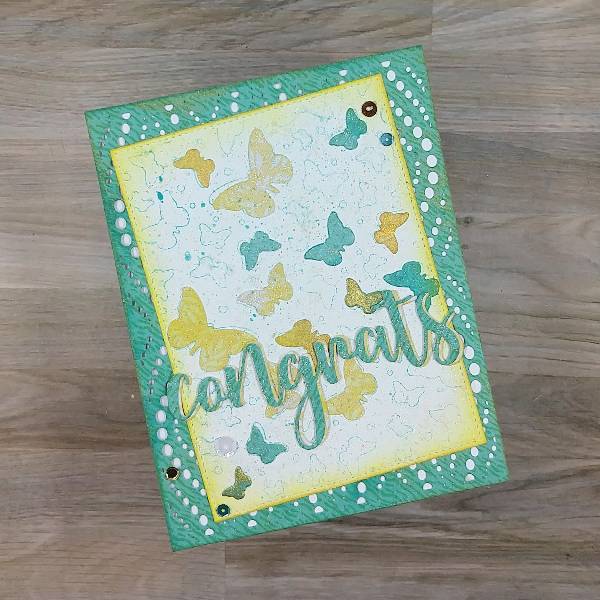
Glue the stamped panel onto the die cut background panel at an angle. Then Glue the
sentiment parallel to the base of the die cut background panel.
Step 14:
Glue blue, white and gold sequins onto the card panel. Glue the whole panel onto an A2-sized
white card base.

Art Supplies
Imagine
• Delicata Ink – Golden Glitz
• Sheer Shimmer Craft Spray – Sparkle
• VersaColor Ink – Canary
• VersaColor Ink – Turquoise
• Sponge Daubers

Other
• DCWV – Patterned Paper – Electric Jungle patterned paper
• Hero Arts-Die-Butterfly Confetti fancy die
• Honey Bee Stamps – Die – Congrats Honey Cuts die set
• Honey Bee Stamps – Sequins – Aztec Empire mix (retired)
• Kat Scrappiness – Die – Peacock Backdrop die
• Yellow and blue cardstock in my stash
• Scissors
• Glue

Gold-Embossed Ombre Effect Congrats Card

By LVHandcrafted

Hello friends! This is Linh (or LV Handcrafted on all the socials). This is a fun way to create your own heat embossed ombre effect. I used Delicata ink, which is a pigment ink and remains sticky for period of time to swipe across a white cardstock panel. I made a very solid swatch of ink. Before the ink dried, I covered one end (the bottom) with Mboss powder in gold. I aimed for about 25% of the way up with solid coverage. Then I tipped the panel so the letter “C” is at the bottom and the letter “S” is at the top. Then spooned more Mboss powder from one and and further tipped the panel so it runs down the panel to create that graduated, ombre effect. 

When I make panels like this, I really want the panel and the effect to shine, so I like to keep the rest of the card really simple. These word dies are wonderful because they are so big, they nearly take up the entire card. And with a panel this beautiful, I save everything and made a second card using the negative effect of the word die. 

NOTE: In the video, you will actually see me create a smaller panel that I decided against using. I used a Sakura glue pen to draw a design over the Delicata-inked panel and then poured Mboss powder over it. The glue pen lets you draw or write anything you want and have that lovely embossed effect.

Skill: Intermediate

Time: 15 minutes

Supplies Used

Imagine:

• Mboss Powder in Gold

• Delicata Ink in Pink Shimmer

• On Point Glue

Other Products Used

• Spellbinders Congrats Die

• Hammermill 100lb white card stock (card base)

Learn to Make a Rose Themed Congratulations Card 

2022-Annie-Aug-700x700

By Annie Collins

– Hello Crafty Friends – Annie here with a fun summer themed card featuring a variety of Imagine Crafts products.

Skill Level: Beginner

Time to Complete: 30 Minutes

Art Supplies:

Imagine:

VersaMagic Inks: Pixie Dust, Pink Petunia, Red Brick, Sage, Oasis Green, & Hint of Pesto

• Memento Ink: Summer Sky

• magine Crafts: Tear It! Tape

• Imagine Crafts: On Point Glue

• Imagine Crafts: Craft Mat

Other products

• Hero Arts Stamps: Color Layering Set: Layering Rose CM243

• Recollections Brand 110# Cardstock: White

• Accent Ultra Smooth 80# Cardstock: Opaque White

• Lifestyle Crafts Embossing Folder: Lattice

• Blending Brush

• Tiny Acrylic Bubbles: Clear, Pink and Light Blue

Gorgeous Wedding Card with Memento and Ink Potion No. 9 


By Katy Ingram –

Hello Friends! Katy here and today I am sharing an easier way to color your own cardstock using Memento Inks andInk  Potion No. 9 blending solution. 

In todays video tutorial I use our newly colored cardstock to create some 3D flowers for a beautiful summer wedding card. Thanks for joining me today. I hope you enjoy.

Skill: Beginner, Intermediate, Advanced
Time: 30 minutes

Art Supplies:

Imagine:

Memento Inks – 

Angel Pink, Rose Bud, New Sprout, Cottage Ivy, Northern Pine, Bamboo Leaves and Dandelion

Ink Potion No. 9

1/4 inch Tear-It! Tape 

Other Products Used:

Spellbinders Double and Single Peonies Die 

Susan’s Garden Tool Kit

Watercolor Paper

PVA Glue or Hot Glue

Heavyweight White Cardstock

Kat Scrappiness Quilted Background Die

Essentials By Ellen Hutson Rectangle Dies

The Greetery Sentiments Suite Love Stamp Set

The Greetery Pretty Postmarks

Clear Box A2 Size  4 1/2 inches x 1 inch x 5 7/8 inches

Follow Katy Here:

Youtube: https://youtube.com/c/eastwickspaperandink 

facebook: fb.me/eastwickspaper 

Instagram: https://www.instagram.com/eastwickspaperandink/ 

Blog: https://www.eastwickspaperandink.com/