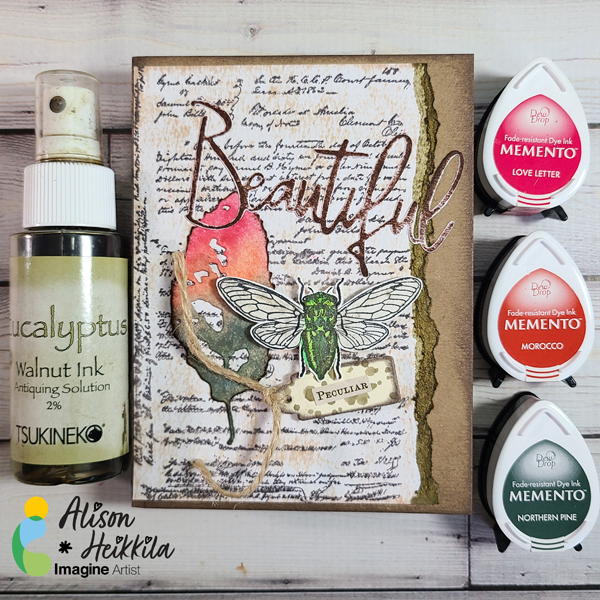
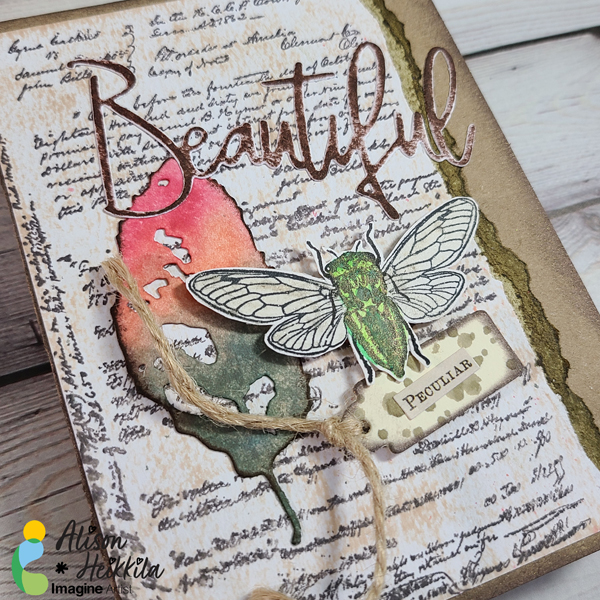
Greetings! My latest project for Imagine started off as a Halloween card, but truthfully, it became a card that I could mail out at any time of year, depending on the recipient. I’ll leave it up to you to decide if you think it’s just for Halloween or not. In this tutorial, I’m going to show you a few ways to use your Memento Markers, along with a couple of other great products from Imagine. My supplies are listed at the bottom of the post.
Skill Level: Beginner to Intermediate
Time to Complete: 1 Hour
Directions:
Step 1:
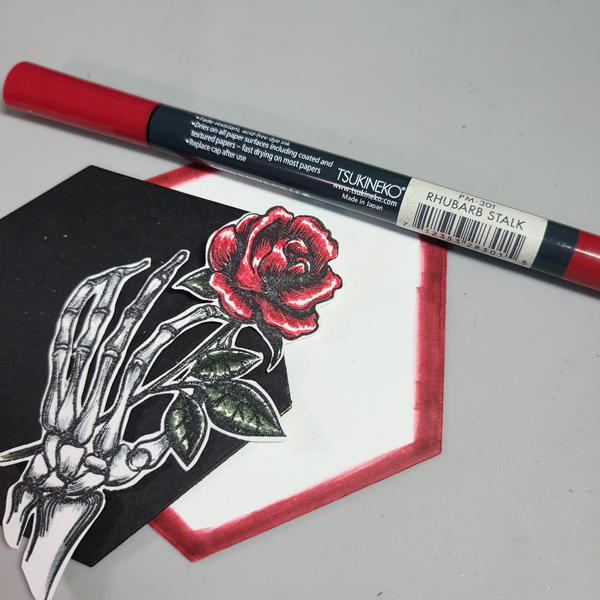
Stamp the skeleton hand on to Smooth Bristol Cardstock with VersaFine Clair Ink in Nocturne.

Step 2:
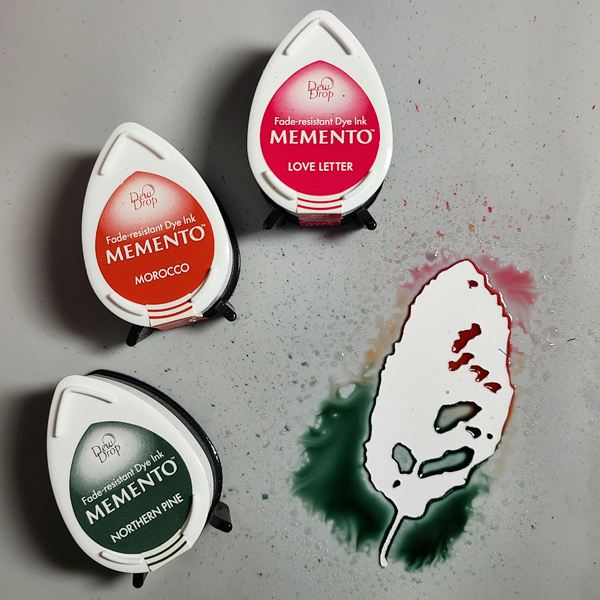
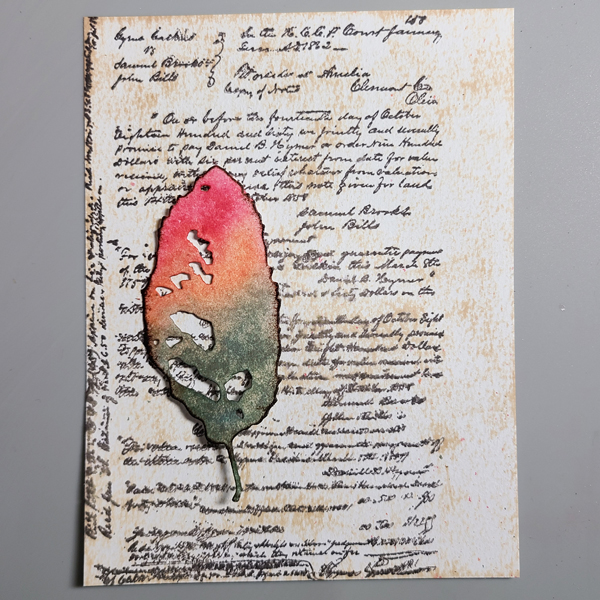
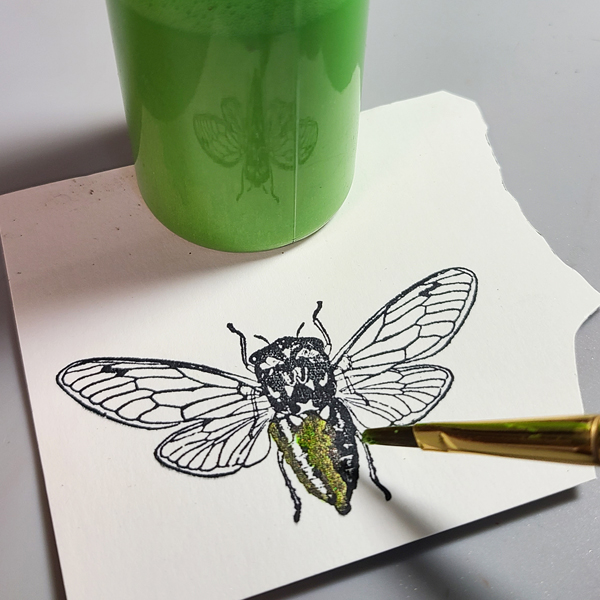
Color the image with London Fog, Rhubarb Stalk, Love Letter, Northern Pine, and Olive Grove. Be sure to leave some white space to mimic a shine.
Step 3:
Cut the image out. I used an X-Acto knife for the interior areas, and then my precision scissors for the rest. I left a thin border around the piece so that I didn’t have to be perfect.
Step 4:
Die cut the 4th largest Hexagon die in the Waffle Flower set out of white cardstock, and the 5th largest out of black.
Step 5:
Use the Rhubarb Stalk Memento Marker to color the outer edge of the white hexagon, so that it will perfectly match the rose.

Step 6:
Using Fireworks! Spray in Tuxedo Black, flick the ink on to your card base.
Step 7:
Scribble some Rhubarb Stalk Memento Marker on to an acrylic block. Add some water to a brush, and then flick the color off the side of the block to get splatter.

Step 8:
Glue the hexagons together and the skeleton hand on top using On Point Glue. I usually glue everything at the end, but i knew I would be moving this piece around a bit, so gluing it early is helpful.
Step 9:
Die cut a bunch of foliage from black cardstock and arrange them around the edge of the card. Have them going off the edge and in different directions to keep things interesting. Adhere with On Point Glue.

Step 10:
After the foliage is glued, cut off the pieces that overhang.
Step 11:
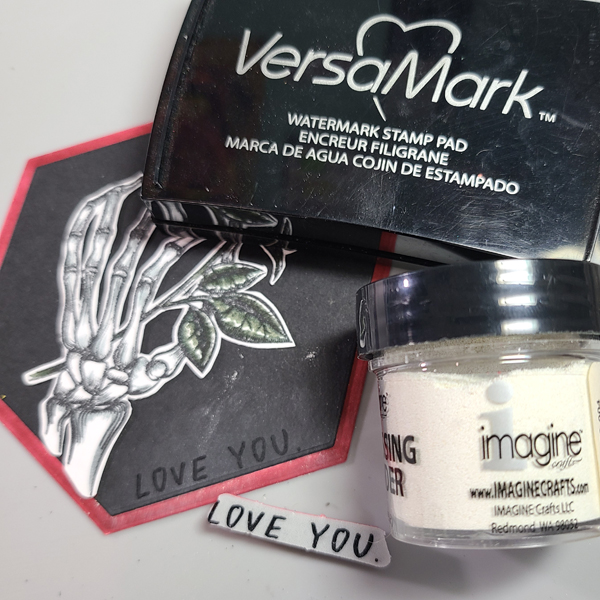
On the black cardstock, stamp a sentiment with VersaMark Ink. If you have one, use an anti-static powder bag first. Then, sprinkle on white embossing powder, shake off the excess, and heat set it.
Step 12:
Run the Rhubarb Stalk Marker around the edge of the card base to create a thin border of color.
Step 13:
Adhere the hexagons to the card base.

Supplies Used
*Some affiliate links are used in this post. That means that if you shop through these links, I may receive a small compensation, at no cost to you. For more information, please see my Affiliates page.
Imagine:
• VersaFine Clair Ink: Nocturne
• Memento Markers: London Fog, Rhubarb Stalk, Love Letter, Northern Pine, Olive Grove
• Fireworks! Spray: Tuxedo Black
• VersaMark Ink
• White Embossing Powder
• Sponge Dauber
• Craft Mat
• On Point Glue
Other:
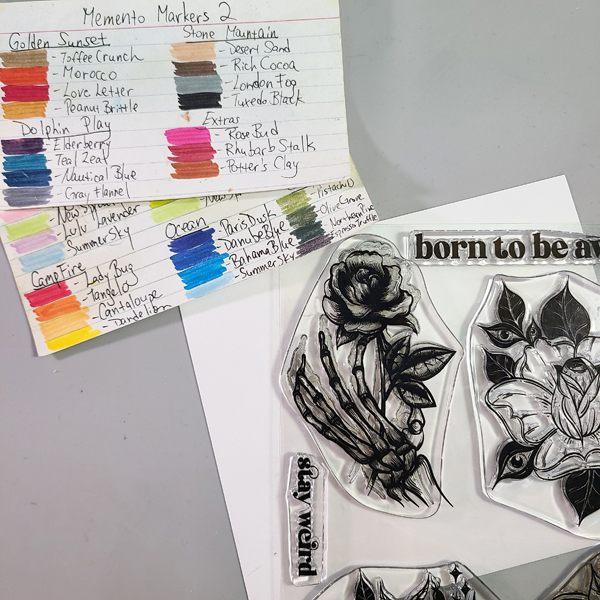
• Erin Lee Creative: Stay Weird Stamp Set
• Erin Lee Creative: Tropical Leaves Die Set
• Waffle Flower: Hexagon Dies
• Tim Holtz/Stampers Anonymous: Noteworthy Stamp Set
• Black and White Cardstock
• Acrylic Block
• Paintbrush