By Alison Heikkila –
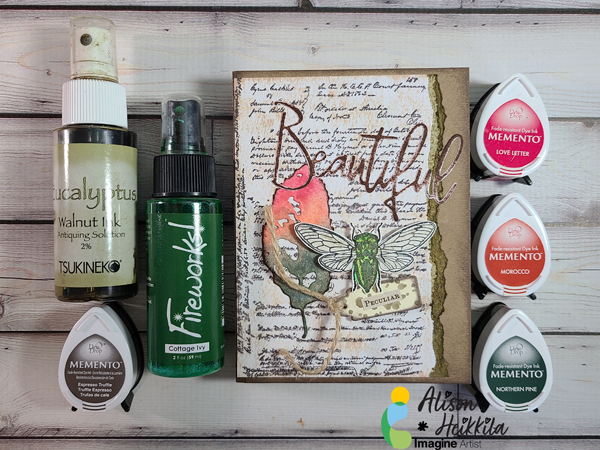
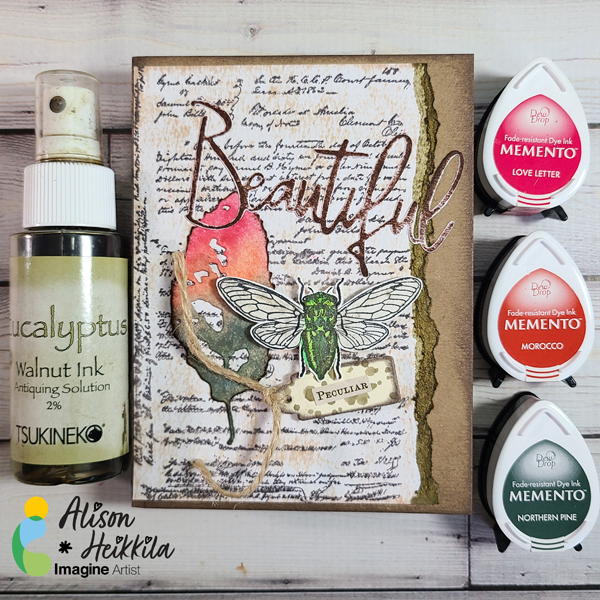
Hello! Many crafters love the look of collage-style cards, but they may be intimidated to try making them. If you throw away the idea of perfection and just enjoy the process, you can achieve this look without too much trouble. Be sure to have some text stamps on hand, as they really help achieve this look.
Skill Level: Beginner to Intermediate
Time to Complete: 45 minutes- 1 Hour
Directions
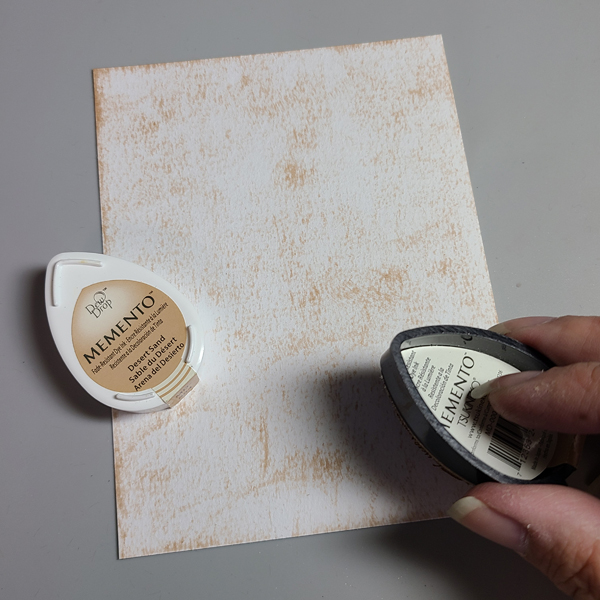
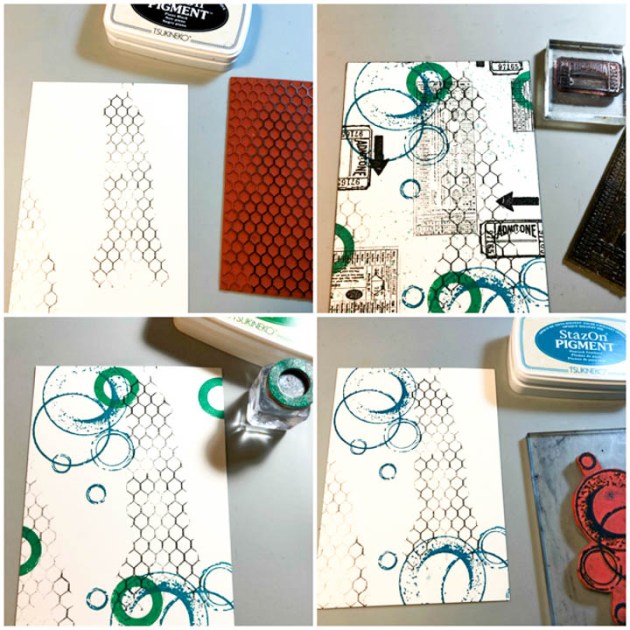
Step 1:
On a textured cardstock, gently ink the rough surface with Desert Sand Memento Ink. Don’t push too hard…we only want to enhance the texture.
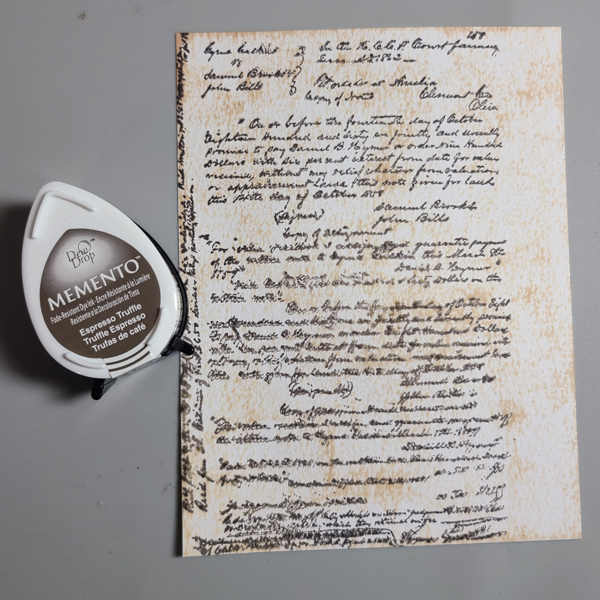
Step 2:
With Espresso Truffle Memento Ink, apply a text background stamp to the cardstock. I didn’t use a block or stamping tool to apply this, because I wanted imperfections and blurring.
Step 3:
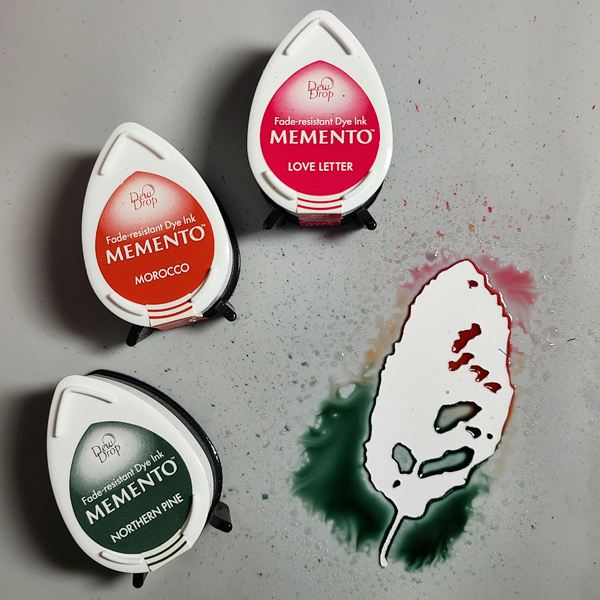
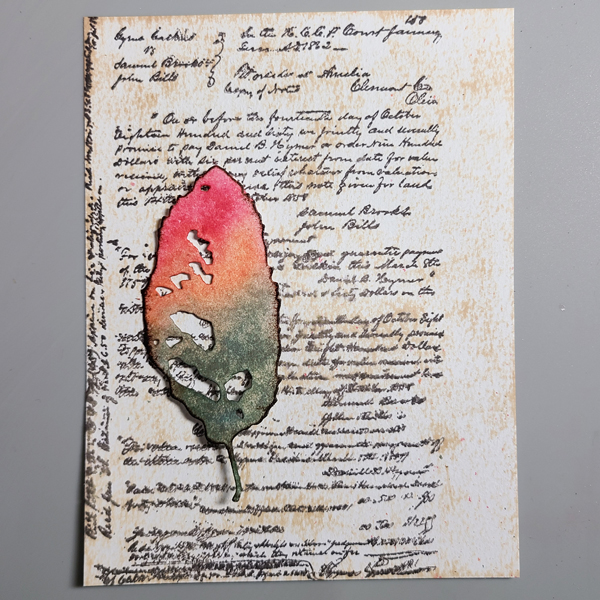
Die cut a leaf out of white cardstock. Apply Northern Pine, Morocco, and Love Letter Memento Ink right next to each other on your craft mat and spritz the colors with water. Lay the leaf into the ink and let it sit for a bit to soak up the color. Lift the leaf out, and let it dry. Then, ink the edges with Warm Cocoa Memento Ink.
Step 4:
Begin trying to decide where your pieces will go. I liked the placement of the leaf here. Now I need to choose the rest of my elements.
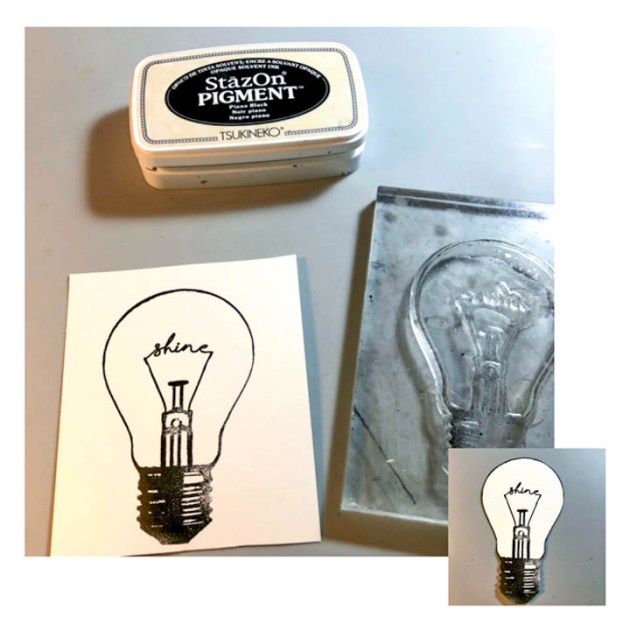
Step 5:
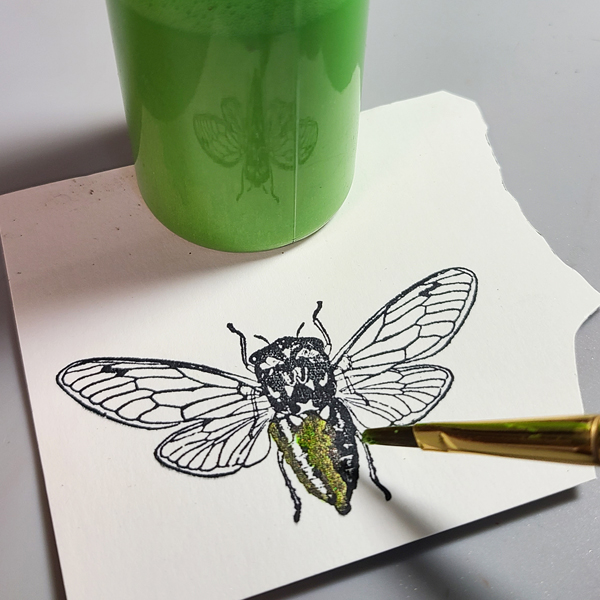
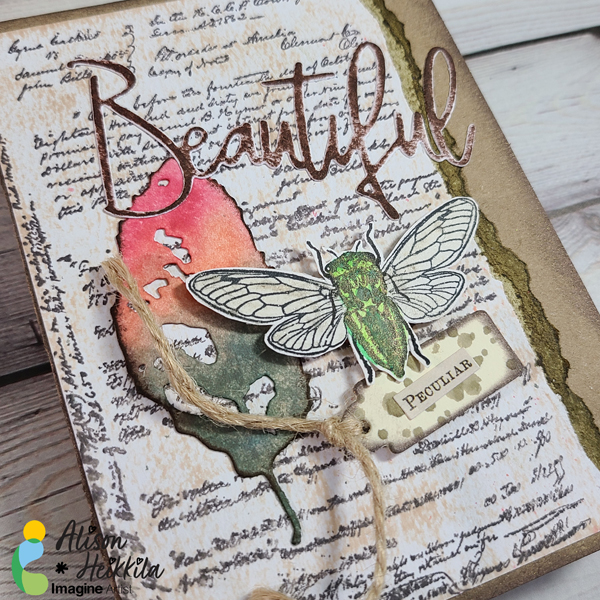
Ink up an insect you like…I went with a cicada and used Nocturne VersaFine Clair Ink. To give the bug metallic shine, I applied New Sprout and Cottage Ivy Fireworks! Spray to the body and Sheer Shimmer Spritz in Sparkle to the wings with a brush. Let dry, then cut out.
Step 6:
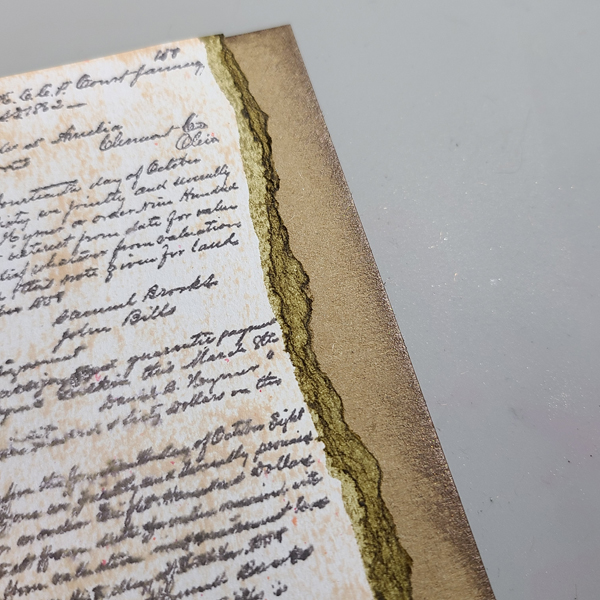
Collages always look better with imperfections, texture, and aging. To achieve all of that on this card, I first tore the right side off of my text panel. Then, I applied Eucalyptus Walnut Ink with a brush on the tear. On my Kraft colored card base, I inked the edges with Dark Brown Shimmer Delicata Ink, directly from the pad.
Step 7:
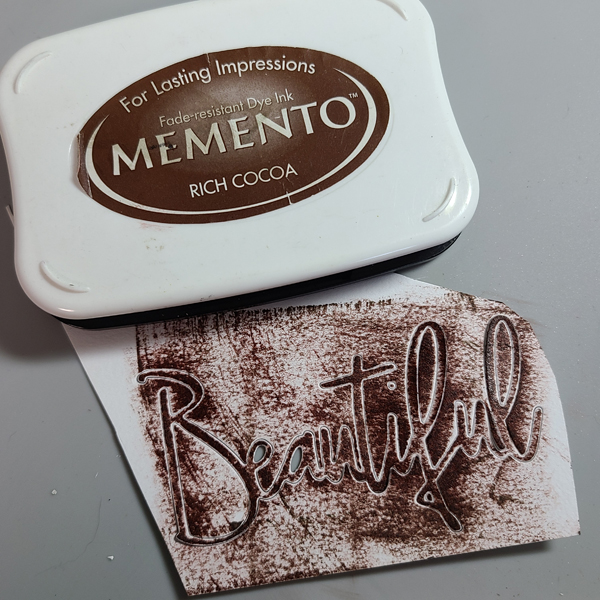
Using the same rough cardstock I used for the focal panel, I die cut the word “beautiful.” Then I rubbed Rich Cocoa Memento Ink across in, allowing some of he white to still show through.
Step 8:
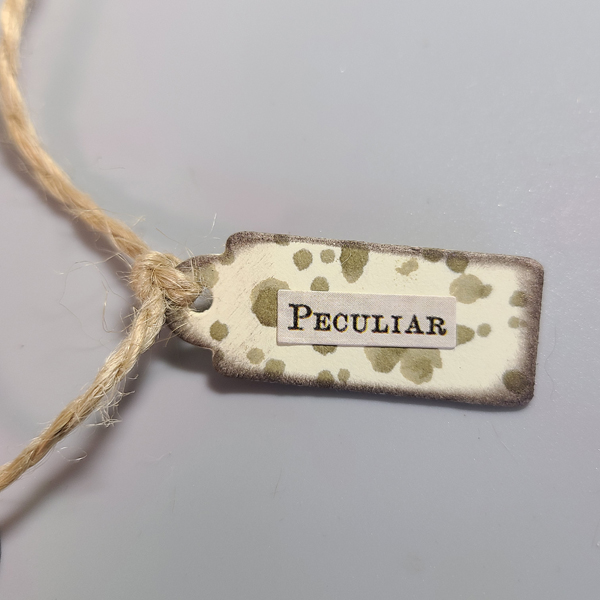
I die cut a little tag out of cream colored cardstock, and flicked on more of the Eucalyptus Walnut Ink. Then I aged the tag with Dark Brown Shimmer Delicata Ink and added a sticker. I finished the tag off with twine. Adding many elements, especially those with texture, really add to the collage style vibe.
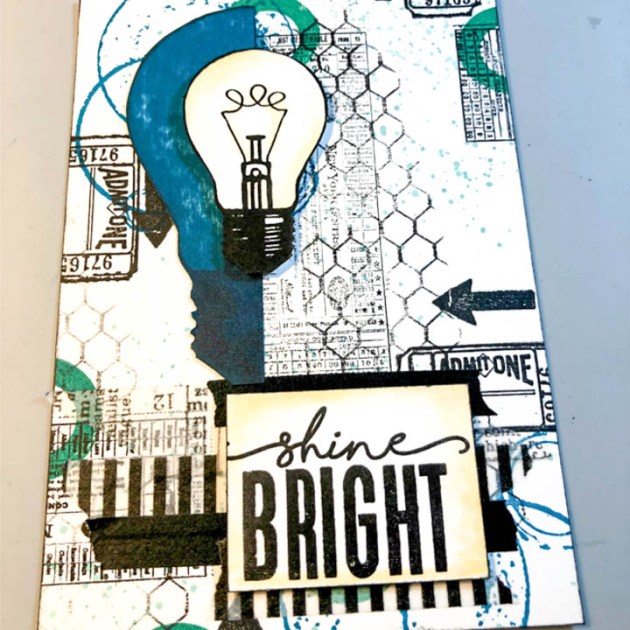
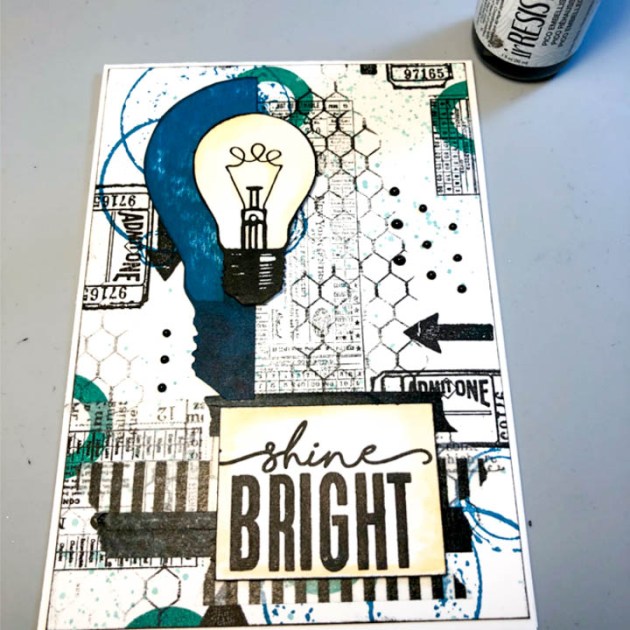
Step 9:
Attach all of your elements. Use flat glue as well as dimensional adhesives, like foam squares to add more interest to the card. My cicada and tag are both popped up for dimension. The twine was left long and can move freely.
Art Supplies:
Imagine:
Memento Ink: Desert Sand, Espresso Truffle, Rich Cocoa, Love Letter, Morocco, Northern Pine
Fireworks! Shimmery Craft Spray: New Sprout, Cottage Ivy
Delicata Ink: Dark Brown Shimmer
Other:
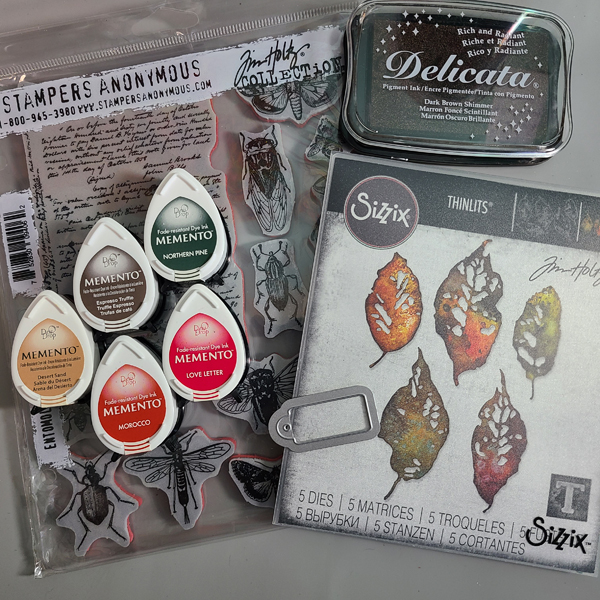
Sizzix & Tim Holtz: Leaf Fragments, Tag Collection
Stampers Anonymous & Tim Holtz: Entomology
Pinkfresh Studio: Classic Word Dies
Canson: Mixed Media Paper XL
Brushes
Kraft & Cream Colored Cardstock
Adhesive (flat and dimensional)