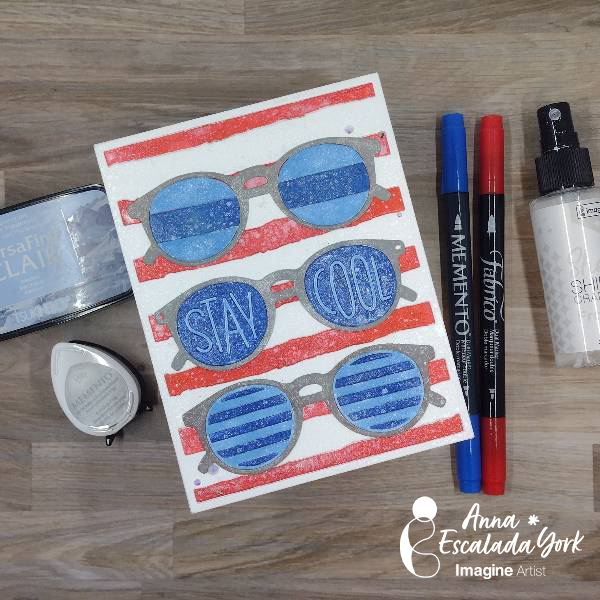
Let’s Make a Cool 4th of July Celebration Card

By Anna Escalada York

– Summertime means wearing sunglasses here in the Pacific Northwest and getting ready to spend time out of doors! I wanted to celebrate the return of the warm sun and the 4th of July with this red, white and blue card that could be used anytime during the summer. 

Skill: Intermediate 
Time: 1.5 hours 

Directions: 
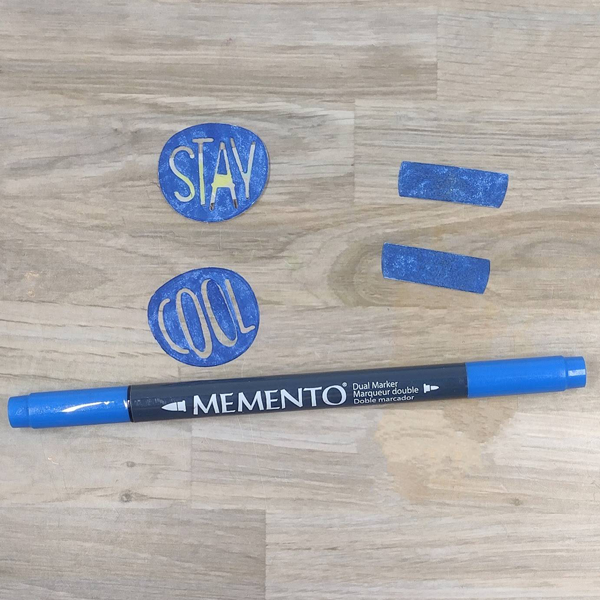
Step 1: 
After die cutting the three pairs of sunglasses as well as their lenses (which are separate in the die set), color part of the lenses’ elements with Danube Blue Memento Dual Marker. 
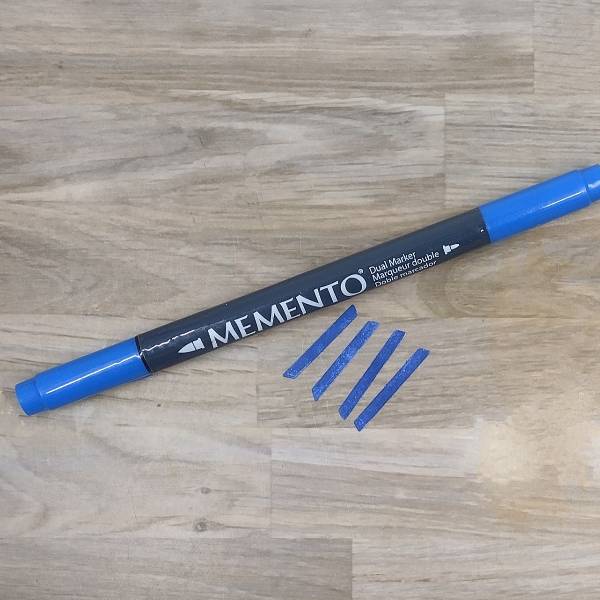
Step 1.5: 
Remember that you need to color all of the parts of the lenses that you intended to color with the Danube Blue Memento Dual Marker. (Whoops!) 
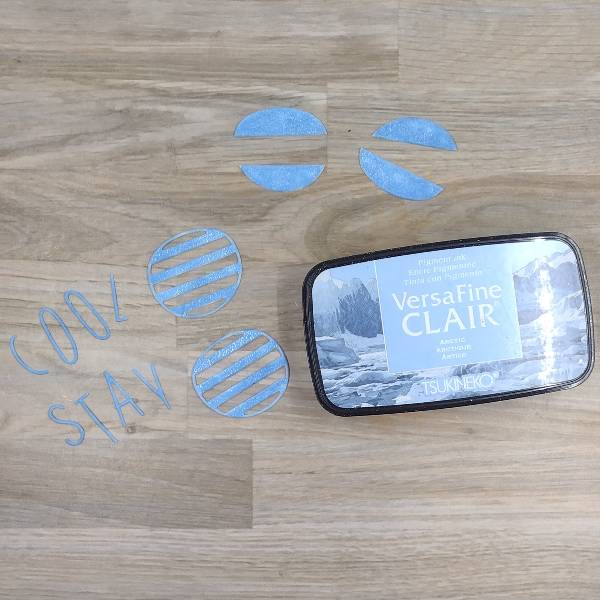
Step 2: 
Press other parts of the die cut lenses into the Arctic VersaFine Clair ink pad. Heat emboss the larger die cuts with clear embossing powder if desired. (I chose not to heat emboss the letters since they were so small.) Then assemble all of the lenses using washi tape on the back of each lens to hold the pieces together. 
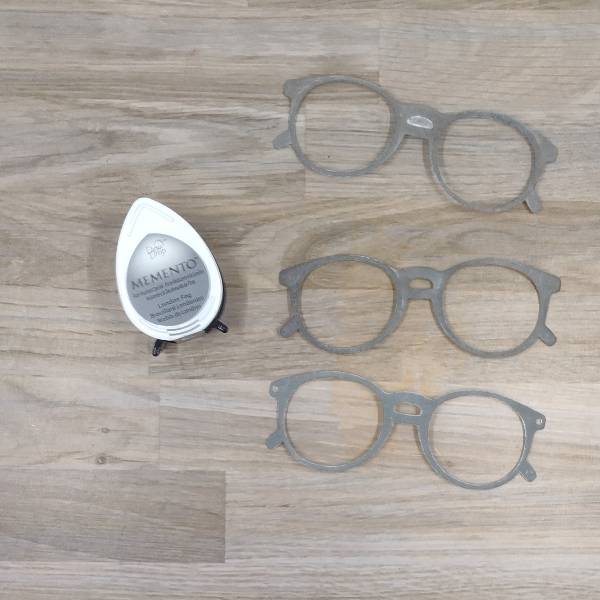
Step 3: 
Press the three die cut sunglass frames into the London Fog Memento ink pad. 
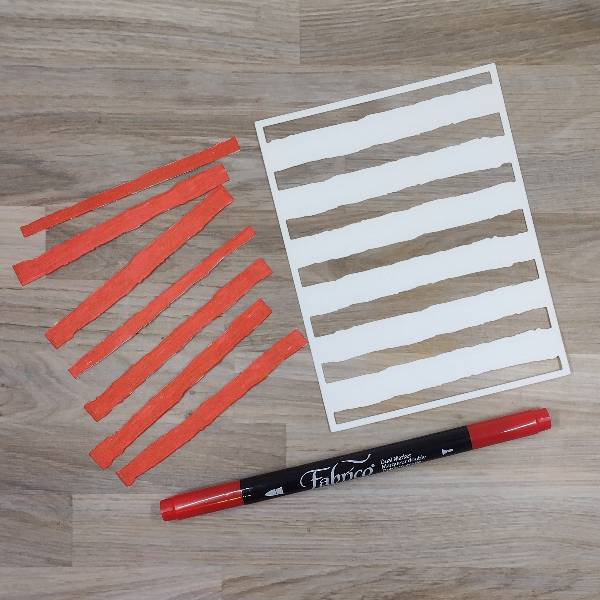
Step 4: 
After die cutting the striped background panel, color the stripes with Poppy Red Fabrico Dual Marker 
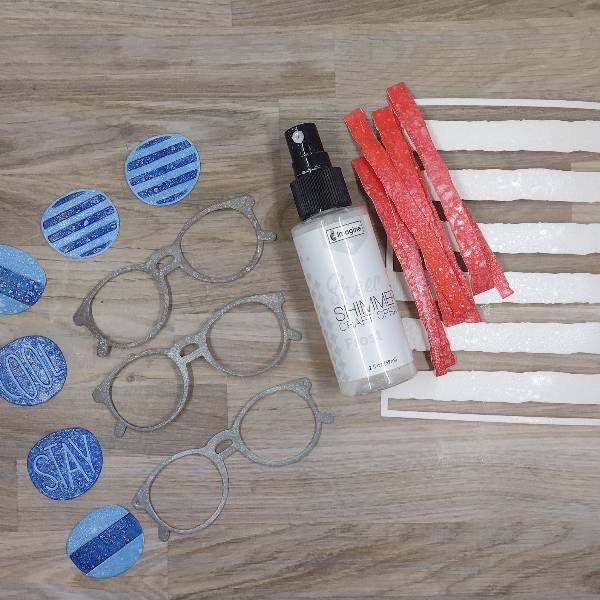
Step 5: 
Spray all of the components of the card–the sunglass frames, the lenses and the striped background panel–with Frost Sheer Shimmer Craft Spray and allow to dry. 
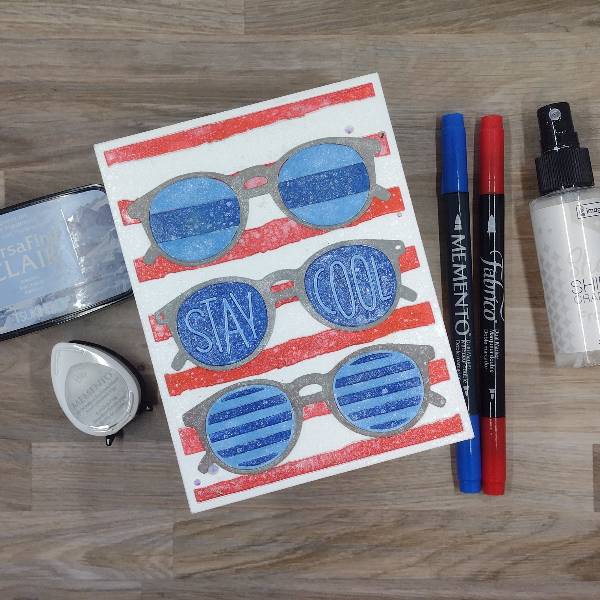
Step 6: 
Assemble the card. Adhere the striped panel to an A2 white card base, then inlay the red die-cut stripes. Then glue the three frames onto the panel and inlay the frames into the frames. Glue clear rhinestones on the lower left and upper right part of the card to finish the card. 

Art Supplies 

Imagine 
Fabrico Dual Marker – Poppy Red 
Memento Dual Marker – Danube Blue 
Memento Ink – London Fog 
Sheer Shimmer Craft Spray – Frost 
VersaFine Clair Ink – Arctic 

Other 
Concord & 9th – die set – Spectacular Shades 
Crafty Meraki – rhinestones – Meraki Sparkle Magical Iris 
Honey Bee Stamps – die set – Watercolor Lines Coverplate 
Clear Embossing Powder 
Heat tool 
Glue 
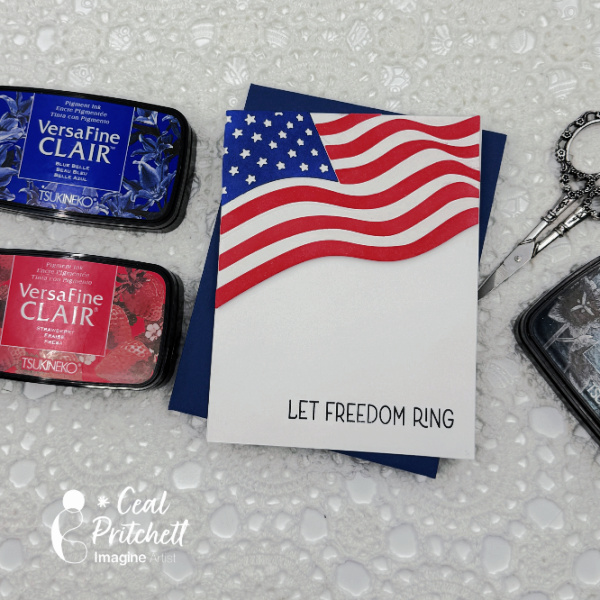
Let Freedom Ring Invitation Tutorial

By Ceal Pritchett

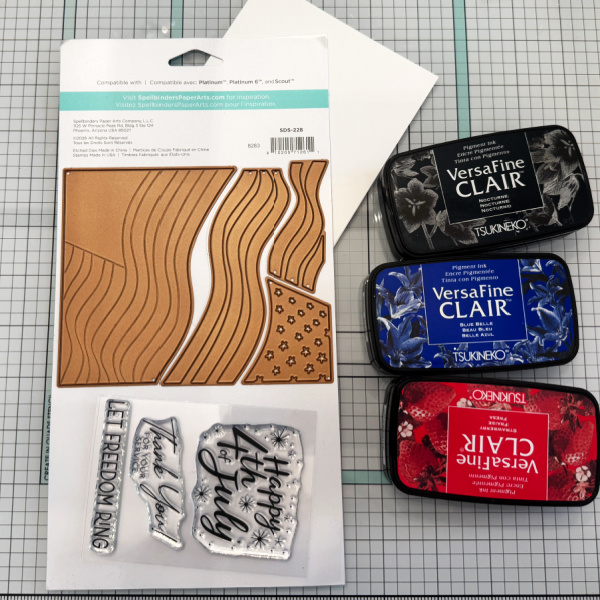
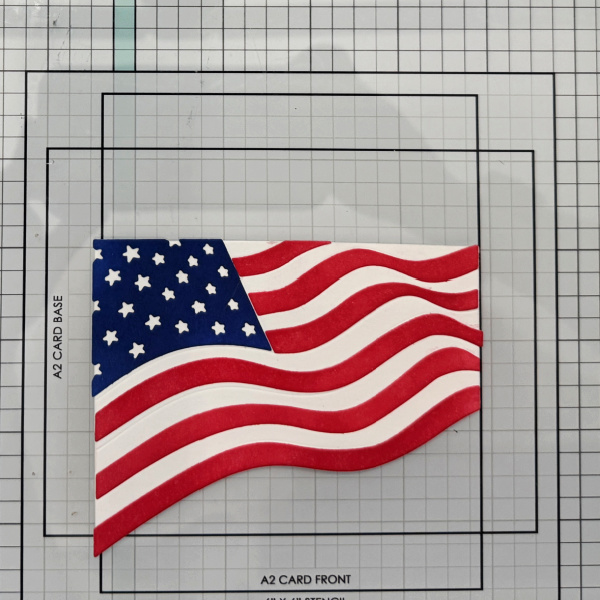
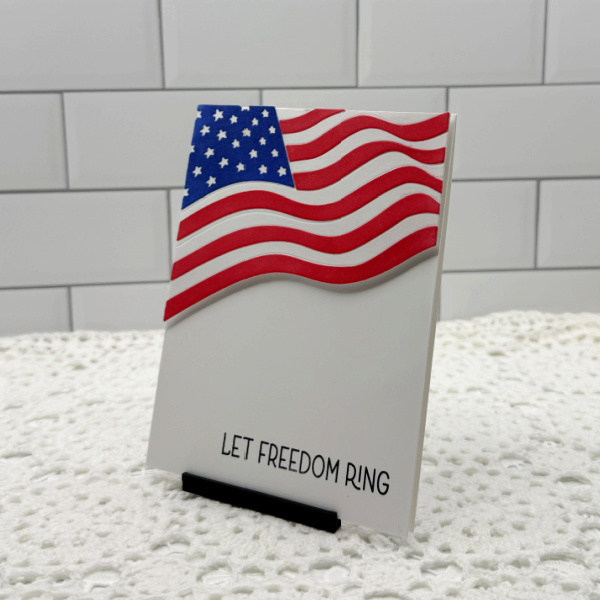
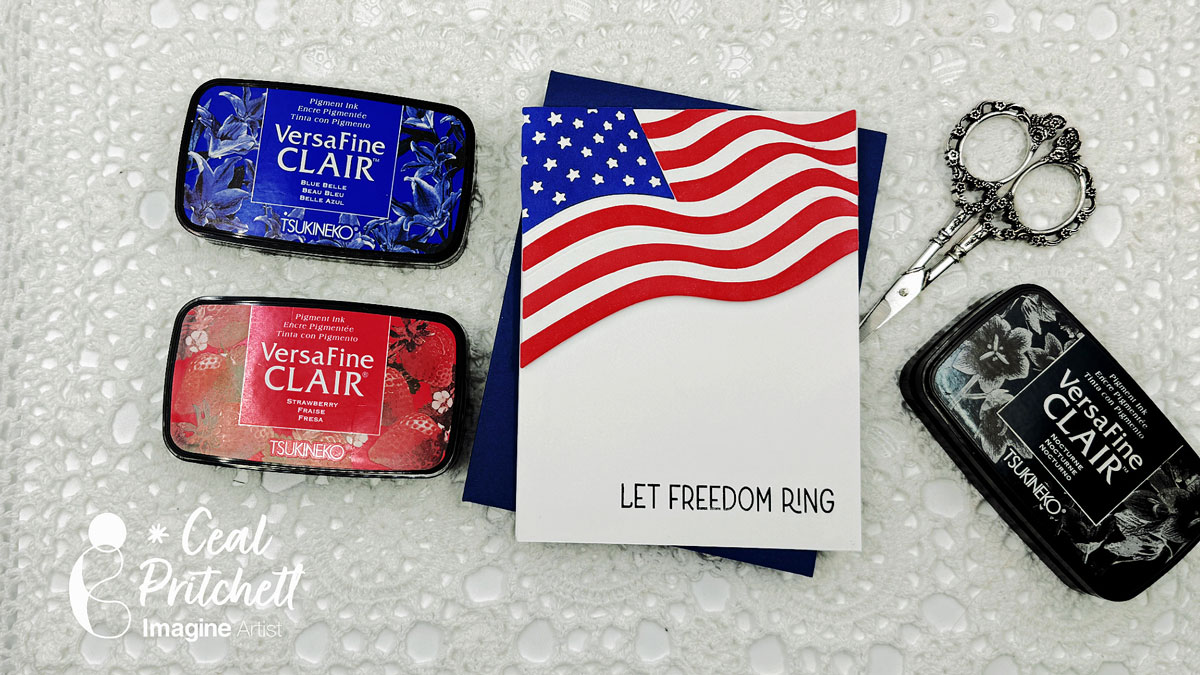
Hello crafty friends! It’s Ceal, here. – Today I am sharing this card for Independence Day. I throw an Independence Day celebration at my home each year and I send out invitations. This is my invitation for this year.

Skill: Beginner to Intermediate
Time: 30 minutes

Directions:

Gather your supplies, you will need a flag die cut set and red, blue and black inks, stamping platform, a grip mat and a ink blending tool.

Step 1:
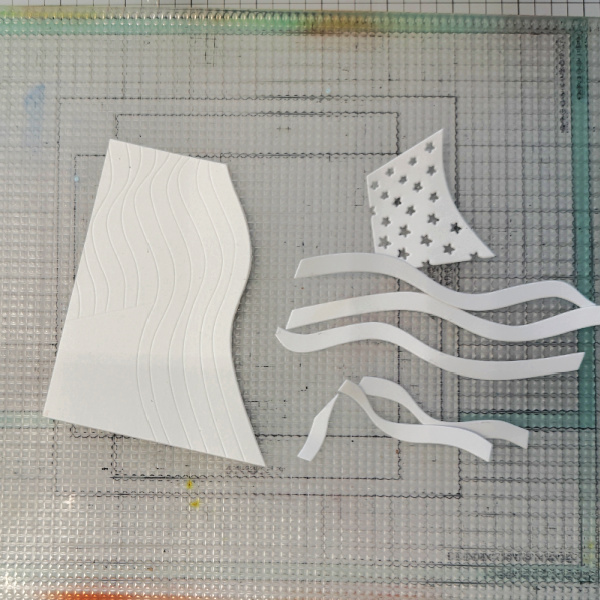
Cut out the die cut pieces.

Step 2:
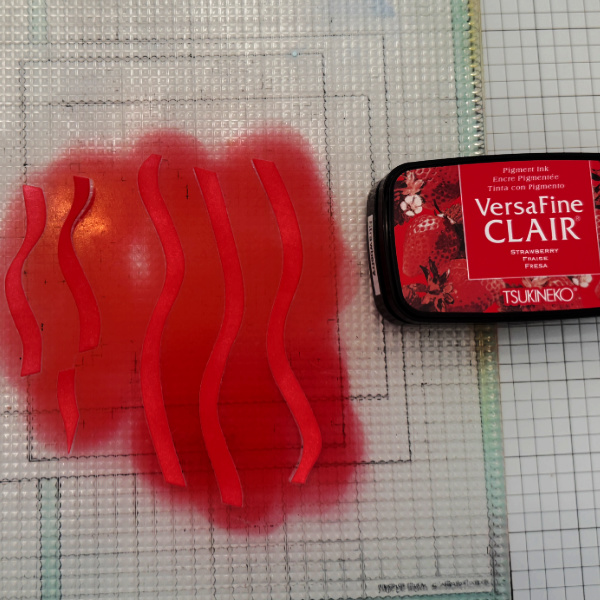
Using an ink blending tool, ink blend red ink on the strips. I used VersaFine Clair Strawberry.

Step 3:
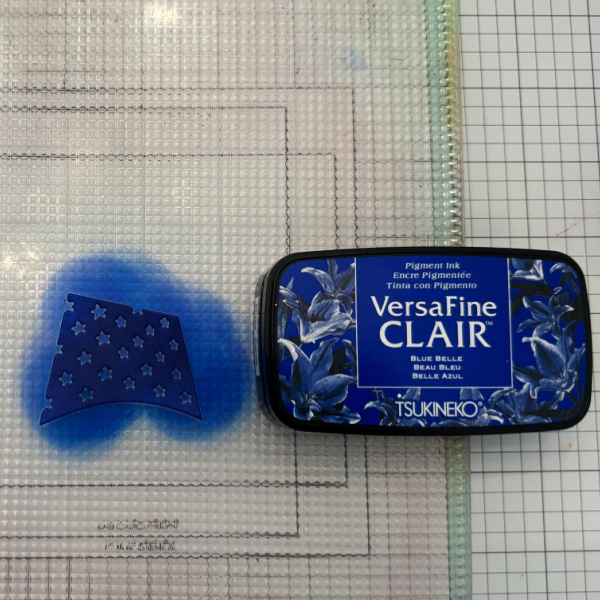
Using an ink blending tool, ink blend blue ink on the star piece, I used VersaFine Clair Blue Belle.

Step 4:
Adhere the blue star piece and the red strips to the flag panel. This panel has lines to show where to place them.

Step 5:
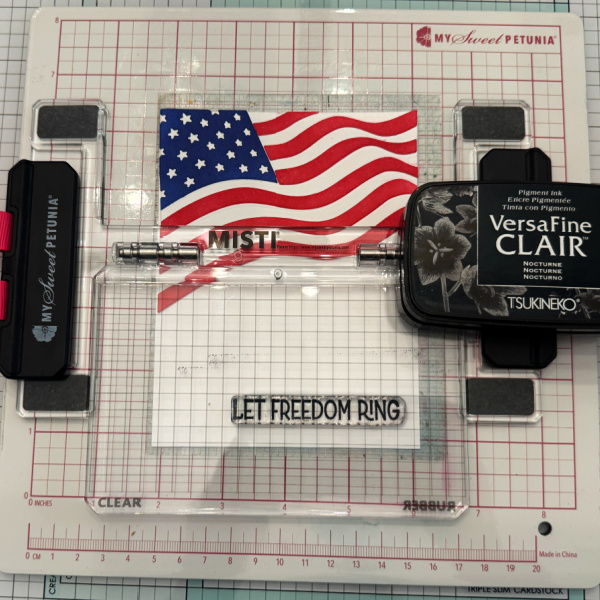
Place the white panel into the Misti Lite and stamp the sentiment at the bottom of the panel.

Step 6:
Adhere the flag to the panel that the sentiment is stamped on and adhere to card base.

Supplies:

Imagine Crafts
• VersaFine Clair
– Nocturne
– Strawberry
– Blue Belle

Other Products
• Flag Stamp & Die set – Spellbinders.
• Misti Lite – My Sweet Petunia

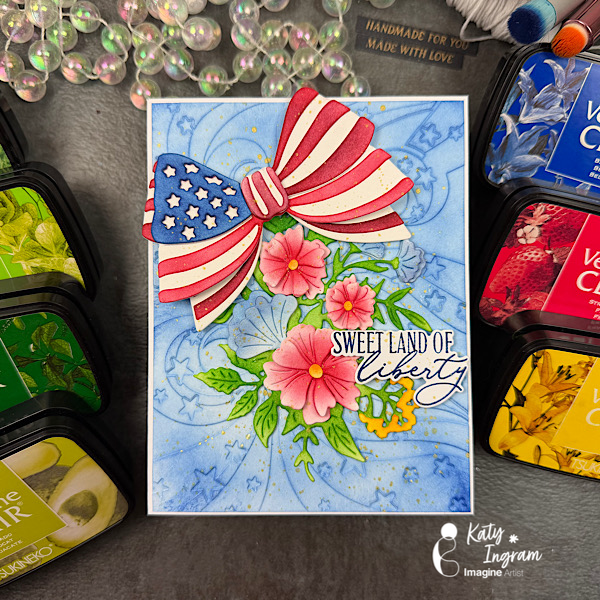
Create a Sweet Land of Liberty Patriotic Card

By Katy Ingram –

Hello Friends! Katy here with my latest video showcasing VersaFine Clair inks once again to create a floral and patriotic theme card. Video has all the details. Thanks for watching.

Skill: intermediate, advanced
Time: 15 minutes

https://youtu.be/6FPfo1V_gAM

Art Supplies

Imagine Products

VersaFine Clair inks https://www.imaginecrafts.com/versafine-clair

  • Blue Belle
  • Strawberry
  • Cheerful
  • Summertime
  • Grass Green
  • Green Oasis
  • Avocado
  • Verdant
  • Chianti

Other Products Used
100% Cotton or Watercolor Paper
The Greetery Stars & Stripes Bow Die
The Greetery Best Bouquet Details Die
The Greetery Star Stream 3D Embossing Folder
Papertrey Ink Land that I love stamp and die set
White Cardstock
Blending Brushes

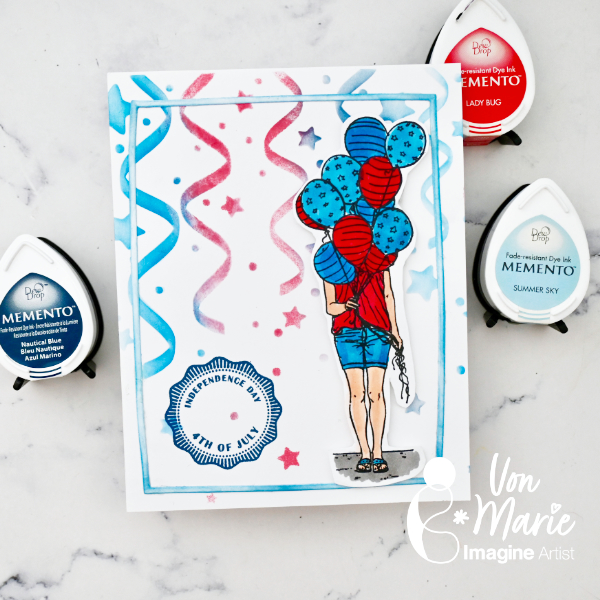
Create A Festive Stenciled 4th of July Card

By Von Marie

Hello everyone. Von Marie here with my latest Video.  Let’s make a festive 4th of July card.  I had a blast using Memento Dew Drop inks and stenciling. I hope you will enjoy. There will be more details in the video.

Skill: Beginner Intermediate
Time: 30 Mins

Craft Supplies

Imagine:
Memento Dew Drop (Summer Sky, Lady Bug, Nautical Blue, Tuxedo Black)
Sponge Daubers With Caps
Craft Mat

Other Supplies:
Cardstock
A2 Card base 4 ¼ x 5 ½
A Colorful Life Designs Star Streamers Stencil 
Colorado Craft Company Red, White, and Blue
Copic Markers R29, R46, B14, B06, T3, E01, E11
Scissors
Foam Tape
Rectangle die
Cardstock
Blending Brushes

You can also make any other celebratory card using some of the similar products used on this card. Use different colors and have fun.

Thank you so much for watching.

~Von Marie~

IG https://www.instagram.com/vonmariedesign/
YT  https://www.youtube.com/channel/UCZHdG46g2ORqLqdLjjlGzVA
FB https://www.facebook.com/von.marie.50?mibextid=wwXIfr&mibextid=wwXIfr
BLOG https://vonmariedesign.blogspot.com/

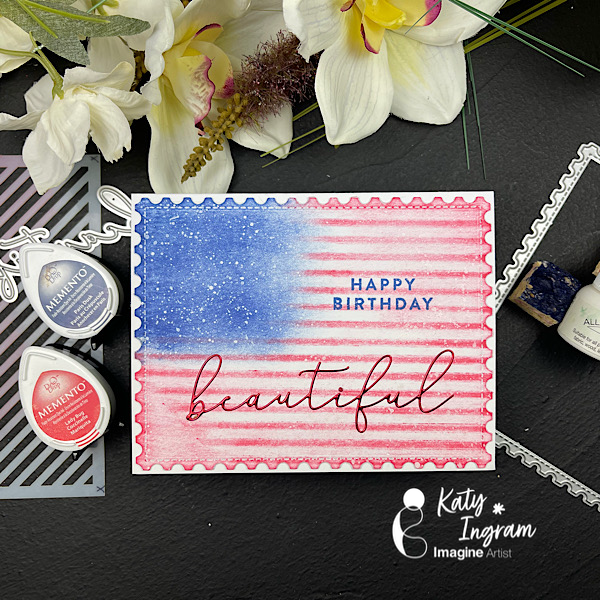
Patriotic-Themed Birthday Card Tutorial: “Happy Birthday, Beautiful”

By Katy Ingram

Hello Friends! Katy here with another quick project for you. Today’s card is for Independence Day here in America, coming up on July 4th and I thought I would use my supplies to create an American Flag. I used a diagonal stencil to create my stripes and some sponge swiping to create my blue section and some splatter for my stars. Some simple techniques with minimal supplies to add to your card making arsenal.

Video below has all the details. I hope you enjoy.

Skill: Beginner
Time: 15 minutes

Video Link:  

Art Supplies

Imagine Products 

Memento Ink Lady Bug
Memento Ink Paris Dusk
All Purpose Ink White

Other Products Used

Affiiate links used at no additional cost to you. Thank you for your support
Simon Says Stamp Diagonal Stencil https://ldli.co/e/e263m92
Kitchen Sponge https://ldli.co/e/e263m92
Red Foil Cardstock https://ldli.co/e/e263m92
White Cardstockhttps://ldli.co/e/e263m92
Kat Scrappiness Postage Rectangle Die https://ldli.co/e/e263m92
Pixie Spray https://ldli.co/e/e263m92

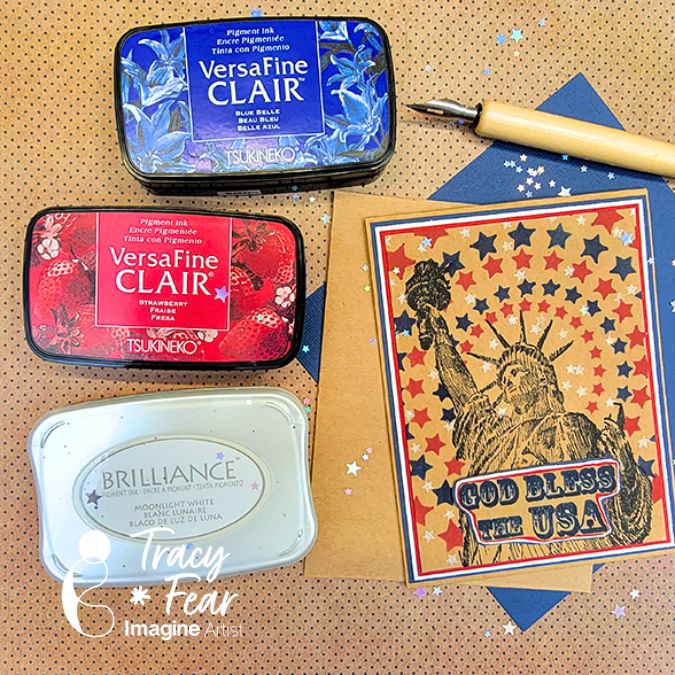
Make an Easy Rustic Patriotic Card

By Tracy Fear

Hello Friends! Tracy here and today I am excited to share this rustic and patriotic card with just 4 inks!
In today’s video tutorial I am sharing how I created this card using a masking technique, some stamping, and some stenciling!
Tracy

Skill: Intermediate
Time: 30 Minutes to 1 hour

Art Supplies
Imagine Products

Other Products Used

  • Trinity Stamps Superstar 6×6 Stencil Set
  • Trinity Stamps Out of this World Stamp Set
  • Technique Junkies Statue of Liberty Stamp
  • Technique Junkies God Bless the USA
  • Generic Kraft card stock and card base
  • Red textured cardstock
  • Blue textured cardstock
  • White glitter cardstock
  • Misti and Mini Misti Tools
  • Cylindrical acrylic stamping tool
  • Cricut Transfer Tape (for the mask)
  • PVA Adhesive
  • Stamping Platform
  • Sticky Mat

ALTERNATIVE PRODUCTS THAT CAN BE USED TO RECREATE SOMETHING SIMILAR

  • Any Pigment Inks
  • Any Dye-based Inks

To learn how to make this patriotic card, click here!