
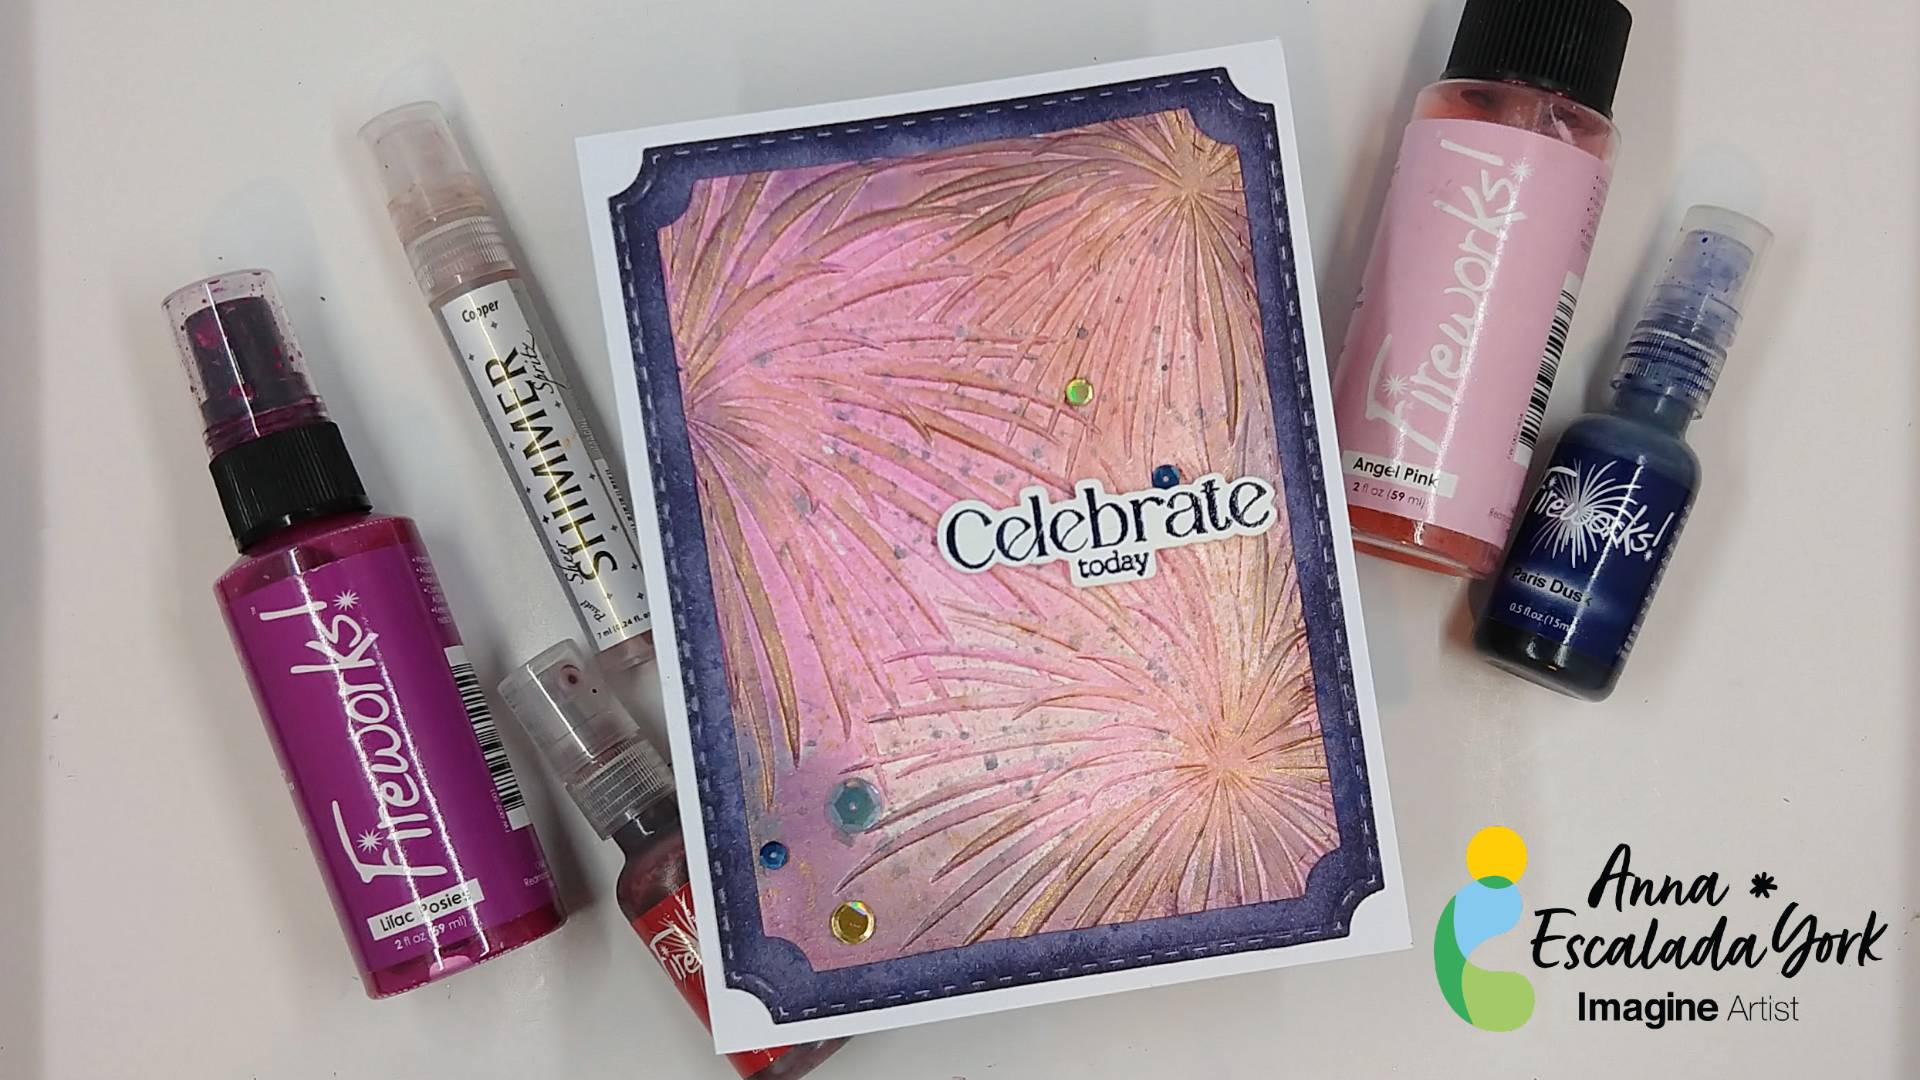
By Anna Escalada York
Today’s card was inspired by 4th of July celebrations, but is meant for a beloved coworker who is retiring after working at my school for over 25 years. She is one of the key people who everyone knew that they could turn to when they needed help and we will sorely miss her, but are so excited for her next adventure.
Skill: Intermediate
Time: 1.5 hours
Directions:
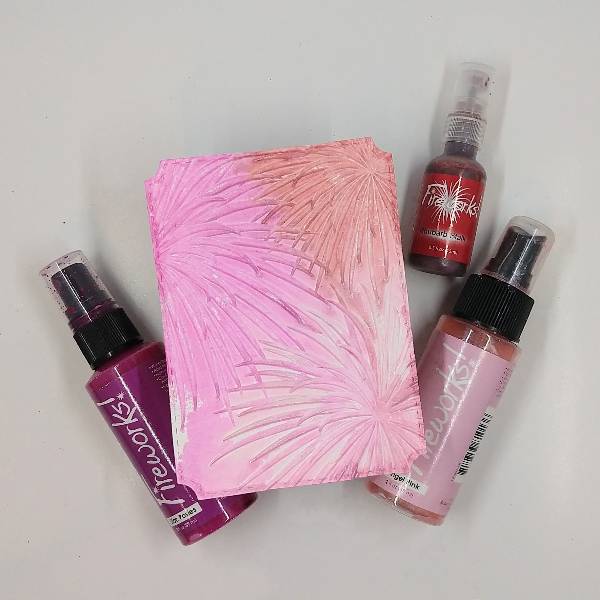
Step 1:
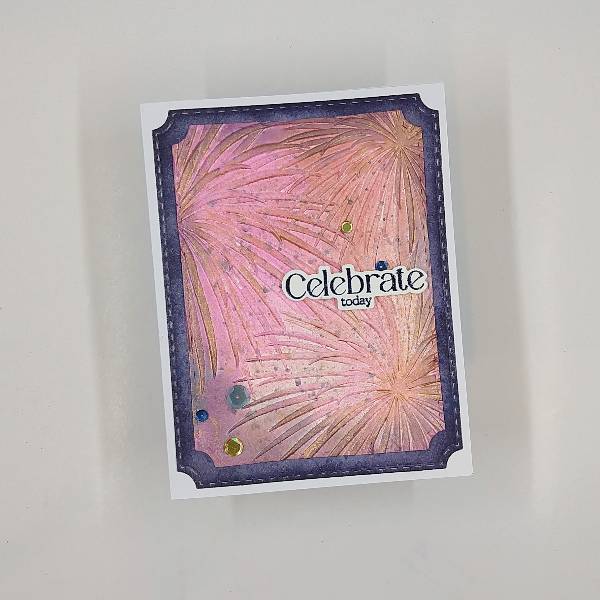
Die cut a piece of watercolor paper with the second-largest die in an A2-sized die set. Spray Lilac Posies, Angel Pink and Rhubarb Stalk Fireworks! Craft Spray directly onto a fireworks embossing folder, trying to have the colors mix on the folder. Then add the watercolor paper panel onto the embossing folder and run the whole thing through a die cutting machine. The spray will move inside of the embossing folder when it is pressed through the machine, giving some interesting effects on your embossed panel. Allow the sprays to dry.
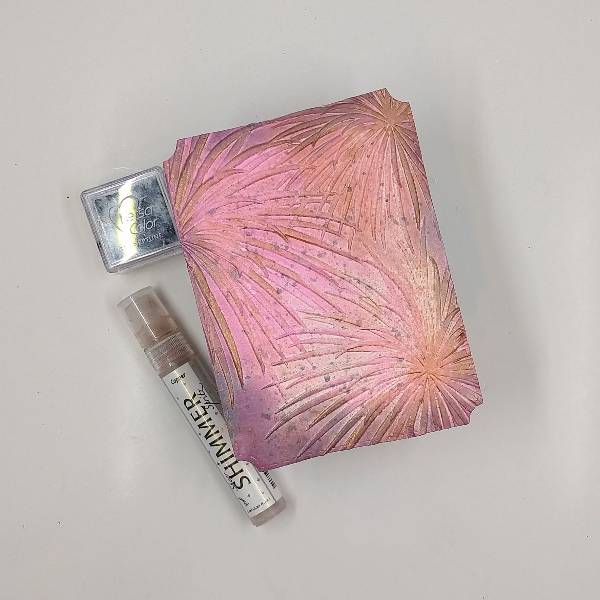
Step 2:
Ink blend the edges of the embossed panel with Neptune VersaColor ink. Press the Neptune VersaColor ink pad onto a piece of scrap acetate and spray with water and then splatter the mix onto the panel with a thin paintbrush. Then spray the panel with Copper Shimmer Spritz. Spray more of the Copper Shimmer onto a clean piece of acetate and use the spritz to paint the raised parts of the panel (the tendrils or arms of the fireworks). Allow to dry.
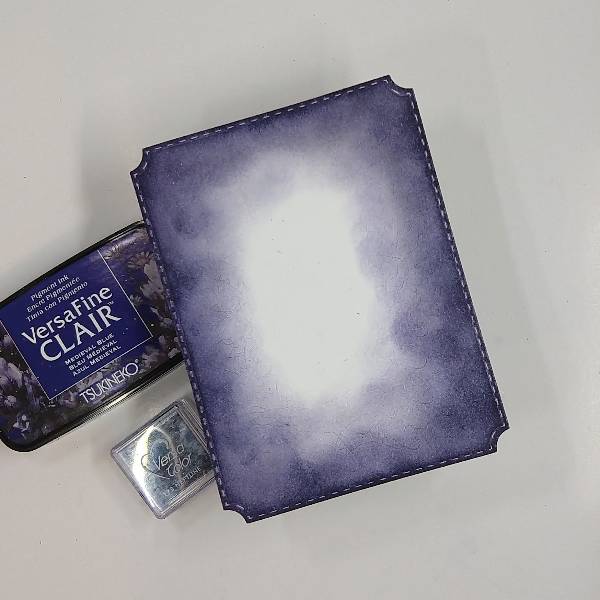
Step 3:
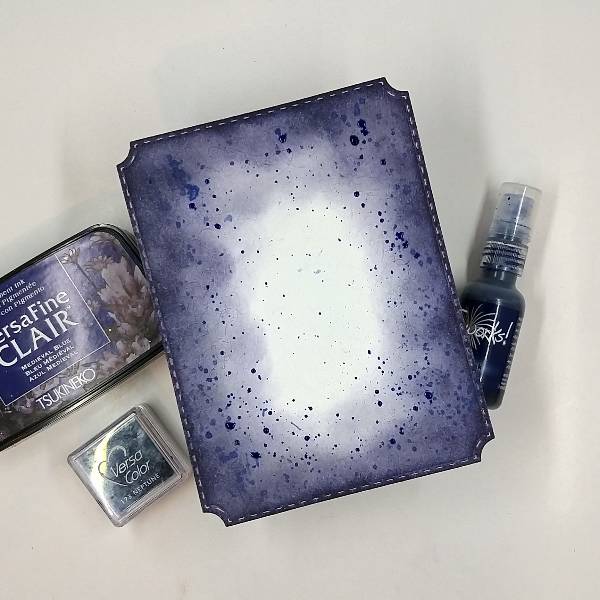
Die cut another piece of watercolor paper with the largest die in the A2-sized die set. Using a sponge dauber, ink blend the edges with more of the Neptune VersaColor ink and then the extreme edges with Medieval Blue VersaFine Clair ink.
Step 4:
Splatter Paris Dusk Fireworks! Craft Spray onto the panel and allow to dry.
Step 5:
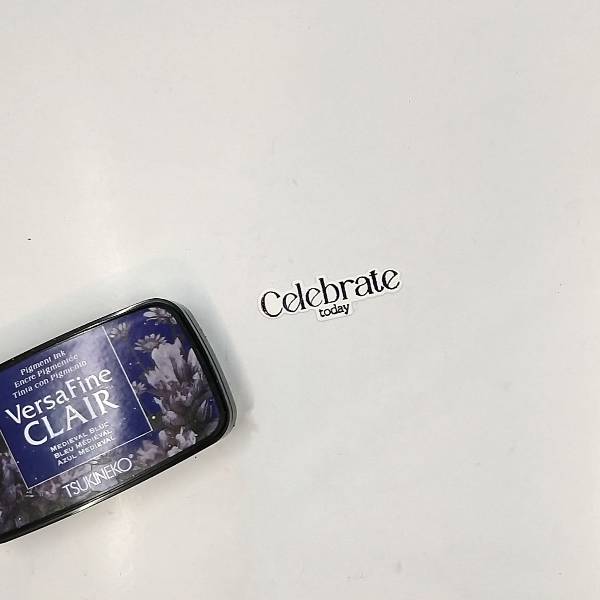
Stamp a sentiment on a scrap of watercolor paper with Medieval Blue VersaFine Clair ink and heat emboss with clear embossing powder. Die cut the sentiment with the corresponding die.
Step 6:
Glue the two panels together. Attach the sentiment with foam tape. Then glue sequins on the lower left corner and just above the sentiment. Finally, glue the whole thing onto an A2-sized white cardbase to finish the card.
Art Supplies
Imagine
• Fireworks! Shimmery Craft Spray- Angel Pink, Lilac Posies, Paris Dusk and Rhubarb Stalk
• Sheer Shimmer Spritzer – Copper
• VersaColor ink – Neptune and Medieval Blue
• Sponge dauber
Other
• Altenew – embossing folder –
• Firework Trio 3D
• Altenew – Foam Tape
• Altenew – Die set – Blossoms of Encouragement
• Altenew – Stamp set – Blossoms of Encouragement
• Catherine Pooler – Sequin mix – Kyoto
• Pink and Main – Die set
• Notched Corners
• A2-sized kraft card base
• Clear Embossing Powder
• Watercolor paper
• Thin paint brush
• Die cutting machine
• Scissors
• Glue


 Imagine Blog