By Neva Cole –
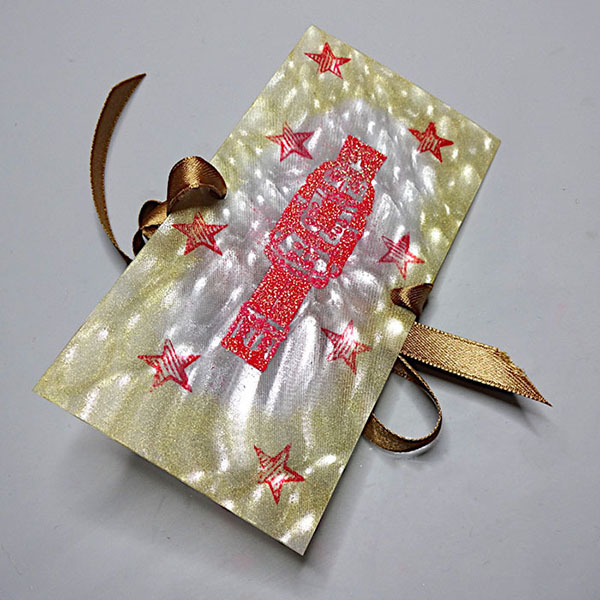
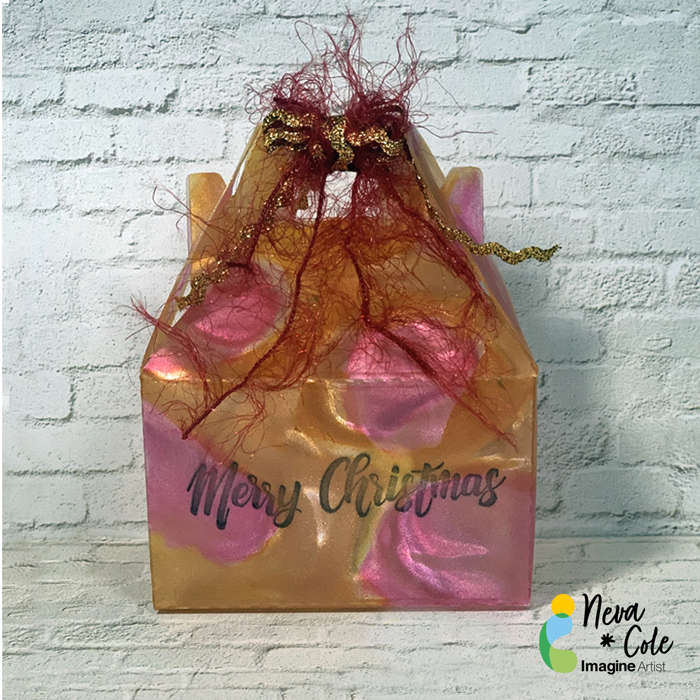
Vertigo is a beautiful translucent material to use in creating projects, in today’s tutorial, I am sharing tips and hints to make your project shine! The perfect ink for this box is StazOn, as it is the only ink that will dry on Vertigo and other plastics.
Skill: Intermediate
Time: 1 hour
Directions:

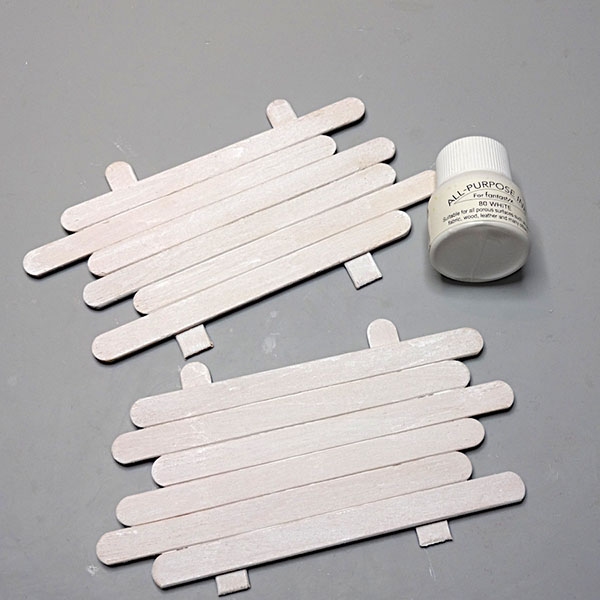
Step1:
Vertigo can be cut with scissors OR with a simple die. Complex dies do not work well with most plastics, Vertigo included.
This particular box needed 8.5” by 5” section of Vertigo, 12” x 12” sheets can be purchased directly from Imagine Crafts website. Recycled packaging may be substituted for Vertigo, however the results will not have the stunning effect the the patterns that Vertigo provides. The Pebbles pattern of Vertigo was used for my box.
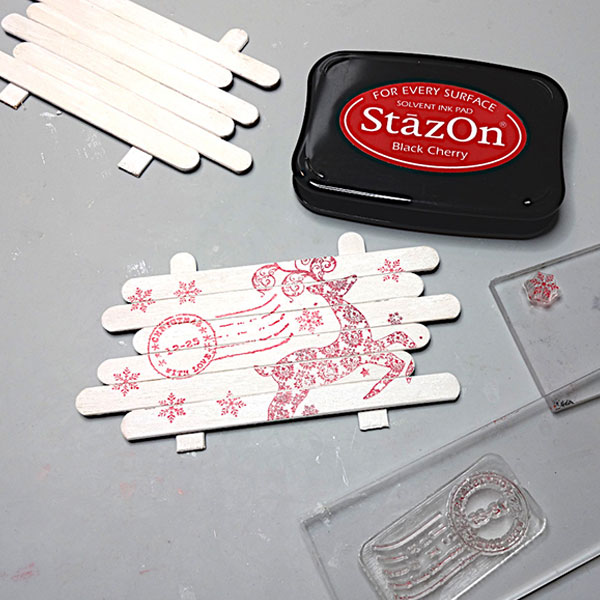
Step 2:
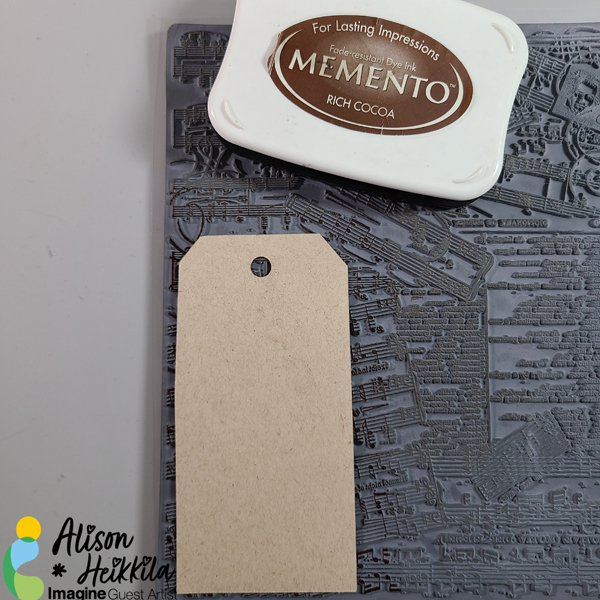
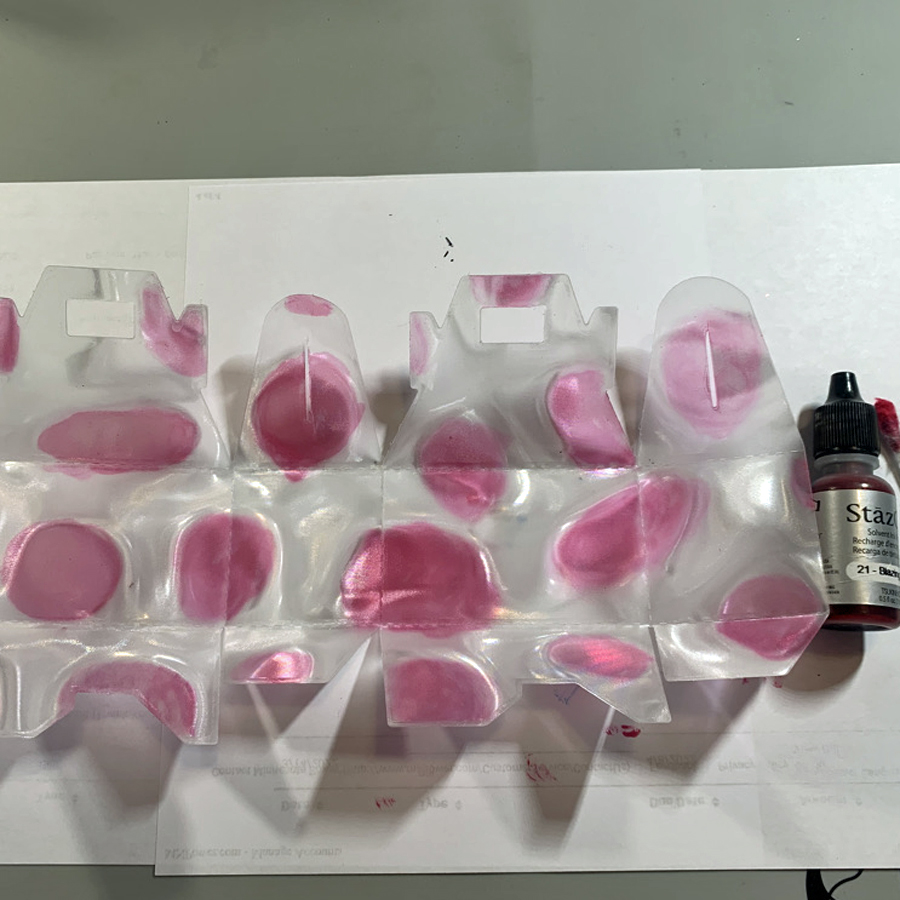
Place a few drops ink from StazOn Blazing Red inker on a plastic surface to use as a palette.
On the INSIDE of the box use a cotton swab to color each of the pebbles from the center out.
A little goes a long way with the translucent colors.

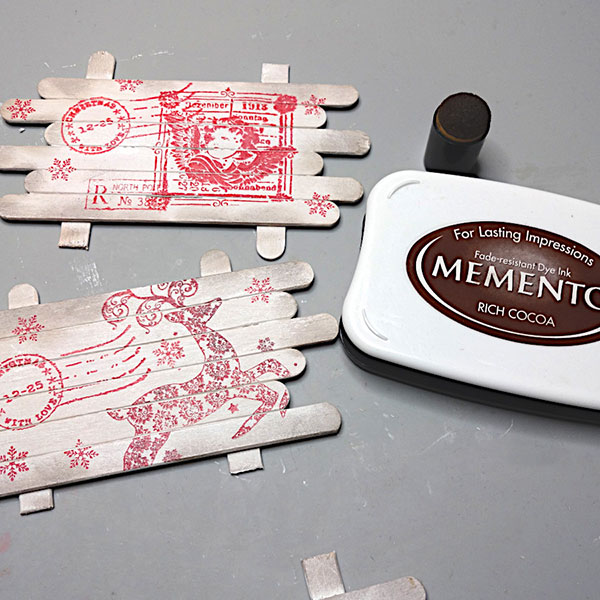
Step 3:
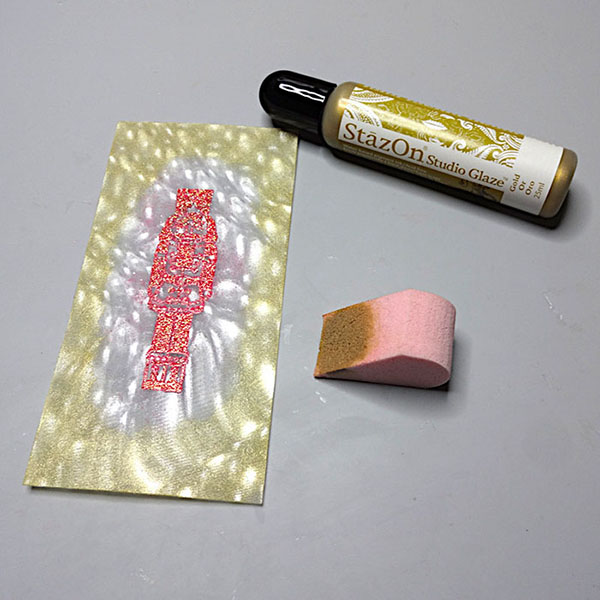
Metallic StazOn ink is slightly less translucent than the other colors.
To capture more shimmer, apply a drop or two of StazOn Metallic Gold on the INSIDE of the box
and move the ink with a cotton swab to color around the pebbles.
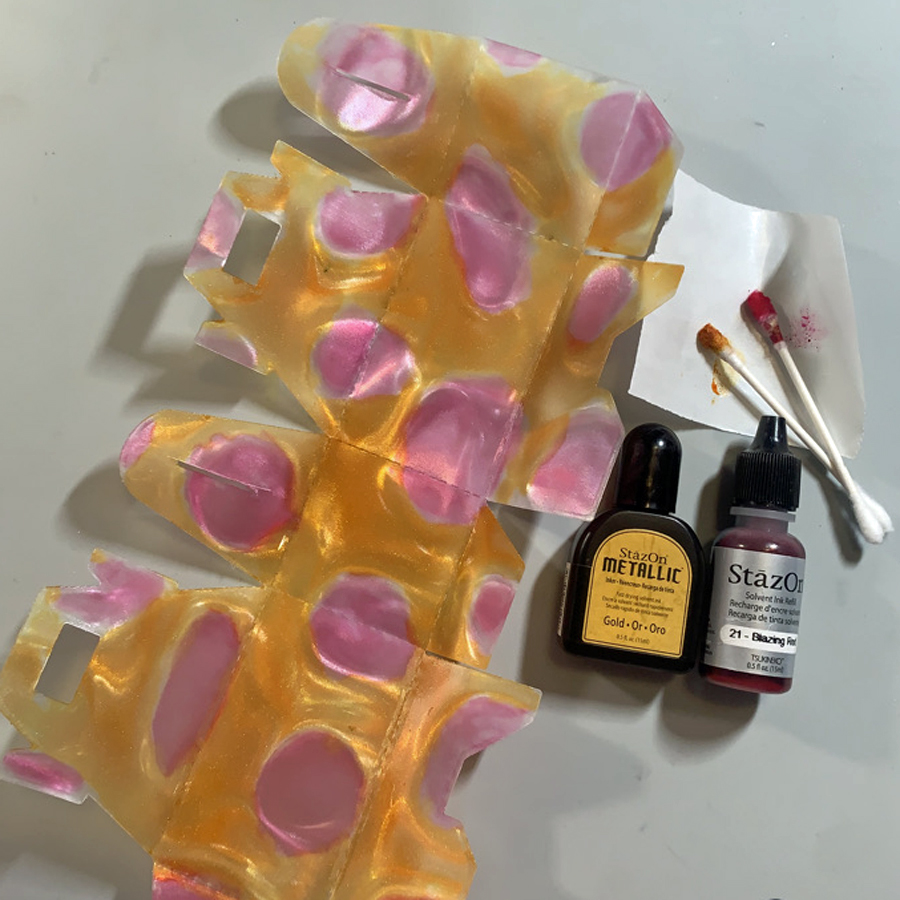
Step 4:
Continue to add StazOn Metallic Gold ink to cover the remaining areas of the inside of the box.
Set aside to dry, as the Metallic ink is a bit thicker and takes a longer to dry.
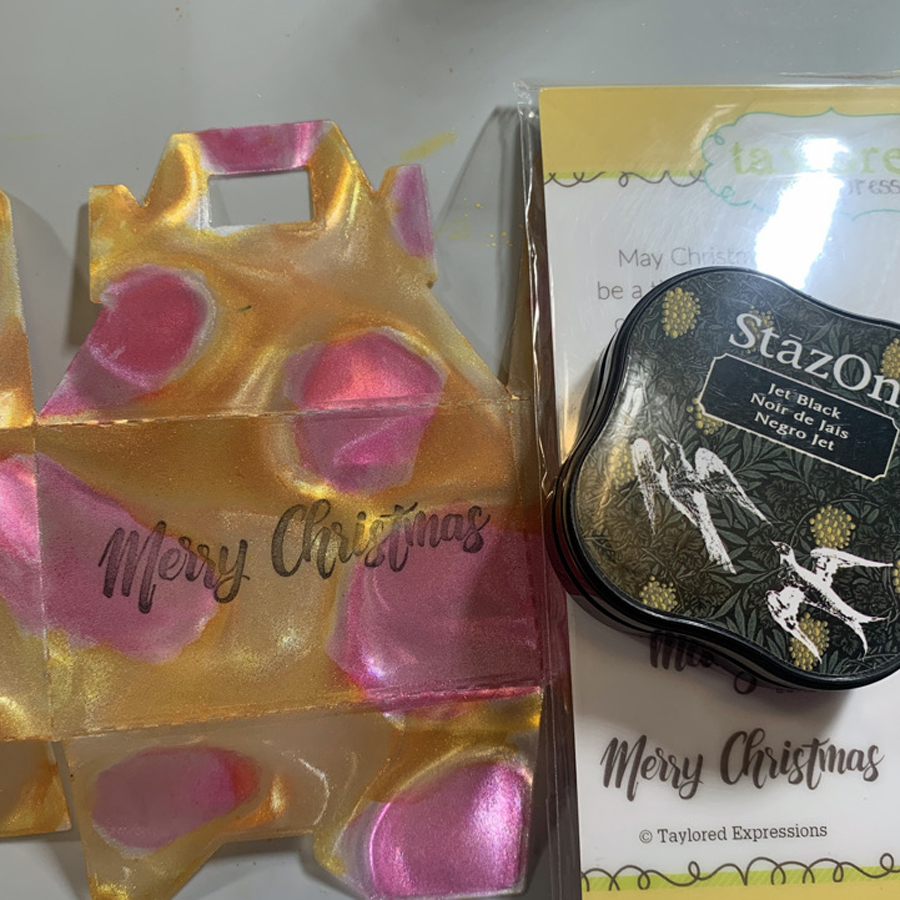
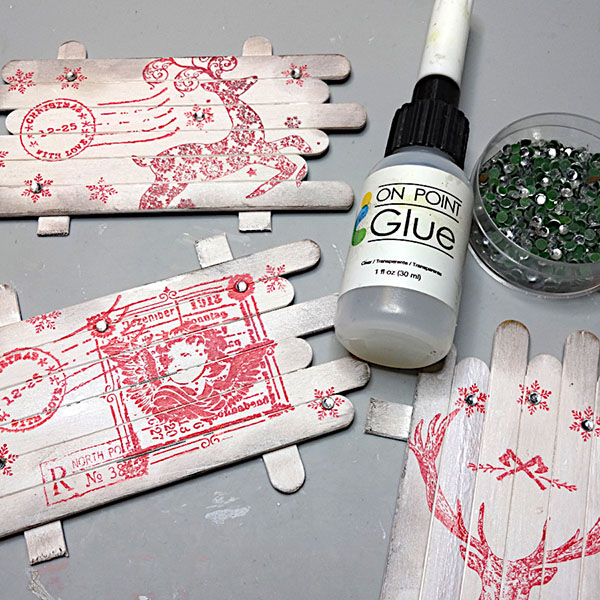
Step 5:
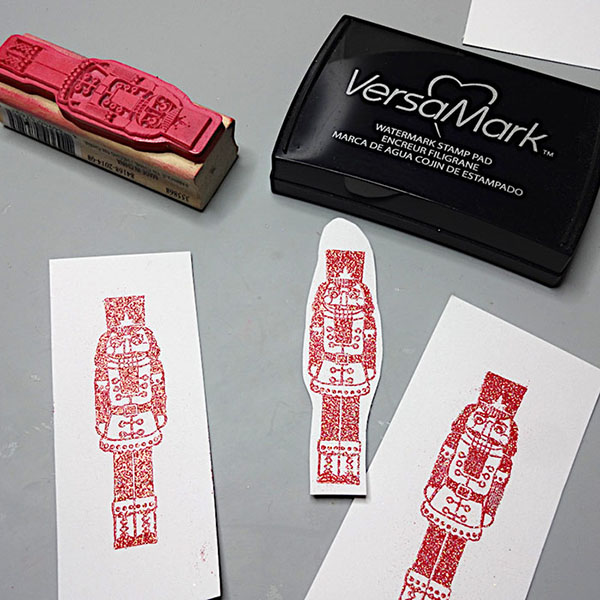
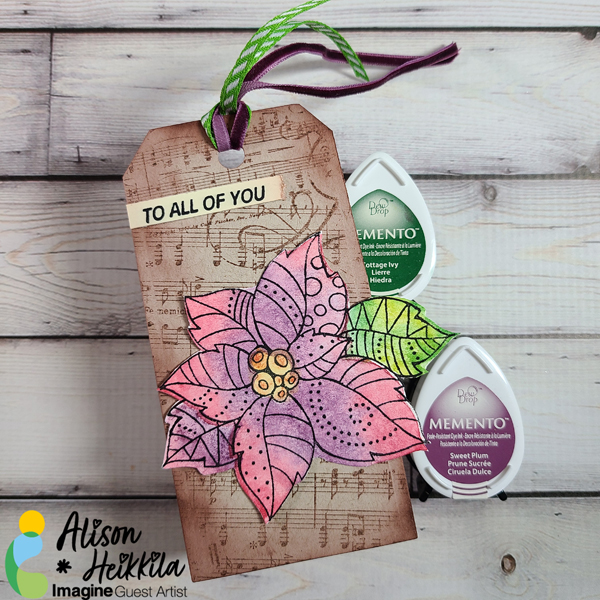
Using StazOn Jet Black, stamp the “Merry Christmas” sentiment on the OUTSIDE of the box.
This keeps the interior of the box ink from lifting and to have the correct orientation.

Step 6:
Tear It! tape is perfect to hold the bottom of this gift box together.
Assemble box and determine the best placement for the Tear It! tape.
Unfold box and add Tear It! tape, my project called for five sections to hold the box in shape.
Remove Tear It! Tape liner and assemble gift box.
Decorate with matching ribbon and fibers to close the top and keep your gift secure.
Art Supplies
Imagine:
Vertigo–Pebbles 12” x 12” sheet
StazOn Inkers–Blazing Red and Metallic Gold
Other:
Bakery Gift box die–Lifestyle Crafts
Cotton Swabs
Sentiment–Christmas Blessings Taylored Expressions
Misc: Gold Ric Rac and red fibers