
By Neva Cole
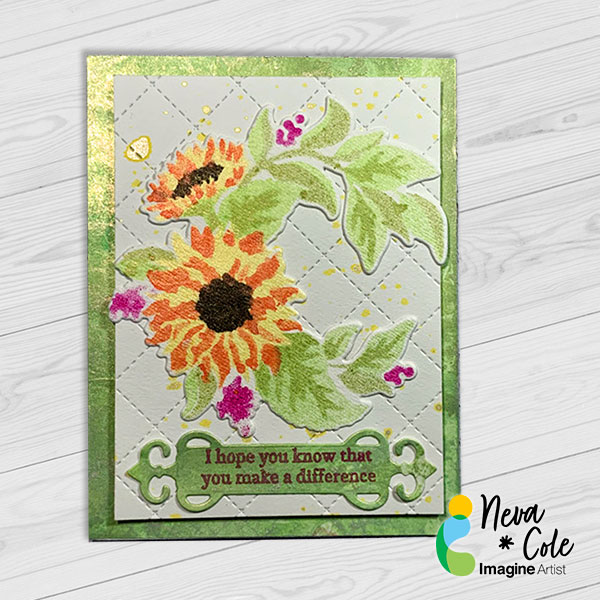
In today’s tutorial, I will share how I used layering sunflower stencils to create a water color look to my image. Notice there is no stamp outline, that helps achieve a more organic look to the project. I learned a few things along the way, and almost want to include a few blooper photos! Instead I share the way that will give you the cleanest look avoiding the pit falls!
Skill: Beginner
Time: 2 Hours
Directions:
Step 1:
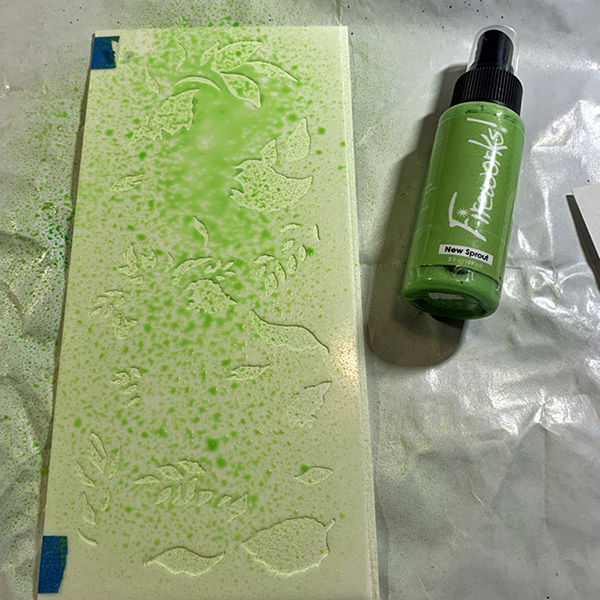
Trim white watercolor cardstock to 4 1/4” x 9 1/4”, or about 1/4” on each side larger than your stencil. this will allow you to handle your project more cleanly. Use reposition able painters tape or washi tape to secure stencil along left side with edges matching along the upper and left hand side. Spritz with Fireworks! in New Sprout until color depth desired is achieved. In this close up photo freezer paper is used underneath the stencil and paper with the plasticized side up. This allows collection of the over spray for background papers. Carefully lift stencil to keep excess Fireworks from leaking under the stencil and adding unwanted color.
Step 2:
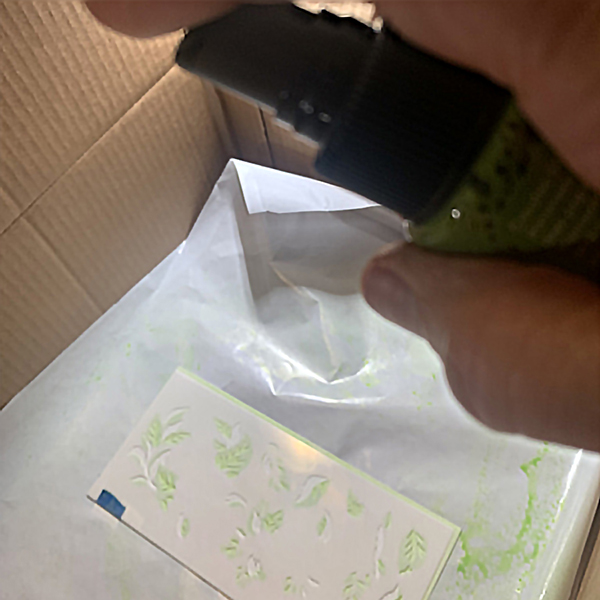
Secure next layer of layering stencil in place and spritz with Fireworks! Shimmery Craft Spray in Bamboo Leaves. This photo shows a spray box that protects your work area from over spray. It also shows the best distance of 12” to 18” to spray the stencil to avoid large droplets of Fireworks!.
Step 3:
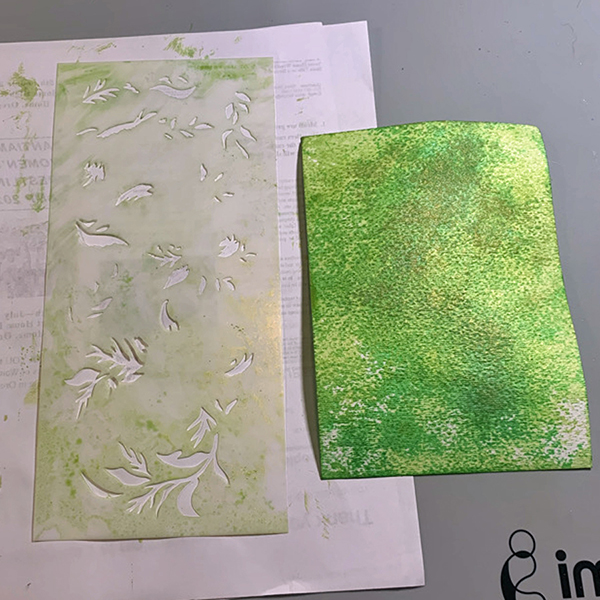
Clean stencils with sections of watercolor paper after each layer. Move the watercolor paper around on the freezer wrap to pick up excess spray. Keep color families together, as both colors of green are used on this background paper. Clean up excess with paper towels or baby wipes.
Step 4:
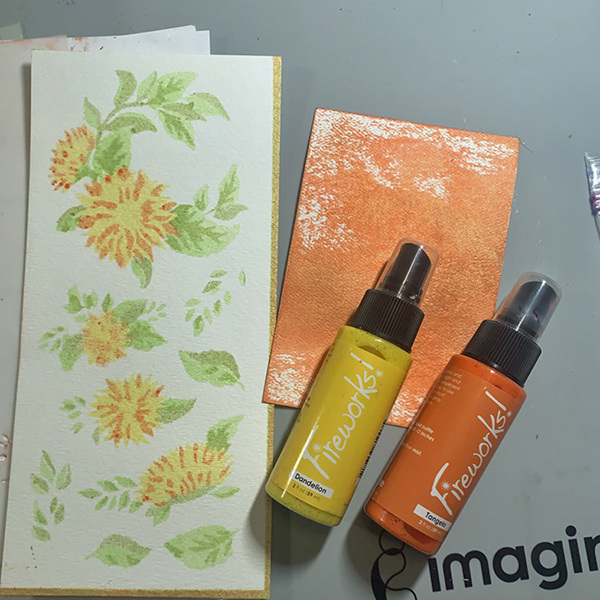
Continue with additional layering stencils.
Here Dandelion is used for Stencil 3, and Tangelo for Stencil 4.
Step 5:
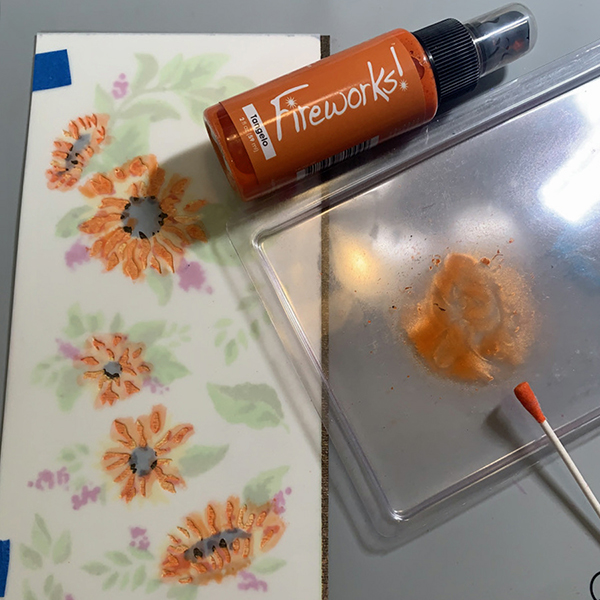
Sometimes as a designer you discover easier methods in the process of designing a project. I was not satisfied with the color through the stencil by just spraying with the stencils that were smaller openings. It is recommended to use this method for the rest of the layers. Fireworks! in Tangelo is shown here sprayed on a plastic sheet. Using a cotton swab the color is carefully dabbed through the stencil to give better color depth. A cotton swab also prevents leakage underneath the stencil of excess color. A lot less of the spray was used with this method! Stencils 5 and 6 used this method to complete the look. Stencil 5 used Fireworks! in Lilac Posies, and Stencil 6 a mixture of Fireworks! Rich Cocoa (for shimmer) and Walnut Ink in Java for a darker color.
Step 6:
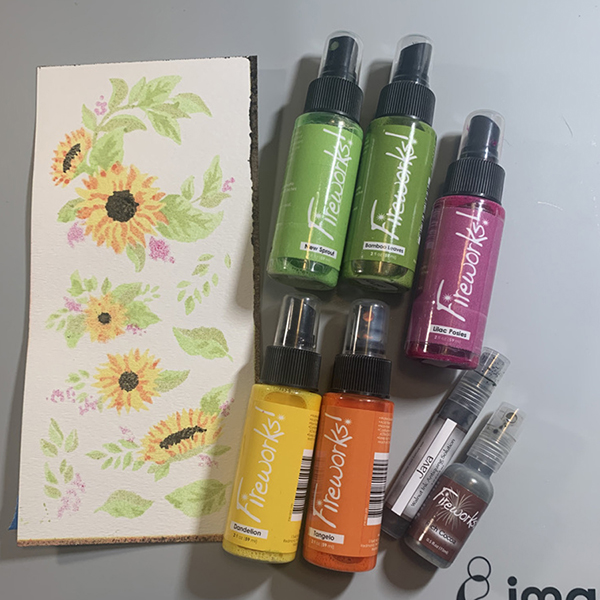
Here are the images from the entire stencil set.
Step 7:
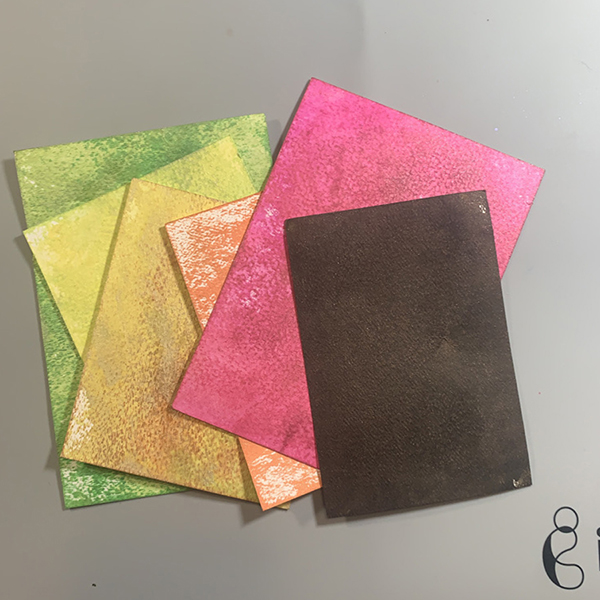
One “blooper” photo, all the backgrounds made with the over spray and Fireworks! left on the stencils. To be used in future projects? The green sheet is trimmed to 4 1/4? to 5 1/2” to cover the front of the card.
Step 8:
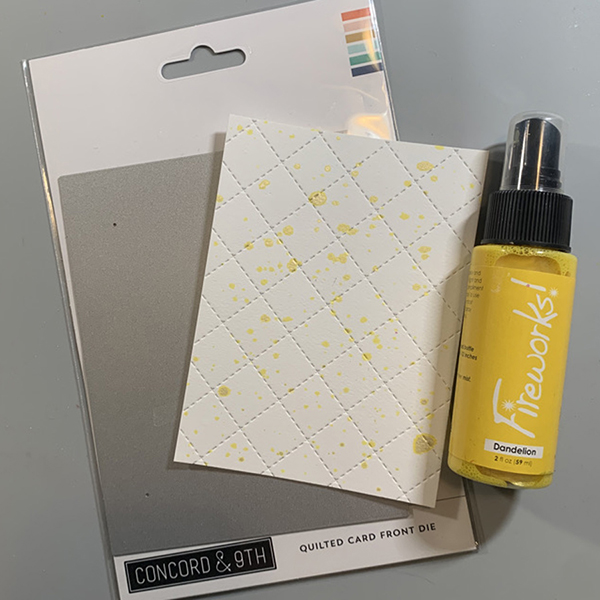
Tap drop of Fireworks! in Dandelion on white watercolor paper trimmed to 3 3/4” x 5”.
Use quilted card front die to add texture to front panel.
Step 9:
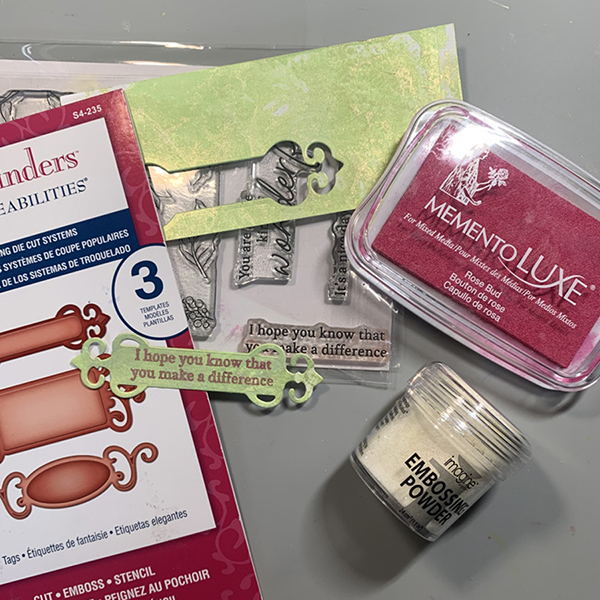
Part of the remaining background section is stamped with Memento Luxe in Lilac Posies using a sentiment from the Sunflowers stamp set. It is die cut with a Spellbinder die.
Step 10:
The Sunflower is die cut with the coordinating die. The layers are adhered together with Tear It! Tape with dimension foam tape behind the card front.
Art Supplies
Imagine
- Fireworks! Shimmery Craft Spray
–New Sprout, Bamboo Leaves, Dandelion, Tangelo, Lilac Posies, Rich Cocoa - Walnut Ink–Java
- Memento Luxe–Lilac Posies
- Embossing Powder–Iridescent
- Tear It! Tape
Other:
- White Watercolor Cardstock
- Pink Fresh Studio Sunflowers Stencils, Coordinating Die, and Clear Stamp
- Concord & 9th Quilted Card Front Die
- Spellbinders Fancy Tabs
- Dimension Foam adhesive
- Cotton swabs
- Die Cut machine
- Stamp Platform
