Hello crafty friends! It’s Ceal, here. Today I’m sharing a fun card using this humorous stamp and water coloring it with Memento Inks.
Skill Level: Beginner Time: 30 minutes
Directions: Gather your supplies. You will need a outline stamp, I used one by Unity Stamp Co. You will need several colors of dye inks. The inks must be a dye ink like Memento to react with water. You will also need a pigment ink VersaFine Clair to stamp the image so it will not react with the water. The last thig you will need is a water brush or paintbrush.
Step 1: Stamp the image using VersaFine Clair Nocturne ink
Step 2: Using a Water brush, color in your image. I used Peanut Brittle and Cantaloupe Memento ink for the kitty
Step 3: Using a water brush finish coloring your image. I used Teal Zeal to color the coffee cup.
Step 4: Using a stitched die, cut out the panel and stamp the sentiment under the image. To finish the card, I used a piece of patterned paper as a mat and adhered the panel to it and then t the base.
Other Supplies: Neenah Classic Crest Solar White 120Lb Neenah Classic Crest Solar White 80lb Patterned Paper from Lawn Fawn MISTI Stamp Platform – My Sweet Petunia Pissy Kitty Stamp Set – Unity Stamp Co Stitched Rectangle Die – My Favorite Things
Hello crafty friends! In today’s project, we are going to use Memento inks to make this fun watercolor coffee card.
Skill: Intermediate Time: 15 minutes
Direction:
Step 1 First, cut out a piece of mixed media paper or watercolor paper.
Put it in the stamping tool and secure it with magnets. Using a stamping tool is recommended for stamping multiple times on the same spot.
For this watercolor multi-color technique, using a solid stamp will give better results. Add the stamp on the paper and then pick it up with the stamping tool lid.
Add each Memento ink on the stamp using a sponge dauber. Blend the color as you add it to the stamp. You can repeat this step for couple times until you get the best color blending you like.
Step 2 After getting the color blending you like on the stamped image, remove it from the stamping tool.
Dab each color on the craft mat and lightly spray it with water. Pick up each color with a brush and add it to the watercolor paper around each matching color to make it look like the color bleeds out and spread on the paper.
After that, pick up the watercolor paint again, and add some lightly splatters around each color. Dry the watercolor coffee mug image with a craft heat gun.
Step 3 When the watercolor image is dry, cut it with a rectangle die. Or you can use any frame or nesting die you have in your stash.
This is the background mat for the card.
Step 4 Add some of the Tear It! Double-sided tape on the back of the cut out background mat. Make sure to cover each edge to get a better result and flatten the mat on the card.
Remove the adhesive paper and add the background mat on the card. Firmly press to smooth out the paper on the card and the adhesive will stick permanently.
Step 5 You can embellish the card with some gems or sequins.
On Point Glue is the best glue to add some sequins on this card. It dries permanently right away on dry surface like on this card background.
Simply just dab a dot of glue on the craft mat, pick up a sequin with tweezers, dib it into the glue lightly, and add it to the card.
Love how this card turned out. Simple, quick, and fun technique to add texture watercolor look background using multiple color inks on the stamped image.
Also, this is a mail-friendly card you can send out to your coffee-loving craft friend at any time.
I hope you’ll like the watercolor coffee card today and give this technique a try with your own twist. Thank you for stopping by our blog today. Have a fabulous day!
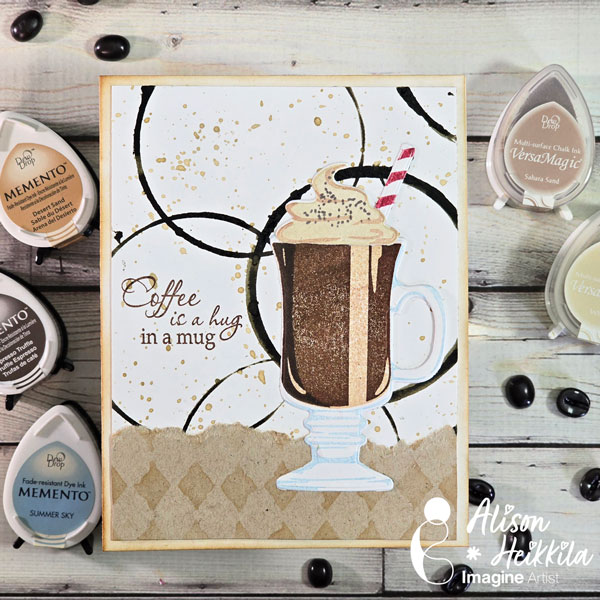
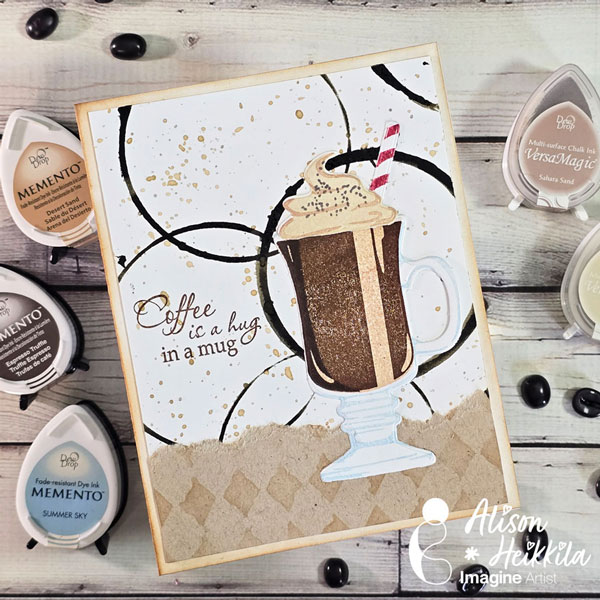
Hello! I’m Alison Heikkila and I have a fun coffee-themed card to share today that uses a bunch of inks from Imagine and an unexpected tool. I hope you get some ideas for how you can create this card in your own way.
*Some affiliate links are used in this post. That means that if you shop through these links, I may receive a small compensation, at no cost to you.
Skill Level: Intermediate Time to Complete: 30 Minutes, plus drying time
That was fun! I hope you enjoyed all of these different techniques. I’ll have another video for Imagine soon. Thanks so much for stopping by. Have an inspiring day!
I’m a heavily caffeinated cat lady who has an enormous collection of cat and/or coffee themed crafting products. Stenciling or stamping on patterned paper is a great way to extend the papers versatility.
Skill Level: Intermediate Time: 1.5 hours
Instructions:
Step 1: Use Tuxedo Black Memento Ink to stamp the Coffee Cat Clear Set twice — once onto a 3” x 5” panel of Classic Crest cardstock and once onto repositionable sticker paper. Use Copic markers to color the cat. Fussy-cut the repositionable sticker paper version of the cat and place it over its counterpart on the image panel.
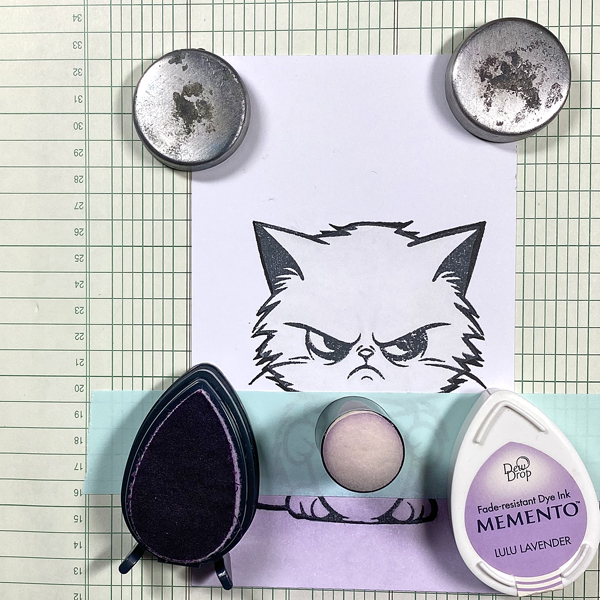
Step 2: Place a magnet sheet between folded paper. Use magnets to secure the image panel to the paper-covered magnet. Place low-tack tape horizontally .75” from the base of the image panel.
Use a Sponge Dauber to brush Lulu Lavender Memento ink over the tape onto the image panel to ground the cat image.
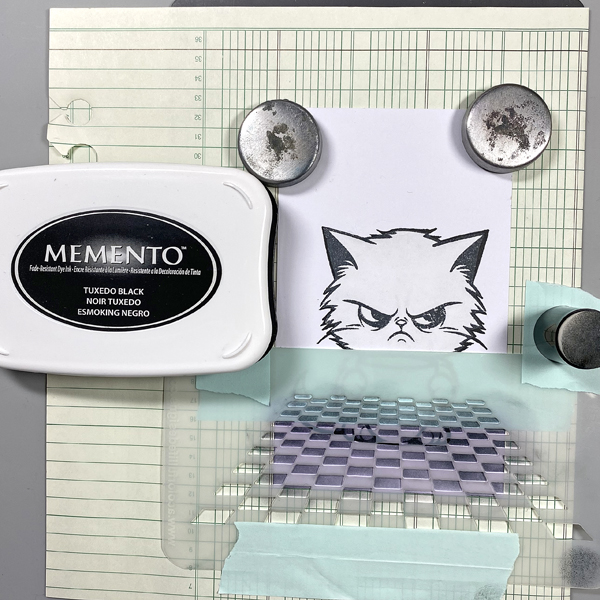
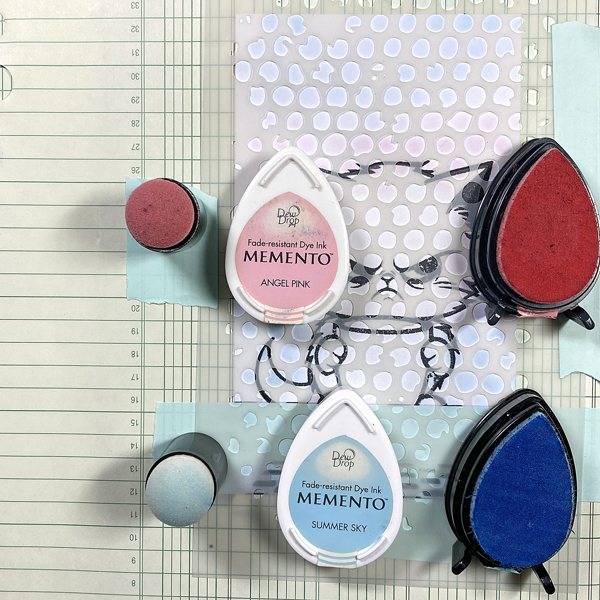
Step 3: Use low-tack tape to secure the Floor Perspective Stencil over the magnet onto the paper-covered magnet. Use a Sponge Dauber to brush Tuxedo Black Memento ink over the stencil onto the image panel. Remove the tape and the stencil.
Step 4: Use low-tack tape to secure the Bubbles Stencil to the image panel. Use Sponge Daubers to apply Angel Pink and Summer Sky Memento Inks over the stencil onto the image panel. Remove the tape and stencil. Set the image panel aside.
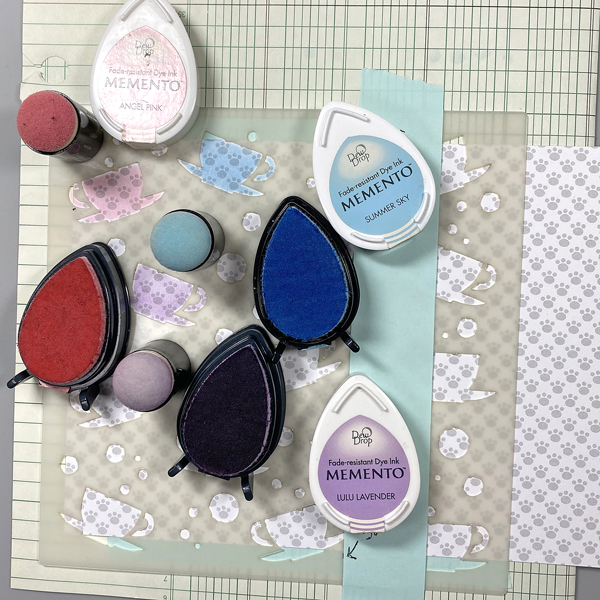
Step 5: Place low-tack tape vertically 3.5” from the left edge of a 7” x 5” piece of paw-print patterned paper. Use magnets and tape to secure the Tea Party Stencil over the left side of the image panel.
Use Sponge Daubers to apply Angel Pink, Summer Sky, and Lulu Lavender Memento ink over the stencil’s teacups onto the patterned paper. Wipe the stencil.
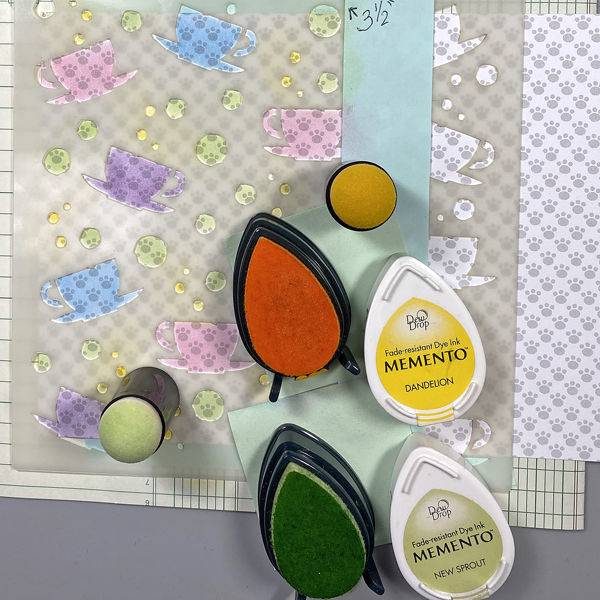
Step 6: Use a Sponge Dauber to New Sprout and Dandelion Memento Ink over the stencil’s dots onto the patterned paper.
Clean and dry the stencil, then repeat Steps #5 and 6 to stencil the right side of the patterned paper.
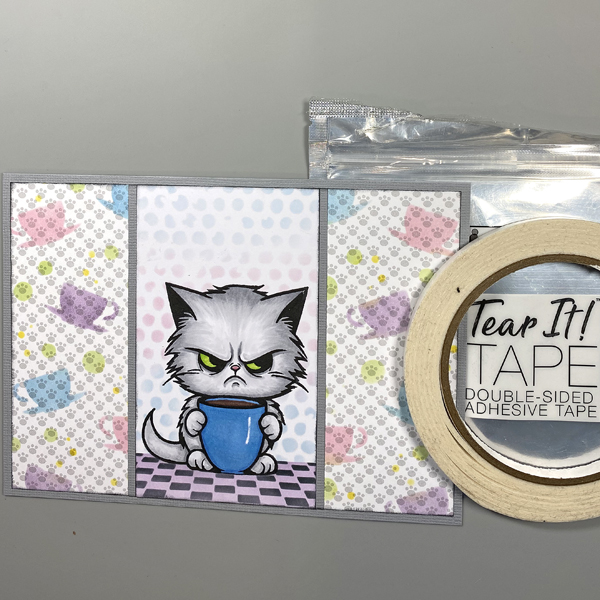
Step 7: Use Tear It! Tape to adhere the layers of the card.
Here’s the finished card!
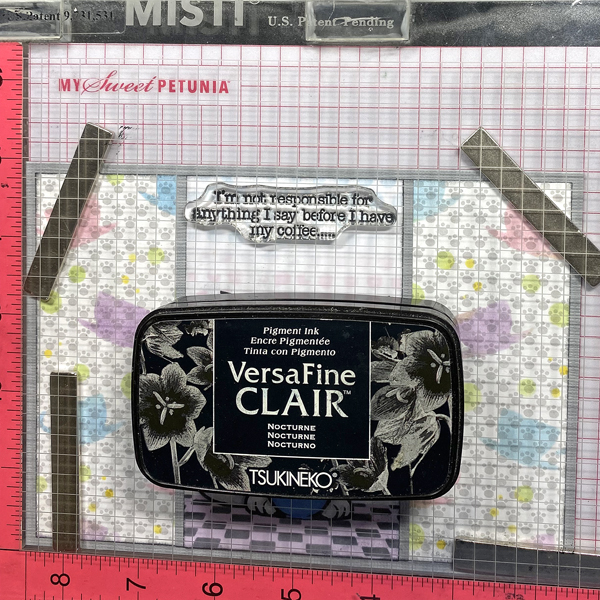
Step 8: Place the finished card onto the base of the stamping platform. Position the sentiment from the Coffee Cat Stamp Set towards the top of the image panel. Use VersaFine Nocturne Ink stamp the sentiment.
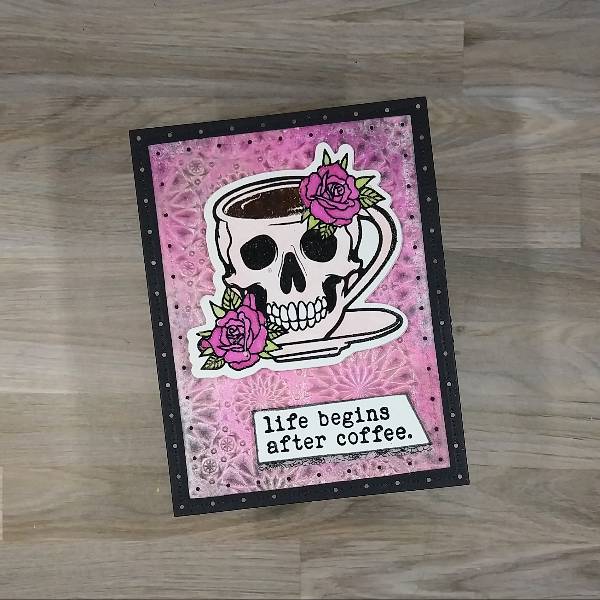
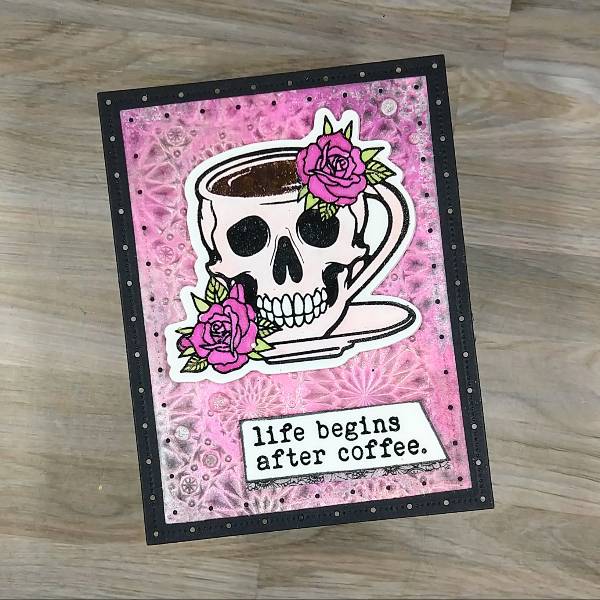
In today’s post, I made a card featuring earthy colors.
Skill: Intermediate Time: 1.5 hours
Directions:
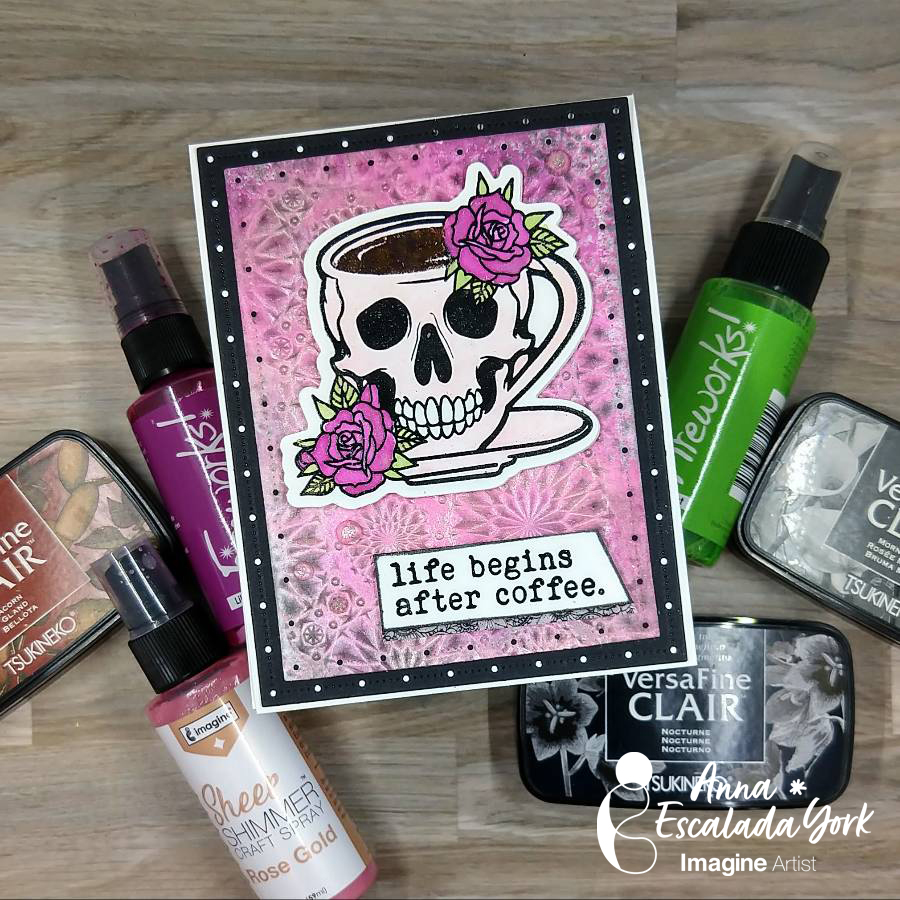
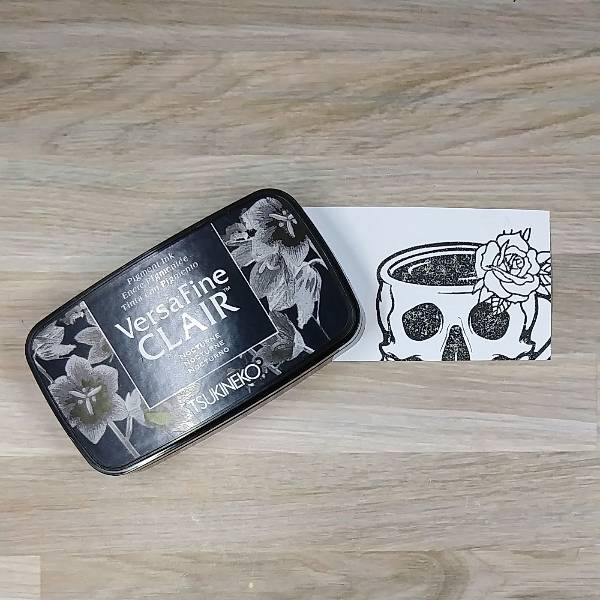
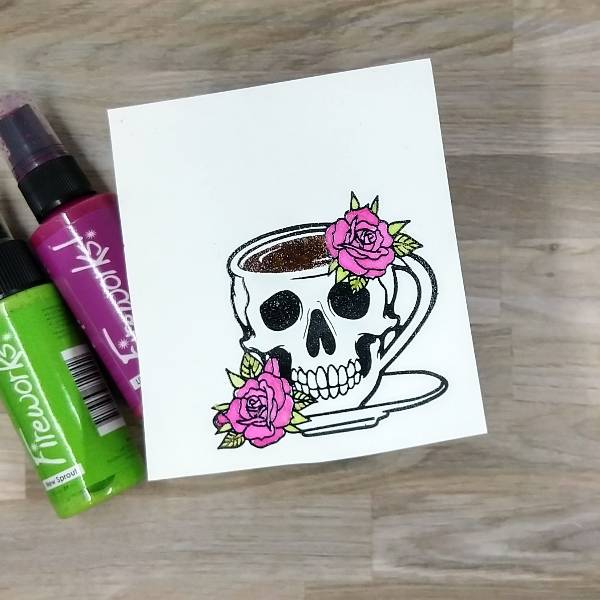
Step 1: Stamp the top part of the main stamped image onto a piece of masking paper with Nocturne VersaFine Clair ink. (If you don’t have masking paper, you can use a sticky note.) Cut out the coffee (or the inside part of the coffee cup) of the masking paper and place it onto a piece of watercolor paper over the corresponding part of the waterpaper.
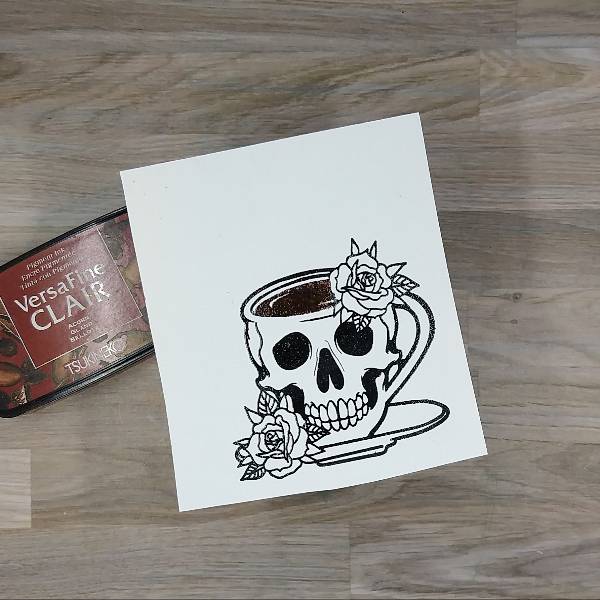
Step 2: Stamp the coffee cup image onto the watercolor paper with Nocturne VersaFine Clair ink, making sure that the masking paper covered up the coffee in the cup. (Optional step: Heat emboss with clear embossing powder.)
Step 3: Remove the masking paper. Stamp the coffee in the cup with Acorn VersaFine Clair ink. (I chose to mask the cup with the remaining masked paper before stamping.) (Optional step: Heat emboss the coffee with more clear embossing powder.)
Step 4: Spray Lilac Posies Fireworks! Shimmery Craft Spray onto a piece of acetate packaging and use the spray to watercolor the stamped flowers surrounding the coffee cup. Repeat the process with New Sprout Fireworks! Shimmery Craft Spray to paint the leaves. Repeat the process one more time with Rose Gold Sheer Shimmer Craft Spray to paint the cup and saucer.
Step 4.5: Die cut the coffee cup with the corresponding die. (Sorry that the pictures got messed up and you couldn’t see the pink shimmer paint from the Rose Gold Sheer Shimmer Craft Spray or die cutting the cup. My camera was glitchy. You will see the rosy pink shimmer in the next few steps.)
Step 5: Die cut a piece of black watercolor paper (or black cardstock) for the matte layer of the card.
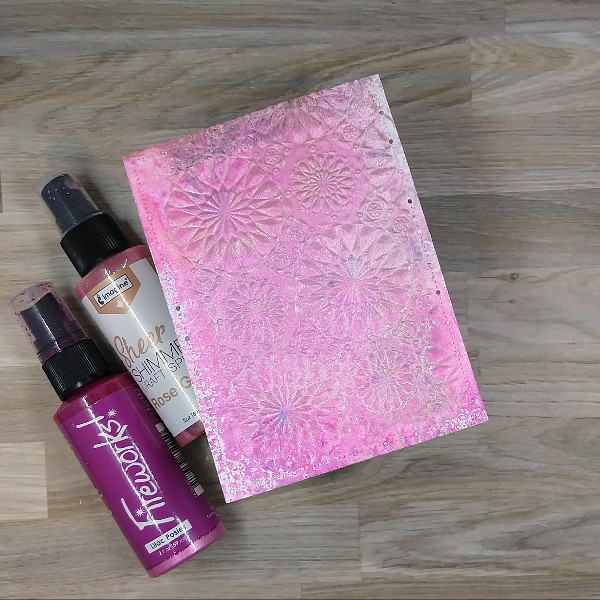
Step 6: Spray Lilac Posies Fireworks! Shimmery Craft Spray and Rose Gold Sheer Shimmer Craft Spray into an embossing folder and emboss a previously die cut watercolor panel. After removing the watercolor panel, spray more Rose Gold Sheer Shimmer Craft Spray around the panel and then allow the panel to dry.
Step 7: Using a sponge dauber, ink blend the edges of the sprayed and embossed panel with Morning Mist VersaFine Clair ink.
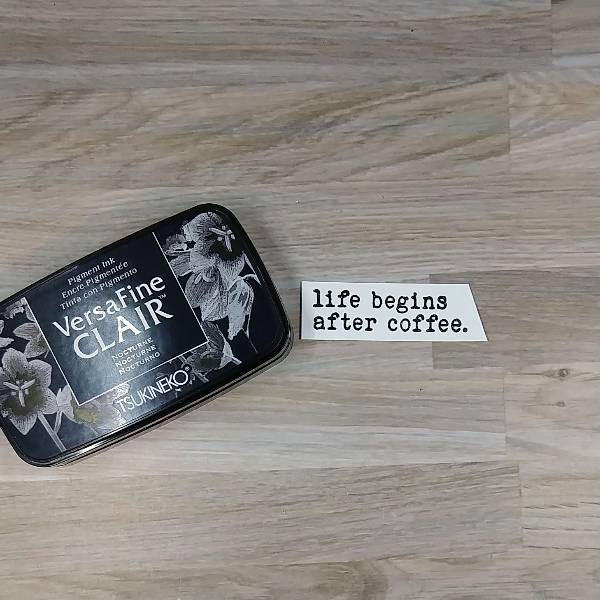
Step 8: Stamp a sentiment on a piece of watercolor paper with Nocturne VersaFine Clair ink. Trim the edges with your paper trimmer. (Optional step: Heat emboss with clear Mboss embossing powder.) Then press the edges of the sentiment into the Nocturne VersaFine Clair ink to create a border.
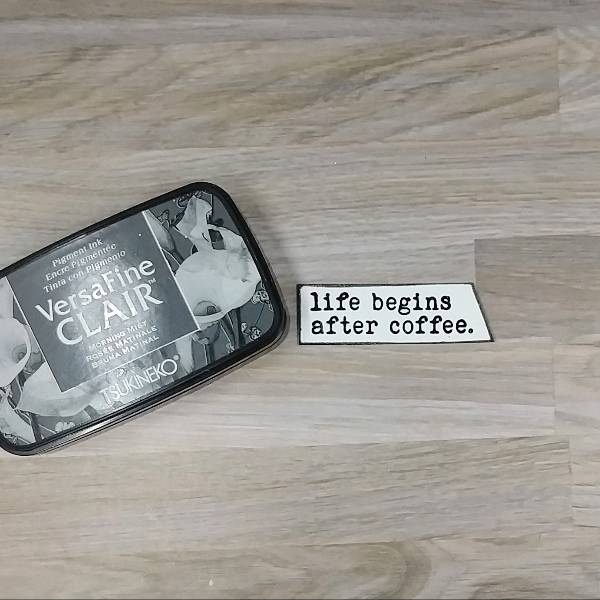
Step 9: I decided that I wanted to change the color of the border, so pressed the edges of the sentiment into the Morning Mist VersaFine Clair ink pad. (Optional step: Heat emboss with more clear embossing powder.)
Step 10: Glue the two panels together. Glue the coffee cup onto the pink watercolor panel. Attach a piece of black and white washi tape just a little bit smaller than the sentiment strip and then glue down the sentiment strip.
Step 11: Glue sequins on the lower left and upper right corners of the card.
Step 12: Finish the care by gluing the matte layer to an A2-sized white card base.
Other Altenew – Masking Paper – Masking Paper Erin Lee Creative – Stamp set – Coffee or Die Erin Lee Creative – Stamp and die set – Stayin’ Alive Gina Marie Designs – Die set – Big and Little Chain Rectangle die set Legion – Paper – Stonehenge Black Aqua cold press watercolor paper Sizzix – Embossing Folder – Mini Kaleidoscope by Tim Holtz Trinity Stamps – Embellishments – Champagne Twinkle Stardust Rhinestones Black and white washi tape Watercolor paper Paper Trimmer Scissors Glue
Welcome to our blog! Imagine Crafts is pleased to be a super sponsor for the Coffee Lover’s Blog Hop for the Spring/Summer of 2022.Our design team members all joined in to show you some of the fun and coffee themed cards they made using some of the Imagine Inks and readily available stamps/dies that are coffee themed.
We are also having a giveaway!Since Imagine Crafts is a super sponsor, we will be giving away a $25.00 gift card to the store. Please comment below for your chance to win.
Some of our design team members have created extra projects in order to participate in the Coffee Lovers Blog Hop and we will now share their photos of their projects and links to the Imagine items used. That way, you can go visit the item and see if it is for you.
– Hi there Coffee Lovers, for my project today I used The Perfect Blend Stamp Set from Gina K Designs. Using Memento Espresso Truffle I stamped the background and since Memento is a dye based ink it dried quickly.
I cut a panel of vellum to cover most of my background panel, and then grabbed a circle tag out of my stash. I stamped the coffee cups on the tag with the Memento Espresso Truffle and then used Memento Markers to add a pop of color. For The cup part I used Bamboo Leaves and Pistachio, while for the rings I used Rich Cocoa and Desert Sand.
The final stamping was the sentiment in which I used VersaFine Clair in Pinecone. I used Tear It! Tape and On Point glue to adhere my panels together and with that my project is complete.
Happy Hopping in the Coffee Lover’s Blog Hop Spring/Summer 2022!!!
– I went with a simply designed card that is perfect for any coffee lover. I ink blended two VersaFine Clair Inks with my coffee bean stencil. My sentiment was die cut and I used the die itself as a mask to softly ink around the sentiment. Sparkle Blends were adhered with On Point Glue for some shine.