Let’s Make a Special Card for a Teacher

By Anna Escalada York

– As a parent and a teacher, I always want to have cards on hand for fellow teachers. For this design, I decided to challenge myself to use a small selection of products and show how you can create something special without needing a lot of supplies. 

Skill: Intermediate 
Time: 1 hour (including dry time) 

Directions: 

Step 1: 
Stamp the background stamp on a piece of watercolor paper with Nocturne VersaFine Clair ink. Heat emboss with clear embossing powder. 
Step 2: 
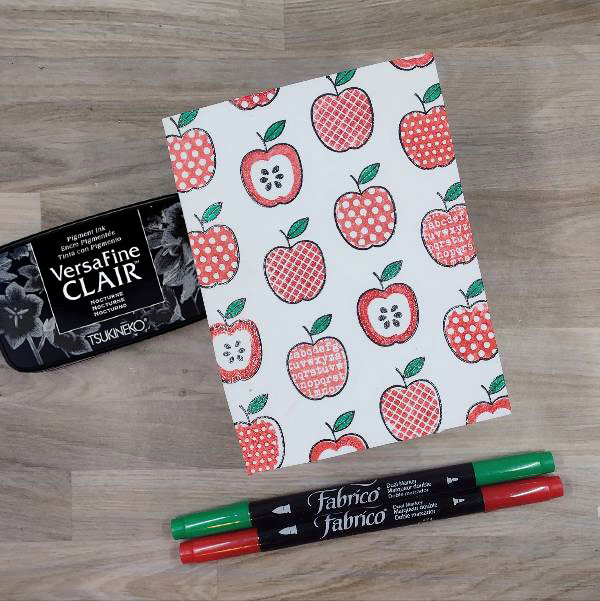
Use Fabrico Dual Tip Markers and Nocturne VersaFine Clair Ink to add color and detail to the smaller stamps. 

1. Color the various internal apple-shaped stamps directly with a Poppy Red Fabrico Dual Tip Marker. Stamp each image inside the corresponding apple outline, then heat emboss with clear embossing powder. Repeat until all of the apples are filled with red. 

2. Use an Emerald Fabrico Dual Tip Marker to color the leaves directly on the stamped images. Heat emboss the leaves with clear embossing powder. 

3. For the apples with the thick outline and open center, stamp the apple seed image with Nocturne VersaFine Clair Ink to add the seeds. Heat emboss the seeds with clear embossing powder. 
Step 3: 
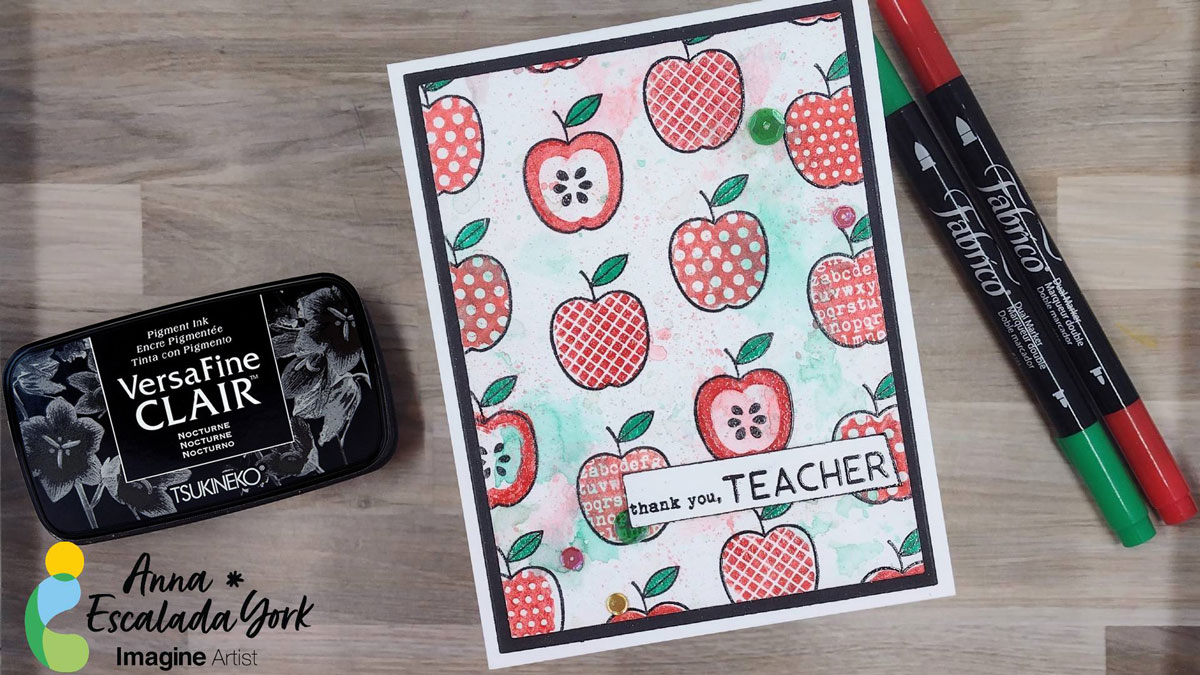
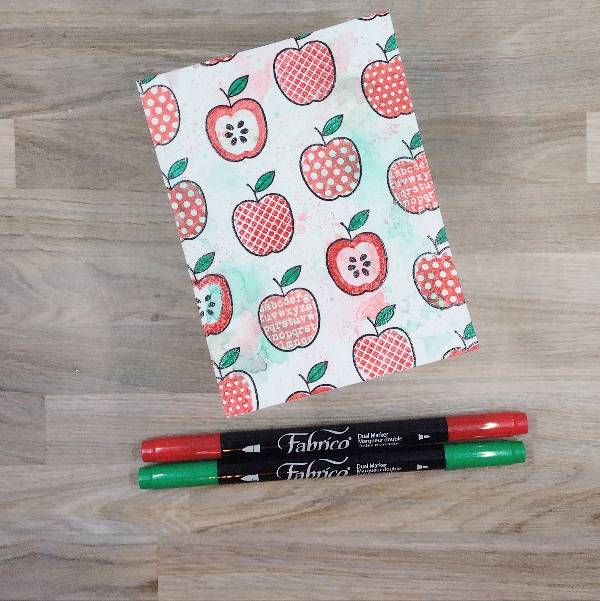
Watercolor smoosh the panel with Emerald Fabrico Dual Tip Marker mixed with water on acetate. After the panel dried, watercolor smoosh a second time with Poppy Red Fabrico Dual Tip Marker mixed with water. Use a paper towel to dab off any areas where the colors become muddy or too dark. Allow the panel to dry a second time. 

After the panel dried, die cut the panel with a mid-sized die from an A2-sized nesting die set. Then die cut a piece of black watercolor paper or black cardstock with the next-largest die from the same A2-sized nesting die set. 
Step 4: 
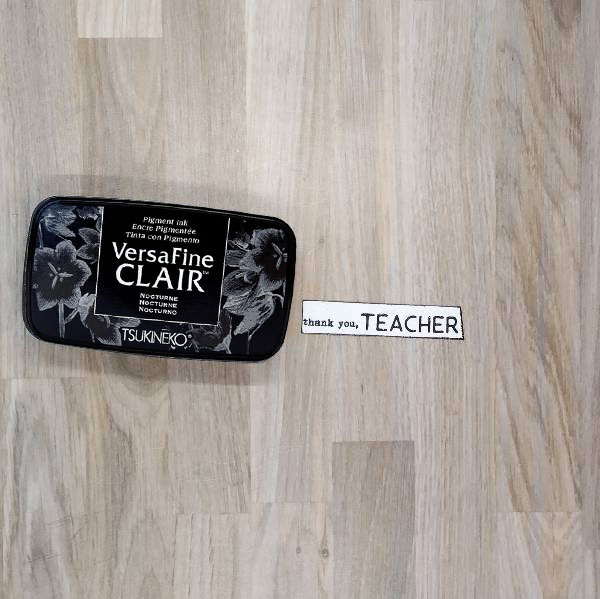
Stamp the sentiment with Nocturne VersaFine Clair Ink on watercolor paper. Heat emboss with clear embossing powder. Trim with a paper trimmer. Then press the edges of the sentiment strip into the Nocturne VersaFine Clair Ink and heat emboss the edges. 

Step 5: 
Assemble the card. Glue the stamped panel onto the black matte layer. Adhere the sentiment to the card with foam tape. Glue sequins to the panel from two different sequin mixes to best match the colors of the card. Finally glue the whole panel onto an A2-sized white card base to finish the card. 

Art Supplies 

Imagine 

• Fabrico Dual Marker – Emerald 
• Fabrico Dual Marker – Poppy Red 
• VersaFine Clair Ink – Nocturne 

Other 

• Altenew – foam tape – Instant Dimension Foam Tape 
• Catherine Pooler – sequin mix – Kyoto sequin mix 
• Catherine Pooler – sequin mix – Yukon sequin mix 
• Taylored Expressions – stamps – I Pick You Cling and Clear Combo 
• Waffle Flower – die set – A2 Layers 
• Clear Embossing Powder 
• Heat tool 
• Glue 
• Watercolor paper 
• Black watercolor paper 
• Water 
• Paper towel 
Let’s Create a Thank You Card for Your Teacher

By Von Marie

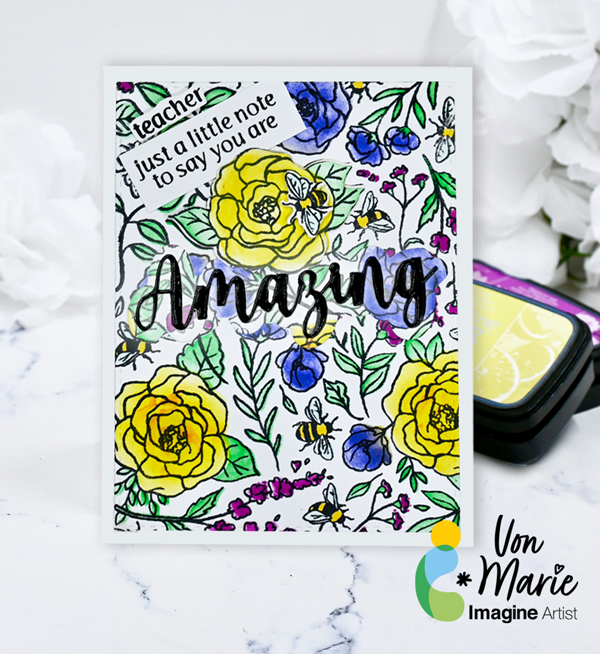
– Hello everyone! Von Marie here with my latest video. Teacher thank you cards are always wonderful to have on hand, so I thought it would be fun to create one using the beautiful new VersaFine Clair colors. I love how bright and cheerful these inks make this card! Watch the video to see how it all comes together. Thank you for watching!

Skill Beginner Intermediate
Time 45 Mins.

Craft Supplies:

Imagine:

VersaFine Clair Inks-Lemoncello, Dahlia Purple, Wisteria Purple, Melon Soda, and Carrot Orange.
VersaFine Onyx Black ink
Fantastix
Craft Mat
Memento Dew Drop Onyx Black

Other Supplies:
Simon Says Stamp Stitched Rectangles Dies
Hero Arts Flower and Bees Floral Cling background Stamp with Coord. Dies and Coloring Layering Roses stencils.
Hero Arts Retired Amazing Word Fancy Die and Shadow Die
White cardstock
Stamping Platform
Paper Trimmer
Die-cutting Machine
Blending brushes
A2 Card Base

Using background stamps, stencils,and inks are a fun way to mass produce a lot of the same card too. Have fun and hope you make some Thank you cards.

Let’s Make a Welcome Card for a Teacher

By Anna Escalada York

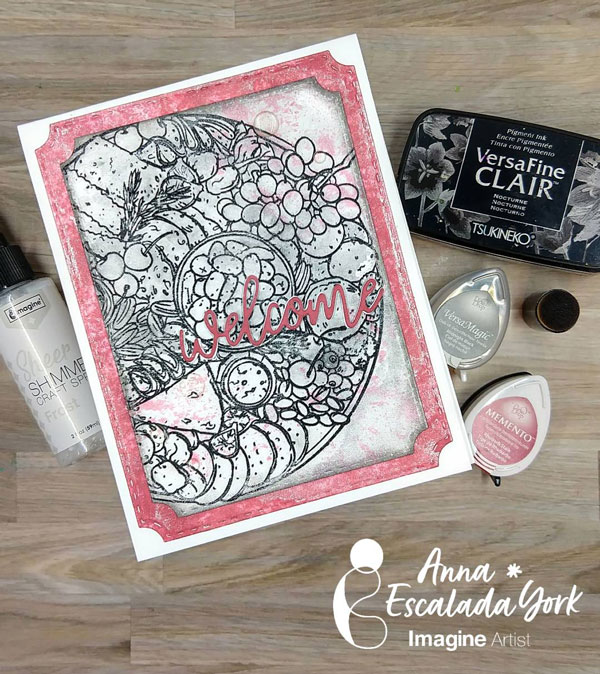
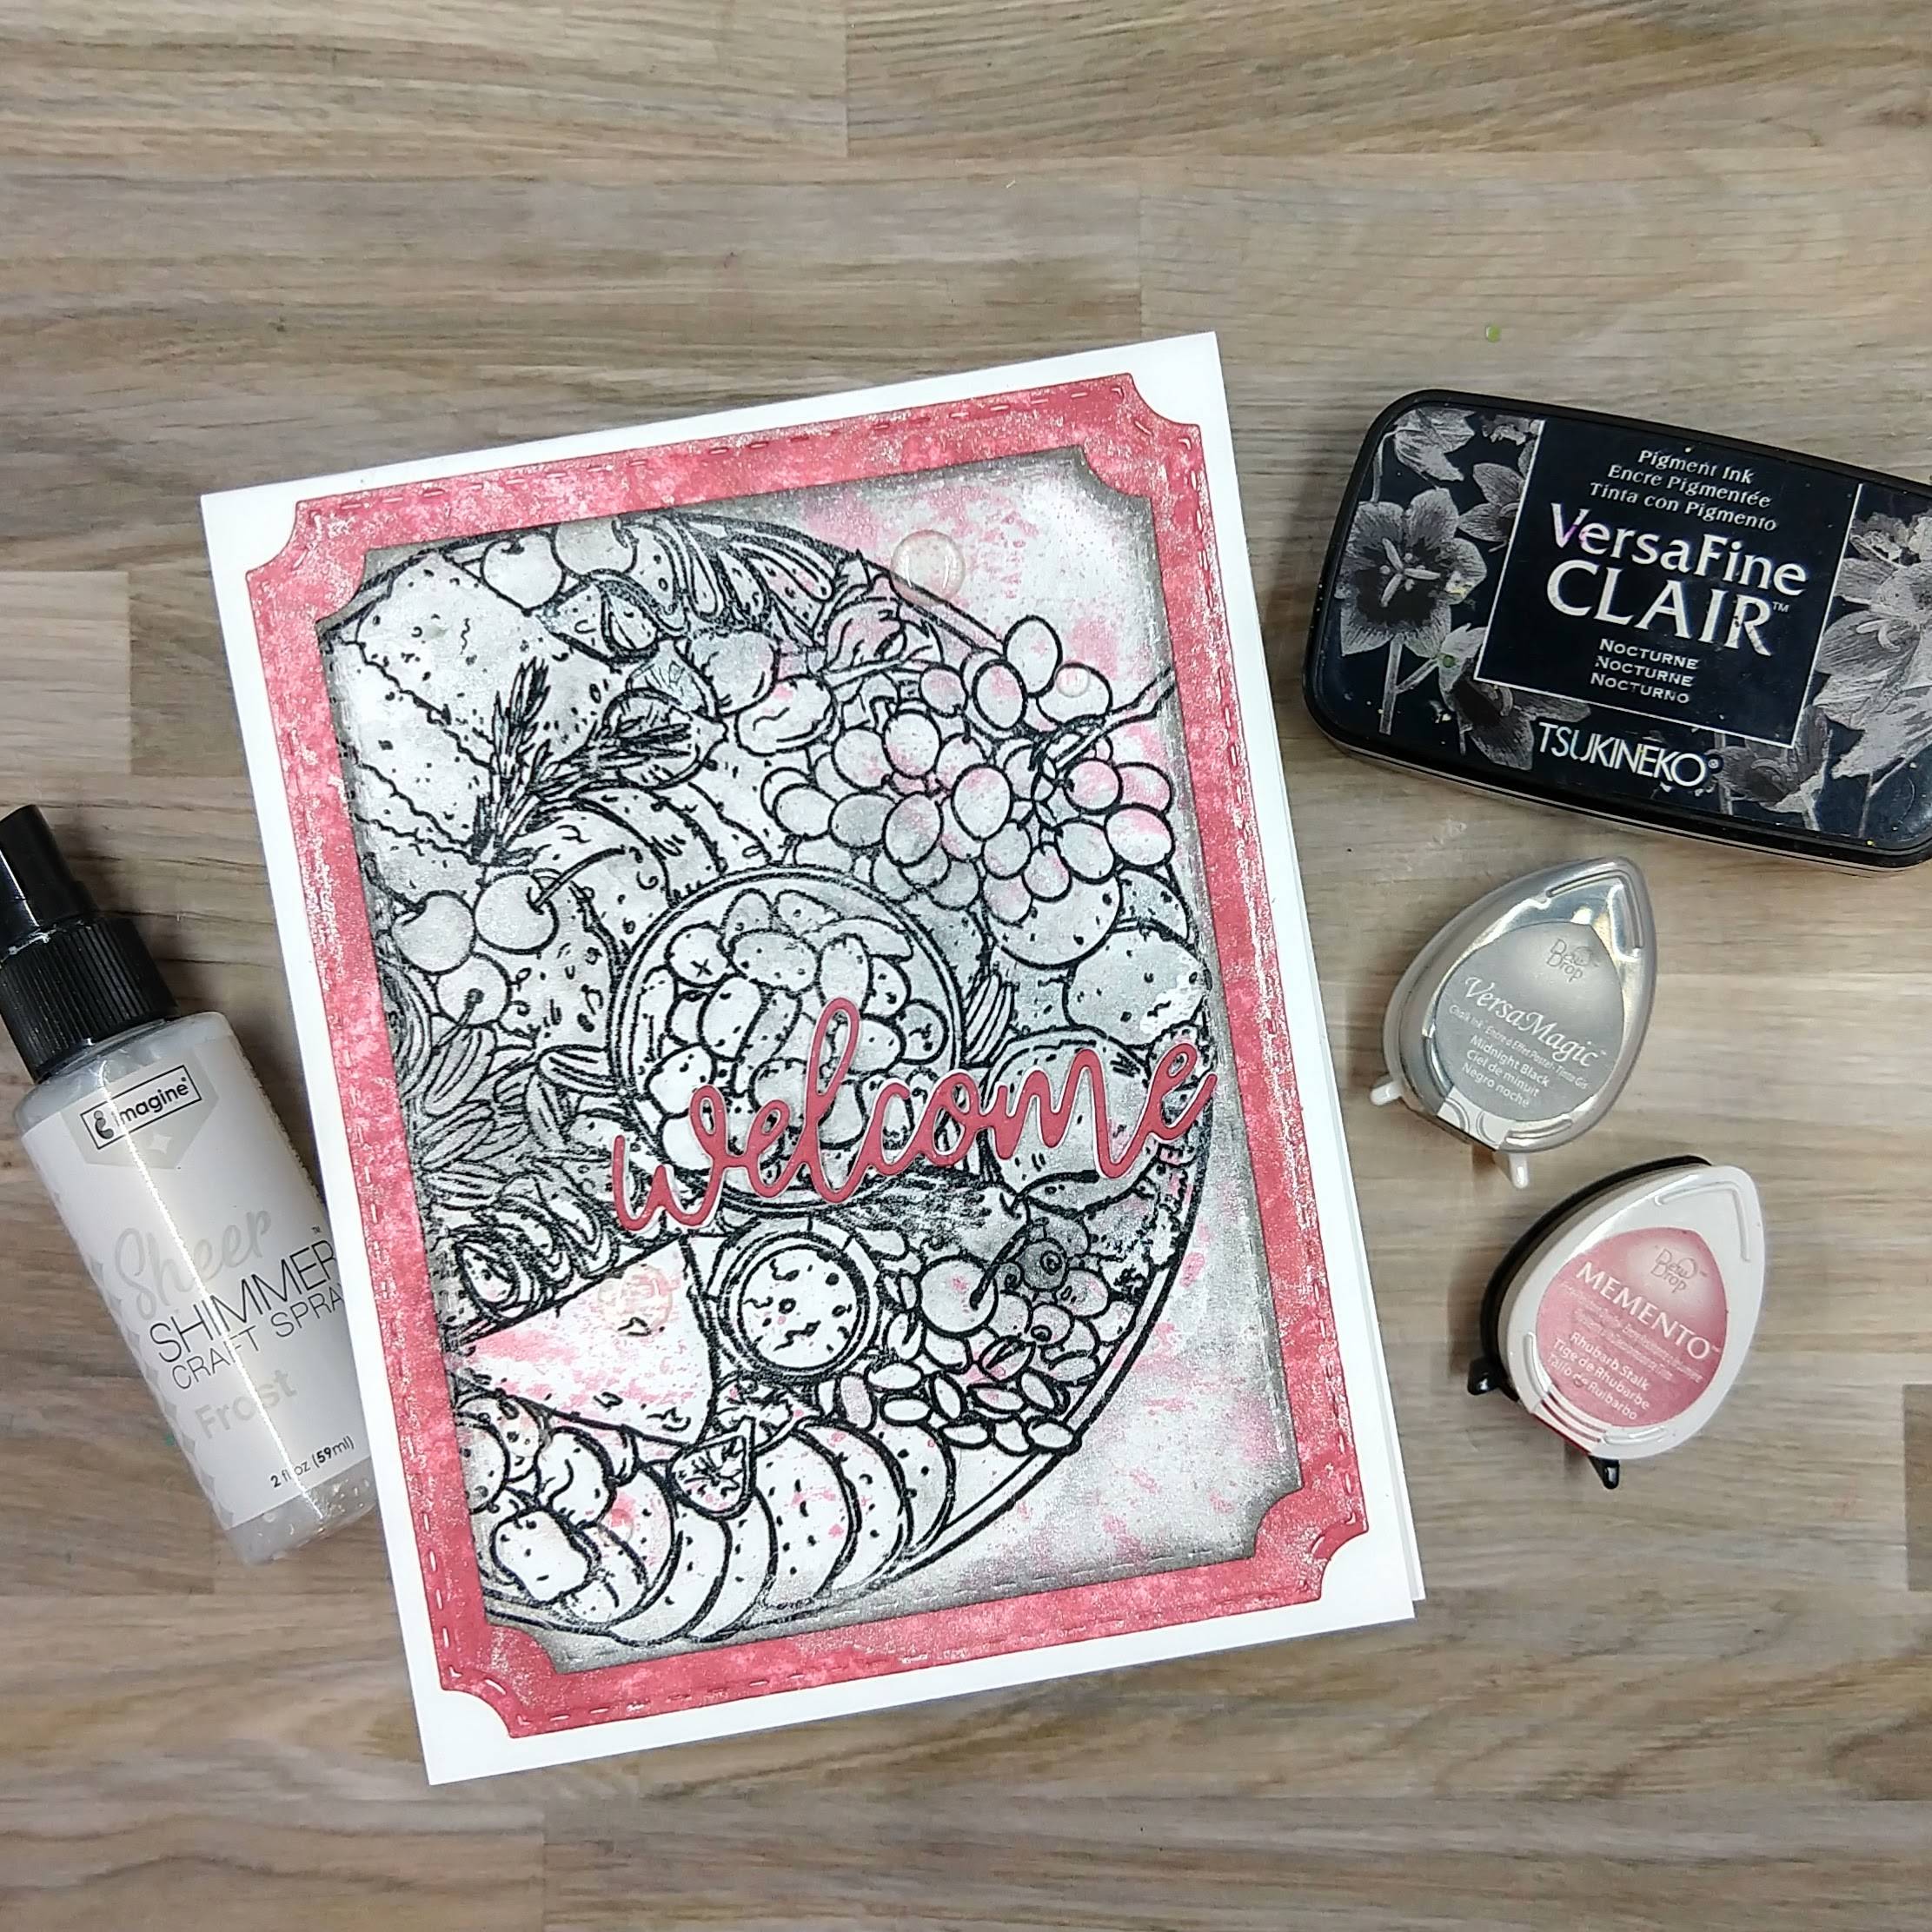
As a veteran teacher in a local high school, I was excited to make a welcome card for the new culinary teacher at my high school. I decided that since I was making the card specifically for them, I would personalize it– using maroon (or as close as I could with the colors in my stash) and gray as the color scheme of the card as our school colors and use a cute new to me charcuterie-themed stamp set.

Skill: Intermediate
Time: 1.0 hour

Directions:

Step 1:
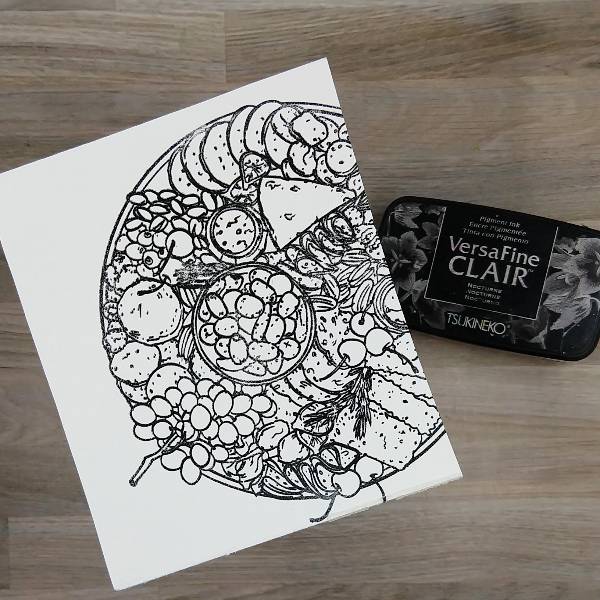
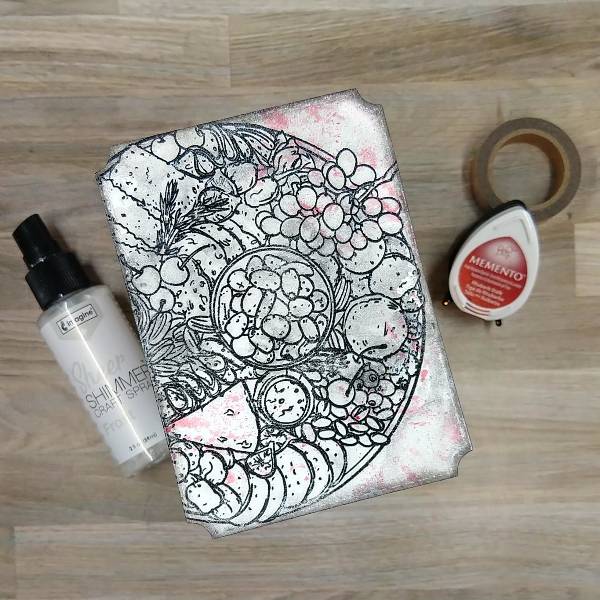
Stamp the large charcuterie stamp onto a piece of watercolor paper with Nocturne VersaFine Clair ink and heat emboss with clear embossing powder.

Step 2:
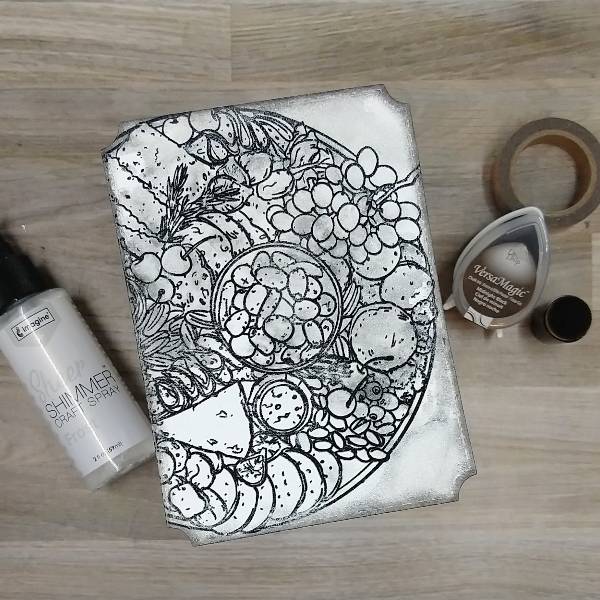
After die cutting the colored watercolor paper with the second-largest die from an A2-sized background die set, press the Midnight Black VersaMagic ink pad onto a piece of acetate packaging and then sprayed the ink with Frost Sheer Shimmer Craft Spray. Then press the acetate onto the watercolor panel. After everything dried, ink blend the edges of the panel with more of the Midnight Black VersaMagic ink using a sponge dauber.

Step 3:
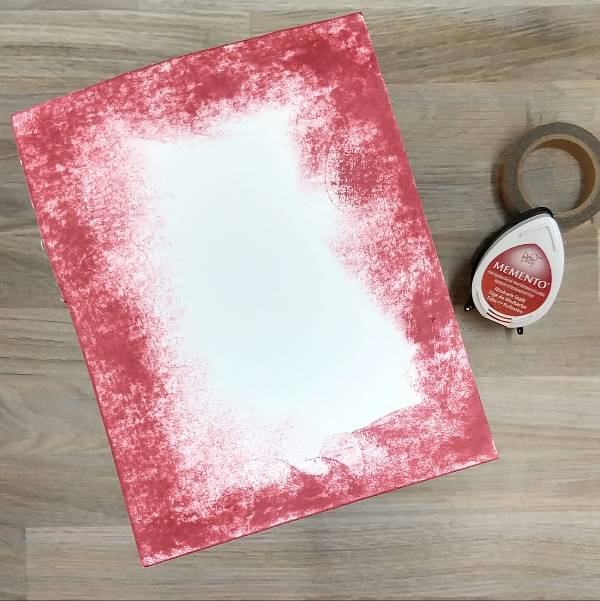
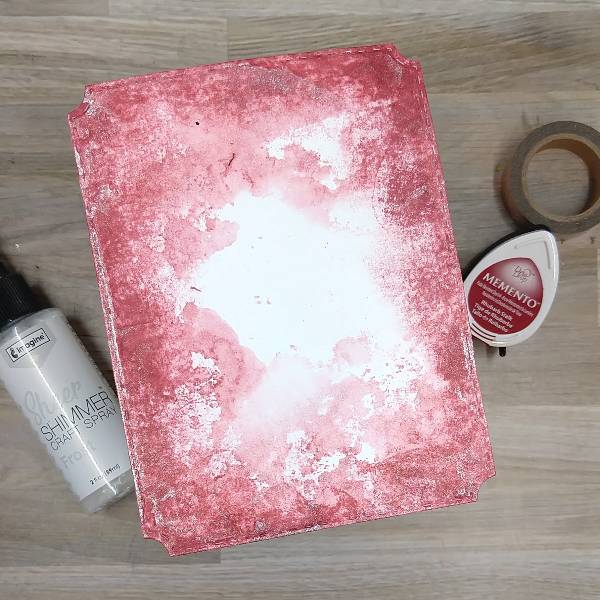
Press the Rhubarb Stalk Memento ink pad onto the edges of a watercolor panel.

Step 4:
Die cut the panel with the largest die from the A2-sized background die set. Then press the Rhubarb Stalk Memento Ink pad onto another piece of acetate packaging and spray the acetate with more of the Frost Sheer Shimmer Craft Spray and then watercolor smooshed the Rhubarb Stalk-colored panel. Allow to dry.

Step 5:
Press more Rhubarb Stalk Memento Ink pad onto acetate packaging and spray the acetate with more of the Frost Sheer Shimmer Craft Spray and then watercolor smoosh the stamped gray and white charcuterie board stamped panel to add a hint of color to the card. Allow to dry.

Step 6:
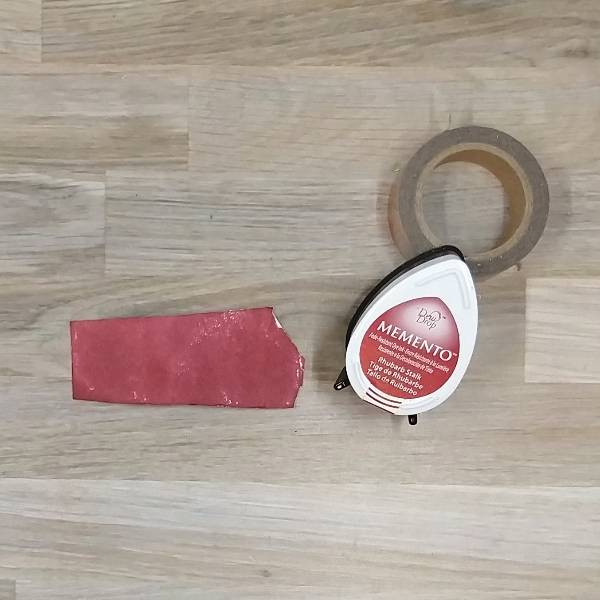
Press Rhubarb Stalk Memento ink pad onto a small scrap of watercolor paper. Make sure the paper is fully colored. After the ink has dried, die cut the watercolor paper with the sentiment die. While die cutting, die cut two additional scraps of cardstock to create a-three layered die cut for dimension.

Step 7:
Assemble the card. Glue the two panels together. Then glue the three layers of the sentiment together and glue to the center of the card. Attach clear enamel dots onto the card (while they are hard to see on the photo, there are three on the lower left corner of the gray panel, and two on the upper right panel). Then glue everything onto an A2-sized white cardbase.

Art Supplies

Imagine
Memento Ink – Rhubarb Stalk
Sheer Shimmer Craft Spray – Frost
VersaFine Clair Ink – Nocturne
VersaMagic Ink – Midnight Black
Sponge Dauber

Other
Altenew – enamel dots –
Crystal Clear Enamel Dots
Colorado Craft Company – stamp set –
Charcuterie Board
Pink and Main – die set –
Notched Corners
Welcome sentiment die
Clear Embossing Powder
Watercolor paper
Die cutting machine
Glue

Watercolor with VersaMagic Inks for a Teacher’s Card

By Jessica Lin

Skill: Intermediate
Time: 45 hour

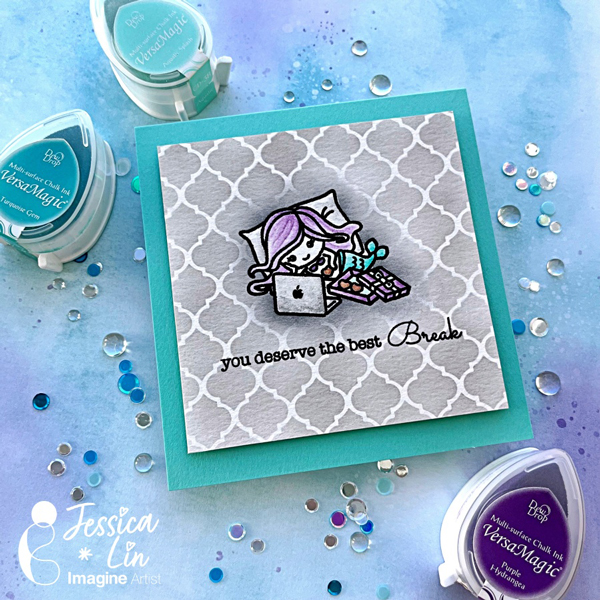
Hello hello! Back to school season is right around the corner, can you believe that summer flew by so quickly? Today I have a Teacher’s card to share with you and we are coloring with some of my favorite ink pads as well!

Step 1:
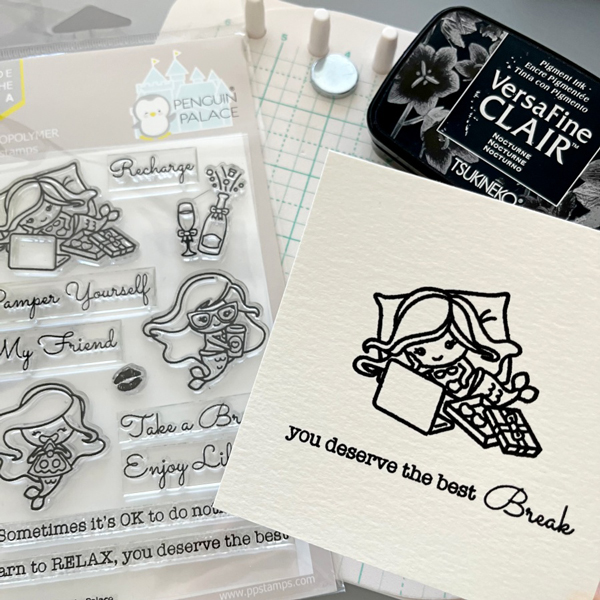
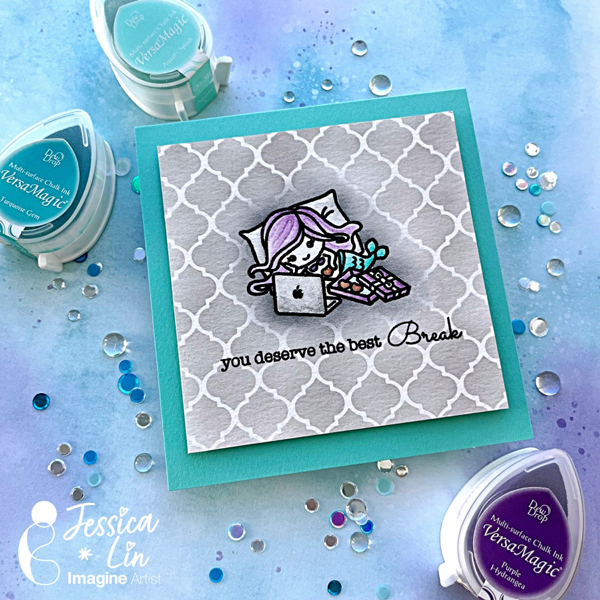
Stamp the mermaid image using VersaFine Clair Nocturne ink pad and heat emboss with clear Mboss powder. I also stamped 2 sentiments partially to create a new phrase.

Step 2:
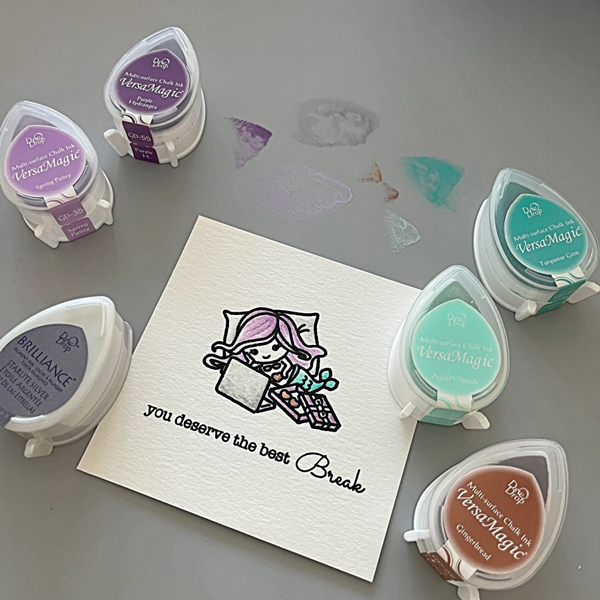
Dab some ink on the Craft Mat and watercolor the image using a waterbrush.

Step 3:
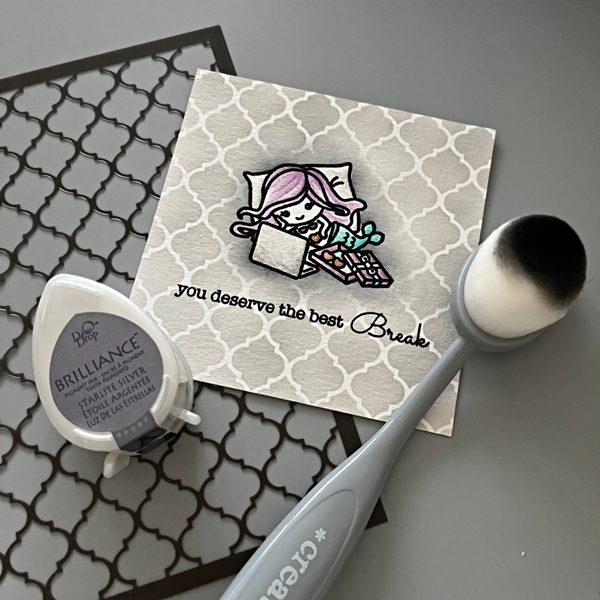
Mask the image with masking tape and blend Starlite Silver ink across the moroccan stencil. I also blended Memento Tuxedo Black ink around the mermaid image to create a shadow-glow effect.

Step 4:
Adhere the front panel to a square cardbase with foam tape, and the card is complete!

Products Used

Imagine Supplies:

Other Supplies:

  • Penguin Palace – Stamps – Take a Break
  • Stampin’ Up! – Stencil – Artistic Mix Decorative Masks
  • We R – Tool – Precision Press
  • Foam Tape
  • Heat Tool
  • Stampin’ Up! – Cardstock – Coastal Cabana