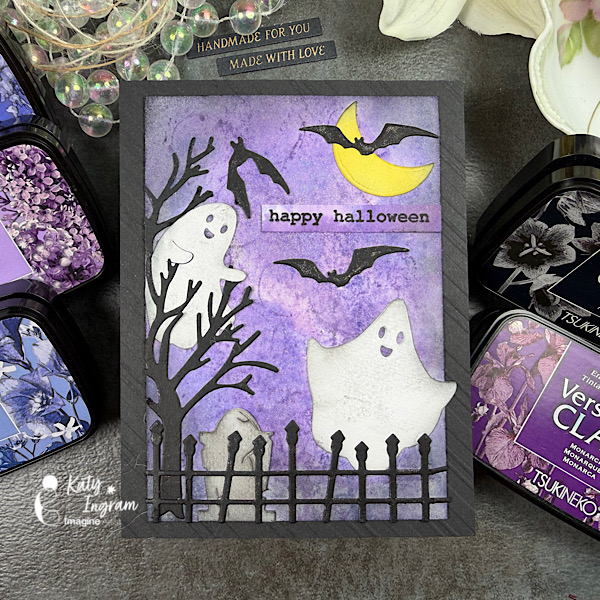
Hello Friends! Katy here with my latest video showcasing VersaFine Clair inks once again to create a Halloween background using only Purple. Video has all the details. Thanks for watching.
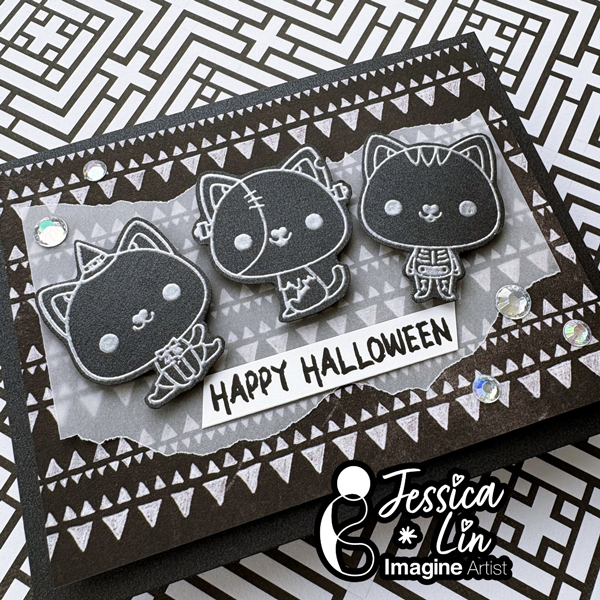
Hi everyone! It’s Jessica here. Spooky season is right around the corner, can you believe it? I have a monochrome Halloween card idea to share with you today. The supplies are minimal and it’s beginner friendly, too!
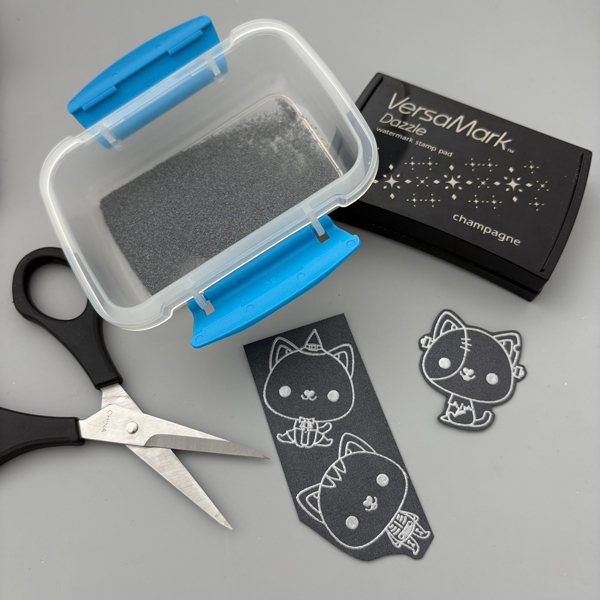
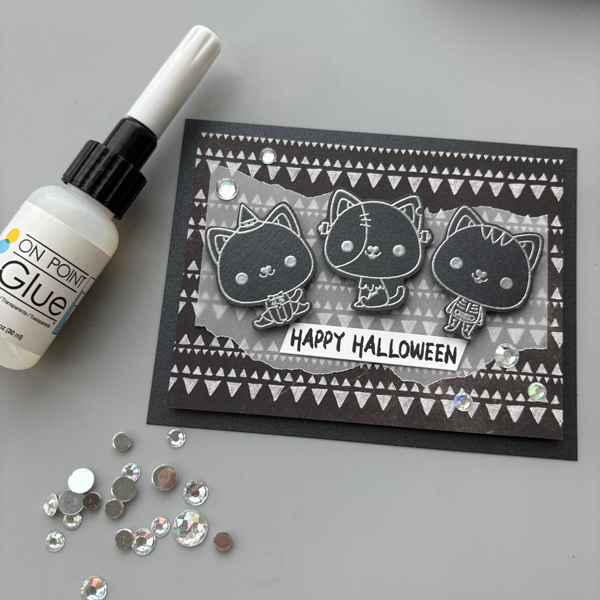
Step 1: The focal point of today’s card are these adorable cats dressed in Halloween costumes. They are from Mama Elephant’s Meowlloween stamp set. I decided to stamp them on Stardream Metallic 5 x 7 Onyx cardstock as little black cats. After stamping with VersaMark Dazzle ink, I heat embossed the images with silver embossing powder and fussy cut them with scissors.
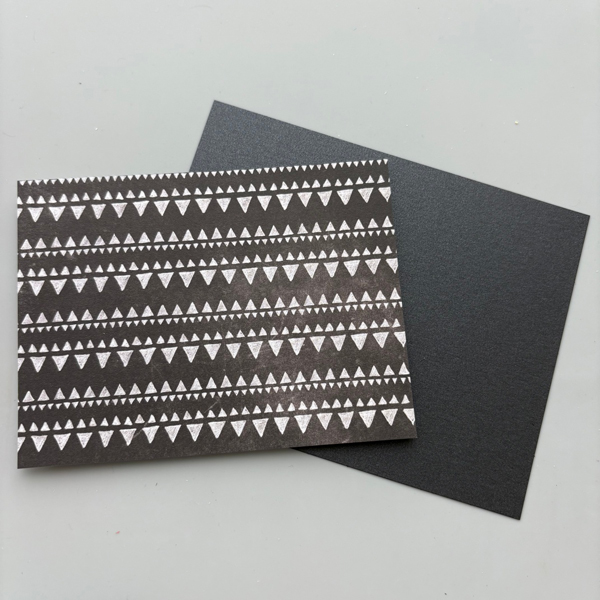
Step 2: Next, I picked a patterned paper from the Chalkboard Prints 6×6 cardstock pad and trimmed it to 3 ¾’’ x 5’’. There are a lot of great patterns in this paper pad that are black and white, and perfect for Halloween cards. The Stardream Metallic Onyx cardstock is used as the card base.
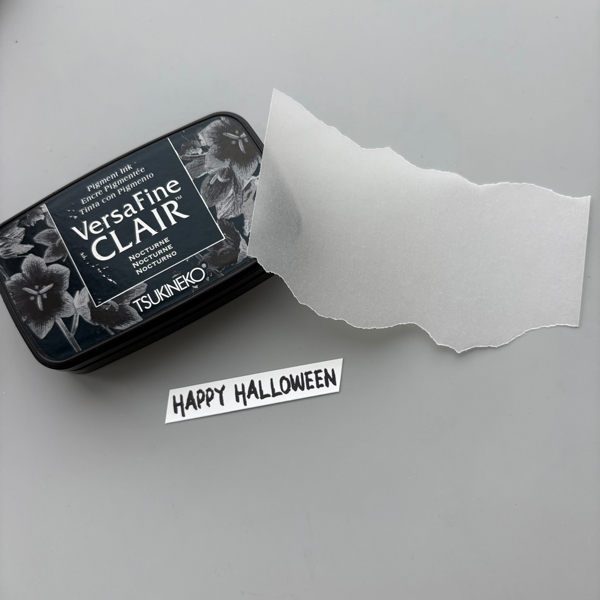
Step 3: Since the focal images and background are both black, adding a piece of vellum would really help the black kitties stand out against the dark background. I trimmed a piece of Curious Translucent vellum to a width of 4 ½’’, and tore the edges by hand. This is one of my favorite ways to layer with vellum and I like the look and organic feel of the torn edges. For the sentiment, I picked a classic “Happy Halloween” stamp from Brutus Monroe’s Occasional Greetings set. I stamped it with VersaFine Clair Nocturne ink on Classic Crest Solar White cardstock.
Step 4: Finally, let’s adhere all of the elements together. I mounted the black cats and background panel with foam tape, and adhered the sentiment strip and vellum piece with Tear-It! Tape. A few rhinestones were also added with On-Point Glue, and the card is complete!
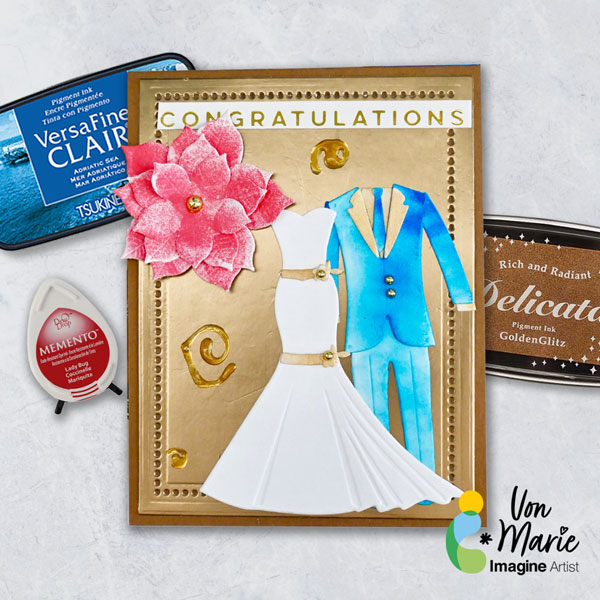
Hello everyone! Von Marie here with my latest video using a fun color palette of Red, Gold, Blue, and White. I used some Beautiful inks to create a simple Winter Wedding Card.This design is also great Anniversaries or Birthday Cards. Video has all the details. Thanks for watching.
Hi everyone! It’s Jessica here. Have you tried creating your own patterned paper before? It’s truly quite simple and kind of addicting once you get the hang of it! Keep reading to find out a trick using stamp positioning tools.
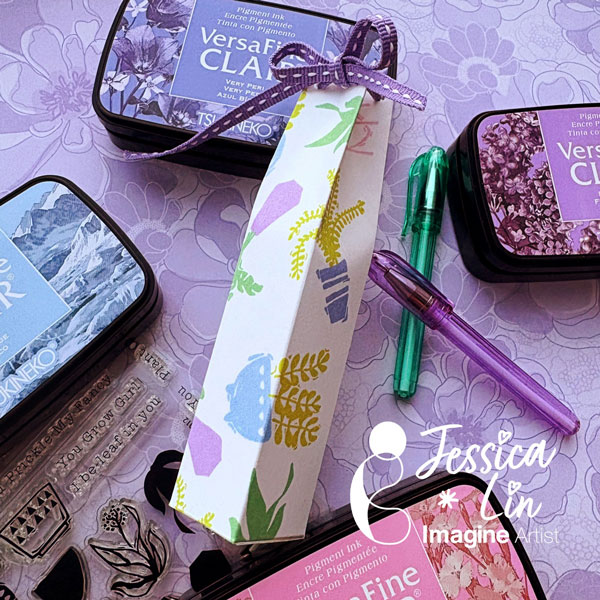
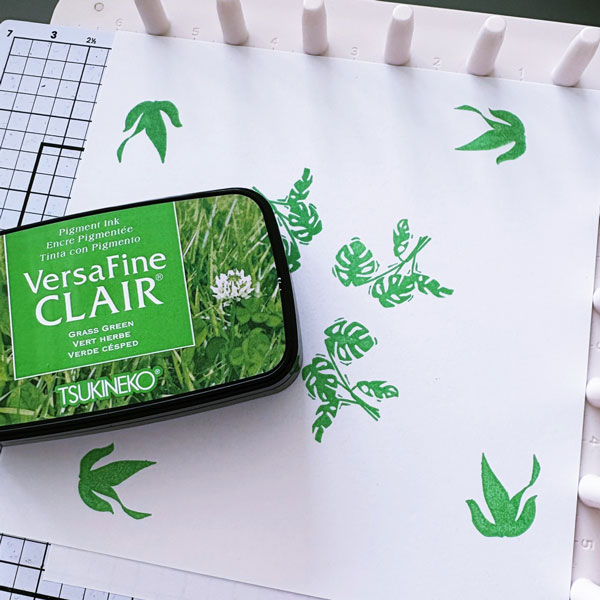
Step 1: I decided to stamp on a piece of 6×6’’ cardstock using the We R Precision Press. This method helps fill up the page quickly with repeated patterns, but you could stamp the images free-hand using an acrylic block as well. With the Precision Press, I placed stamps on the 3×3’’ top-right quadrant and rotated the cardstock 90 degrees each time. This vibrant green color is VersaFine Clair Grass Green ink pad and it really captures the lush, lively green from plants.
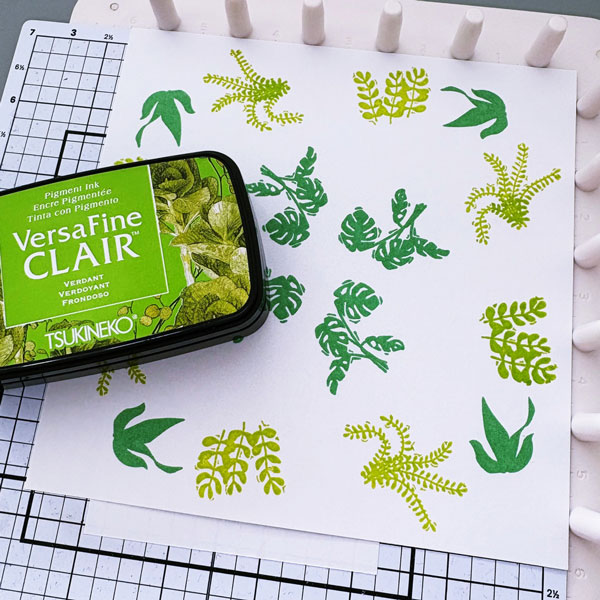
Step 2: I repeated Step 1 with two other succulent stamps. This time, I chose the VersaFine Clair Verdant ink pad.
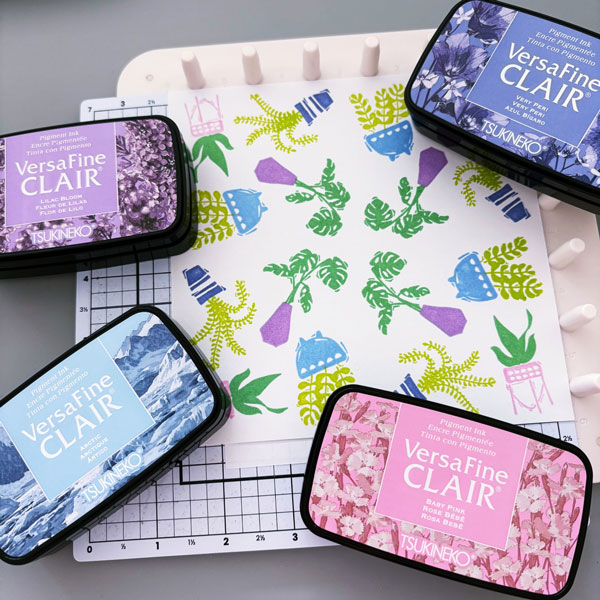
Step 3: Let’s stamp the plant pots next. I picked a few pastel colors – VersaFine Clair Baby Pink, Lilac Bloom, Arctic and Very Peri. These colors complement each other so well, I think they are becoming one of my favorite color combos.
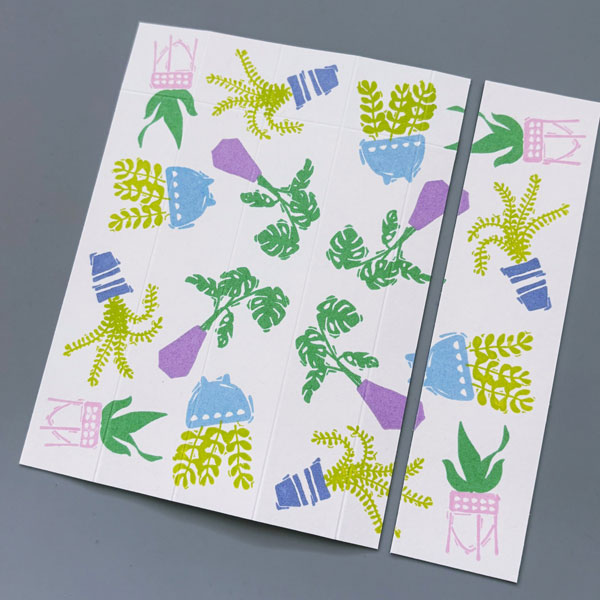
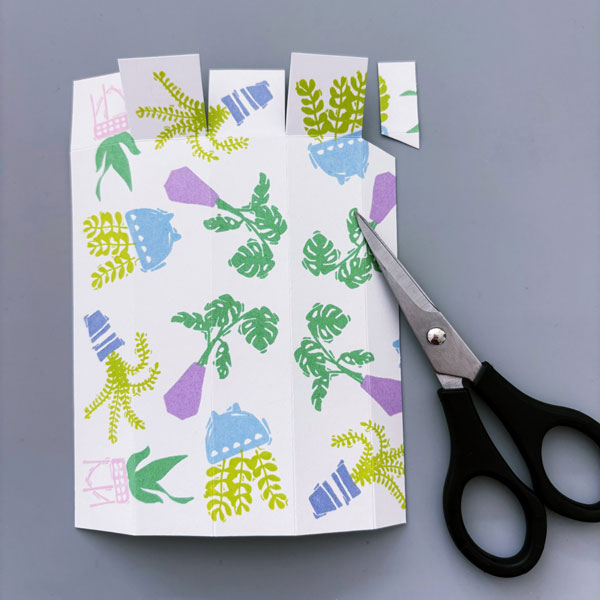
Step 4: Once you are done with creating your own patterned paper, you can trim it however you’d like to decorate cards or scrapbook pages. I want to use it to create a small treat box, so I am cutting it to 4.5 x 6’’. Then, on the short side, score at the 1’’, 2’’, 3’’, and 4’’ marks. On the long side, score at the 1’’ mark. These will be the crease lines for us to fold the box.
Step 5: After that, cut along the top four squares to make the bottom flaps of the box. I also cut away a small corner so that it’ll be easier to assemble the box later.
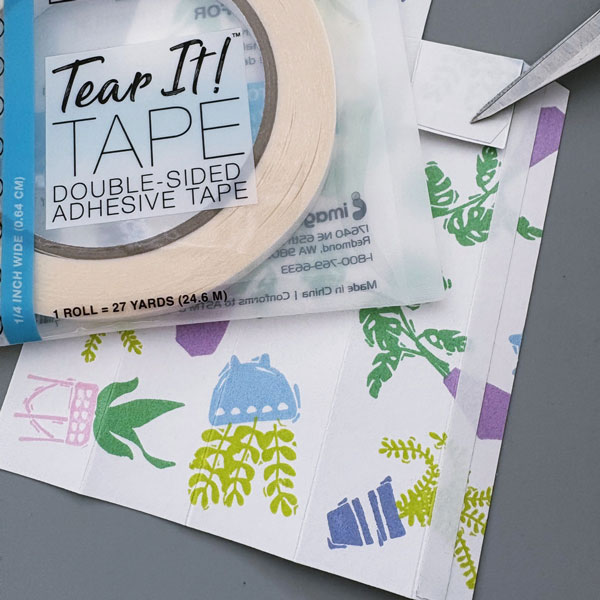
Step 6: Apply Tear It Tape to the 0.5’’ overhang on the right like pictured, and fold along the creased lines to form a box. Fold the square flap on the right downwards and apply Tear It Tape at the bottom edge. Now you can assemble the box by sticking the sides and bottom shut.
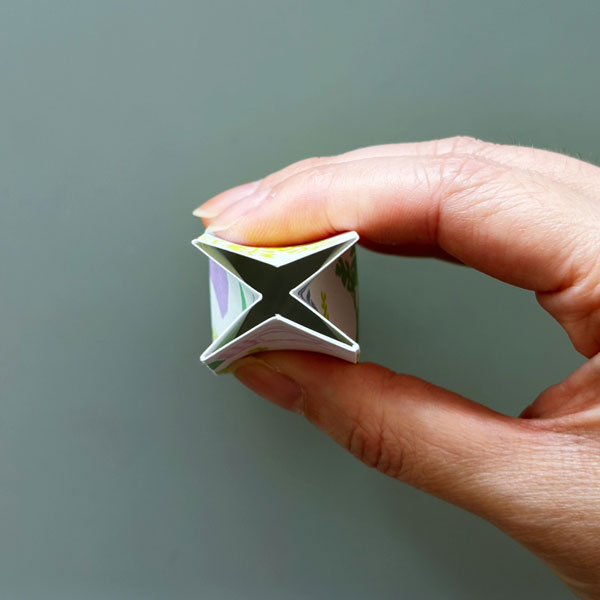
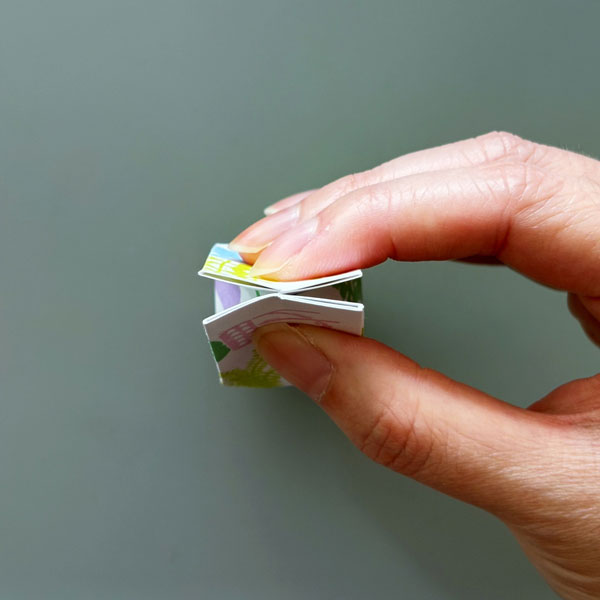
Step 7: To create the box opening, gently press on the sides to make a “X” shape.
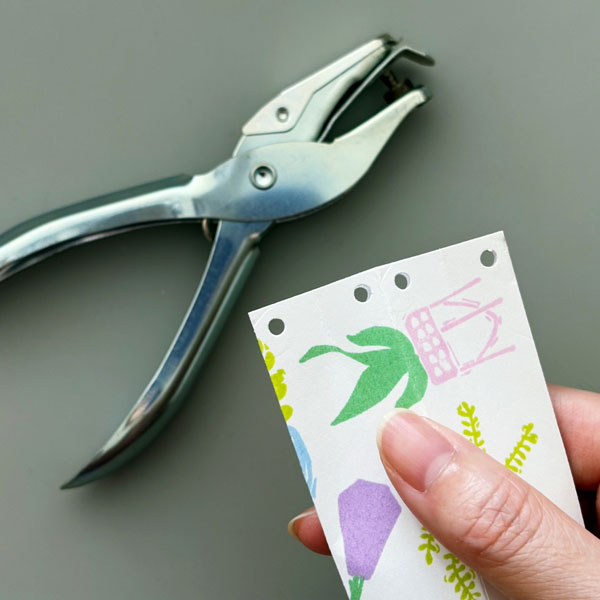
Step 8: For each pinched flap, punch a hole near the corner.
Step 9: This would create holes to thread the ribbon. Once you filled the treat box with goodies, lace the ribbon around the holes and tie a bow to keep the box closed.
I hope this tutorial inspired you to stamp your own patterned paper! It is a fun way to create custom prints and use your stamps creatively. Thanks so much for stopping by, and I’ll see you next time!
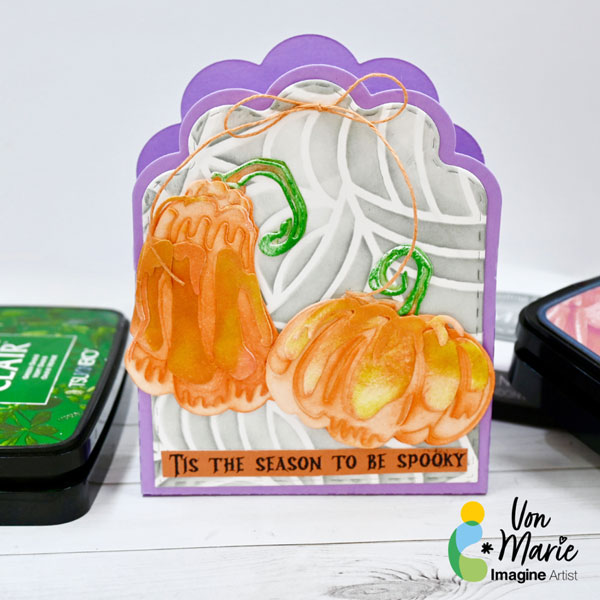
Hello everyone. Von Marie here with my latest project. I love Fall and so I had so much fun creating this Halloween Candy Teat Box. I used my favorite inks to help me achieve my results. All details are in my video. Thank you for watching.
White Cardstock Purple cardstock Blending Brushes Jaded Blossom Scallop Caddy Die A Colorful Life Designs Tangles Webs 6×6 Stencil Liquid Glue Tim Holtz Pumpkin Duo Colorize dies Hemp Twine Die Cutting Machine Scissors
Treat boxes make great gifts for any Holidays. I hope you grab your favorite Imagine Crafts inks and make something that inspired you today.
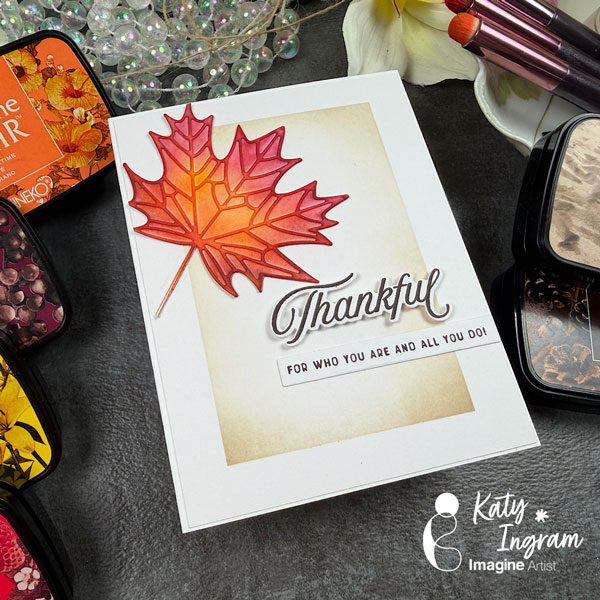
Hello Friends! Katy here with my latest video showcasing VersaFine Clair inks once again to create a Fall inspired card. Video has all the details. Thanks for watching.
Other Products Used -Watercolor Paper -Blending Brushes -Masking Tape -The Greetery Thanks All The Way Stamp and Die Set -Layering Leaf Die Cut- any will work, I used the Maple Leaf from Honey Bee Stamps