By Anna Escalada York
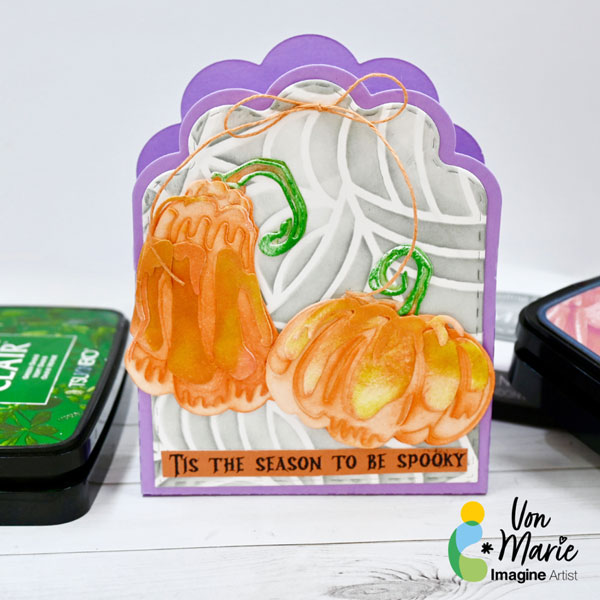
– Thanksgiving cards are a great way to send our thoughts and love to those who are celebrating far away.
Skill: Intermediate
Time: 2 hours
Directions:

Step 1:
Stamp a variety of pumpkin stamps and a squash with Summertime VersaFine Clair Ink on watercolor paper. Color the stems of each of the pumpkins and squash with Emerald Fabrico Dual Marker. Heat emboss all of the images with clear embossing powder.
Die cut each of the images with their corresponding die.

Step 2:
Die cut a piece of watercolor paper with a background die cut set. (This die also created additional smaller die cuts that will be used later in the card.) The die cut was colored by swiping Potter’s Clay Memento Ink, followed by coloring the edges of the panel with Rich Cocoa Memento Dual Marker, ink blending the edges of the boxes with leftover Nocturne VersaFine Clair ink on a sponge dauber, and then swiping the whole panel with Celestial Copper Delicata Ink. Splatter the panel with a both Rich Cocoa and Tuxedo Black Memento Dual Markers mixed with water.

Step 3:
Press the frames inside each of the panel’s windows into the Celestial Copper Delicata Ink pad to color them. Heat emboss each of them with clear embossing powder.

Step 4:
Watercolor smoosh the window die cuts with Tangerine Fabrico Dual Marker mixed with water. Splatter the die cuts with the leftover watercolor smooshing mix. Set aside to dry.

Step 5:
Stamp a sentiment from the stamp set on the right edge of the largest die cut window with Nocturne VersaFine Clair ink. Shift the die cut a little to the right and stamp the sentiment again with Celestial Copper Delicata ink to create a shadow effect. Heat emboss the sentiment with more clear embossing powder.

Step 6: Use a pumpkin shaped stamp with small flowers and foliage images to stamp each of the four other (smaller) window dies with Celestial Copper Delicata Ink to create additional interest. Then use washi tape on the back of the panel to hold all of the background die cuts together.

Step 7:
Die cut the leaf branch die cut out of watercolor paper and swipe Potter’s Clay Memento ink across the die cut. Then color the stems with the Rich Cocoa Memento Dual Marker and scribble over some of the uncolored parts of the leaves with Tangerine Fabrico Dual Marker. Spray Dandelion Fireworks! Craft Spray on a piece of acetate and press the leaf die cut into the spray to add shine and color. Once that dried, spray the whole die cut with Frosth Shimmer Craft Spray.

Step 8:
Glue the die cut leaf cluster on the lower left corner of the card panel. Then glue one of the larger pumpkins and the gourd on the lower left corner of the card. Add the shorter pumpkin die cut over the other die cuts with foam tape. Glue the whole thing onto a card base to finish the card.
Art Supplies
Imagine
Delicata Ink – Celestial Copper
Fabrico Dual Marker – Emerald
Fabrico Dual Marker – Tangerine
Fireworks! Craft Spray – Dandelion
Memento Dual Marker – Rich Cocoa
Memento Dual Marker – Tuxedo Black
Memento Dye Ink – Potter’s Clay
Sheer Shimmer Craft Spray – Frost
VersaFine Clair Ink – Nocturne
VersaFine Clair Ink – Summertime
Sponge Dauber
Other
Altenew – foam tape – Instant Dimension Foam Tape
Picket Fence Studio – die set – A2 Scene Building Rectangle Two
Simon Hurley Create. – stamp set – Fall Sampler
Simon Says Stamp – die – Autumn Leaf Branch
Spellbinders – die set – coordinating die set for Simon Hurley Create.’s Fall Sampler stamp set
Clear Embossing Powder
Heat tool
Glue
Watercolor paper
Washi tape