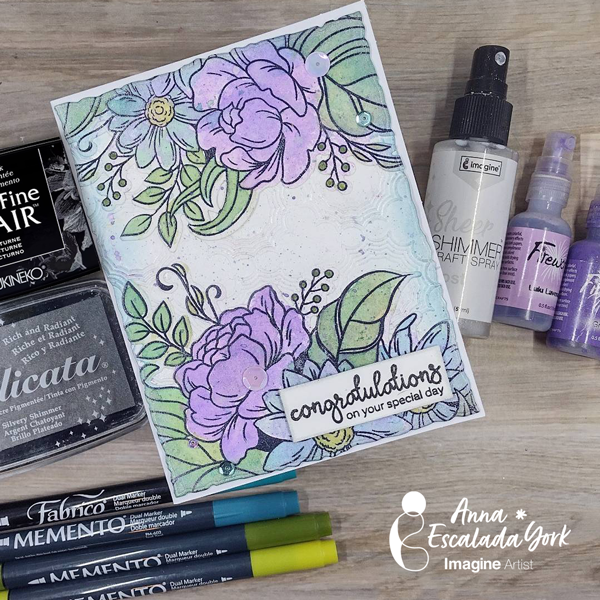
Floral Winter Wedding Card

By Anna Escalada York ~

While this card was made for a winter wedding card, it could easily be used for many different celebrations. It features mixing colors together to create new colors.

Skill: Intermediate
Time: 1 hour

Directions:
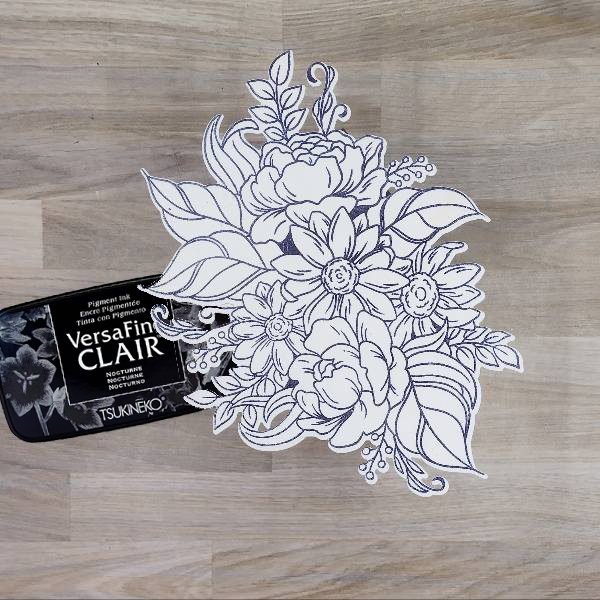
Step 1:
Stamp a large bouquet of flowers with Nocturne VersaFine Clair Ink on watercolor paper and heat emboss with clear embossing ink. Die cut with the corresponding die.
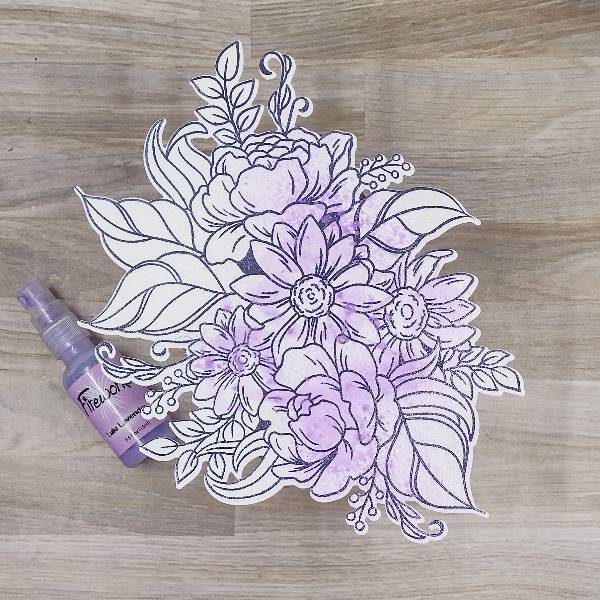
Step 2:
Selectively spray the bouquet with Luly Lavender Fireworks! Craft Spray and allow to dry.
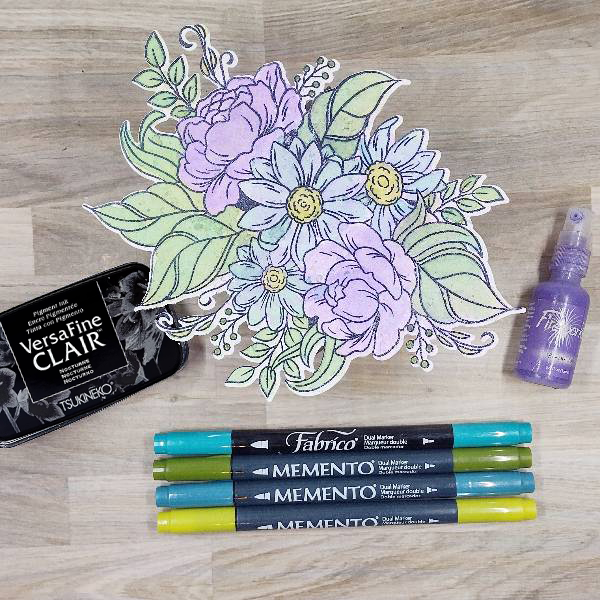
Step 3:
Use a variety of Memento and Fabrico markers as well as another color of Fireworks! Craft Spray to watercolor the bouquet.

● Leaves/greenery: I watercolored the leaves and greenery with Bamboo Leaves Memento Dual Marker mixed with water. While the leaves were still damp, I watercolored them with Teal Zeal Memento Dual Marker mixed with water.

● Roses (purple flowers): I watercolored them with Grape Jelly Fireworks! Craft Spray mixed with a little water.

● The daisies: The petals were watercolored with Tropical Lagoon Fabrico Dual Marker and the centers with Pear Tart Memento Dual Marker mixed with water.
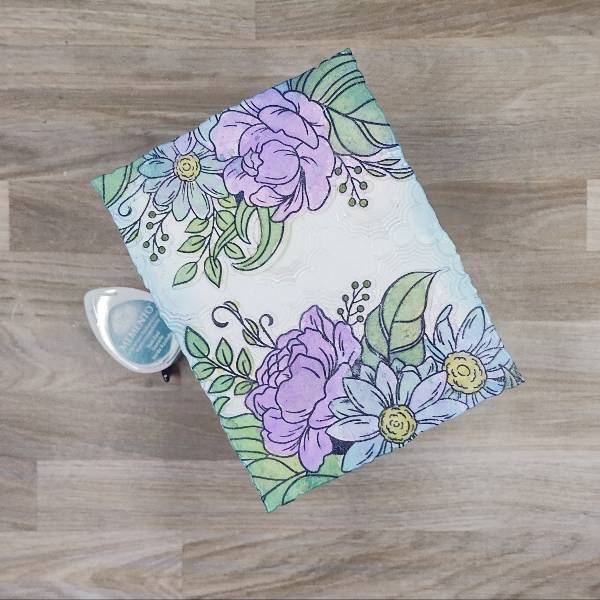
Step 4:
Not pictured: Die cut a piece of watercolor paper with an A2-sized deckled rectangular die. Next, spray the inside of an embossing folder with Frost Sheer Shimmer Craft Spray and emboss the panel as well as add shimmer to the panel. Allow to dry.

Use the same A2-sized deckled rectangular die to cut the bouquet die cut in half while also making sure that the edges of the flowers would line up with the deckled edges of the embossed panel. Glue the flowers onto the top and bottom edges of the panel. Then use a sponge dauber to ink blend the edges of the panel with Teal Zeal Memento Dye Ink.
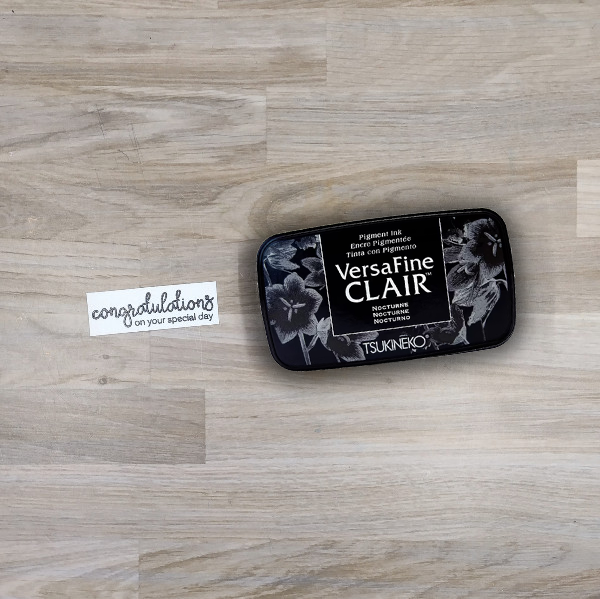
Step 5:
Stamp a sentiment with Nocturne VersaFine Clair Ink on a scrap of watercolor paper and heat emboss with clear embossing powder. Trim the watercolor paper.
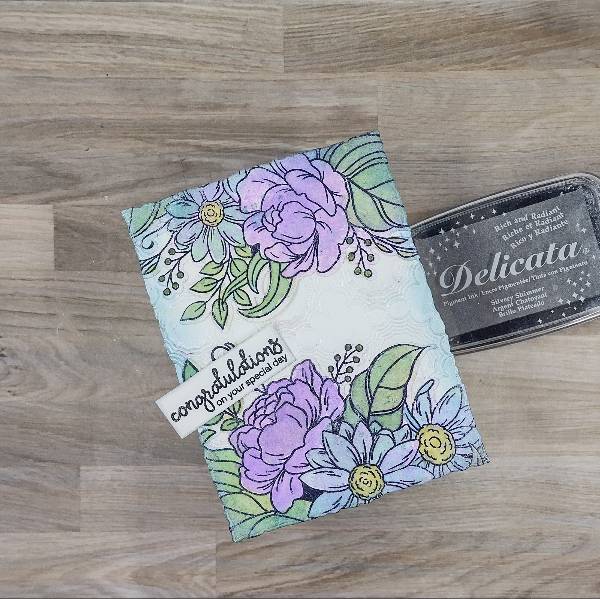
Step 6:
Press the edges of the card panel and the sentiment strip in the Silvery Shimmer Delicata Ink pad.
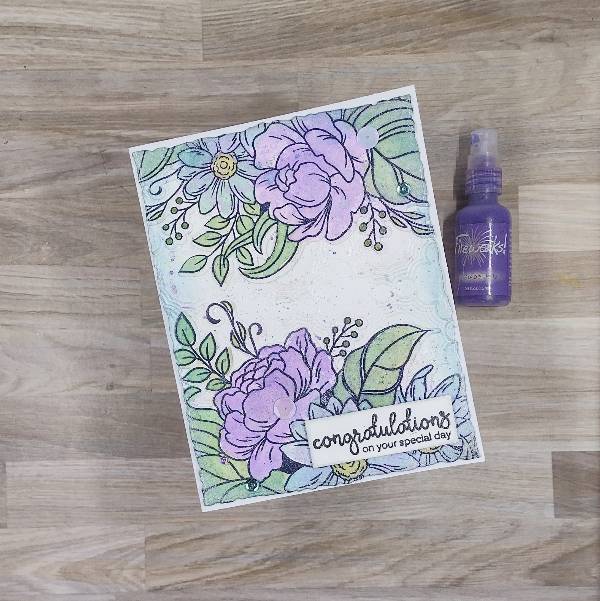
Step 7:
Splatter more of the Grape Jelly Fireworks! Craft Spray over the card panel. After the splatters dried, glue the sentiment strip on the lower right corner of the panel. Glue sequins on the lower left and upper right parts of the panel. Then glue the whole thing onto an A2-sized white card base to finish the card.

Art Supplies

Imagine
• Delicata Ink – Silvery Shimmer
• Fabrico Dual Marker – Tropical Lagoon
• Fireworks! Craft Spray – Grape Jelly and Lulu Lavender
• Memento Dual Marker – Bamboo Leaves, Pear Tart, Teal Zeal
• Memento Dye Ink – Teal Zeal
• Sheer Shimmer Craft Spray – Frost
• VersaFine Clair Ink – Nocturne
• Sponge Dauber

Other
• Altenew – embossing folder – Starburst 3D
• Altenew – die set – Blossoms of Encouragement
• Altenew – stamp set – Blossoms of Encouragement
• Altenew – stamp set – Bouquet of Love
• Catherine Pooler Designs – sequin mix – Paris
• Honey Bee Stamps – die set – Deckle Edge A2 die set
• Clear Embossing Powder
• Heat tool
• Glue
• Watercolor paper

Let’s Make a Happy Thanksgiving Card

By Anna Escalada York

– Thanksgiving cards are a great way to send our thoughts and love to those who are celebrating far away.

Skill: Intermediate
Time: 2 hours

Directions:

Step 1:
Stamp a variety of pumpkin stamps and a squash with Summertime VersaFine Clair Ink on watercolor paper. Color the stems of each of the pumpkins and squash with Emerald Fabrico Dual Marker. Heat emboss all of the images with clear embossing powder.

Die cut each of the images with their corresponding die.

Step 2:
Die cut a piece of watercolor paper with a background die cut set. (This die also created additional smaller die cuts that will be used later in the card.) The die cut was colored by swiping Potter’s Clay Memento Ink, followed by coloring the edges of the panel with Rich Cocoa Memento Dual Marker, ink blending the edges of the boxes with leftover Nocturne VersaFine Clair ink on a sponge dauber, and then swiping the whole panel with Celestial Copper Delicata Ink. Splatter the panel with a both Rich Cocoa and Tuxedo Black Memento Dual Markers mixed with water.

Step 3:
Press the frames inside each of the panel’s windows into the Celestial Copper Delicata Ink pad to color them. Heat emboss each of them with clear embossing powder.

Step 4:
Watercolor smoosh the window die cuts with Tangerine Fabrico Dual Marker mixed with water. Splatter the die cuts with the leftover watercolor smooshing mix. Set aside to dry.

Step 5:
Stamp a sentiment from the stamp set on the right edge of the largest die cut window with Nocturne VersaFine Clair ink. Shift the die cut a little to the right and stamp the sentiment again with Celestial Copper Delicata ink to create a shadow effect. Heat emboss the sentiment with more clear embossing powder.

Step 6: Use a pumpkin shaped stamp with small flowers and foliage images to stamp each of the four other (smaller) window dies with Celestial Copper Delicata Ink to create additional interest. Then use washi tape on the back of the panel to hold all of the background die cuts together.

Step 7:
Die cut the leaf branch die cut out of watercolor paper and swipe Potter’s Clay Memento ink across the die cut. Then color the stems with the Rich Cocoa Memento Dual Marker and scribble over some of the uncolored parts of the leaves with Tangerine Fabrico Dual Marker. Spray Dandelion Fireworks! Craft Spray on a piece of acetate and press the leaf die cut into the spray to add shine and color. Once that dried, spray the whole die cut with Frosth Shimmer Craft Spray.

Step 8:
Glue the die cut leaf cluster on the lower left corner of the card panel. Then glue one of the larger pumpkins and the gourd on the lower left corner of the card. Add the shorter pumpkin die cut over the other die cuts with foam tape. Glue the whole thing onto a card base to finish the card.

Art Supplies

Imagine

Delicata Ink – Celestial Copper
Fabrico Dual Marker – Emerald
Fabrico Dual Marker – Tangerine
Fireworks! Craft Spray – Dandelion
Memento Dual Marker – Rich Cocoa
Memento Dual Marker – Tuxedo Black
Memento Dye Ink – Potter’s Clay
Sheer Shimmer Craft Spray – Frost
VersaFine Clair Ink – Nocturne
VersaFine Clair Ink – Summertime
Sponge Dauber

Other

Altenew – foam tape – Instant Dimension Foam Tape
Picket Fence Studio – die set – A2 Scene Building Rectangle Two
Simon Hurley Create. – stamp set – Fall Sampler
Simon Says Stamp – die – Autumn Leaf Branch
Spellbinders – die set – coordinating die set for Simon Hurley Create.’s Fall Sampler stamp set
Clear Embossing Powder
Heat tool
Glue
Watercolor paper
Washi tape

 Let’s Make a Trick or Treat Card 

By Anna Escalada York –

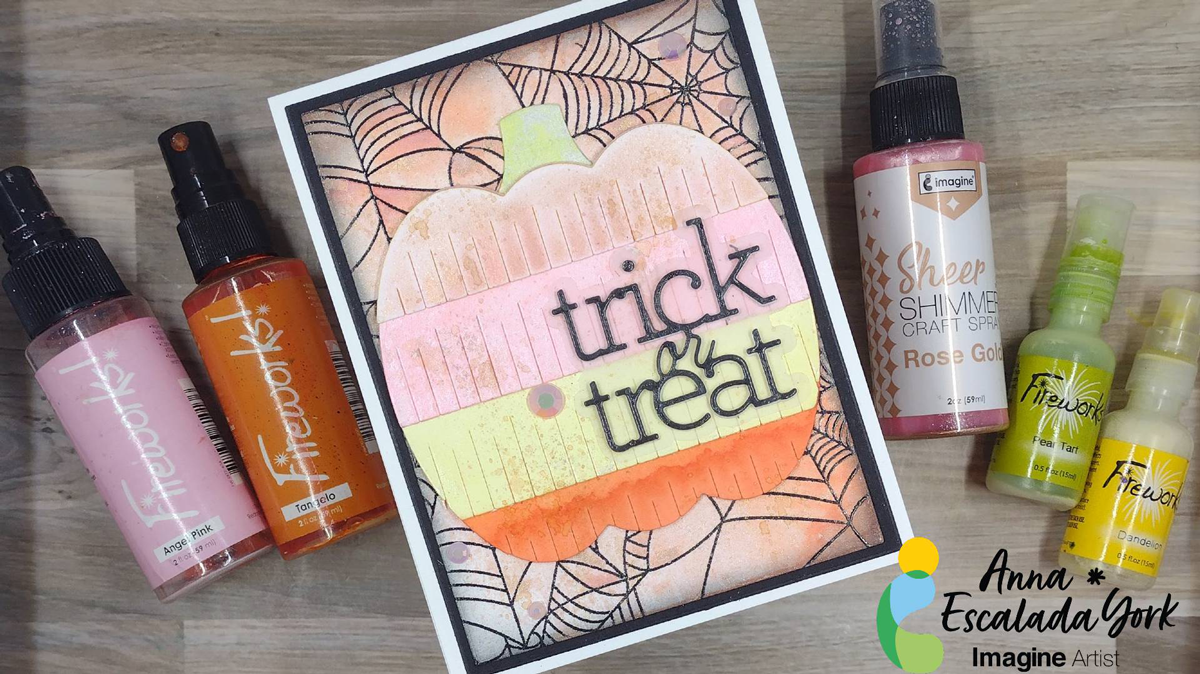
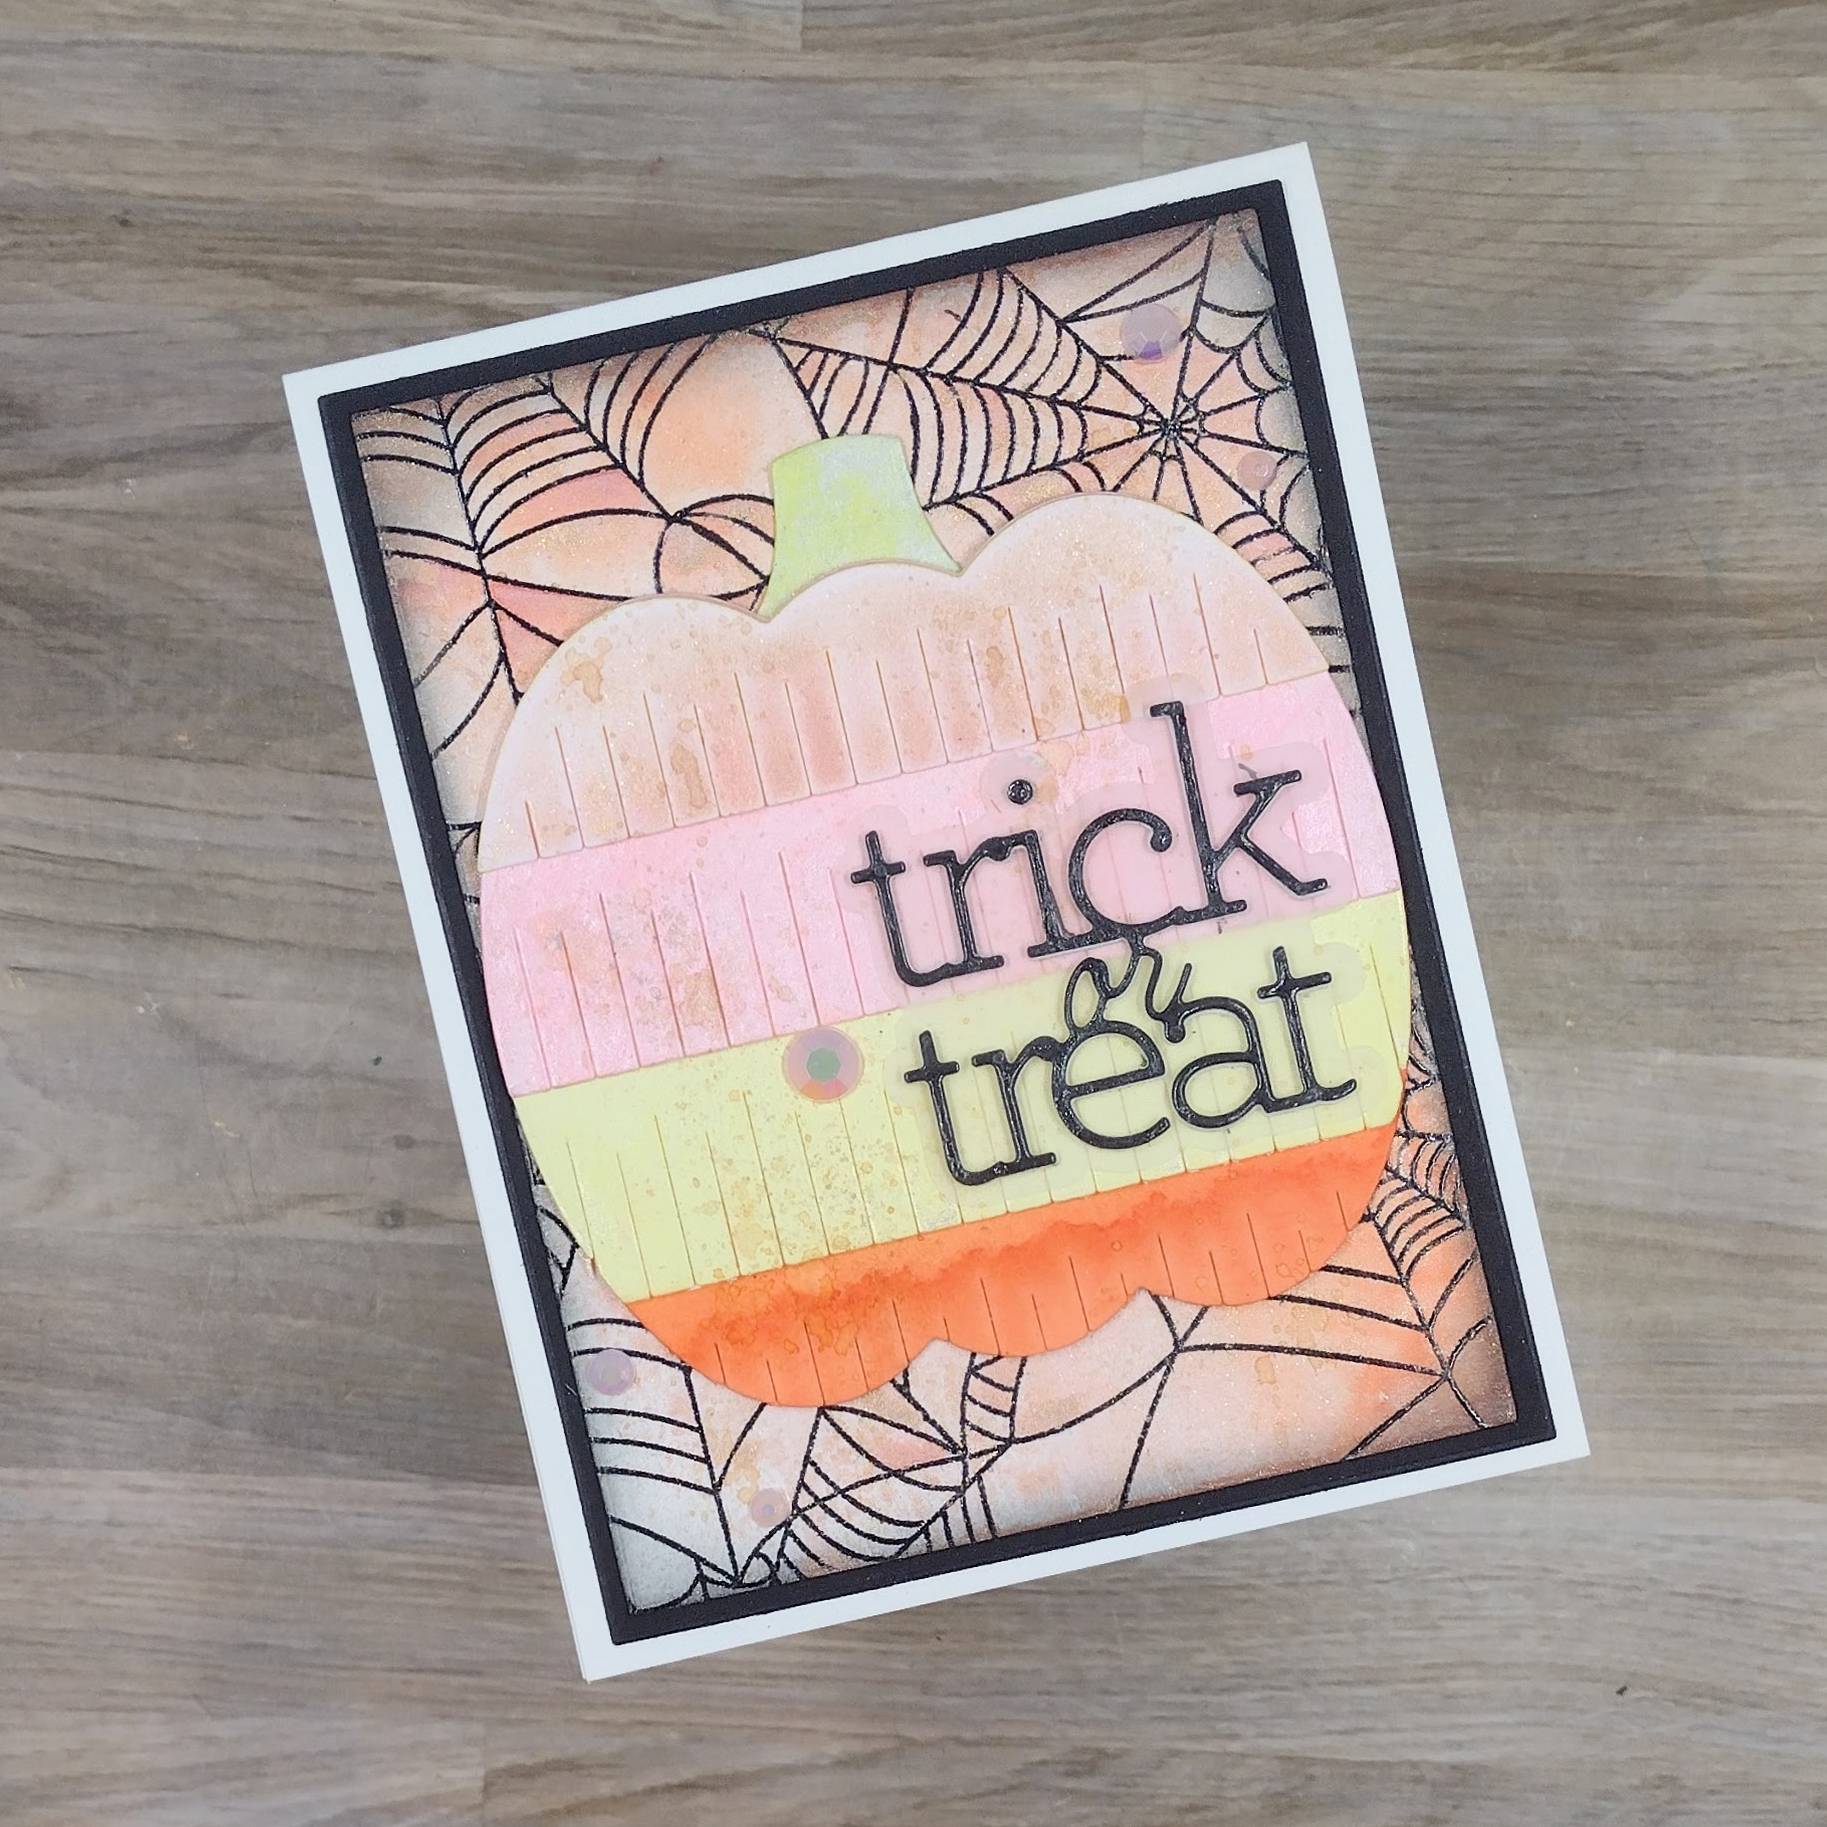
Fall is here! I have been really enjoying making Halloween cards, especially those with non-traditional colors. This card features a pastel color scheme. 

Skill: Intermediate 
Time: 1.5 hours 

Directions: 

Step 1: 
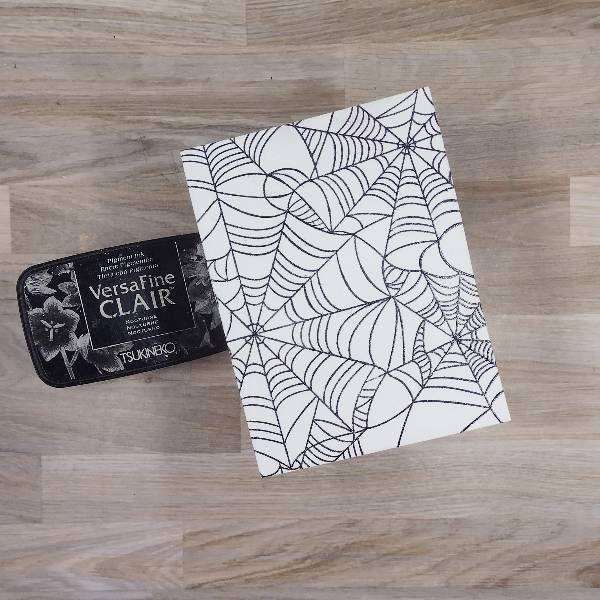
Stamp the spiderweb background stamp on watercolor paper with Nocturne VersaFine Clair Ink. If desired, heat emboss with clear embossing powder. 

Die cut the panel with a mid-sized A2 nesting die. 

Step 2: 
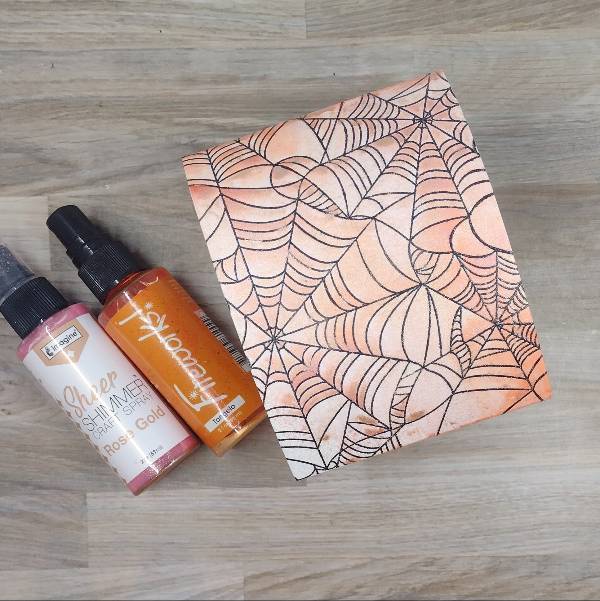
Spray the panel with Rose Gold Sheer Shimmer Craft Spray and Tangelo Fireworks! Craft Spray. Make sure that the sprays overlap to blend the two colors together. Allow the panel to dry. 

Step 3: 
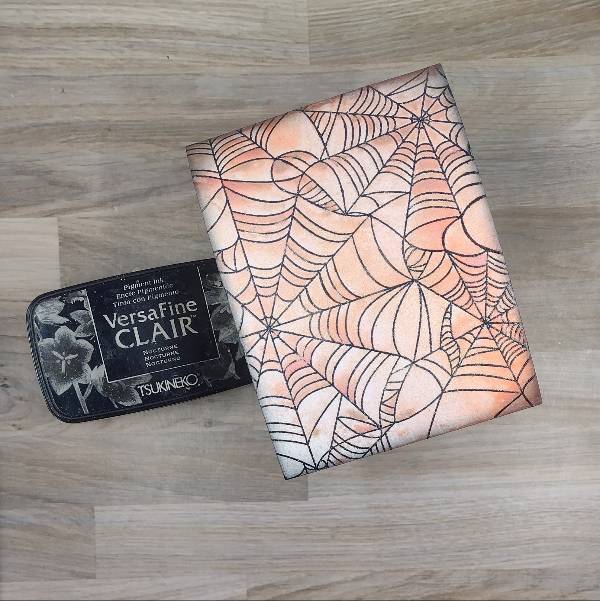
Ink blend the edges of the panel with Nocturne VersaFine Clair Ink. 

Step 4:
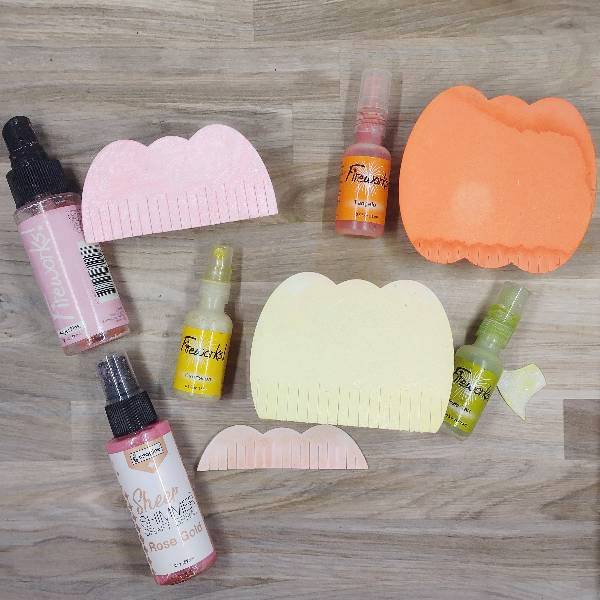
Die cut they layers of the pumpkin die cuts out of watercolor paper and spray each piece with different colored sprays:

  • Stem with Pear Tart Fireworks! Spray
  • Top layer of the pumpkin with Rose Gold Sheer Shimmer Craft Spray
  • Second layer with Angel Pink Fireworks! Spray
  • Third layer with Dandelion Fireworks! Spray
  • Bottom layer with Tangelo Fireworks! Spray

Step 5: 
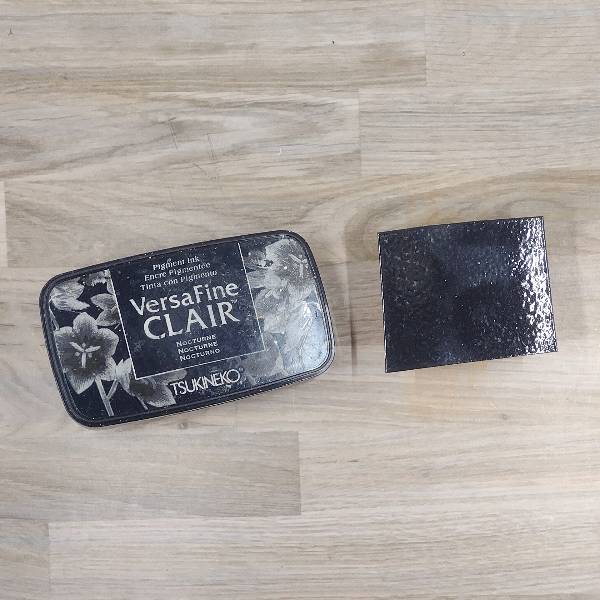
Stamp a piece of watercolor paper with Nocturne VersaFine Clair Ink and heat emboss with clear embossing powder. 

Step 6:
Die cut the colored and embossed piece of watercolor paper from step 5 to create the sentiment. Die cut two small pieces of scrap watercolor paper or cardstock to glue behind the black stamped layer to create dimension. 

Not pictured: Die cut the sentiment’s shadow layer out of vellum and glue behind the sentiment. 

Step 7: 
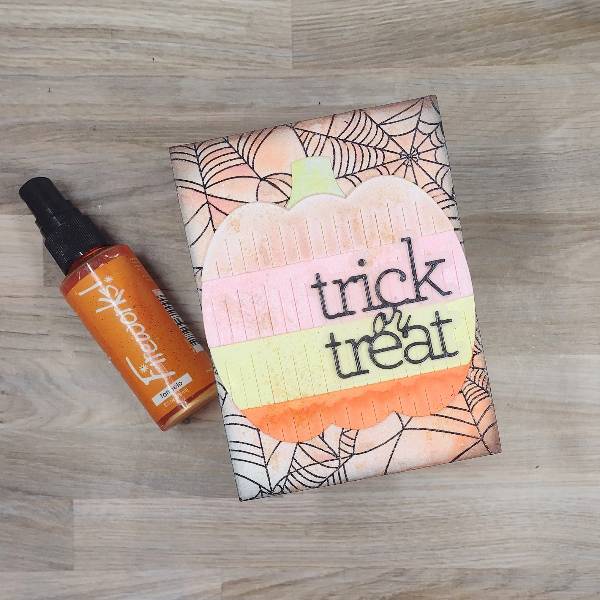
Assemble the die cut pumpkin layers and glue them together. Then glue the sentiment onto the die cut pumpkin layers. Glue the pumpkin (and sentiment) onto the spiderweb background panel. Then splatter Tangelo Fireworks! Craft Spray across the panel and pumpkin. Set aside to dry. 

Step 8: 
Die cut a piece of black watercolor paper with the next-largest die from the A2-sized nesting die set. Glue the spiderweb panel onto the black matte layer. Glue light pink embellishments on the lower left and upper right parts of the panel. To finish the card, glue it onto an A2-sized white card base. 

Art Supplies 

Imagine 

Fireworks! Craft Spray – Angel Pink
Fireworks! Craft Spray – Dandelion
Fireworks! Craft Spray – Pear Tart
Fireworks! Craft Spray – Tangelo
Sheer Shimmer Craft Spray – Rose Gold
VersaFine Clair Ink – Nocturne

Other supplies used:

Pretty Pink Posh – die set – Fringe Pumpkin 
Simon Says Stamp and CZ Design – die set – Trick or Treat 2 
Taylored Expressions – stamp set – Spiderweb Cling and Clear Combo 
Trinity Stamps – embellishment mix – Rose Tinted Glasses 
Waffle Flower – die set – A2 Layers 
Clear Embossing Powder 
Heat tool 
Glue 
Watercolor paper 
Black watercolor paper 

Tint Your Sheer Shimmer Craft Spray

By LV Handcrafted

Skill: Beginner
Time: 5-10 minutes

Hello friends! This is Linh (or LV Handcrafted on all the socials). Did you know you can make an unlimited number of colors of Sheer Shimmer spray?  Add a bit of shimmer and shine to your favorite colors by mixing a bit of your Dye Ink Refill with Sheer Shimmer Spray – Sparkle!  Because the Sheer Shimmer Spray is translucent, you can easily tint it with any color.  Both the shimmer spray and the dye ink refill are water-based so they mix beautifully.  Adjust how much or how little dye to control how intense or how subtle of a color you’d like.  

I like to mix up each other in small misters and spray multiple colors to create fun backgrounds!

Supplies Used

Imagine

Other Products Used

  • Concord & 9th – Joyful Tiles