By Anna Escalada York –
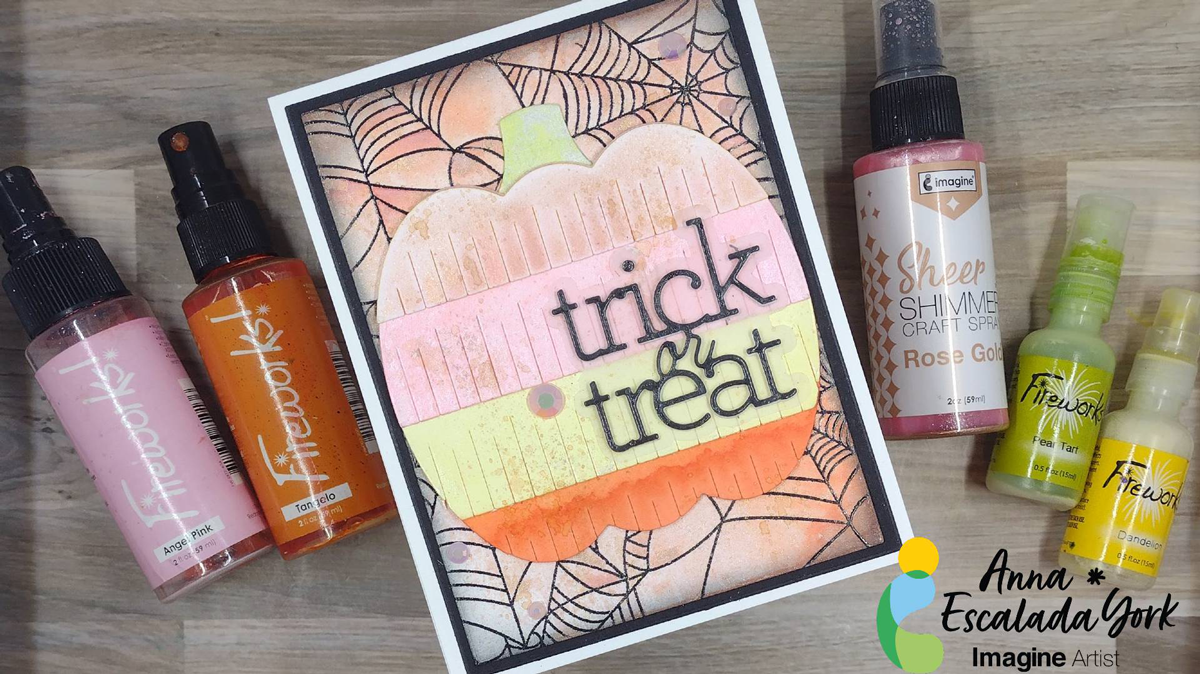
Fall is here! I have been really enjoying making Halloween cards, especially those with non-traditional colors. This card features a pastel color scheme.
Skill: Intermediate
Time: 1.5 hours
Directions:
Step 1:
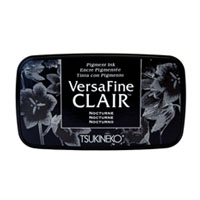
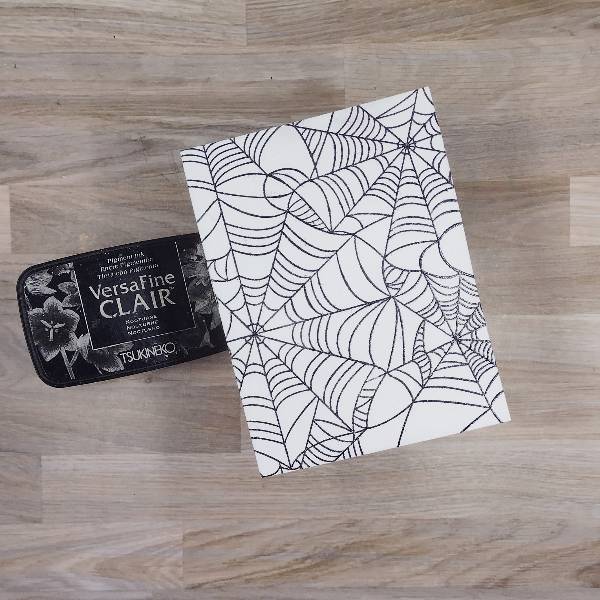
Stamp the spiderweb background stamp on watercolor paper with Nocturne VersaFine Clair Ink. If desired, heat emboss with clear embossing powder.
Die cut the panel with a mid-sized A2 nesting die.
Step 2:
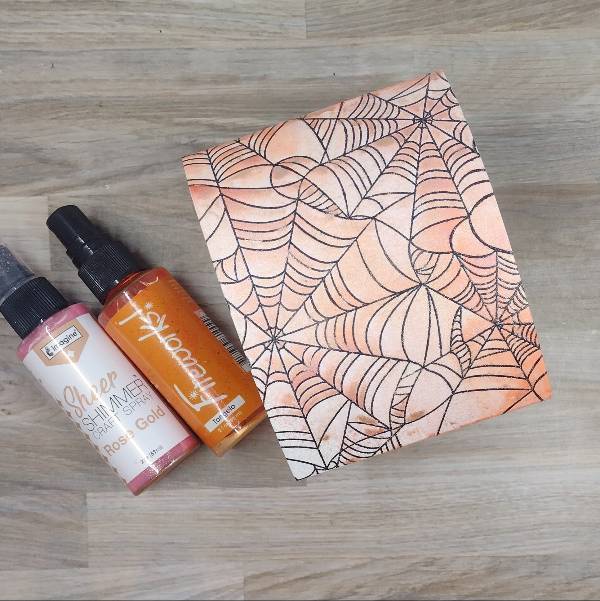
Spray the panel with Rose Gold Sheer Shimmer Craft Spray and Tangelo Fireworks! Craft Spray. Make sure that the sprays overlap to blend the two colors together. Allow the panel to dry.
Step 3:
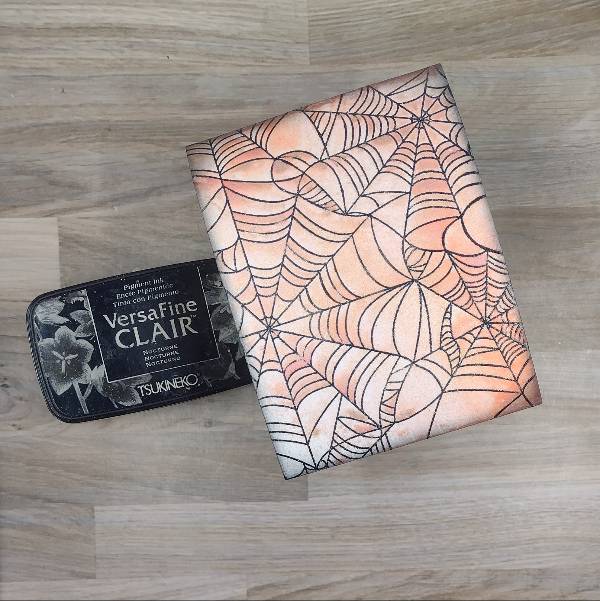
Ink blend the edges of the panel with Nocturne VersaFine Clair Ink.
Step 4:
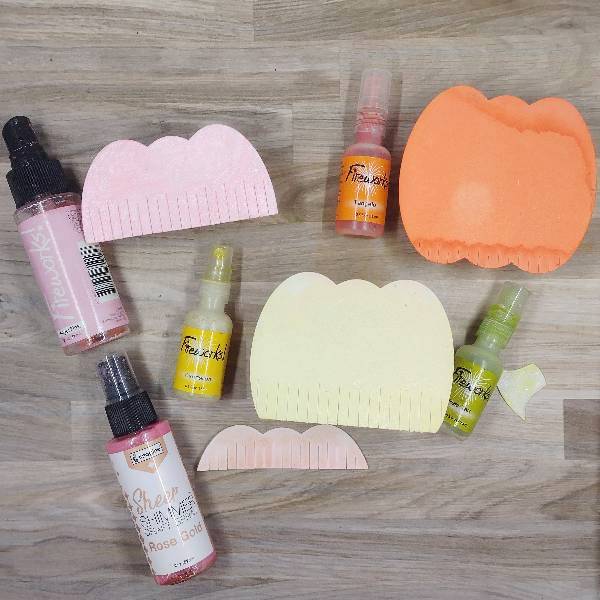
Die cut they layers of the pumpkin die cuts out of watercolor paper and spray each piece with different colored sprays:
- Stem with Pear Tart Fireworks! Spray
- Top layer of the pumpkin with Rose Gold Sheer Shimmer Craft Spray
- Second layer with Angel Pink Fireworks! Spray
- Third layer with Dandelion Fireworks! Spray
- Bottom layer with Tangelo Fireworks! Spray
Step 5:
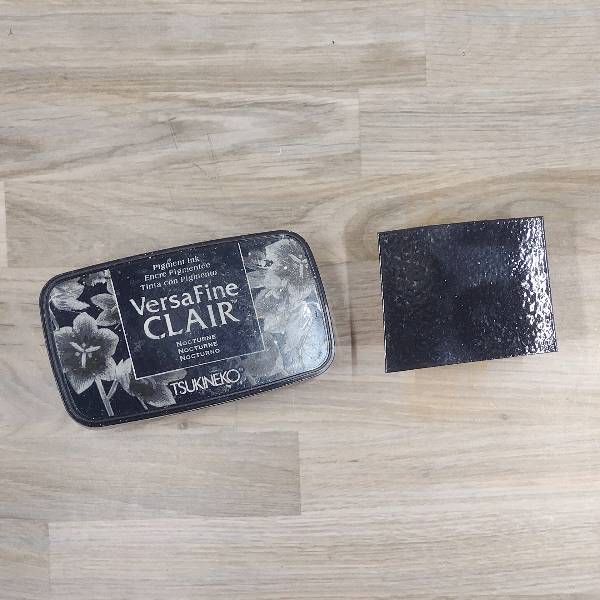
Stamp a piece of watercolor paper with Nocturne VersaFine Clair Ink and heat emboss with clear embossing powder.

Step 6:
Die cut the colored and embossed piece of watercolor paper from step 5 to create the sentiment. Die cut two small pieces of scrap watercolor paper or cardstock to glue behind the black stamped layer to create dimension.
Not pictured: Die cut the sentiment’s shadow layer out of vellum and glue behind the sentiment.
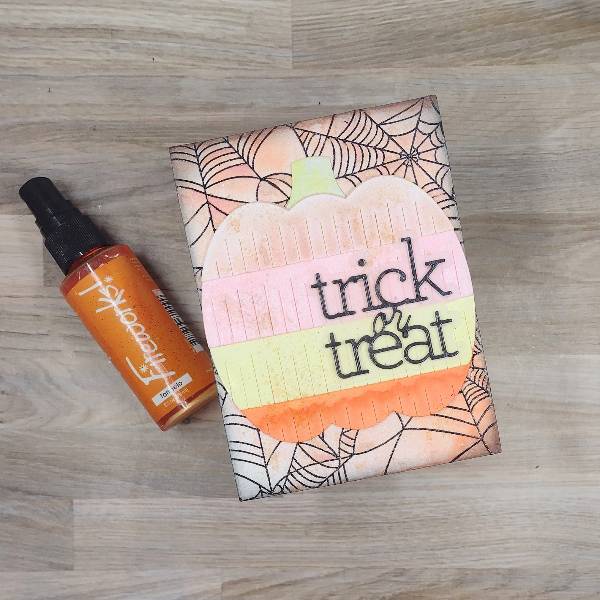
Step 7:
Assemble the die cut pumpkin layers and glue them together. Then glue the sentiment onto the die cut pumpkin layers. Glue the pumpkin (and sentiment) onto the spiderweb background panel. Then splatter Tangelo Fireworks! Craft Spray across the panel and pumpkin. Set aside to dry.
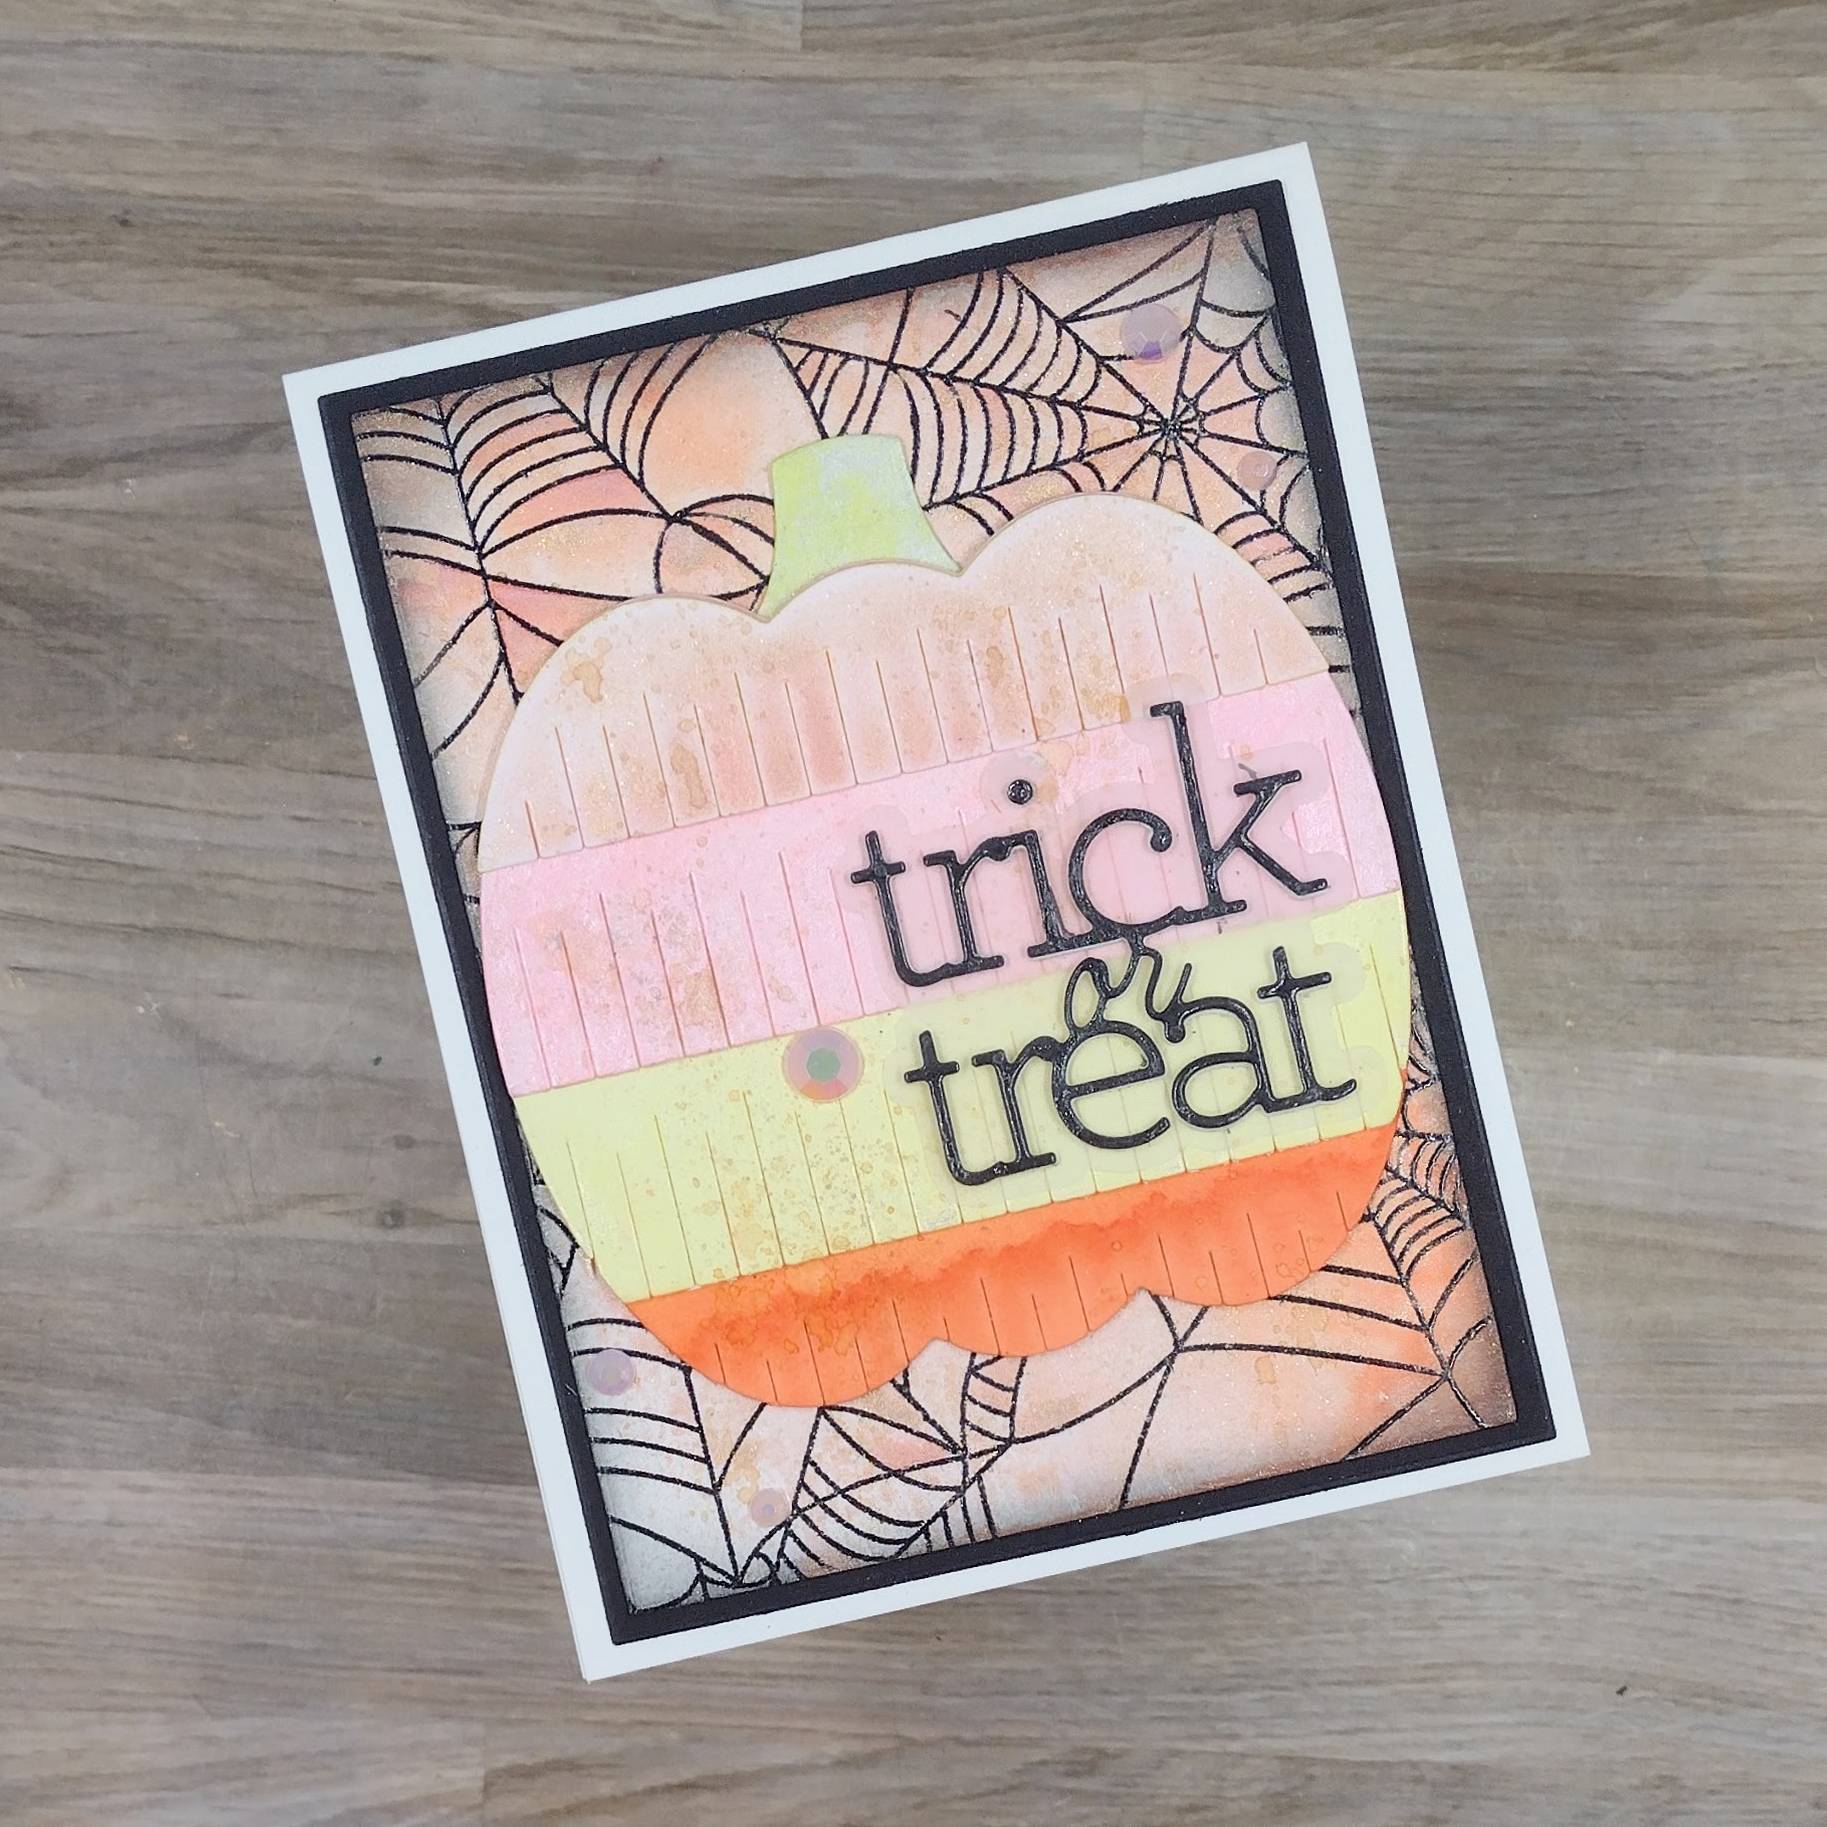
Step 8:
Die cut a piece of black watercolor paper with the next-largest die from the A2-sized nesting die set. Glue the spiderweb panel onto the black matte layer. Glue light pink embellishments on the lower left and upper right parts of the panel. To finish the card, glue it onto an A2-sized white card base.
Art Supplies
Imagine
Fireworks! Craft Spray – Angel Pink
Fireworks! Craft Spray – Dandelion
Fireworks! Craft Spray – Pear Tart
Fireworks! Craft Spray – Tangelo
Sheer Shimmer Craft Spray – Rose Gold
VersaFine Clair Ink – Nocturne
Other supplies used:
Pretty Pink Posh – die set – Fringe Pumpkin
Simon Says Stamp and CZ Design – die set – Trick or Treat 2
Taylored Expressions – stamp set – Spiderweb Cling and Clear Combo
Trinity Stamps – embellishment mix – Rose Tinted Glasses
Waffle Flower – die set – A2 Layers
Clear Embossing Powder
Heat tool
Glue
Watercolor paper
Black watercolor paper