
By Jessica Lin
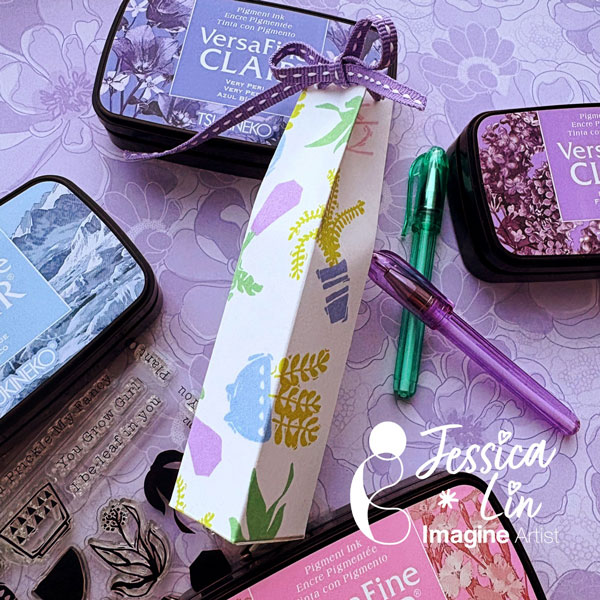
Hi everyone! It’s Jessica here. Have you tried creating your own patterned paper before? It’s truly quite simple and kind of addicting once you get the hang of it! Keep reading to find out a trick using stamp positioning tools.
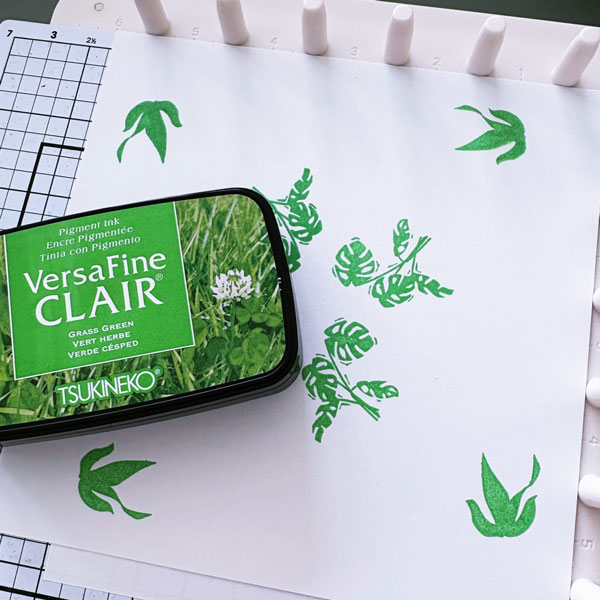
Step 1:
I decided to stamp on a piece of 6×6’’ cardstock using the We R Precision Press. This method helps fill up the page quickly with repeated patterns, but you could stamp the images free-hand using an acrylic block as well. With the Precision Press, I placed stamps on the 3×3’’ top-right quadrant and rotated the cardstock 90 degrees each time. This vibrant green color is VersaFine Clair Grass Green ink pad and it really captures the lush, lively green from plants.
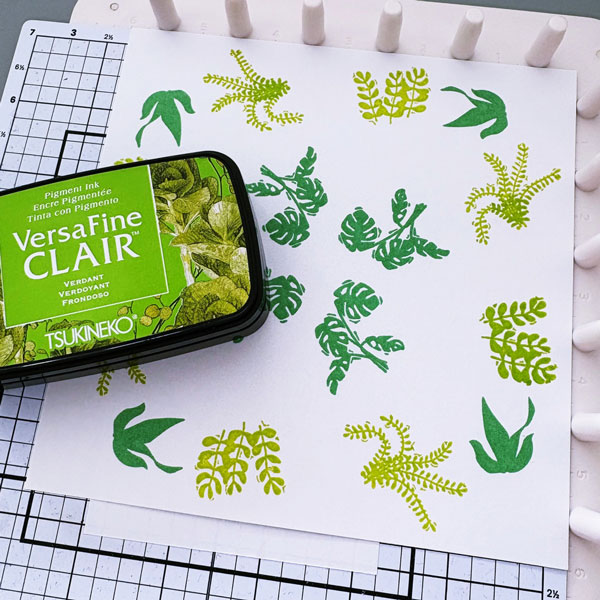
Step 2:
I repeated Step 1 with two other succulent stamps. This time, I chose the VersaFine Clair Verdant ink pad.
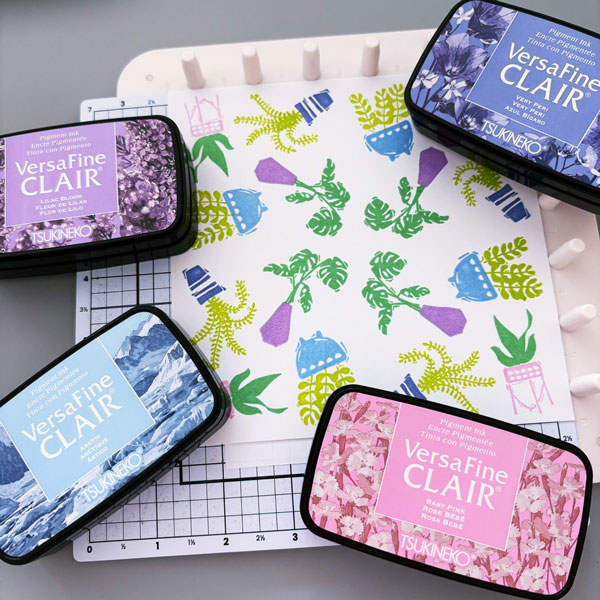
Step 3:
Let’s stamp the plant pots next. I picked a few pastel colors – VersaFine Clair Baby Pink, Lilac Bloom, Arctic and Very Peri. These colors complement each other so well, I think they are becoming one of my favorite color combos.
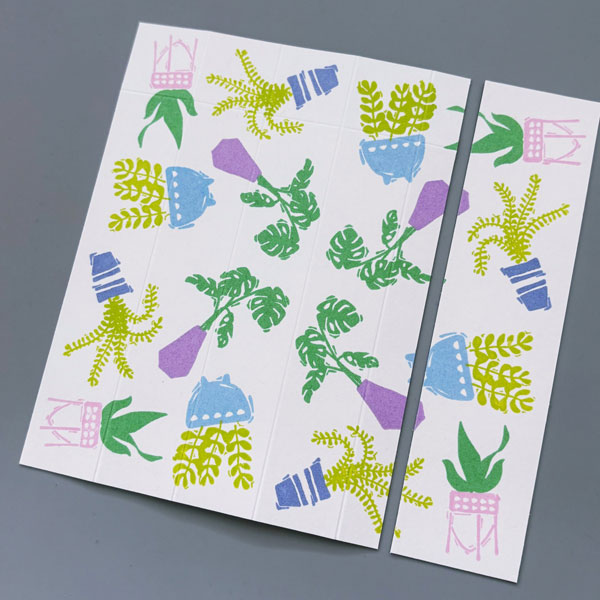
Step 4:
Once you are done with creating your own patterned paper, you can trim it however you’d like to decorate cards or scrapbook pages. I want to use it to create a small treat box, so I am cutting it to 4.5 x 6’’. Then, on the short side, score at the 1’’, 2’’, 3’’, and 4’’ marks. On the long side, score at the 1’’ mark. These will be the crease lines for us to fold the box.
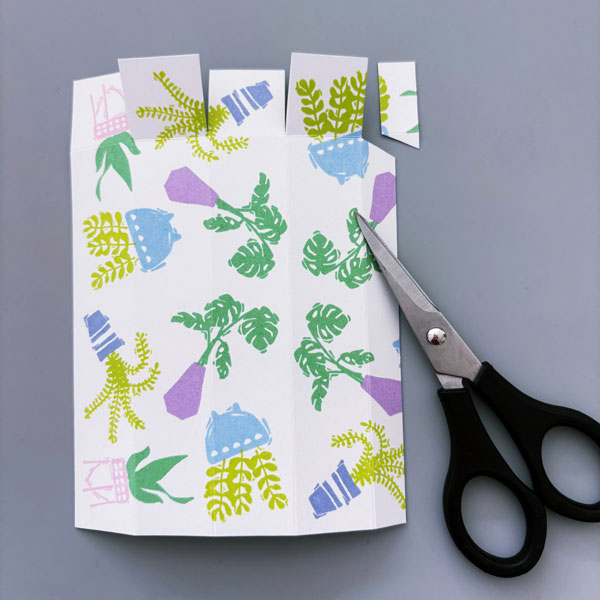
Step 5:
After that, cut along the top four squares to make the bottom flaps of the box. I also cut away a small corner so that it’ll be easier to assemble the box later.
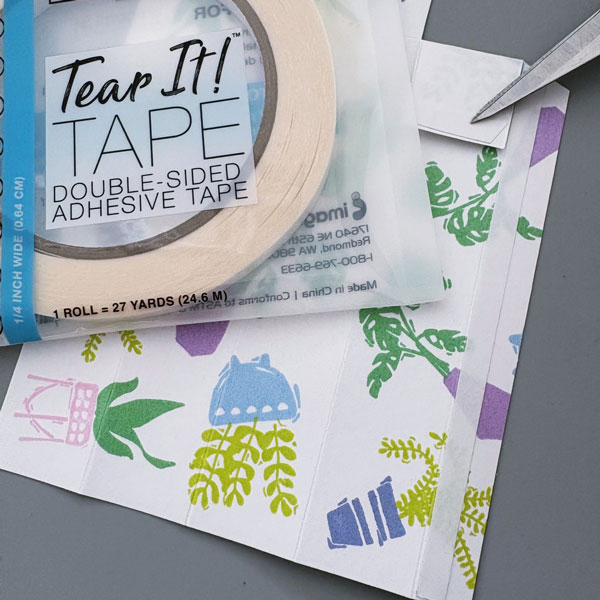
Step 6:
Apply Tear It Tape to the 0.5’’ overhang on the right like pictured, and fold along the creased lines to form a box. Fold the square flap on the right downwards and apply Tear It Tape at the bottom edge. Now you can assemble the box by sticking the sides and bottom shut.
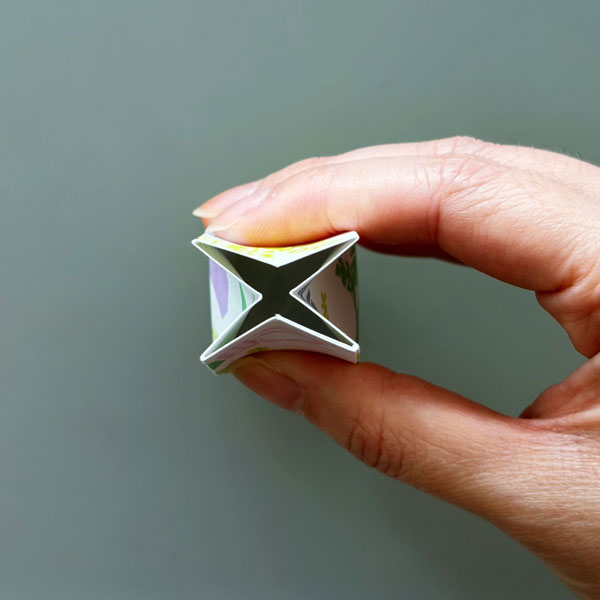
Step 7:
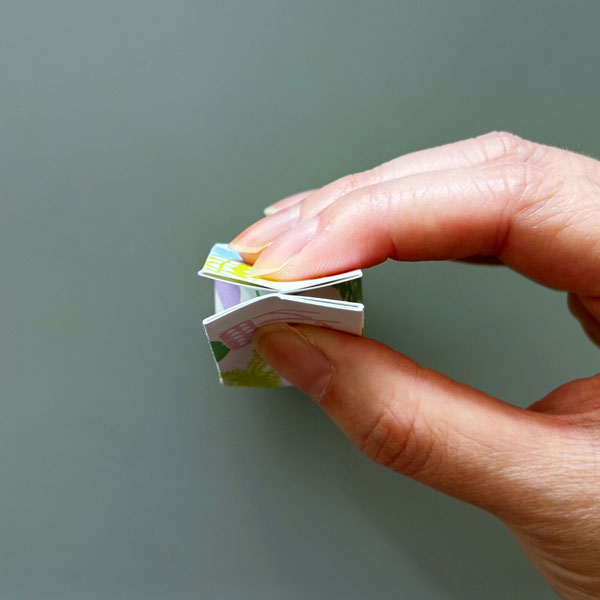
To create the box opening, gently press on the sides to make a “X” shape.
Step 8:
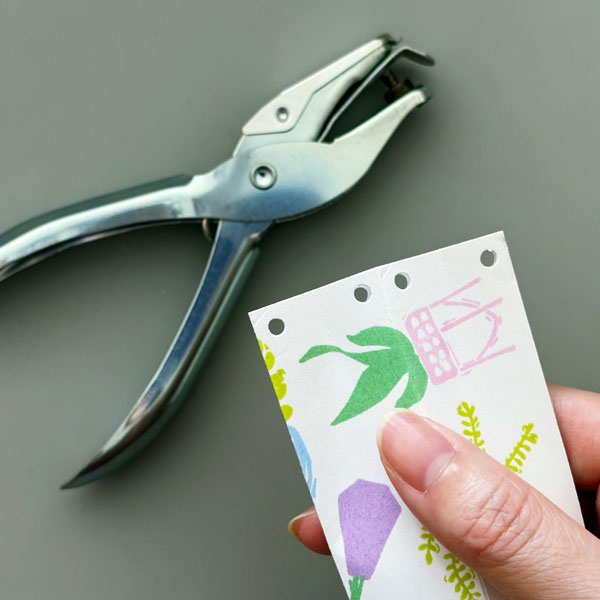
For each pinched flap, punch a hole near the corner.
Step 9:
This would create holes to thread the ribbon. Once you filled the treat box with goodies, lace the ribbon around the holes and tie a bow to keep the box closed.
I hope this tutorial inspired you to stamp your own patterned paper! It is a fun way to create custom prints and use your stamps creatively. Thanks so much for stopping by, and I’ll see you next time!
Imagine Supplies:
● VersaFine Clair – Grass Green, Verdant, Baby Pink, Lilac Bloom, Arctic, Very Peri
● StazOn Cleaner
● Tear-It! Tape
● Craft Mat
Other Supplies:
● iCrafter – Stamps – Positively Plants
● We R – Tool – Precision Press
● ⅛’’ Hole Punch

