Learn How to Make Decorative Tea Light Candle Holders

By Kyriakos Pachadiroglou


Skill: Beginner, Intermediate, Advanced

Time: 45 min

Directions:

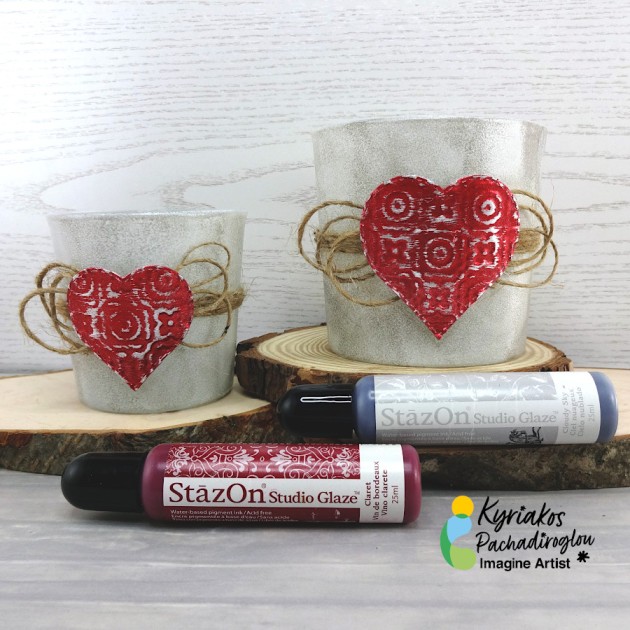
Cover glasses with All-Purpose ink and StazOn Studio Glaze to create frost and smoke effects. Die-cut and emboss SHEET metal to make embellishments that are covered with StazOn colors.


Step 1

Cover the glass surface with All-Purpose Ink white using a Sponge Dauber and lightly pressing on it creating a frost effect. Let it dry. (Use a heat tool to speed up the process)


Step 2

With a Sponge Dauber repeat the above using the StazOn Studio Glaze Cloudy sky.


Step 3

Place Tear It! Tape around the mid section of the glasses.


Step 4

Place the jute cord over the Tear It! Tape and wrap around to cover.


Step 5

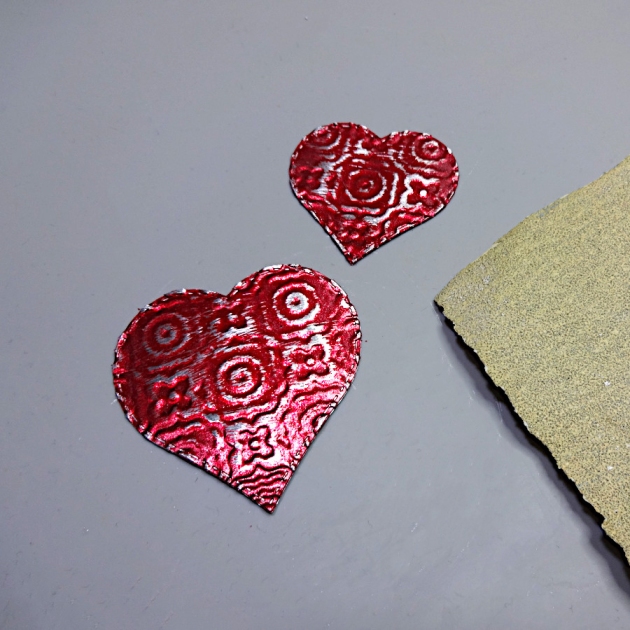
Die-cut heart shapes of the SHEET metal in two different sizes. (If you don’t have a die cutting machine, use scissors to easily cut heart shapes of the SHEET metal).


Step 6

Cover with the StazOn Black Cherry using a Sponge Dauber.


Step 7

Continue with the StazOn Studio Glaze Claret.


Step 8

Lightly sand the SHEET metal hearts to reveal the silver color.


Step 9

Make some loops with the jute cord, glue them on the glasses and add the hearts.

Art Supplies

Imagine

SHEET Metal – ATC card 

All-Purpose Ink – White

StazOn Studio Glaze – Cloudy Sky, Claret 

StazOn – Black Cherry

Sponge Daubers

Tear It! Tape


Other

Heart Dies and die-cutting machine

Embossing folder

Glasses

Sanding paper

Jute cord

Hot glue

Learn How to Make a Hearts Canvas Tote Bag Using the Bokeh Technique
By Roni Johnson

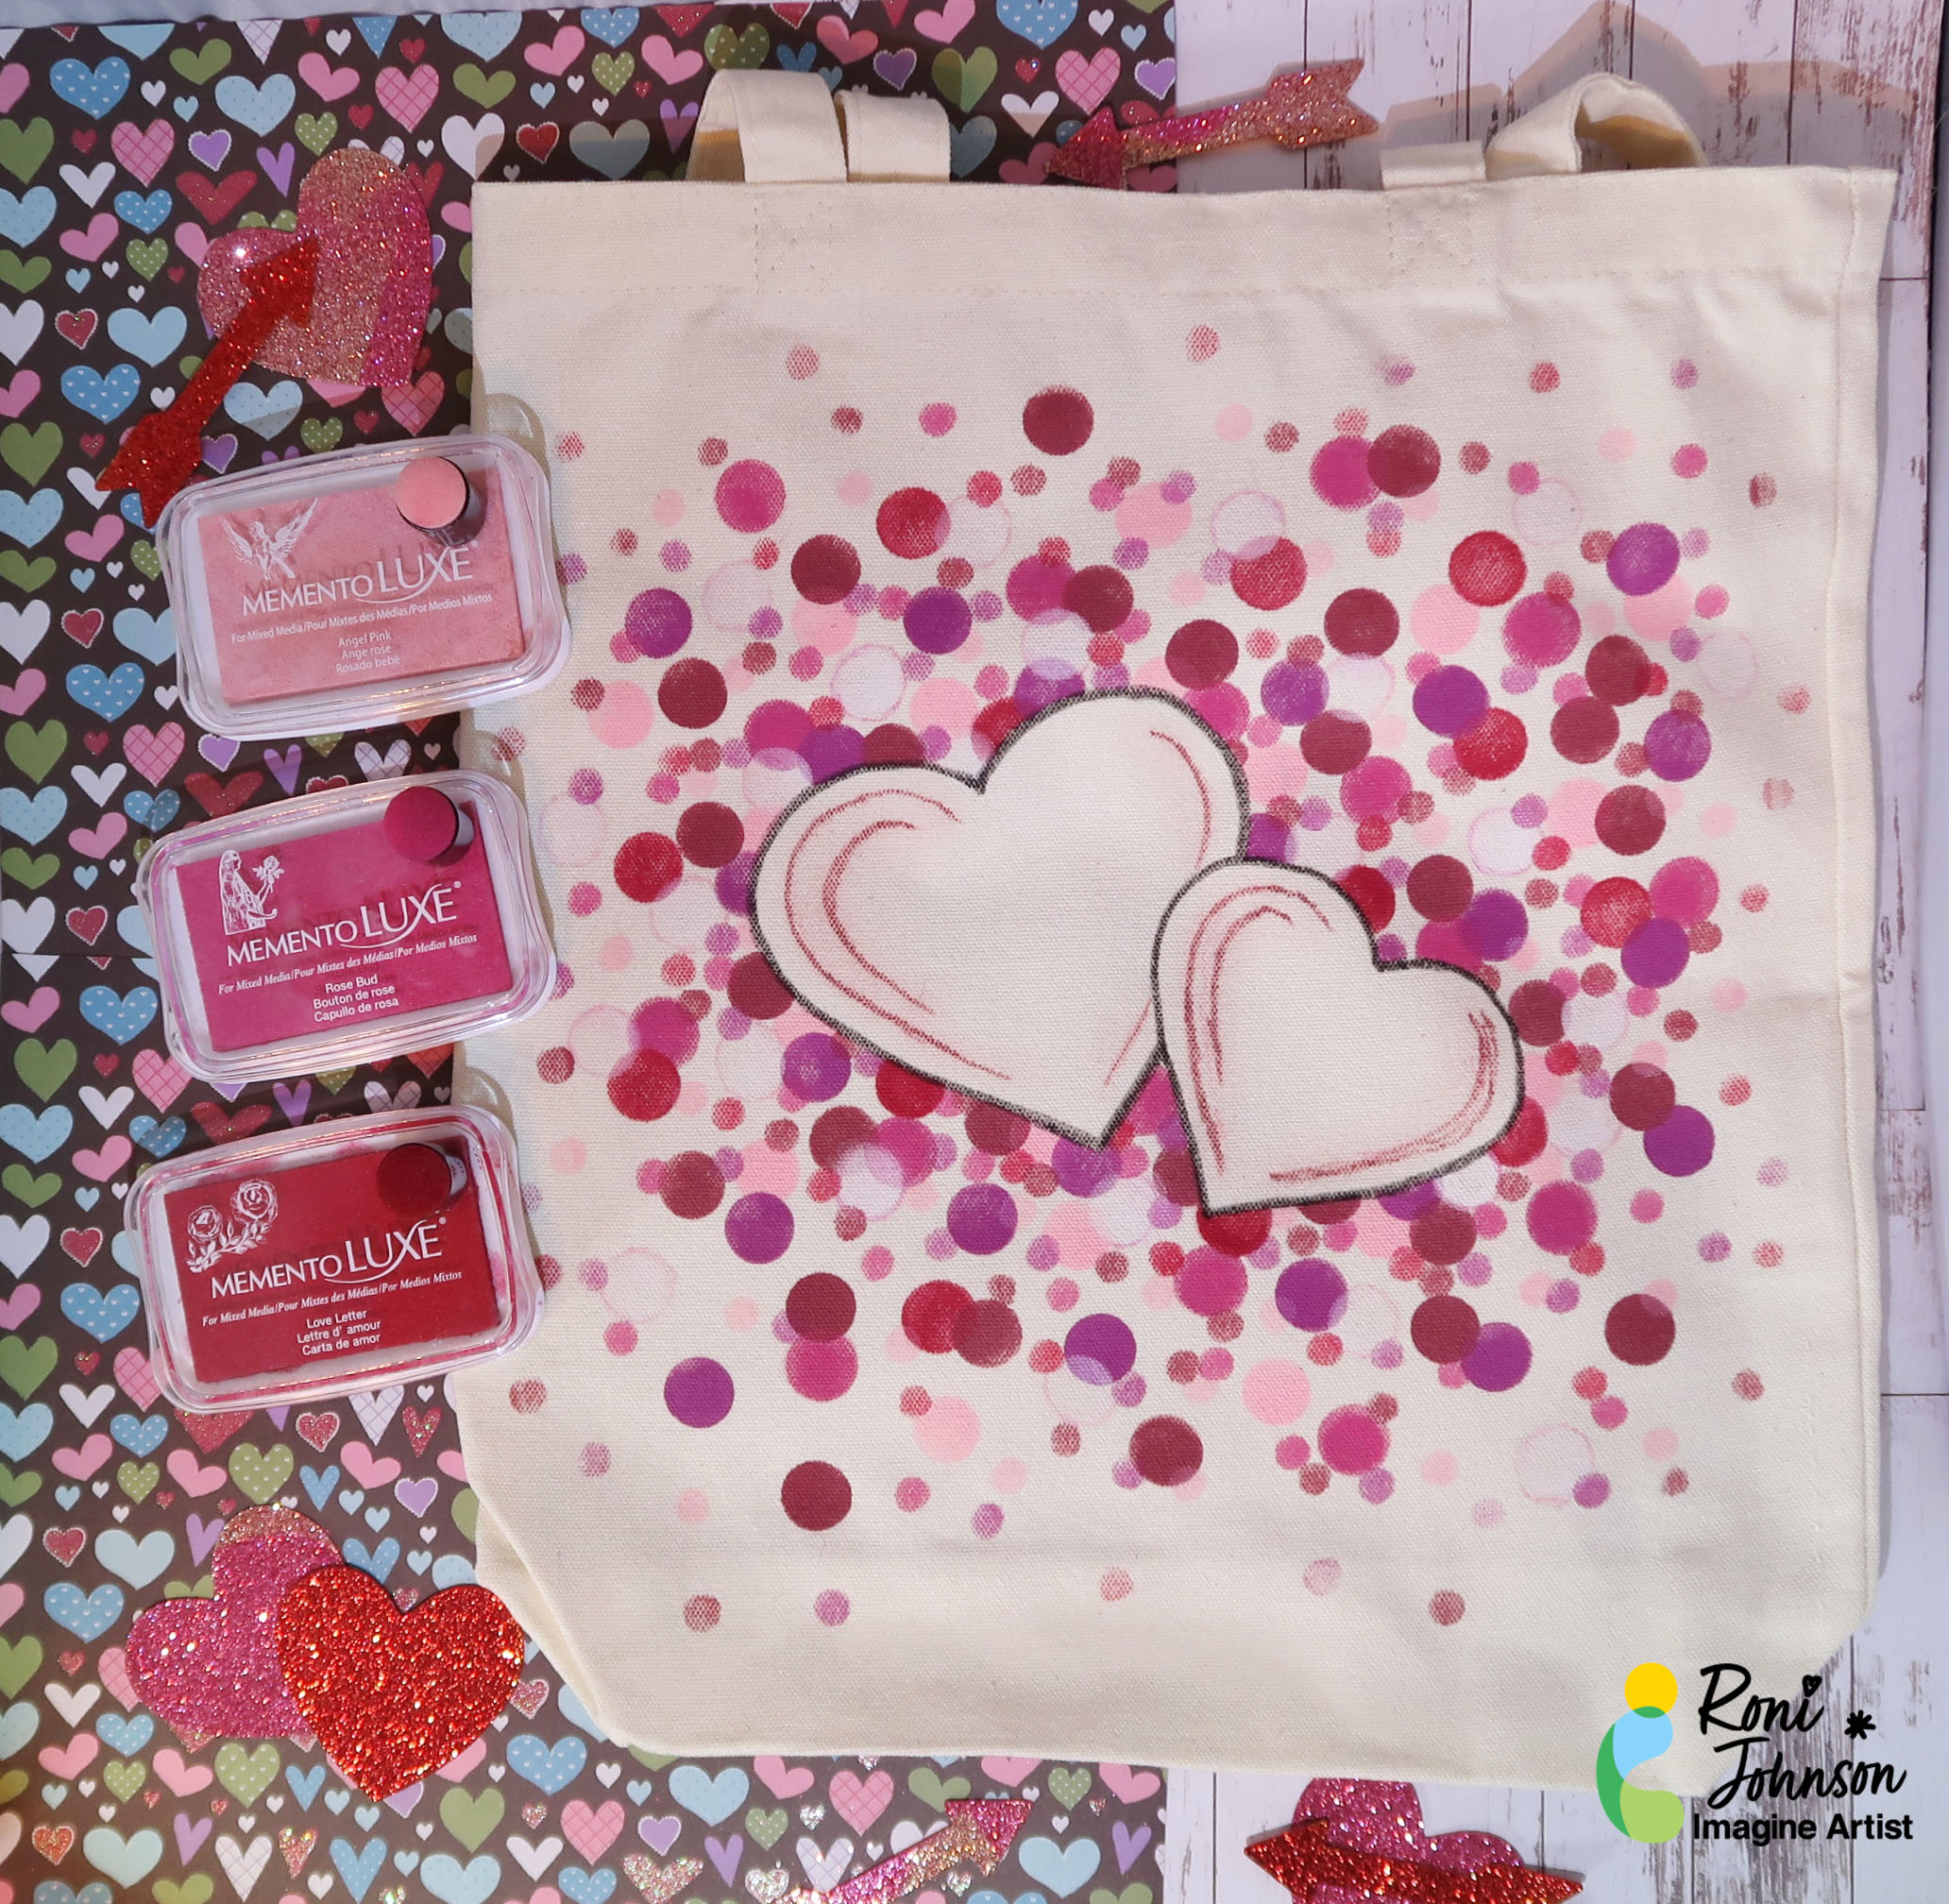
In today’s tutorial, I show you how to make a hearts canvas tote bag using the Bokeh Technique using Memento Luxe Inks and Fabrico Markers. Today’s example is Valentine’s tote made using the Imagine Crafts Happy Valentine’s Day Free PDF Download. You can use this same basic technique for any holiday or occasion by changing the mask used.
Skill: Beginner

Time: 1 hour 30 minutes

Directions:

Step 1

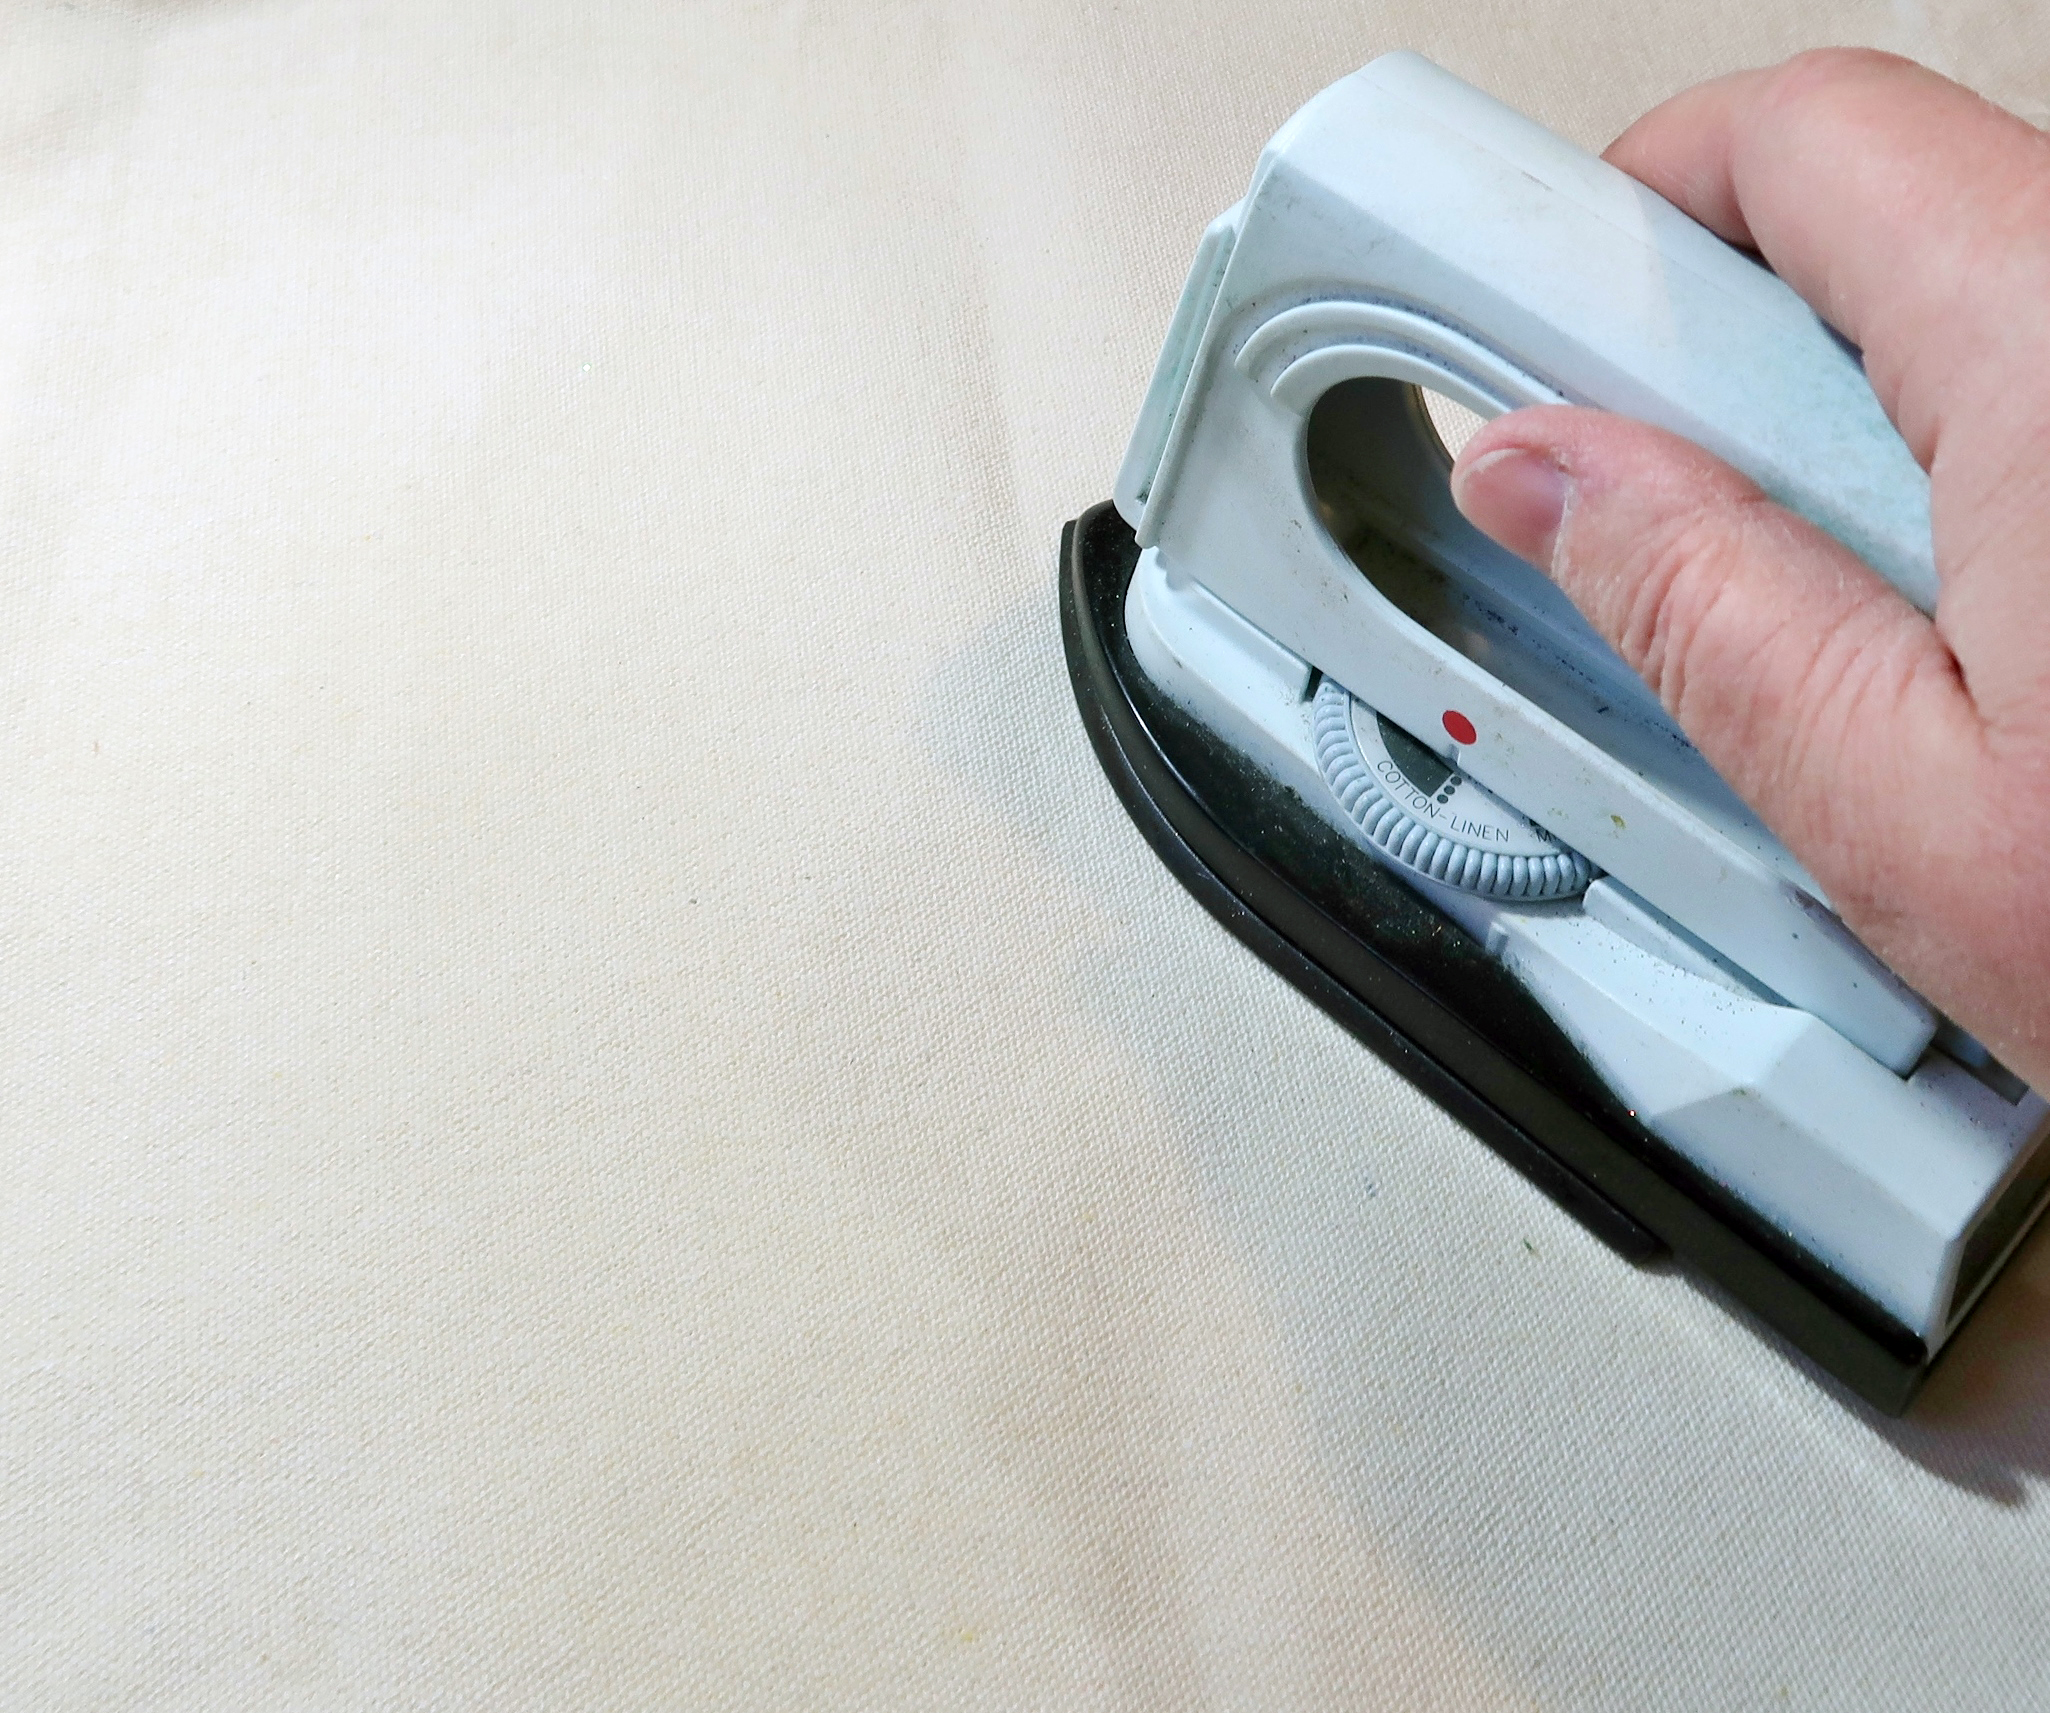
Iron the tote bag to remove all wrinkles.

Step 2

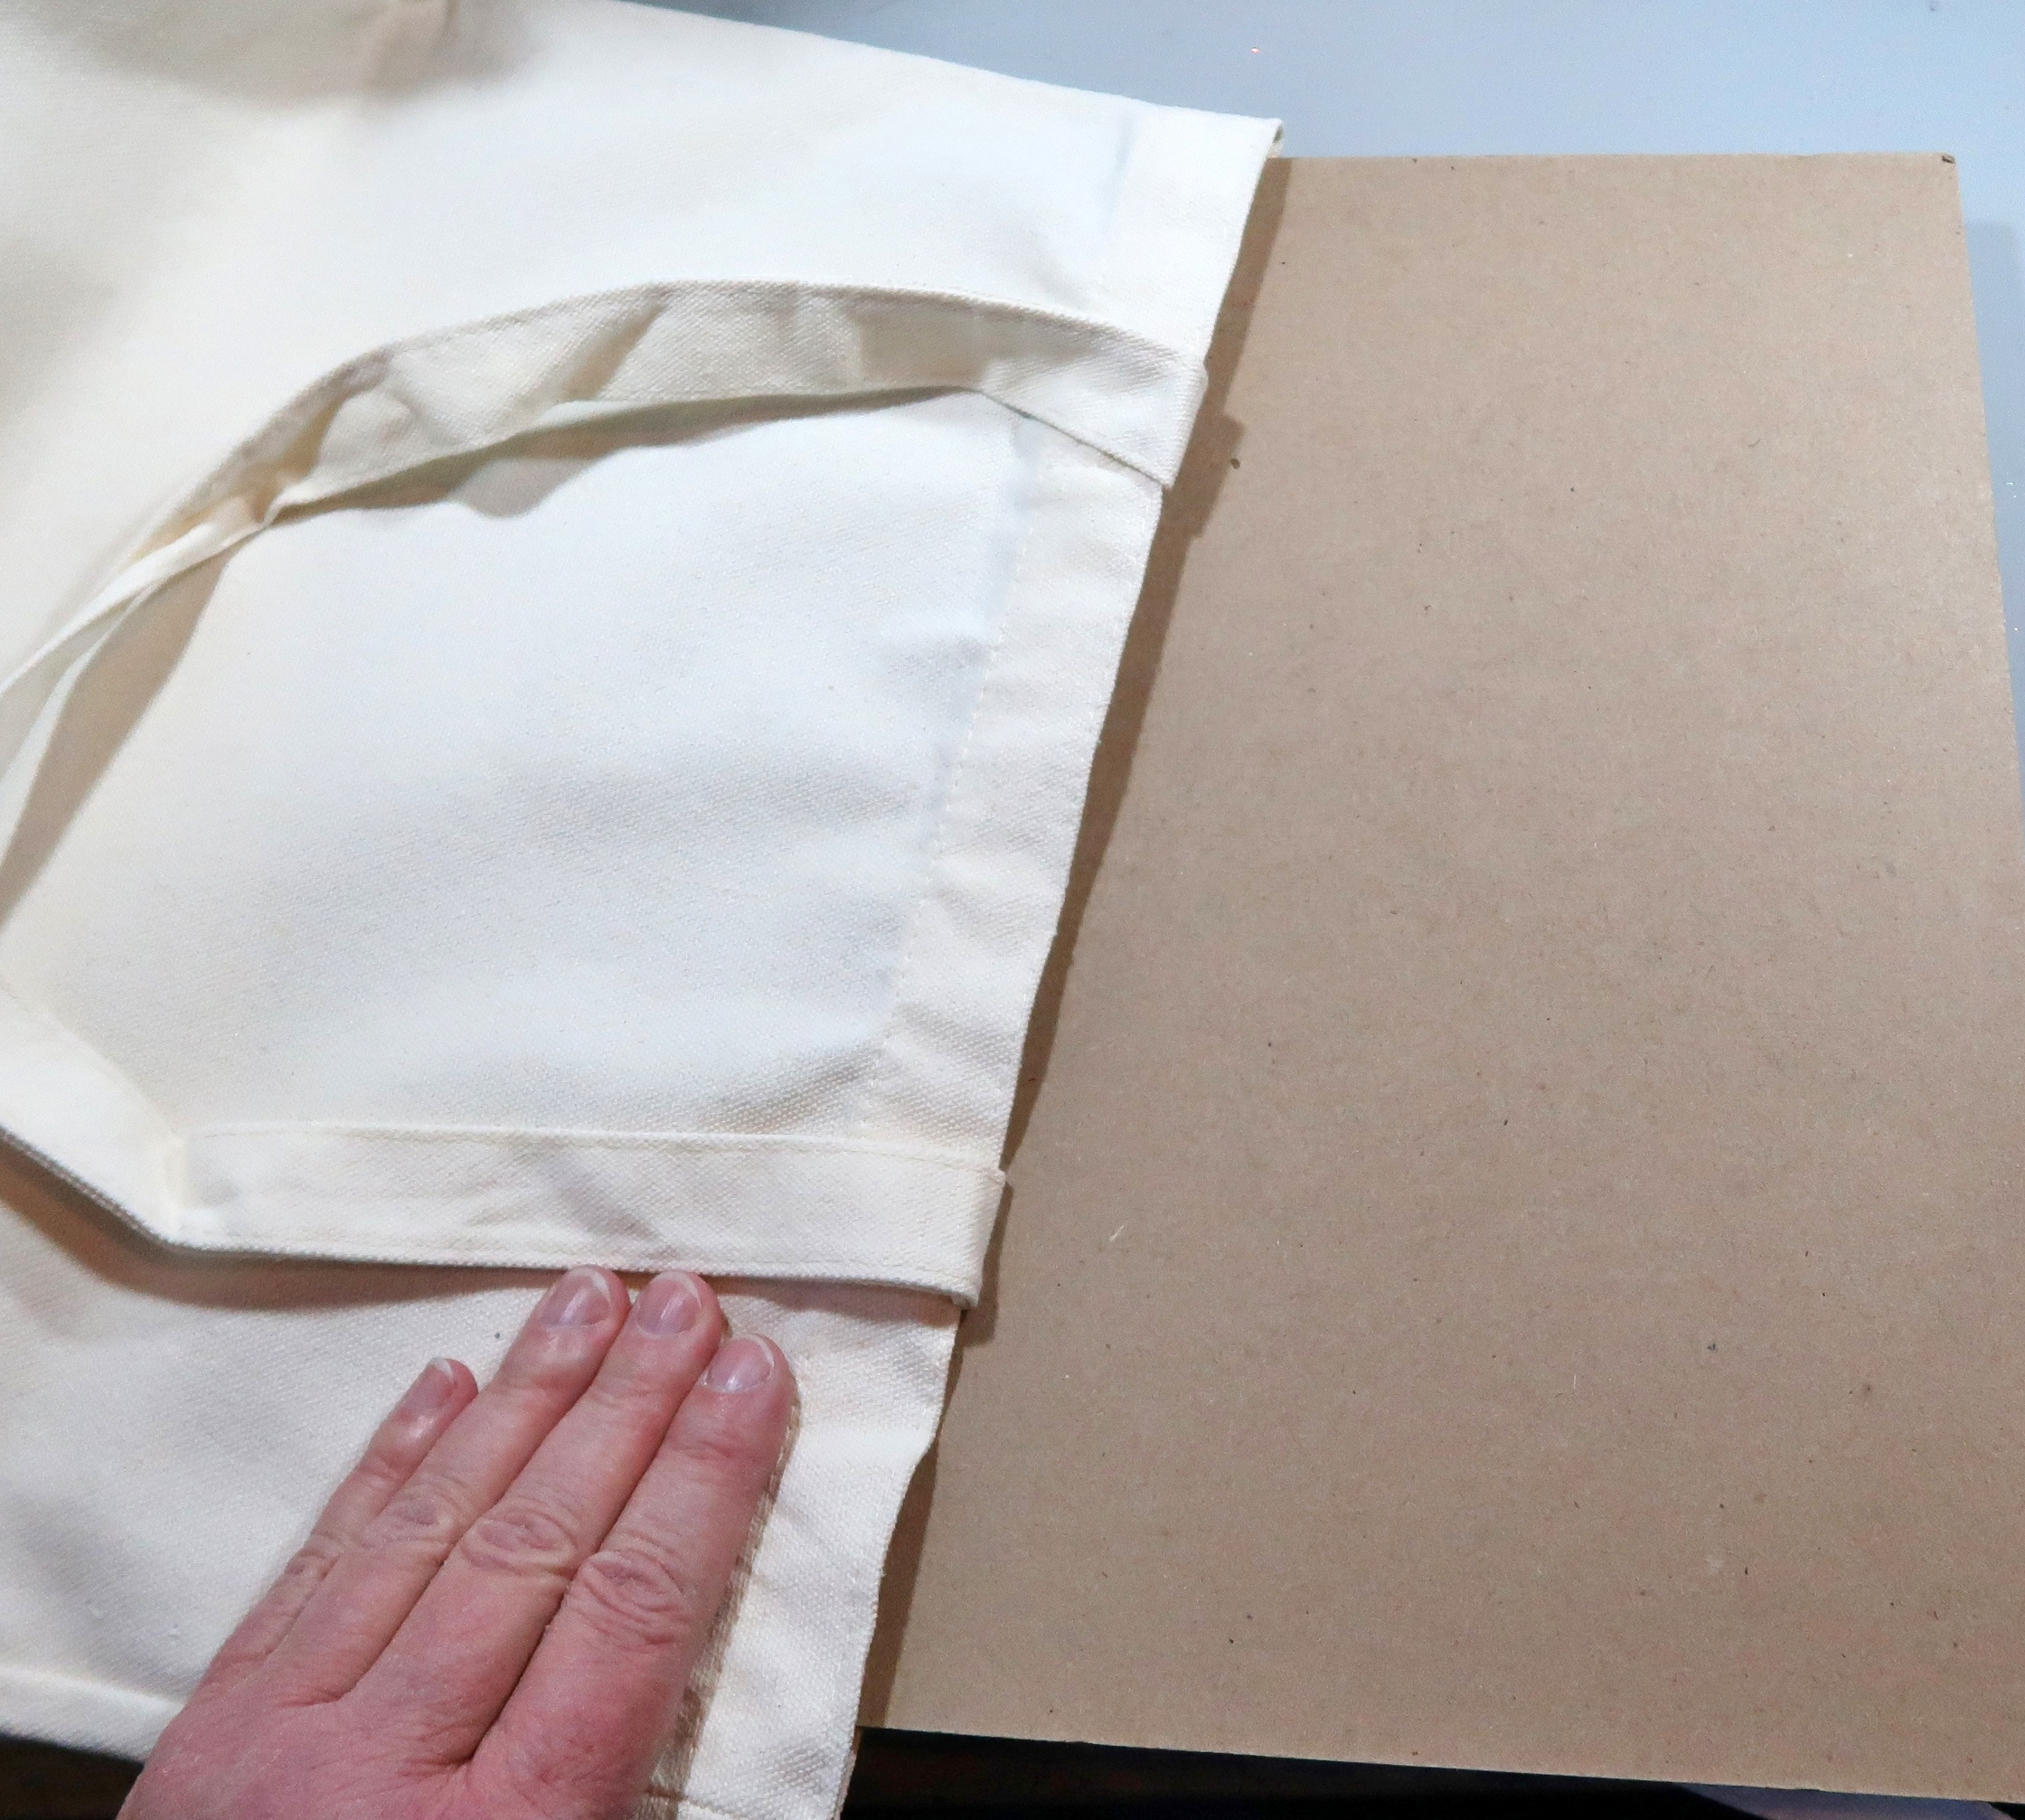
Insert a piece of cardboard into the tote bag to prevent ink from soaking through to the back of the bag.

Step 3

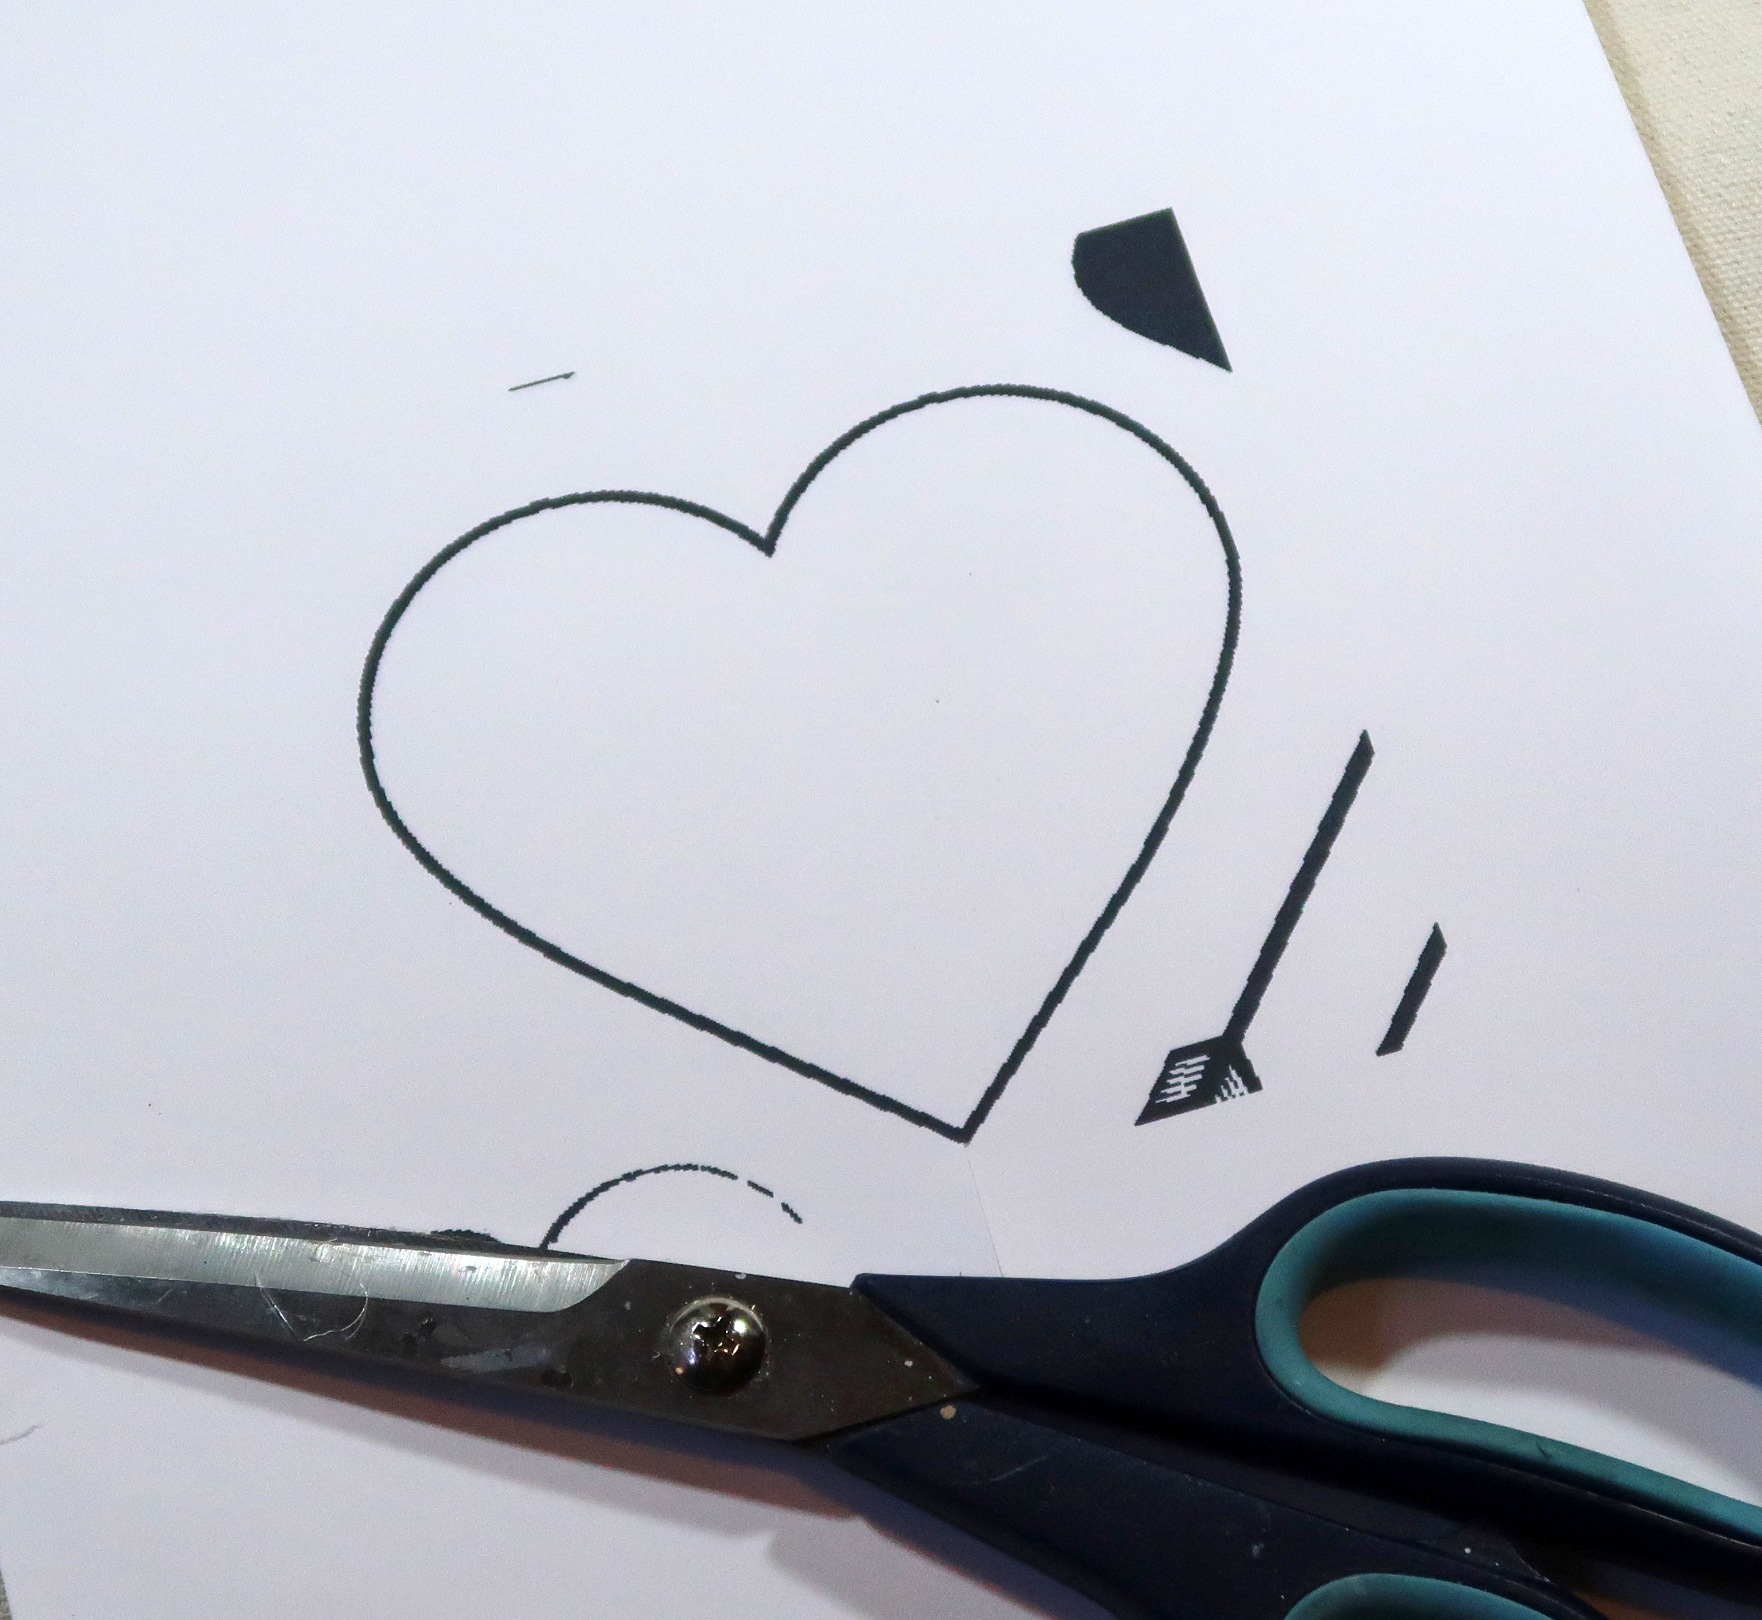
Print the desired heart from the PDF onto a piece of cardstock.

Step 4

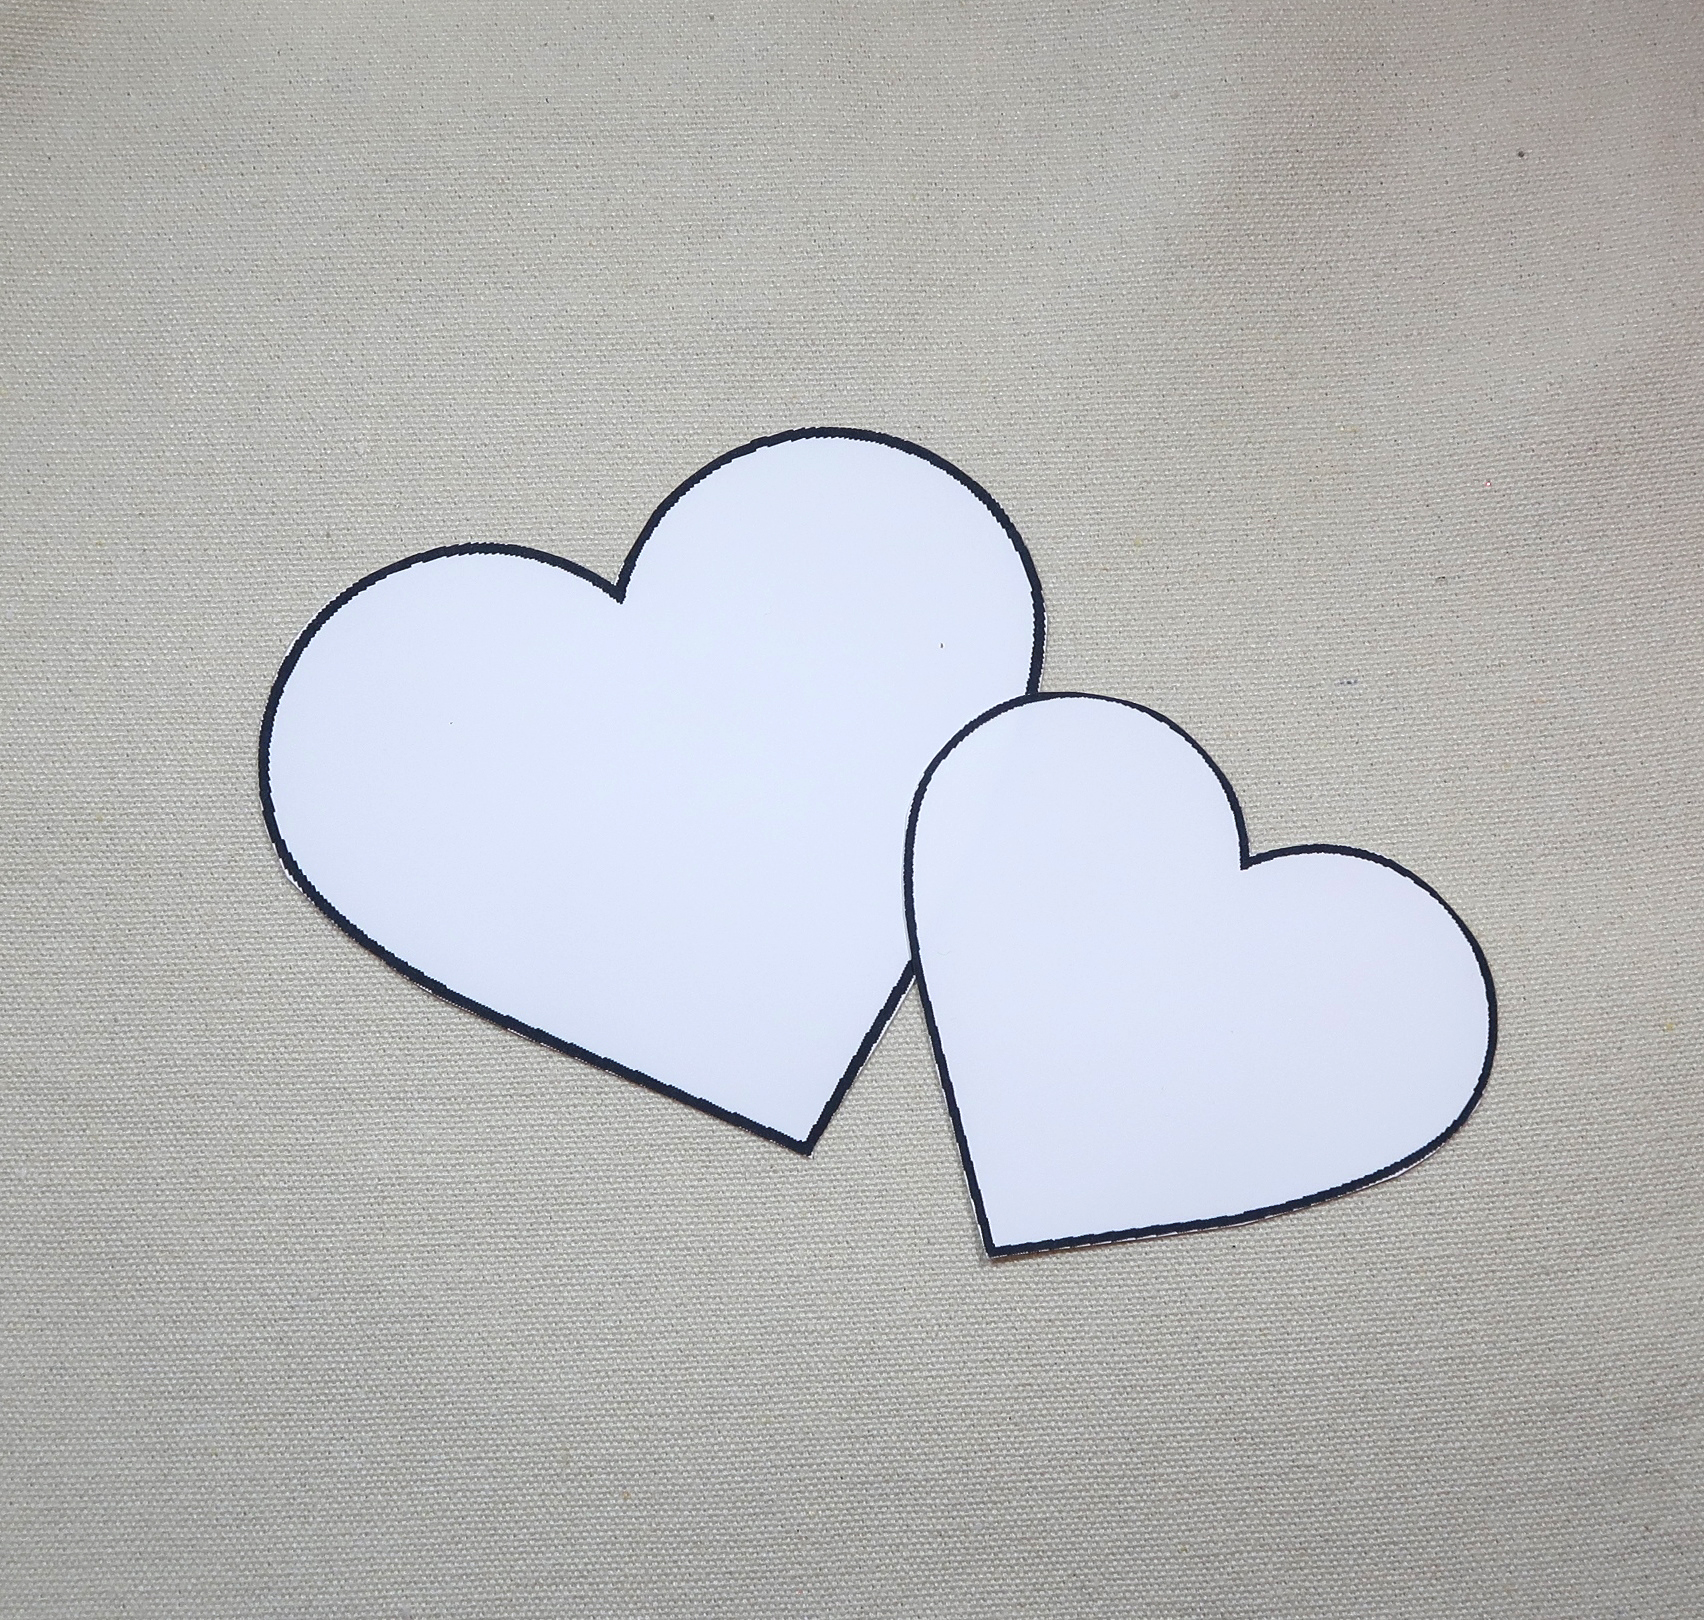
Trim the heart mask(s) and adhere to the tote bag using repositionable adhesive.

Step 5

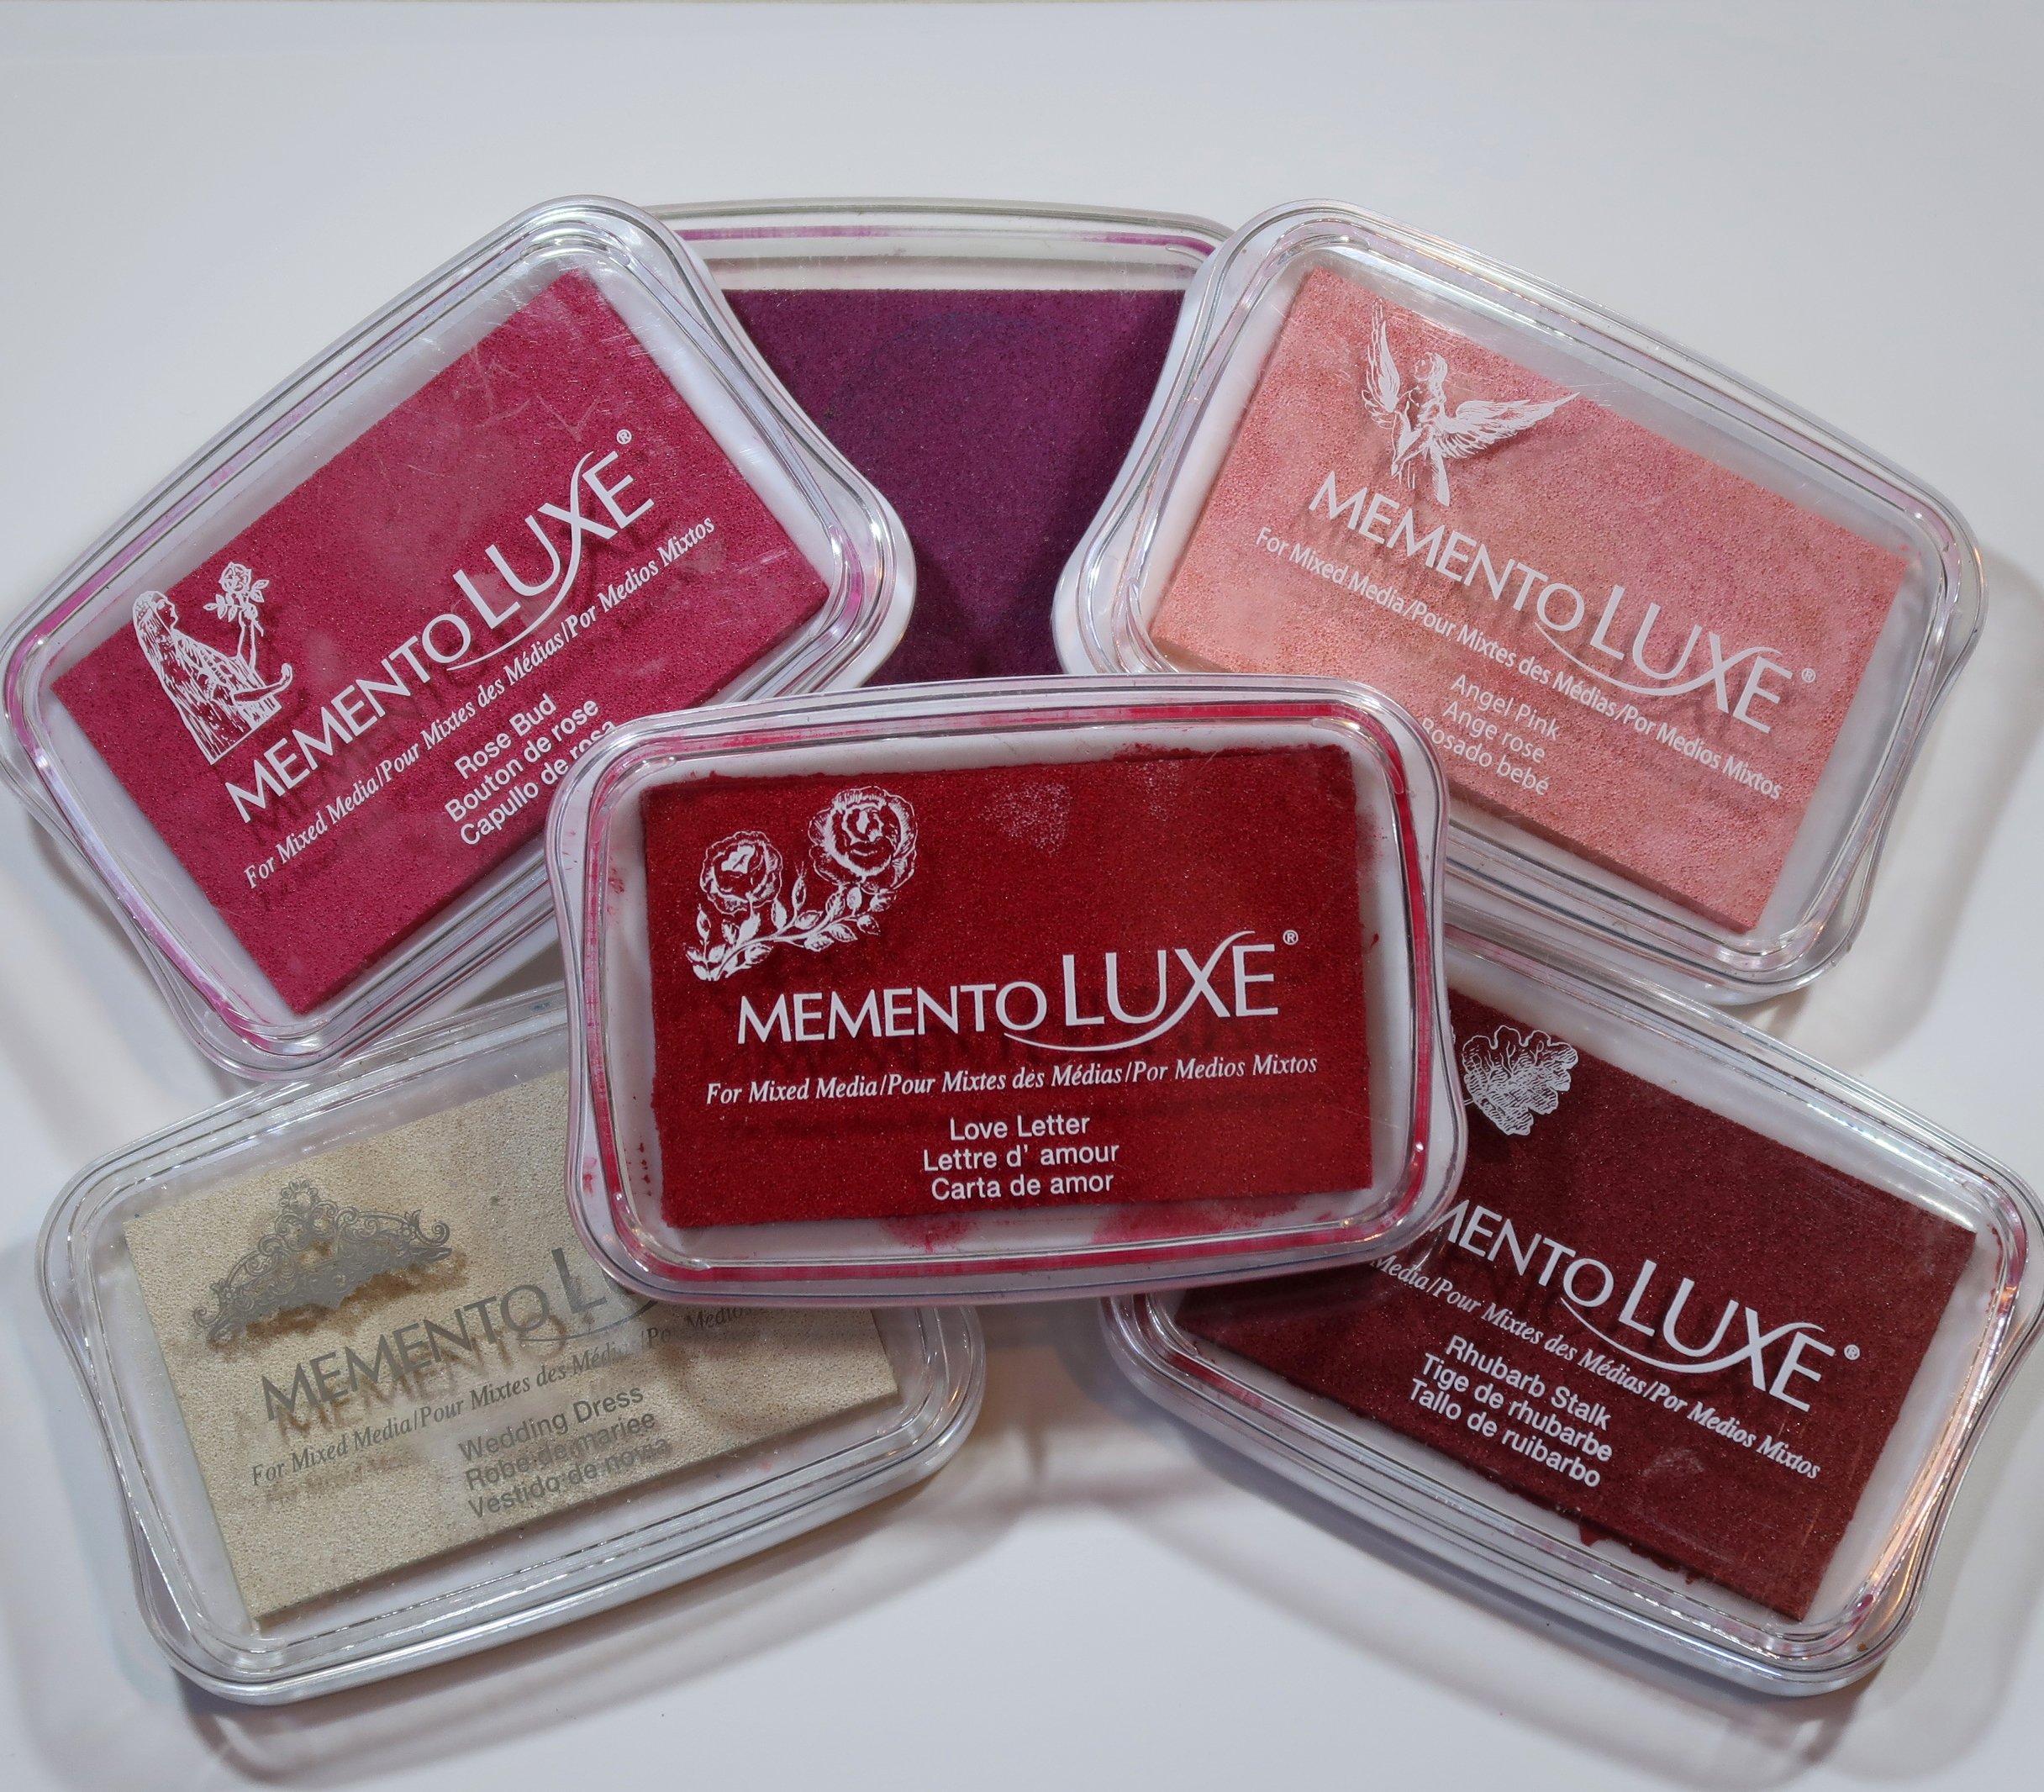
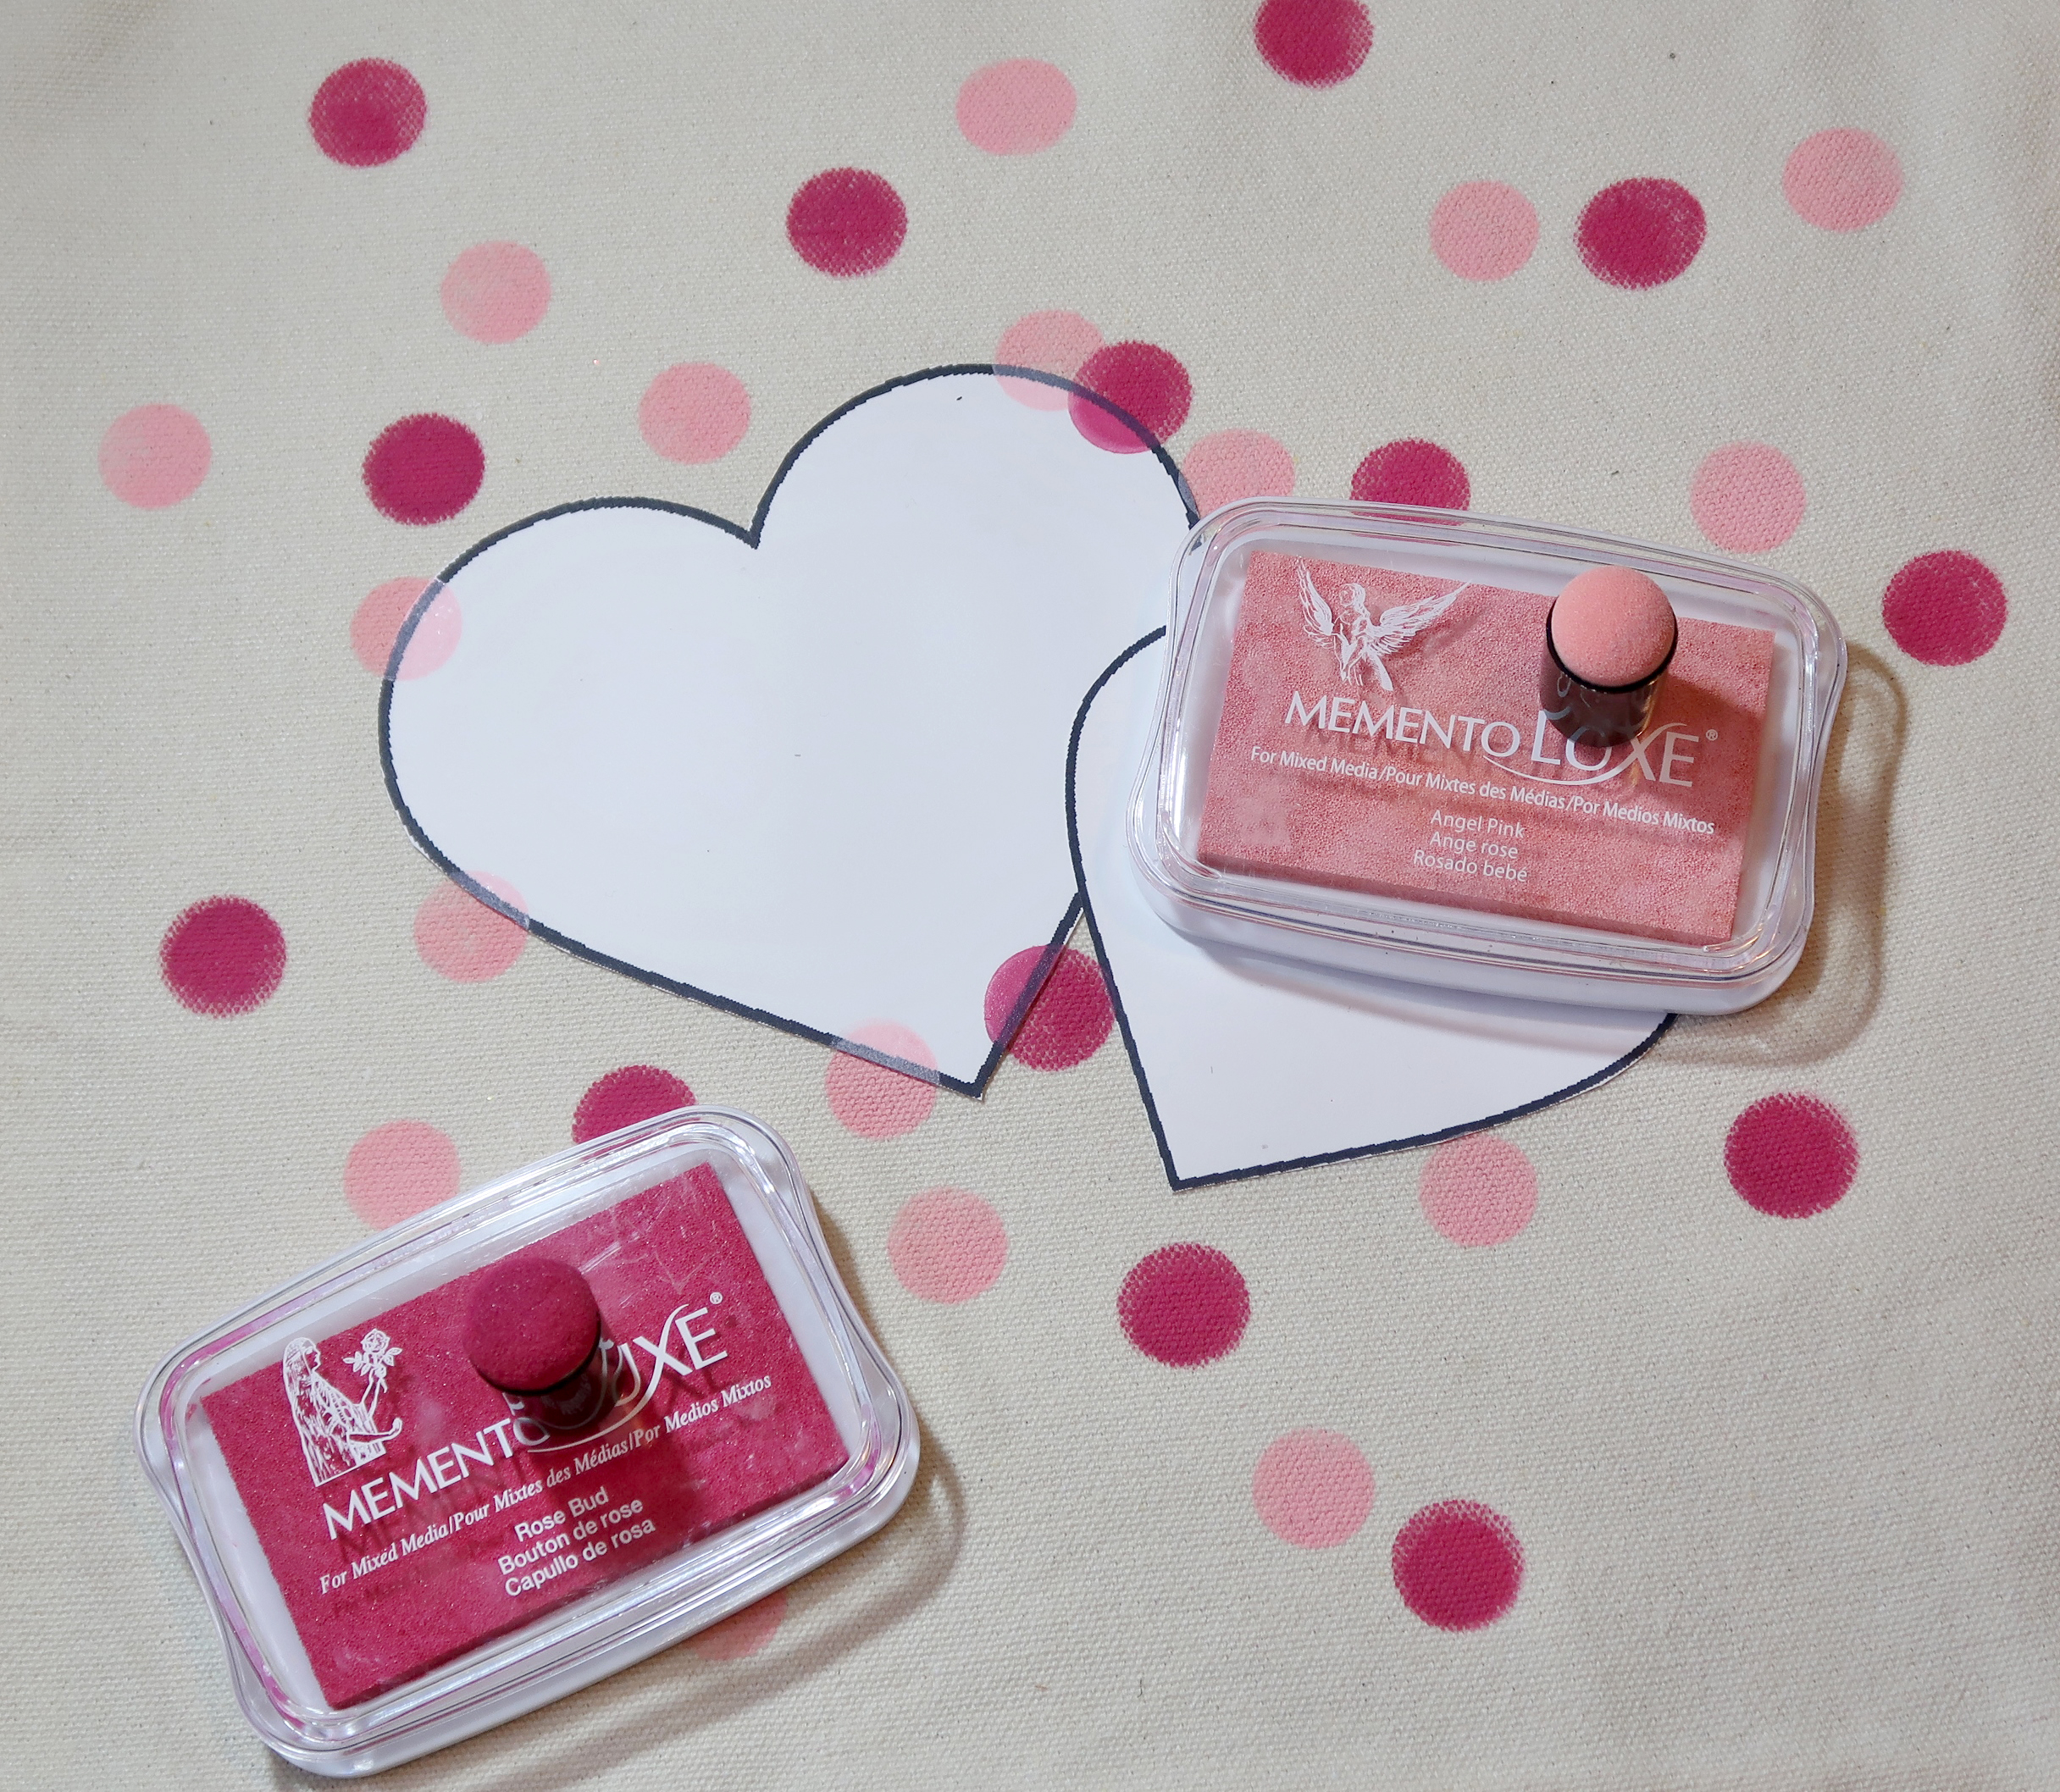
Gather the desired colors of Memento Luxe Inks.

Tip:

New or freshly-inked pads work best for this technique.

Step 6

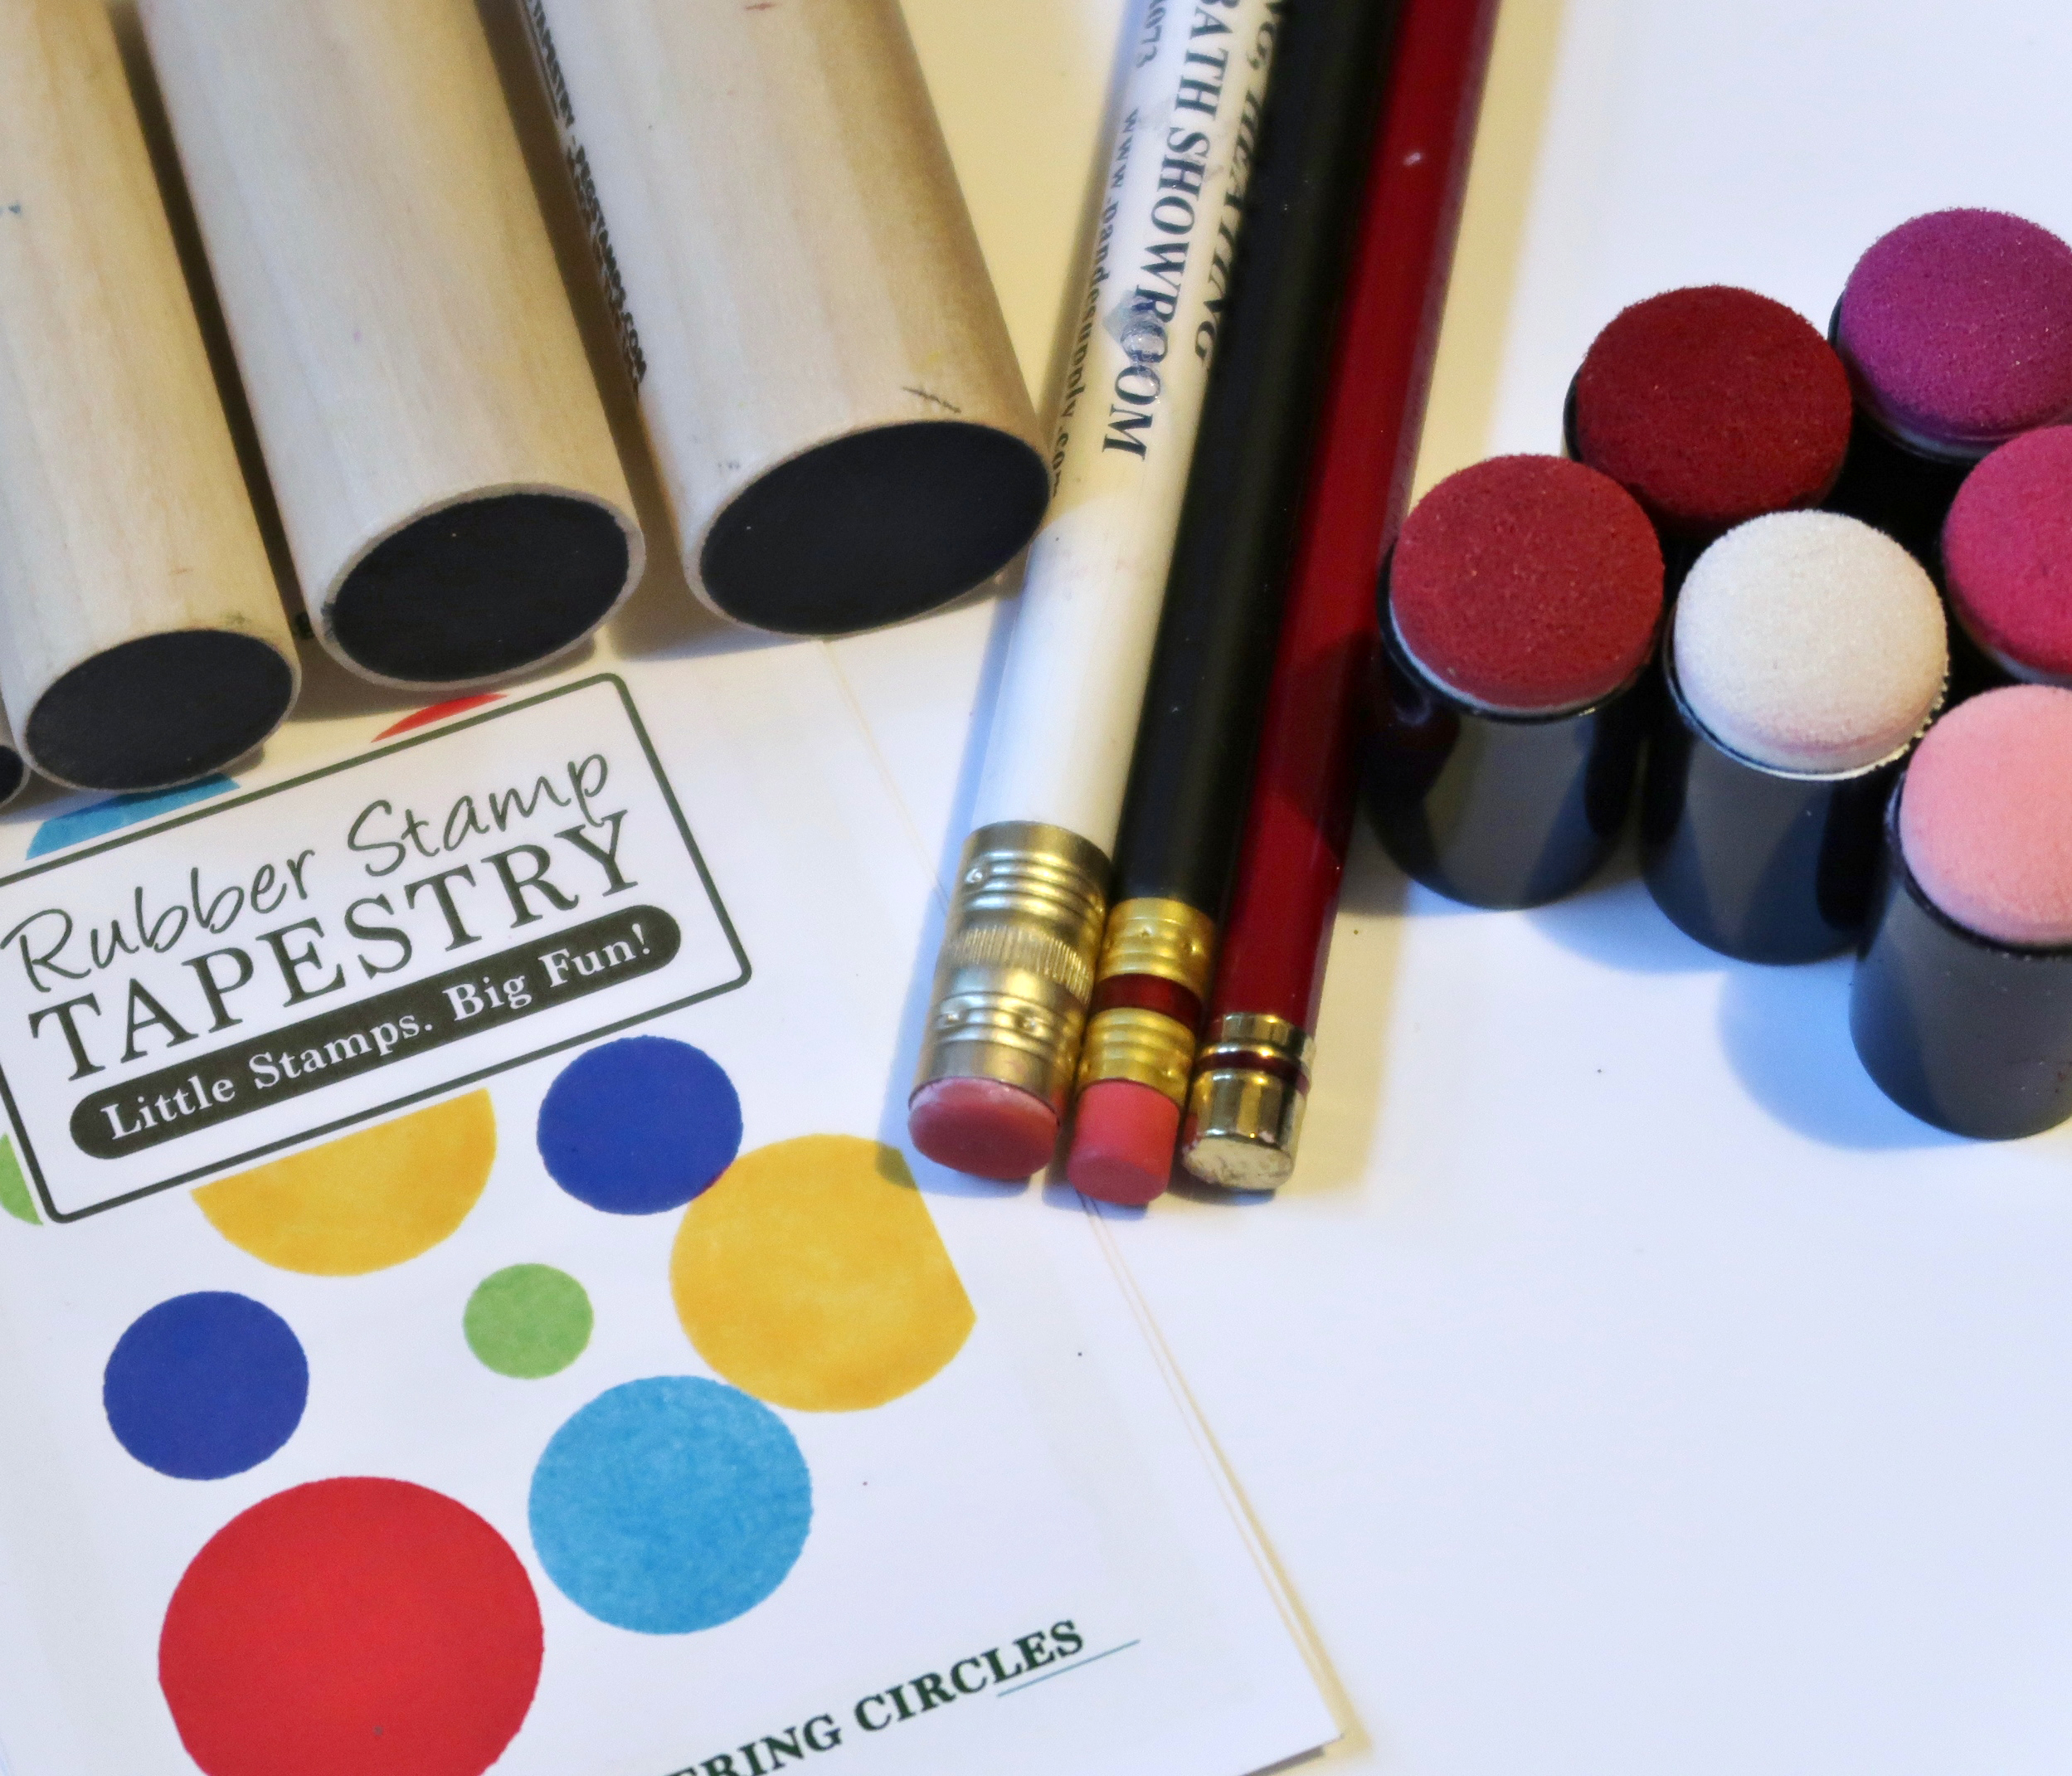
Gather desired stamps and/or tools to stamp the circles.
Pencil erasers, circle stamps, and Sponge Daubers work great for this technique.

Step 7

Pounce the desired tool onto the ink pad; press and hold for 10-15 seconds to allow time for the canvas to soak up the ink.

Tip:

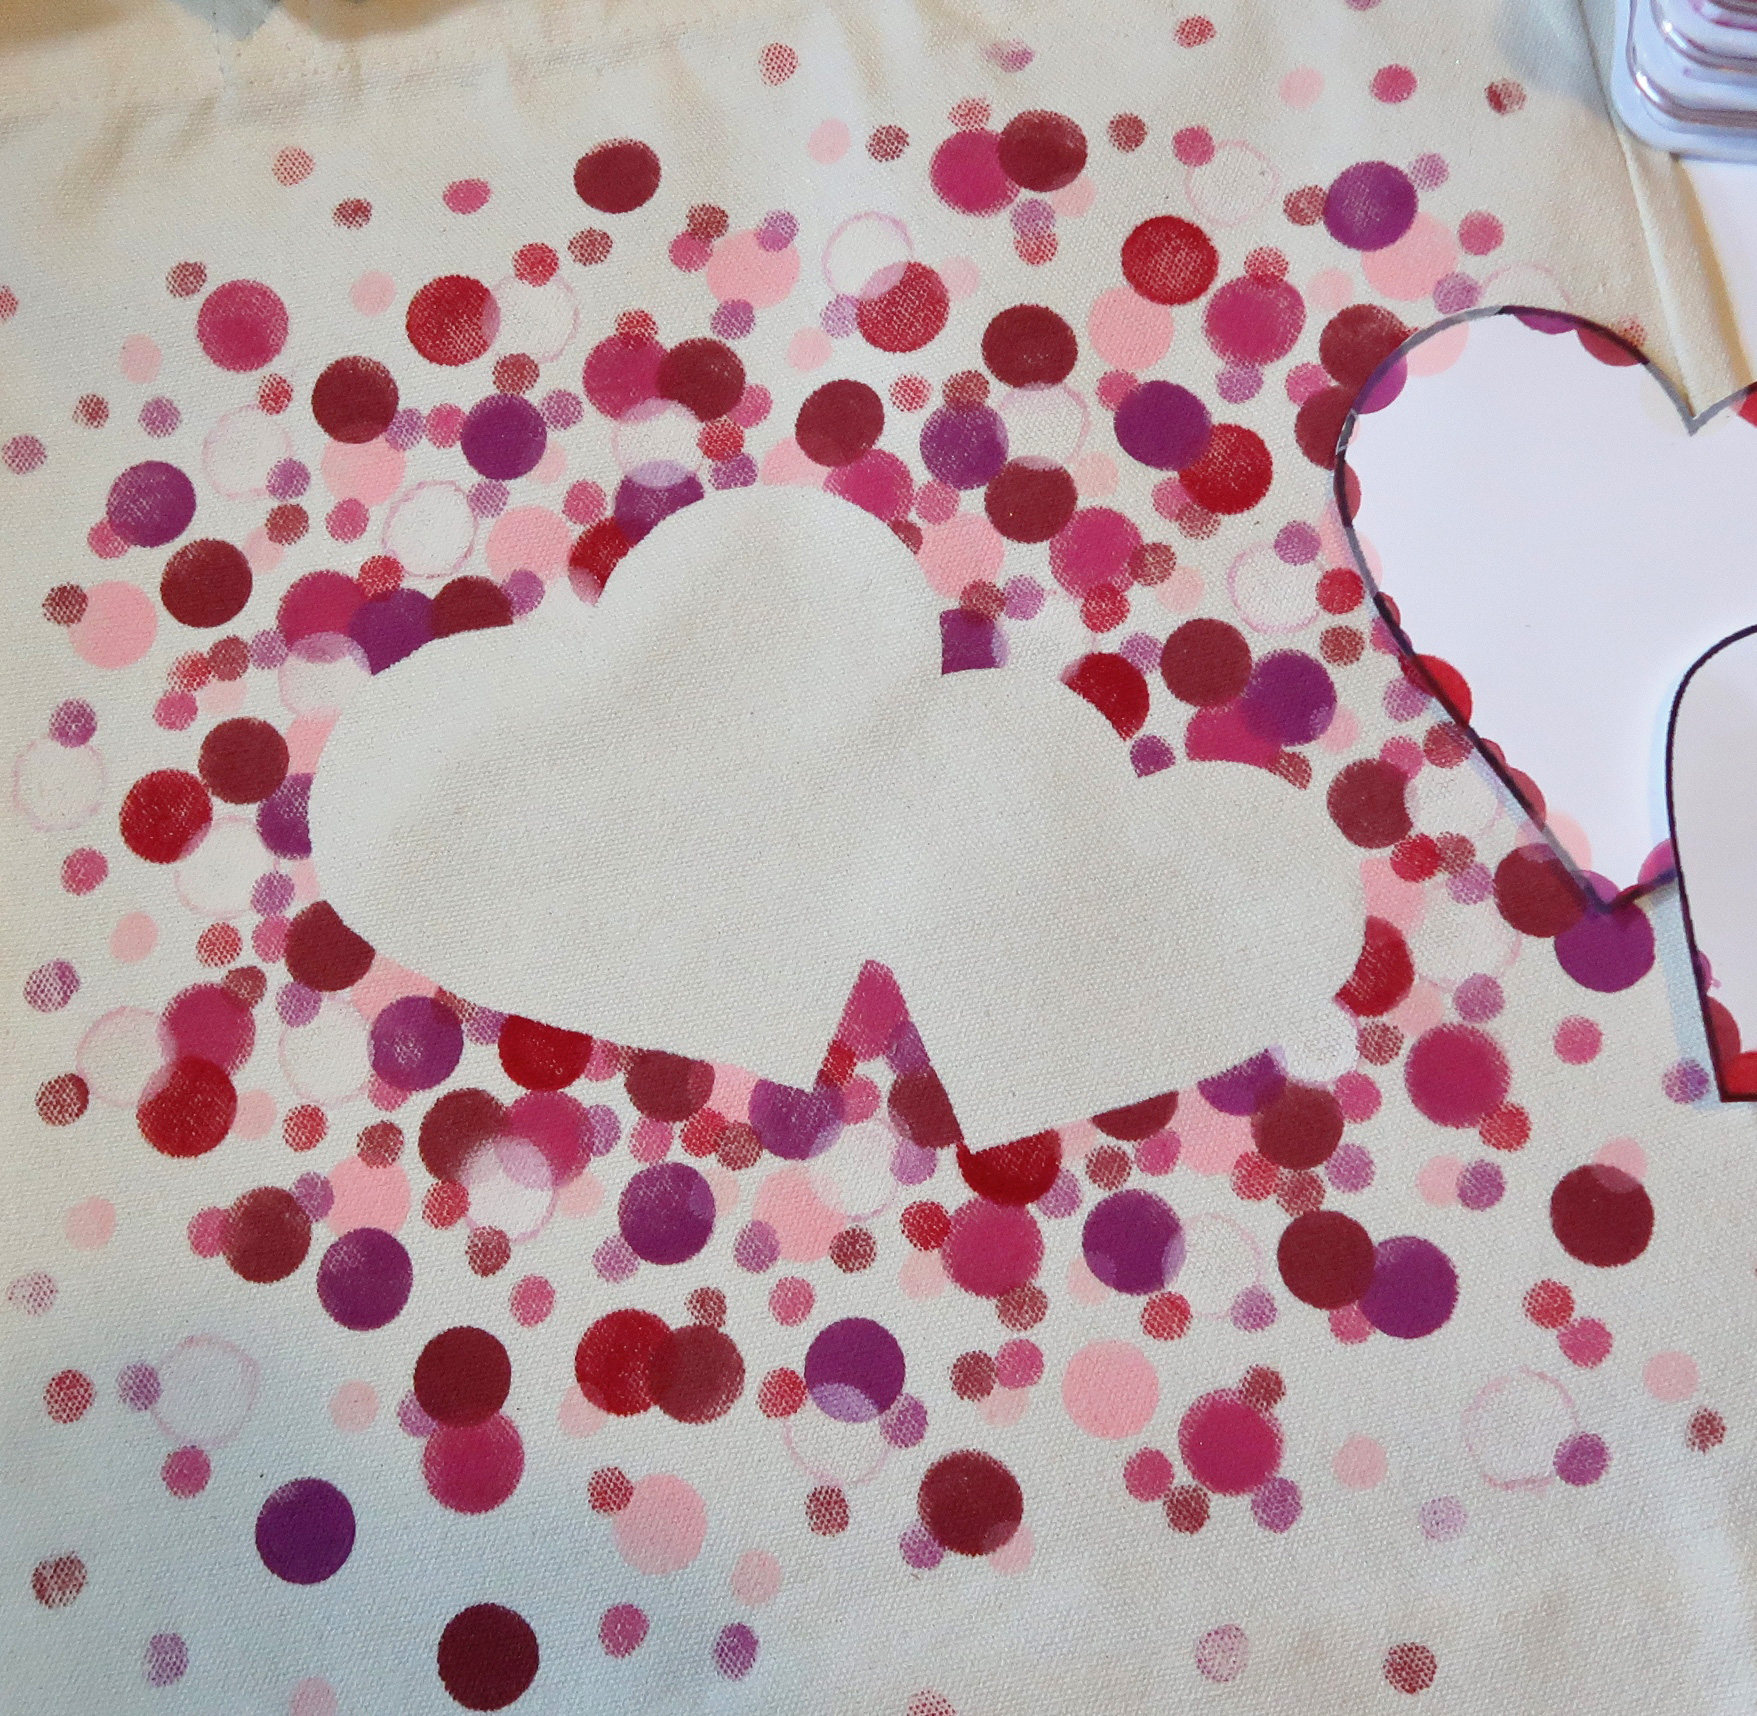
Concentrate the dots of ink closer in the center and further apart as you work your way towards the edges.

Step 8

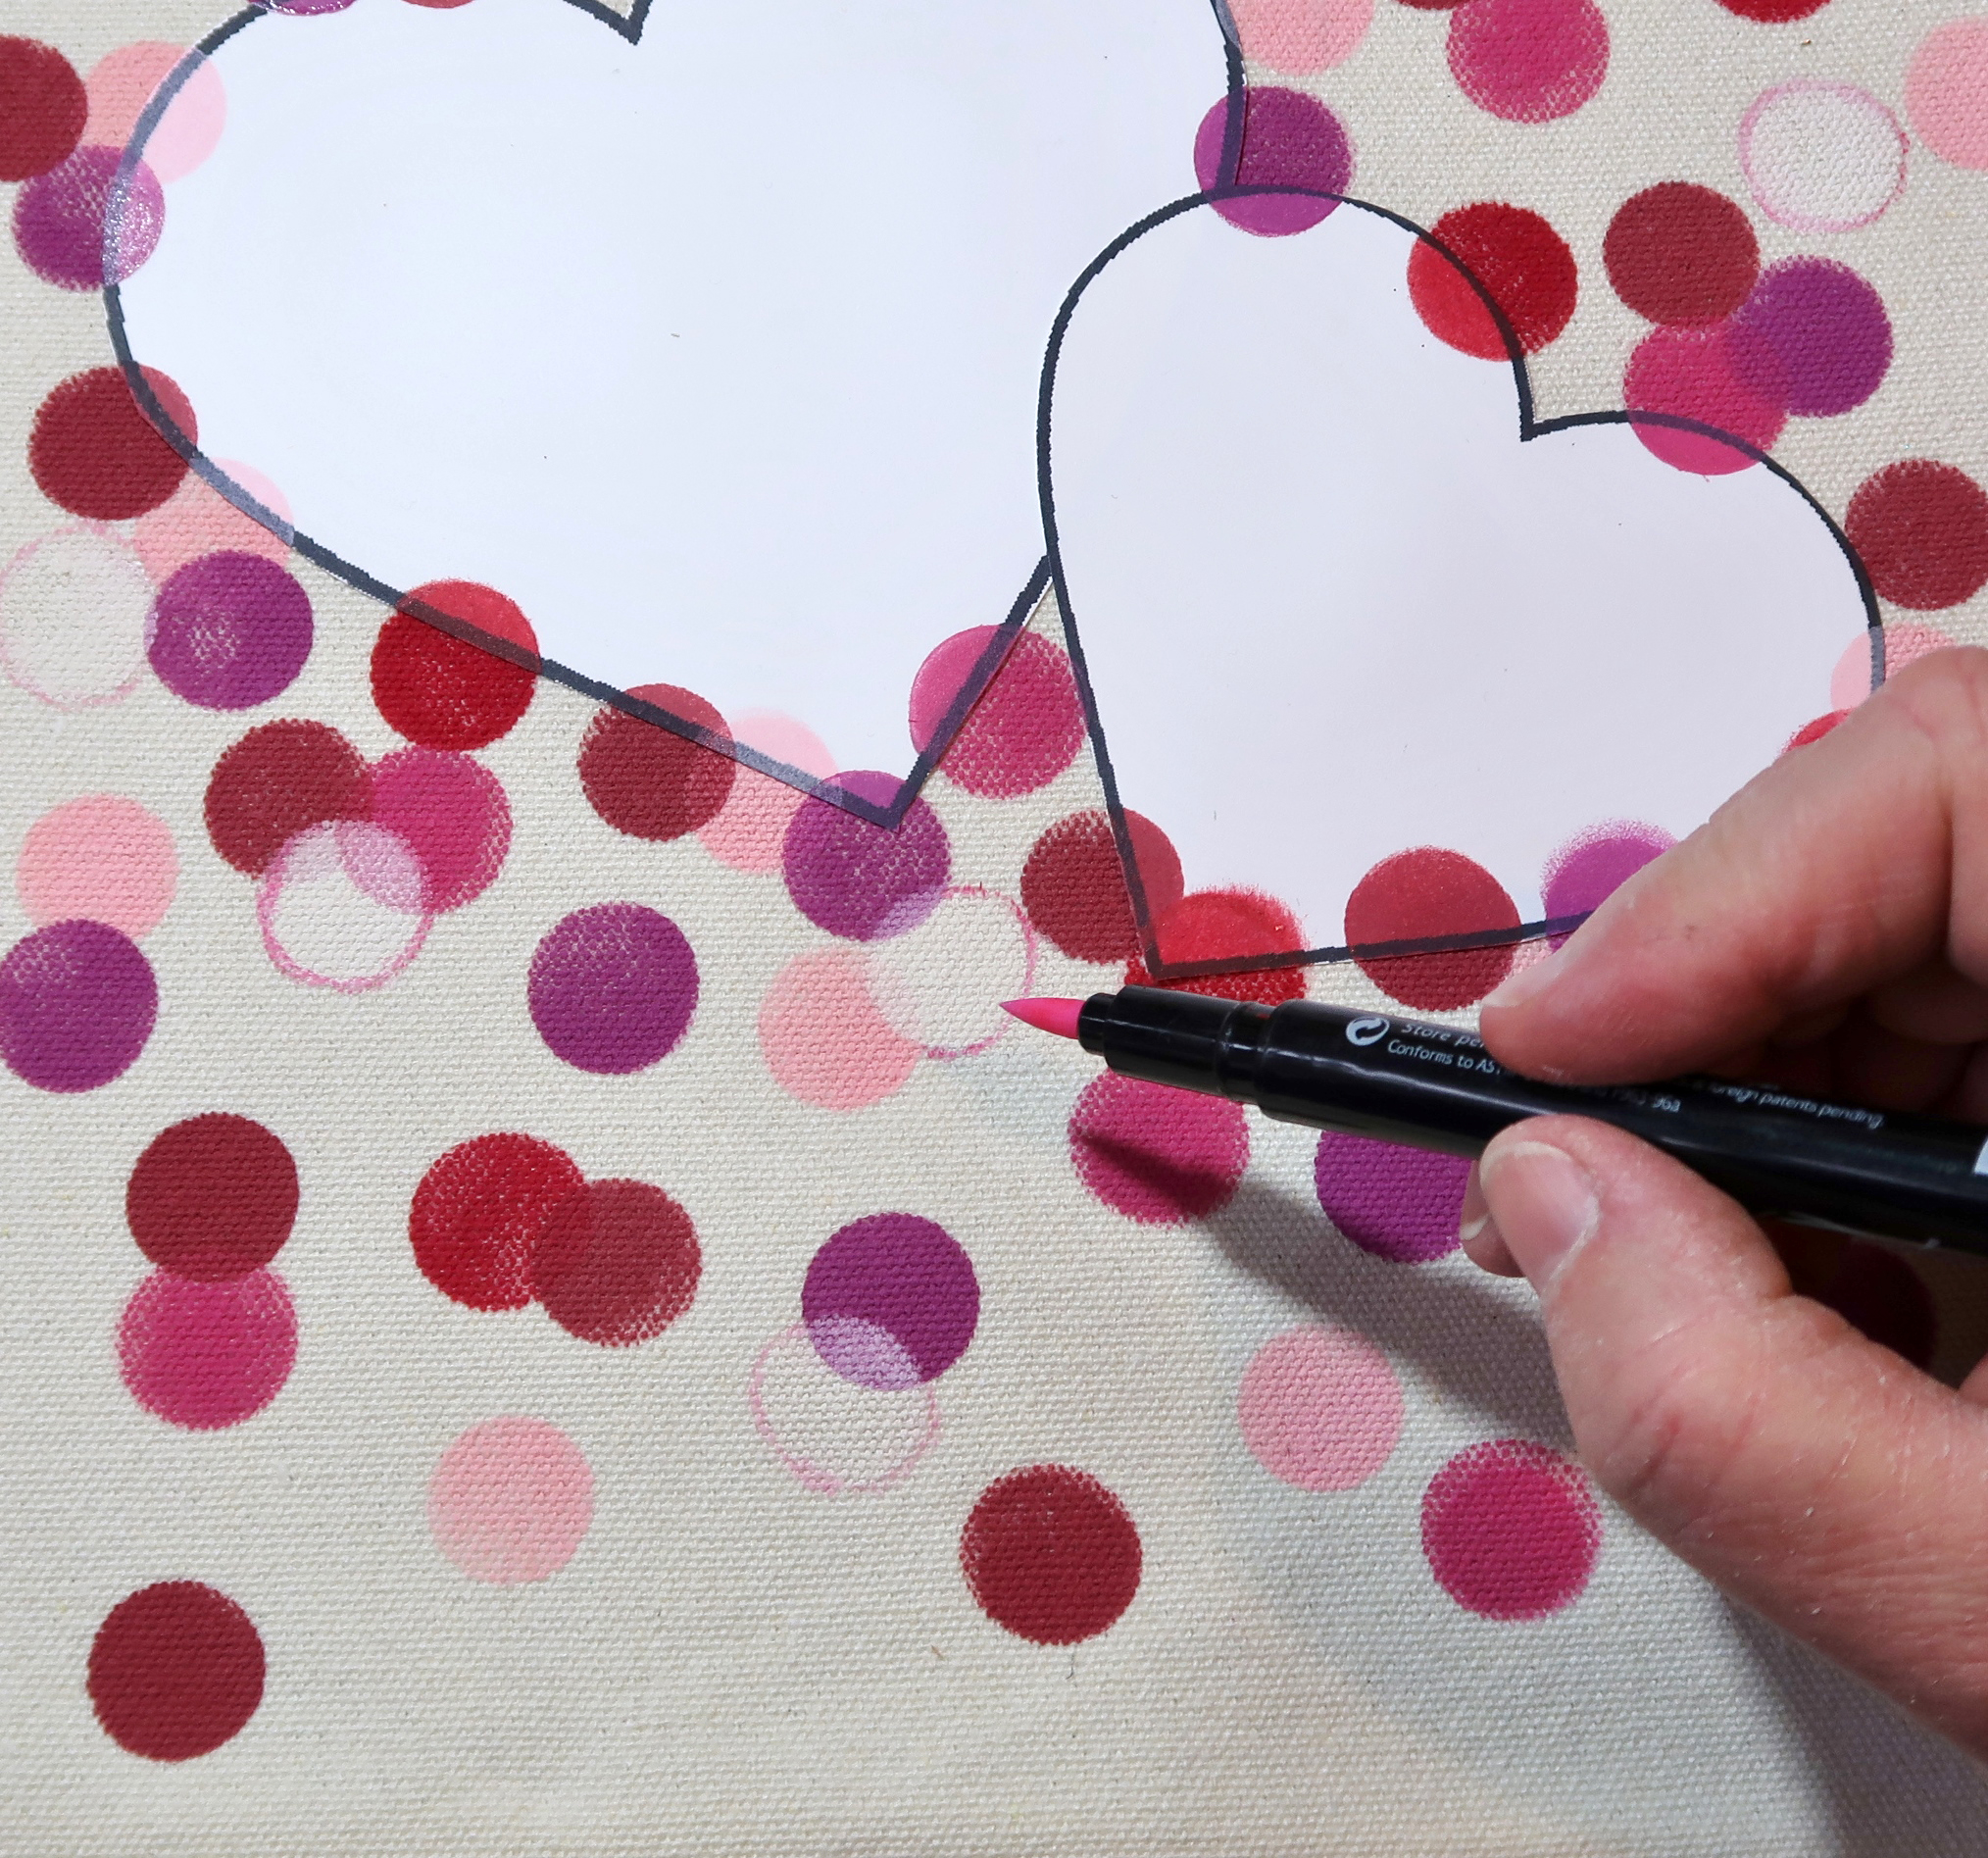
Continue to add layers of dots with the desired color(s) of ink.

Tip: Highlight Wedding Dress (White) Memento Luxe ink on the canvas with Fabrico Marker (Bubble Gum).
This makes the white pop against the canvas and other colors of ink.

Step 9

Remove the masks and discard.

Step 10

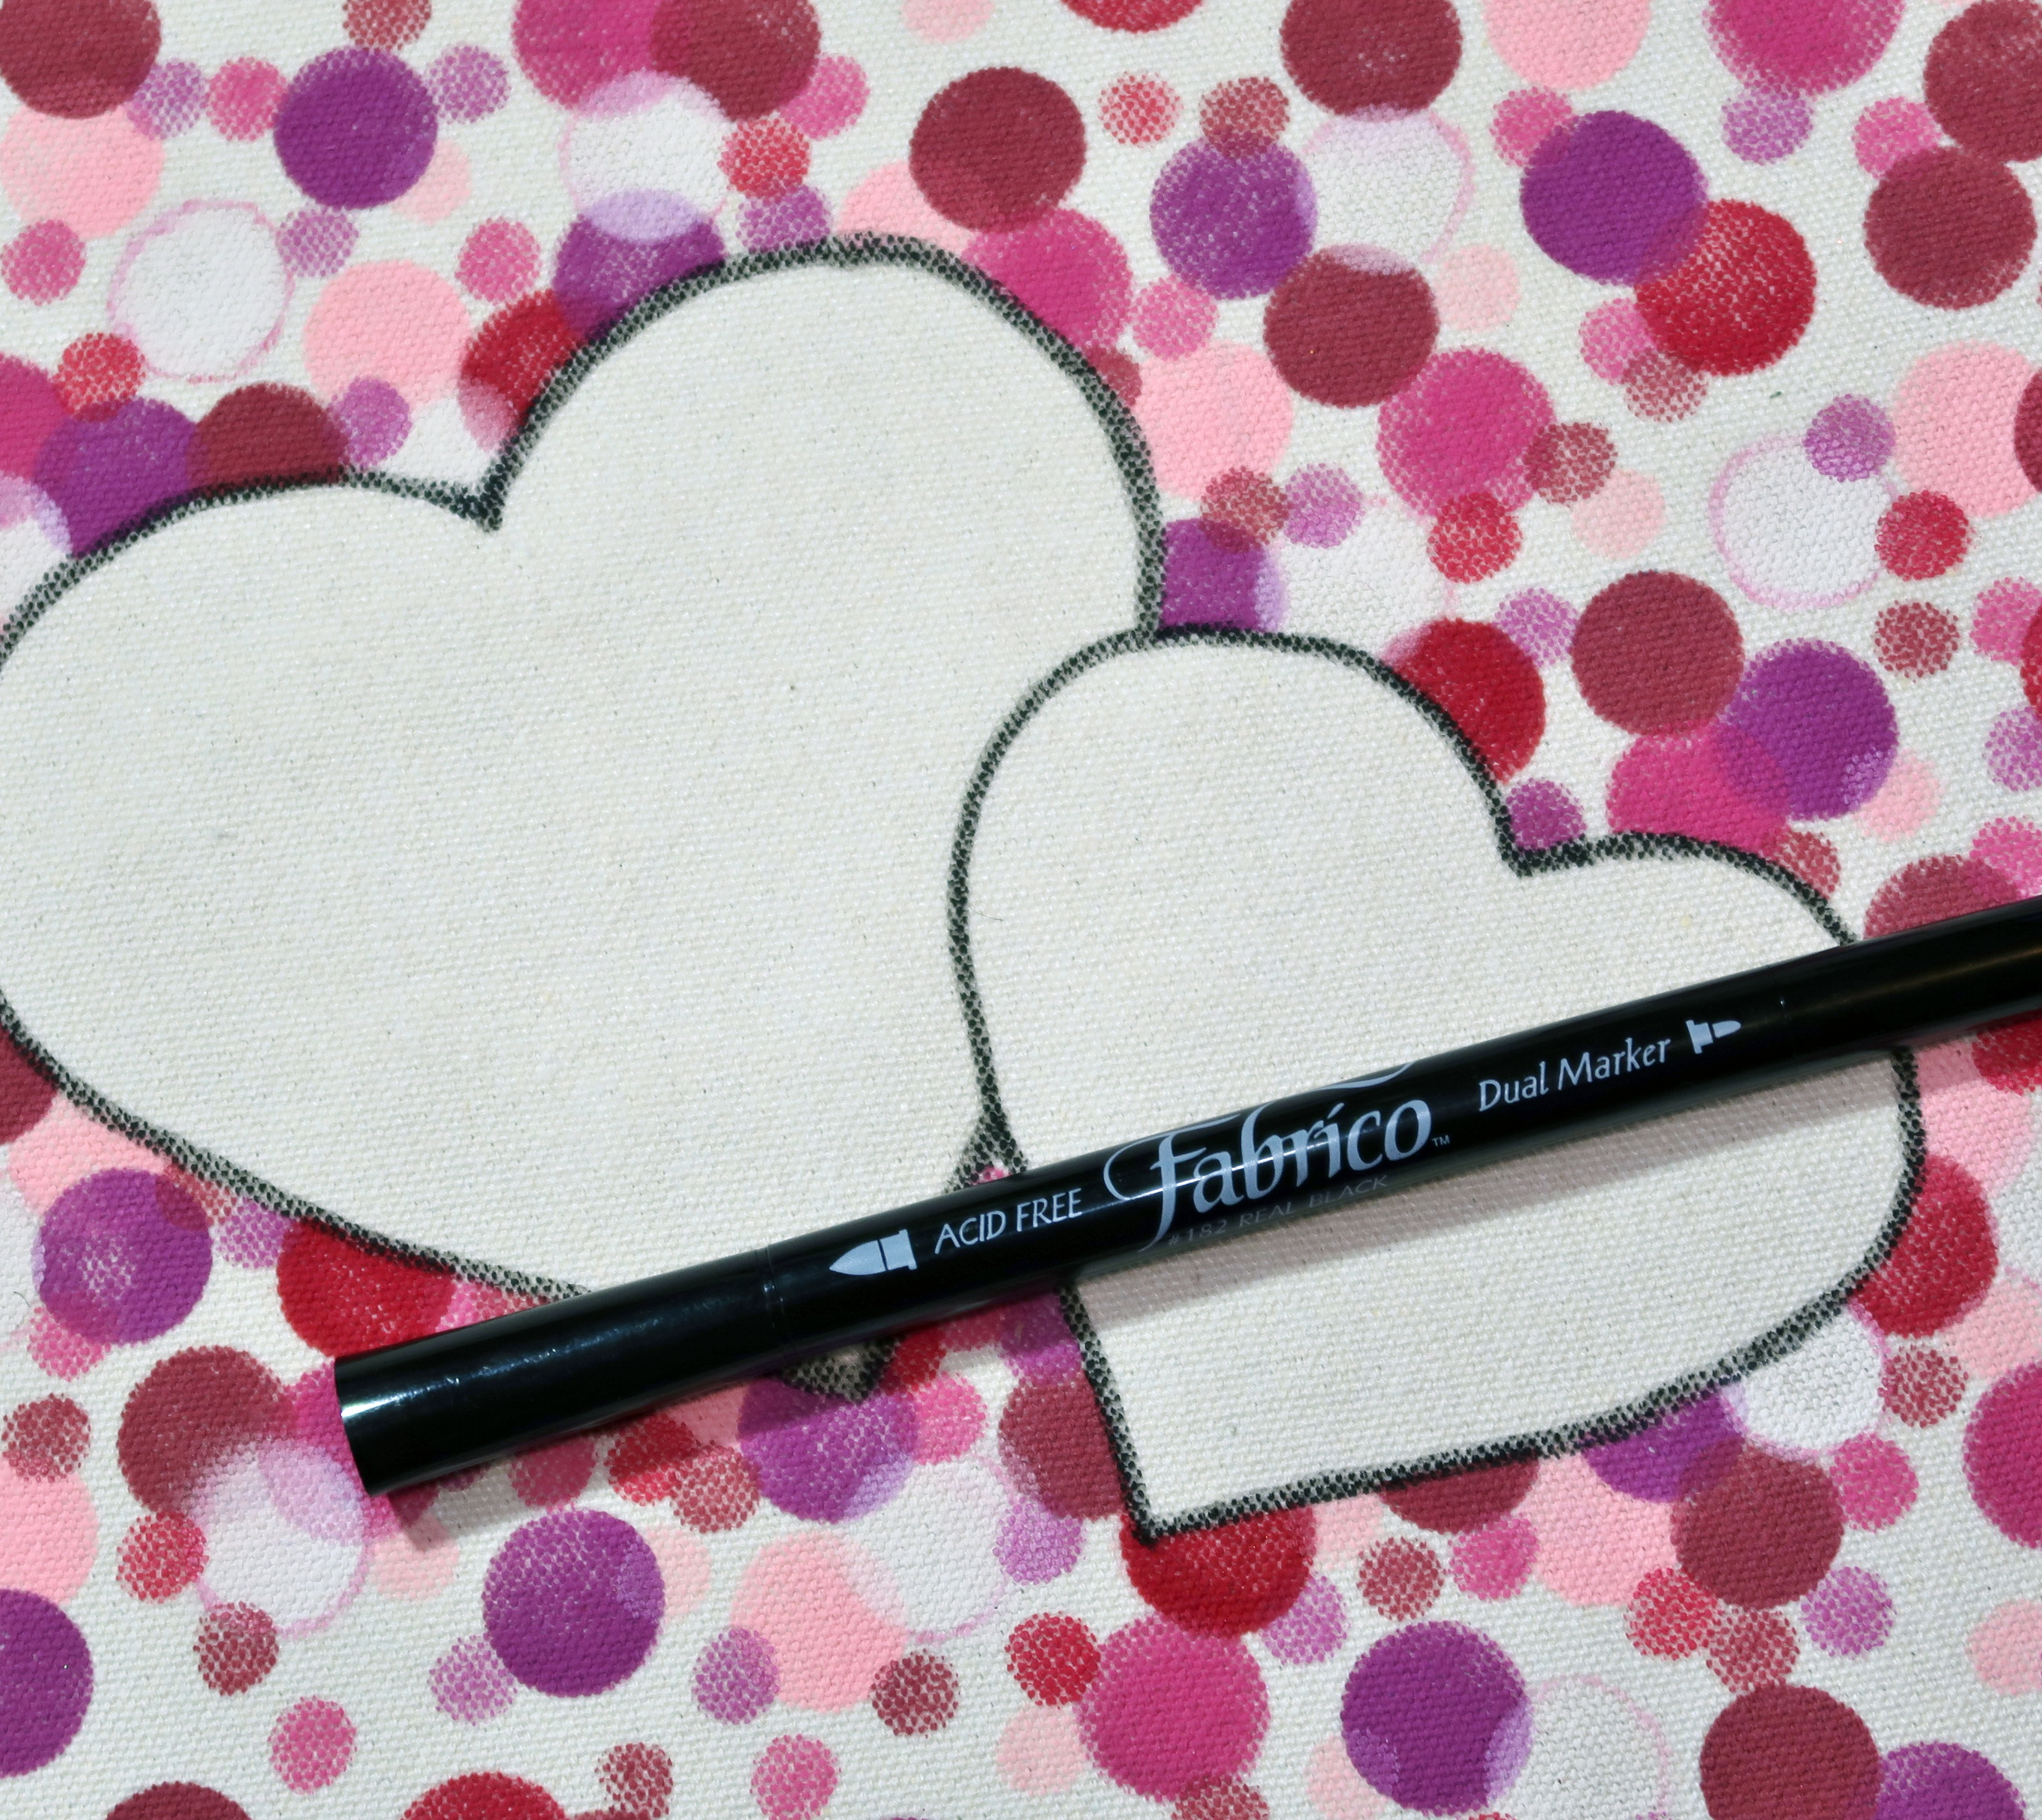
Outline the hearts using Real Black Fabrico Marker. Add additional details with Fabrico Markers at this time if desired.

Step 11

Iron the canvas with the hottest setting allowable for the fabric to set the inks.


Art Supplies:

Imagine

Fabrico Marker – Bubble Gum, Poppy Red, Real Black

Sponge Dauber – 

Happy Valentine’s Day Free PDF


Other

Canvas Tote Bag

Iron

Cardboard

Pencil Eraser

Rubber Stamp Tapestry – Stamps – Layering Circles

White Cardstock

Repositionable Adhesive


Make a Fun Woodland Themed Magnetic Candy Tin

by Roni Johnson

Make a Fun Woodland Themed Magnetic Candy Tin

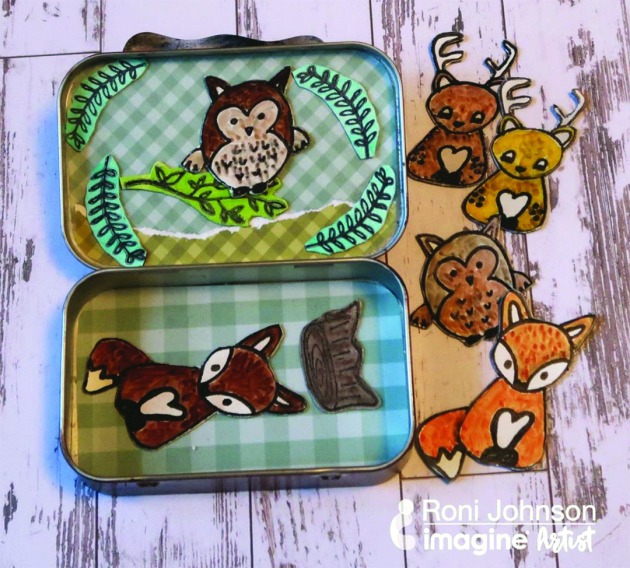
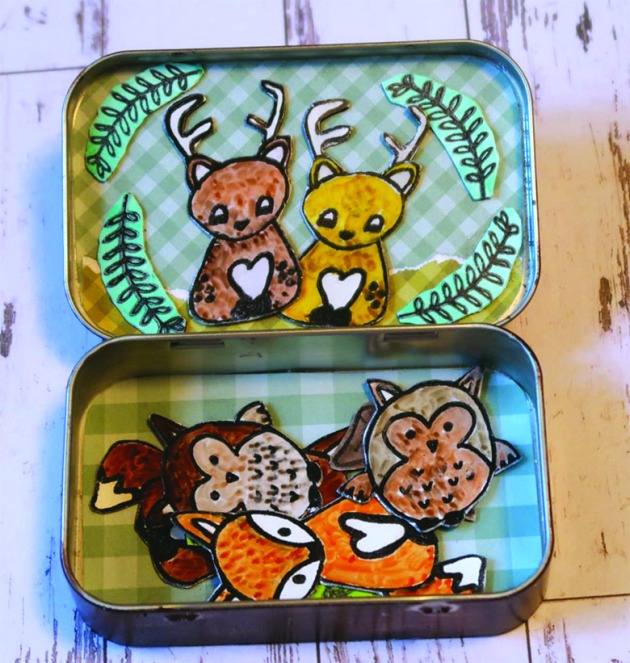
Christmas is quickly approaching so I have stocking stuffers on my mind. I knew the instant I saw the Deer Friends stamp set from Joy Clair it would make a perfect little magnetic playset. I have been saving magnetic sheets from my die purchases just for this purpose.

Skill: Intermediate
Time: 45 minutes

Directions


Step 1

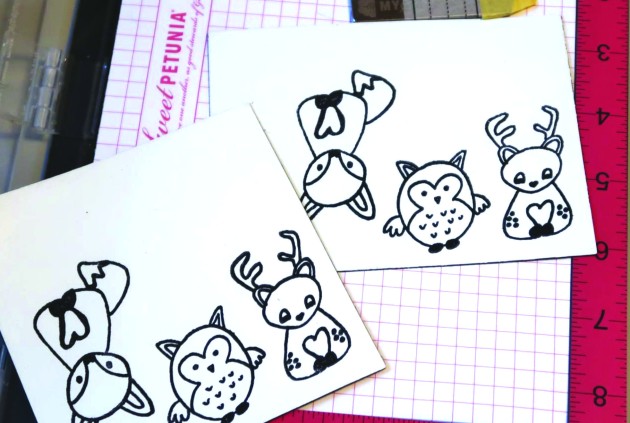
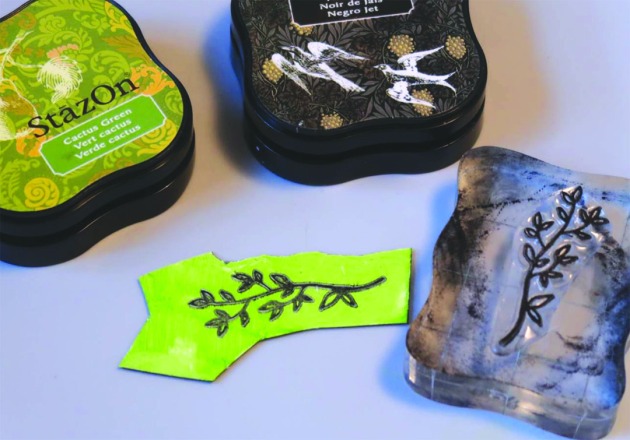
Stamp two of each animal on magnetic sheets using Jet Black StazOn Ink.


Step 2

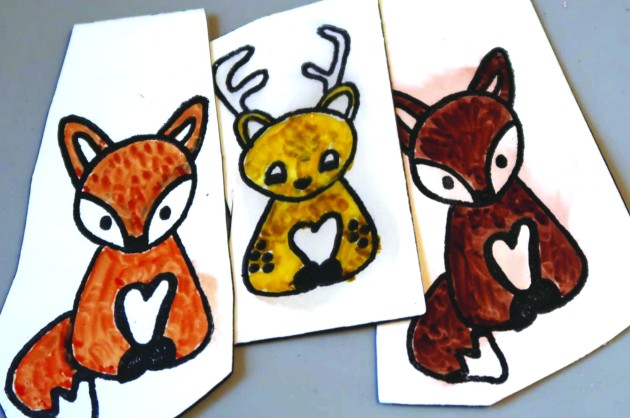
Carefully color the images using alcohol markers of your choice. Avoid touching the stamped lines with the markers as the alcohol in the markers will react with the StazOn ink. This can be used to your advantage though; if you use a brush-tipped marker you can pull a small amount of the Jet Black StazOn ink into the colored areas to create a shadow effect. Trim the excess magnet from the images and set aside.


Step 3

Rub desired color(s) of StazOn ink over scraps of the magnetic sheets; stamp the accessories using Jet Black StazOn ink. Trim and set aside.


Step 4

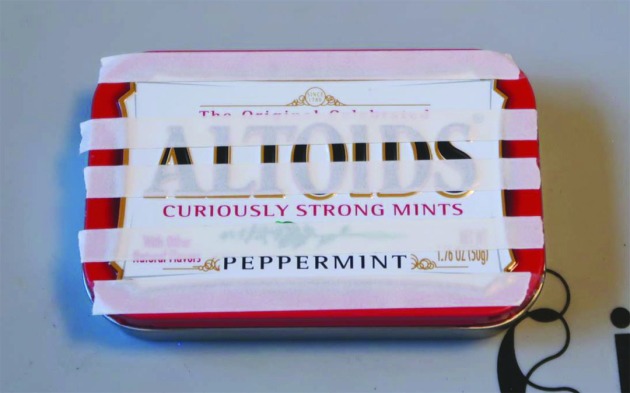
Affix Tear It! Tape to the top and bottom of the candy tin.


Step 5

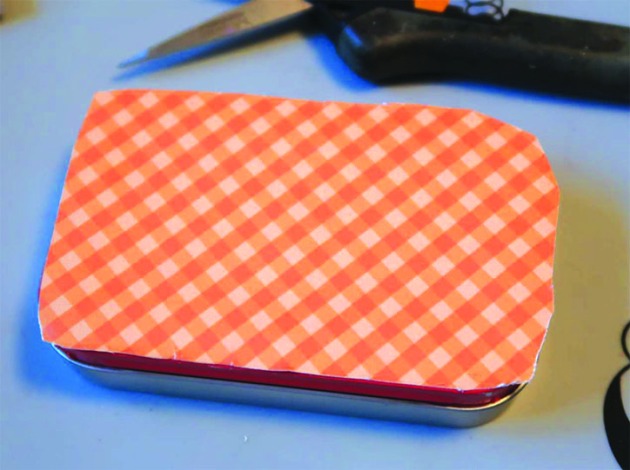
Remove the backing paper from the tape and adhere a piece of pattern paper to the lid and bottom respectively.


Step 6

Trim away excess paper; sand the edges for a clean finish.


Step 7

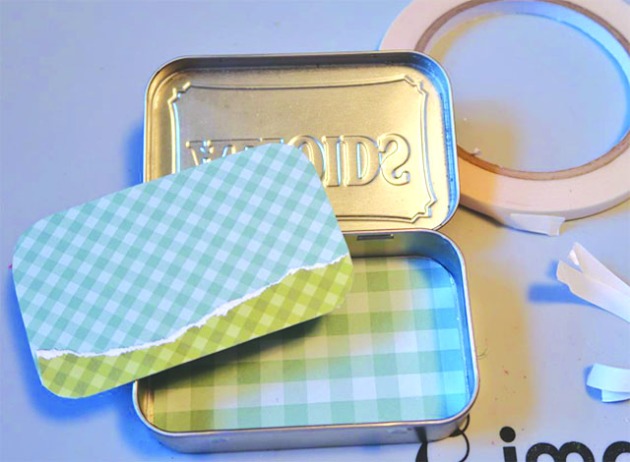
Rub Chocolate Brown StazOn Pigment ink directly from the pad or using a sponge dauber along the edges of the tin and paper. Trace and cut inserts for the inside of the tin. Affix these inserts using Tear It! Tape. It’s time to enjoy!

Supplies

Imagine
Other
  • Joy Clair Stamps – Deer Friends
  • Magnetic Sheets
  • Candy Tin
  • Alcohol Markers
  • Echo Park – Dots & Strips Gingham Pattern Paper
  • Scissors
  • Sandpaper

Create a Rainbow Blended Disney Theme Keepsake with VersaFine Clair

by Jessica Lin

Create a Rainbow Blended Disney Theme Keepsake with VersaFine Clair

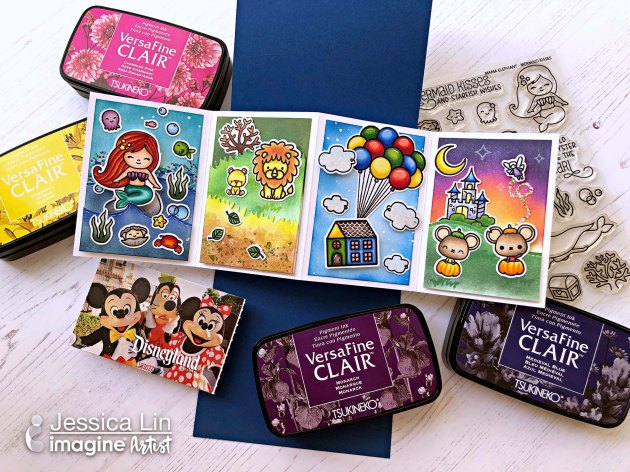
Hi everyone! It’s Jessica and I’m so excited to share this Disney-inspired Twist and Pop 3D Card with you. As you can see, there are 4 panels dedicated to The Little Mermaid, The Lion King, Up and Cinderella. And I’ve used 14 VersaFine Clair ink pads to ink blend all of the backgrounds. I’ve used several sets of Mama Elephant stamps as well; the images are stamped with Memento ink in Tuxedo Black and colored with Copics. I hope you enjoy this magical creation as much as I do!

Skill: Advanced
Time: 15-20 minutes for each panel, 2-3 hours total

Directions

Supplies

Imagine
Other
  • Mama Elephant Stamp set – Mermaid Kisses, Carnival Cupcakes, Christmas Scene, Up and Away, Meowlloween Extras, Unicorn and Rainbows, Pix’s Favorites
  • Copic Sketch Markers
  • Cardstock – Neenah Solar White, Stampin’ Up Blueberry Bushel

The Best Things in Life Aren’t Things

by Kyriakos Pachadiroglou

The Best Things in Life Aren't Things Greeting Card Design

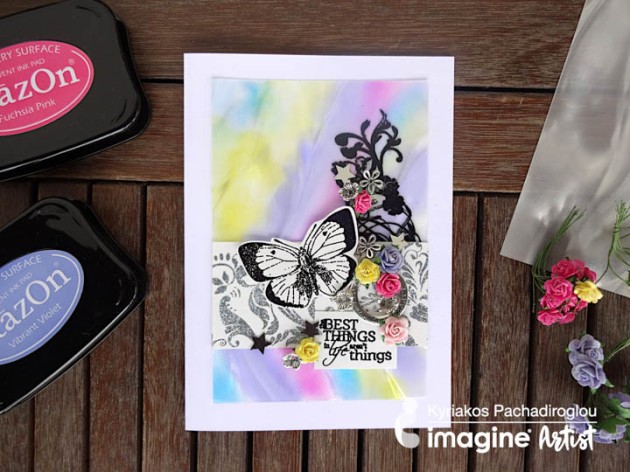
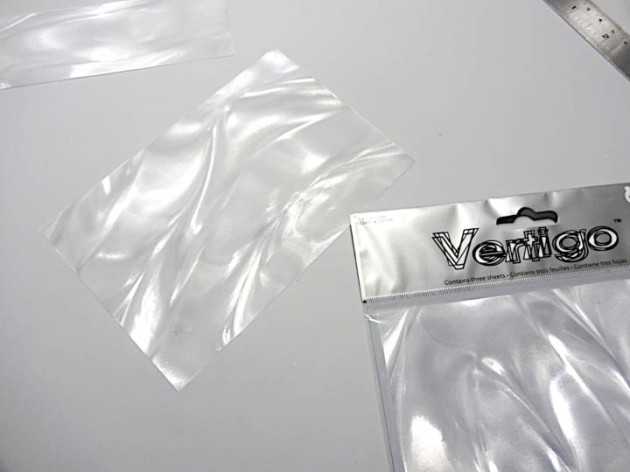
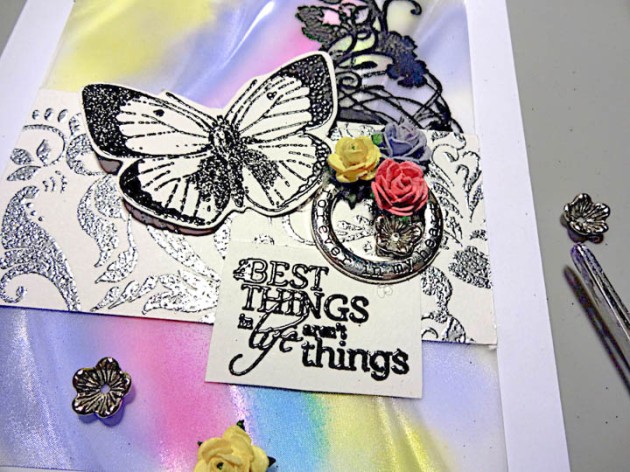
The best things in life aren’t things! This is a lovely reminder to take time to appreciate your life and live it to the fullest. I wanted to create a holographic look to go along with this nice message. Combining Mboss, StazOn ink pads and Vertigo sheets is the best way to create a holographic card theme. The StazOn inks will quickly dry on the Vertigo sheet and following the pattern of the sheet will enhance the result. The white card base brightens the StazOn colors adding extra background lighting and the Mboss in Hologram creates an added effect.

Skill: Intermediate
Time: 1 hour

Directions


Step 1

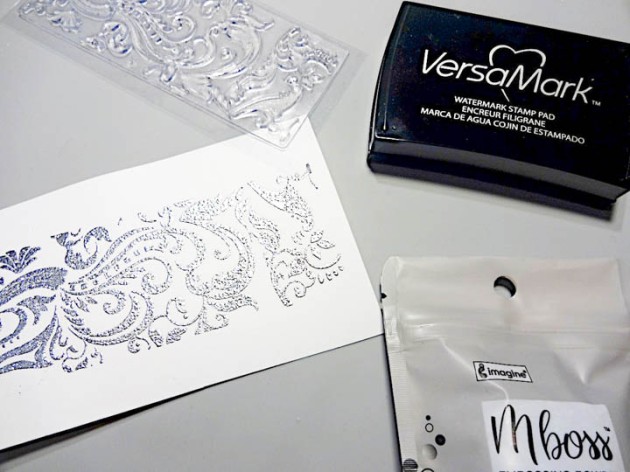
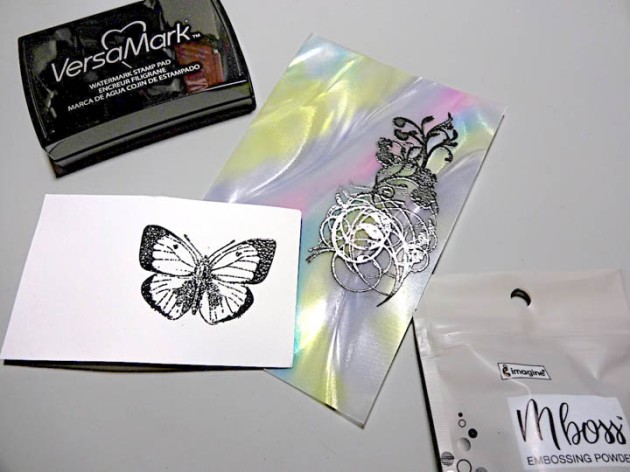
On a 2 x 4 inch piece of watercolor paper, stamp the flourish design with VersaMark, cover with the Mboss embossing powder in Hologram and heat set.


Step 2

Cut the Vertigo sheet to 4 x 6 inches.


Step 3

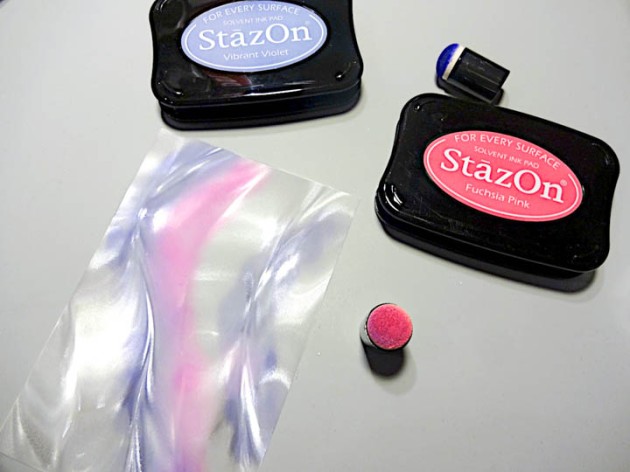
Color with the StazOn in Fuchsia Pink and Vibrant Violet using sponge daubers trying to follow the pattern of the Vertigo sheet.


Step 4

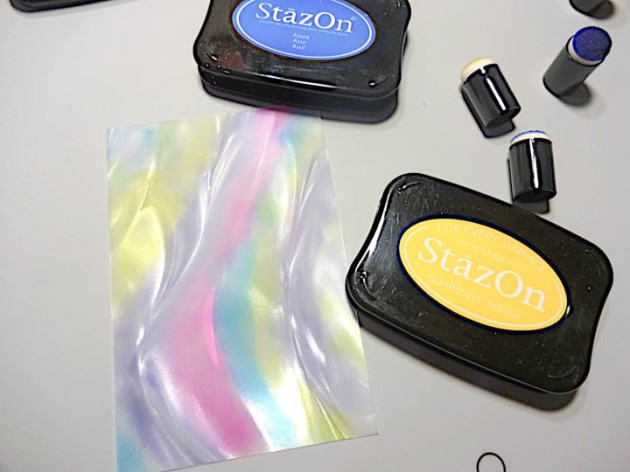
Continue adding color with the StazOn Sunflower Yellow and Azure.


Step 5

Stamp the sentiment, butterfly and flourish design with the VersaMark, cover, and heat set the Mboss embossing powder in Black both on the Vertigo sheet and the watercolor paper. Fussy cut the butterfly. Cut out the sentiment in a square and set aside.


Step 6

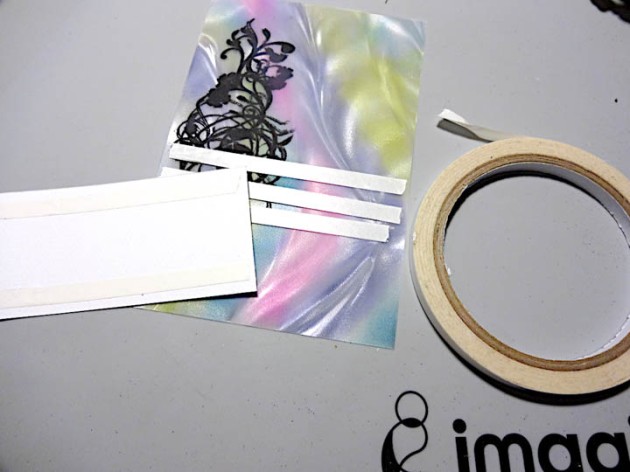
Set the Vertigo sheet and the flourish embossed paper strip on the card base using the Tear It! Tape.


Step 7

Continue adding the butterfly stamped image, the sentiment and the rest of the embellishments as you see fit.

Supplies

Imagine
Other
  • Cardbase
  • Watercolor paper
  • Kaiserkraft stamps – Flourish, Tigerlilly
  • Paper Roses
  • Metallic beads
  • Scissors

See How To Create An Amazing Card Using Mboss

by Roni Johnson

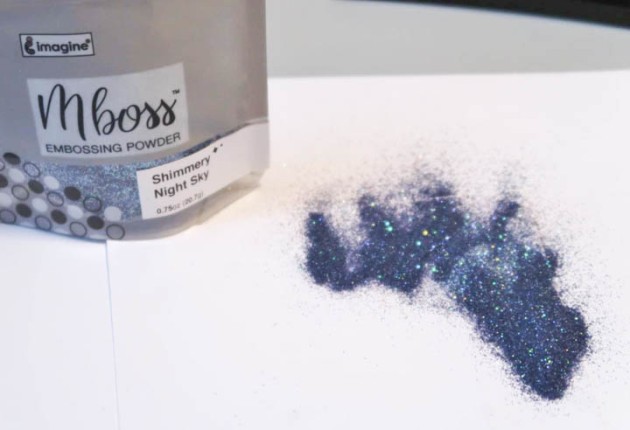
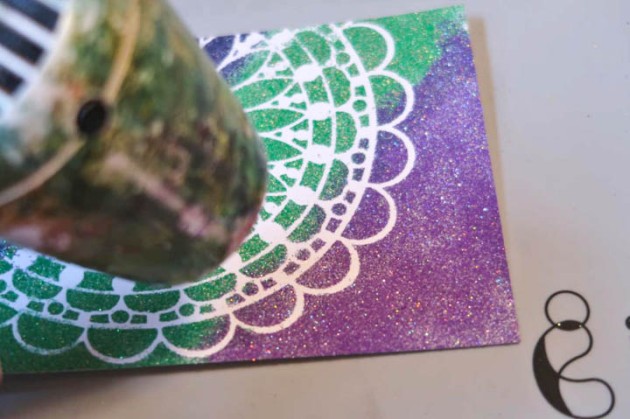
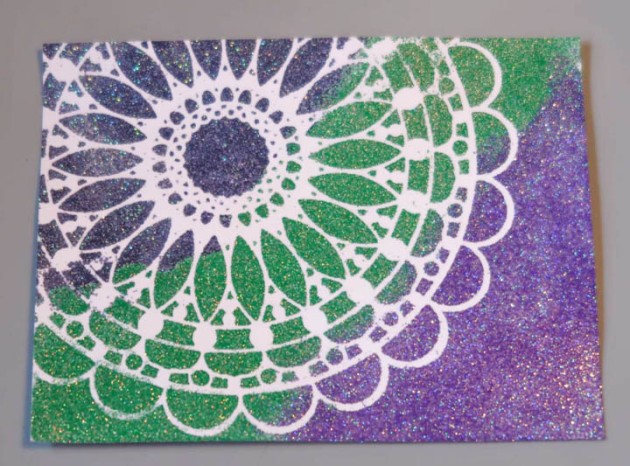
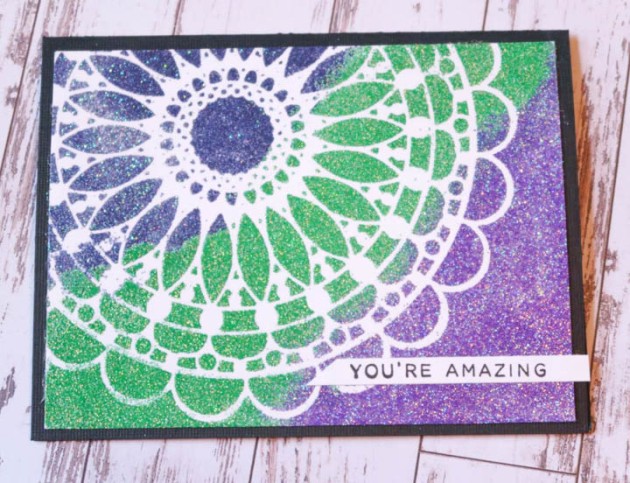
Bring up the word embossing in a group of paper-crafting people and 9 times out of 10 they are going to say they only use embossing to outline a stamped image. Well, embossing is so much more than that. Today, I want to share one of my favorite embossing techniques that I like to call “painting” with embossing powder or in this case, Imagine’s new Mboss Embossing Powders! In addition to the traditional white, black, clear, silver and gold they have a wide range of color and spectacular glittery powders to work within cardmaking projects.

Skill: Intermediate
Time: 30 minutes

Directions


Step 1

Cut a piece of cardstock to the desired size. If desired, swipe or dust the cardstock with an anti-static tool/bag.


Step 2

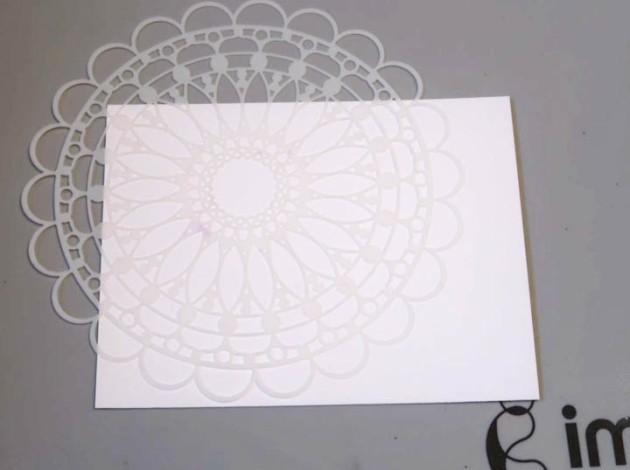
Position the stencil over the piece of cardstock.


Step 3

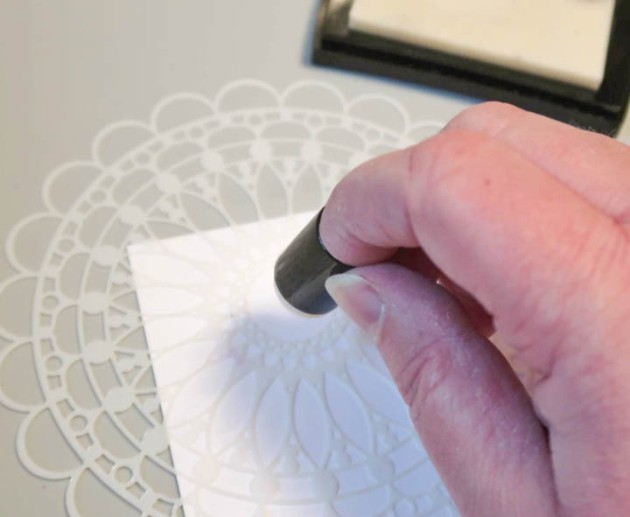
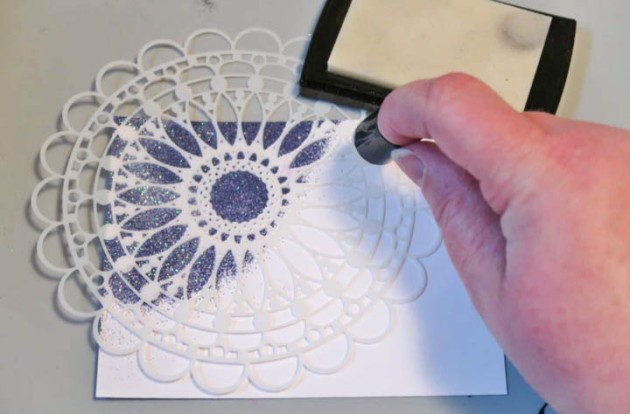
Use a sponge dauber to apply VersaMark ink over the upper third of the stencil.


Step 4

Remove the stencil and shake the first color of Mboss powder over the wet ink. I started with Shimmery Night Sky. Shake off the excess powder and return it to the handy stand up pouch for future use.


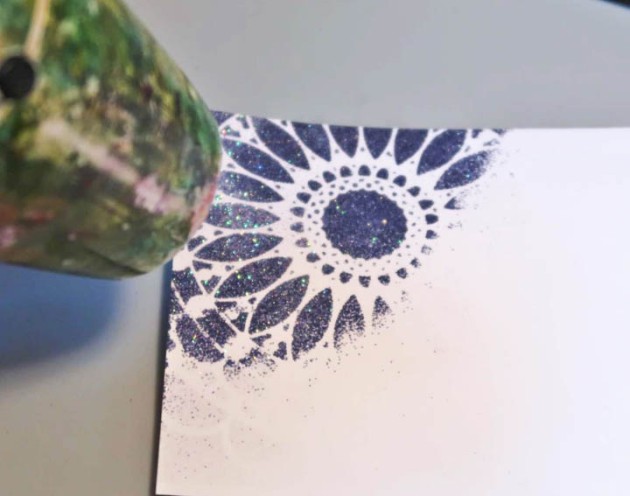
Step 5

Heat the powder to melt; let cool before moving to the next step.


Step 6

Carefully reposition the stencil over the already embossed area of the card and ink up the middle third of the card again using the sponge dauber and VersaMark ink.


Step 7

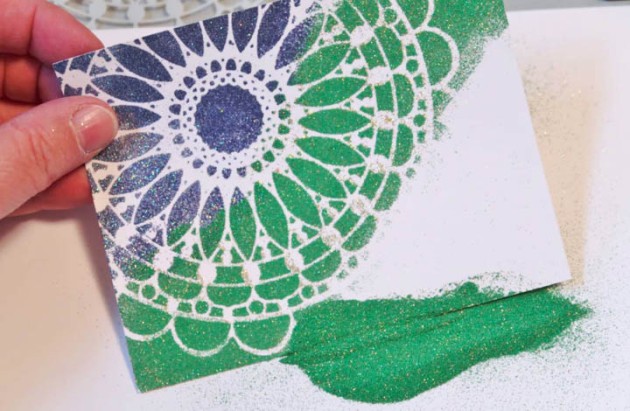
Sprinkle the next color of Mboss Embossing Powder over the inked area; shake off excess and return it to the pouch.


Step 8

Use the heat tool to melt the powder.


Step 9

Repeat steps 2-5 for the final third of the card. And you’ll be left with an amazing design bursting with color, texture, and dimension.


Step 10

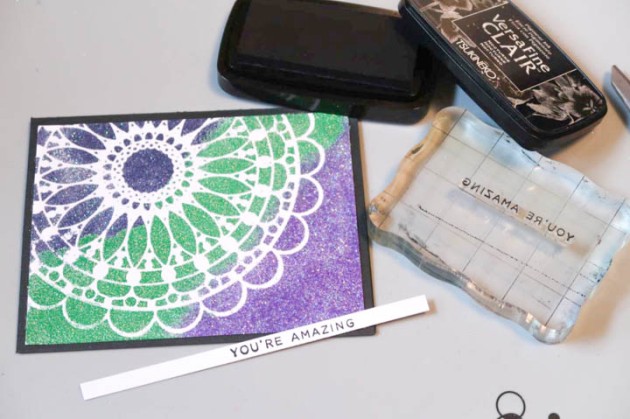
Mount the panel on a black card base using Tear It! Tape; stamp the sentiment with Nocturne VersaFine Clair ink on scrap paper and affix it to the card using On Point Glue.

Supplies

Imagine
Other
  • The Crafters Workshop – Mandala Stencil
  • Rubber Stamp Tapestry – Sentiment
  • Heat Tool
  • White & Black Cardstock