Stamping on Colored Cardstock to Create a Nature-Inspired Thanksgiving Card

By Jessica Lin ~

Skill: Intermediate
Time: 45 minutes

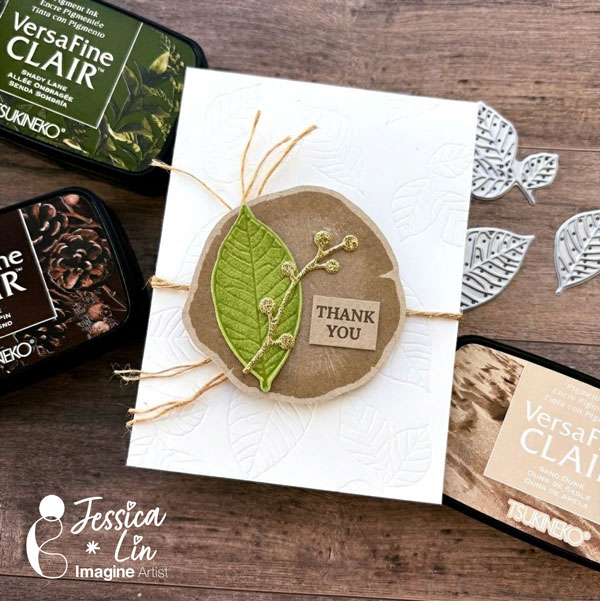
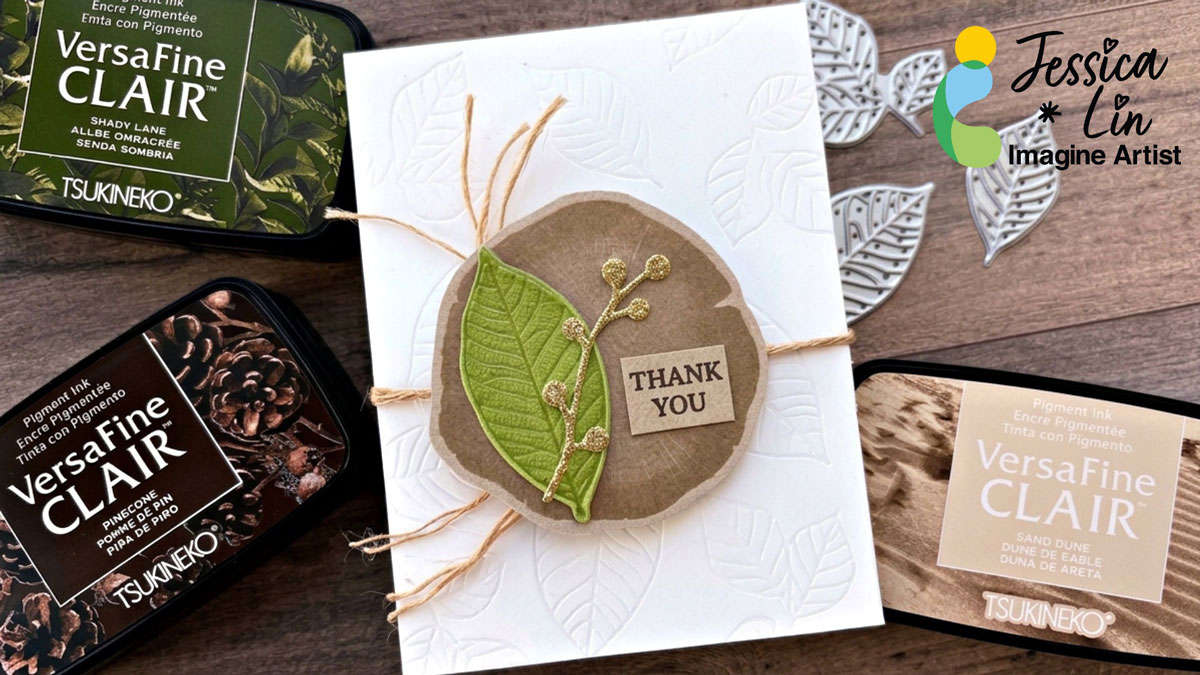
Hi everyone! It’s Jessica here. Have you tried stamping on colored cardstock before? My go-to cardstock for stamping is Classic Crest Solar White cardstock, but I wanted to change it up today. You can achieve a completely different look by stamping on colored cardstock. I chose to stamp on green and khaki cardstock today to make the images look more realistic and natural.
Step 1:
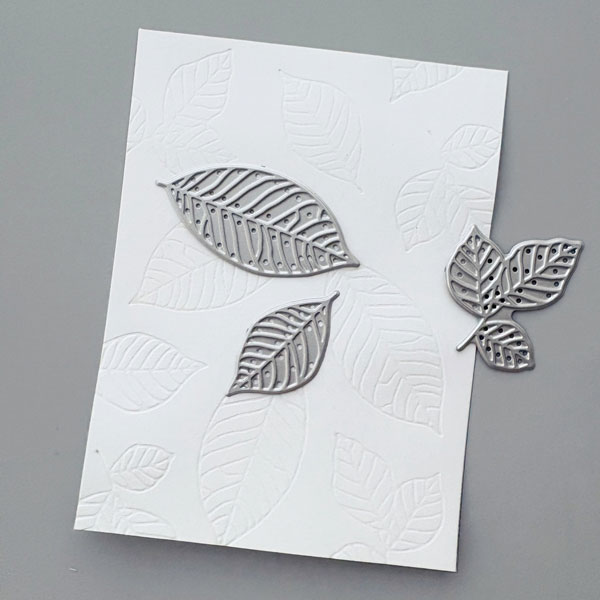
Trim a piece of Classic Crest Solar White Cardstock to 3 ¾” x 5”. Then, use the leaf embosser dies from Stampin’ Up’s Nature’s Root die set to create a leafy patterned embossed background.
Step 2:
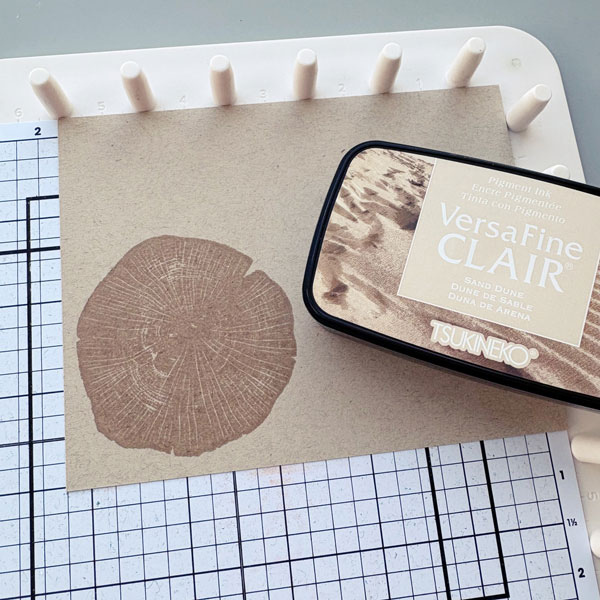
Once the base panel is created, we can move on to stamping. I decided to stamp on Environment Desert Storm cardstock today. If you have only tried stamping on Classic Crest Solar White cardstock before, I highly recommend trying the Environment Desert Storm cardstock as well! It’s a great neutral alternative and the final look is so different. The VersaFine Clair Sand Dune ink looks like a richer, darker shade when stamped on Environment Desert cardstock.
Step 3:
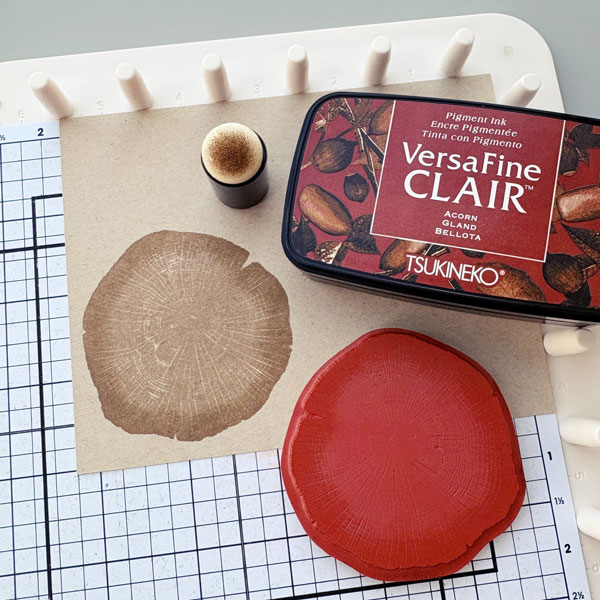
Next, dab VersaFine Clair Acorn ink to the outer edges of the stamp with a sponge dauber to create a more realistic look.
Step 4:
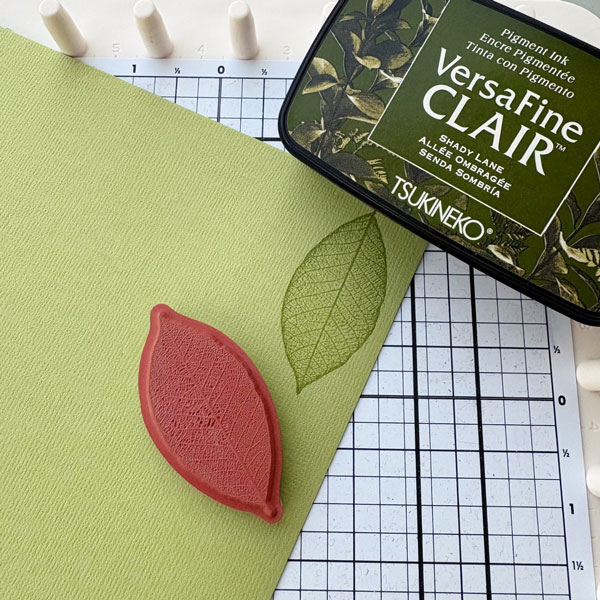
For the leaf stamp, I picked DCS Canvas Textured Galax Olive Green Cardstock. This cardstock has an embossed texture, but it’s surprisingly easy to stamp on with VersaFine Clair Shady Lane ink pad. You can see that the textured surface did not hide any of the vein details from the stamp.
Step 5:
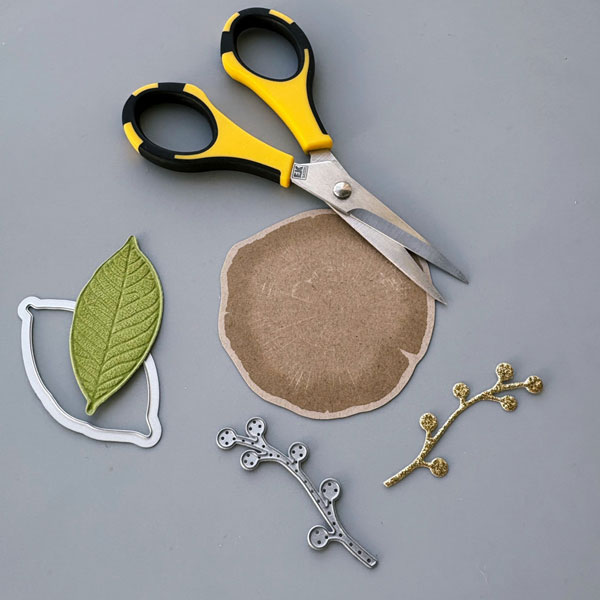
After all of the images have been stamped, die cut or fussy cut them with scissors. I also die cut a berry branch with DCS Gold Glitter Heavyweight 12 x 12 cardstock. This die is from Stampin’ Up’s Flourish die set.
Step 6:
I stamped “Thank You” with VersaFine Clair Pinecone ink pad for the sentiment. Lastly, I tied twine around the background panel to add another natural touch to the card. Then I adhered all of the die cut and stamped elements, and the card is complete!

Supplies Used

Imagine Supplies:

● VersaFine Clair – Sand Dune, Acorn, Shady Lane, Pinecone
● Sponge Dauber
● StazOn Cleaner
● Tear-It! Tape
● Craft Mat

Other Supplies:

● Stampin’ Up! – Stamps – Rooted in Nature
● Stampin’ Up! – Dies – Nature’s Roots
● Stampin’ Up! – Dies – Flourish
● CutCardStock – Paper – Classic Crest Solar White
● CutCardStock – Paper – Environment Desert Storm
● CutCardStock – Paper – DCS Canvas Textured Galax Olive Green
● CutCardStock – Paper – DCS Gold Glitter Heavyweight 12 x 12
Create Zara Dress Inspired Floral Card

2021_JL_Oct_Zara-Florals_IG_October

By Jessica Lin

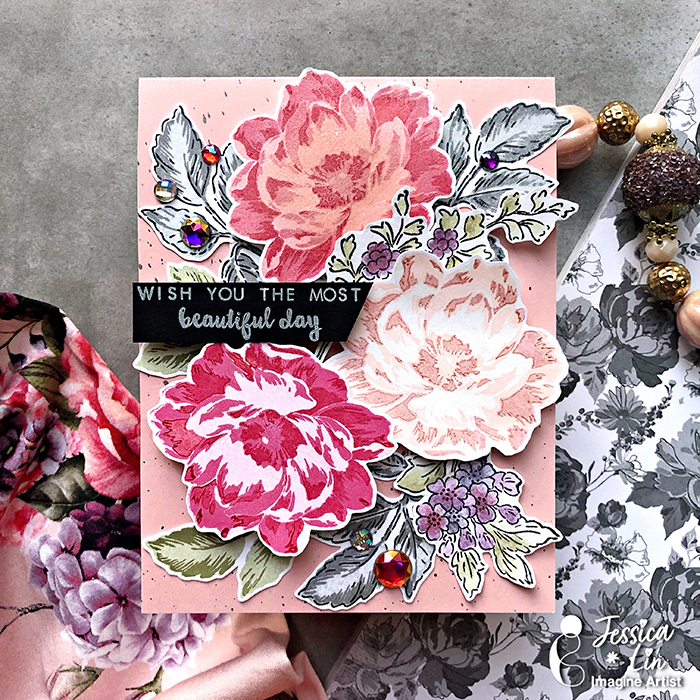
Hi everyone! It’s Jessica here and welcome back to another video tutorial. This time I have a new theme to share with you! Do you ever feel inspired by your clothing, perhaps you love the print, or maybe the colors catch your eye? I personally have a lot of floral clothing and I’ve always wanted to recreate them into cards! This time I picked a Zara dress with red, pink, and purple flowers. It’s really a jump from my comfort zone as I’ve never paired these colors together. But I love the end result so much! I hope this video will inspire you to take a look around your house or peek into your wardrobe for some crafty inspirations! 

Skill: Advanced

Directions:

Supplies Used

Imagine:
Product list

Imagine:

Top Red Flower: Delicata Rose Gold / VersaFine Clair Glamorous / Delicata Ruby Red
Middle Pink Flower: Delicata Champagne / VersaMagic Pixie Dust / Delicata Rose Gold
Bottom Red Flower: Delicata Pink Shimmer / VersaFine Clair Glamorous / Delicata Ruby Red
Green Leaf: VersaMagic Sage / VersaMagic Spanish Olive
Grey Leaf: Brilliance Starlite Silver / VersaFine Clair Morning Mist / VersaFine Clair Nocturne
Small Purple Flowers: VersaFine Clair Nocturne / VersaMagic Purple Hydrangea / Encore Purple / Delicata Ruby Red
Sentiment: StazOn Pigment Snowflake
Background Splatter: Delicata Black Shimmer

• Delicata
• StazOn
• StazOn Pigment ink
• VersaFine Clair
• VersaMagic
• Craft Mat
• StazOn Cleaner

Other products:

• Altenew Beautiful Day stamps and dies
• Pink and Black Cardstock
• Stamparatus
• Aqua Painter
• Foam Tape


Create Cute Christmas Cards with Puns

2021_Sep_JL_Punny Card_900

By Jessica Lin

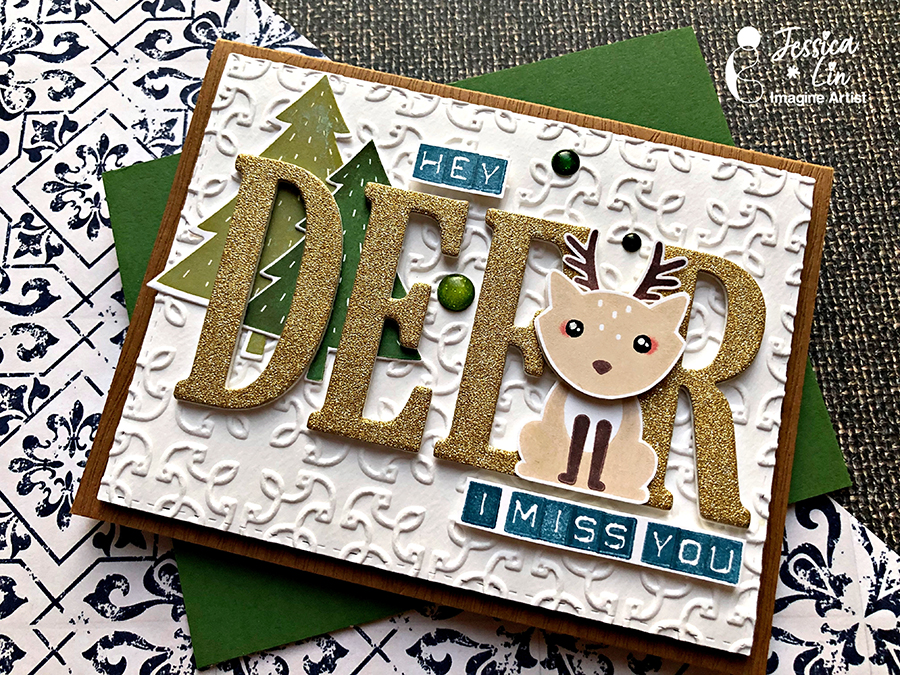
Hi everyone, it’s Jessica here. Can you believe that it’s almost October? I felt like this year went by so fast! I thought I would start making Christmas cards earlier this year, and I wanted to create some “punny” cards. I remember when I first started cardmaking, I loved to make cards with puns or inside jokes because those were so different from store-bought cards. Do you like cards with puns? I would love to know!

Skill: Beginner

Directions:

Supplies Used

Imagine:
Other products:

Stamparatus
Stampin’ Up Foxy Friends bundle
Stampin’ Up Large Letters dies
White Cardstock
White Fun Foam
Stampin’ Up Garden Trellis Embossing Folder
Stampin’ Up Labeler Alphabet stamp set

Learn How to Make a Wedding Shaker Card with Memento and Delicata Inks

2021_Jul_JL_Wedding-Shaker_Blog

By Jessica Lin

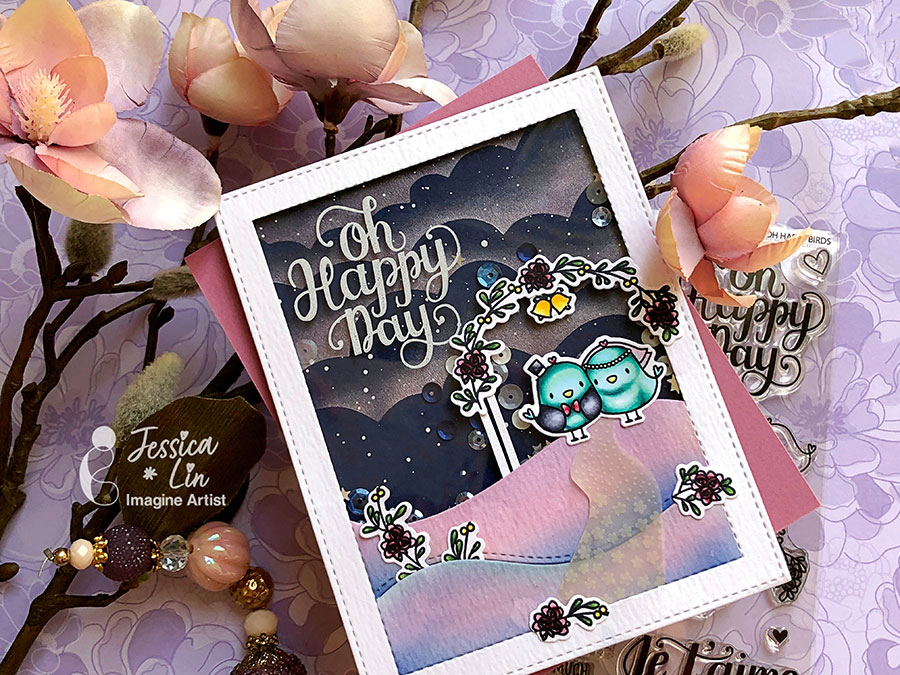
Hi everyone, it’s Jessica here. I’m so excited to share this wedding shaker card with you. I made it for a friend who is getting married this month! I tried to combine lots of things that I love: pastel colors, interactive cards, shimmery elements, and this is the final product. I hope you’ll enjoy the ink pad tips and tricks I shared in today’s tutorial. I would love to know which was your favorite! 


Directions:

Supplies Used

Imagine:
Other products:

• Mama Elephant Oh Happy Birds Stamps and Dies
• Copic Sketch Markers:
• Bird (teal): BG000, BG10, BG13, BG15, BG18
• Tuxedo (Cool Grey): C1, C3, C5, C7, C9
• Bow and Flowers (Pink): R81, R85, R89
• Berries, Bell, and Beak (yellow): Y11, Y15, Y18
• Leaves (Green): YG17, G28
• Neenah Solar White Cardstock
• Tim Holtz Watercolor Cardstock
• Foam Tape


Create Fun & Easy Ombre Looks with VersaMagic Ink Pads

2021_JL_Aug_Ombre_Blog

By Jessica Lin –

Hi everyone, it’s Jessica here. Today I have a very simple technique that I’d like to share with you. It’s ombre stamping with a stamp positioning tool! It is super easy and fun, and the color combinations are endless! I’ve used this technique so many times before and it never gets old. Have you tried creating your own ombre ink pad looks before?

Skill: Intermediate

Directions:

Supplies Used

Imagine:
Other products:

Stampin’ Up Jar of Love stamps and dies
Neenah Solar White cardstock
Heat gun
Pear Pizzazz and Lost Lagoon cardstock


How to Make a Pastel Birthday Card Using VersaMagic Ink Pads

2021_July_JL_Pastel-Birthday

By Jessica Lin

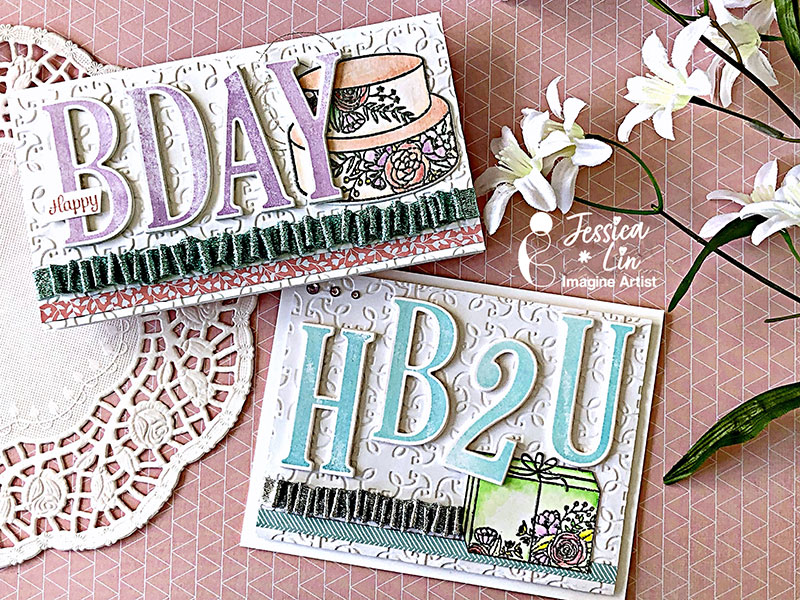
Hi everyone, it’s Jessica here and welcome back to another card tutorial. Today’s card is the kind that I create the most: birthday cards! I chose a soft color palette for this set of cards, and the VersaMagic inks are perfect for the pastel colors. I also watercolored with my ZIG Clean Color Real Brush pens and shared a technique about using ribbons to embellish your projects. I hope you’ll enjoy today’s tutorial! 

Skill: Intermediate

Directions:

Supplies Used

Imagine:
Other products:

• Stampin’ Up – Letters for You, Number of Years, Cake Soiree, Garden Trellis
• Embossing Folder, Ribbon, Designer Series Paper
• Kuretake ZIG Clean Color Real Brush Pens – No. 028, No. 220, No. 230, No. 071, No. 803, No. 083, No. 049, No. 042, No. 051, No. 041, No. 045
• Heat Tool
• Foam Sheet
• Cardstock – Neenah Solar White