How To Create A Dimensional Spring Bouquet With Memento Inks

By Katy Ingram

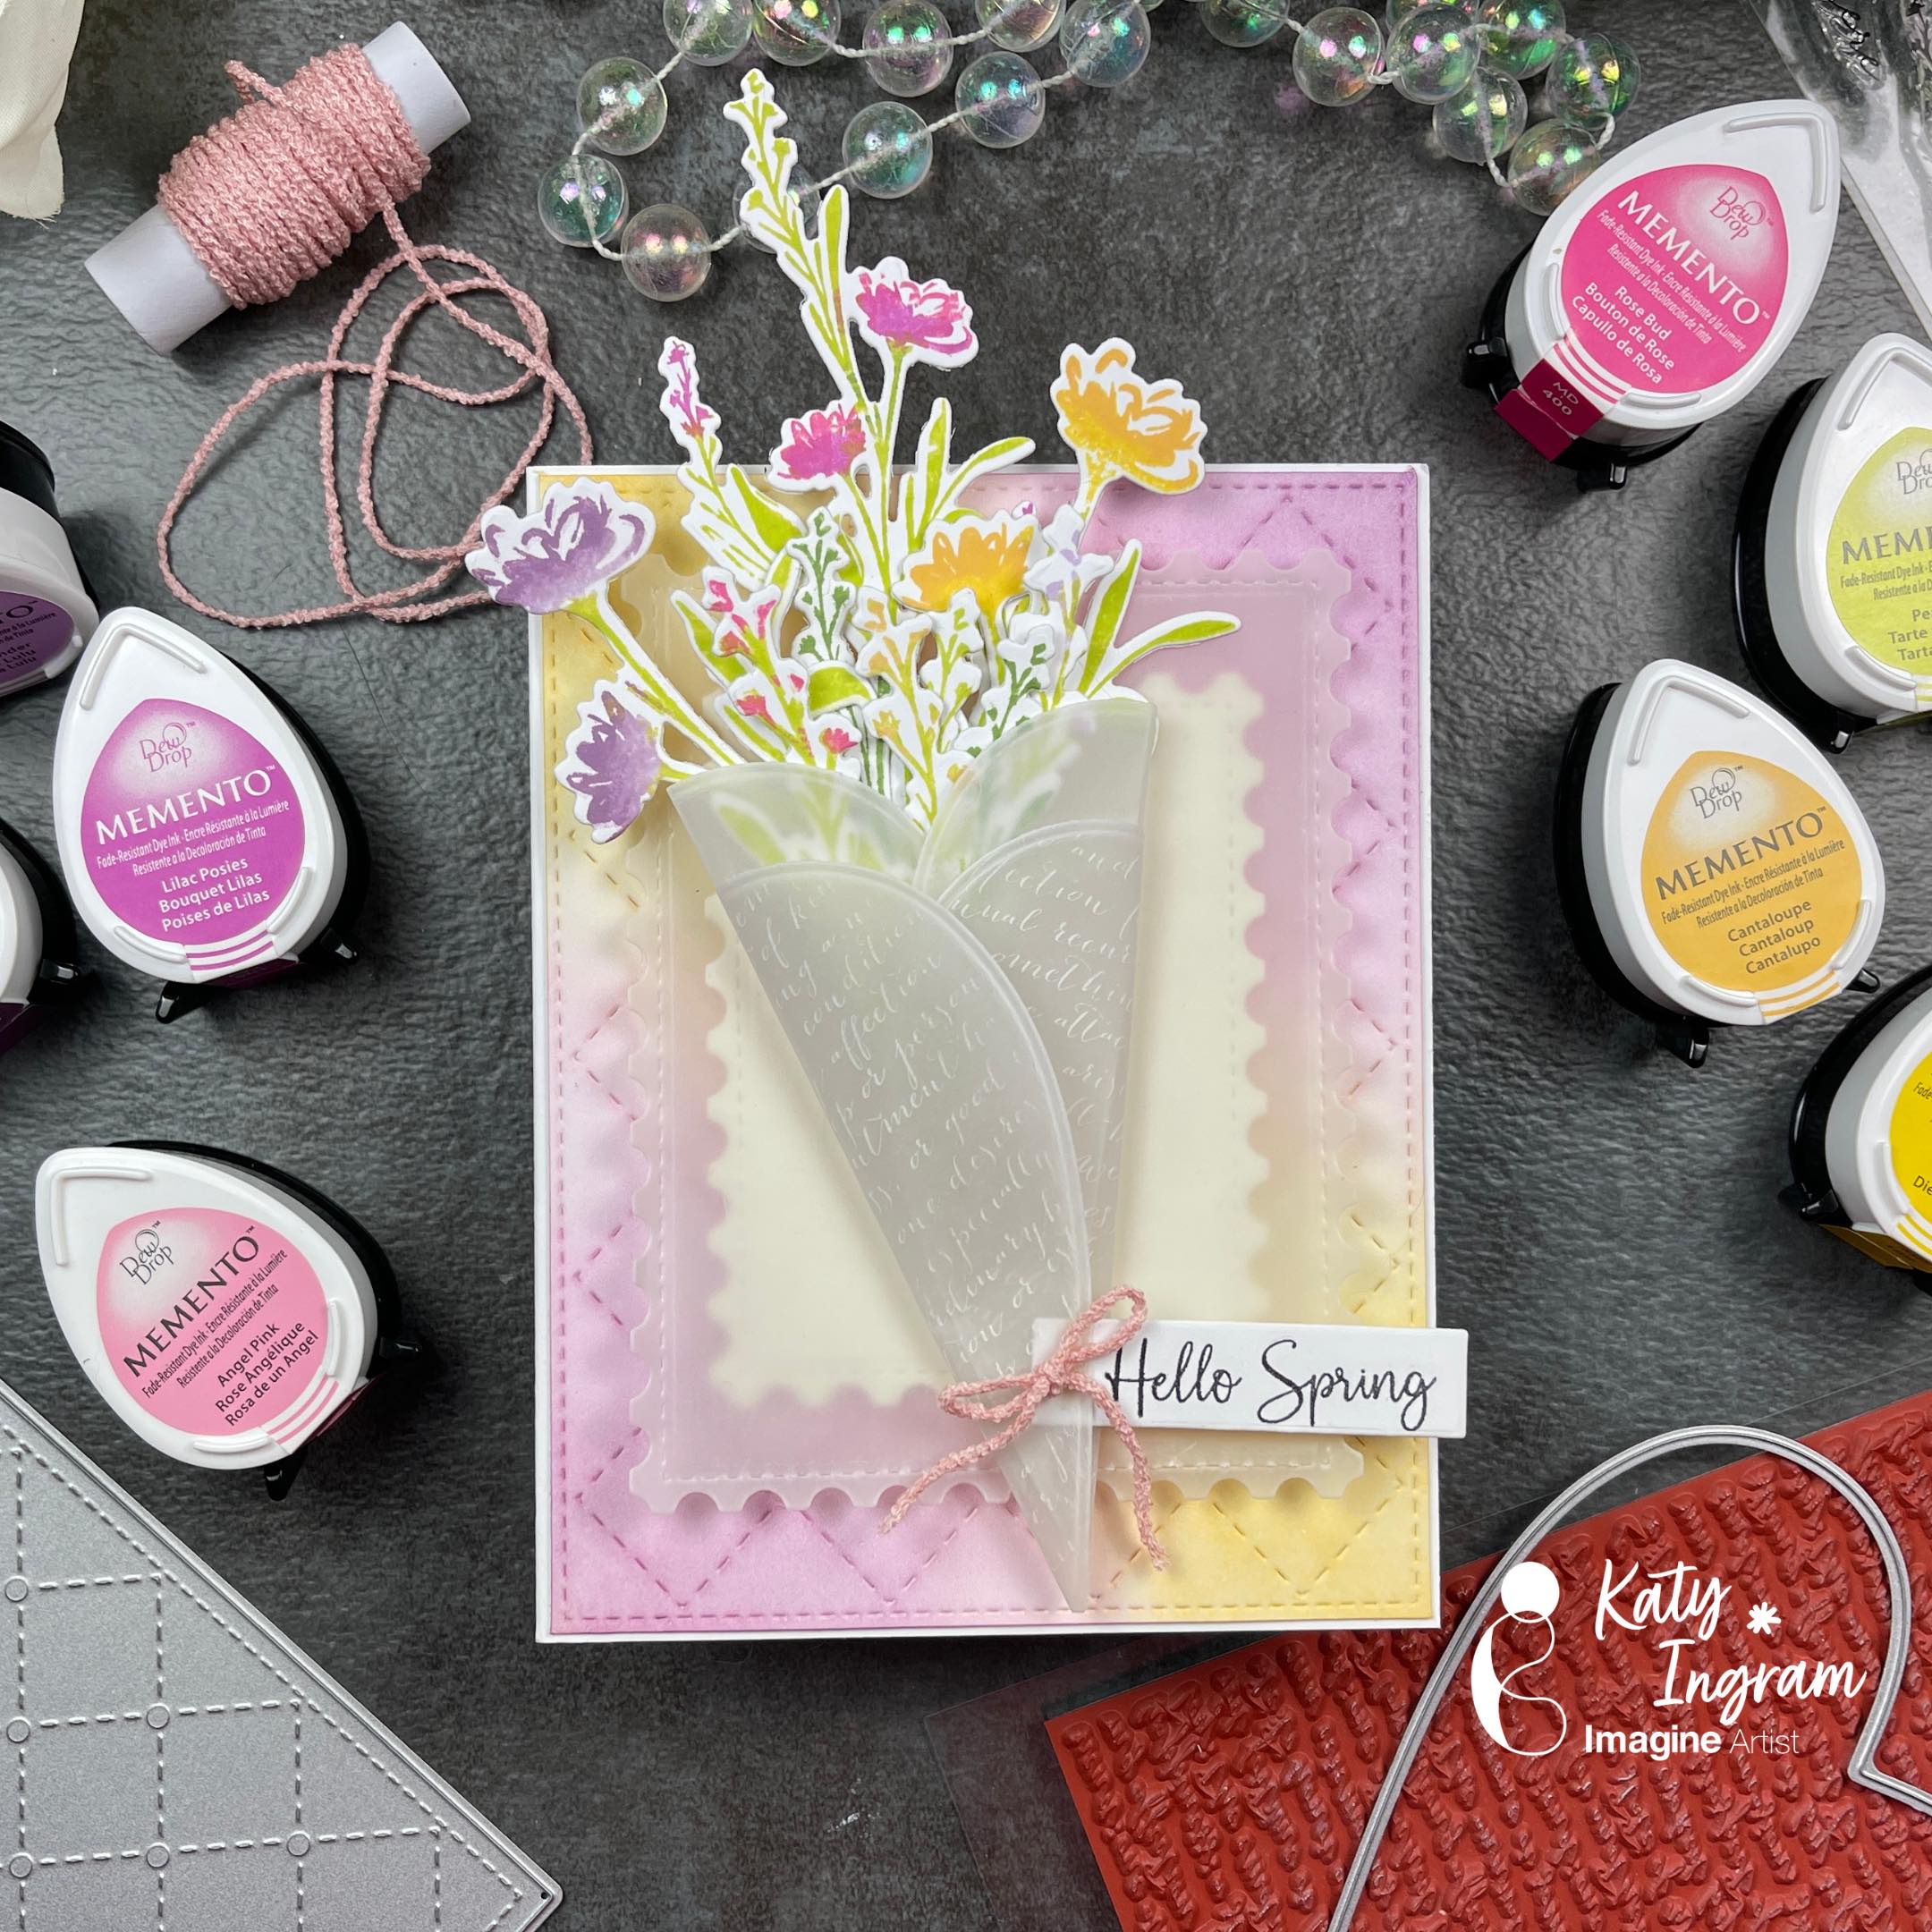
Hello Friends! Katy here and today I am sharing how I used Memento Dew Drop Inks to create a dimensional Spring bouquet. 

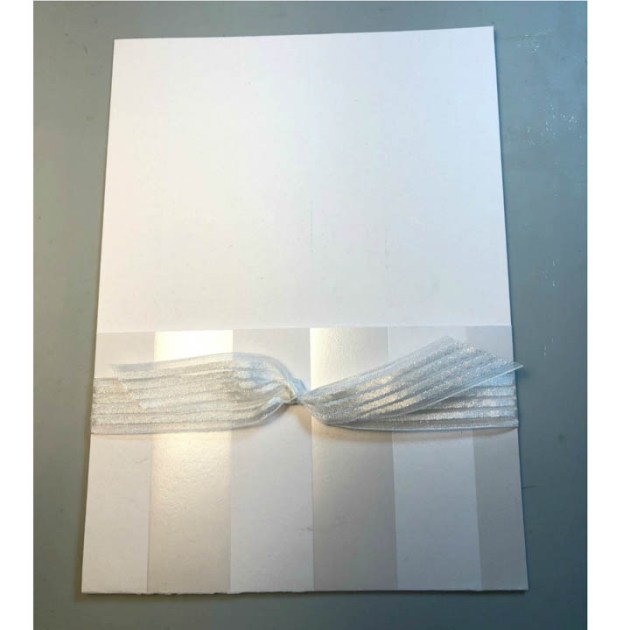
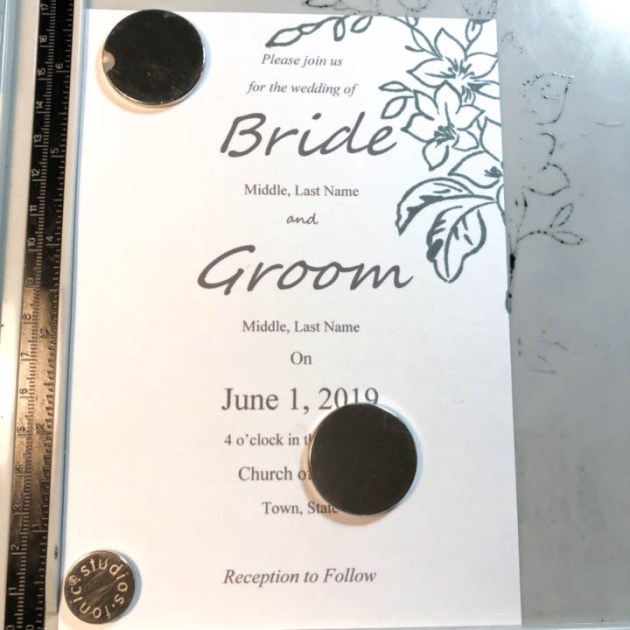
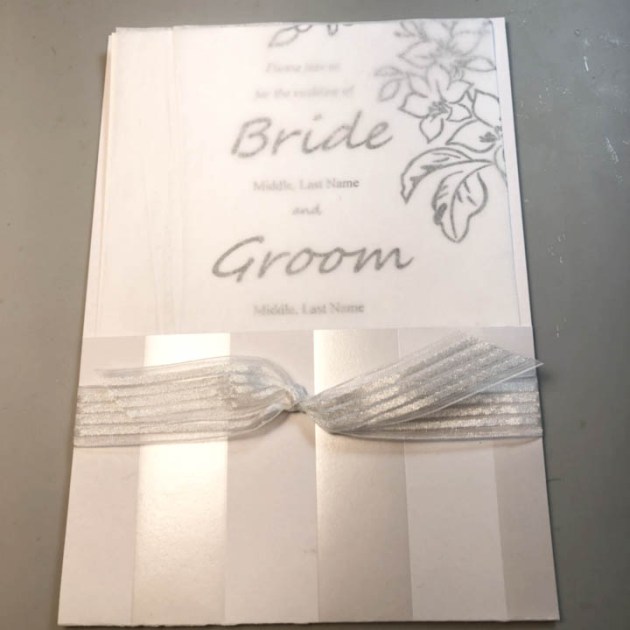
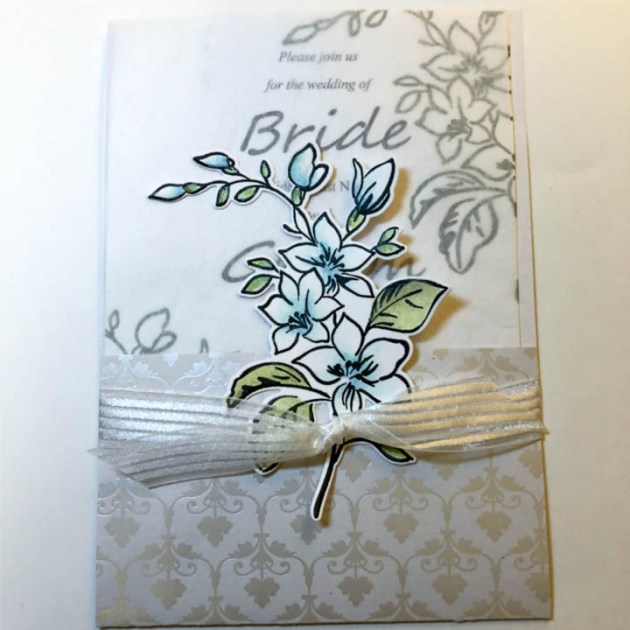
In todays video tutorial I am sharing how I use the perfectly pointed end of the Memento Dew Drop Inks to layer ink colors on a silhouette stamp. I then die cut them out and create a vellum wrap to go around my bouquet. In the video I also follow up on the Press n Seal barrier that I added to my StazOn Pigment ink pad to see if it keeps it from drying out. It has been about three months since I added the barrier, watch the video below to see if it worked. 

Katy

Skill: Intermediate, Advanced

Time: 1 hour

Art Supplies

Imagine Products

Memento Inks 

Dandelion, Cantaloupe, Rose Bud, Lilac Posies, LuLu Lavender, Sweet Plum, Pear Tart and Bamboo Leaves

VersaFine Clair Nocturne

StazOn Pigment Ink Snowflake

On Point Glue

Tear It! Tape

Other Products Used

The Greetery Lovely Silhouettes Stamp and Die set

Hero Arts CG830 Bold Prints Script Background Stamp

Heart Layering Dies

Kat Scrappiness Postage Stamp Dies

Kat Scrappiness A2 Quilted Backdrop Die

Follow Katy Here👇🏻👇🏻👇🏻👇🏻👇🏻

YT: https://youtube.com/c/eastwickspaperandink 

FB: fb.me/eastwickspaper 

IG: https://www.instagram.com/eastwickspaperandink/

Blog: https://www.eastwickspaperandink.com/ 

Pinterest: https://www.pinterest.com/eastwickspaperandink/

How to Create a Vellum Valentine’s Treat Bag 

By LeeAnn McKinney

Hello friends and fellow crafters, LeeAnn here with a treat bag for Valentine’s Day that I created using vellum, cardstock, a stamp, a couple dies and some eat embossing.

Skill Level: Intermediate

Time: 25 Minutes

Directions:

Supplies Used

Imagine:

• On Point Glue

• VersaMark Dazzle

• Red MBoss –

• Tear It! Tape

Other Supplies:

• Gina K Designs Heavyweight White Cardstock

• Darice Heat Tool

• Kat Scrappiness Happy Valentines Day Die with Shadow

• Kat Scrappiness Stitched Scallop Tag Die

• Kat Scrappiness Say It with Hearts Stamp Set

• Gemini Junior Die Cutting Machine

Create a Quick, Easy and Elegant Wedding Invitation

by Lori Warren

Did you know that, according to Wikipedia, there are 2.5 million weddings in the United States each year? Wow, who knew?! That means that there are a lot of individuals out there planning for their big day! It’s a good thing that this project is designed to inspire those planning for their special day to create quick, simple and elegant handmade wedding invitations.

Time: 30 minute
Skill: Beginner/Intermediate

Directions


Step 1

Cut a piece of decorative cardstock to size, 5 ¼” x 10”.  Fold up at 3” from the bottom.


Step 2

Tie sheer ribbon around the bottom portion of the folder.


Step 3

Print wedding announcement on a 5”x 7” piece of cardstock.


Step 4

Stamp floral image with Memento London Fog at top right and bottom left of invitation.


Step 5

Create a template to cover printed words and spray with Sheer Shimmer Craft Spray.


Step 6

Cut tissue paper to cover invitation.


Step 7

Slide invitation, with tissue cover, into the previously made folder.


Step 8

Stamp floral design on cardstock with StazOn Pigment ink in Piano Black.


Step 9

Using watercolor pen and VersaMagic ink, water-color floral image.


Step 10

With matching die, cut out floral image.


Step 11

Adhere to the bottom portion of folder front, see the example for placement. Try the same design in different color schemes.

Supplies

Imagine
Other
  • Celebrate 360 – Sheer Ribbon
  • Alta New – Best Mom Stamp and Die set
  • Recollection – White Satin 12” x 12” paper
  • Paper Source – Invitation Tissue Paper


Learn How to Create a Vellum Overlay for Wedding Invitations

by Lindsay Adreon

Learn How to Create a Vellum Overlay for Wedding Invitations

I have always loved the look of vellum overlays on wedding invitations and making them yourself is super simple! In today’s video, I’m sharing a few different designs along with different ways to attach the vellum overlays! I hope you all enjoy it!

Skill: Beginner/Intermediate
Time: 20 minutes per invitation

Directions

Supplies

Imagine
Other
  • Cardstock
  • Vellum
  • Gold Deco Foil
  • Concord & 9th – Hello Lovely Stamp Set
  • White Eyelets
  • Waffle Flower – Plaid Play Stamp Set
  • Autumn Leaves Gilding Flakes
  • Brads
  • Acrylic Block
  • Fiskars Paper Cutter
  • Laminator

See How To Use Dura-Lar Matte Film To Make A Card

by Iris Rodriguez

See How To Use Dura Lar Matte Film To Make A Card

For this month, it’s was such a pleasure to make projects with Tsunkineko’s new StazOn Pigment Inks. These ink behave like pigment inks, however, they are permanent like the original StazOn ink. As if it does not get any better; this ink also takes details incredibly well. For this card, I used Dura-Lar film (it’s like vellum paper) to create a dimensional effect by stenciling bird images with the Peacock Feathers color of StazOn Pigment. I overlaid the stenciled film on a moonlit night background; also created with StazOn Pigment inks. It made for a great backdrop for the Peacock colored birds.

Skill: Beginner
Time: 30 minutes

Directions

Step 1

Stencil the birds onto the Dura-Lar matte film. This film looks like vellum, except that it’s archival. It’s very strong, you can remove your images with rubbing alcohol or water as many times as you want and it does not warp. Permanent inks, like StazOn Pigment inks, do not rub off. I like using it because you can create layered dimensional effects.

Step 2

Cut out a circle for the moon. This will be used as a mask when inking the background.

Step 3

Place the circle over the cardstock paper and ink the background using the Piano Black StazOn Pigment ink.

Step 4

Ink the background with the Snowflake and Koala Gray StazOn Pigment inks.

Step 5

Add a little color to the background with the Peacock Feathers StazOn Pigment ink. Ink lightly and in random areas, do not ink the entire background.

Step 6

Spray the tacky spray to the background and adhere the Dura-Lar sheet.


Step 7

Lightly ink sections of the Dura-Lar background with the Koala Gray and Peacock Feathers StazOn inks. Do not ink over the birds. Stamp the sentiment.

Supplies

Imagine
Other
  • Crafter’s Workshop – Birds 6 x 6 stencil
  • Joy Clair Stamps – Butterfly Kisses
  • Dur-lar Archival Film – Matte
  • Aleene’s All-Purpose Tacky Adhesive Spray

Learn to Make a Set of Matching Thank You Cards

by Kassy Tousignant

Learn to Make a Set of Matching Thank You Cards

Coral is Imagine’s Color of the month for February 2019. I couldn’t resist using this gorgeous Radiant Neon ink in Neon Coral!! It is really stunning. I wanted a bold contrasting color to pair with it so I chose the VersaFine Clair in Fantasia. They are a match made in heaven! I absolutely love the way the colors play off of each other. They are both strong, bold colors on their own and yet they work fabulously together!

I made both of these Thank You cards at the same time and they were completed quickly. Sometimes it’s nice to have a simple, yet beautiful thank you card ready to give at a moments notice.

Skill: Intermediate
Time: 30 minutes

Directions

Supplies

Imagine
Other
  • Vellum
  • Cardstock – Silver glitter, white
  • Concord & 9th – flower/background stamp
  • Acrylic Block
  • Heat tool