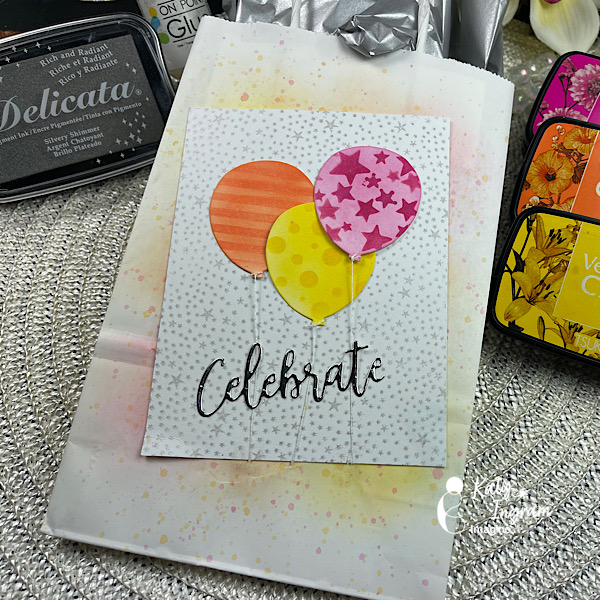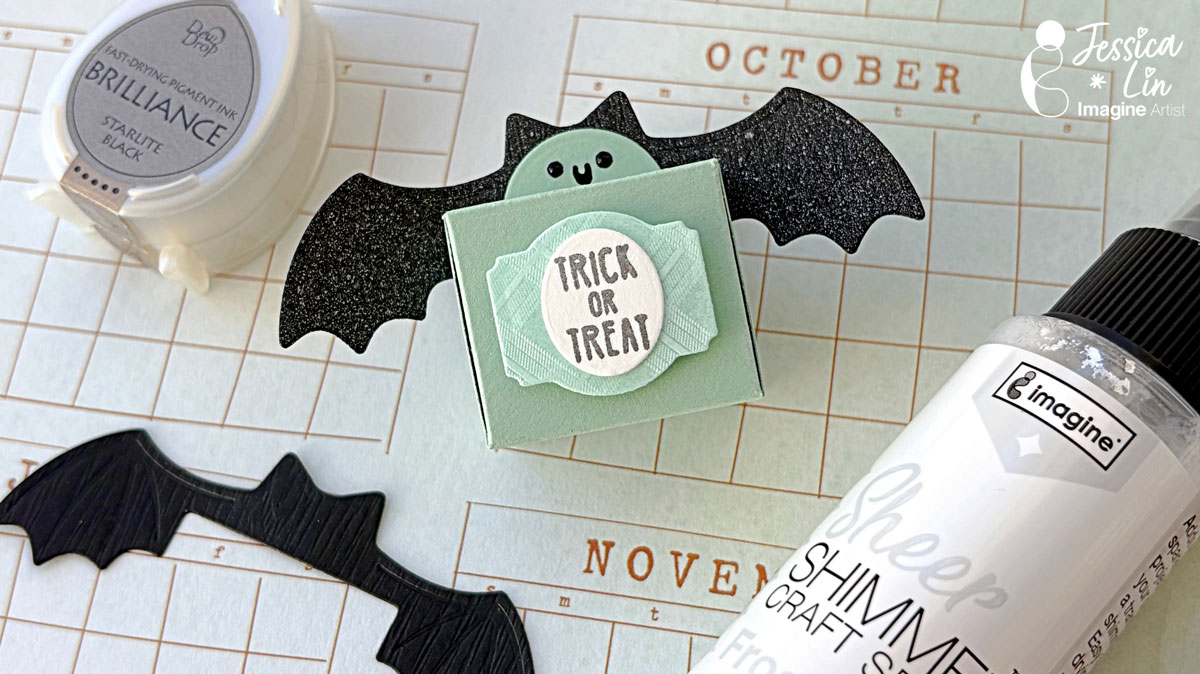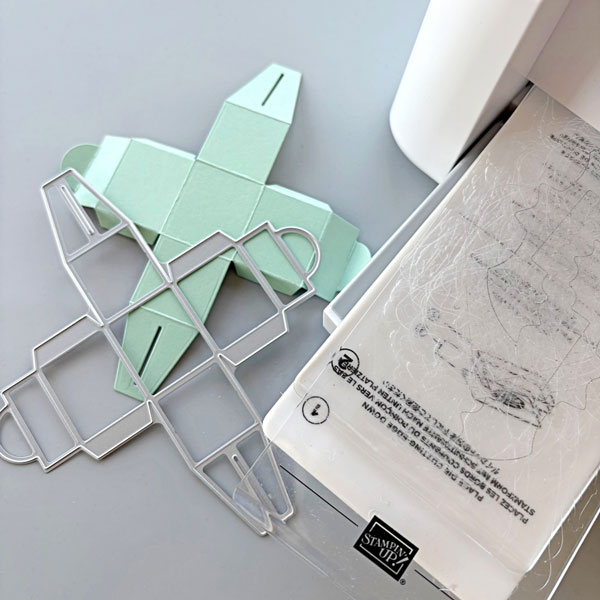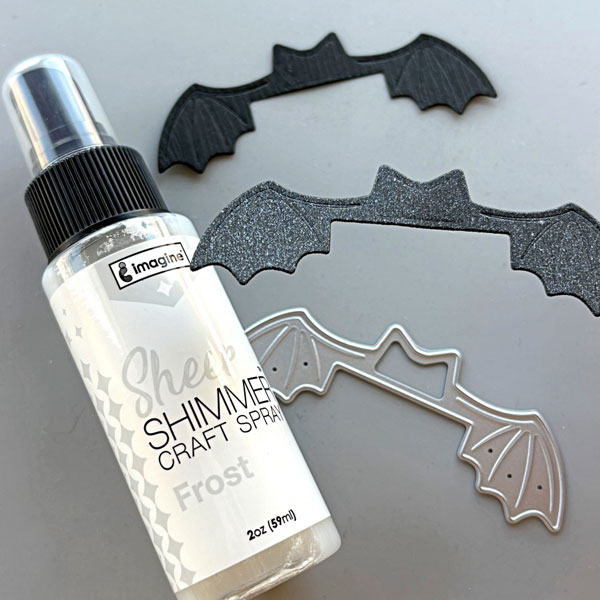
Learn How to Make a Fun Treat Bag!

By Tracy Fear

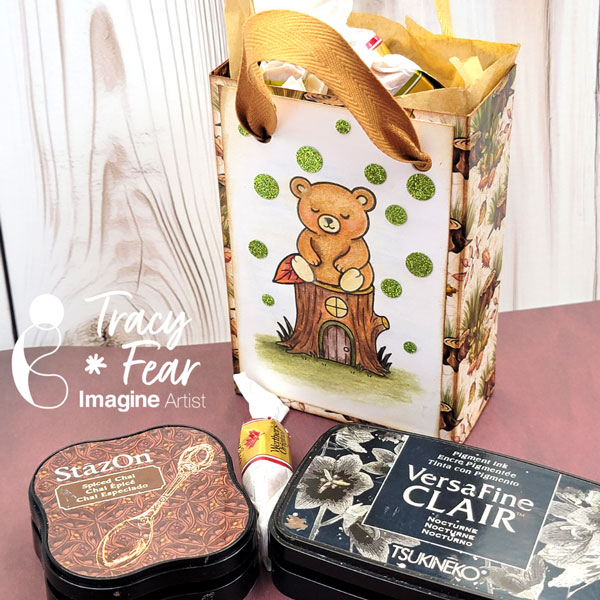
Hello Friends! Tracy here and today I am excited to share with you  how to make a fun and easy little gift/treat bag!

Tracy

Skill: Intermediate
Time: 30 Minutes

Art Supplies

Stamping Platform
6×6 Pattern Paper
Plain Paper for Stamping
Scissors
Scoring Board
Hole Punch
Coloring Medium of your choice!

Imagine Products
VersaFine Clair in Twilight
Stazon Ink in Spiced Chai

Other Products Used
6×6 Pattern Paper, double sided of your choice
120lb paper in white and Kraft
Paper to stamp on
Coloring medium of your choice
Misti tool
PVA Adhesive

ALTERNATIVE PRODUCTS THAT CAN BE USED TO RECREATE SOMETHING SIMILAR

Any Inks any combination of background stamps and feature stamps

To learn how to create your own little treat bags click here!

Learn How to Make An Autumn Shadow Box


2021-sep-kyriakos-autumn-shadow-box-horizontal_main

By Kyriakos Pachadiroglou

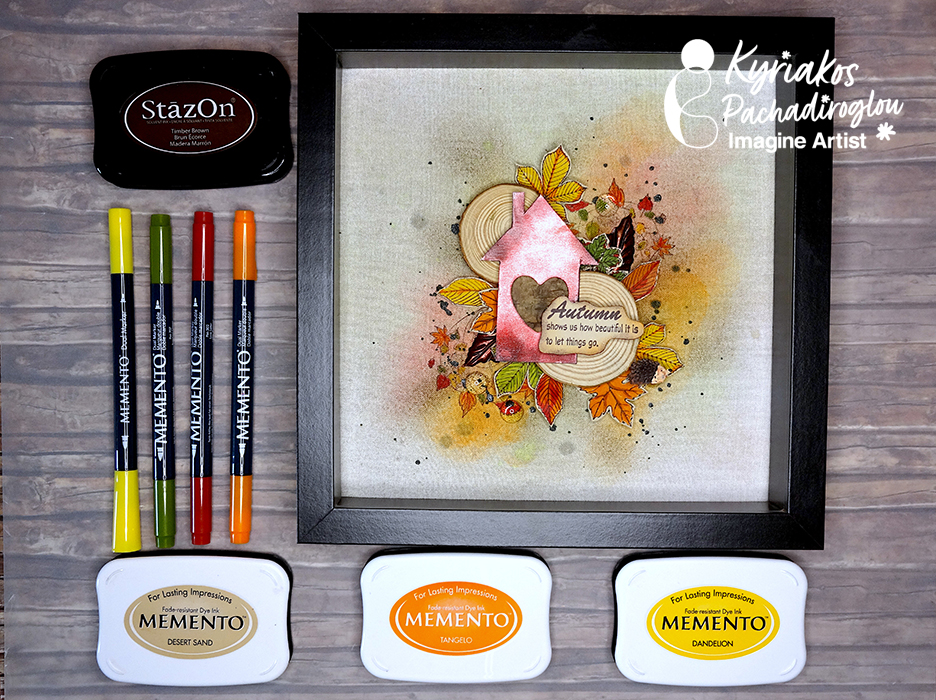
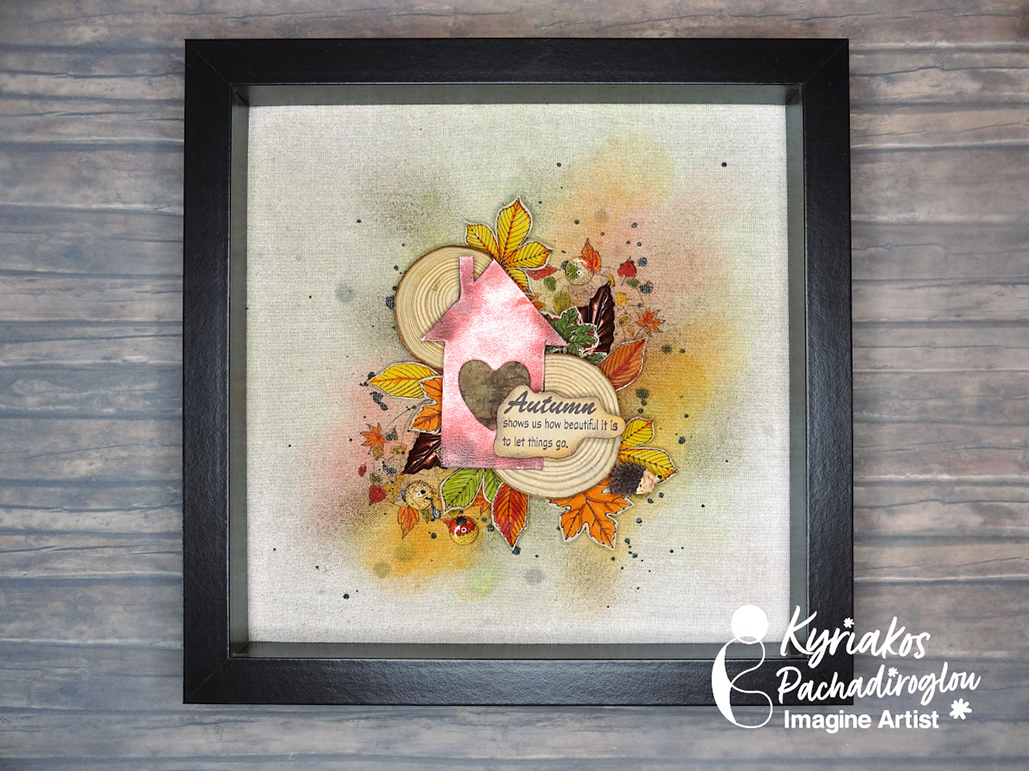
– Combine natural wood pieces, paper and a house shape cut from SHEET metal to capture the colors of the shadow and create a shadow box to decorate your home. Color a piece of fabric with MEMENTO inks and Fireworks! Shimmery Craft Sprays to create a background in earth color shades and place natural wood and paper leaves colored with MEMENTO Markers.


Skill: Advanced

Time: 1 Hour


Directions:
2021-sep-kyriakos-autumn-shadow-box-step1

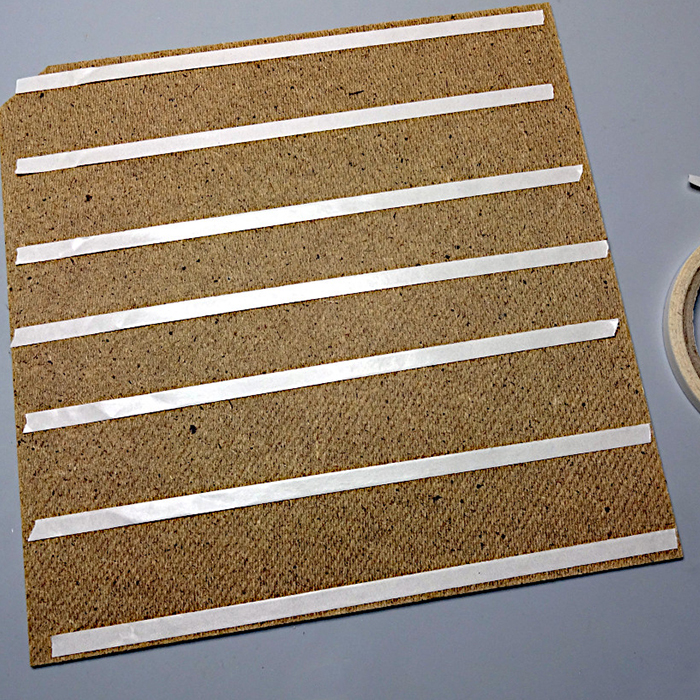
Step 1

Place Tear It! Tape on the back base of the shadow box and cover it with the cotton fabric.
 

2021-sep-kyriakos-autumn-shadow-box-step2

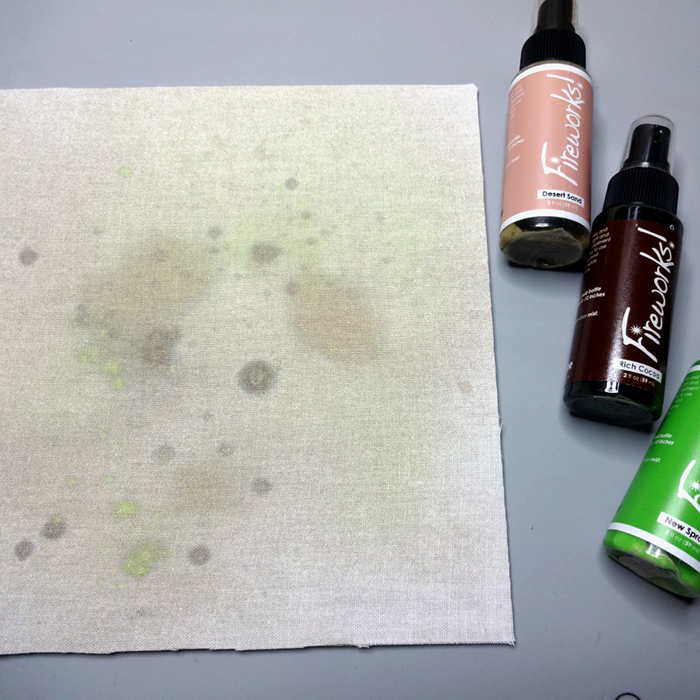
Step 2

Spray with the Fireworks! Shimmery Craft Spray and let them dry.
 

2021-sep-kyriakos-autumn-shadow-box-step3

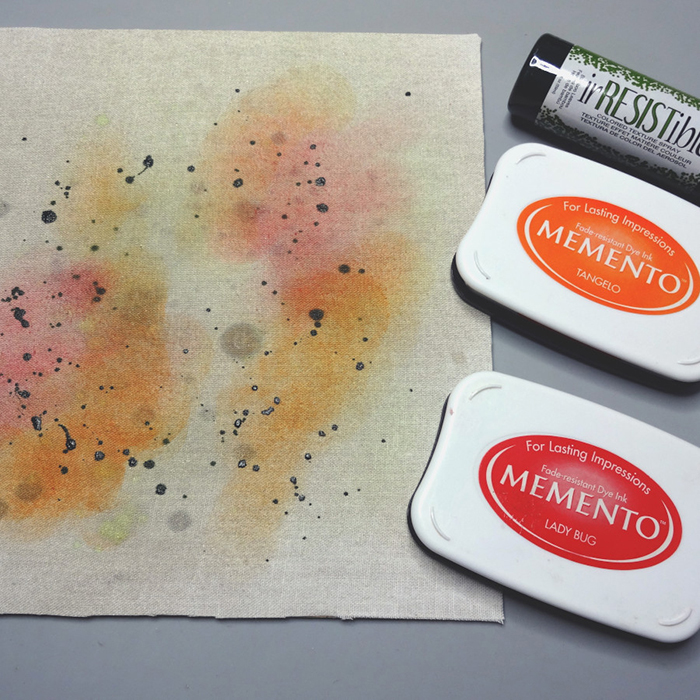
Step 3

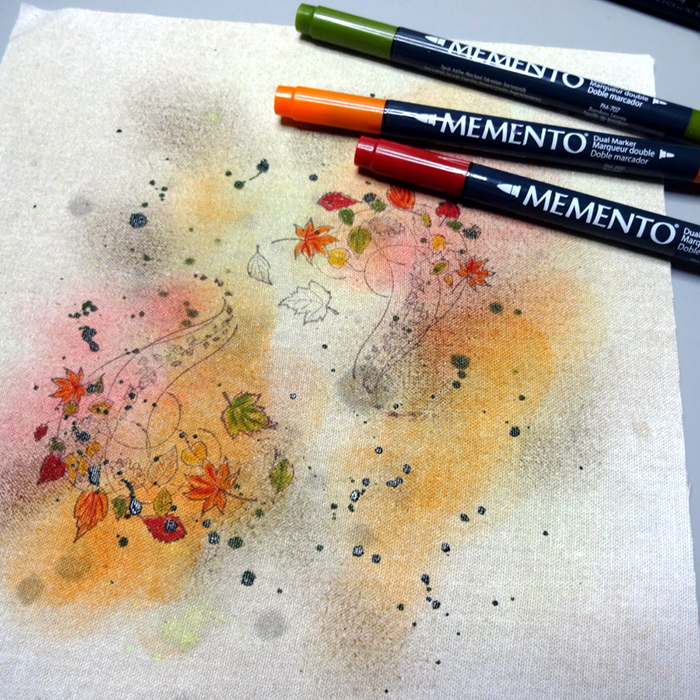
Distress the fabric with MEMENTO Tangelo, Lady Bug and Desert Sand ink pads using Sponge Daubers. Sprinkle some drops of irRESISTible Bamboo Leaves color.
 

2021-sep-kyriakos-autumn-shadow-box-step4

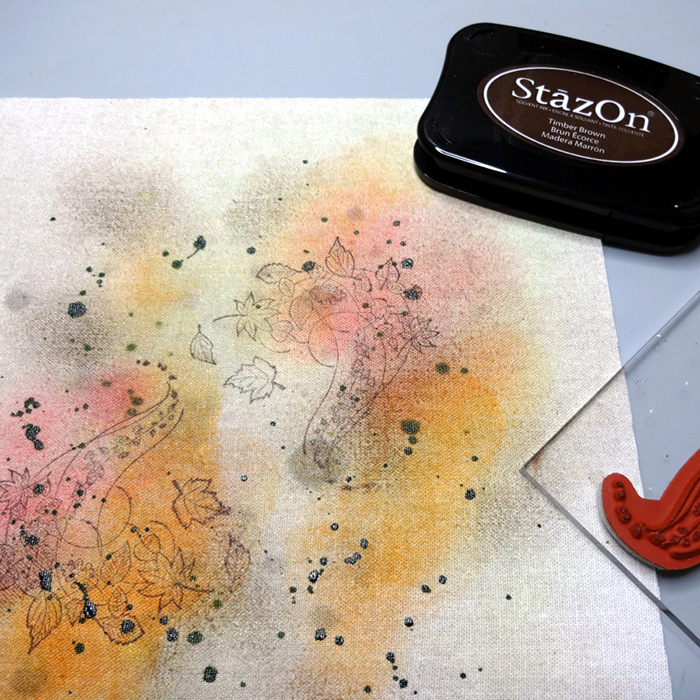
Step 4

Stamp with the Blowing Leaves stamp and the StazOn Timber Brown.
 

2021-sep-kyriakos-autumn-shadow-box-step5
Step 5

Color the leaves with MEMENTO Markers.
 

2021-sep-kyriakos-autumn-shadow-box-step6
Step 6

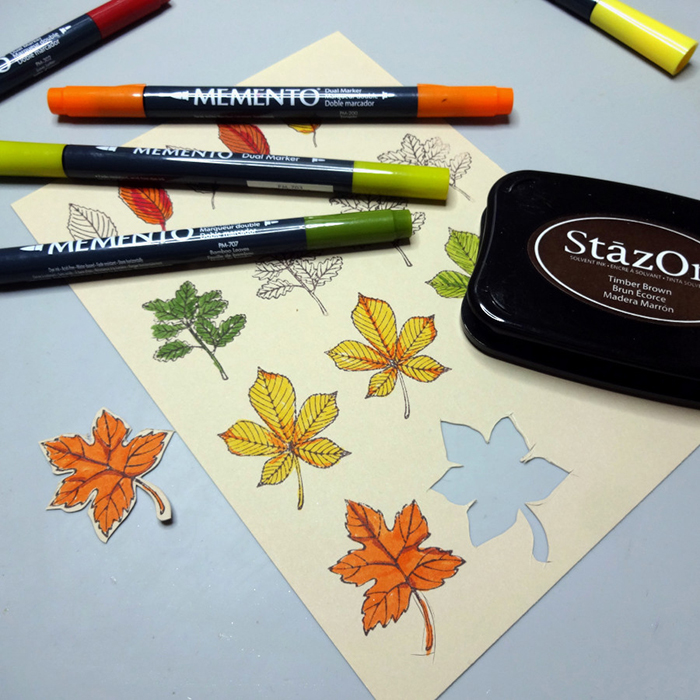
Stamp leaves and color them with the MEMENTO Markers adding details with darker ones. Cut around the leaves to separate.
 

2021-sep-kyriakos-autumn-shadow-box-step7

Step 7

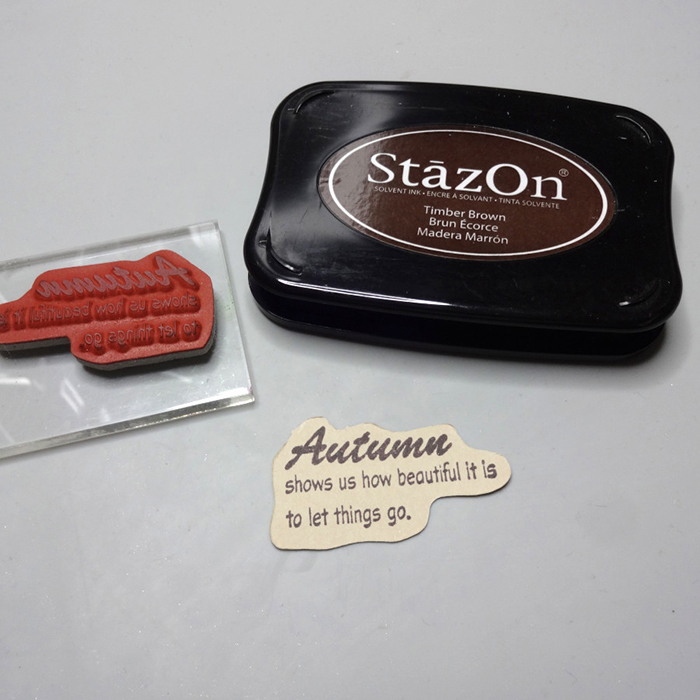
Stamp the Autumn sentiment with StazOn Timber Brown and cut around.
 

2021-sep-kyriakos-autumn-shadow-box-step8

Step 8

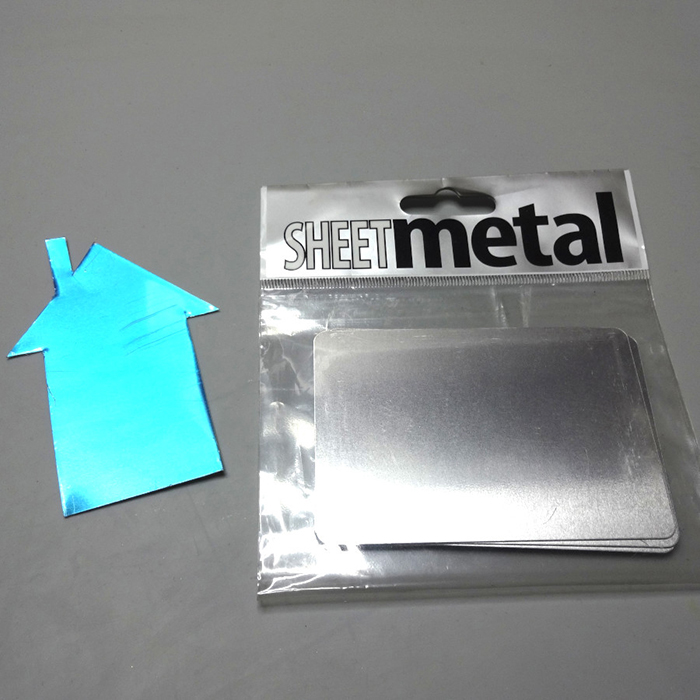
Cut a house shape using the full length of a SHEET metal postcard.
 

2021-sep-kyriakos-autumn-shadow-box-step9

Step 9

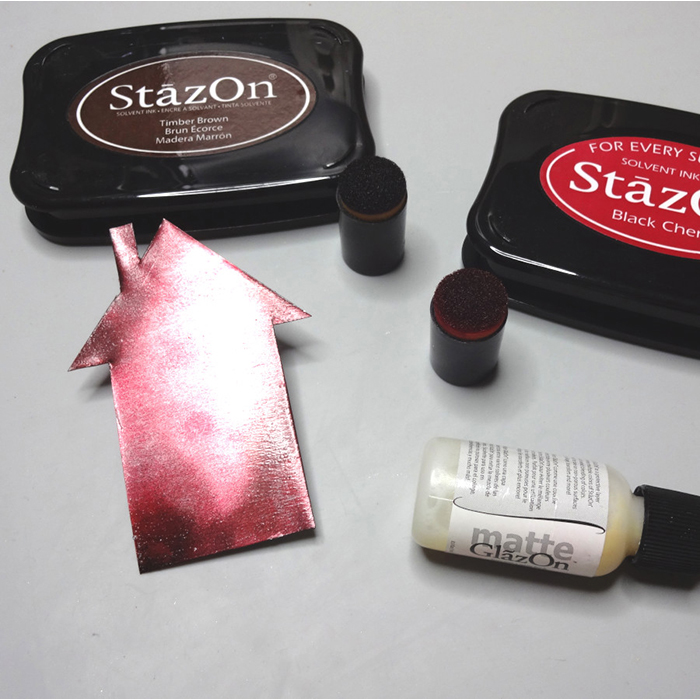
Color the SHEET metal house with StazOn Timber brown and Black Cherry ink pads and cover with the GlazOn matte.
2021-sep-kyriakos-autumn-shadow-box-step10

Step 10

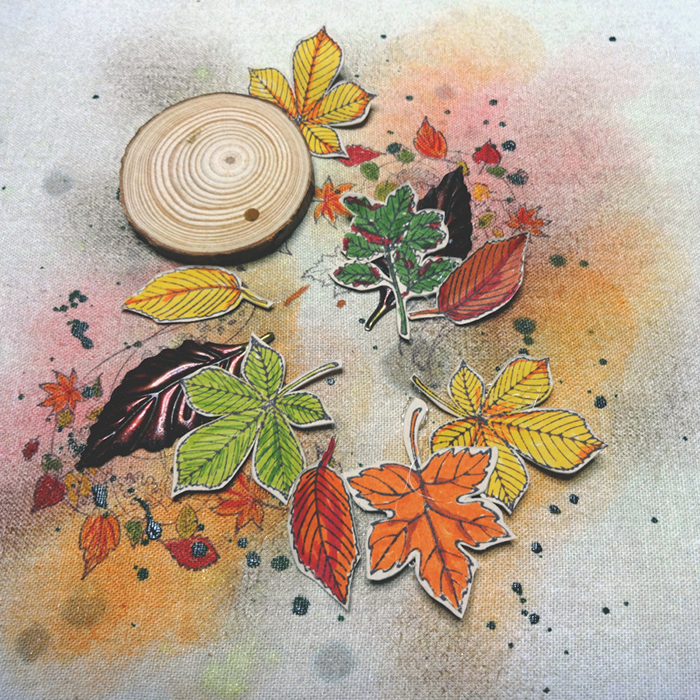
Glue the slices of the wood on the fabric background and add the paper leaves.
2021-sep-kyriakos-autumn-shadow-box-step11

Step 11

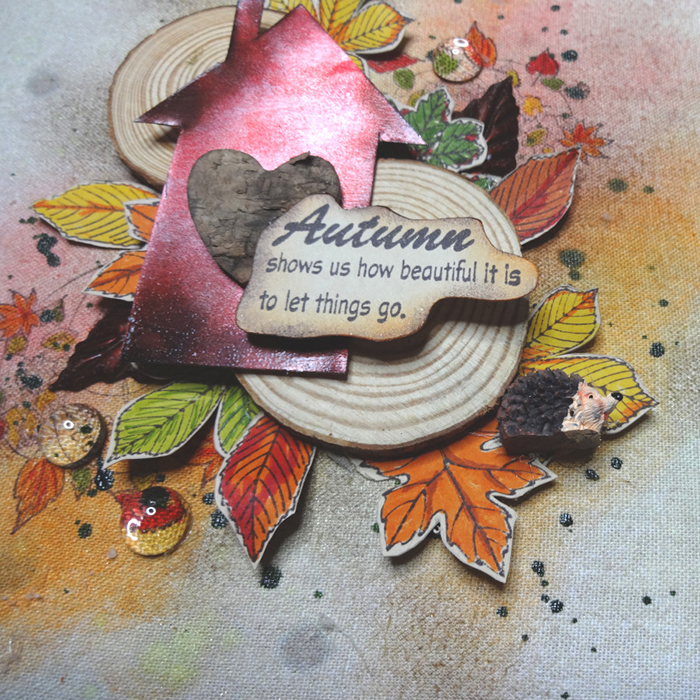
Finally place the SHEET metal house, the sentiment and any further embellishments.
2021-sep-kyriakos-autumn-shadow-profile

Art Supplies:

Imagine

Fireworks! Shimmery Craft Sprays- Desert Sand, Rich Cocoa, New Sprout

MEMENTO Ink Pads – Tangelo, Lady bug, Desert Sand, Dandelion

irRESISTible – Bamboo Leaves

StazOn – Timber Brown, Black Cherry

MEMENTO Dual Tip Markers – Love Letter, Dandelion, Cottage Ivy, Pear Tart

SHEET Metal – Postcard

GlazOn – Matte

Tear It! Tape

Sponge Daubers


Other

Shadow Box Framed

Card Stock White

Cotton Fabric

Slices of Wood

Crackerbox & Suzy stamps – Autumn Shows, Blowing Leaves

Glass Beads



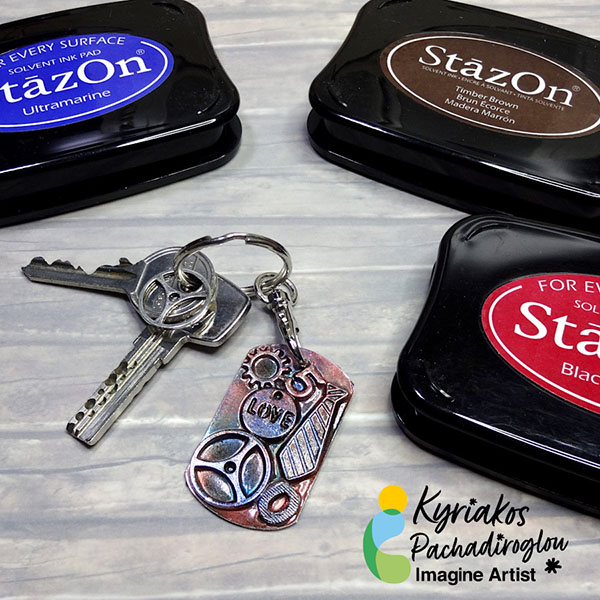
Make a Key Holder with Metal Dog Tags

2021-may-kyriakos-dog-tag-key-holder-main-wm-900

By Kyriakos Pachadiroglou

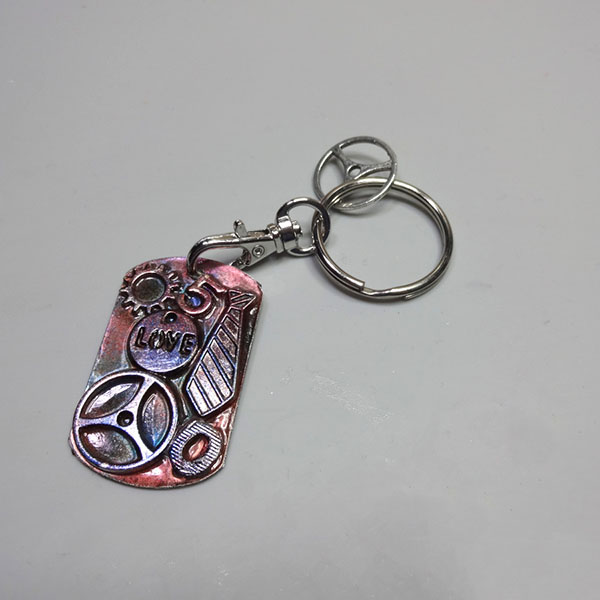
Use two SHEETmetal dog tags to easily make a key holder that is colored with StazOn inks. Attach metallic gears and charms on the tags using Goosebumps texture spray that works as a glazing medium too.


Skill: Beginner

Time: 30 Minutes plus drying time


Directions:

2021-may-kyriakos-dog-tag-key-holder-step1

Step 1

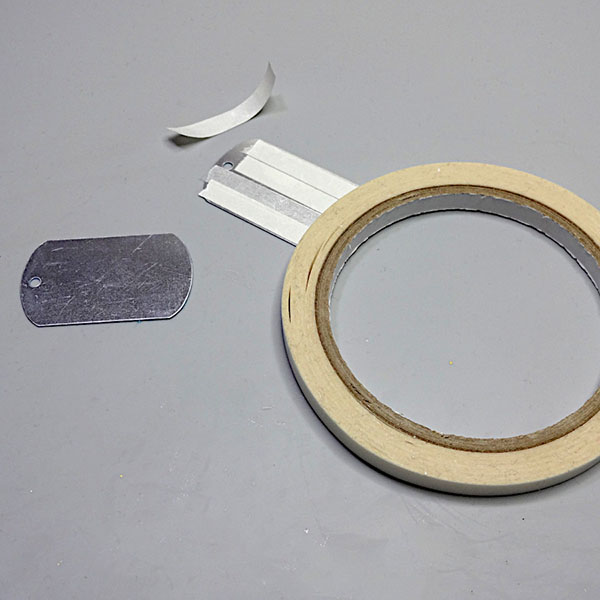
Place Tear It! Tape on one of the two SHEET Metal tags and glue together.


2021-may-kyriakos-dog-tag-key-holder-step2

Step 2

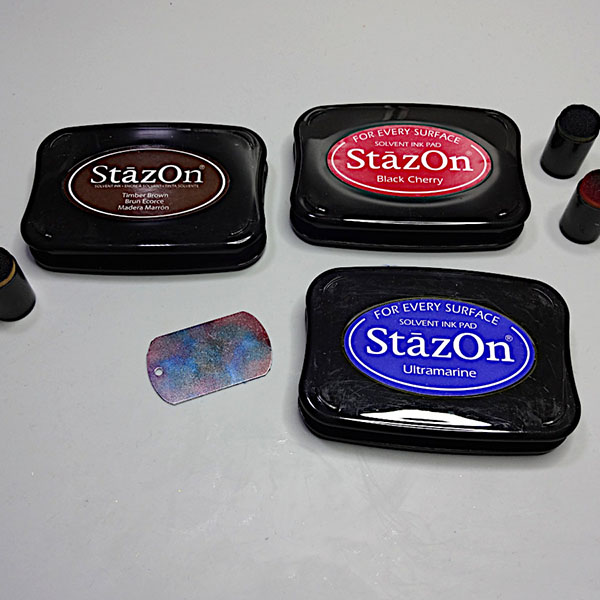
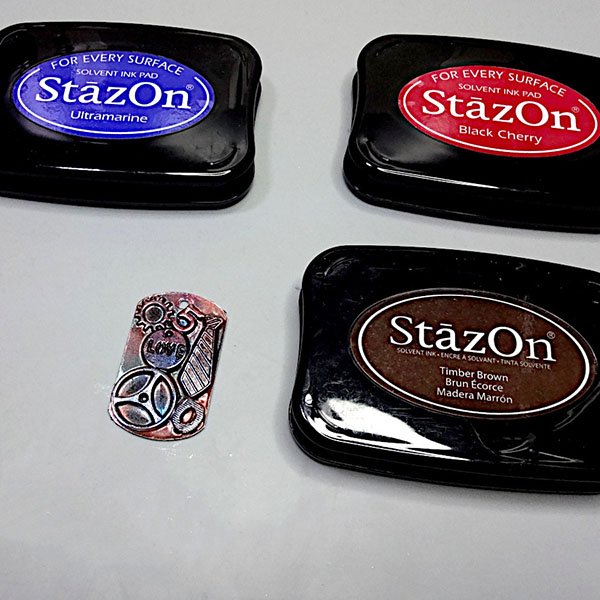
Remove the protective film and with the help of the sponge daubers color the surface using the StazOn Ultramarine, Timber brown and Black cherry ink pads.


2021-may-kyriakos-dog-tag-key-holder-step3

Step 3

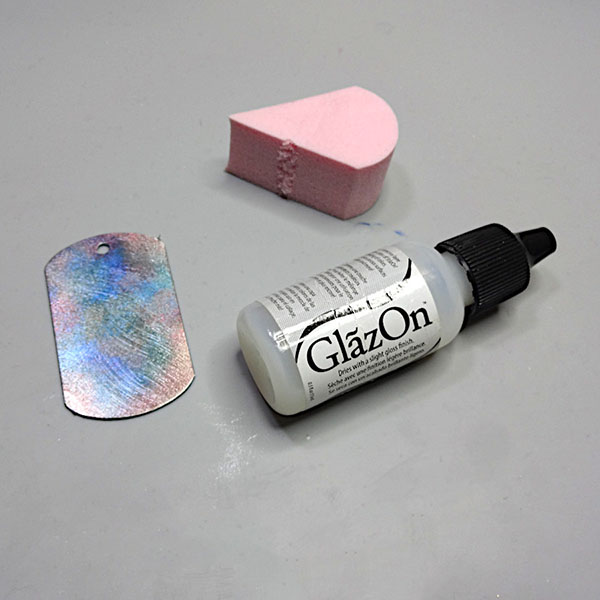
Let it dry for a few seconds and secure the colors with a layer of GlazOn using an InkBlusher.


2021-may-kyriakos-dog-tag-key-holder-step4

Step 4

Deep a wooden stick in the bottle of the GooseBumps and place a thick layer of the medium on the tag. Place the charms and let it dry.


2021-may-kyriakos-dog-tag-key-holder-step5
Step 5

Color further the metallic charms with the StazOn ink pads and again secure with the GlazOn.


2021-may-kyriakos-dog-tag-key-holder-step6
Step 6

Add a chain or a key holder lobster and a ring.


Art Supplies:

Imagine

SHEET Metal – Dog Tags

StazOn – Ultramarine, Timber brown, Black cherry

GooseBumps Dauber Top Bottle – Original

GlazOn – Clear

InkBlushers

Sponge Daubers

Tear It! Tape


Other

Metallic gears and charms

Ring and lobster lock for key holder

Make a Fun Summertime Watermelon Slice Mason Jar

2021_05_Roni_WatermelonSliceMasonJar_Main05

By Roni Johnson

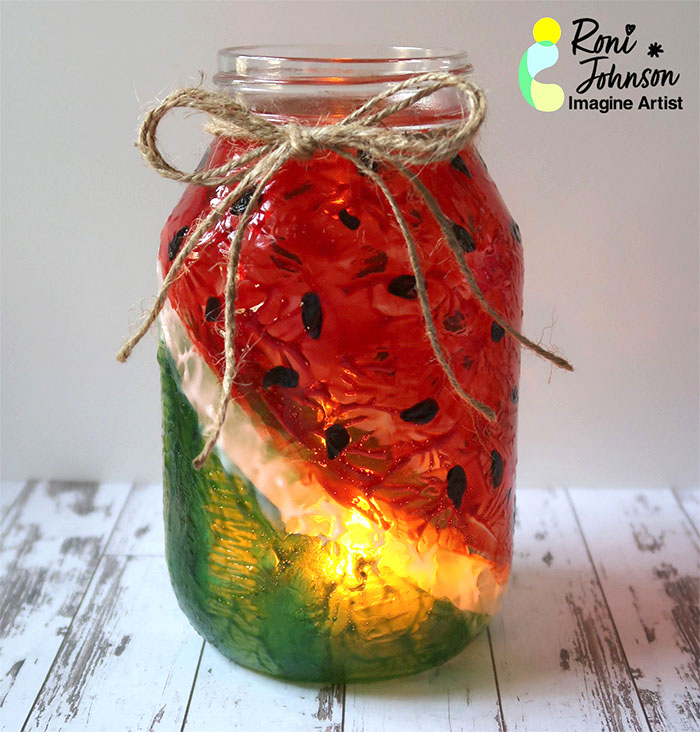
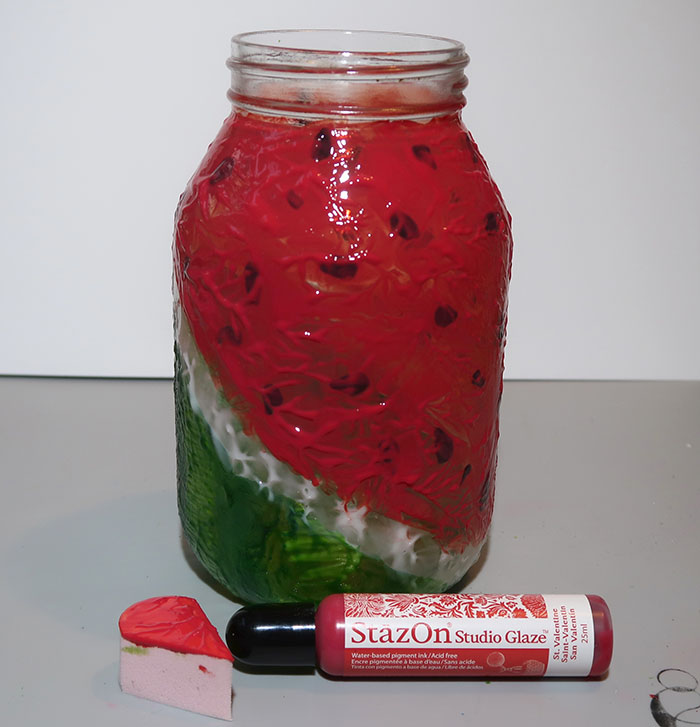
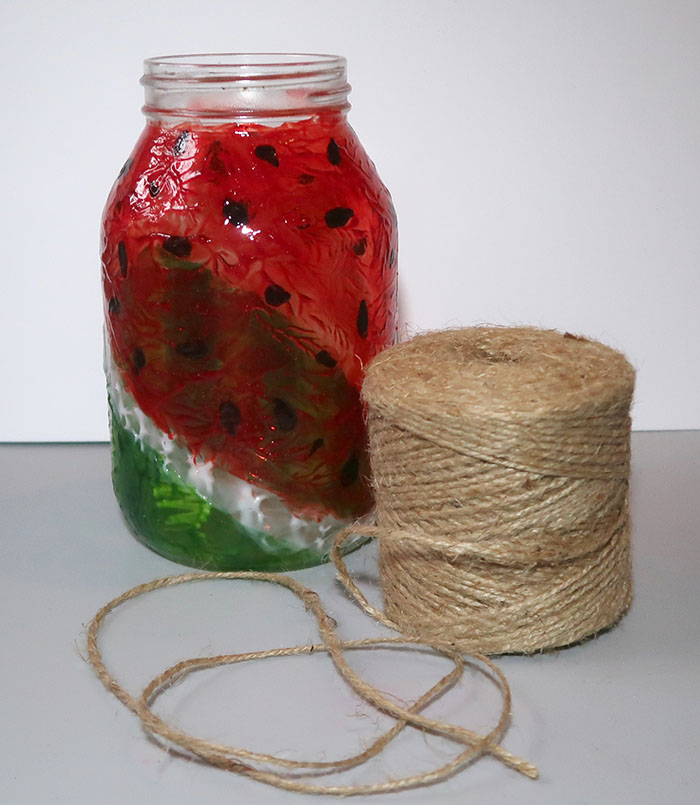
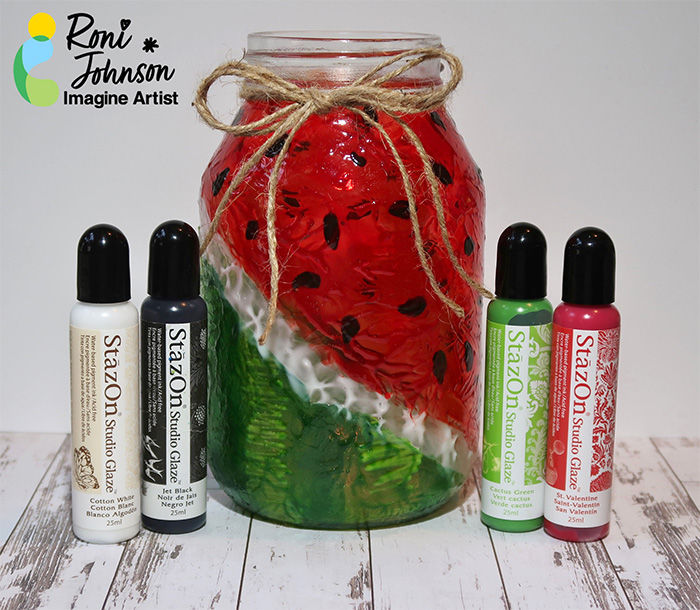
It’s finally beginning to look like summer! To welcome in the season I have a fun project to add cheer to your picnics, BBQ’s or anywhere you are going to gather. A multi-use Watermelon Slice Mason Jar – it can be used as a vase for fresh flowers, a handy organizer to hold forks, knives and spoons or even a fun lantern for late-night get together. It will add a fun fruity element no matter how you choose to use it.

Skill: Beginner

Time: 35 minutes + Dry Time

Directions:

2021_06_Roni_WatermelonSliceMasonJar_Instructions_Step02

Step 1

Wash and dry the mason jar.

Step 2

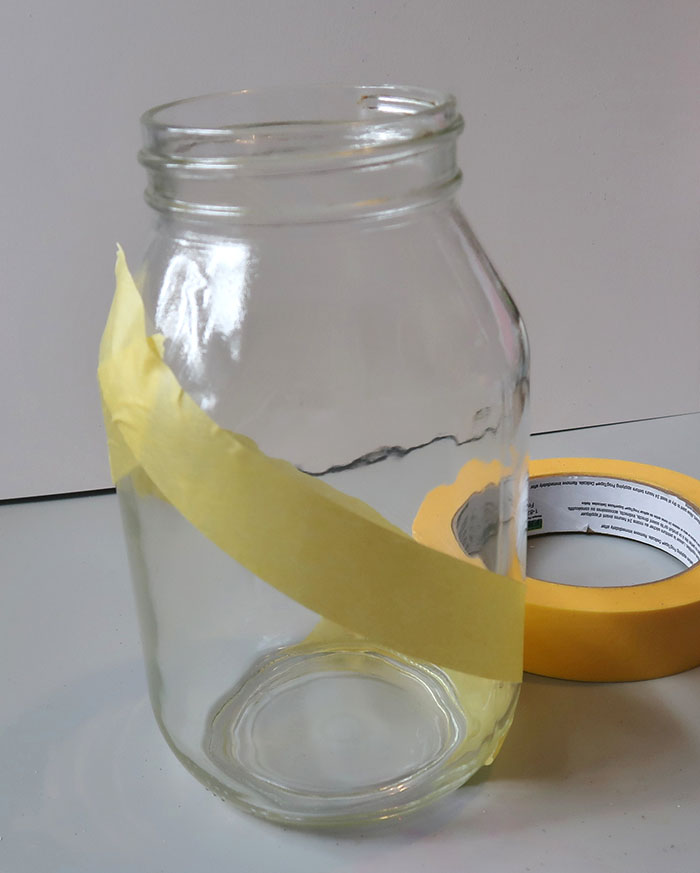
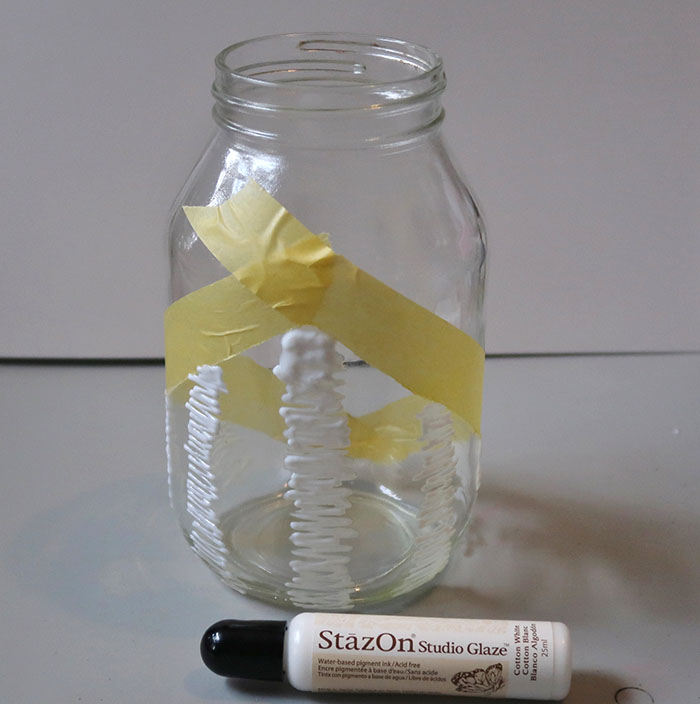
Tape off a diagonal design using painters tape as shown.


2021_06_Roni_WatermelonSliceMasonJar_Instructions_Step03

Step 3

Draw a zigzag vertical line using the Cotton White StazOn Studio Glaze leaving ¾” – 1” between lines and let dry.


2021_06_Roni_WatermelonSliceMasonJar_Instructions_Step04

Step 4

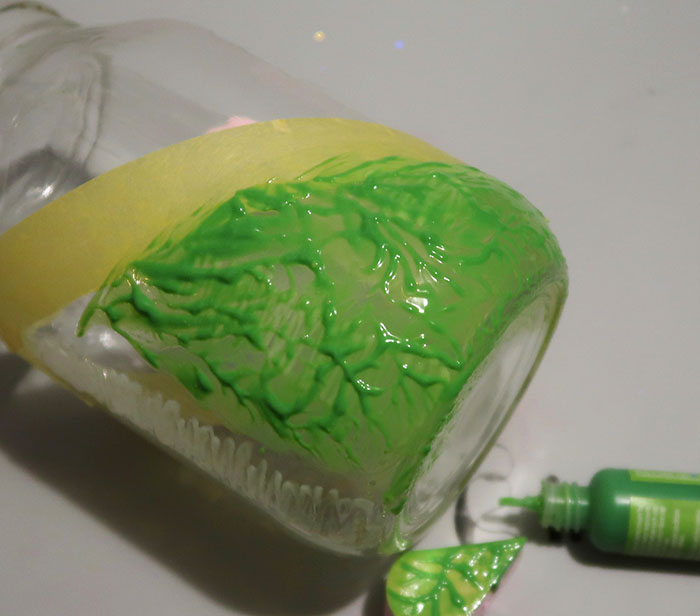
Apply one or more layers of Cactus Green StazOn Studio Glaze over the taped off section of the jar. For the example I applied one layer over the entire area and a second layer between the zigzag stripes to create the dark and light green stripes found on a real watermelon.

Step 5

Remove the painters tape. You may need to use an exacto knife on stubborn areas of the tape.


2021_06_Roni_WatermelonSliceMasonJar_Instructions_Step06


Step 6

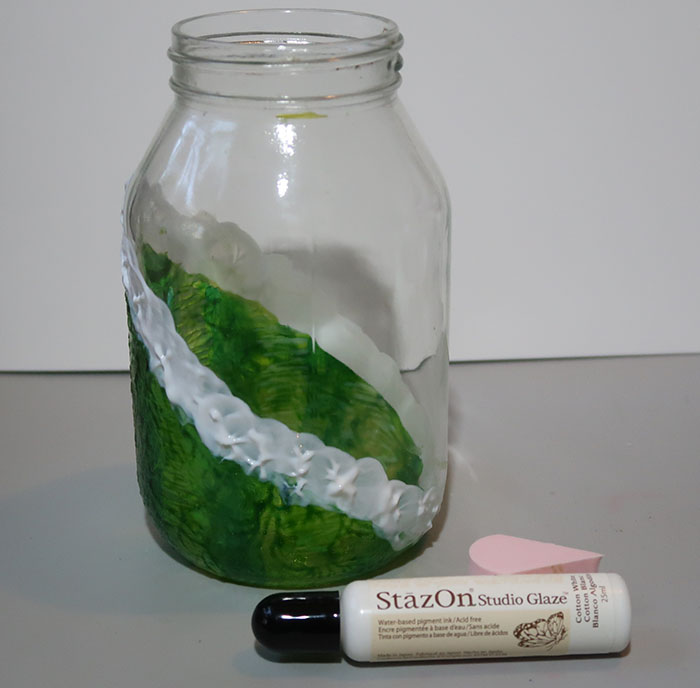
Use Cotton White StazOn Studio Glaze to create a ½” wide border around the edge of the green watermelon rind.


2021_06_Roni_WatermelonSliceMasonJar_Instructions_Step07


Step 7

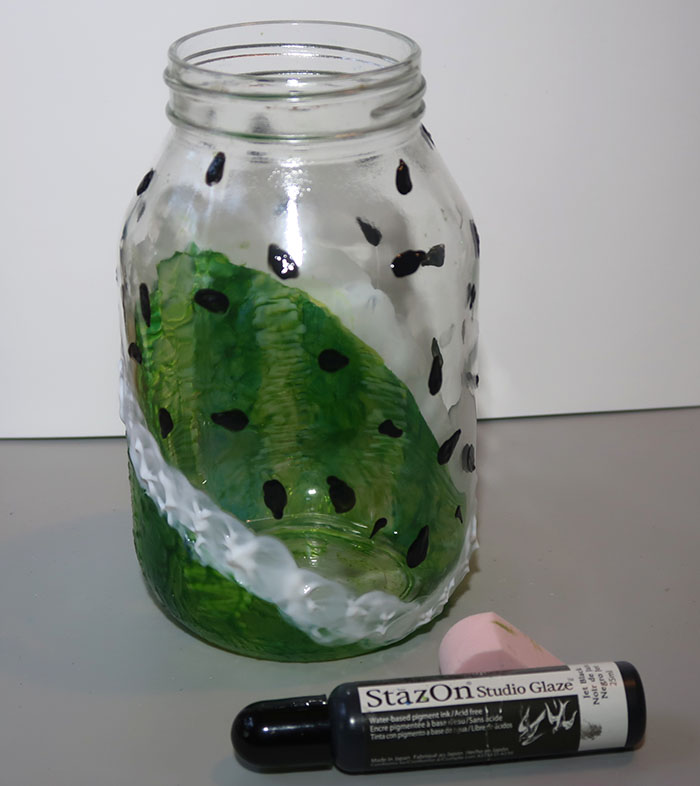
Draw watermelon seeds over the remainder of the jar using Jet Black Studio Glaze and let them dry completely.


2021_06_Roni_WatermelonSliceMasonJar_Instructions_Step08

Step 8

Apply St Valentine’s StazOn Studio Glaze to the upper portion of the jar covering the watermelon seeds as you go. Let this layer dry completely.


2021_06_Roni_WatermelonSliceMasonJar_Instructions_Step09


Step 9

Finish off the project by adding a bow around the neck of the jar.


2021_05_Roni_WatermelonSliceMasonJar_Main01


Art Supplies:

Imagine
Other
  • Mason Jar
  • Jute Twine
  • Battery Operated Tea Light

Learn How to Make a Wooden Wall Art Family Tree

2021_04_Roni_MothersDay_FamilyTree_WM 002

By Roni Johnson

Since Mother’s Day is quickly approaching I thought it would be fun to make a different type of gift Mom could enjoy all year long. I decided to make a fun and beautiful Family Tree using a wooden tree from Creative Embellishments paired with Imagine’s Walnut Ink Crystals and Cottage Ivy Fireworks! Shimmery Craft Spray.

Skill: Beginner

Time: 1 hour + dry time

Directions:

2021_04_Roni_MothersDay_FamilyTree (1)

Step 1

Gather up your supplies, you will need a wood tree, Walnut Ink Crystals, Cottage Ivy Fireworks! Shimmery Craft Spray, VersaFine Clair Pinecone ink, Memento Dual Tip Marker and a bit of heavy duty cardstock.


2021_04_Roni_MothersDay_FamilyTree (2)

Step 2

Use a craft knife to make small cuts in the wood to separate the leaves from the branches.


2021_04_Roni_MothersDay_FamilyTree (3)

Step 3

Sprinkle a small amount of Walnut Ink Crystals into a cup and add a bit of water.


2021_04_Roni_MothersDay_FamilyTree (4)

Step 4

Paint the walnut ink onto the tree trunk and branches.


2021_04_Roni_MothersDay_FamilyTree (5)

Step 5

Paint the Cottage Ivy Fireworks! spray onto each of the leaves.


2021_04_Roni_MothersDay_FamilyTree (6)

Step 6

If desired, paint a second coat of ink where necessary and let the tree dry completely.


2021_04_Roni_MothersDay_FamilyTree (7)

Step 7

Spray a sheet of Bristol Cardstock with Cottage Ivy Fireworks! Shimmery Spray; add a spritz of water here and there.


2021_04_Roni_MothersDay_FamilyTree (8)

Step 8

Use a heat gun to mix the water and ink around on the cardstock.


2021_04_Roni_MothersDay_FamilyTree (9)

Step 9

Once dry, die cut desired number of leaves from the cardstock.


2021_04_Roni_MothersDay_FamilyTree (10)

Step 10

Ink the edges of each leaf with Pinecone VersaFine Clair Ink and a sponge dauber.


2021_04_Roni_MothersDay_FamilyTree (11)

Step 11

Use a Tuxedo Black Memento Dual Tip Marker to write the names of each family member on a leaf.


2021_04_Roni_MothersDay_FamilyTree_WM-IG


Step 12

Adhere the leaves to the tree as desired. You could add them in the form of a traditional family tree or place them randomly over the tree.


Art Supplies:

Imagine
Other
  • Creative Embellishments Home Décor Wood Tree
  • Paint Brush
  • Bristol Cardstock
  • Heat Tool
  • Craft Knife
  • Spellbinders – Leaf Dies
  •  

How to Make Clay Easter Egg-Shaped Ornaments

By Kyriakos Pachadiroglou

Stamp Easter egg designs on clay and color them with StazOn inks and Memento Dual Tip Markers to make Easter ornaments. Decorate tree branches in a vase for a Spring and Easter theme or add them to gift packages and bags.

Skill: Beginner

Time: 30 min + drying time

Directions:

Step 1

On a flat piece of clay, press the egg design stamp.


Step 2

Remove the stamp and cut around the design with a pointed tool (a pallet knife, a piercing tool, etc). Don’t forget to open a hole on the top of the shape. Let the clay cure.


Step 3

When the clay shapes are ready use a filling tool or some sanding paper to smooth the edge of the clay eggs.


Step 4

Use a Sponge Dauber and the StazOn Eden Green to color the embossed designs. You can press the ink pad directly on the clay egg to add more color strength to the embossed design.


Step 5

Color parts of the stamped design with the MEMENTO Dual Tip Markers in greenish shades.


Step 6

For the next design use the StazOn Black Cherry and the MEMENTO Dual Tip Marker Tuxedo black, Angel Pink and Lady Bug to color it following the same procedure as above.


Step 7

Finally, use StazOn Fuschia Pink and MEMENTO Dual Tip Markers Pear Tart, Rose Bud and Bamboo Leaves to color the clay egg.
You can color around the edges of the clay eggs with the All-Purpose Ink Vegas Gold and add ribbons.


Art Supplies

Imagine

StazOn – Eden Green, Black Cherry, Fuchsia Pink 

MEMENTO Dual Tip Markers – Angel Pink, Dandelion, Rose Bud, Bamboo Leaves, Pear Tart, Tuxedo Black, Lady Bug 

Sponge Daubers 

All-Purpose Ink – Vegas Gold

Other materials

Air-Dry Clay – White

Viva Decor Stamps – Easter Eggs

Satin Ribbons Various Colors

Sanding Paper