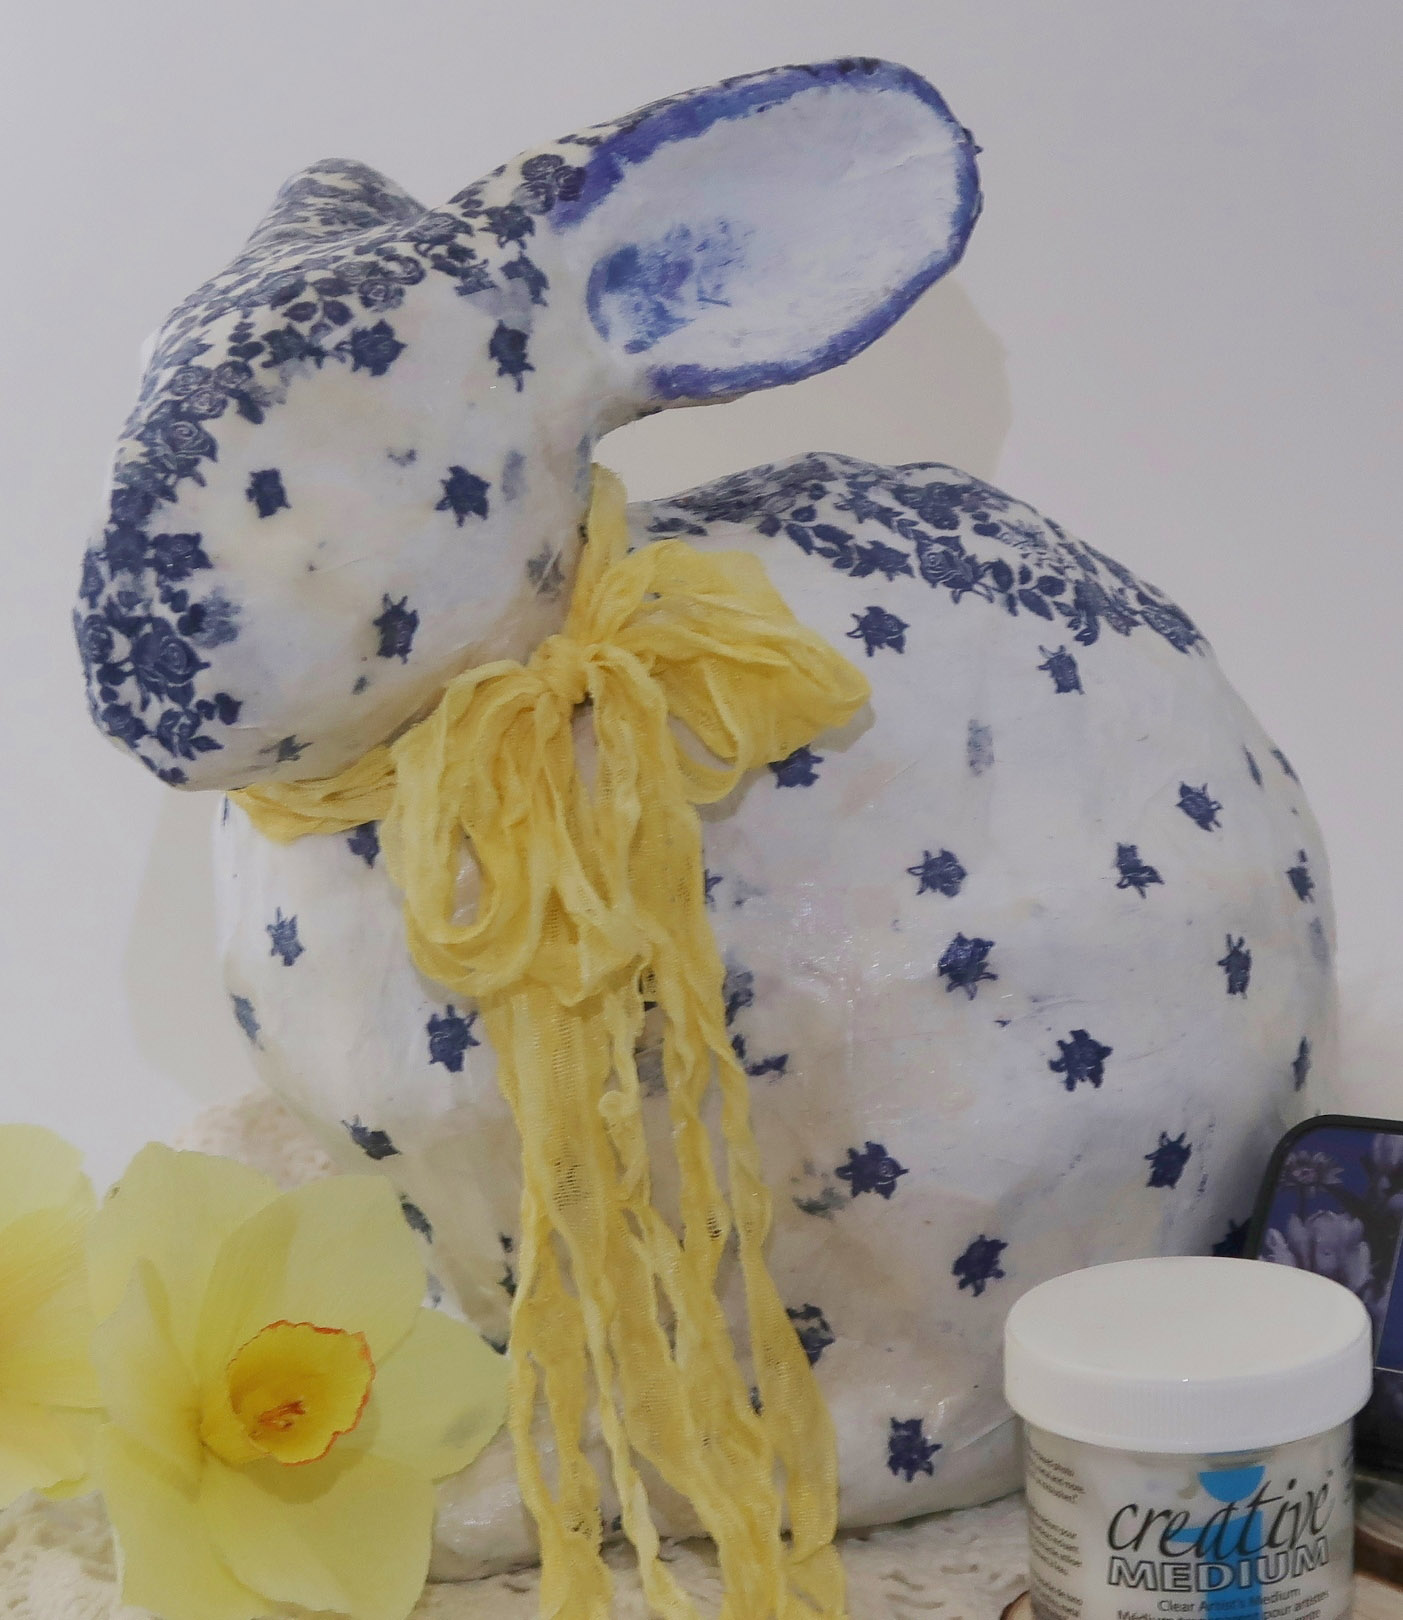
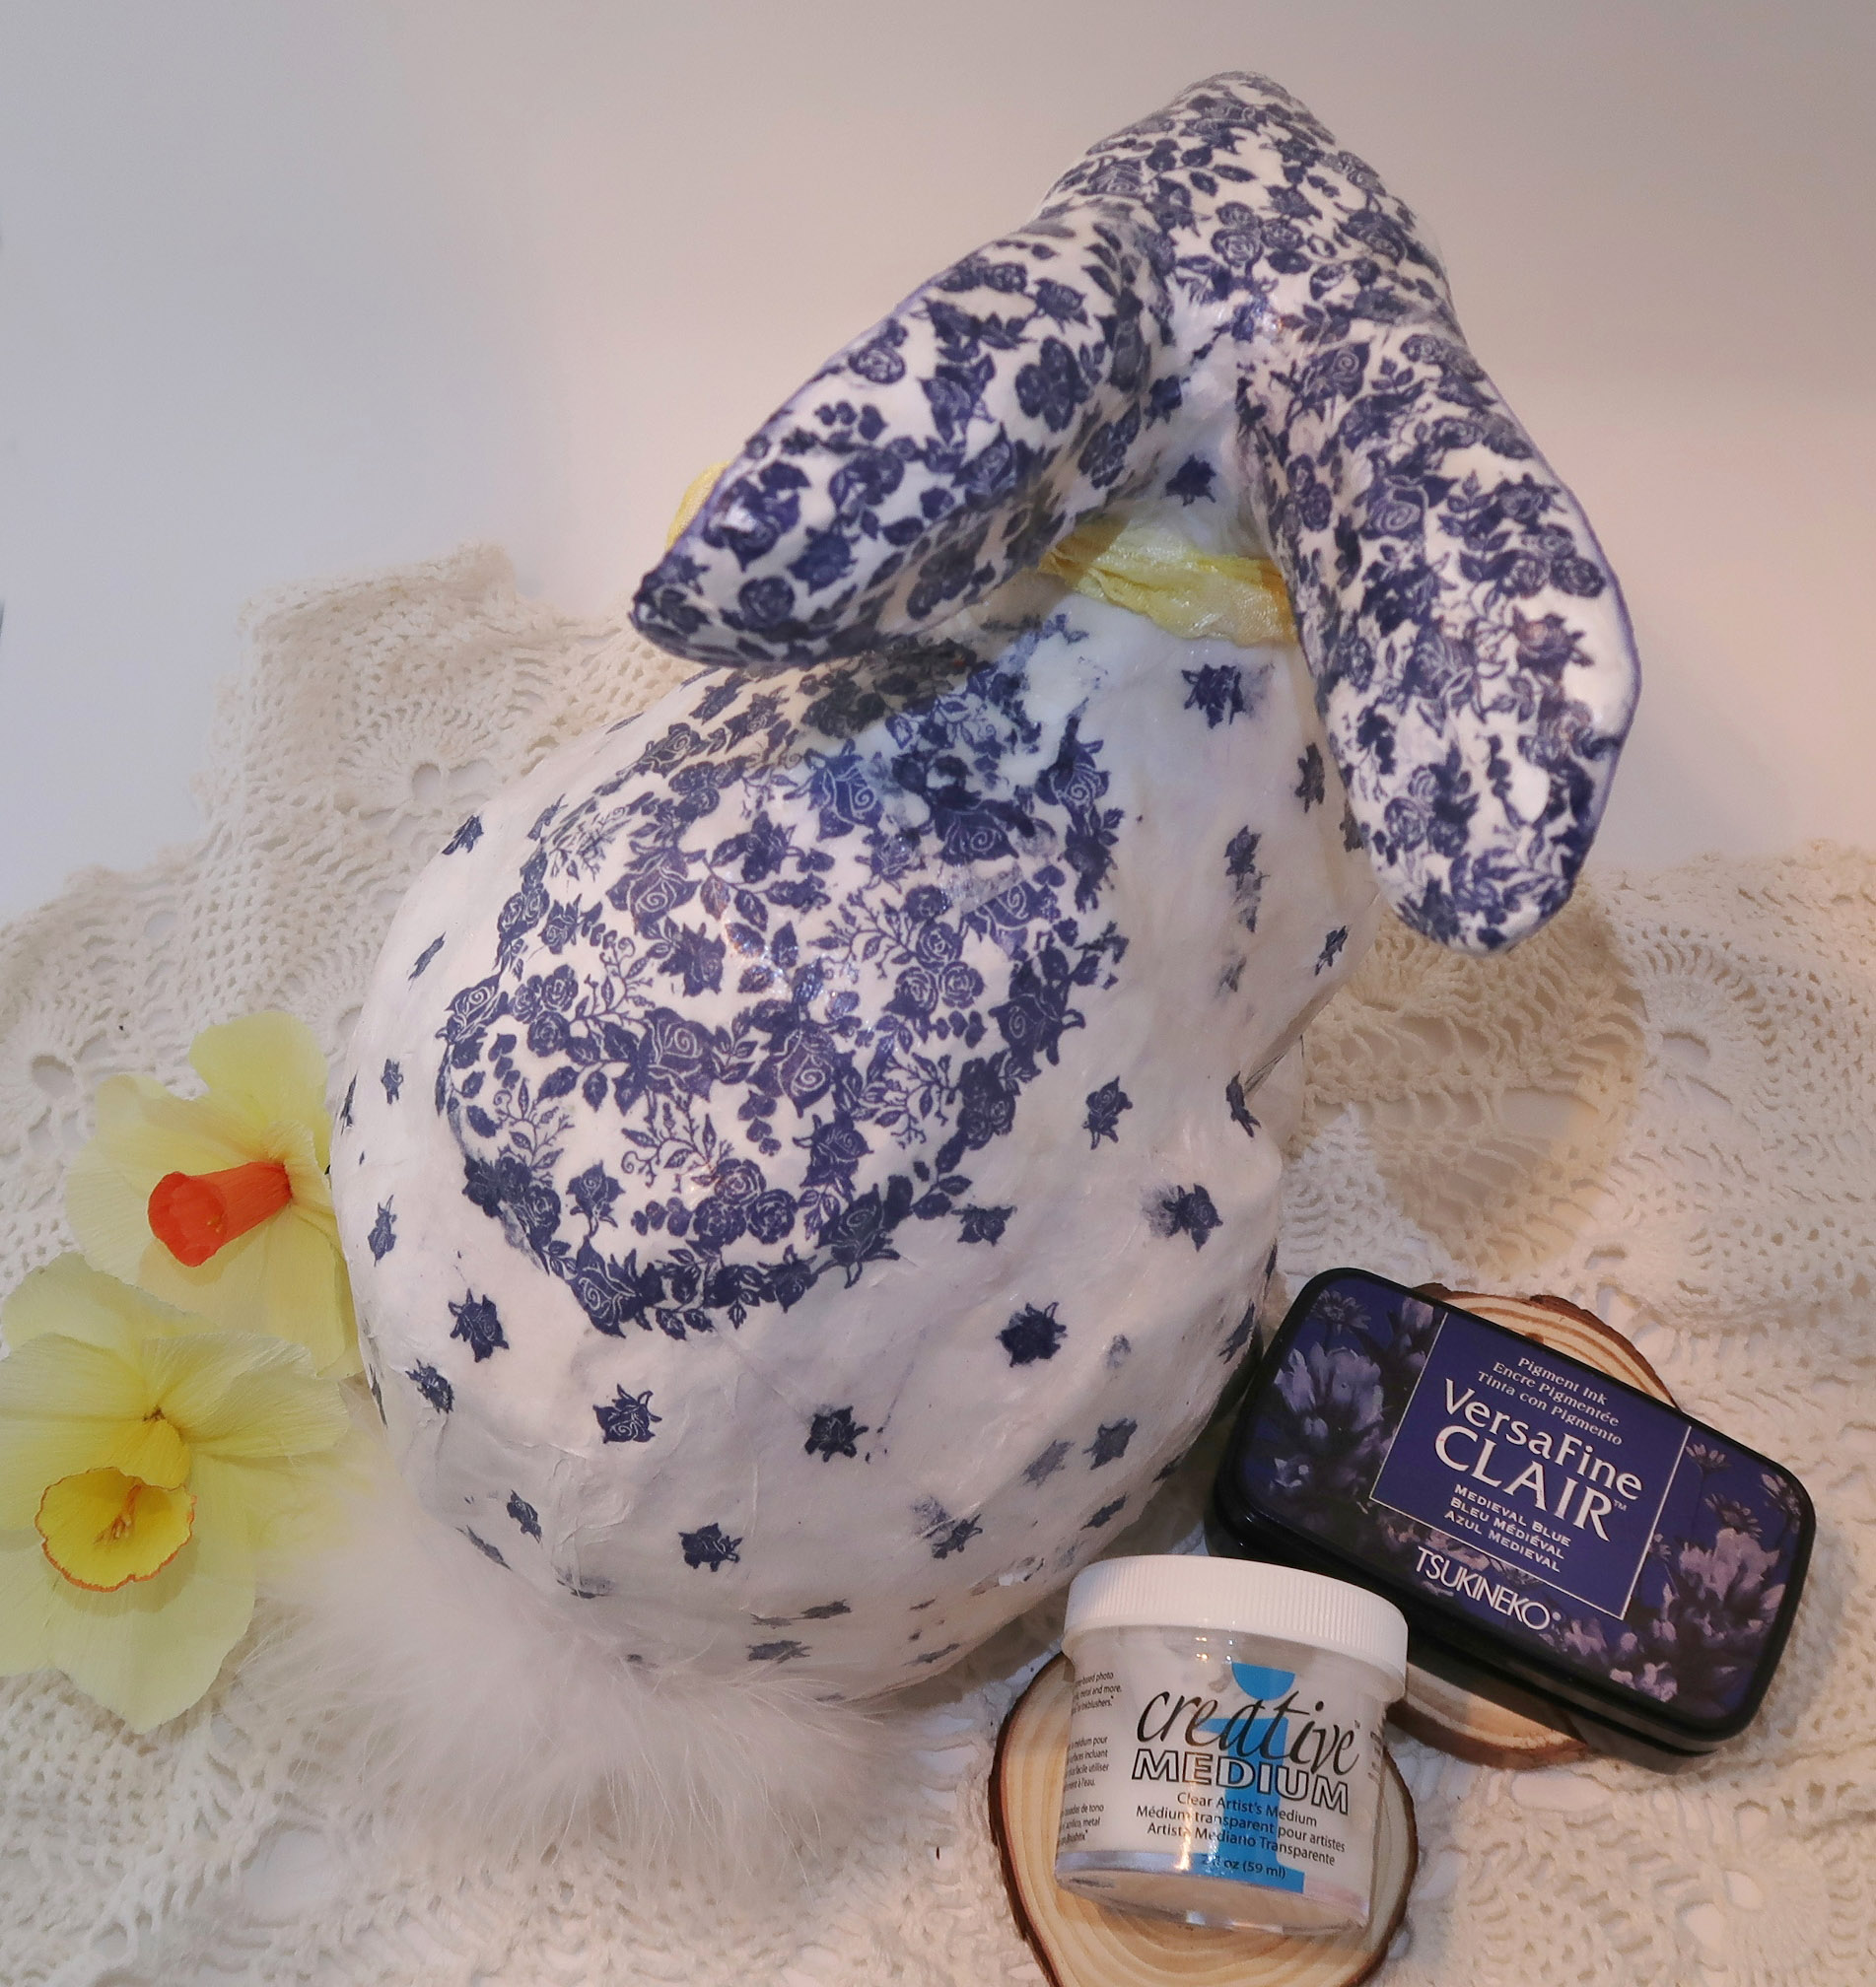
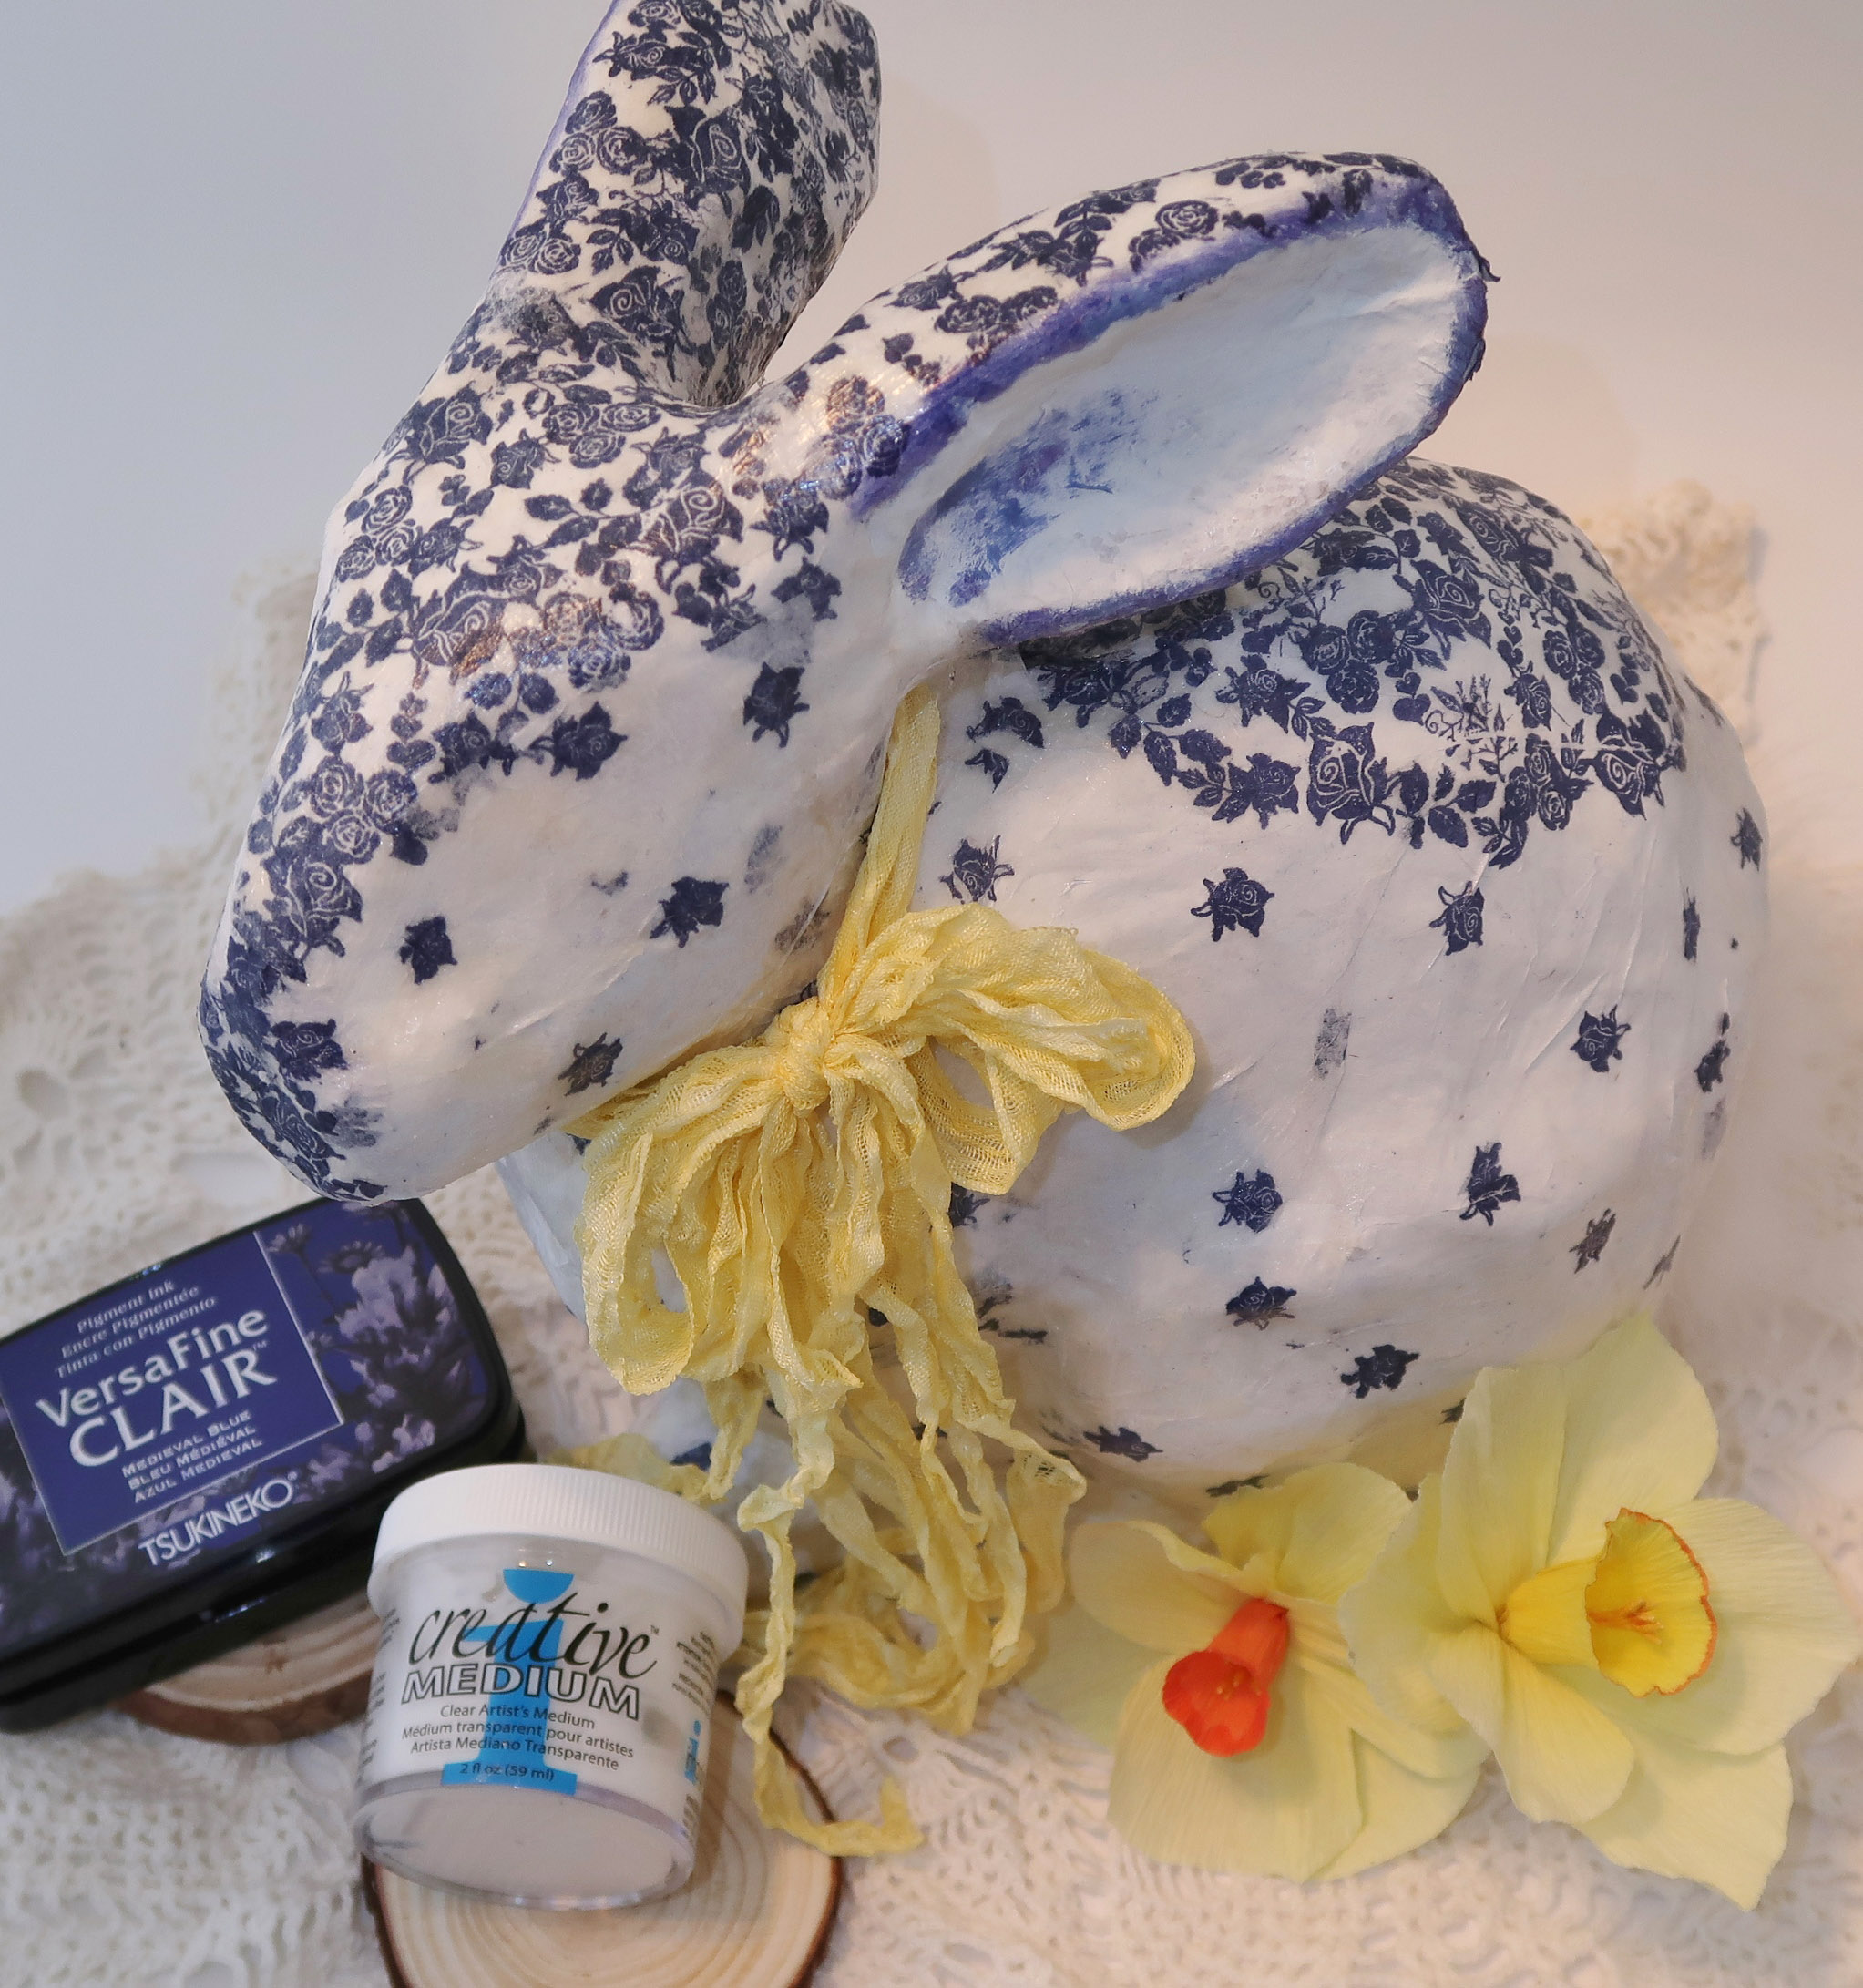
Welcome in Spring with this lovely Faux Blue Delft Bunny Rabbit to brighten up your home. Originating in the city of Delft in the Netherlands in the 1600s, this pottery which consists of blue decoration over a white background is a breath of fresh air and the perfect start of this season of renewal. This technique looks daunting but once you break it down into easy-to-follow steps it’s fun and rewarding. The finished project looks stunning and will delight everyone who comes in contact with it.
This technique combines wide-open geometric stamped patterns with areas of saturation to give the piece defined areas to enhance and highlight certain areas of the animal. For this example, I used the more concentrated stamping on the face, ears and a medallion of sorts on its back. You will come to see how this turns a plain paper mache rabbit into a beautiful Blue Delft Bunny sure to please.
Skill: Intermediate
Time: 2 hours + dry time
Directions:
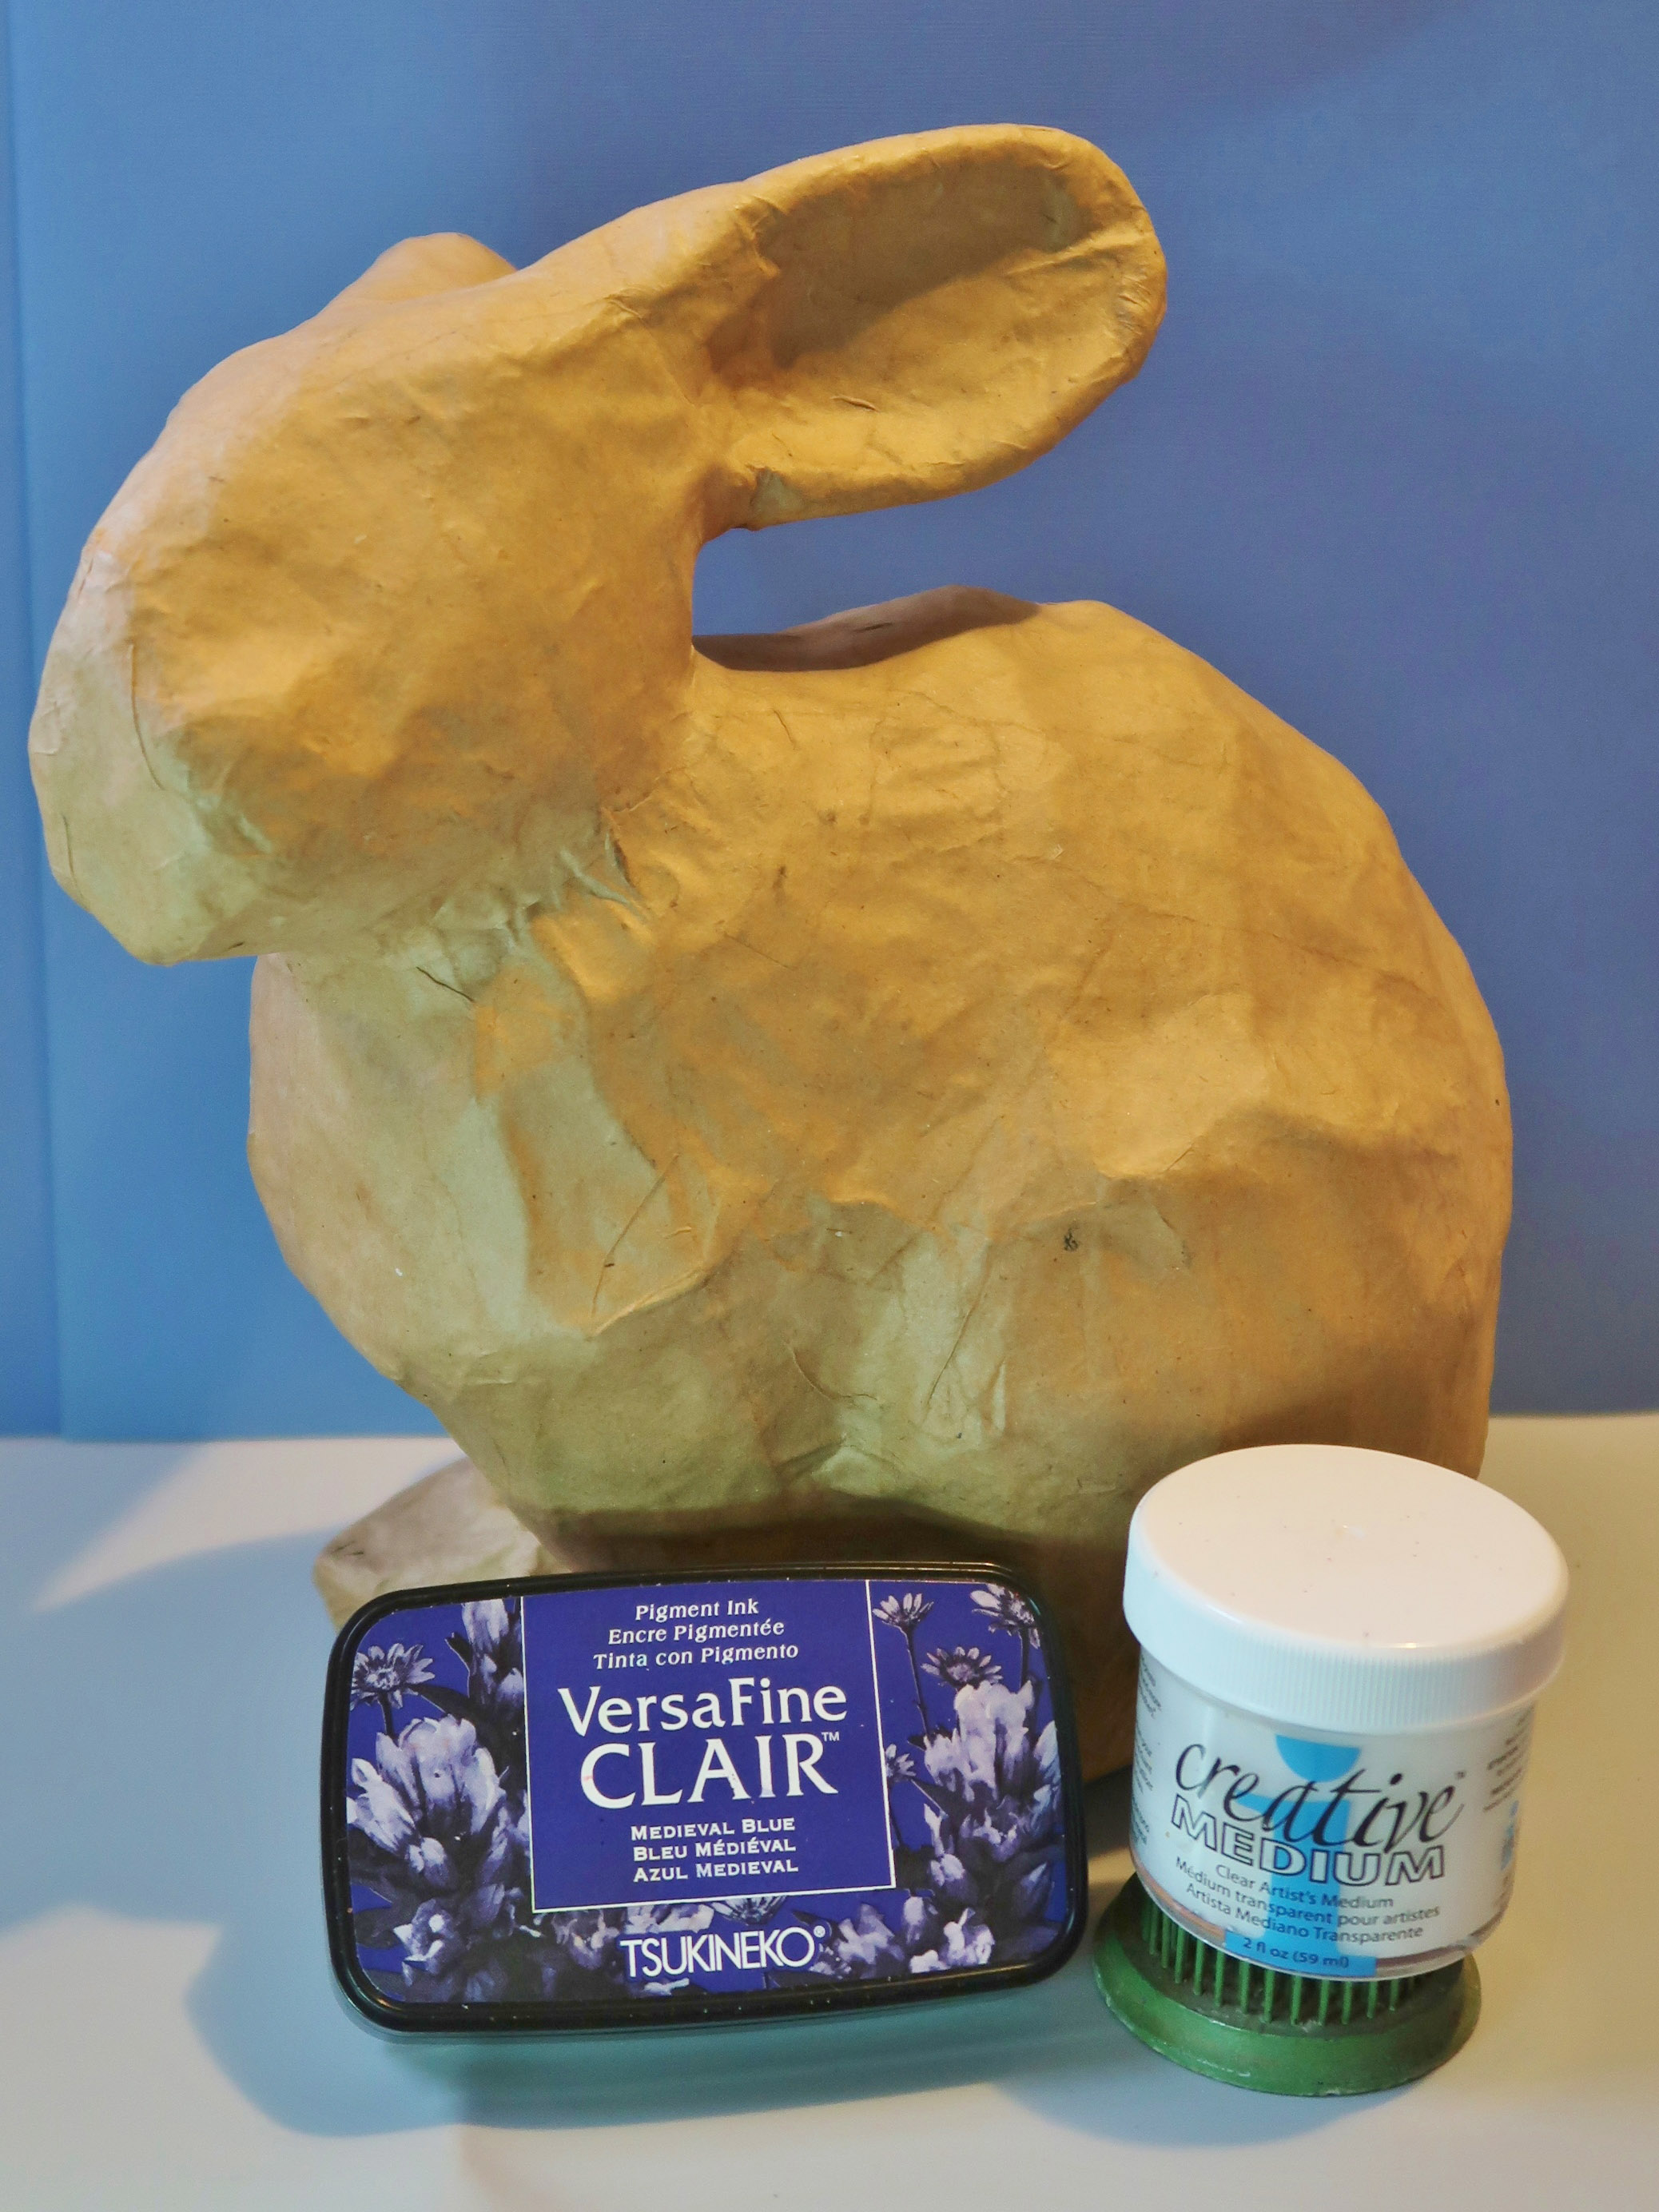
Step 1
Gather up your supplies, you will need a paper mache animal – I choose a rabbit for Spring, tissue paper, Medieval Blue VersaFine Clair ink and Creative Medium (Clear or Shimmer).
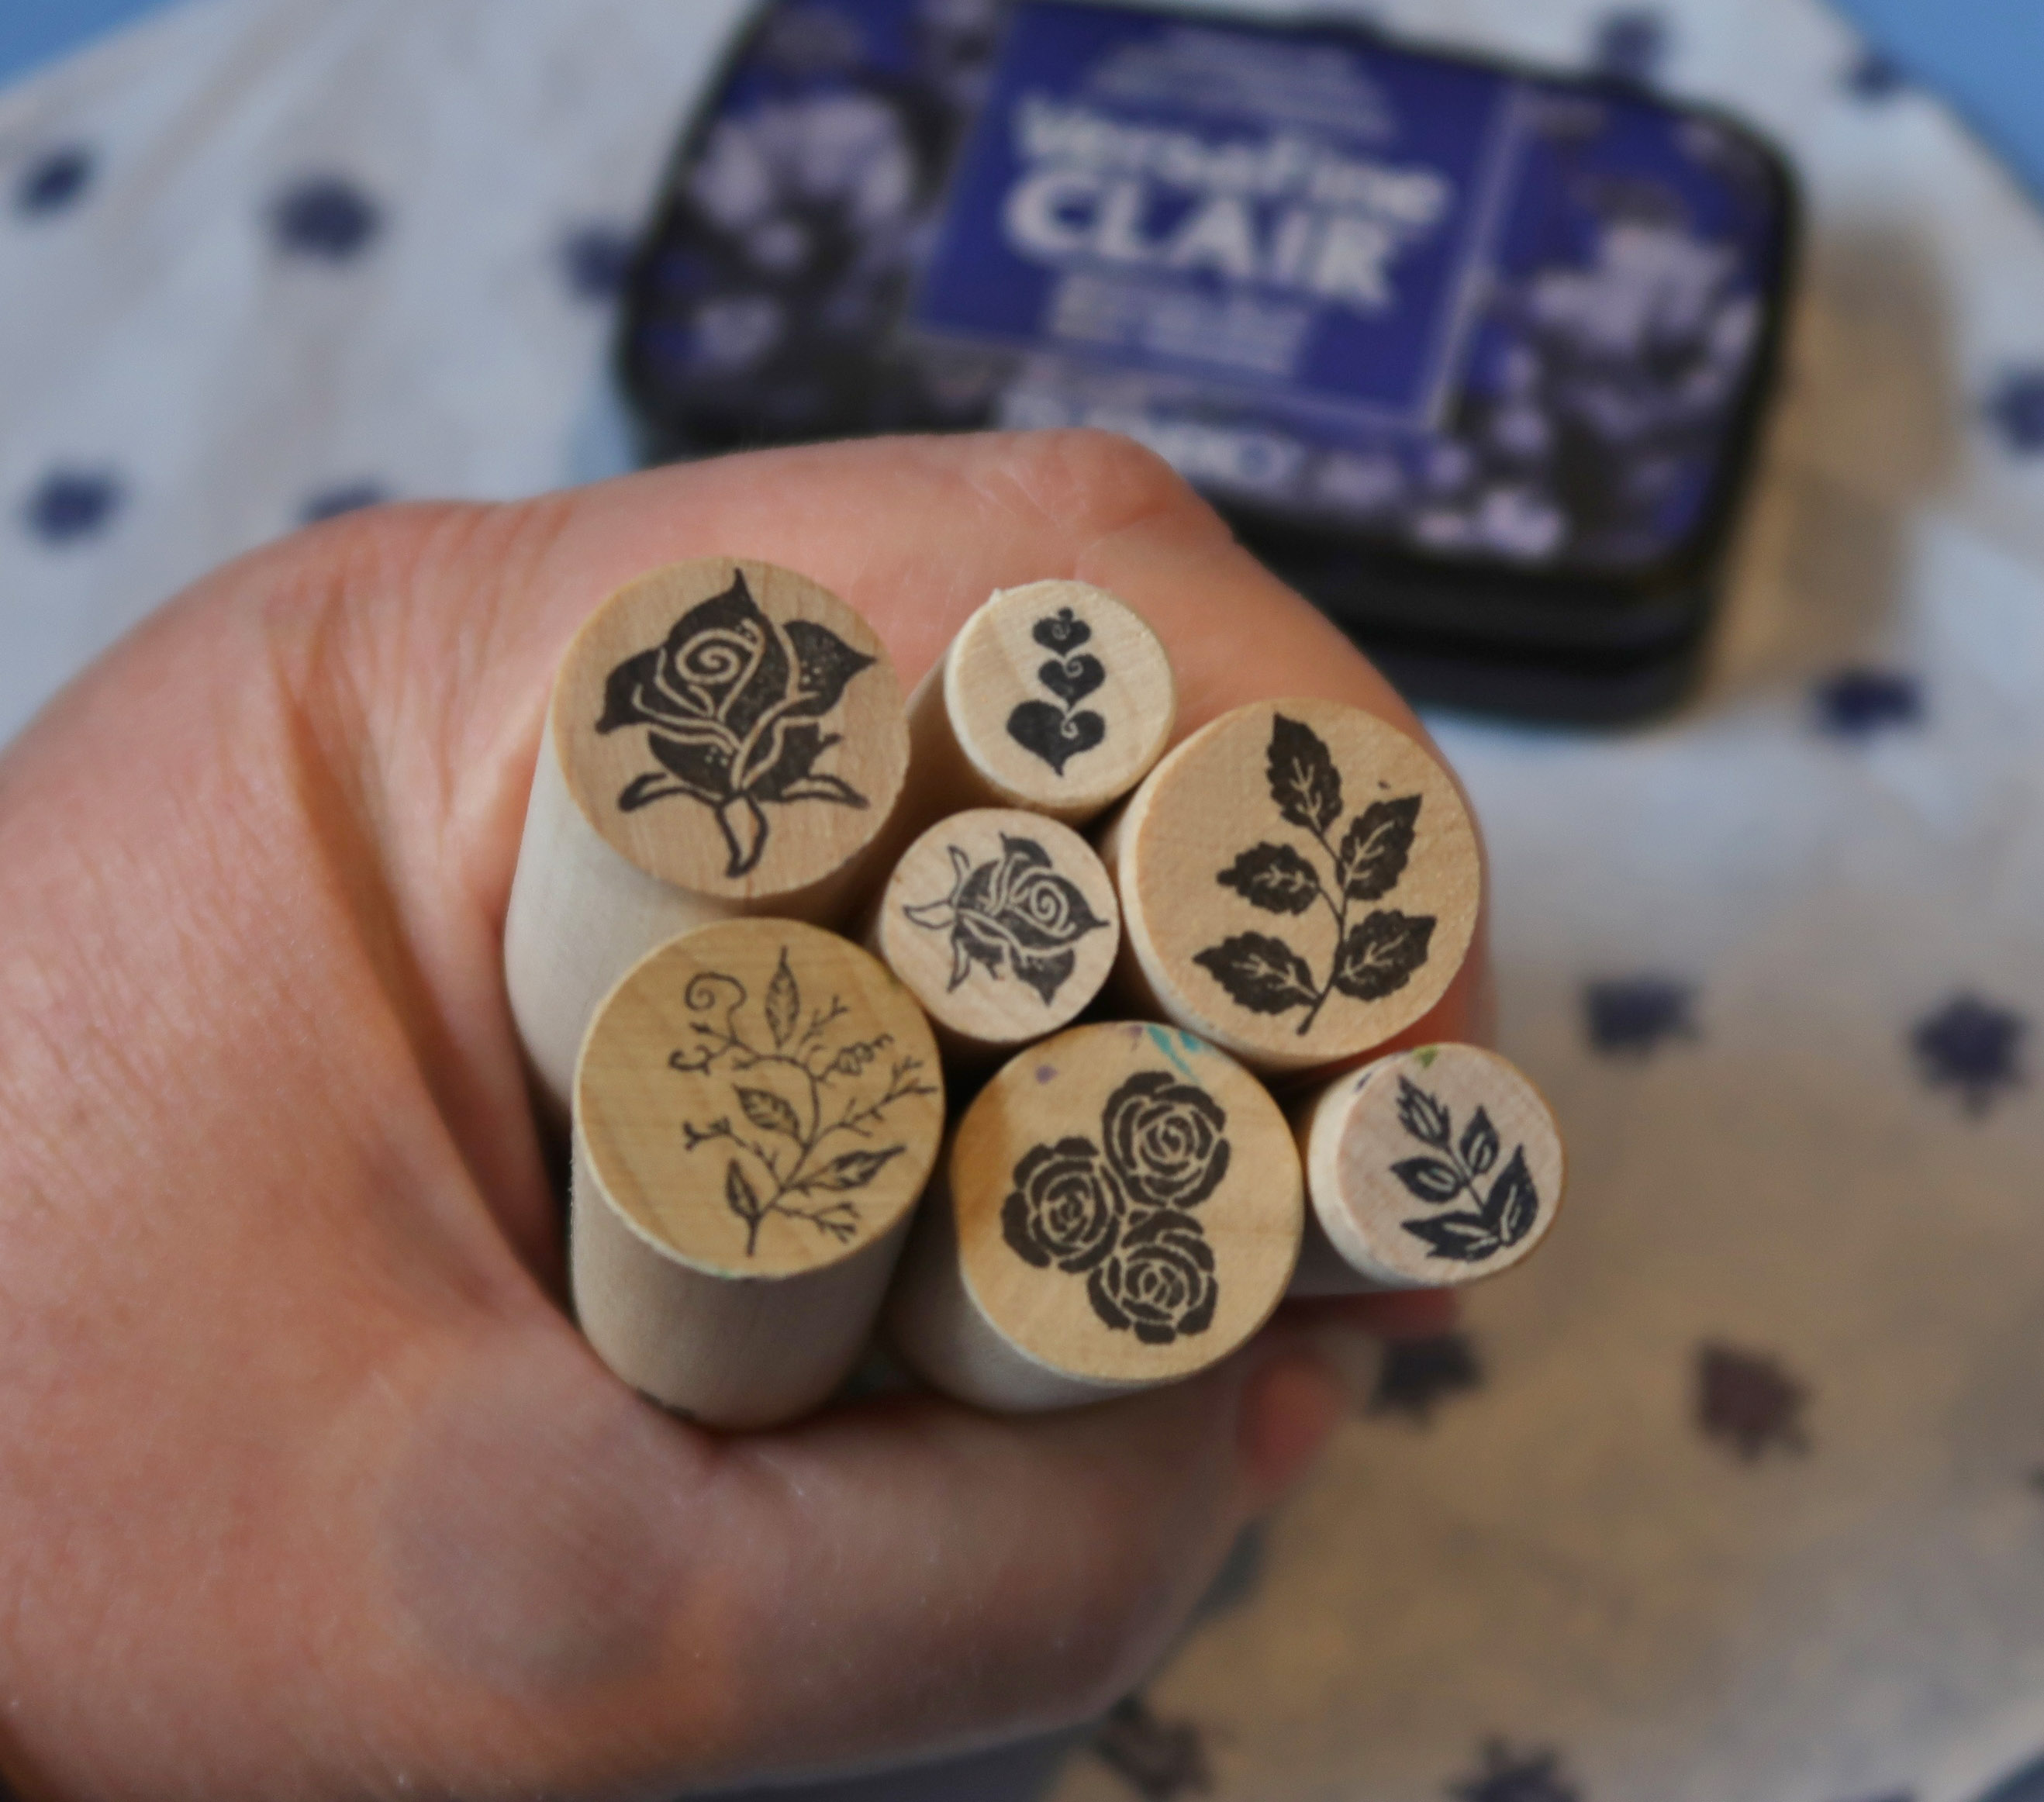
Step 2
You will also need to gather a few small stamps. For this project I am using roses, leaves and vine peg stamps from Rubber Stamp Tapestry.
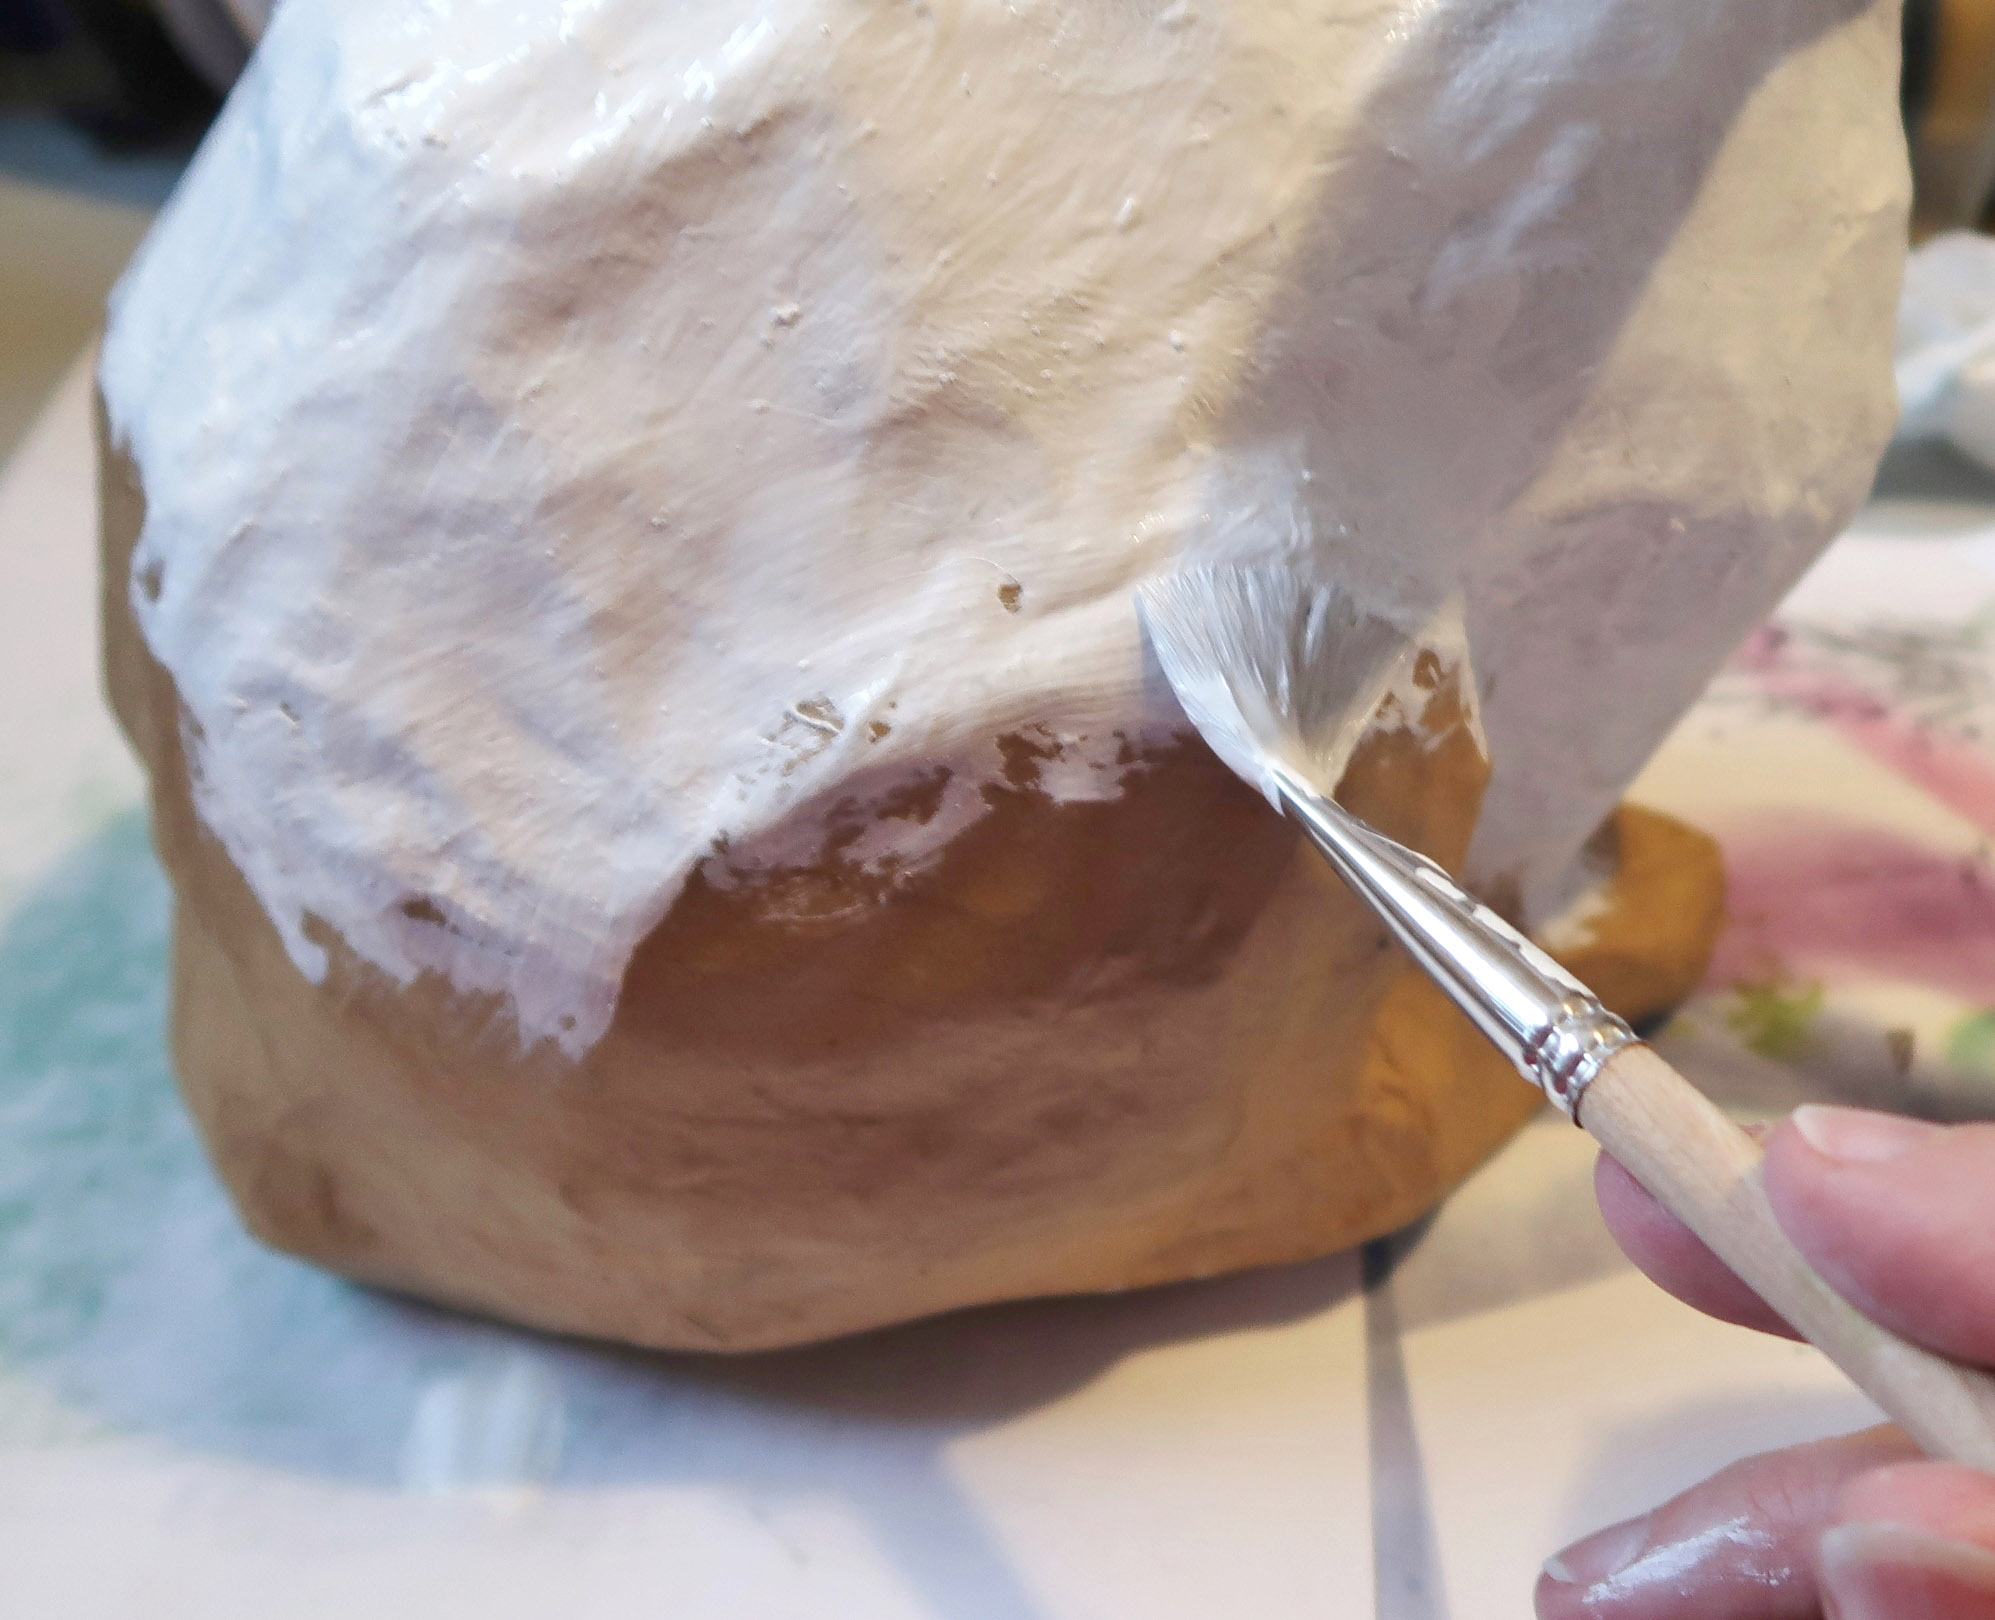
Step 3
Prepare the paper mache animal by painting it with white acrylic paint. Set it aside to dry.
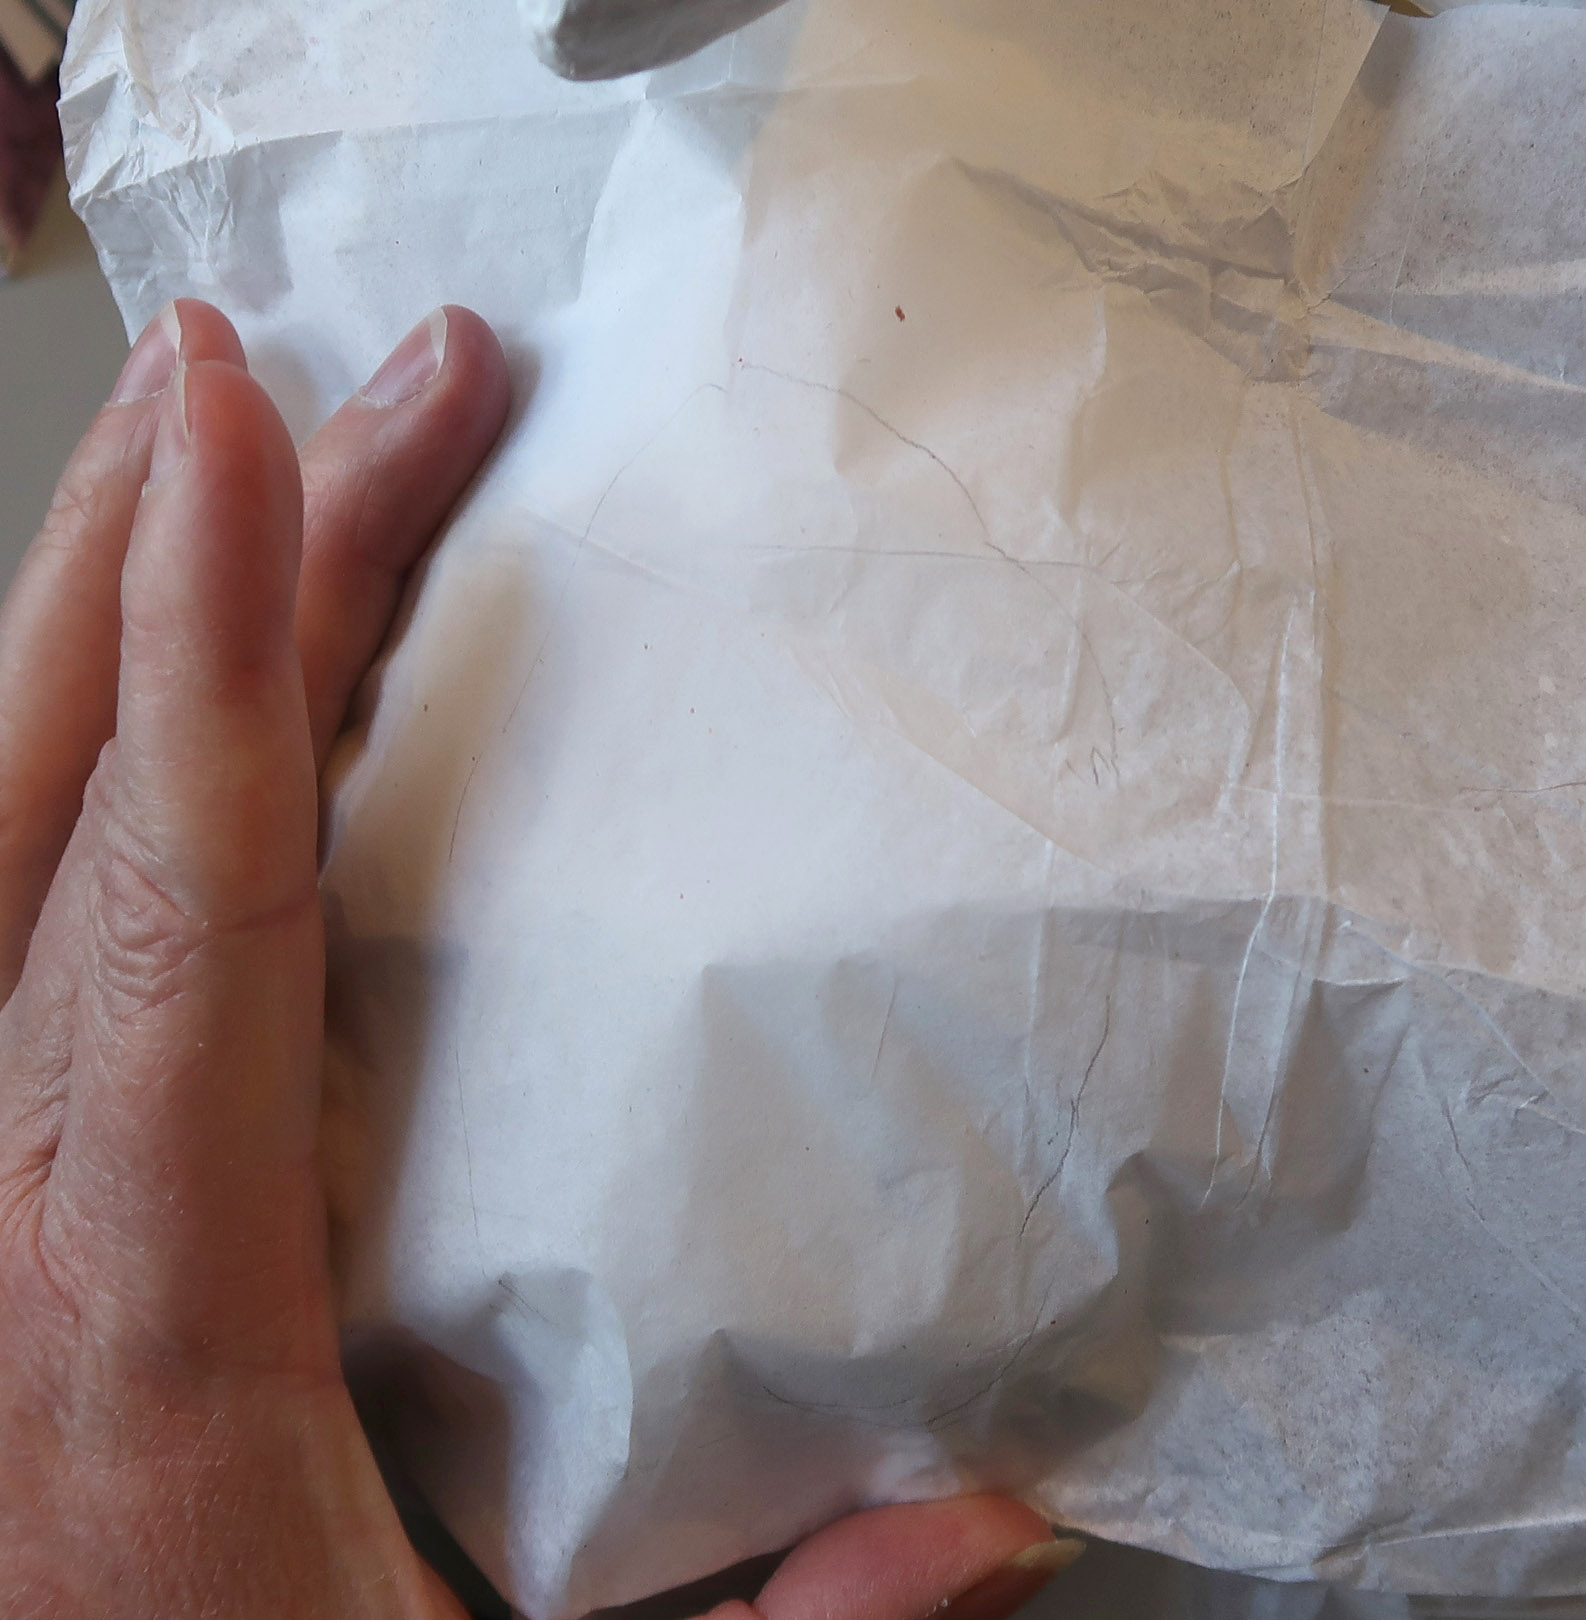
Step 4
To create the concentrated stamped sections place a sheet of tissue paper over the desired area, in this case the back and trace the shape you wish to create. For this example I wanted a nice sized oval medallion over the back. You can see the faint pencil marking on the tissue paper in the photo.
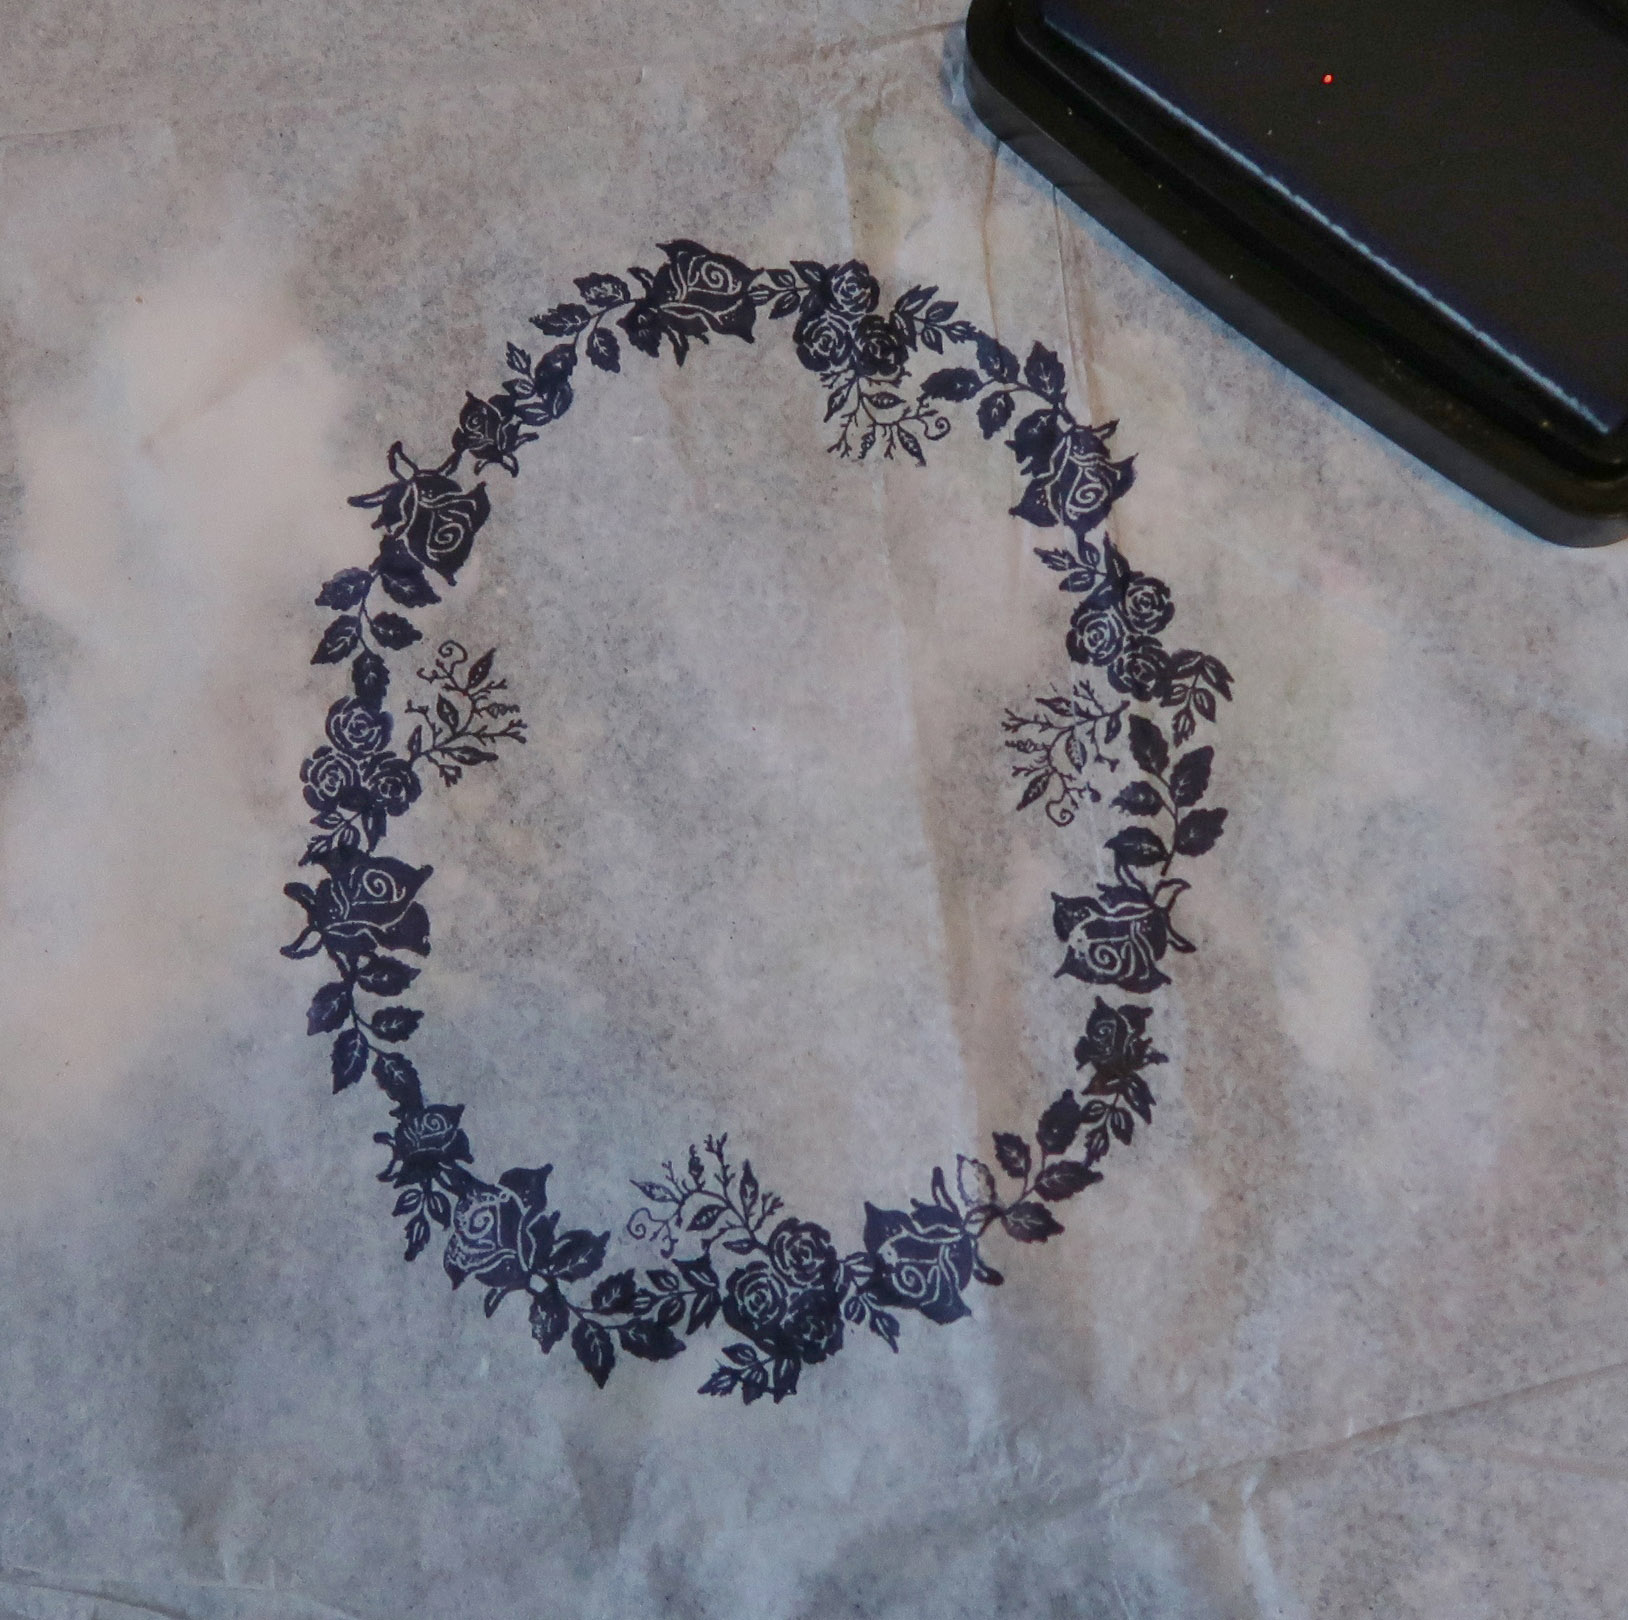
Step 5
Create the medallion by stamping the border along the pencil line from the previous step.
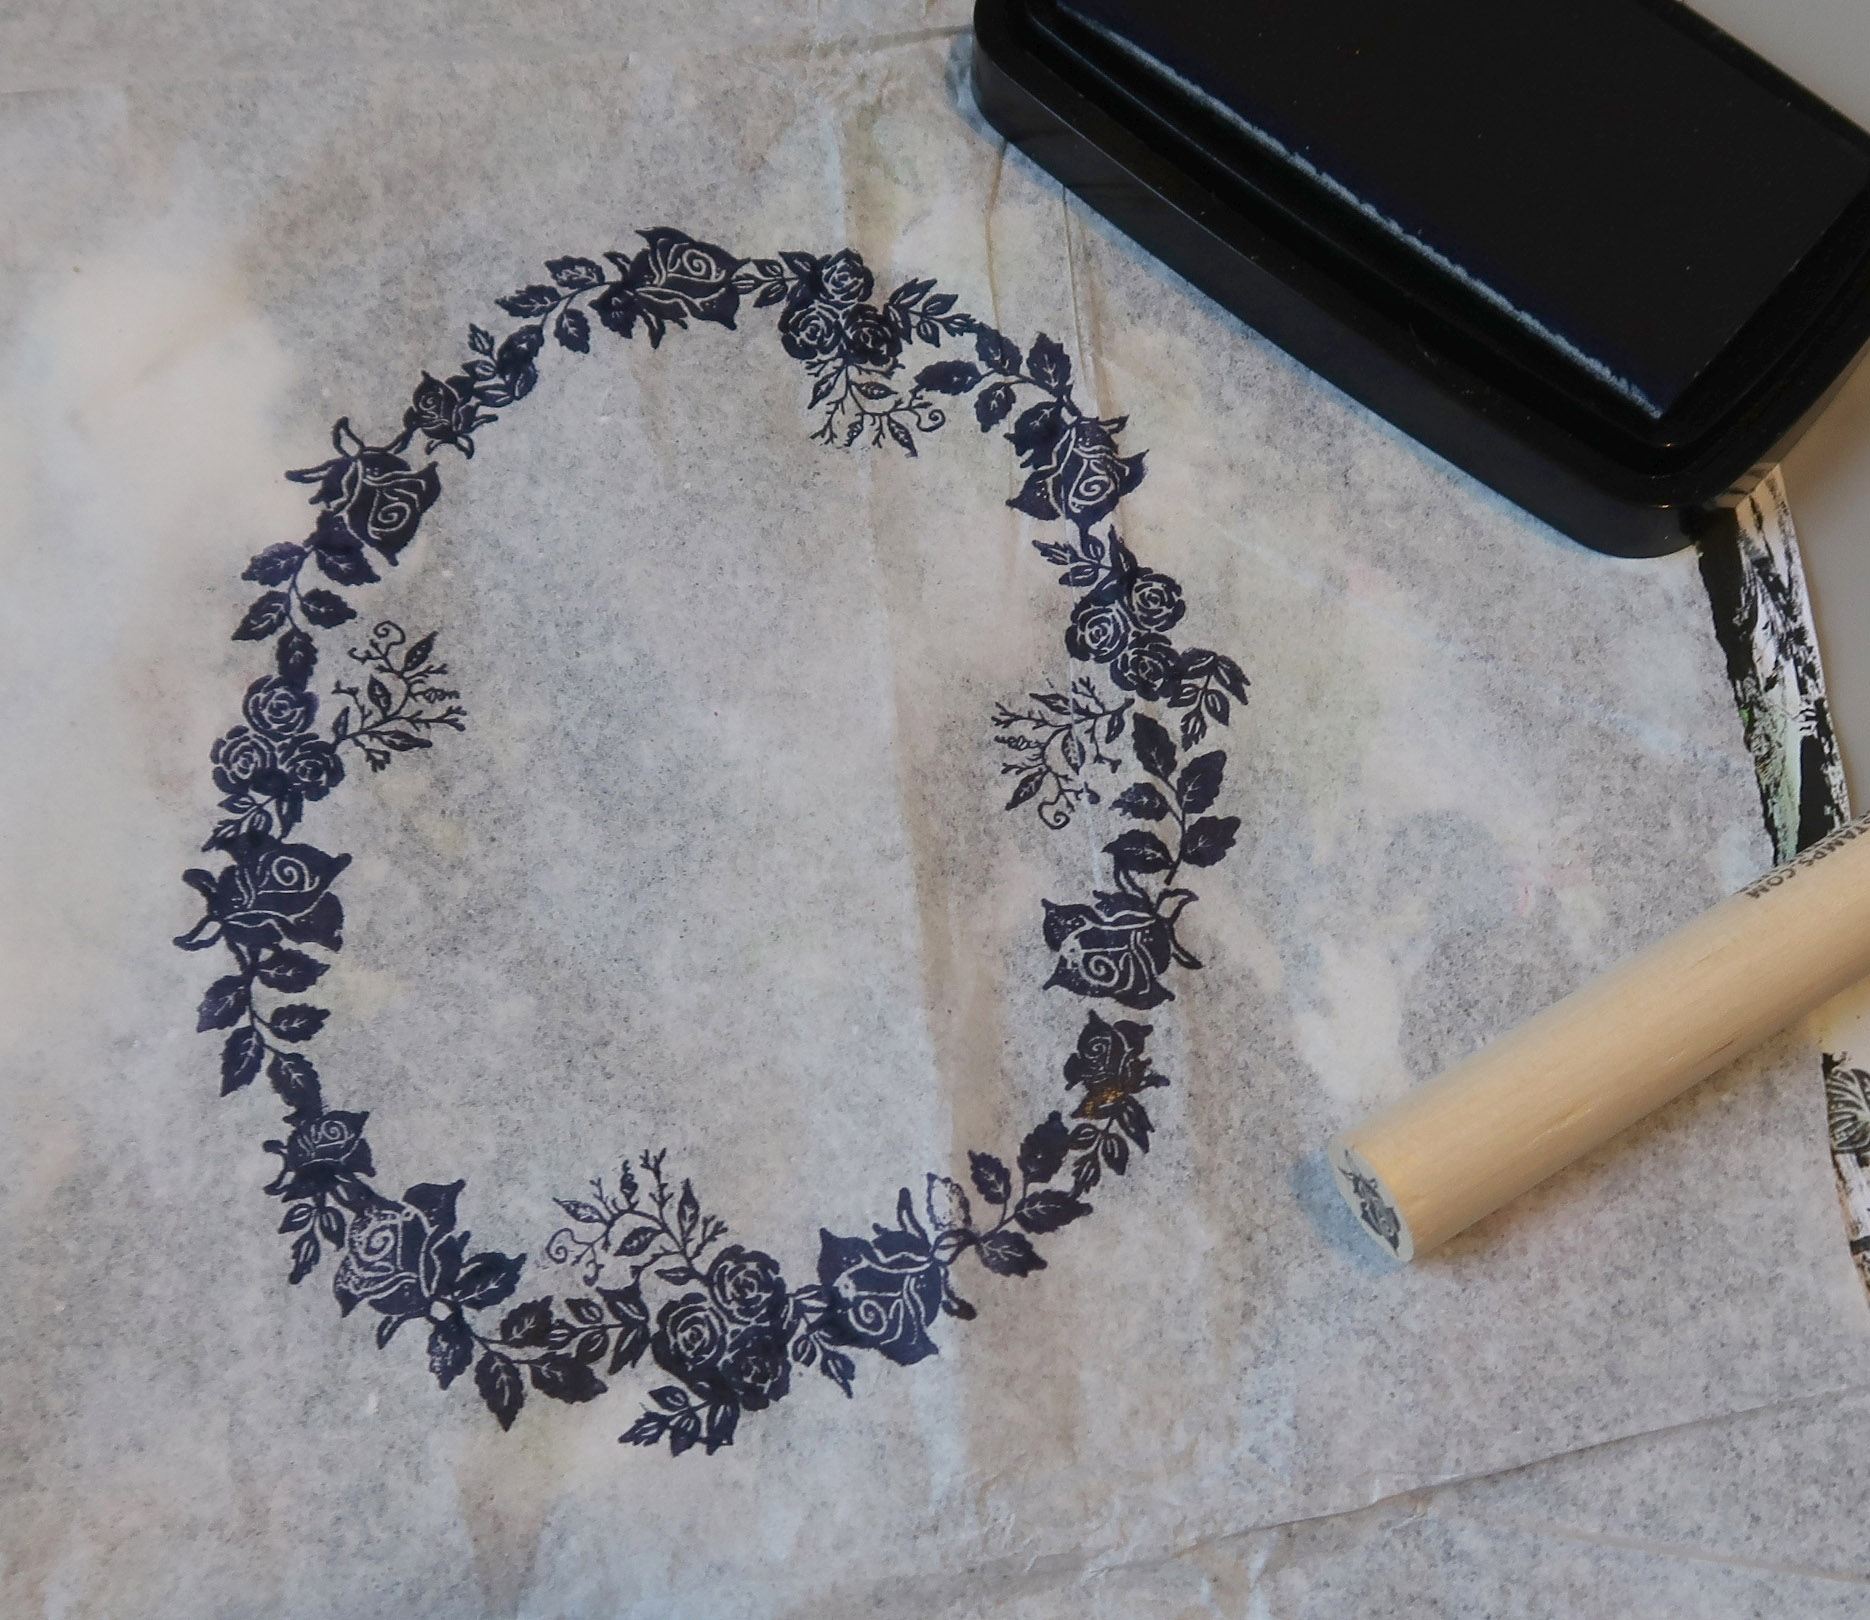
Step 6 – Stamp additional images to fill in the medallion.
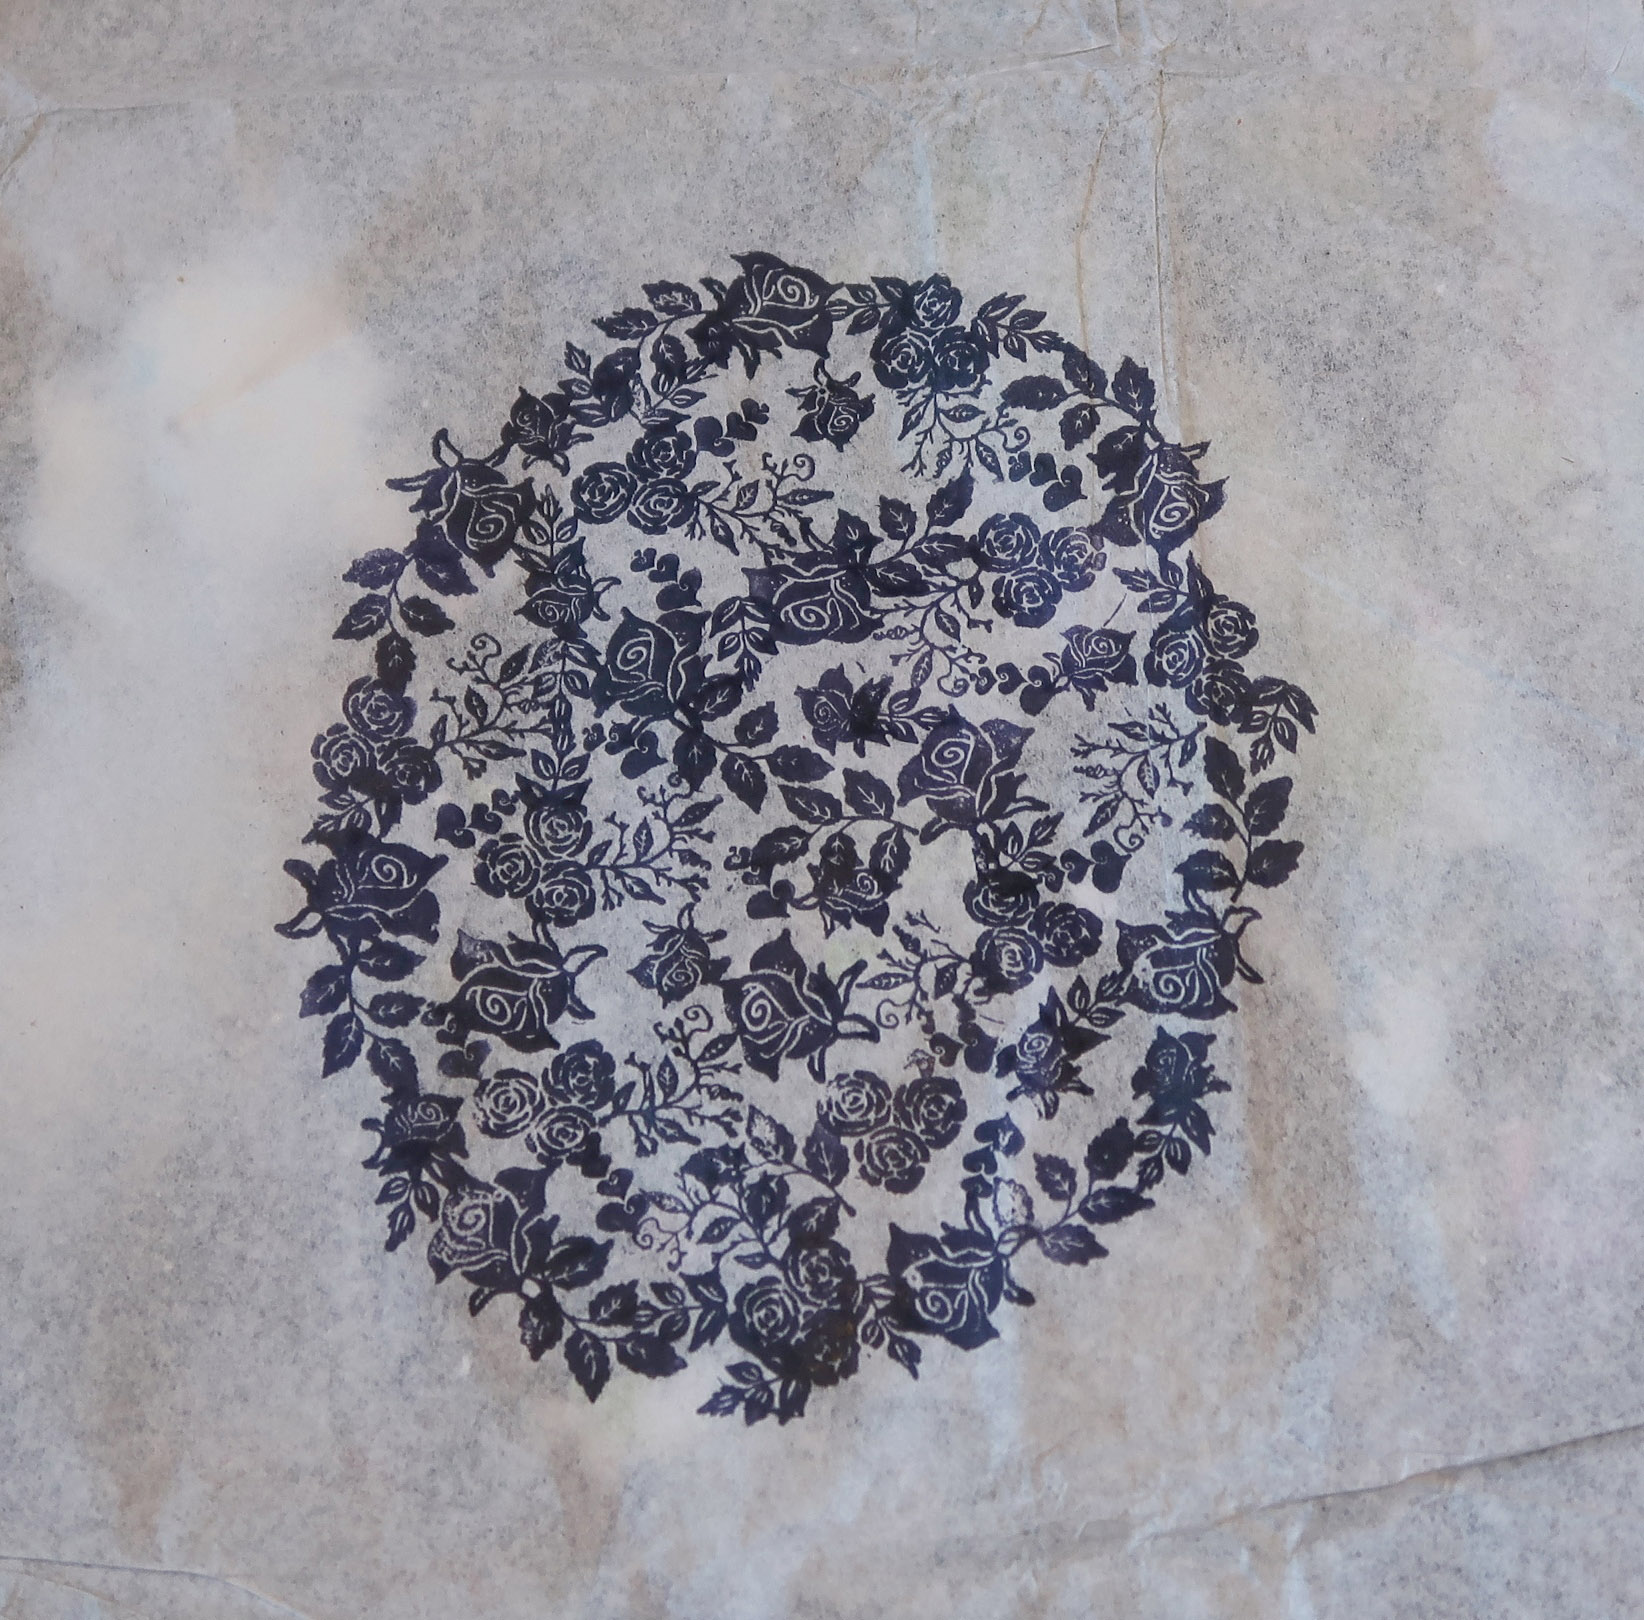
Step 7 – Once the medallion has been completed let the ink dry completely.
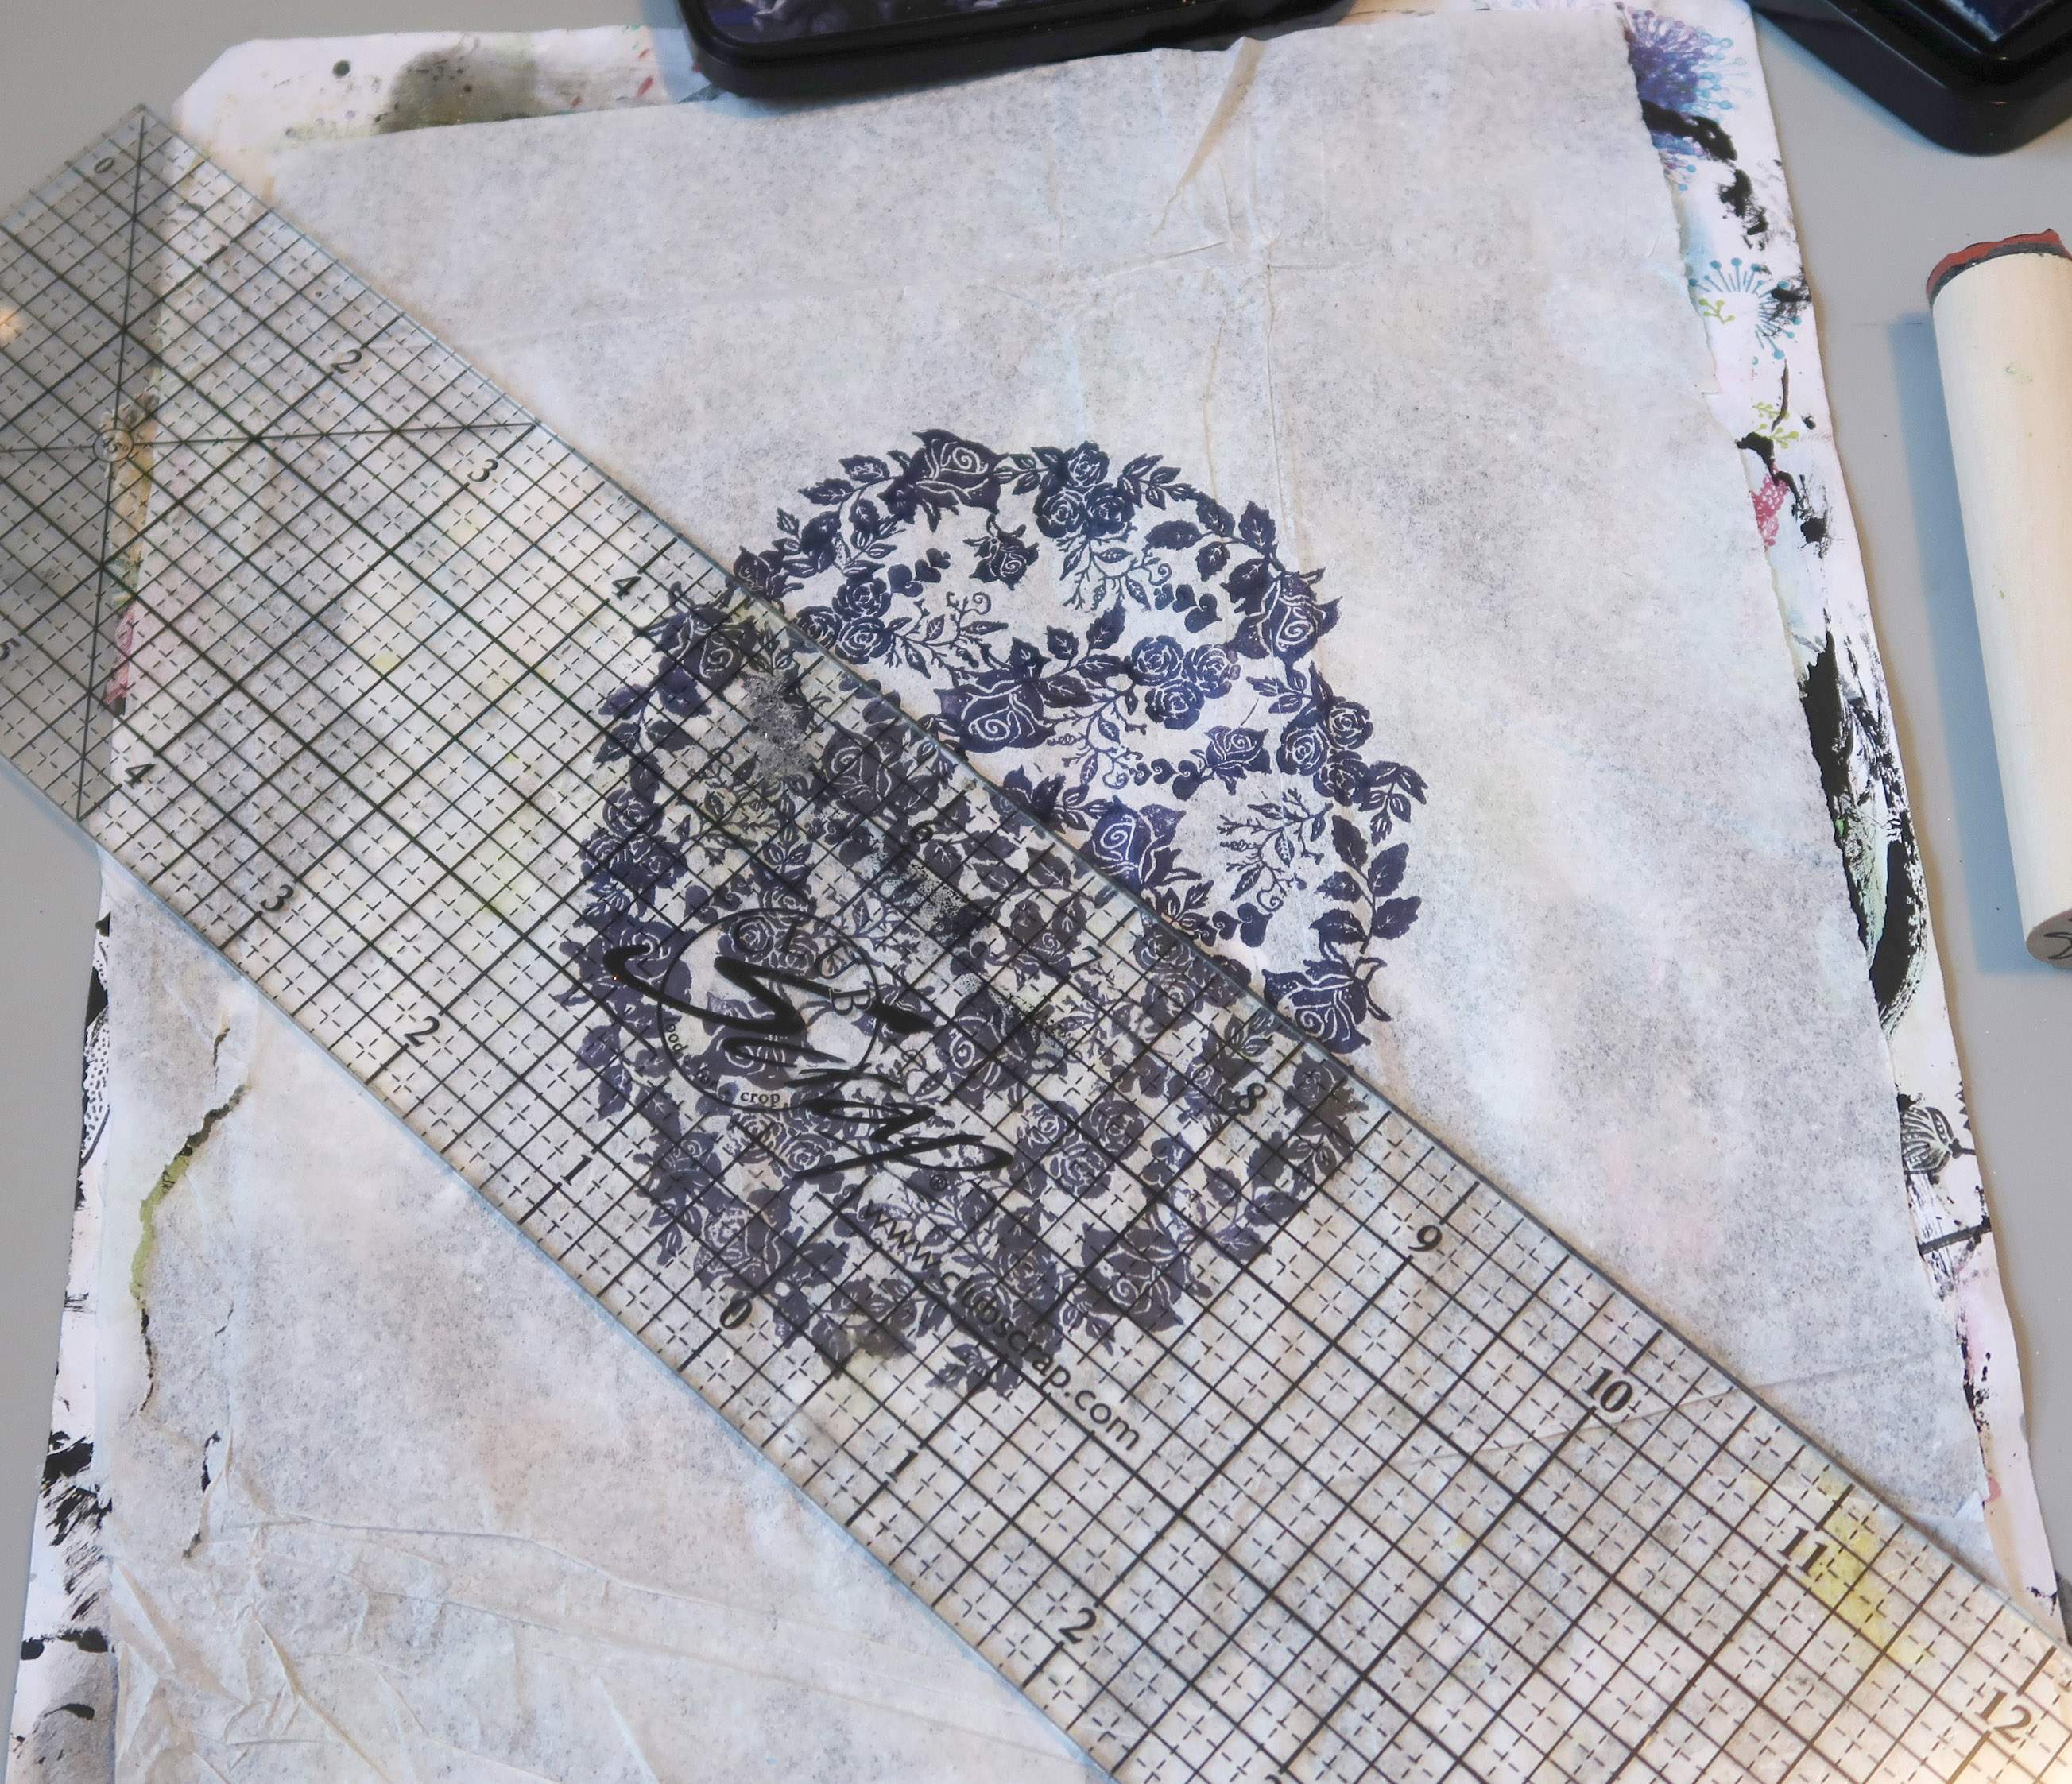
Step 8 – Use a ruler to stamp a small rose at 1” intervals in a diagonal line.
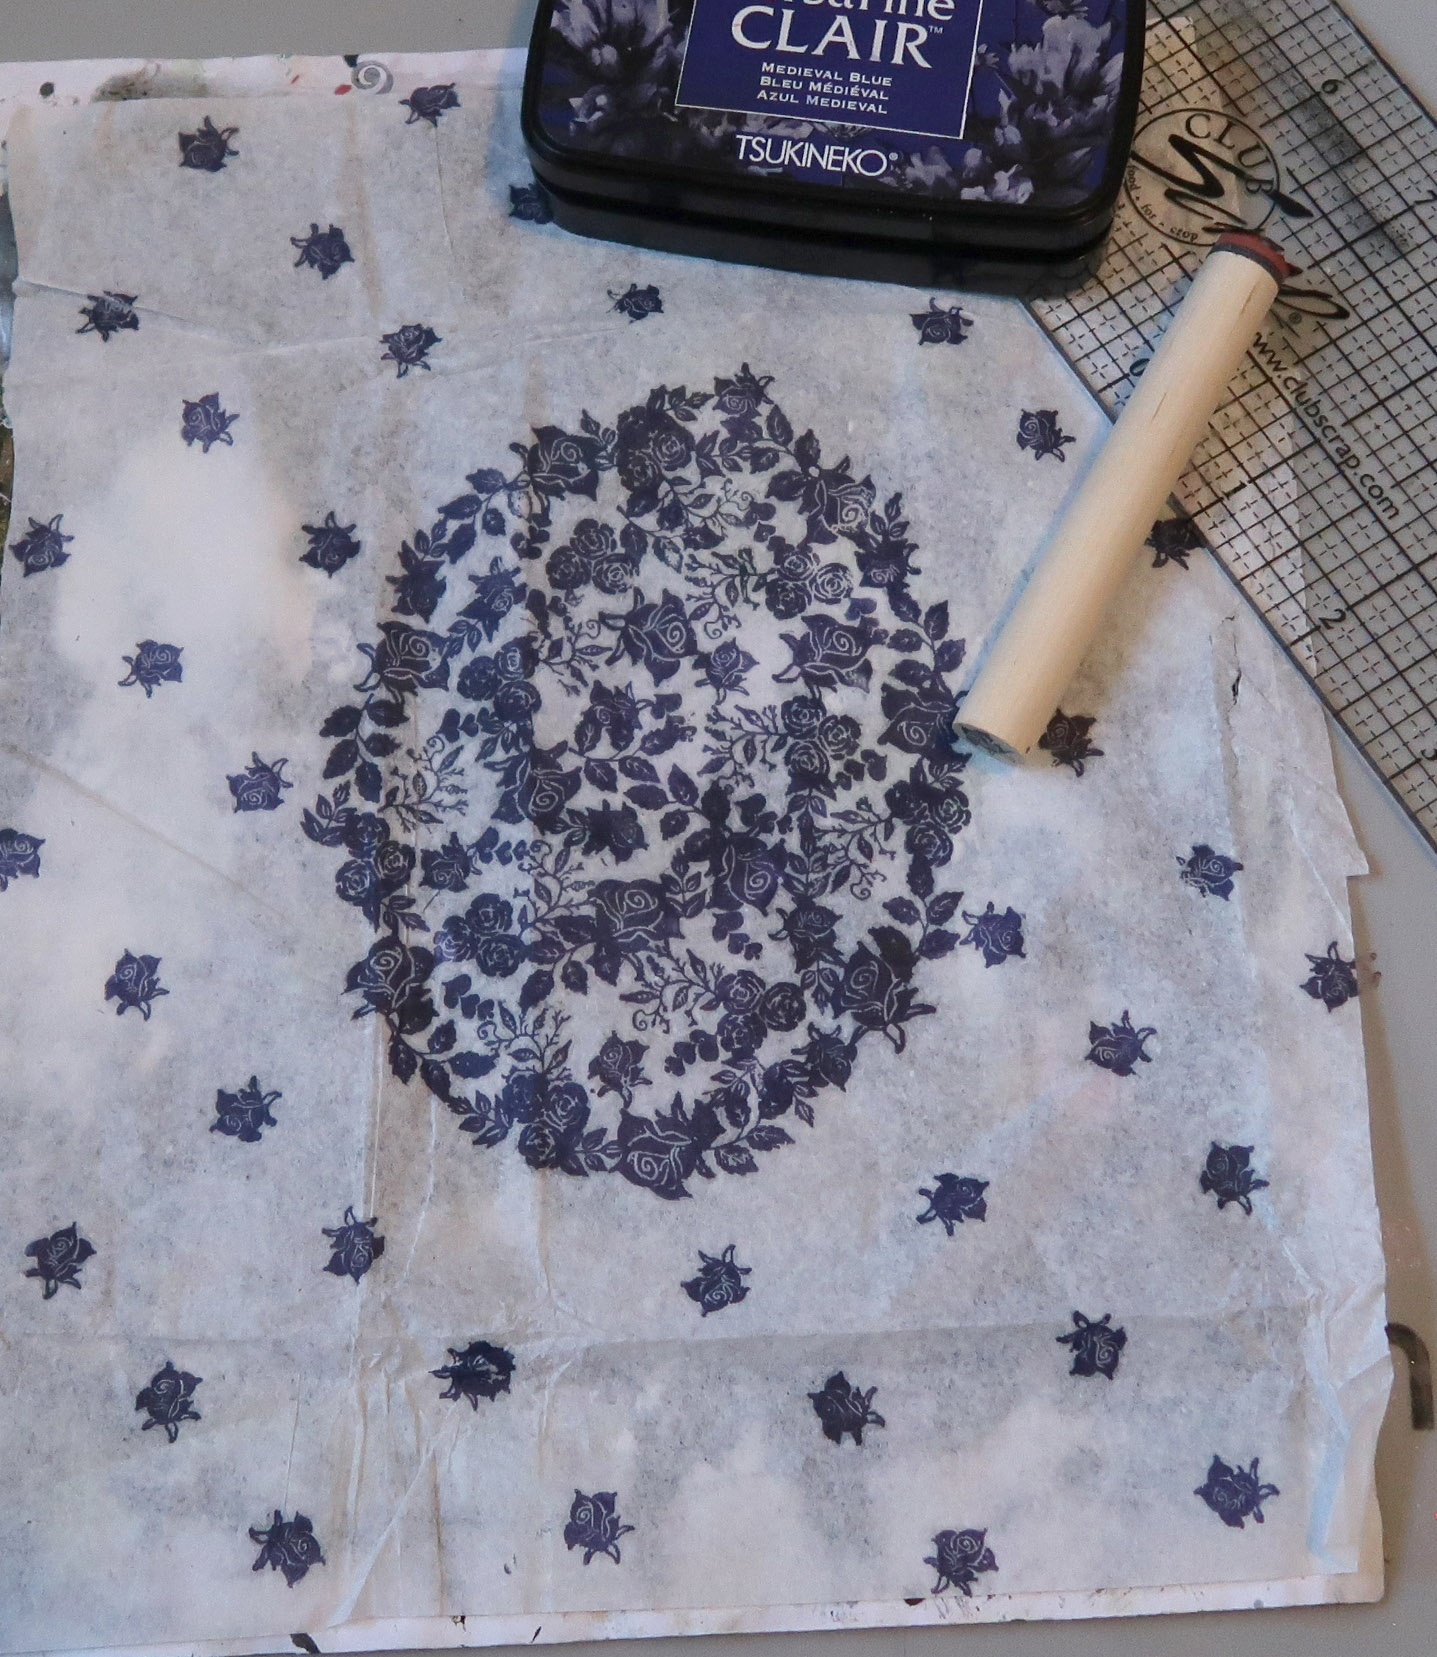
Step 9 – Continue stamping at 1” intervals until the entire piece of tissue paper has been covered.
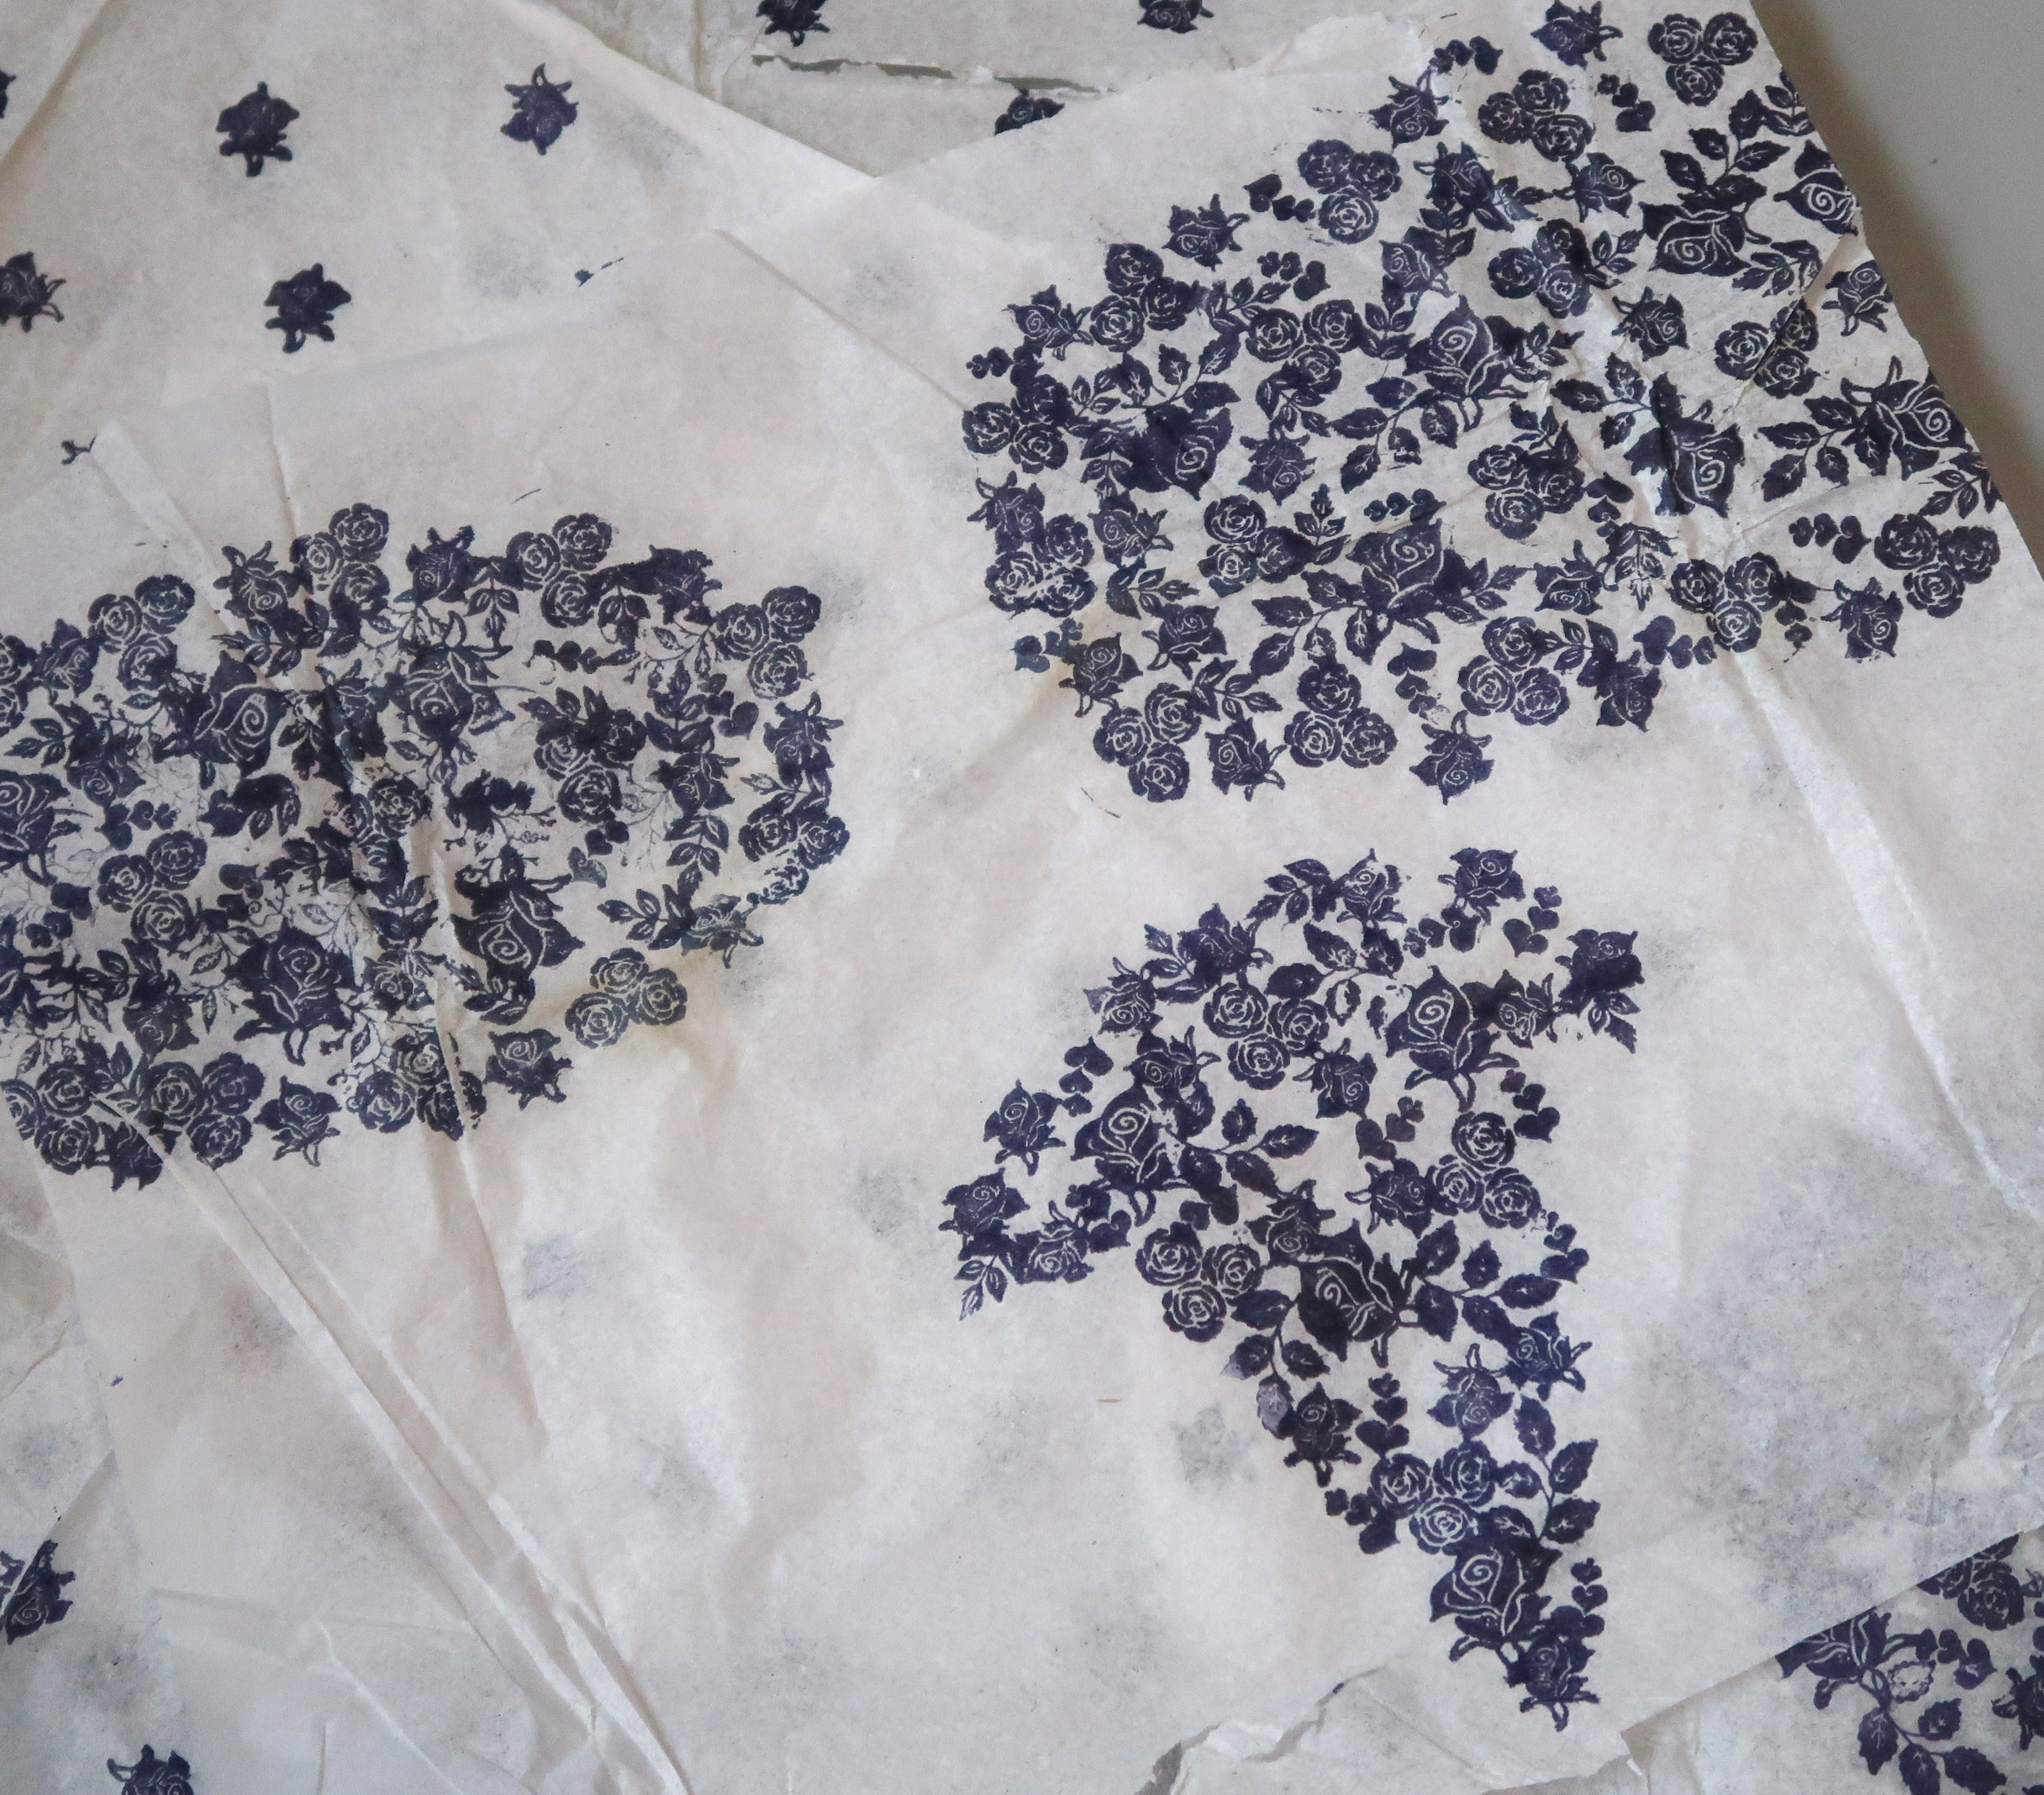
Step 10 – Repeat steps 4-9 for any additional areas you wish to cover with a concentrated stamping. For this example I made pieces for the back sides of the rabbit ears and one for the top of the nose and forehead.
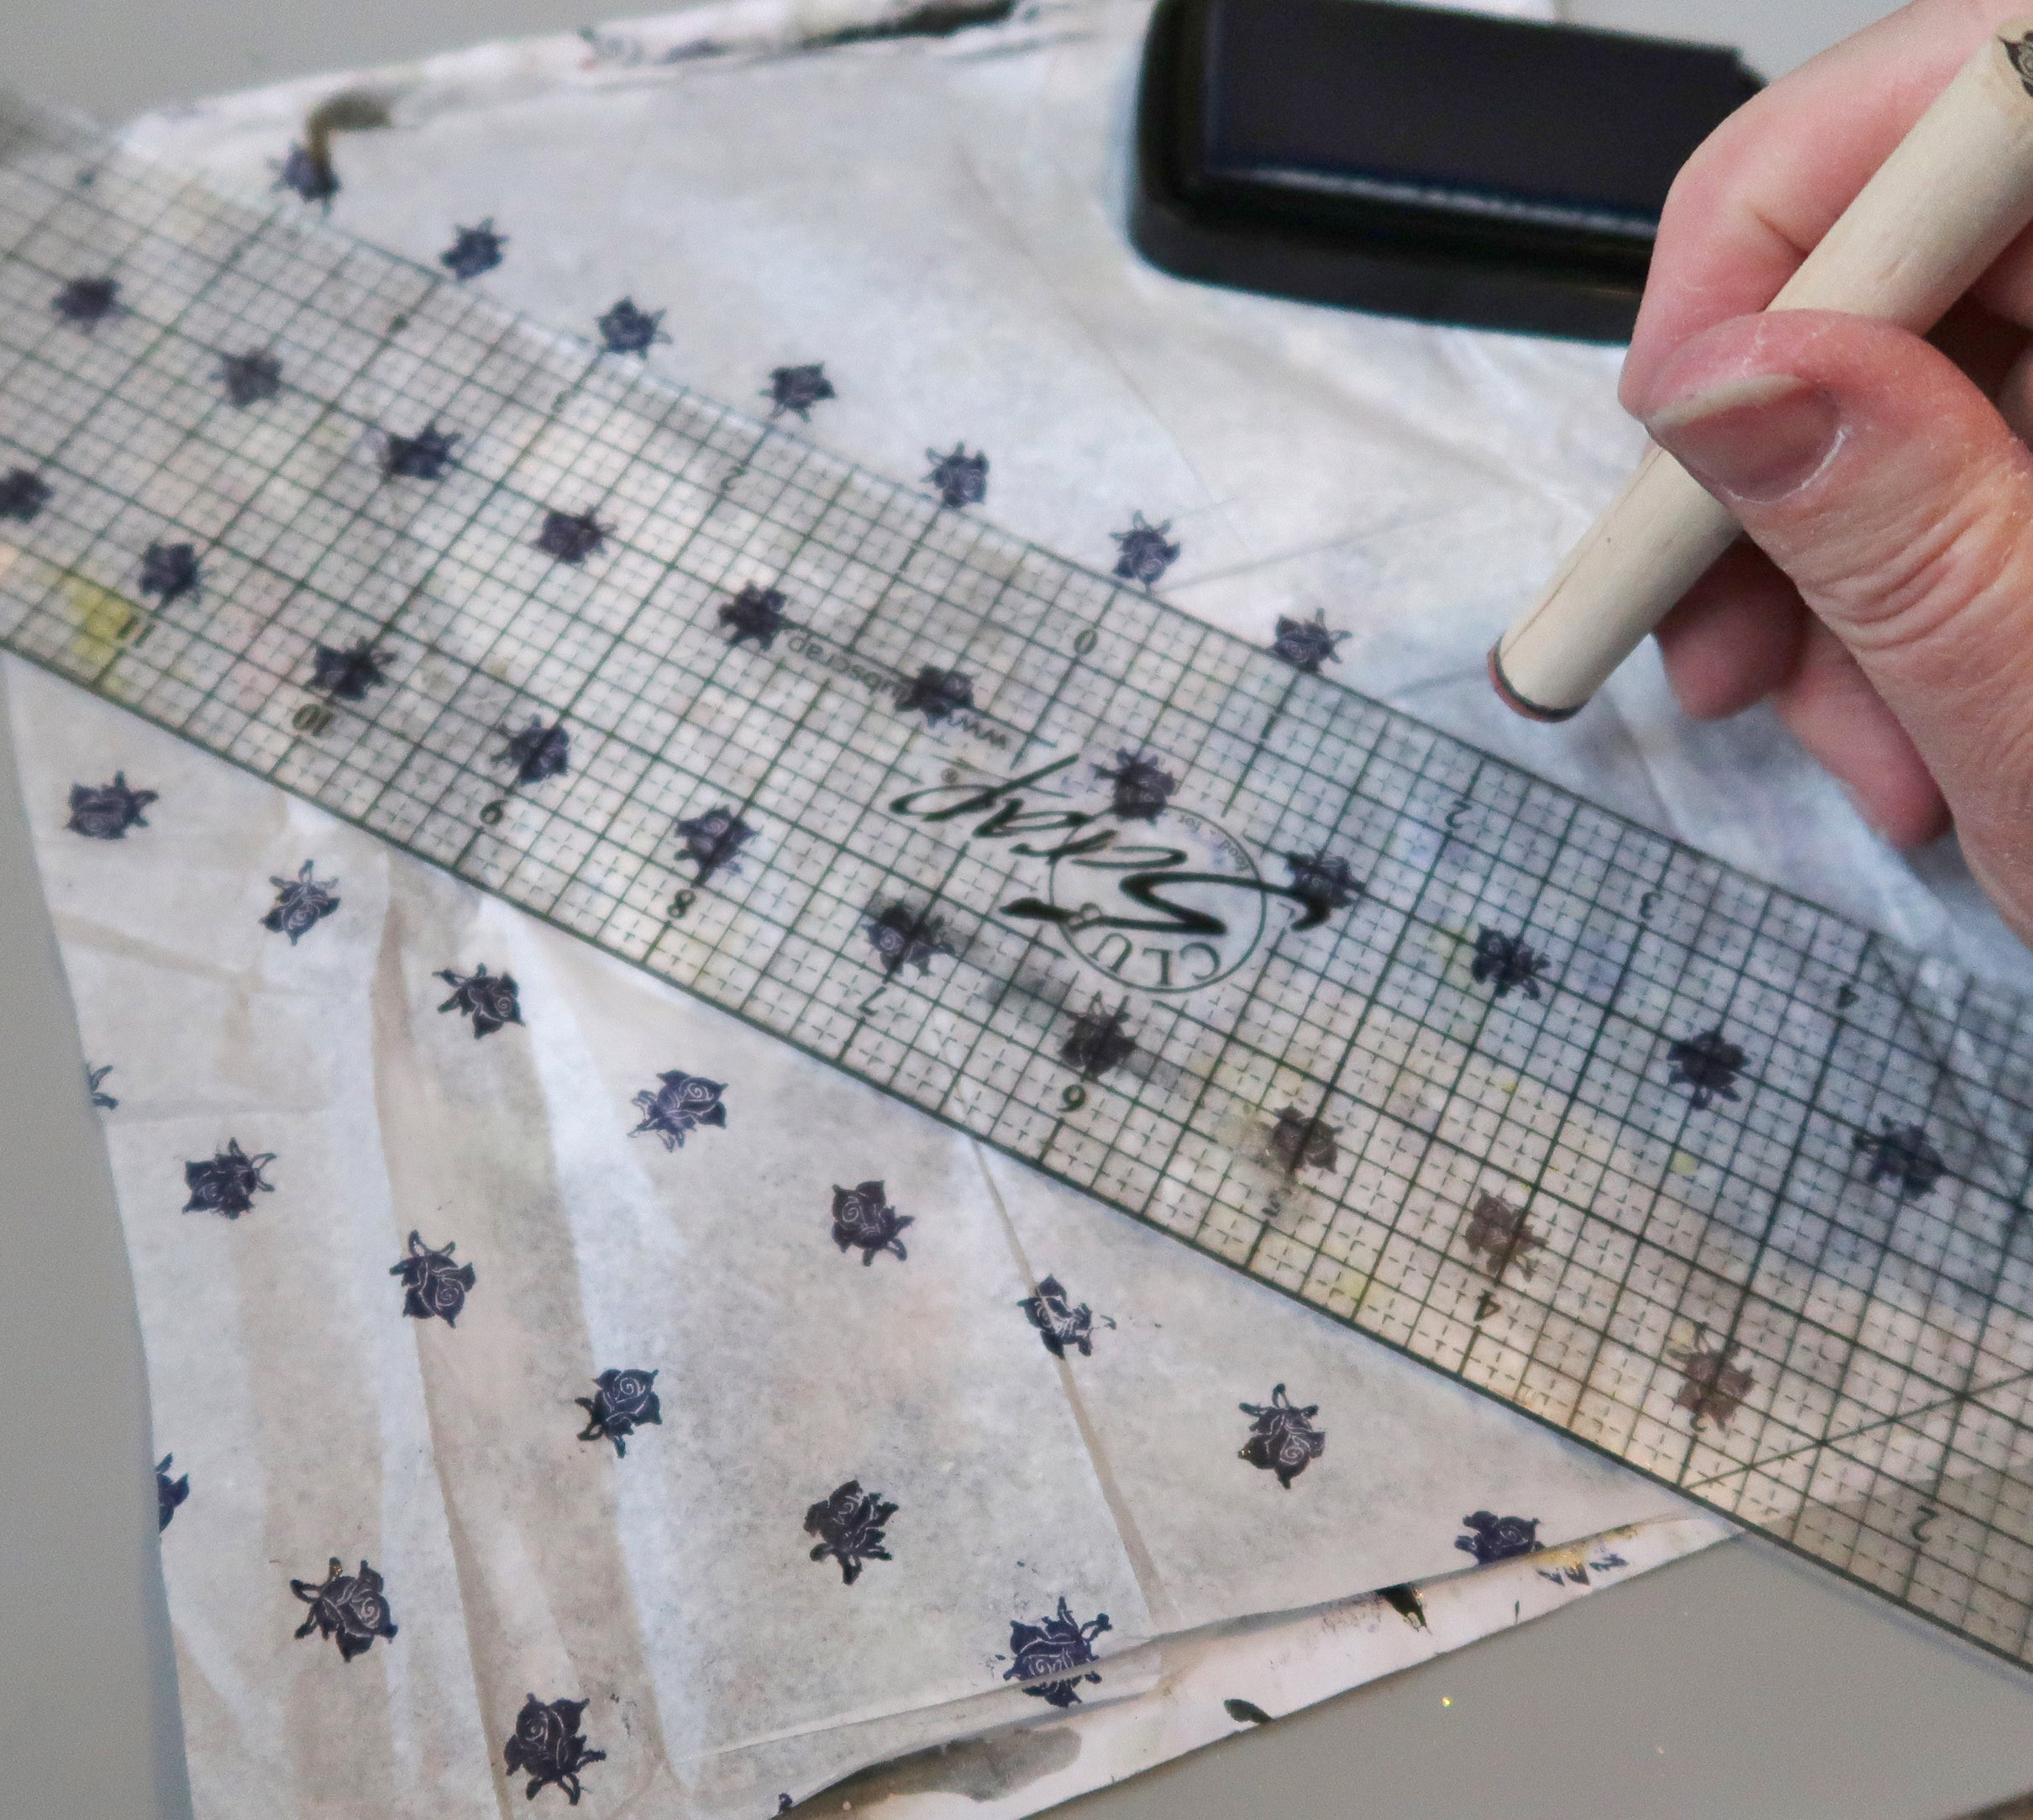
Step 11 – Stamp extra pieces of tissue paper with the diagonal 1” pattern to cover any areas which are not going to be covered with the concentrated pieces.
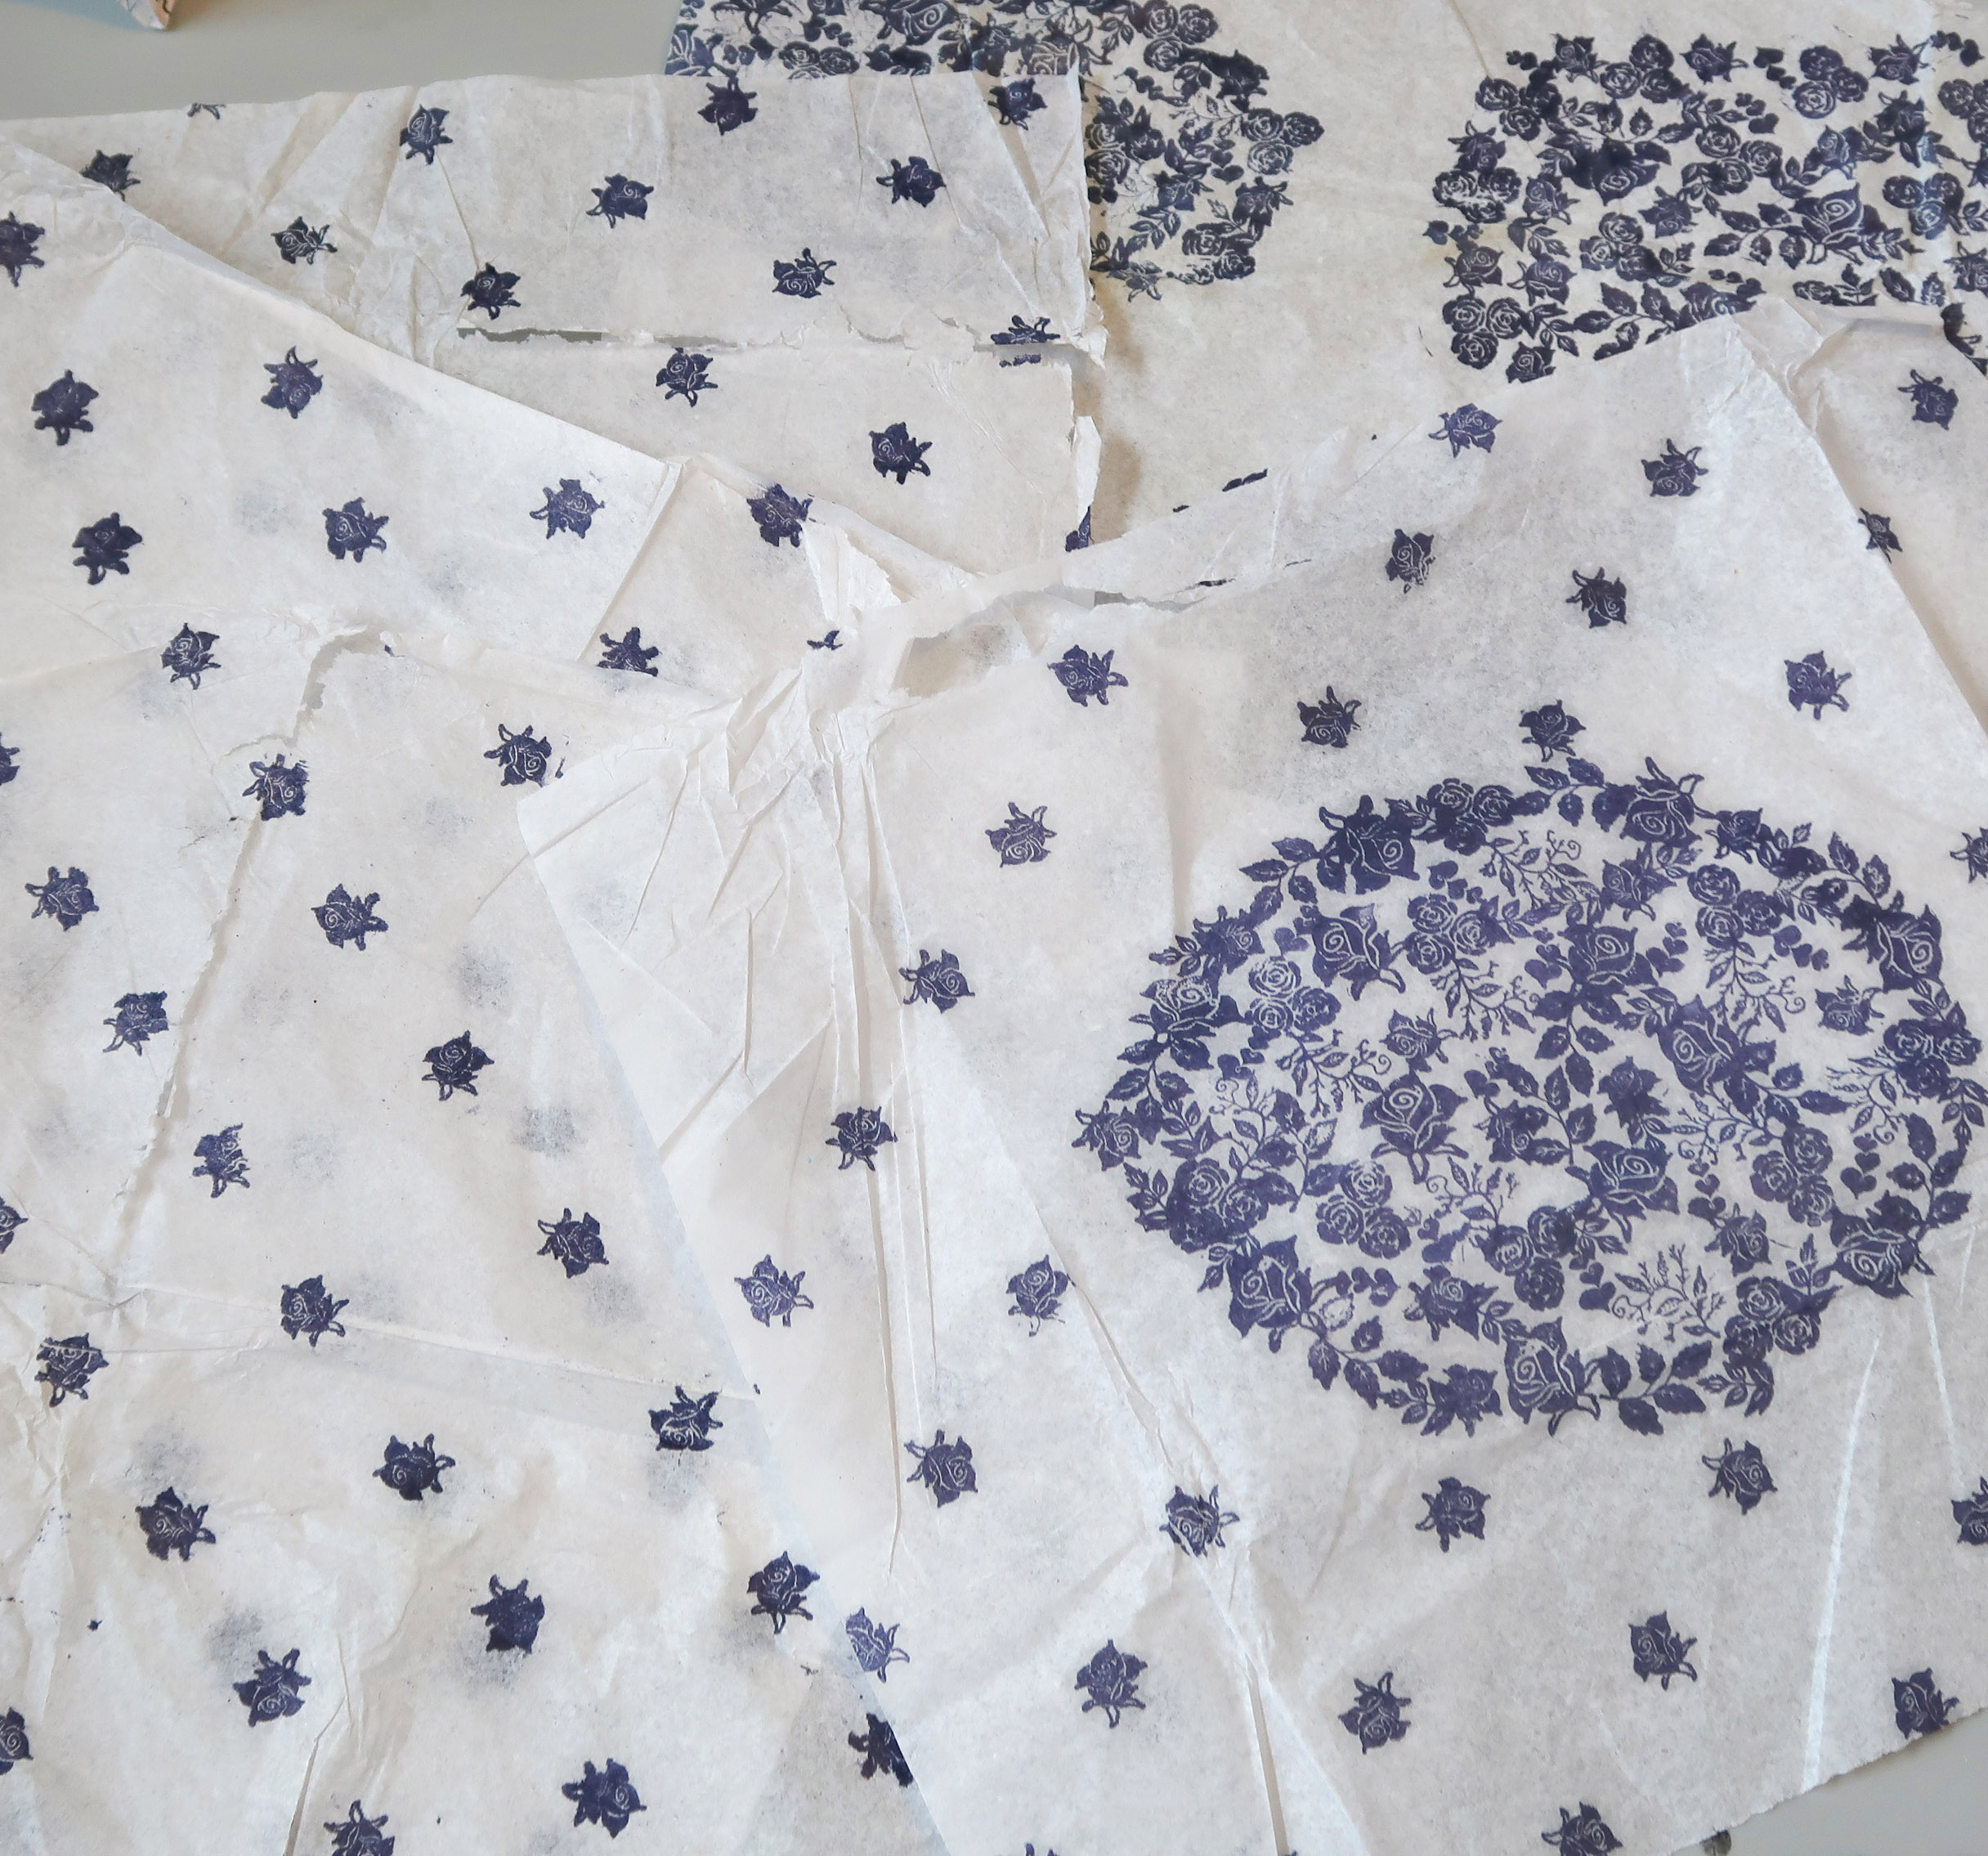
Step 12 – Stamp more tissue paper than you think you’ll need just in case. You don’t want to run out in the middle of covering the project and have to stop gluing to stamp more.
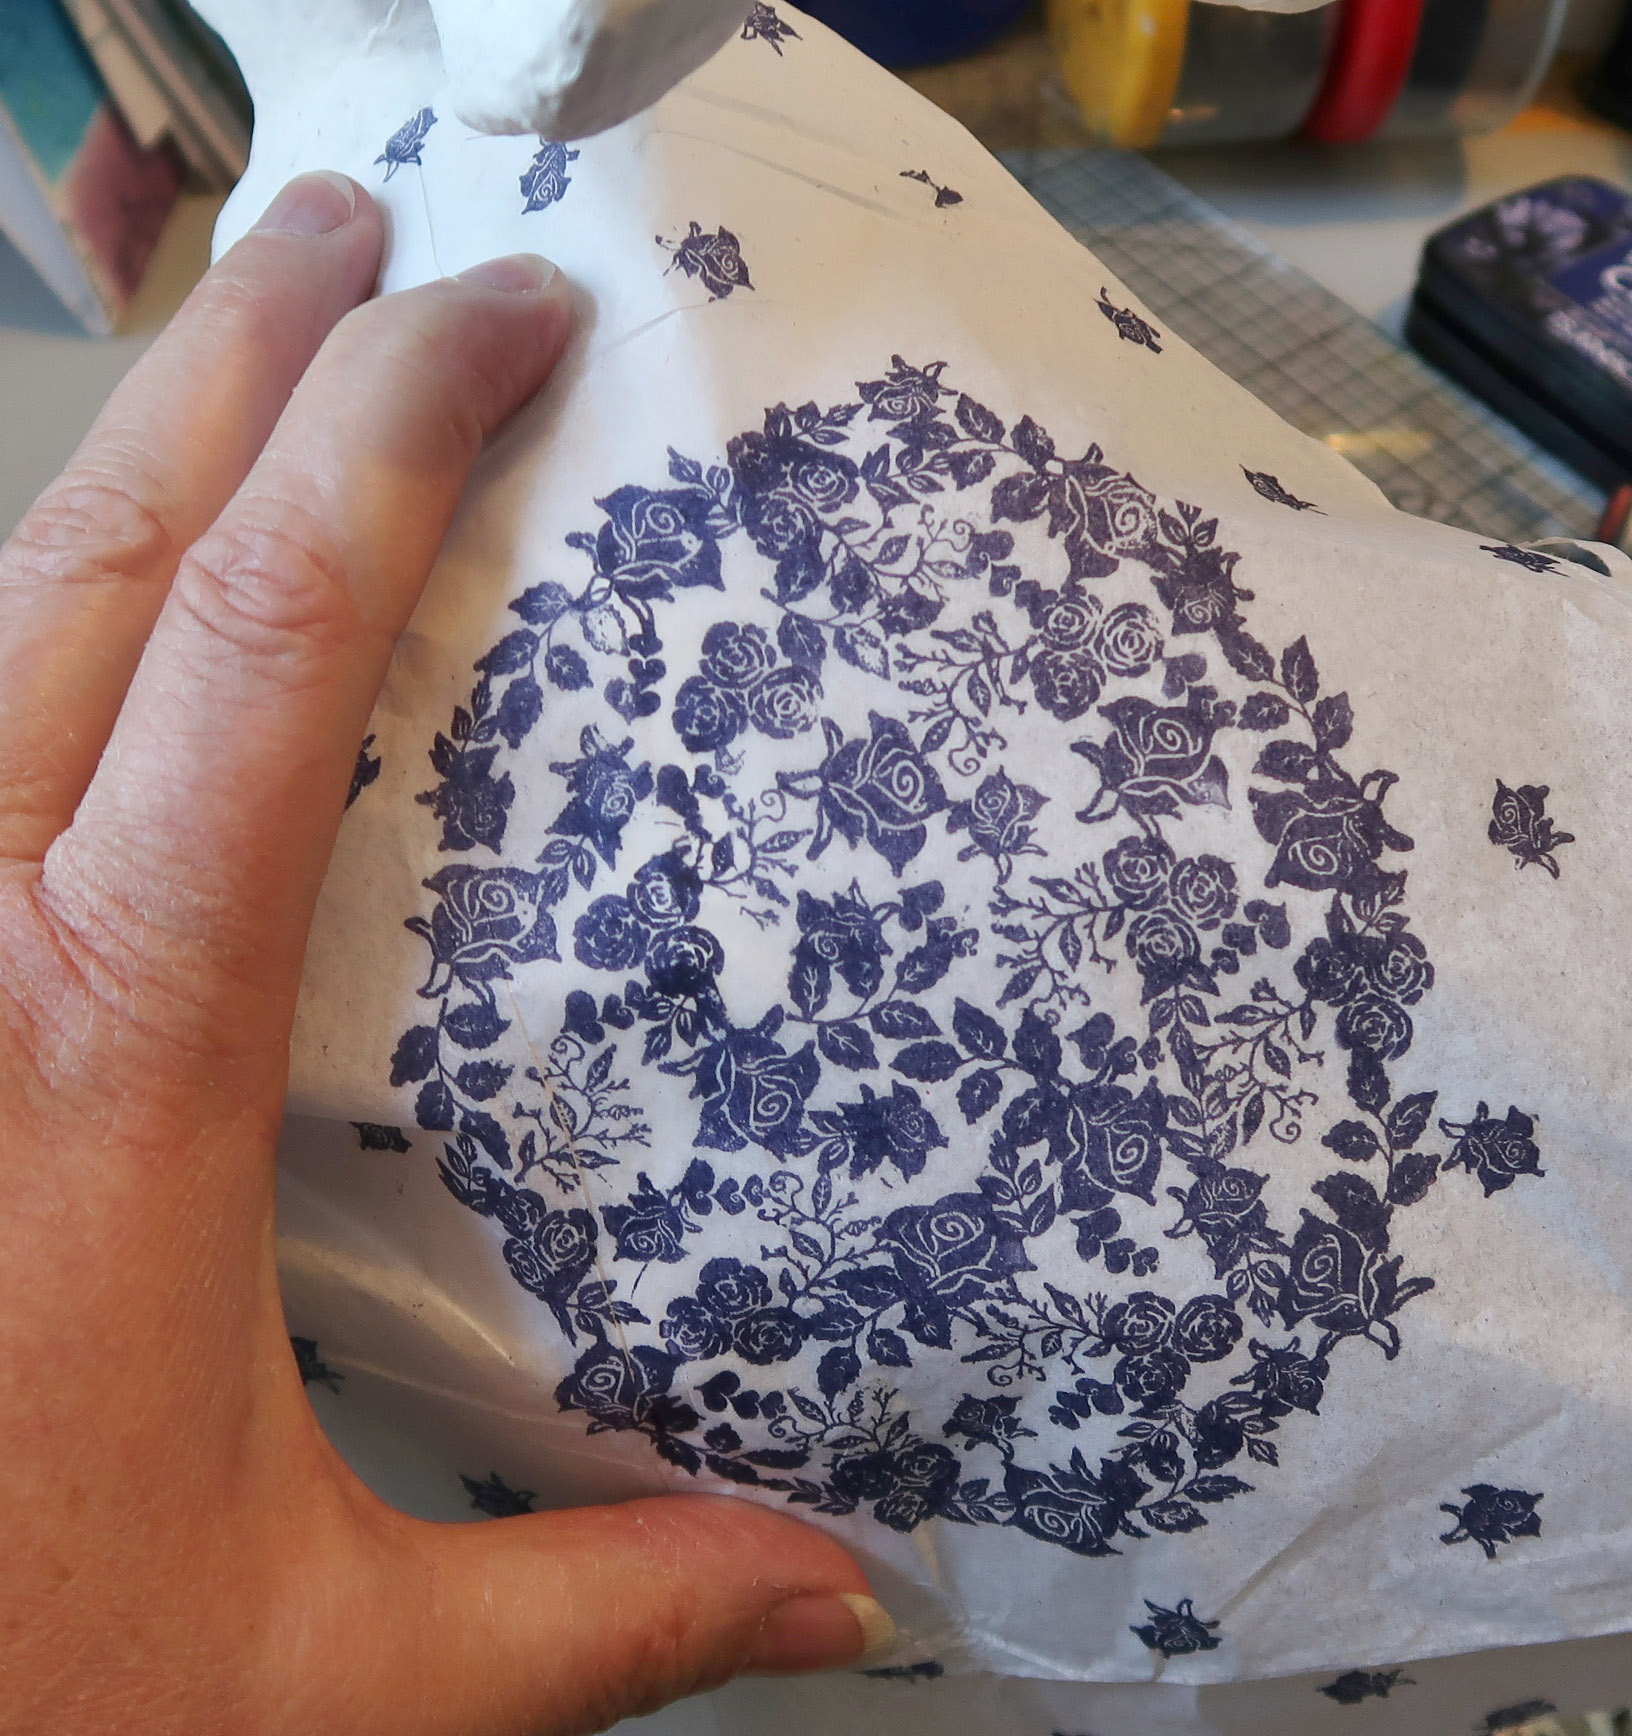
Step 13 – Apply a layer of Creative Medium over the section of the paper mache you want to begin with and carefully place the piece of tissue paper over the glue.
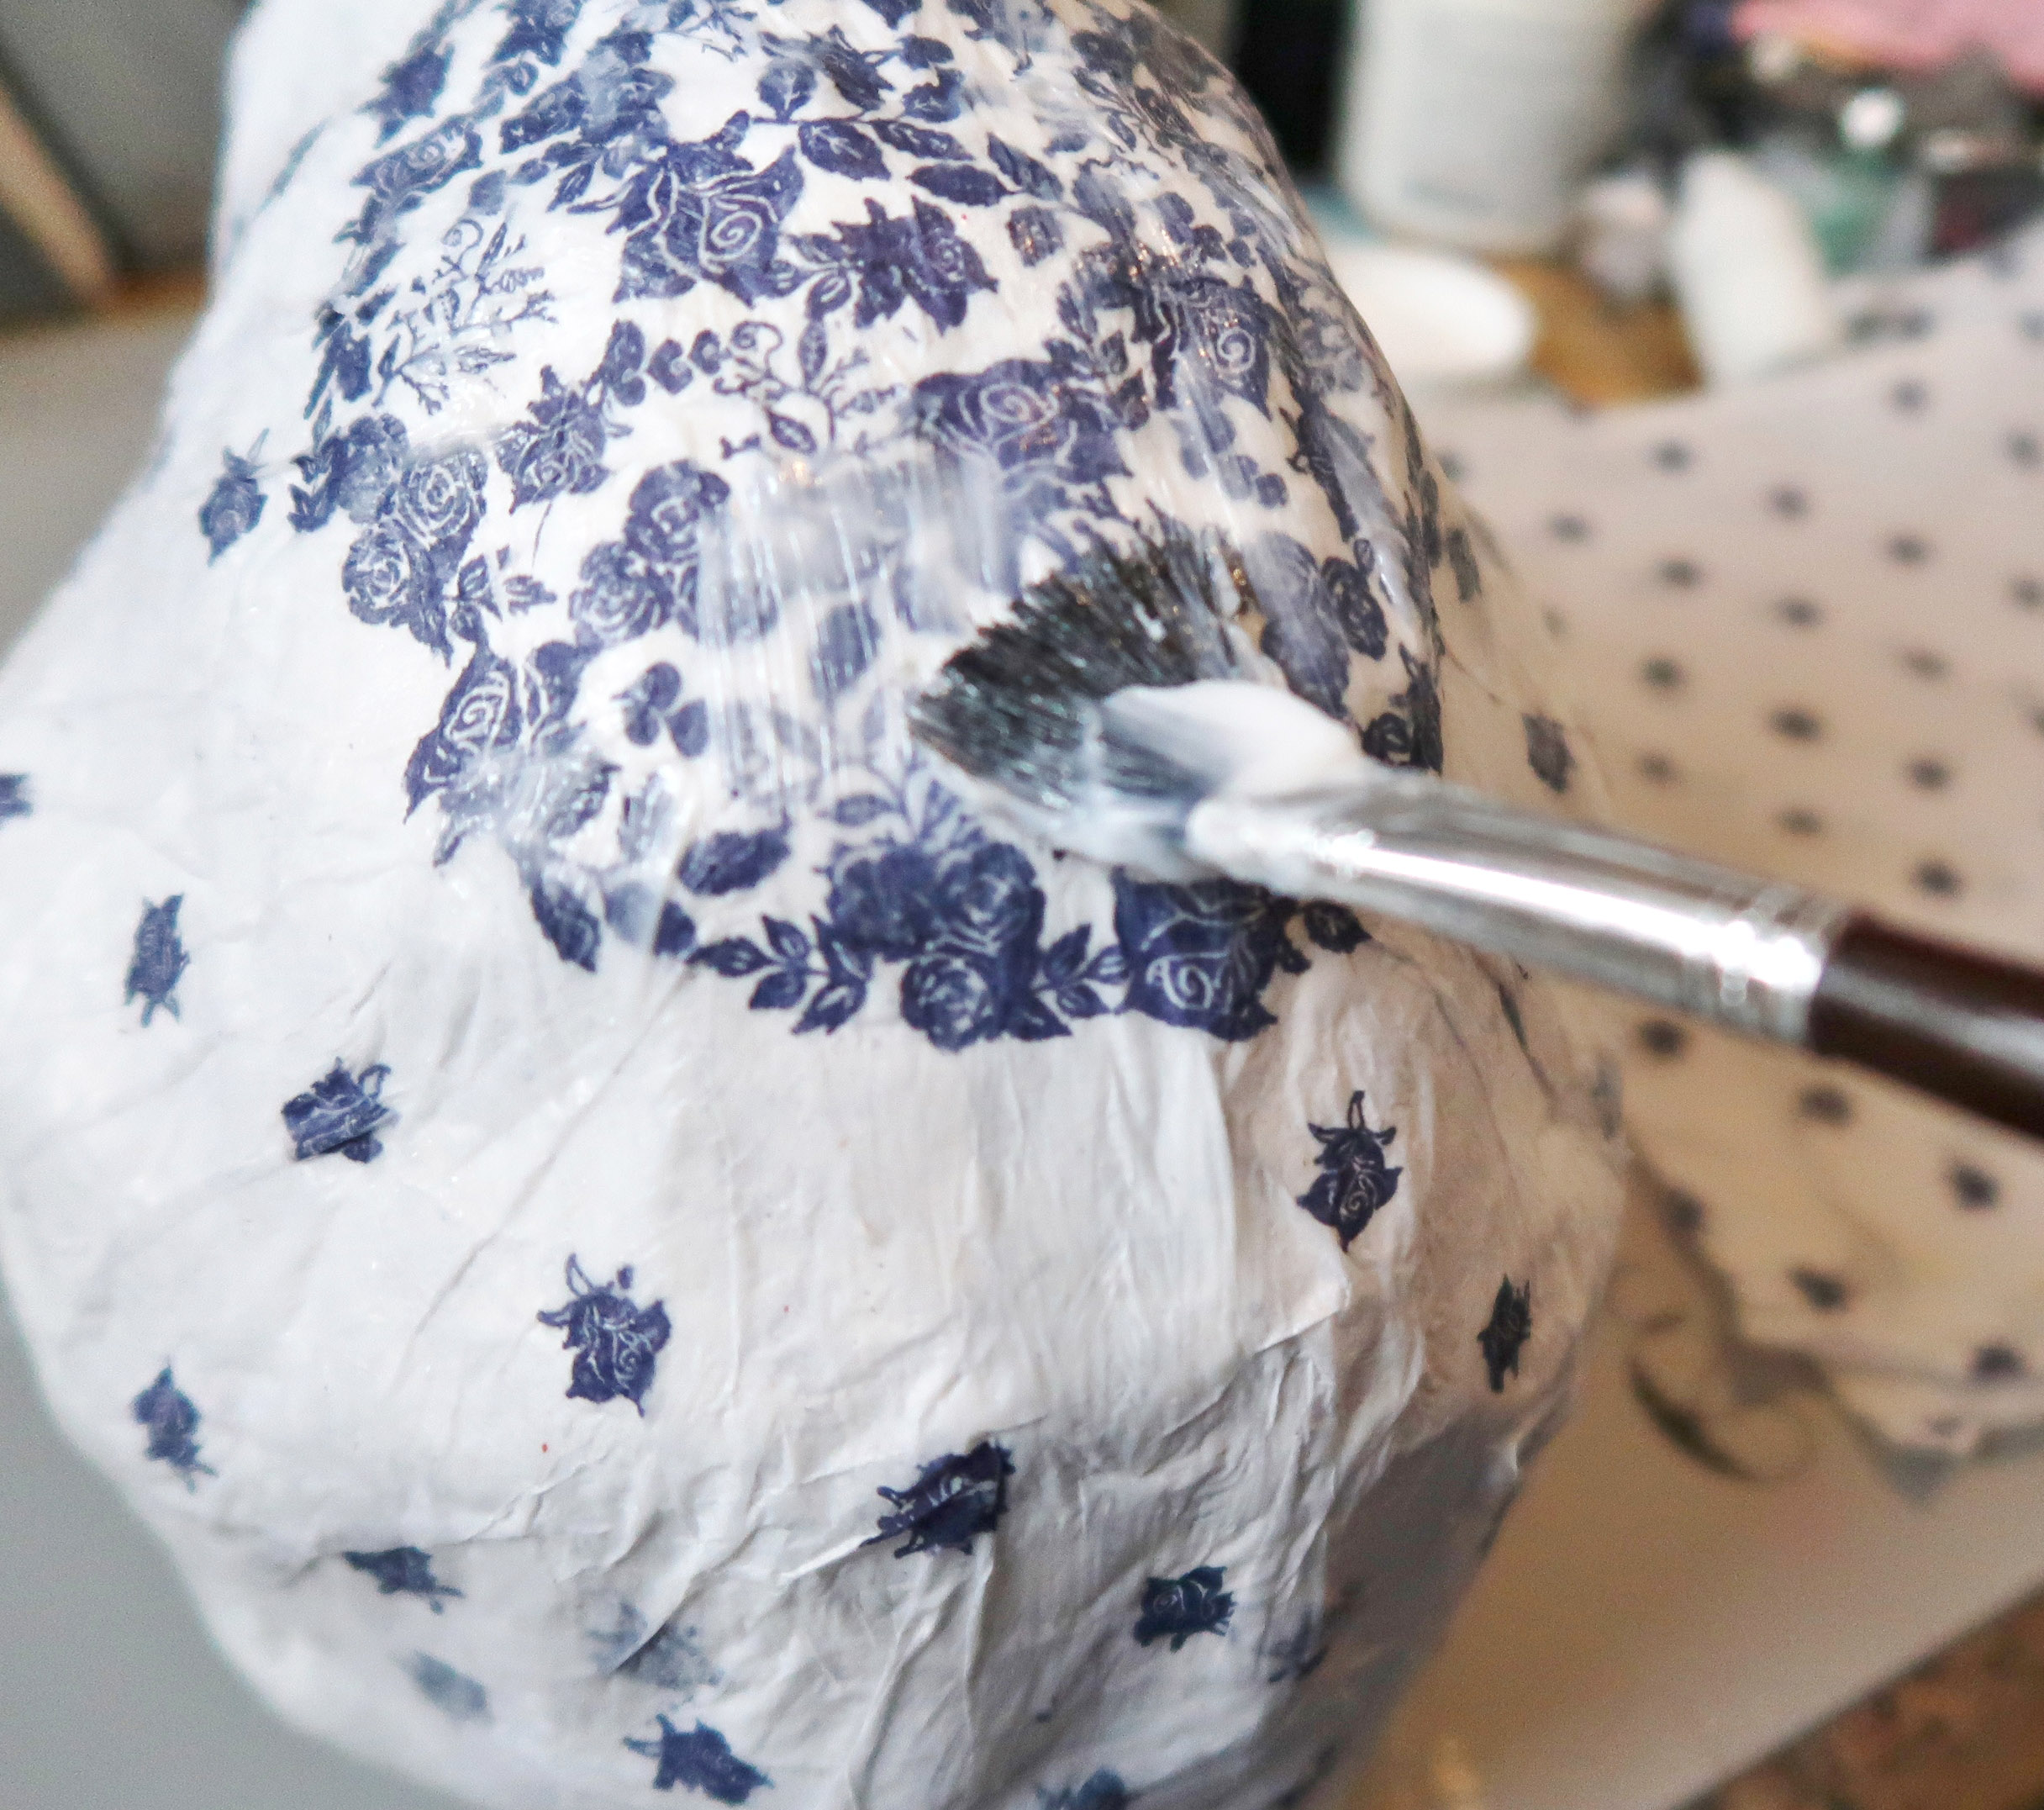
Step 14 – Pick up more Creative Medium on the paintbrush and gently dab the tissue paper and press it onto the paper mache form. Once in place cover the entire piece of tissue paper with a generous layer of Creative Medium.
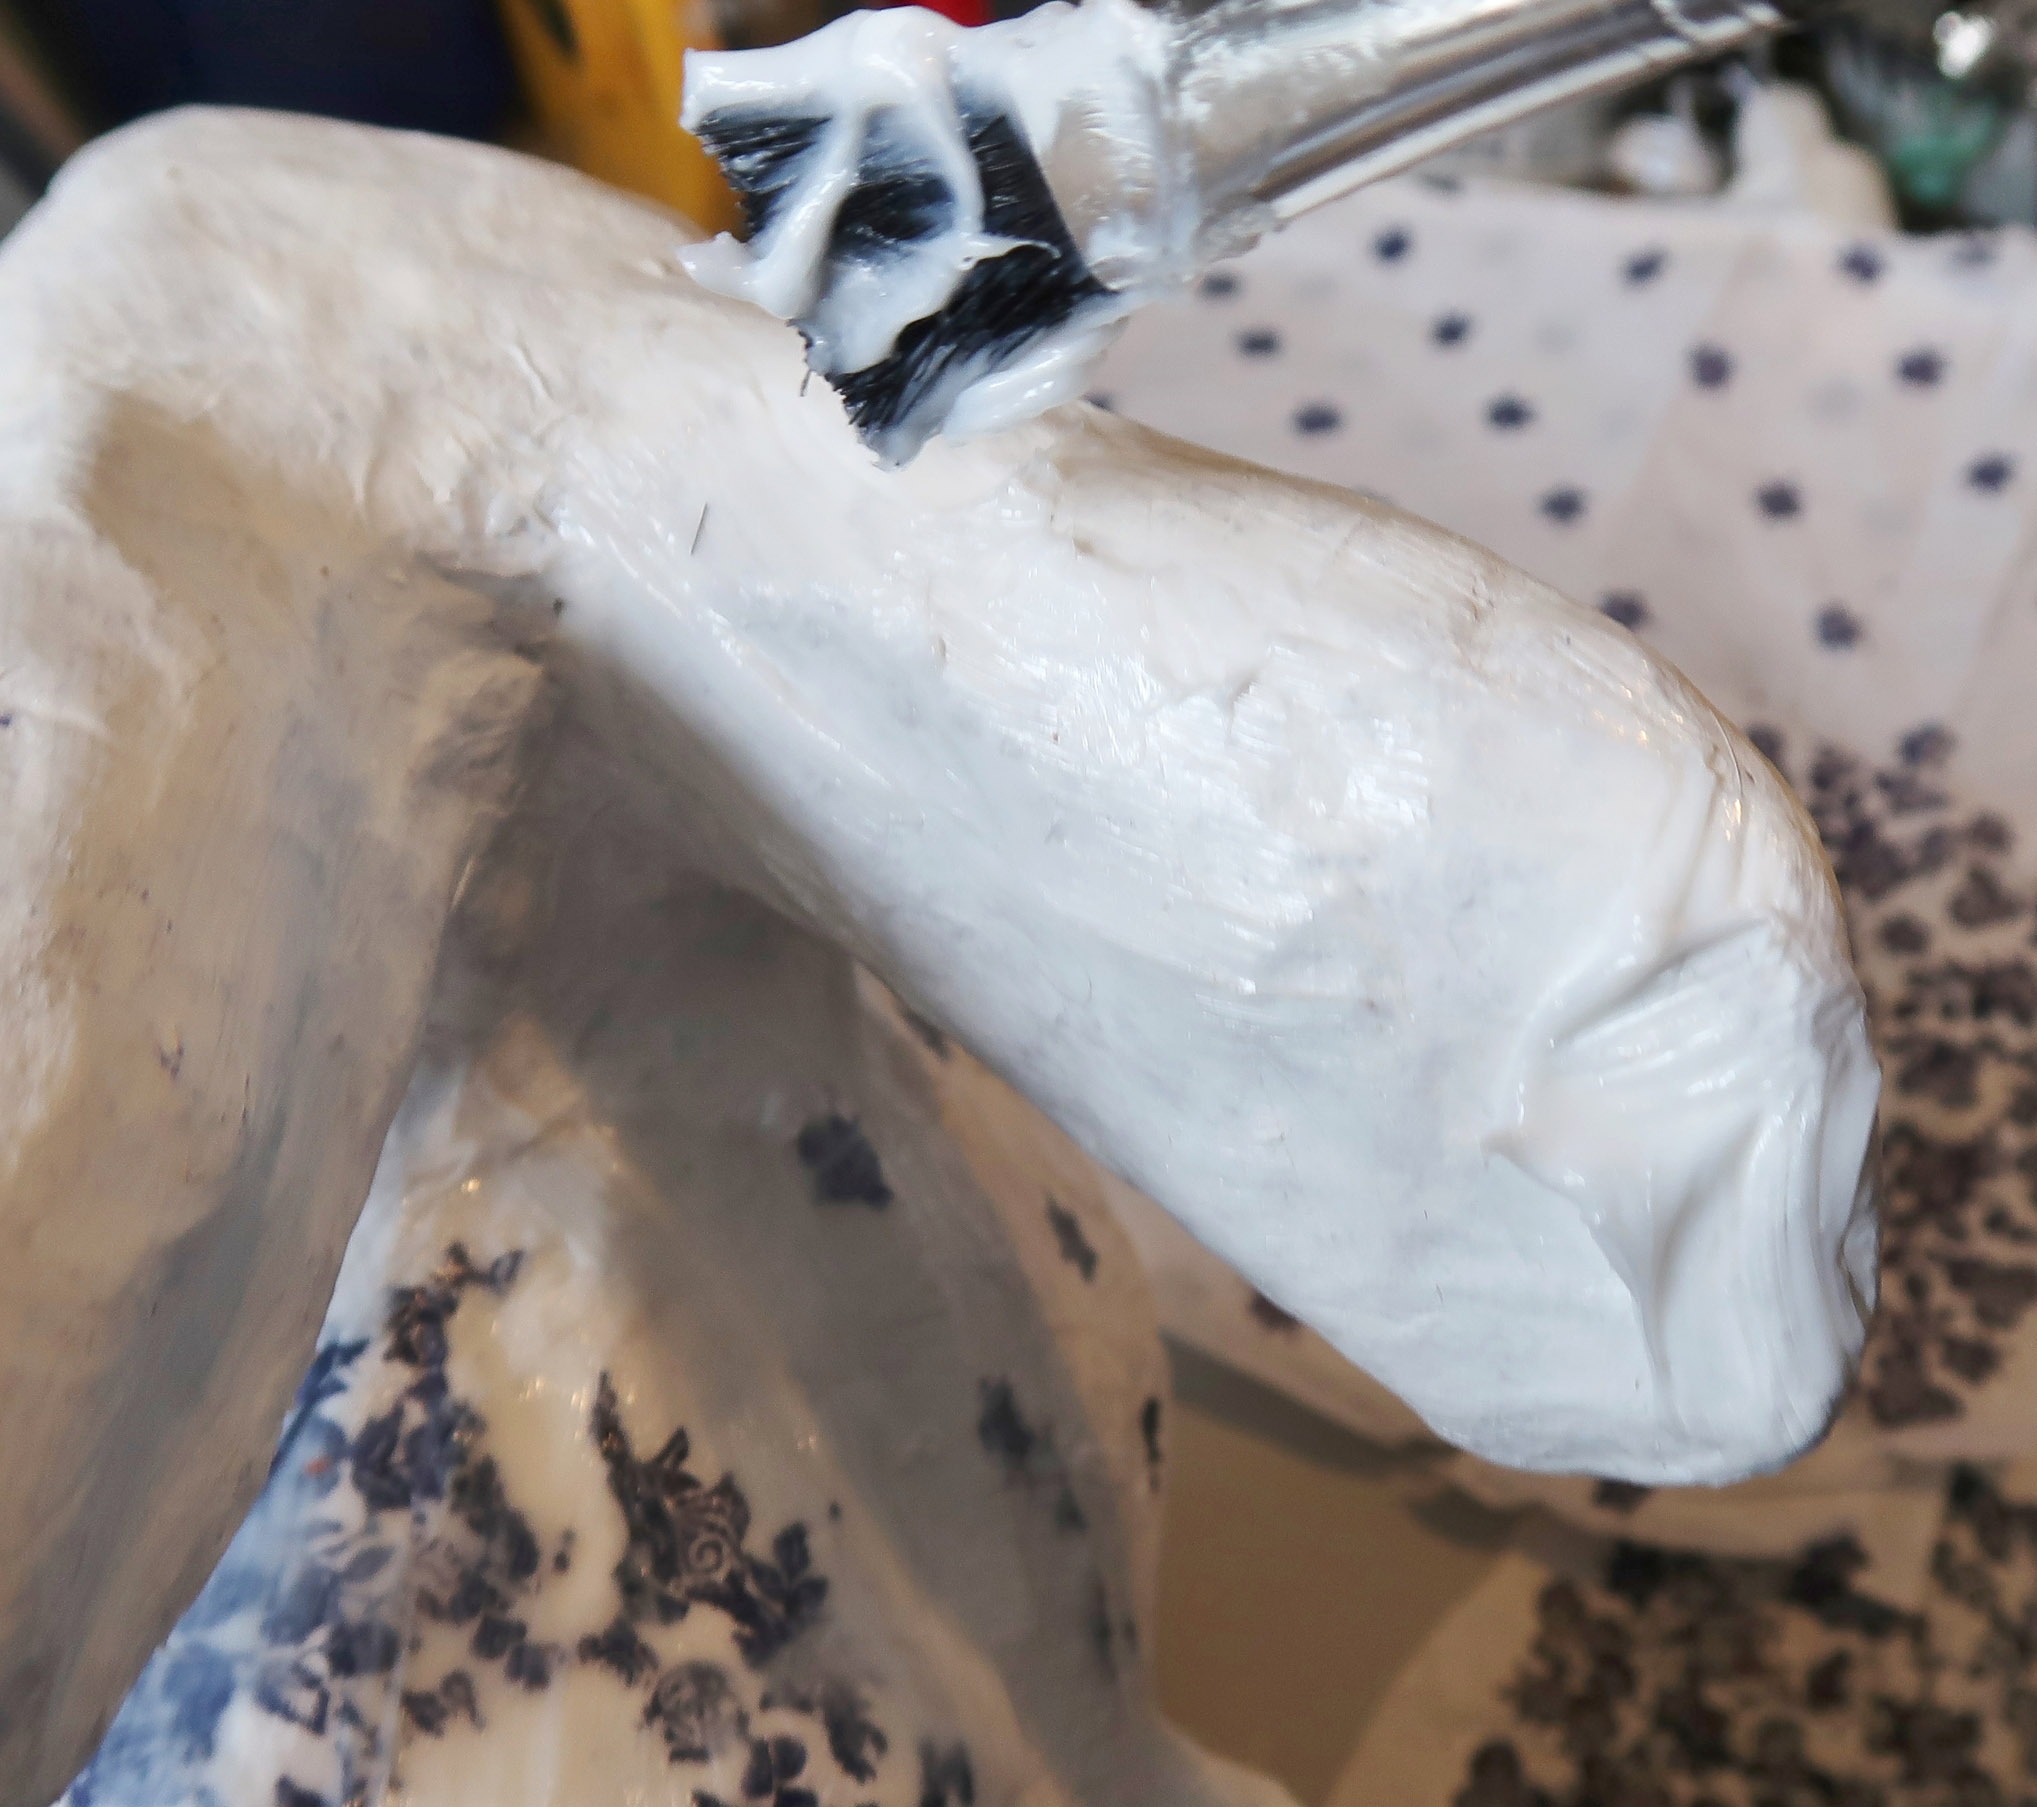
Step 15 – Continue covering the areas where you want the concentrated stamping, next the ears, one at a time.
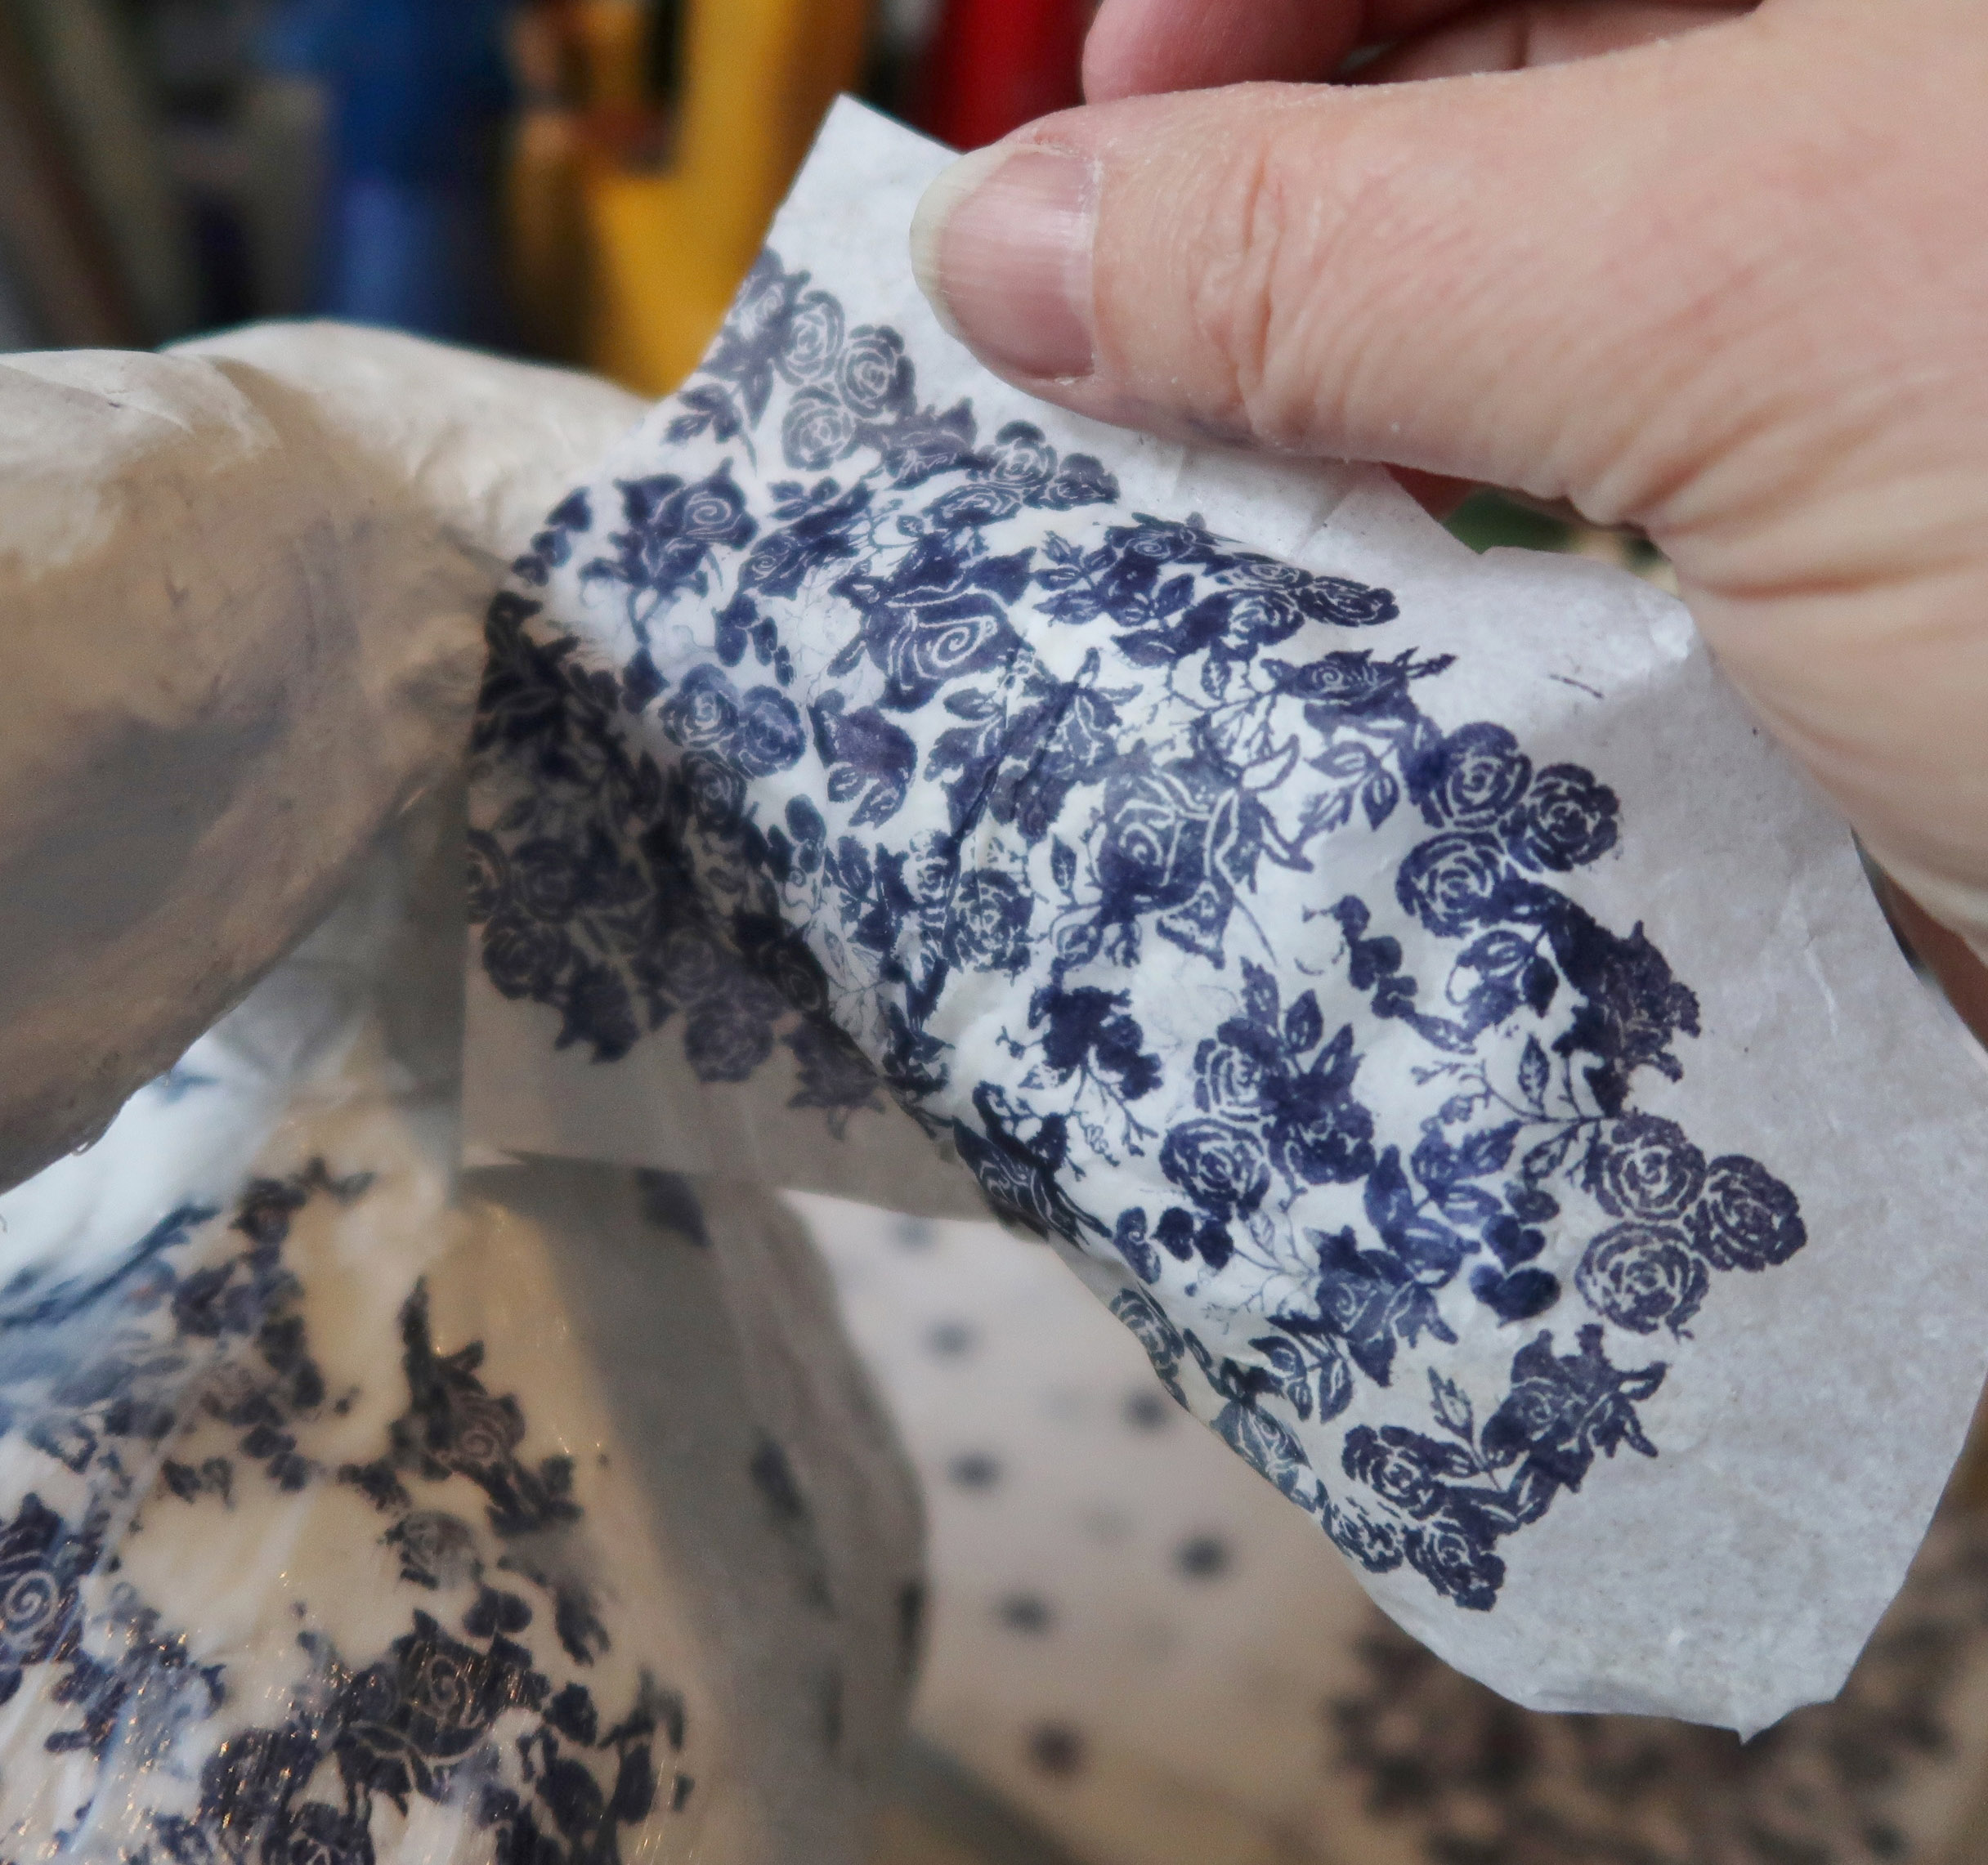
Step 16 – Again gently layer the tissue paper over the Creative Medium base coat then cover with a top coat of Creative Medium. Gently pull away the excess tissue paper and smooth the edges with the paintbrush. Let these areas dry before continuing.
Step 17 – Once all of the concentrated areas have been applied (back medallion, ears, and forehead), use the diagonal stamped tissue paper to fill in any additional areas that need covering in the same fashion. Apply a foundation layer of Creative Medium; add the diagonal tissue paper and gently press into the glue then apply a top coat of Creative Medium.
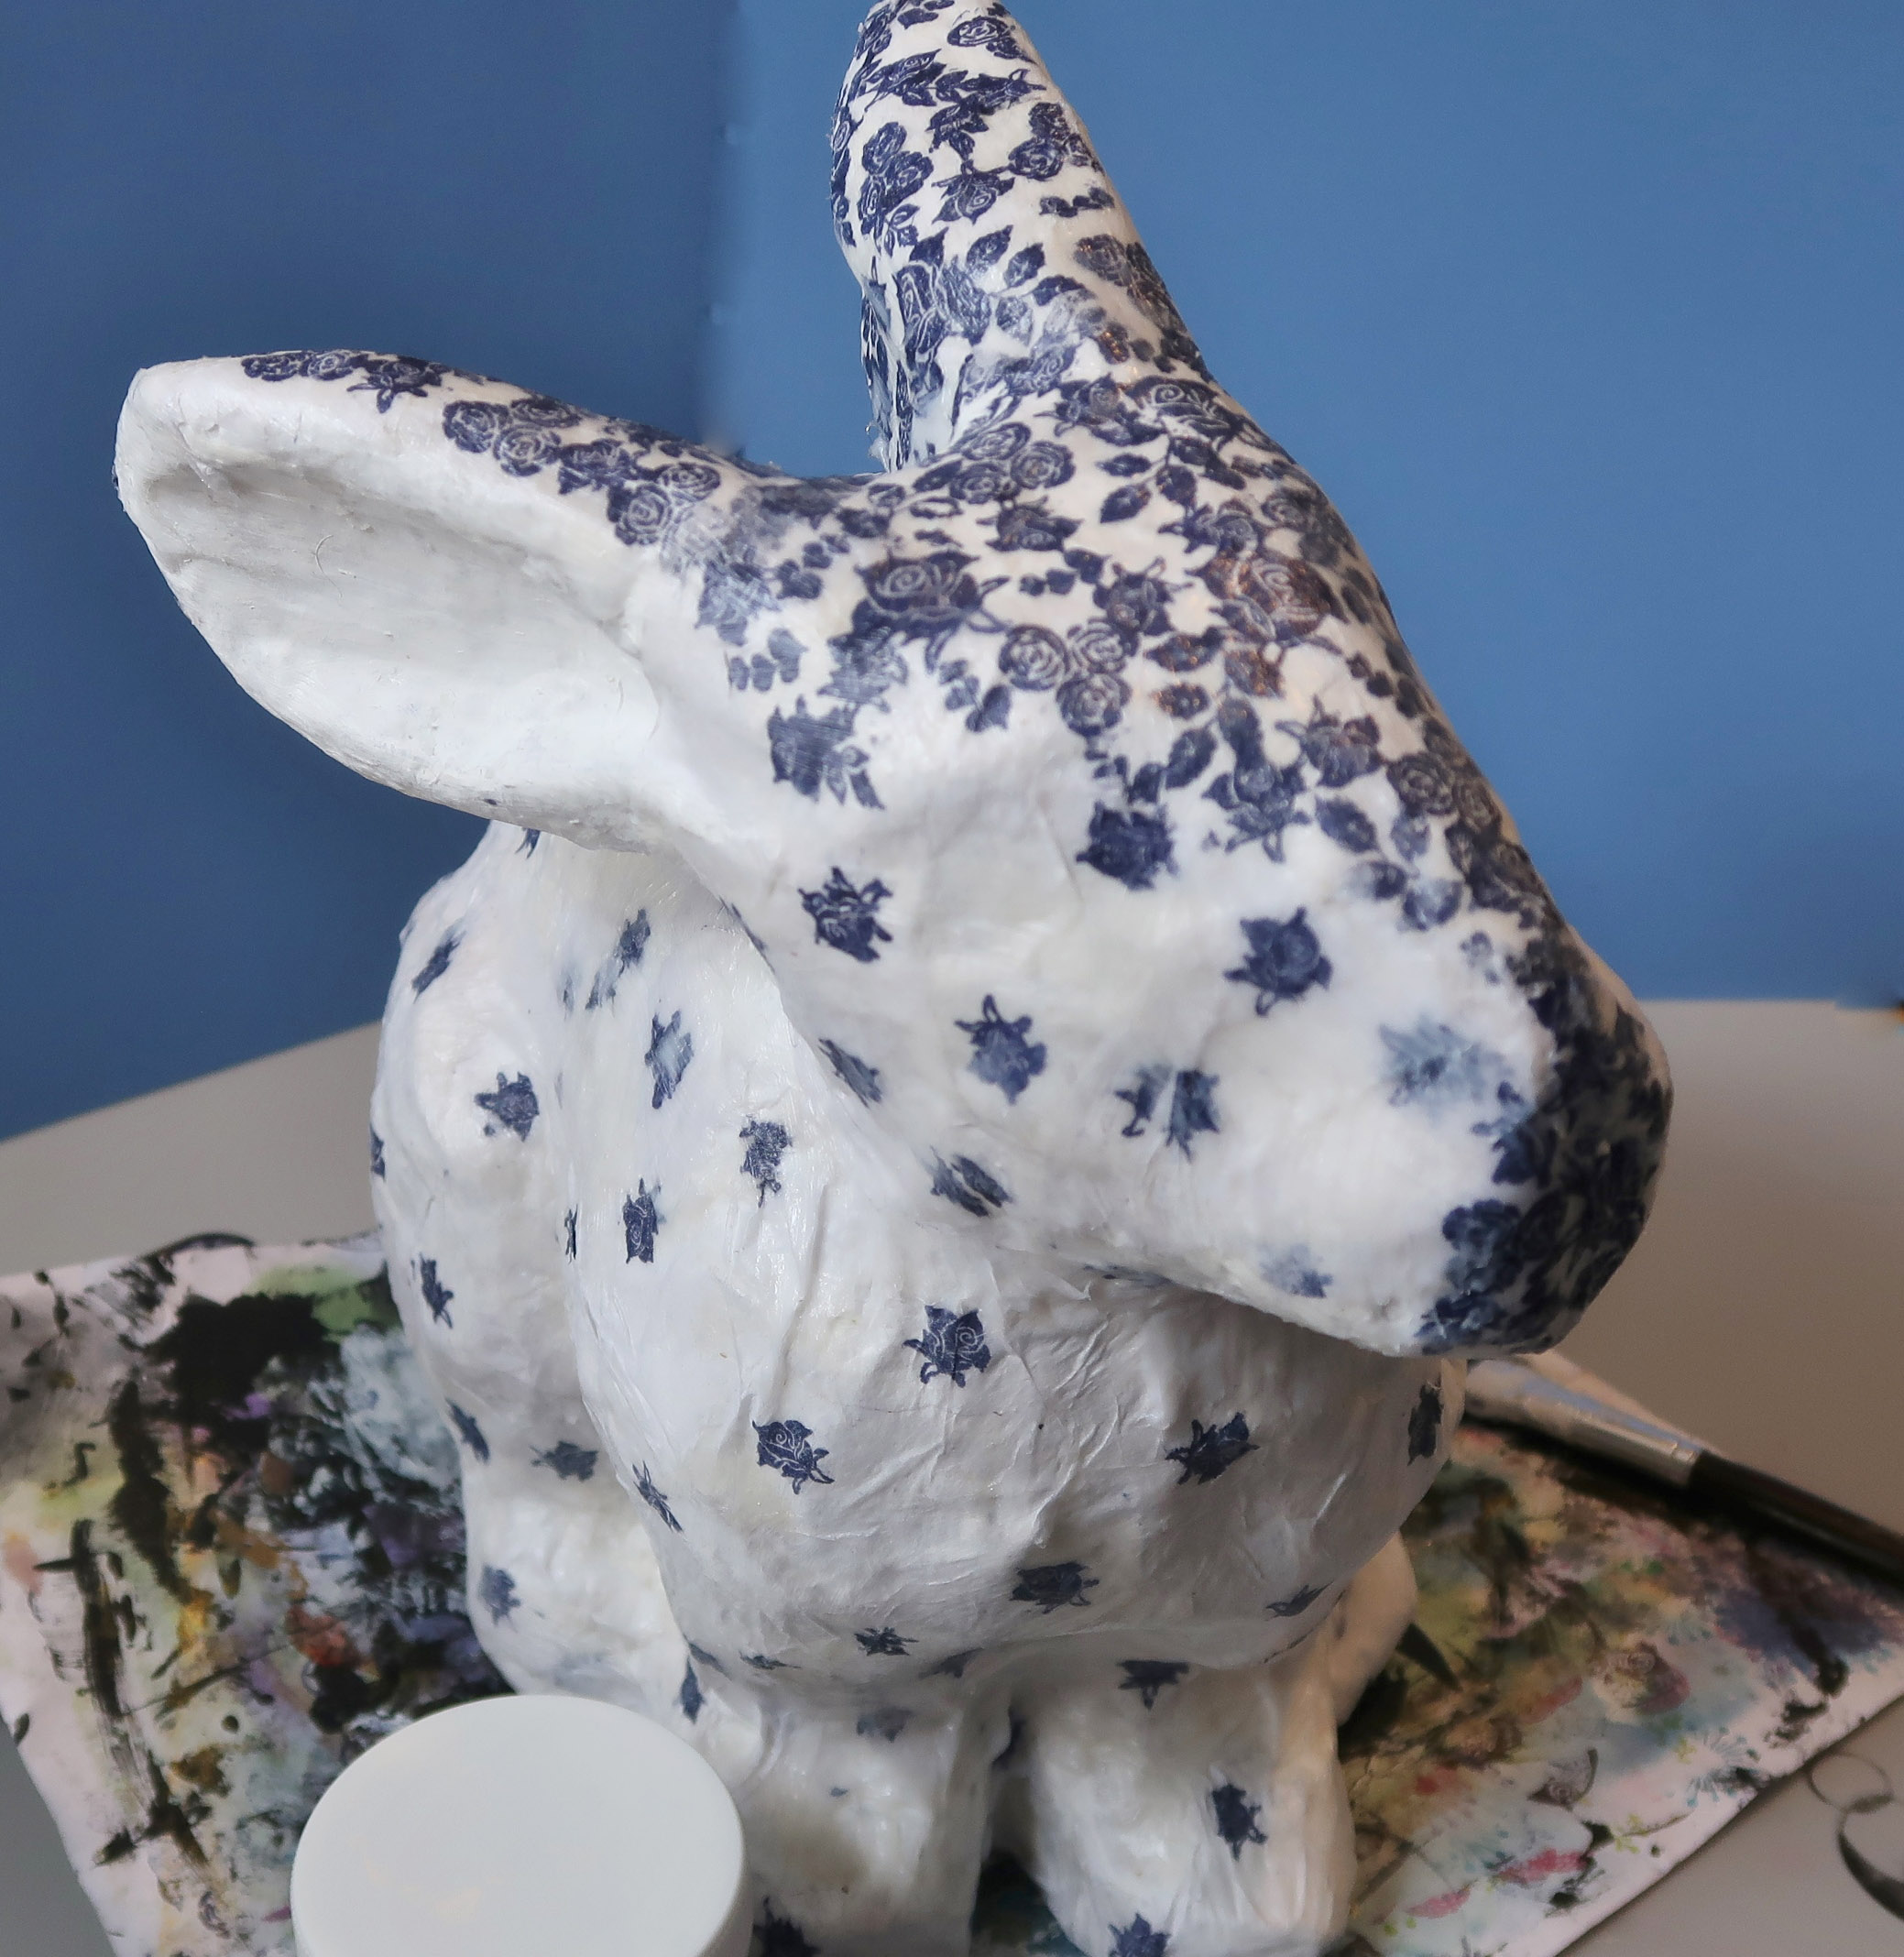
Step 18 – Let the Creative Medium dry completely, I left this example dry overnight.
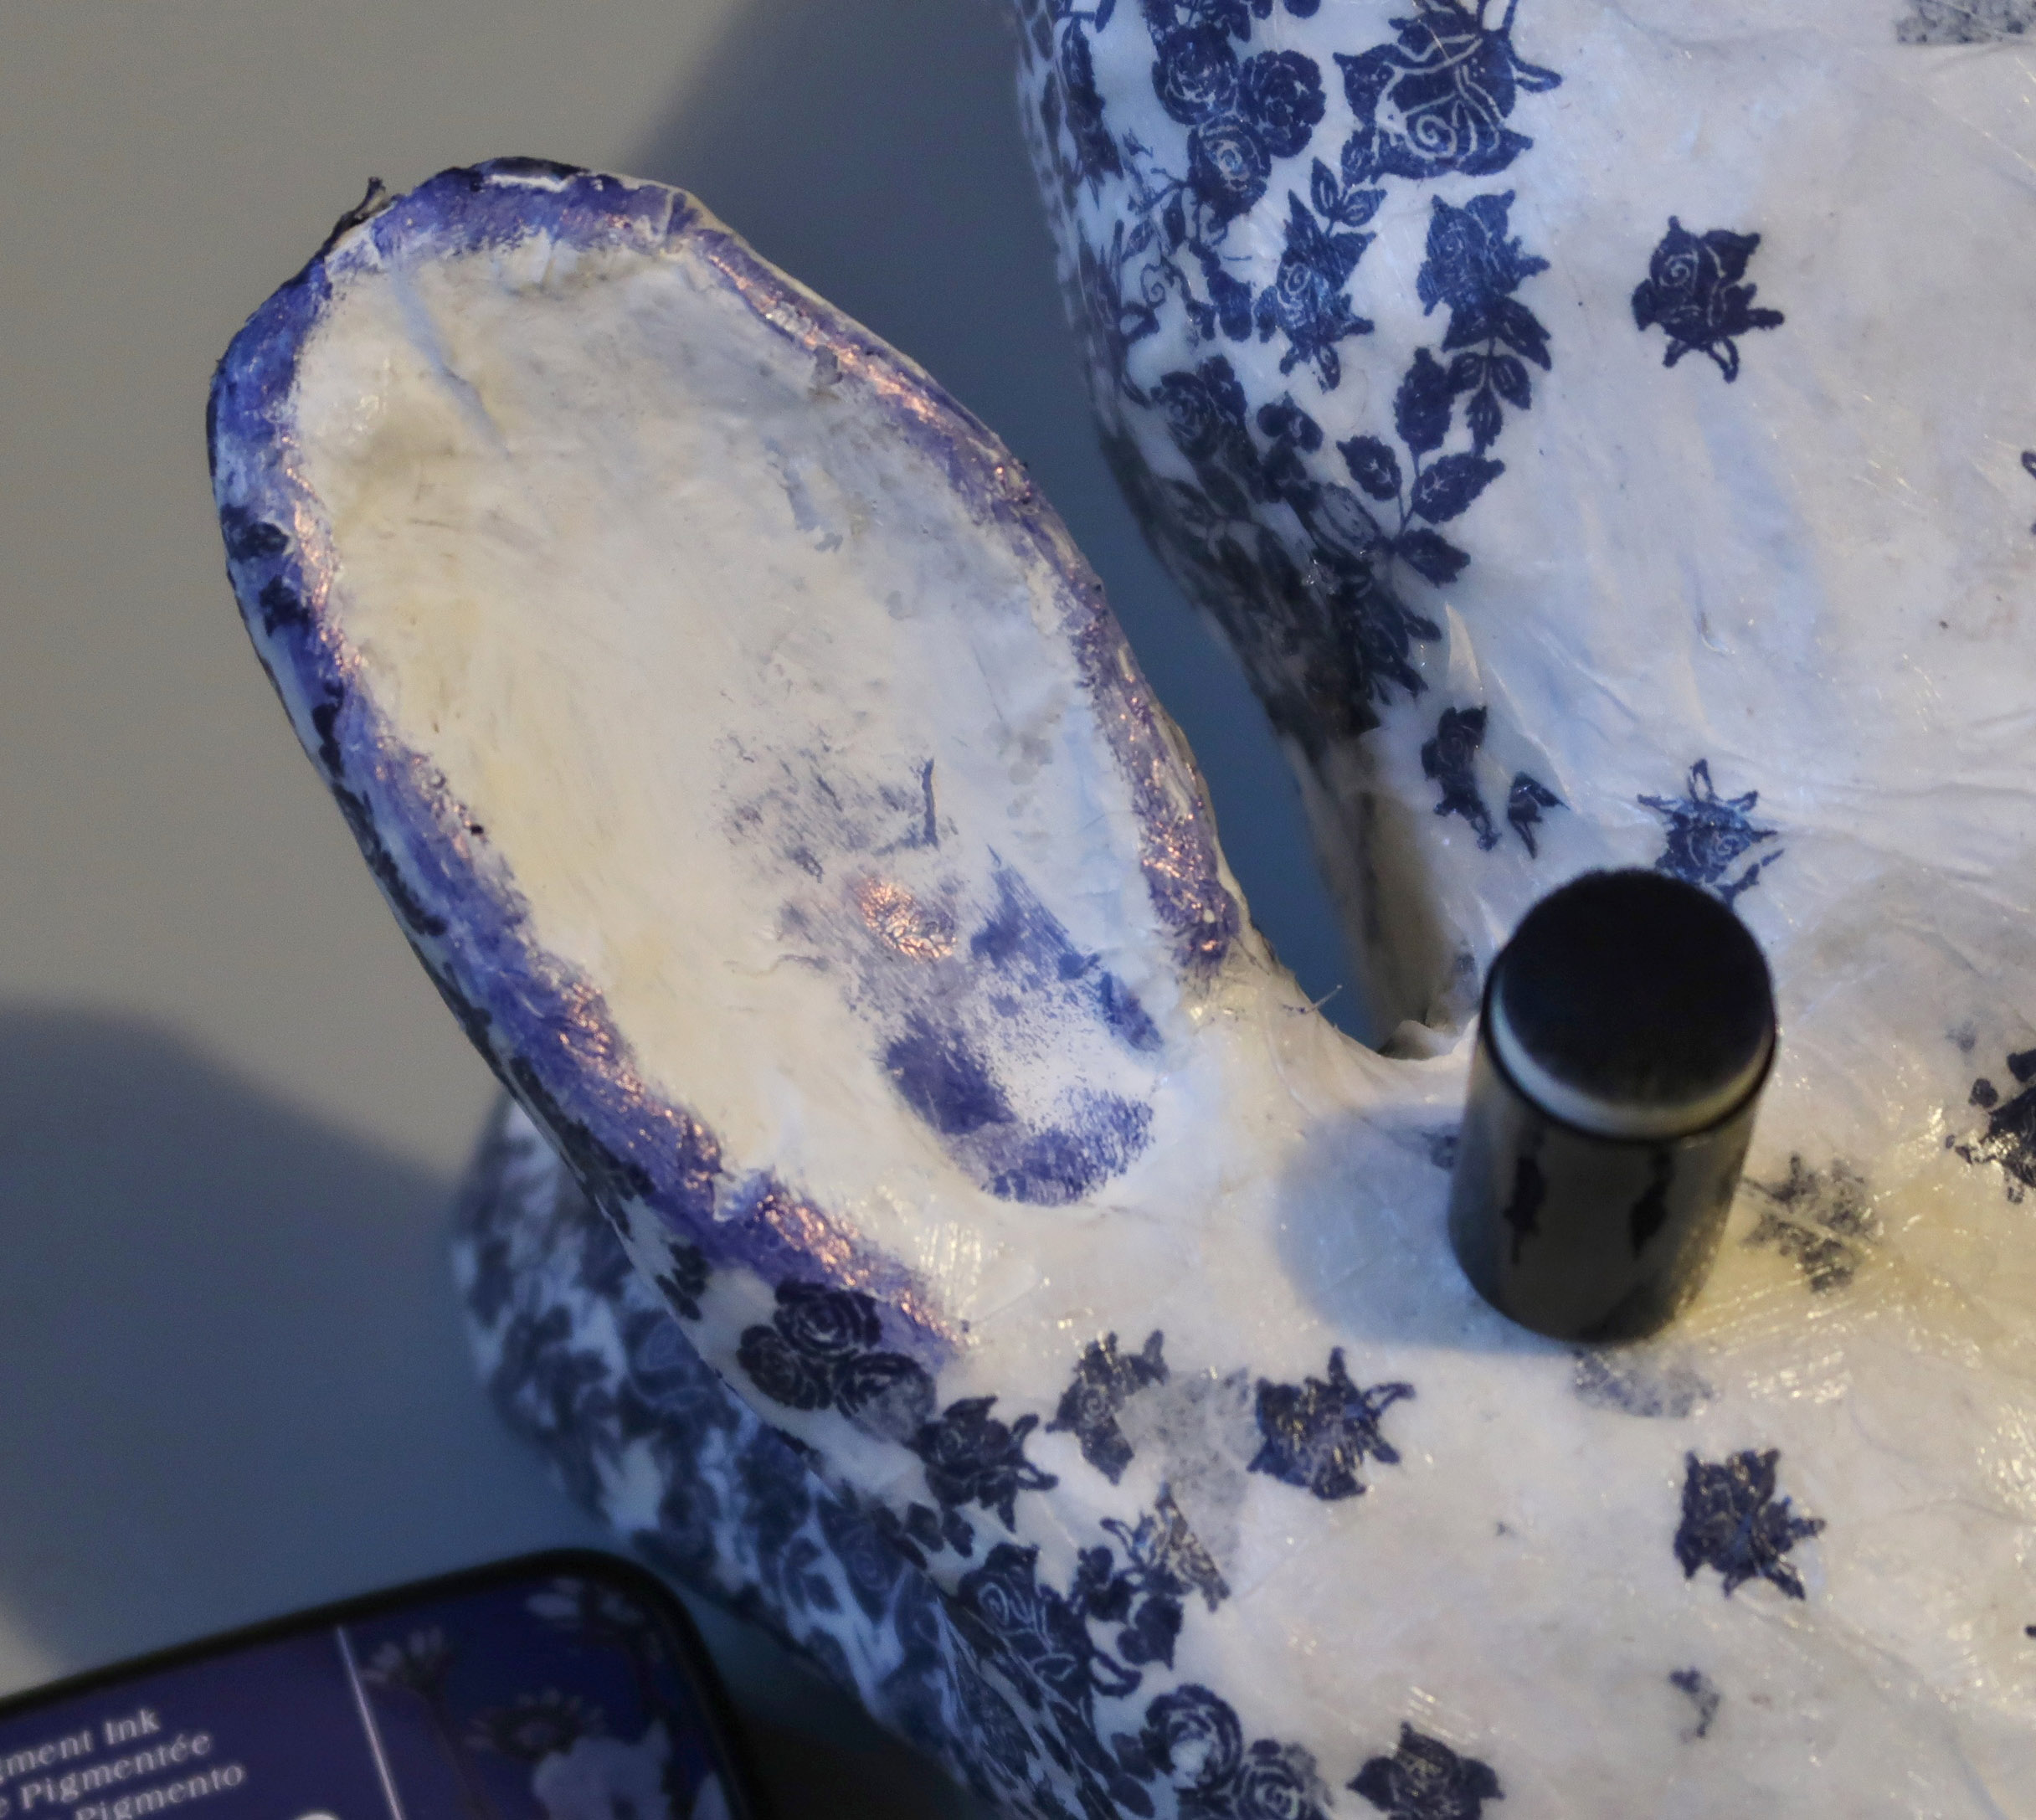
Step 19 – Use a sponge dauber to apply a bit of color around the edge and inside of the ear.
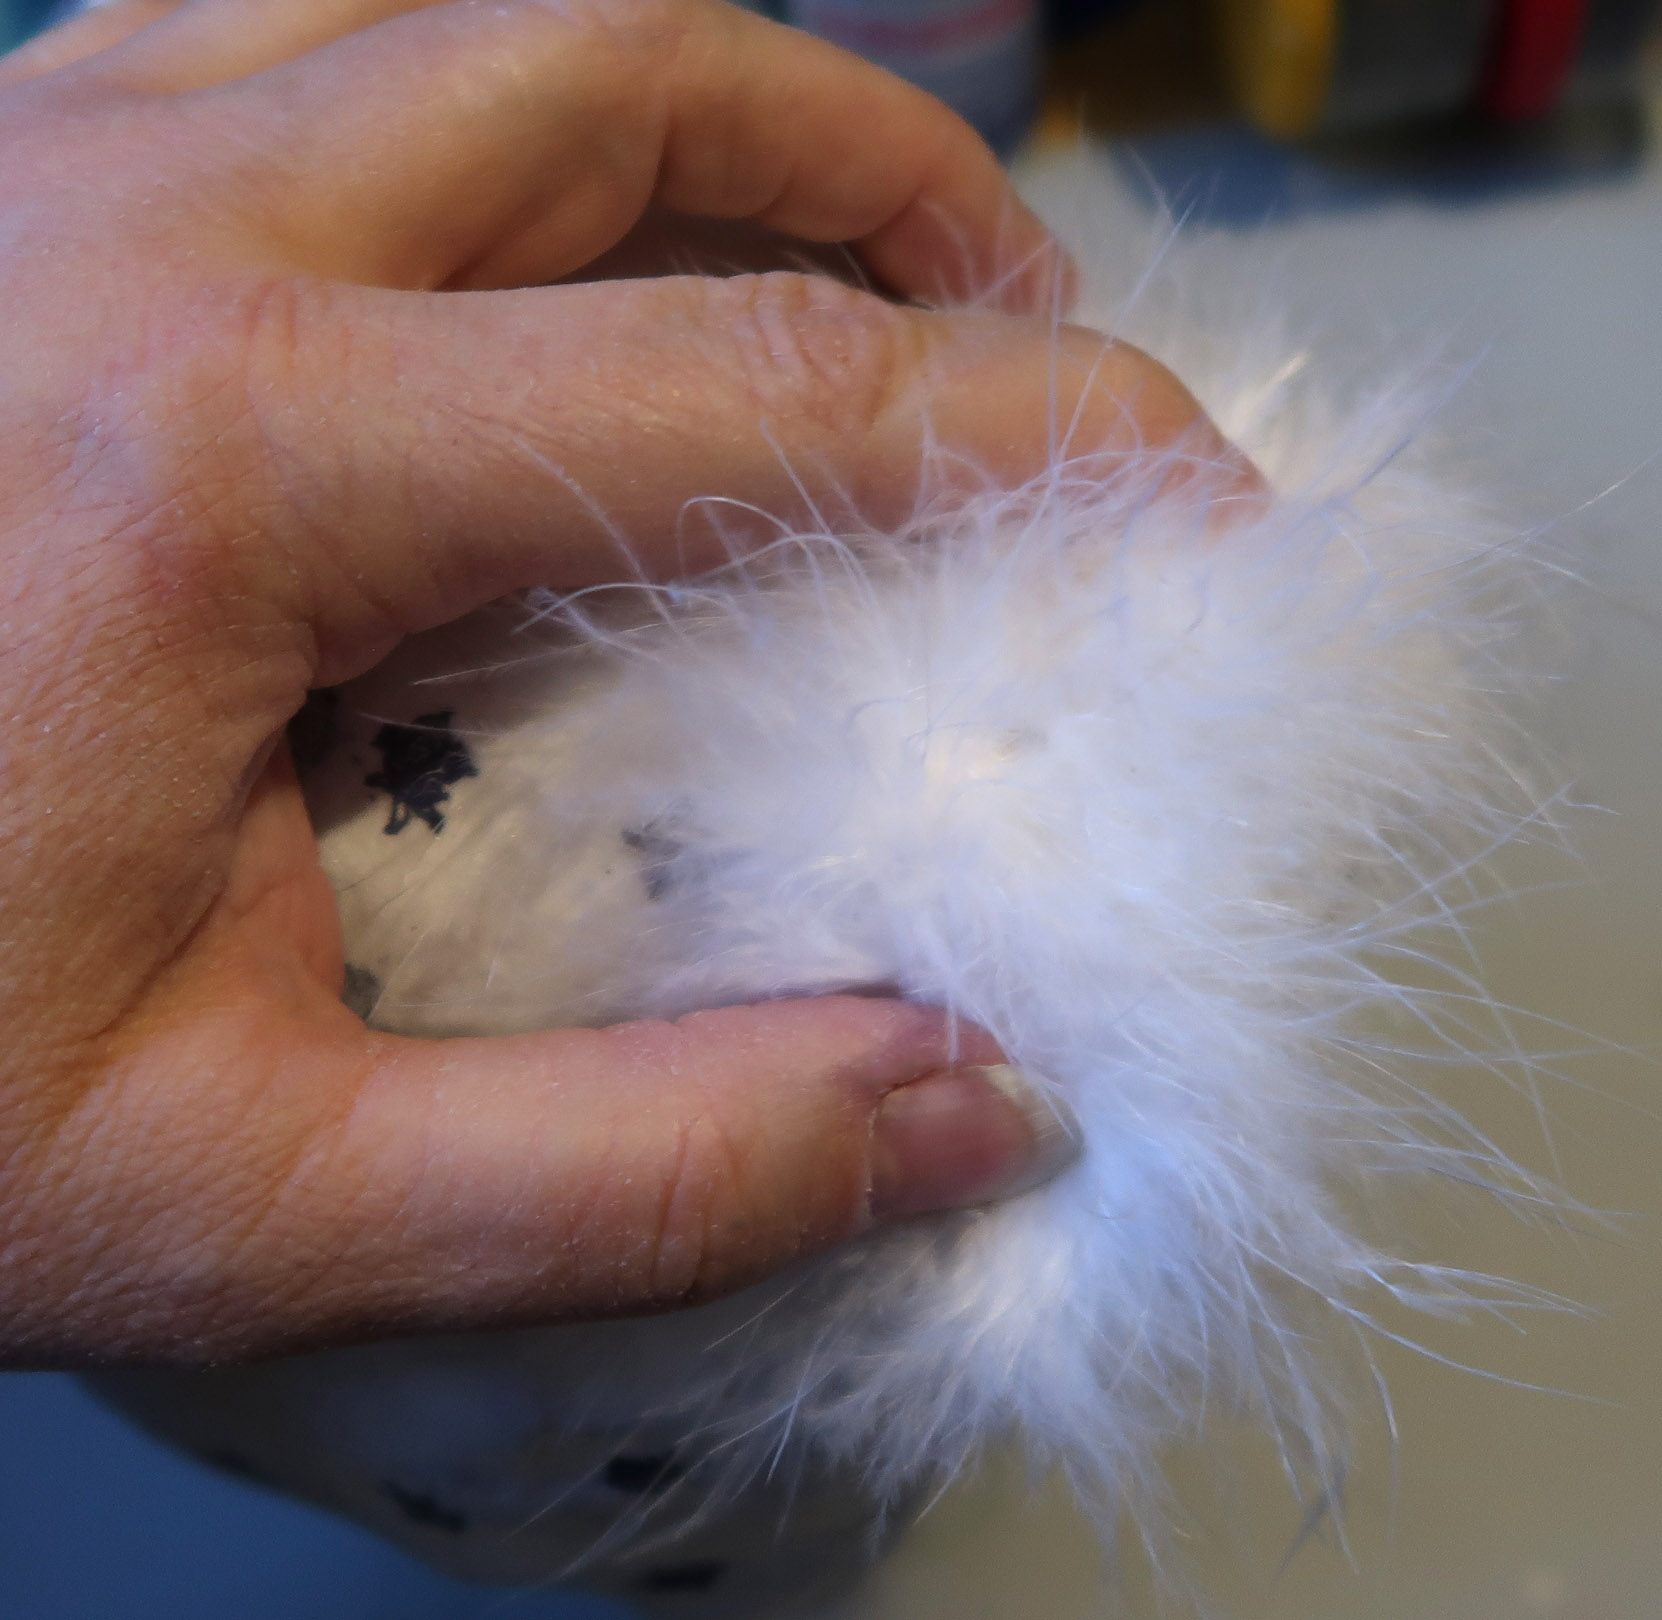
Step 20 – (Optional) – Glue a bit of marabou feather boa to the tail area.
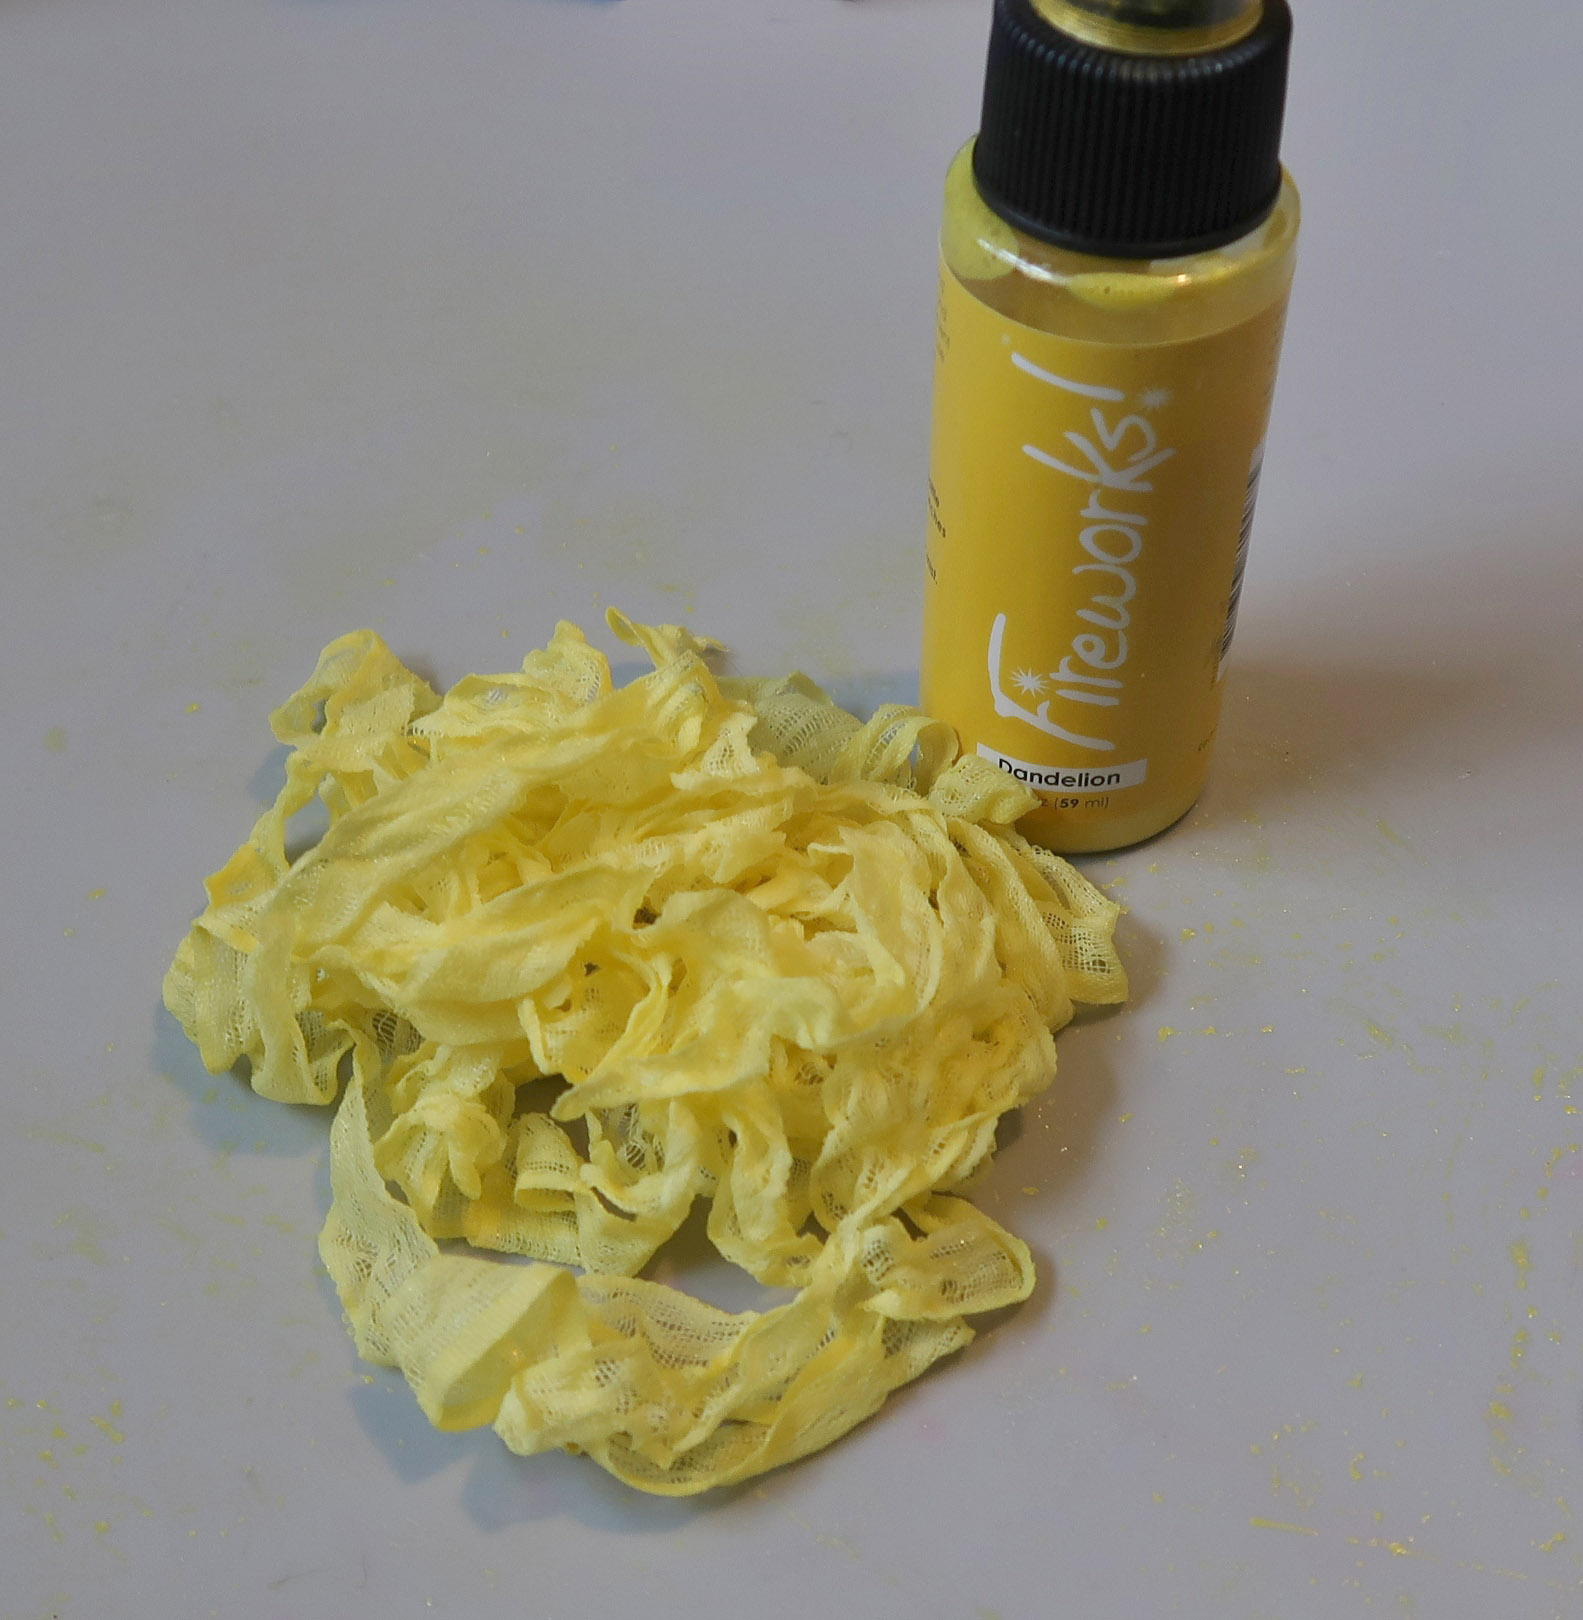
Step 21 – Dye rayon seam binding with Fireworks! Spray ink to create a bow around the bunny’s neck.

Art Supplies:
Imagine
Other
- Paper Mache Rabbit
- Tissue Paper
- Rubber Stamp Tapestry – Roses, Leaves, Vine peg stamps
- Ruler
- Paint Brush
- Rayon Seam Binding
- DecoArt Americana Acrylic Paint – Titanium White
- (optional) Marabou Feather Boa