Make a Fall Floral Coffee Cup Card

By Helen Gullett

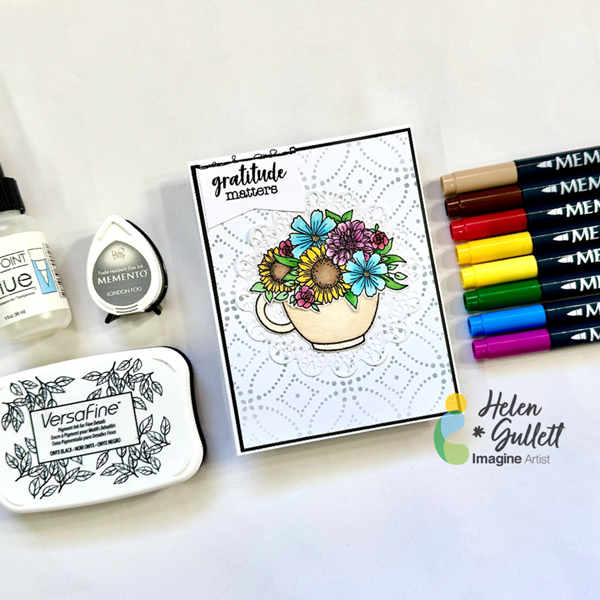
Hello crafty friends! Today, we are going to do some watercoloring with Memento markers, stenciling with Memento ink, and stamping with VersaFine ink to make this Fall floral coffee mug card. Let’s gather your supplies, grab a cup of coffee, and get crafting together!

Skill: Intermediate
Time: 15-20 minutes

Direction:

Step 1

Cut out a piece white cardstock into 4″ x 5 1/4″

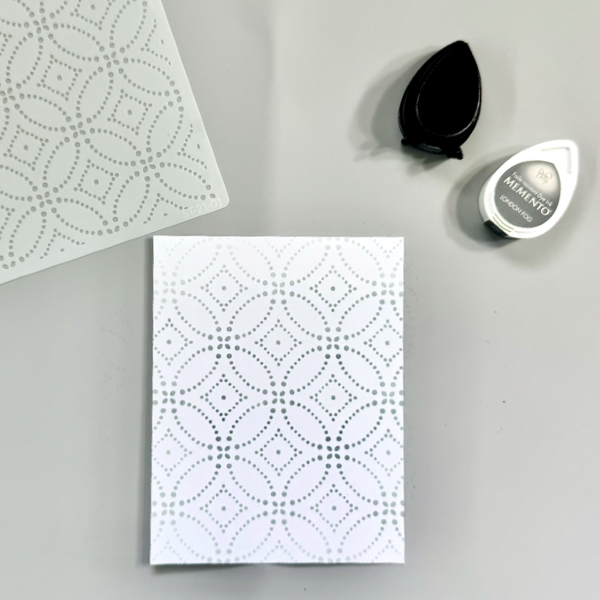
Put the stencil on top of the cardstock and secure it with some washi tape or removable tape.

Use a blending brush to add the Memento London Fog ink to the cardstock.

Remove the stencil and set aside for the ink to dry.

Step 2

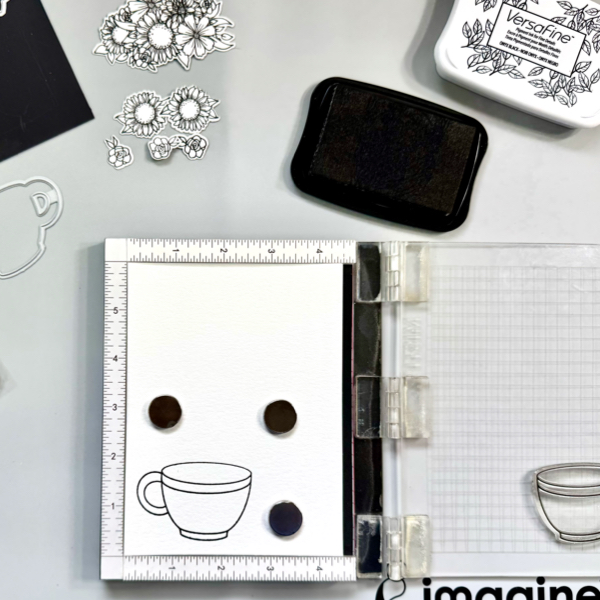
On a piece of watercolor cardstock, stamp all the floral and cup images with the VersaFine Onyx Black ink.

Cut them with their matching die set or you can simply fussy cut them with scissors.

Step 3

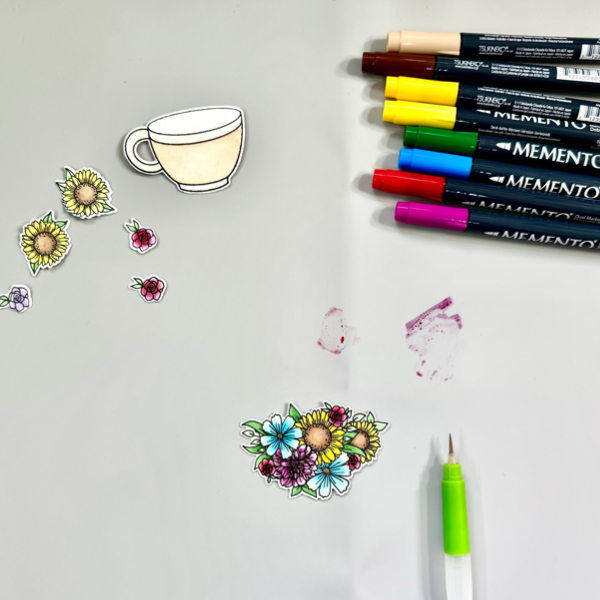
There are two ways of watercoloring. The first option is you can do wet on wet technique by lightly wet the area where you want to add the watercolor paint, and then pick up the ink with a water brush and color on the wet watercolor paper. And the second option is called wet on dry technique where you add the watercolor paint directly on the dry watercolor paper. Both ways work well with these Memento Markers.

On this project, I used the wet on wet technique. First, scribble each color of the Memento Marker on the craft mat. Wet the stamped image, pick up the ink with a wet water brush, and then add the color to the image. Dry the watercolored image with a craft heat gun.

Step 4

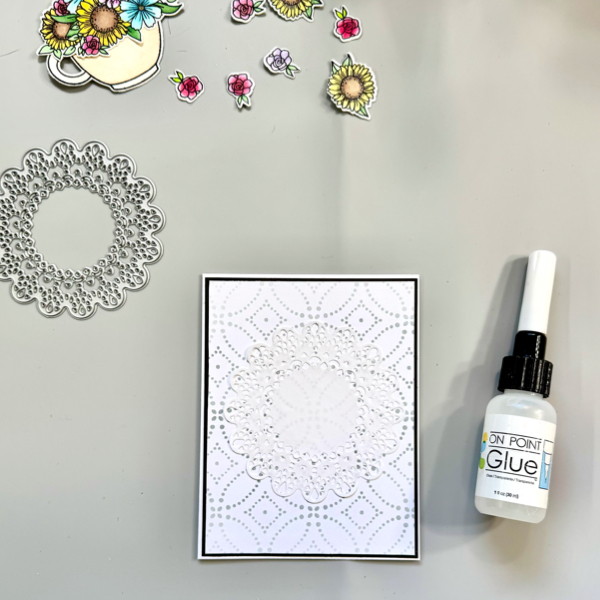
Cut out a piece of copy paper with the doily die to make paper doily. Add it to the stenciled panel with On Point Glue.

Cut a piece of black cardstock into 4 1/8″ x 5 3/8″ mat, add the stenciled panel to it with On Point Glue.

Add the whole background panel to the card base with On Point Glue.

Put together the watercolored coffee mug and flower bouquet cluster with On Point Glue.

Step 5

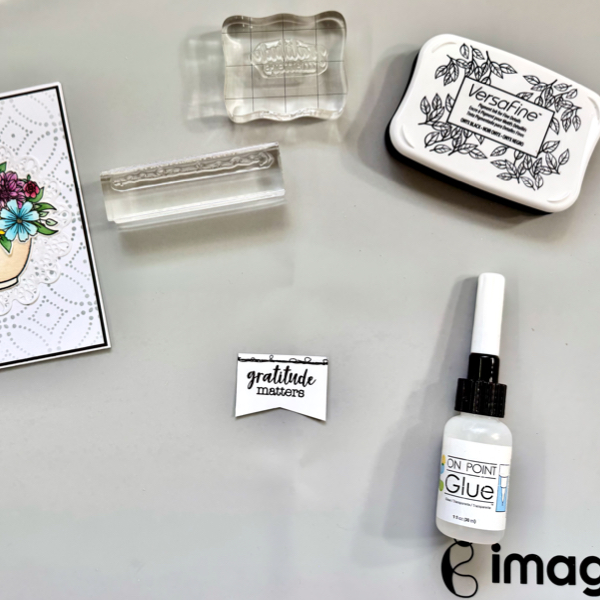
Stamp the sentiment and faux stitch pattern on a piece of white cardstock with VersaFine Onyx Black, and then trim it into a sentiment banner.

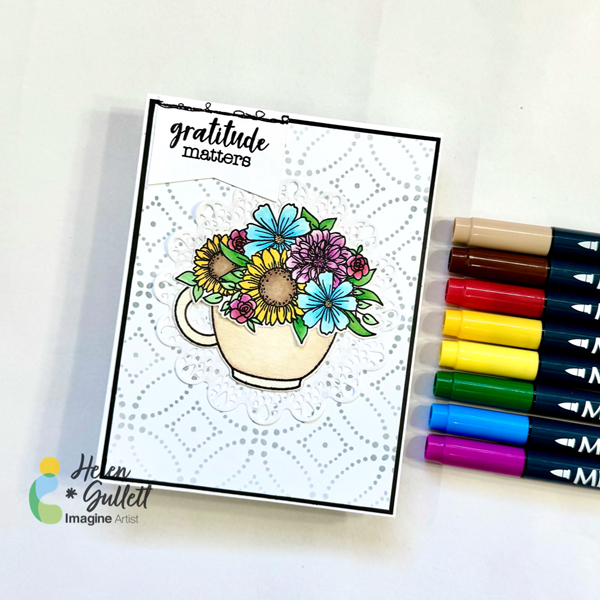
Add the floral coffee mug in the middle of the card, on top of the doily with On Point Glue.

Add the sentiment banner on the left top of the card with On Point Glue.

Memento Markers are not only for coloring, but also watercoloring. I had fun making this card with a watercoloring technique using these markers. And I hope this Fall Floral Coffee mug card can perk you up!

Thank you for stopping by our blog today. Have a wonderful day!

Craft Supplies

Imagine Crafts:

Others:

Fall Thank You Card Using VersaFine Clair on Dark Cardstock

By Katy Ingram

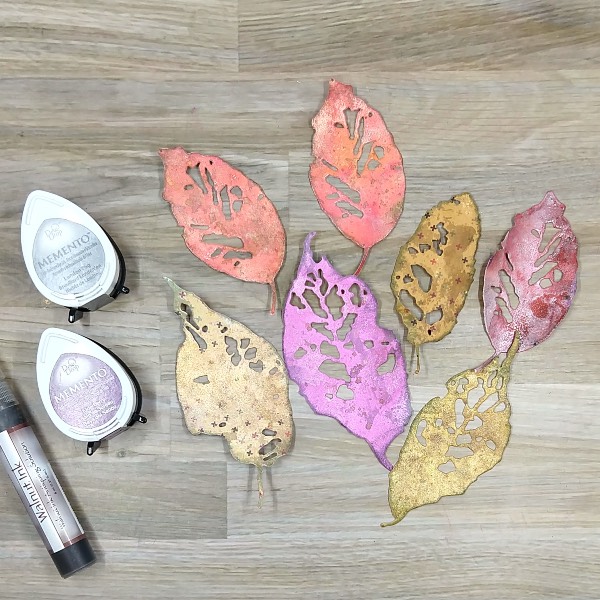
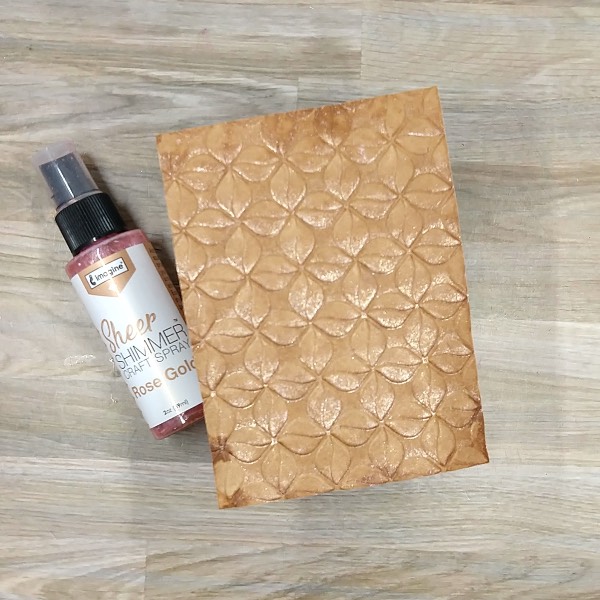
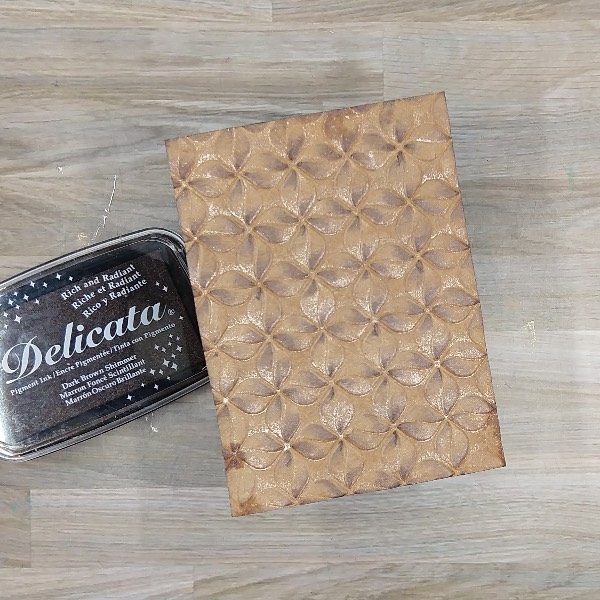
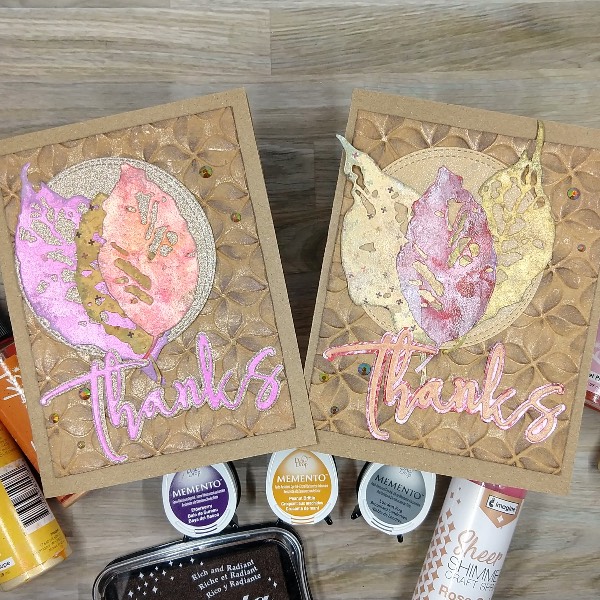
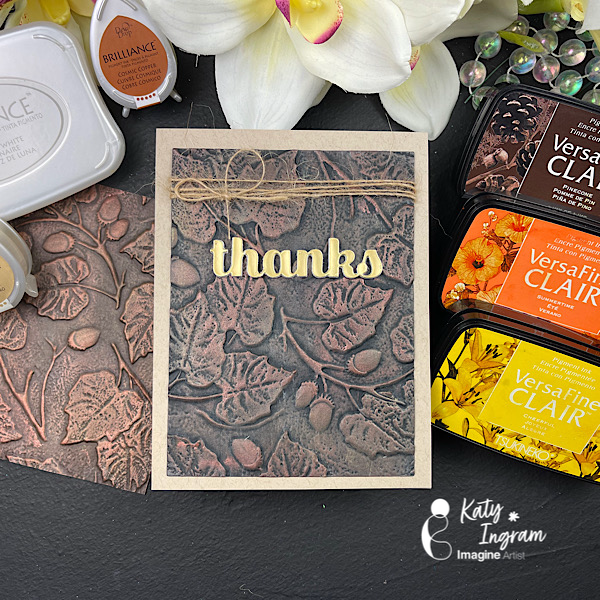
Hello Friends! Katy here with another quick project. I love trying new things with my inks and embossing folders and in todays video I used my VersaFine Clair with some Brilliance pigment inks in Cosmic Copper and Galaxy Gold and Moonlight White, with a 3D embossing folder.

Video has all the details. Thanks for watching.

Skill: Intermediate
Time: 15 minutes

Art Supplies

Imagine Products

VersaFine Clair https://www.imaginecrafts.com/versafine-clair

  • Acorn
  • Cheerful
  • Summertime

Brilliance https://www.imaginecrafts.com/brilliance

  • Galaxy Gold
  • Cosmic Copper
  • Moonlight White

Other Products Used

Affiliate links used at no additional cost to you. Thank you for your support
Tim Holtz/Sizzix Acorn 3D Embossing Folder https://ldli.co/e/lmn50p2 
Gina K Dark Chocolate Cardstock https://ldli.co/e/lmn50p2  
Black Cardstock https://ldli.co/e/lmn50p2
Kitchen Sponge https://amzn.to/4f72Ka4
Double Sided Adhesive 5 inch wide https://amzn.to/455H6OS
Double Sided Adhesive 1/2 inch https://amzn.to/4m9cKlc
Matte Gold Cardstock https://amzn.to/4f3H5zn

Let’s Make Some Summer Color Cards

By Anna Escalada York

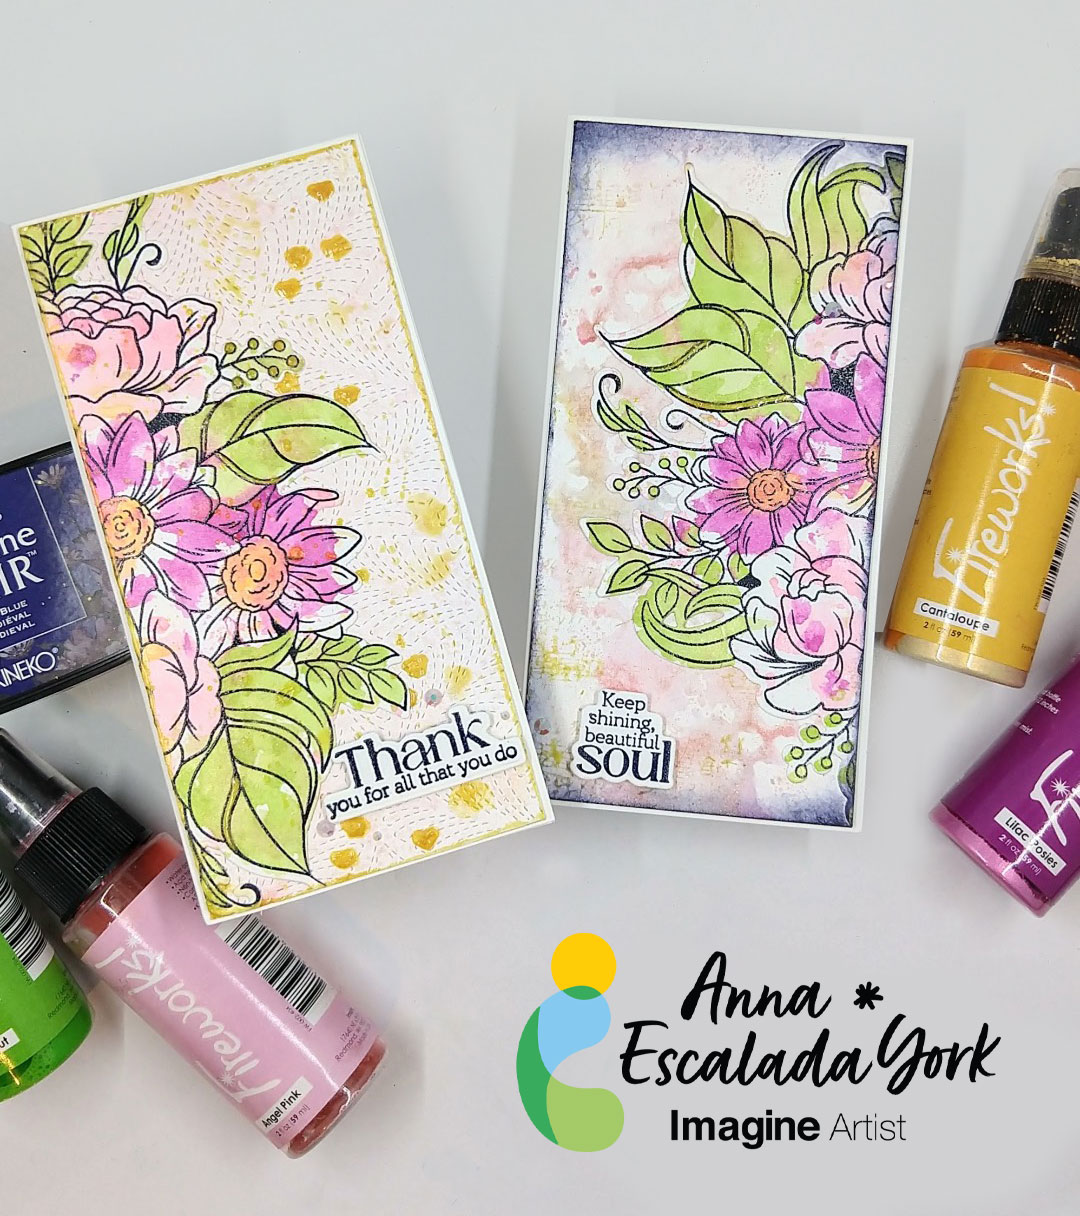
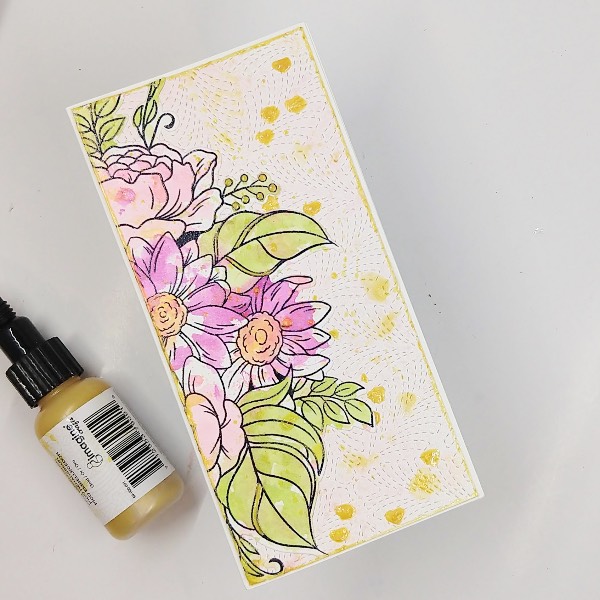
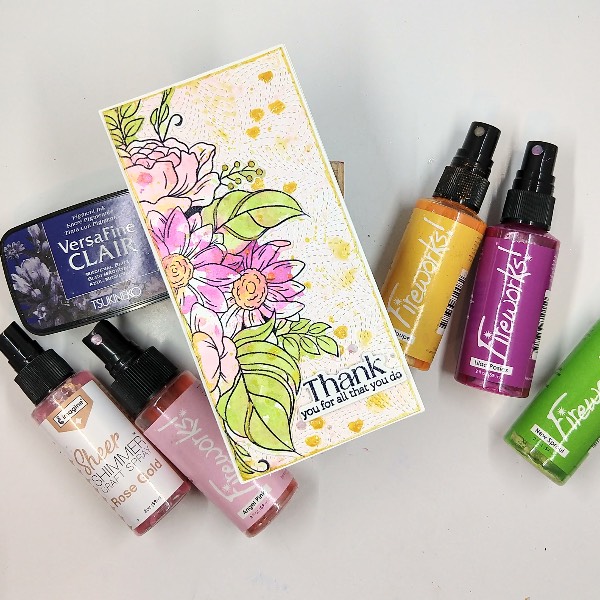
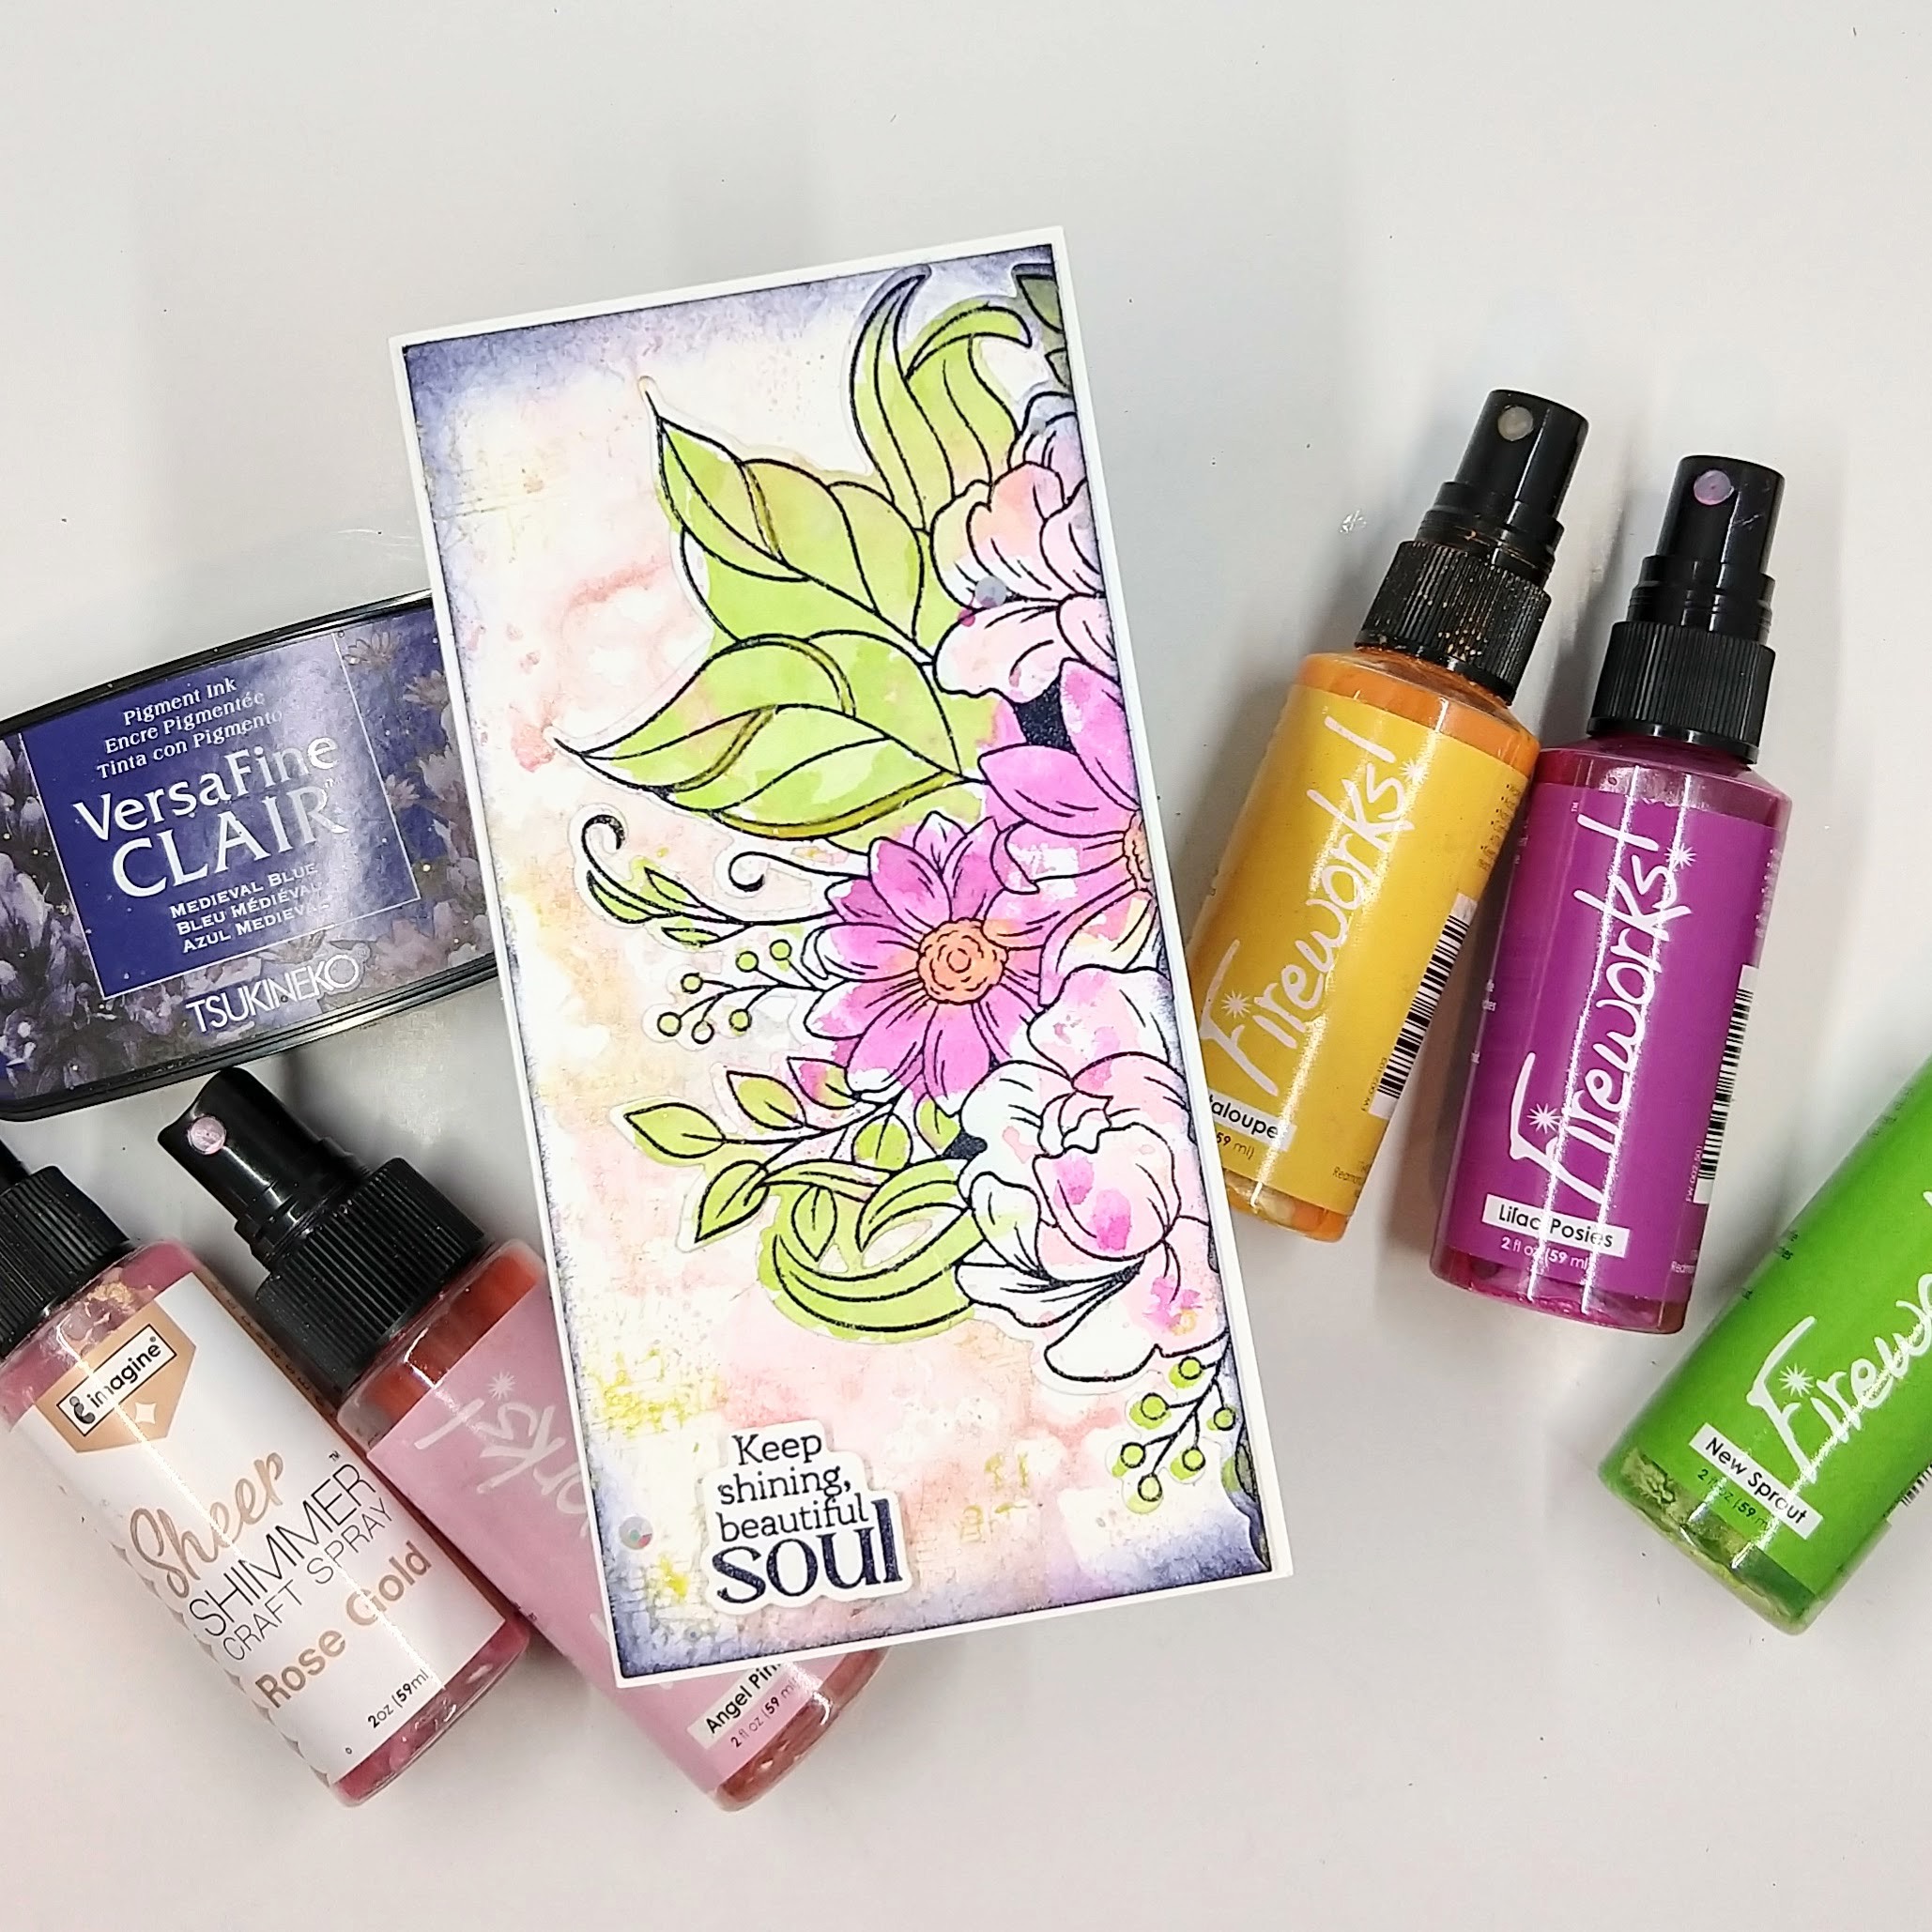
As I was making one card focusing on summer colors, I realized that I could easily make a second (bonus) card and wanted to share both with you.

Skill: Intermediate
Time: 2 hours

Directions:

Step 1:
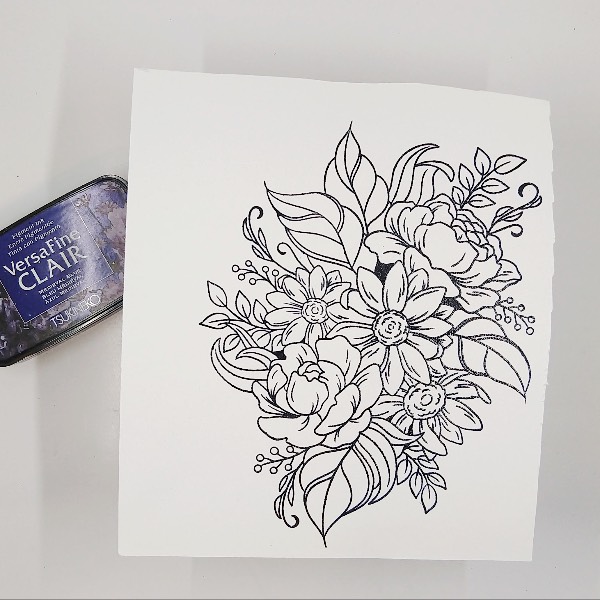
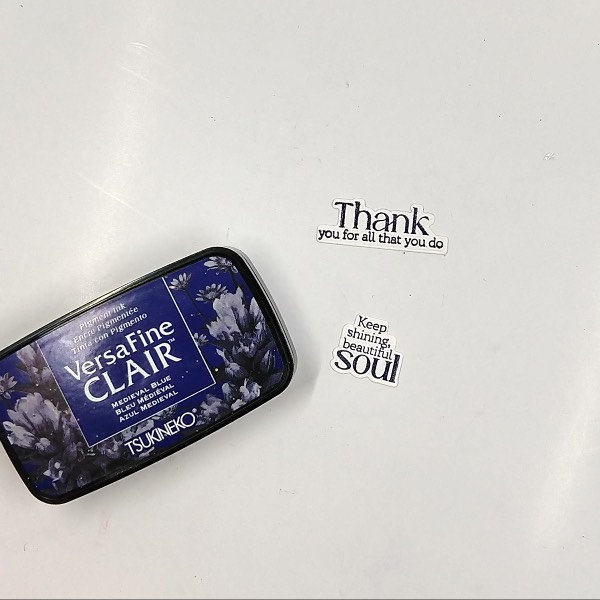
Stamp a large floral image on watercolor paper with Medieval Blue VersaFine Clair Ink and heat emboss with clear embossing powder.

Step 2:
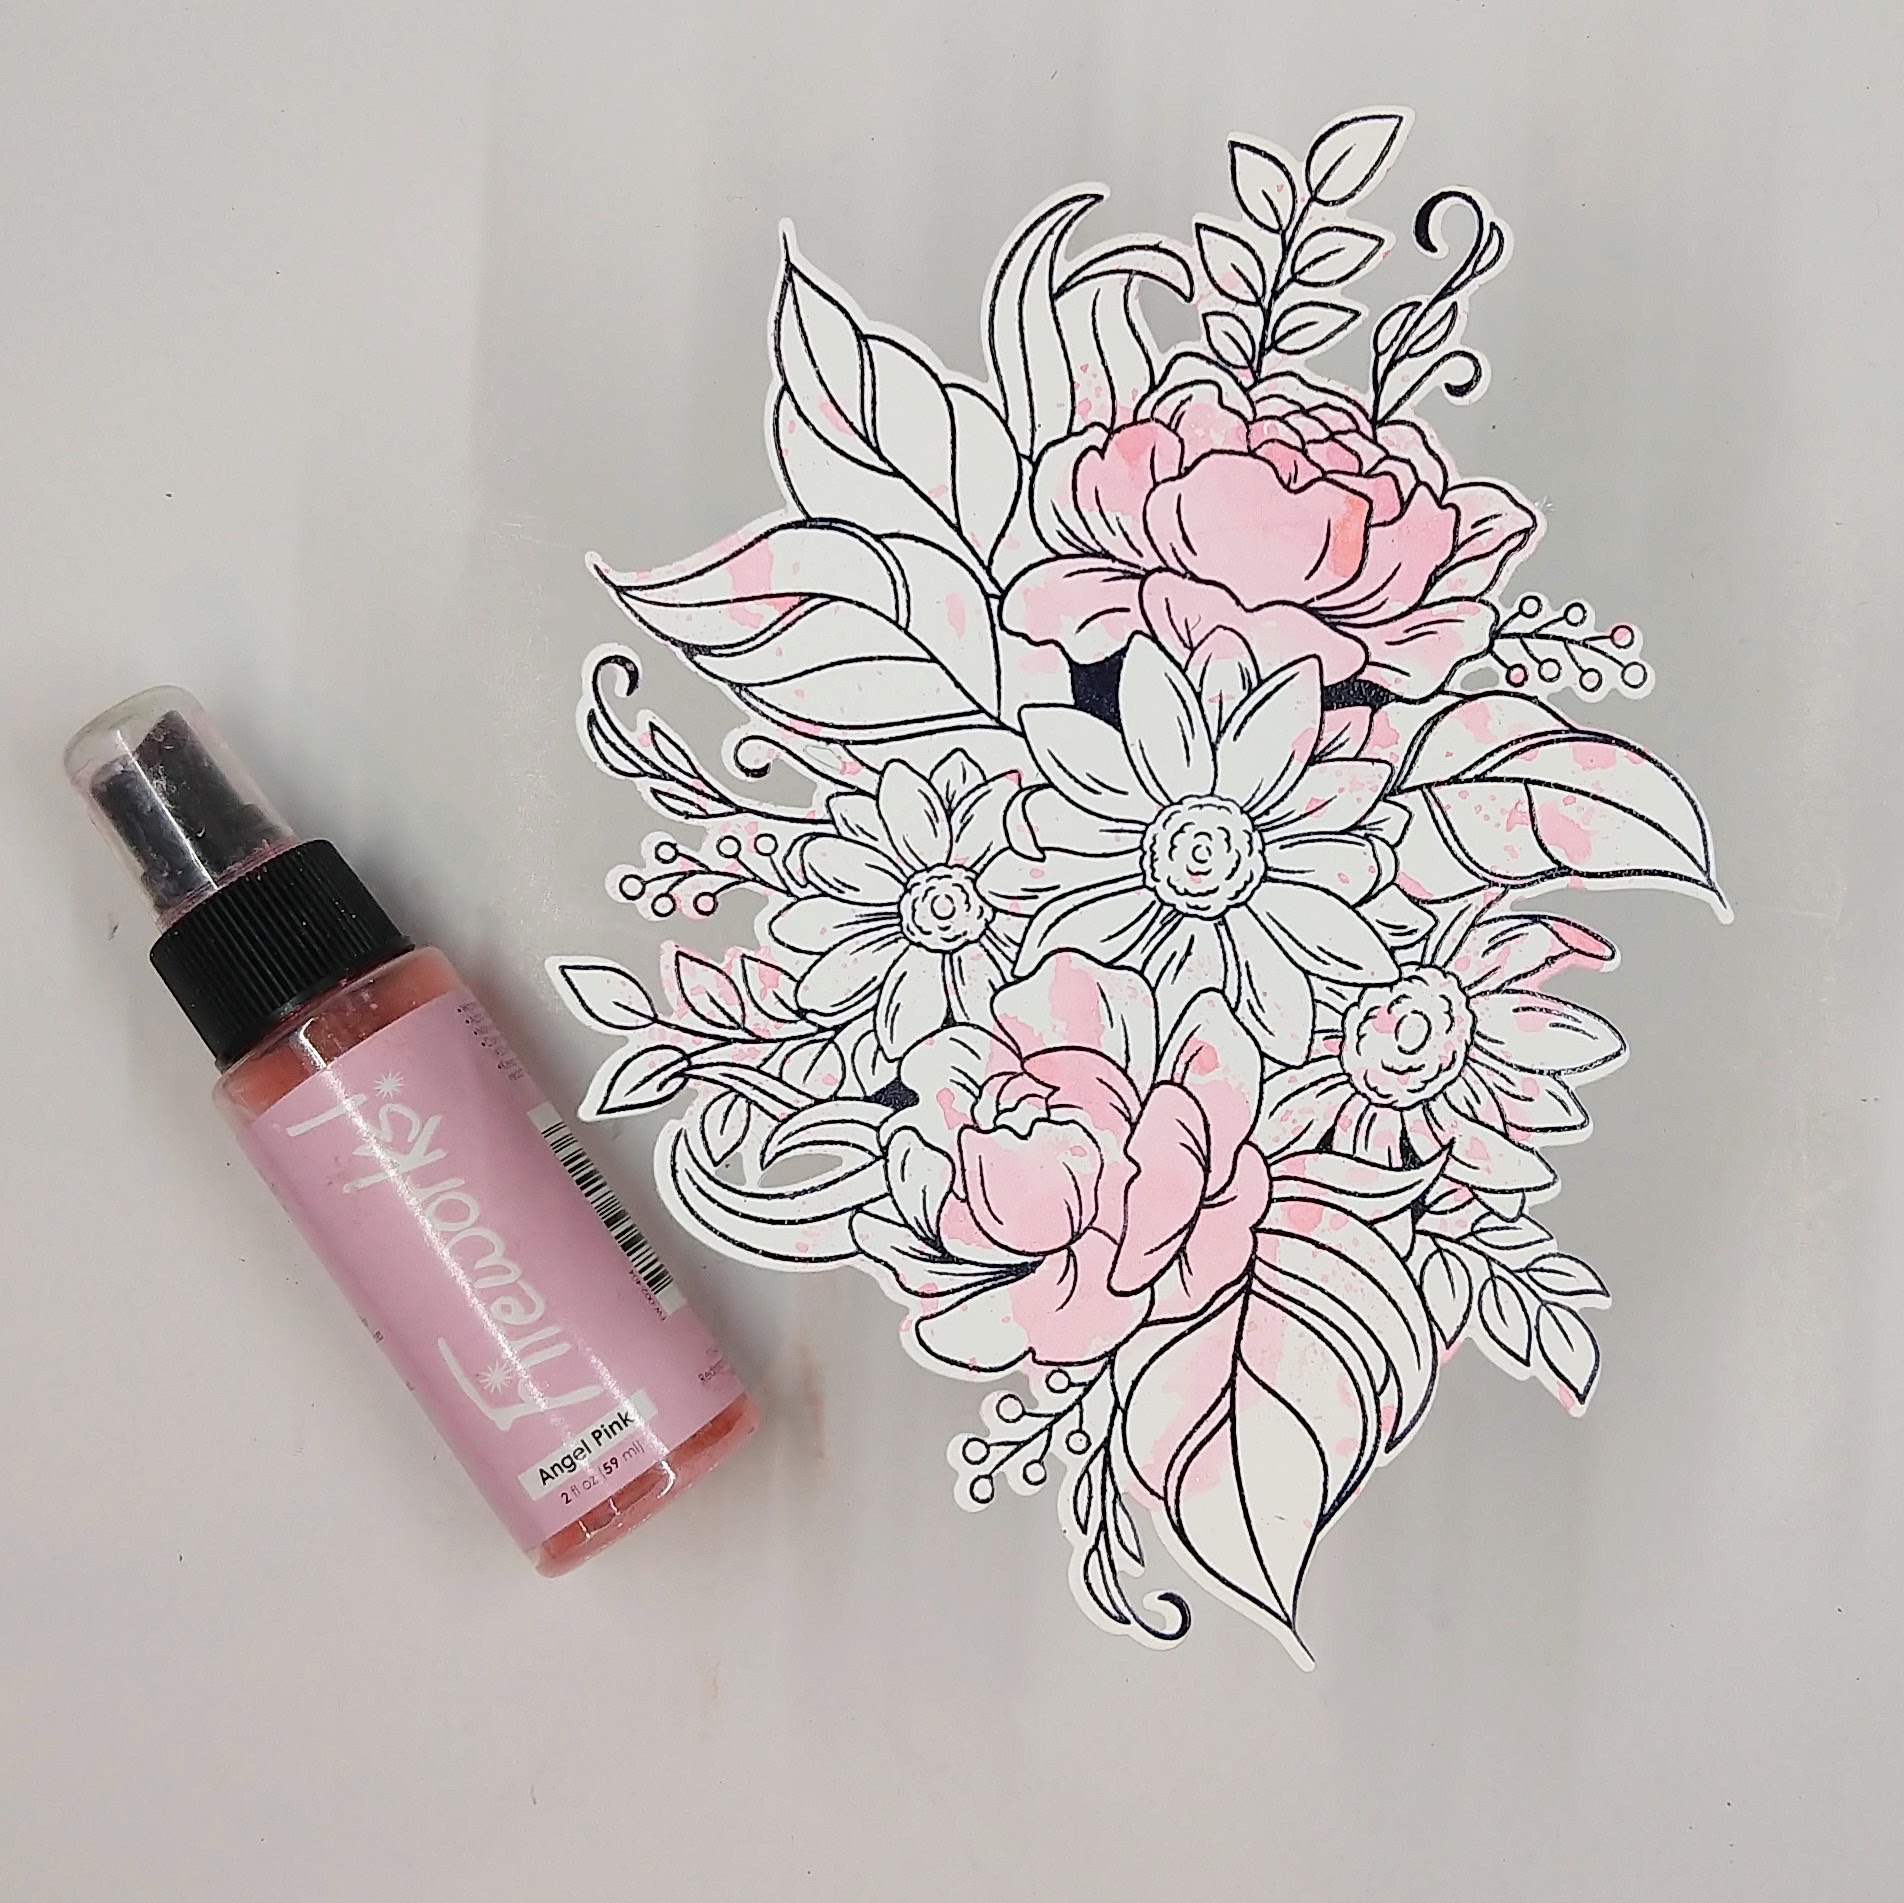
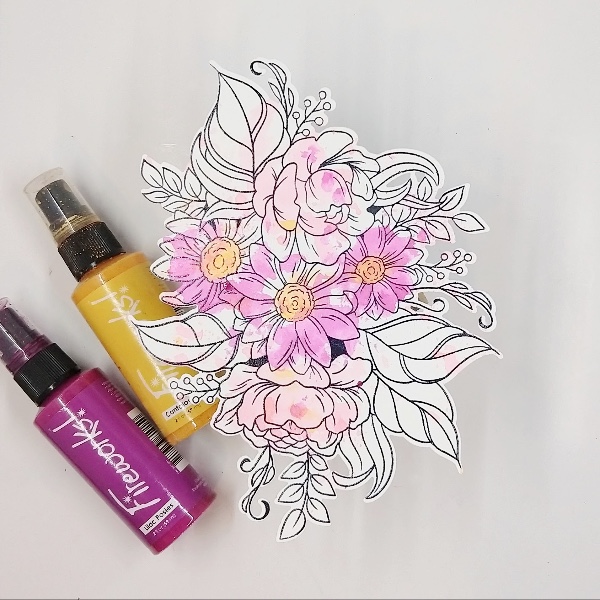
After die cutting the floral image with the corresponding die, watercolor smoosh Angel Pink Fireworks! Shimmery Craft Spray, focusing on coloring the roses. Use a heat tool to dry the spray or set aside to dry.

Step 3:
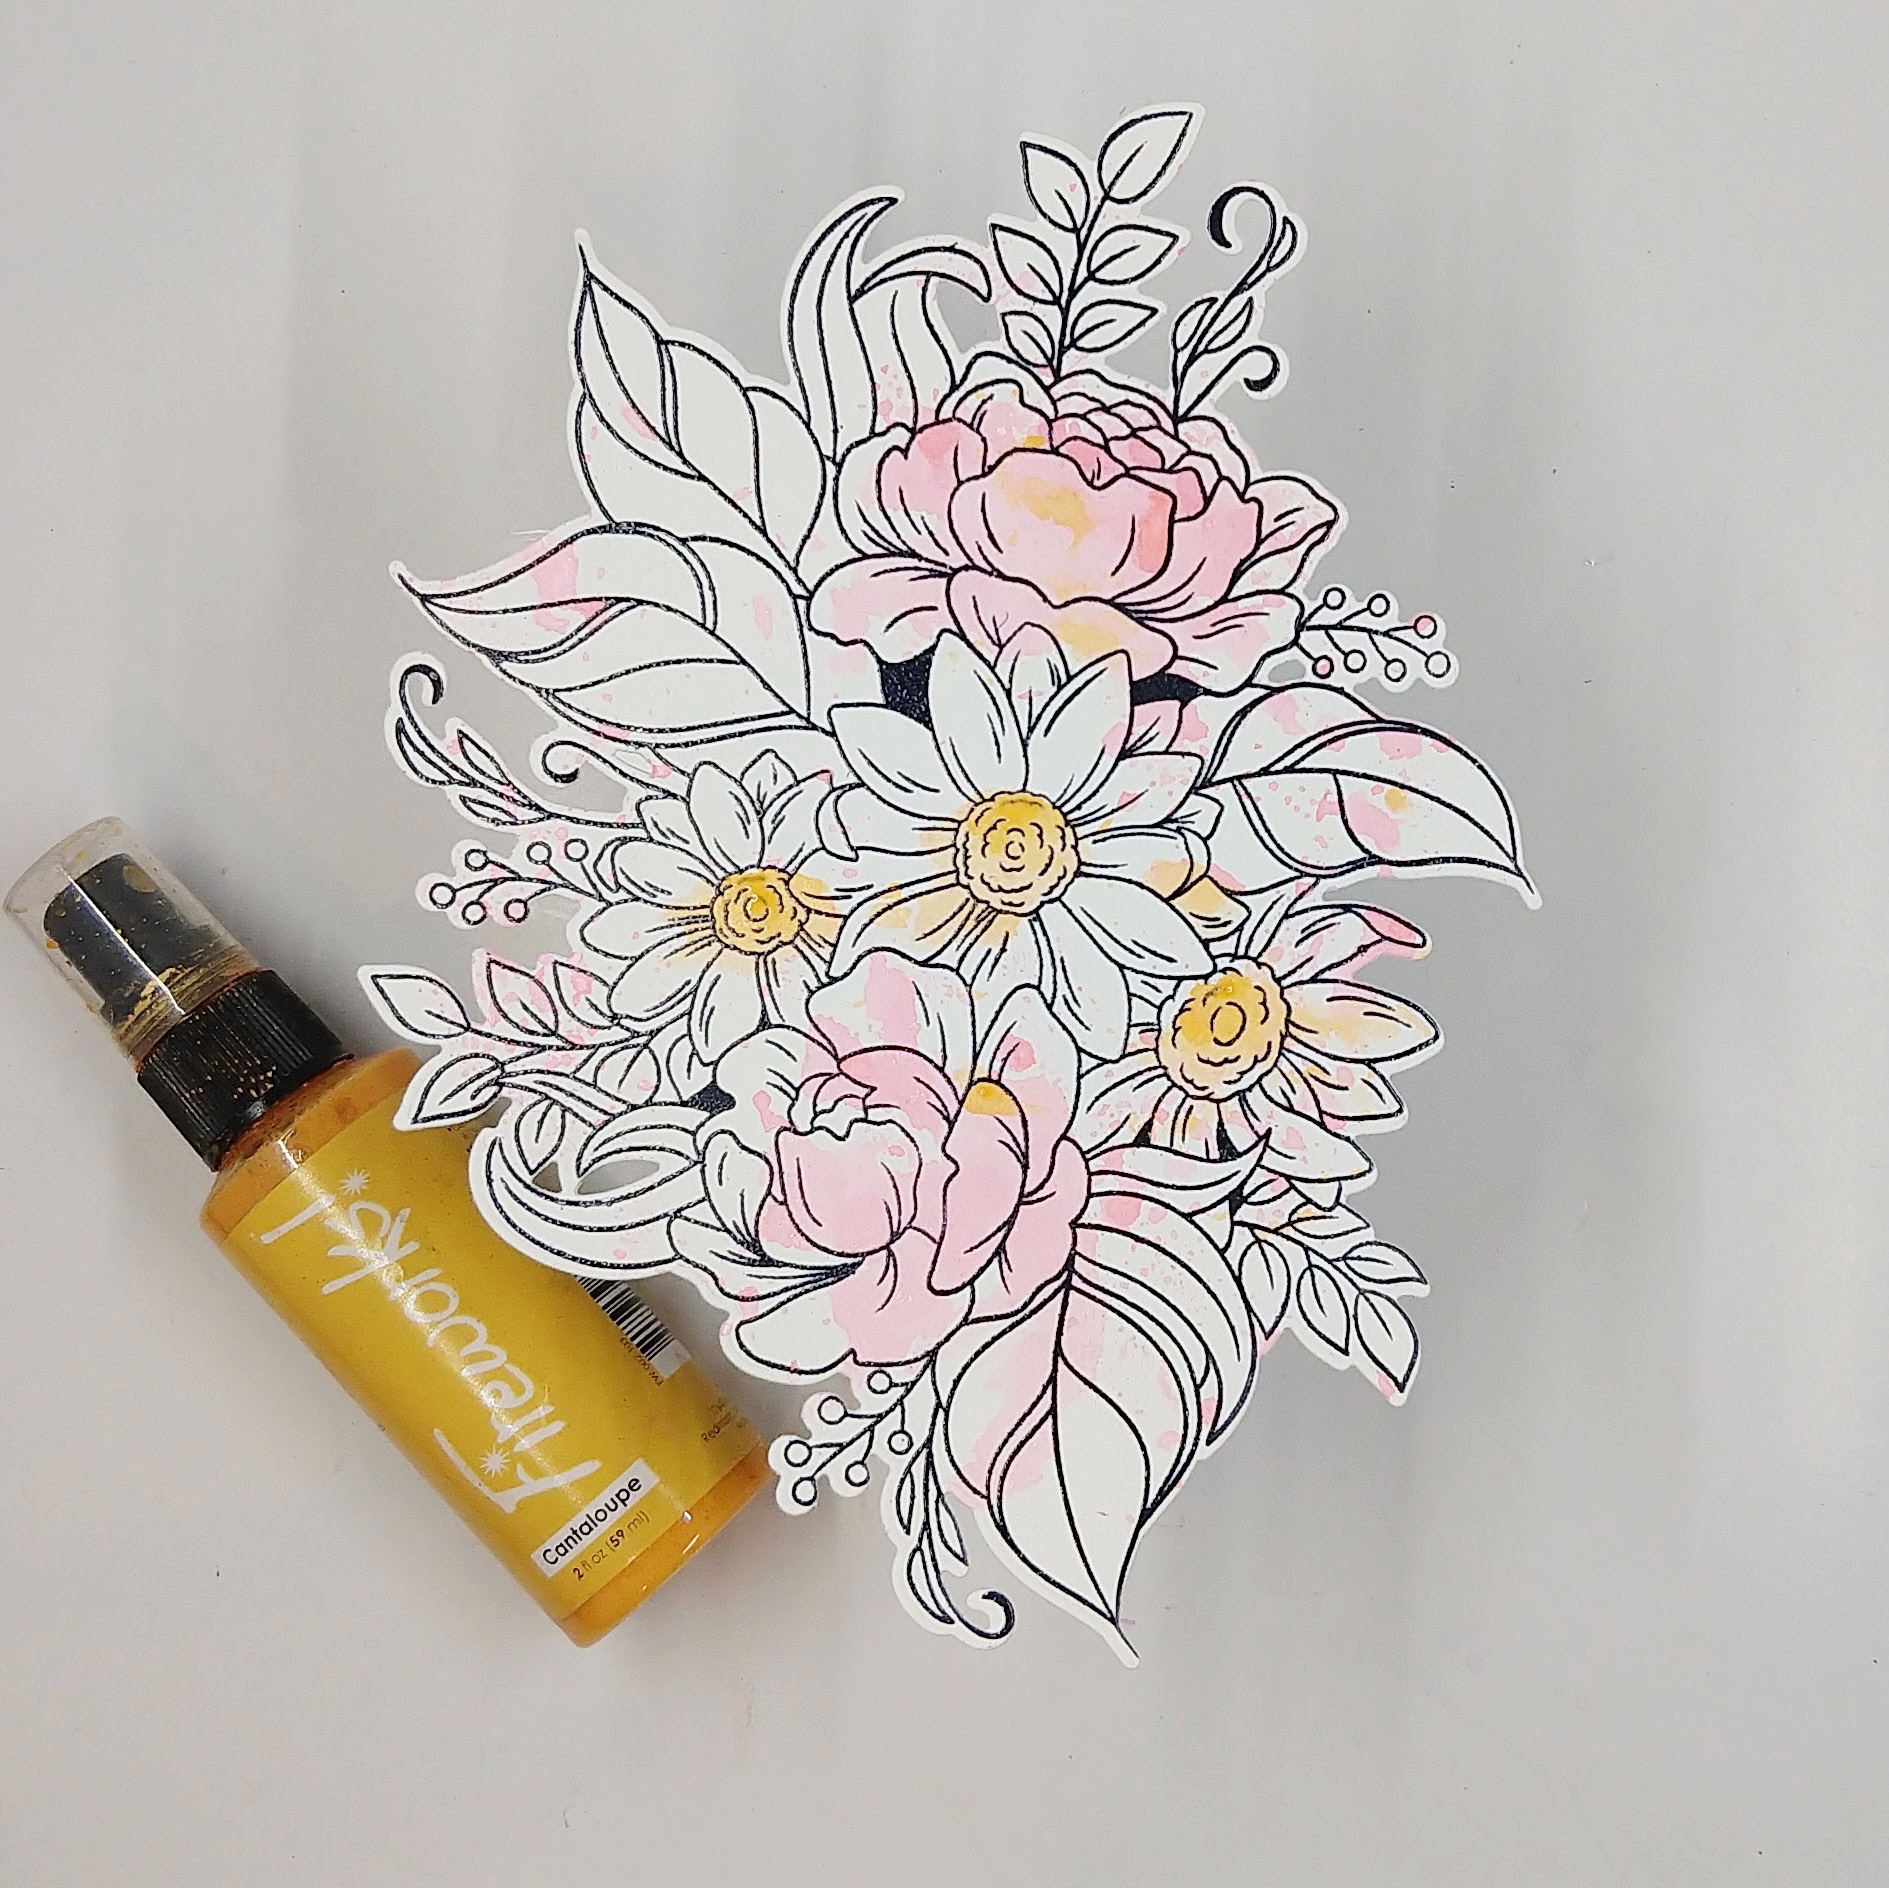
Watercolor smoosh the floral image with Cantaloupe Fireworks! Shimmery Craft Spray, this time focusing on getting most of the color into the centers of the daisies. Use a heat tool to dry the spray or set aside to dry.

Step 4:
Use Lilac Posies Fireworks! Shimmery Craft Spray to add another layer of watercolor smooshing to the image, this time focusing the color onto the daisies’ petals. Then paint in more of the Cantaloupe Fireworks! Shimmery Craft Spray into the centers of the daisies (to cover up some of the Lilac Posies spray in daisies’ centers).

Step 5:
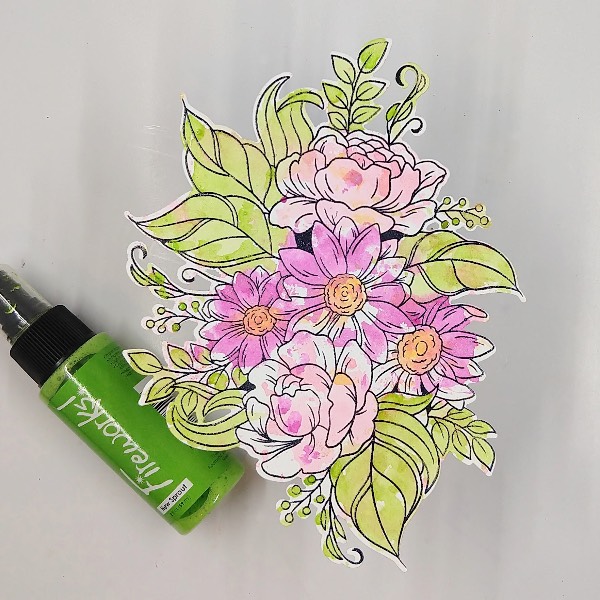
Watercolor smoosh the floral arrangement again–this time with New Sprout Fireworks! Shimmery Craft Spray, focusing on adding color to the leaves and other greenery.

Step 6:
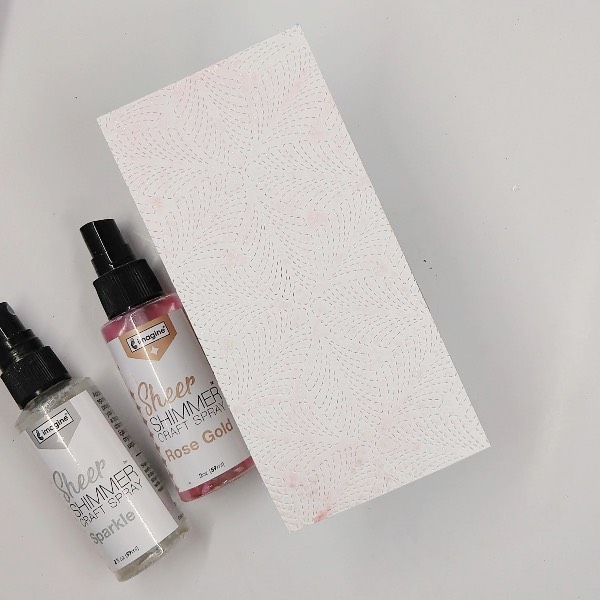
Cut a piece of watercolor paper about 3 inches by 5.5 inches. Add texture to the panel by die cutting the panel. (Since the panel was smaller than the die, it didn’t actually cut anything out it just pierced the panel.) Then spray the panel with Rose Gold and Sparkle Sheer Shimmer Craft Spray. Allow to dry.

Step 7:
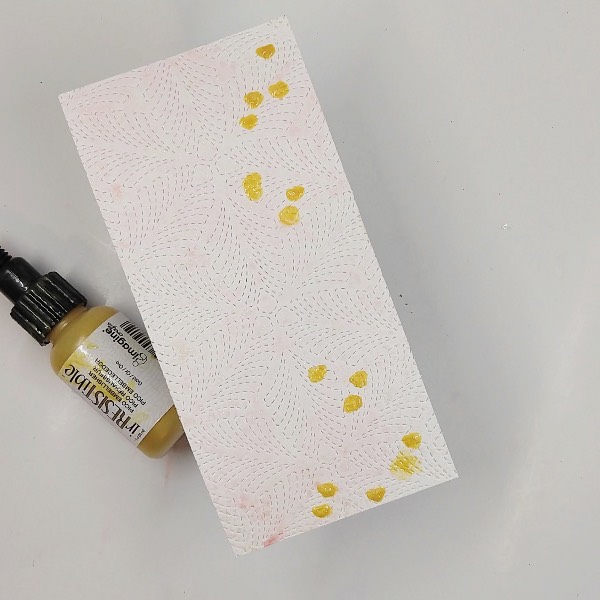
Add irRESISTible Gold medium through a heart stencil onto the right side of the watercolor panel.

Step 8:
Add irRESISTible Gold onto some of the thinner ribs on the larger stamped leaves and onto some of the berries. After it dried, cut the floral cluster in half with a paper trimmer. Then glue half of the floral cluster onto the lefts side of the panel.

Add more of the irRESISTible Gold medium onto the piece of acetate and spray with water to dilute it. Watercolor smoosh it onto the floral cluster and the background panel. Then glue half of the floral cluster onto the left side of the panel. Then paint the edges of the panel with more of the irRESISTible Gold medium.

Finally glue everything onto a minislimline card base.

Step 9:
Stamp two sentiments on a scrap of watercolor paper with Medieval Blue VersaFine Clair ink and emboss them with clear embossing powder. They were die cut with corresponding dies.

Step 10:
Attach one of the sentiments onto the card with foam tape. To finish the card, glue white gem embellishments around the sentiment.

Step 11:
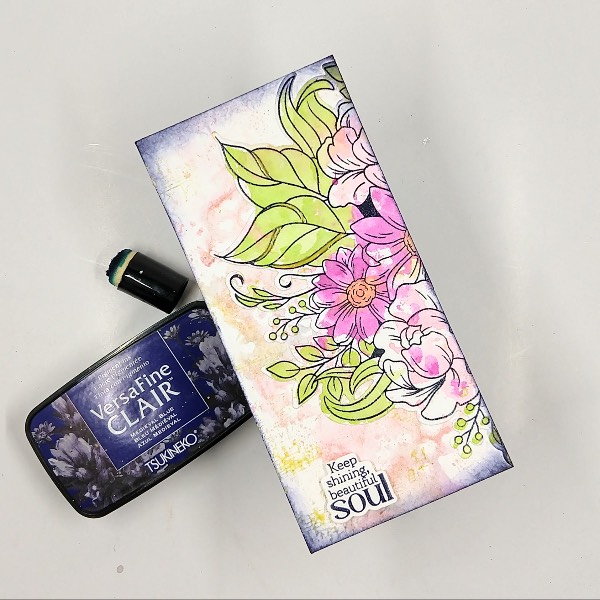
Then it was onto the bonus card made with the leftover part of the floral image. The same heart stencil was sprayed with Rose Gold Sheer Shimmer Spray and then was pressed onto another panel of watercolor paper trimmed to 3 inches by 5.5 inches. After the spray dried, more of the gold IrRESISTABLE medium was painted onto a small music stamp, which was then stamped multiple times onto the panel.

Step 12:
The remaining half of the floral cluster stamp was glued onto this pahel. The sentiment was attached with more foam tape. The edges were ink blended with Medieval Blue VersaFine Clair ink using a sponge dauber.

Step 13:
Finish the second card by gluing the panel onto another mini slimline cardbase and gluing more white gem embellishments around the sentiment.

Art Supplies

Imagine

• Fireworks! Shimmery Craft Spray – Angel Pink
• Fireworks! Shimmery Craft Spray – Cantaloupe
• Fireworks! Shimmery Craft Spray – New Sprout
• Fireworks! Shimmery Craft Spray – Lilac Posies
• Sheer Shimmer Shimmer Craft Spray – Rose Gold
• Sheer Shimmer Shimmer Craft Spray – Sparkle
• VersaFine Clair Ink – Medieval Blue
• IrRESISTable gold medium
• Sponge Dauber

Other

• Altenew – die Set – Blossoms of Encouragement
• Altenew – Stamp Set – Blossoms of Encouragement
• Altenew – Foam Tape – Instant Dimension Foam Tape
• Crafty Meraki – Die Set- Dance With Me Mini Slimline
• Meraki Para-Dies Scrappy Tails – Embellishments
• Heart Stencil
• Music Stamp
• Watercolor Paper
• Paintbrush
• Die-Cutting Machine
• Scissors
• Glue
• Clear Embossing Powder

Quick and Easy Gilded Stamping Technique

By Katy Ingram

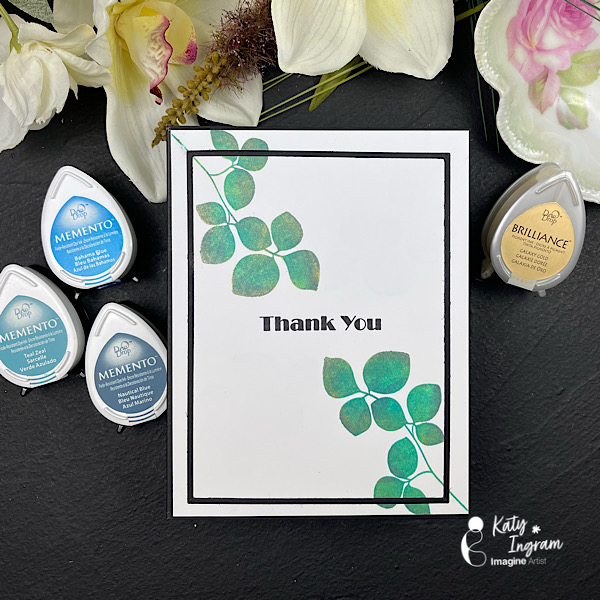
Hello friends, Katy here and in today’s video tutorial, I’m going to show you how to add some gilding to your stamped images as well as how to add some texture to your silhouette stamps using a swiping technique. I will be using Memento inks and Brilliance Galaxy Gold for the gilding. This technique is so quick and I think you will like the end result. I created a thank you card for today, but as always you could put any sentiment you like on this design. Listed below are products I used in todays video including some Affiliate links at no additional cost to you. l thank you for using those links and supporting my work.

Skill: Beginner
Time: 20 minutes

Art Supplies

Imagine

Other

  • Altenew – Leaf Canopy
  • Hammermill – 100 lb cardstock
  • Ellen Hutson – Essentials Rectangles
  • Black 100 lb Cardstock
  • 1/2 inch double sided adhesive
  • 6 inch double sided adhesive
  • MISTI Creative Corners
  • MISTI Stamping Tool

Create a One-of-a-Kind Multimedia Thank You Card

By Anna Escalada-York

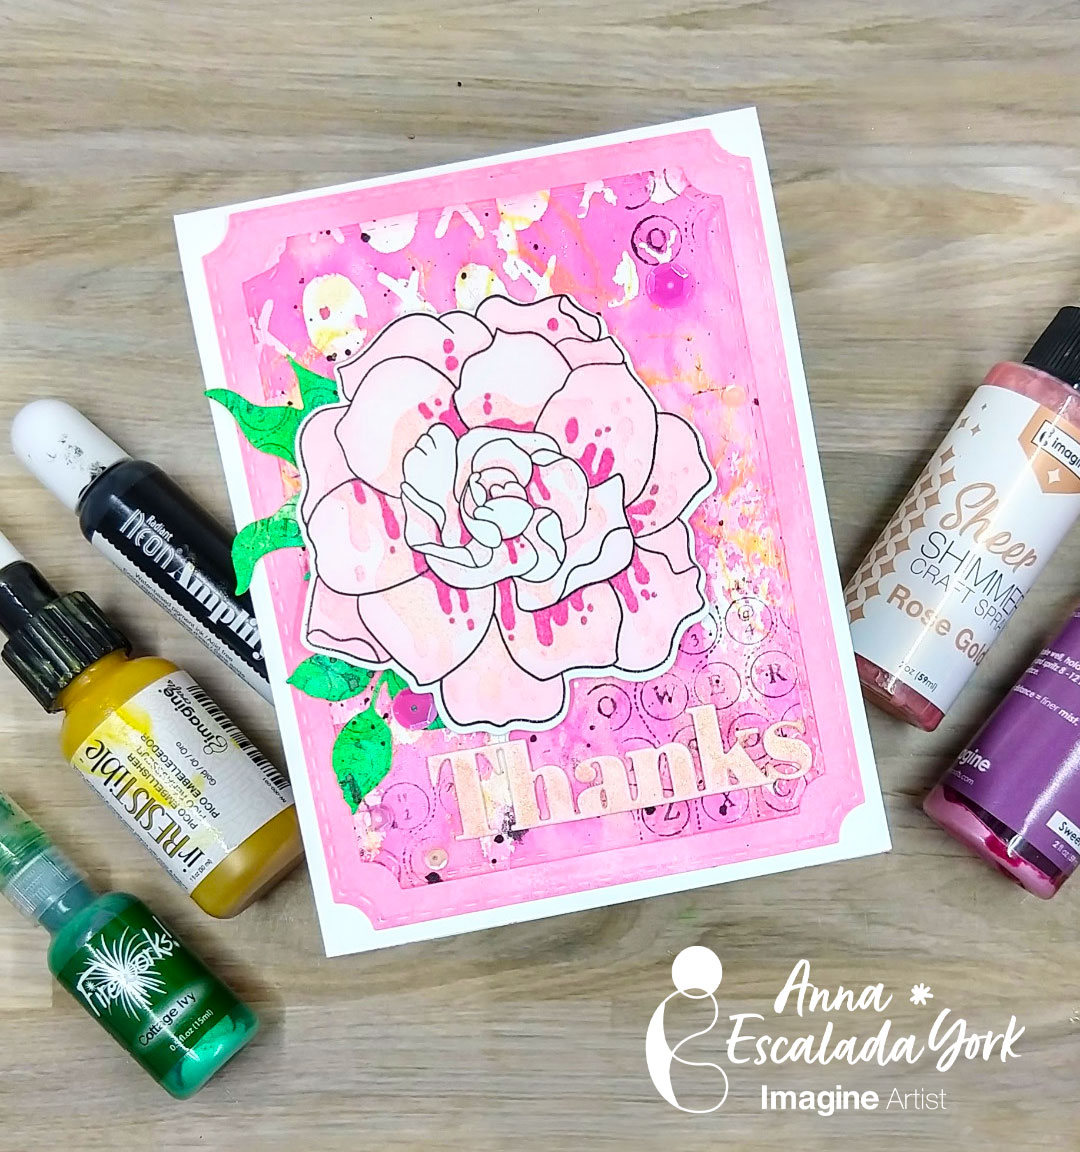
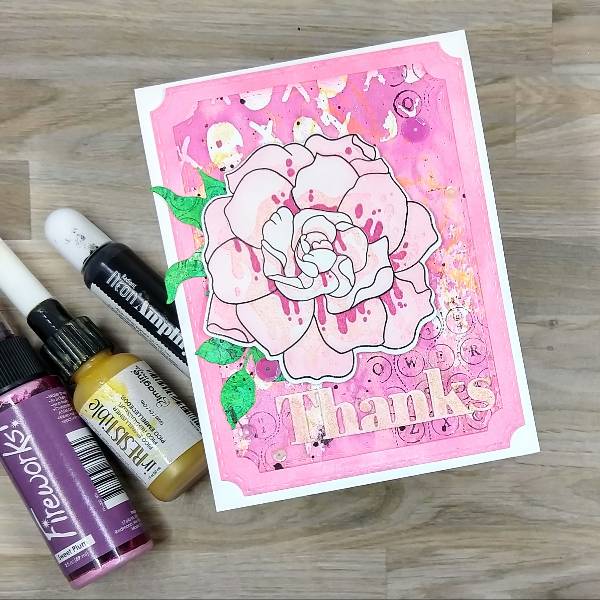
I used to be intimidated by the idea of multimedia cards, but all they are cards that have different types of products. This card features stamping, watercoloring with sprays and Amplify! Ink, and embossing.

Skill: Intermediate
Time: 2 hours

Directions:

Step 1:
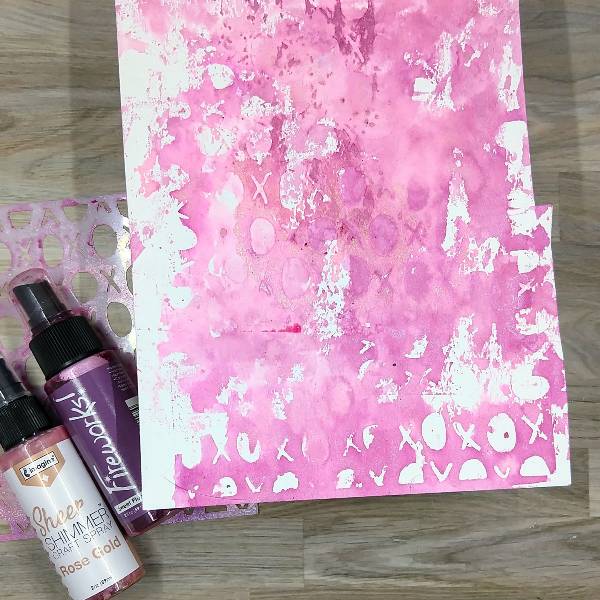
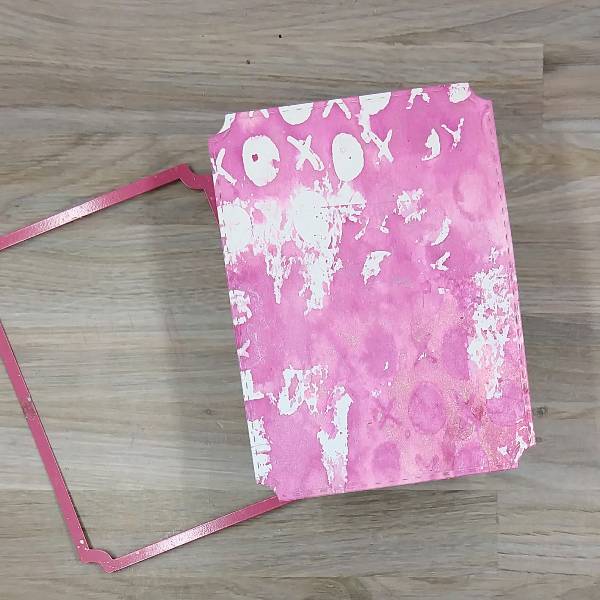
Spray Sweet Plum Fireworks! Shimmery Craft Spray onto a 6” x 6” stencil and then flip the stencil over and gently press the stencil onto a piece of watercolor paper. Repeated this process with and Rose Gold Sheer Shimmer Craft Spray, partially overlapping part of the stencil on the watercolor paper. Repeat the process a few times, overlapping the stencil a few times and then set the panel aside to dry.

Step 2:
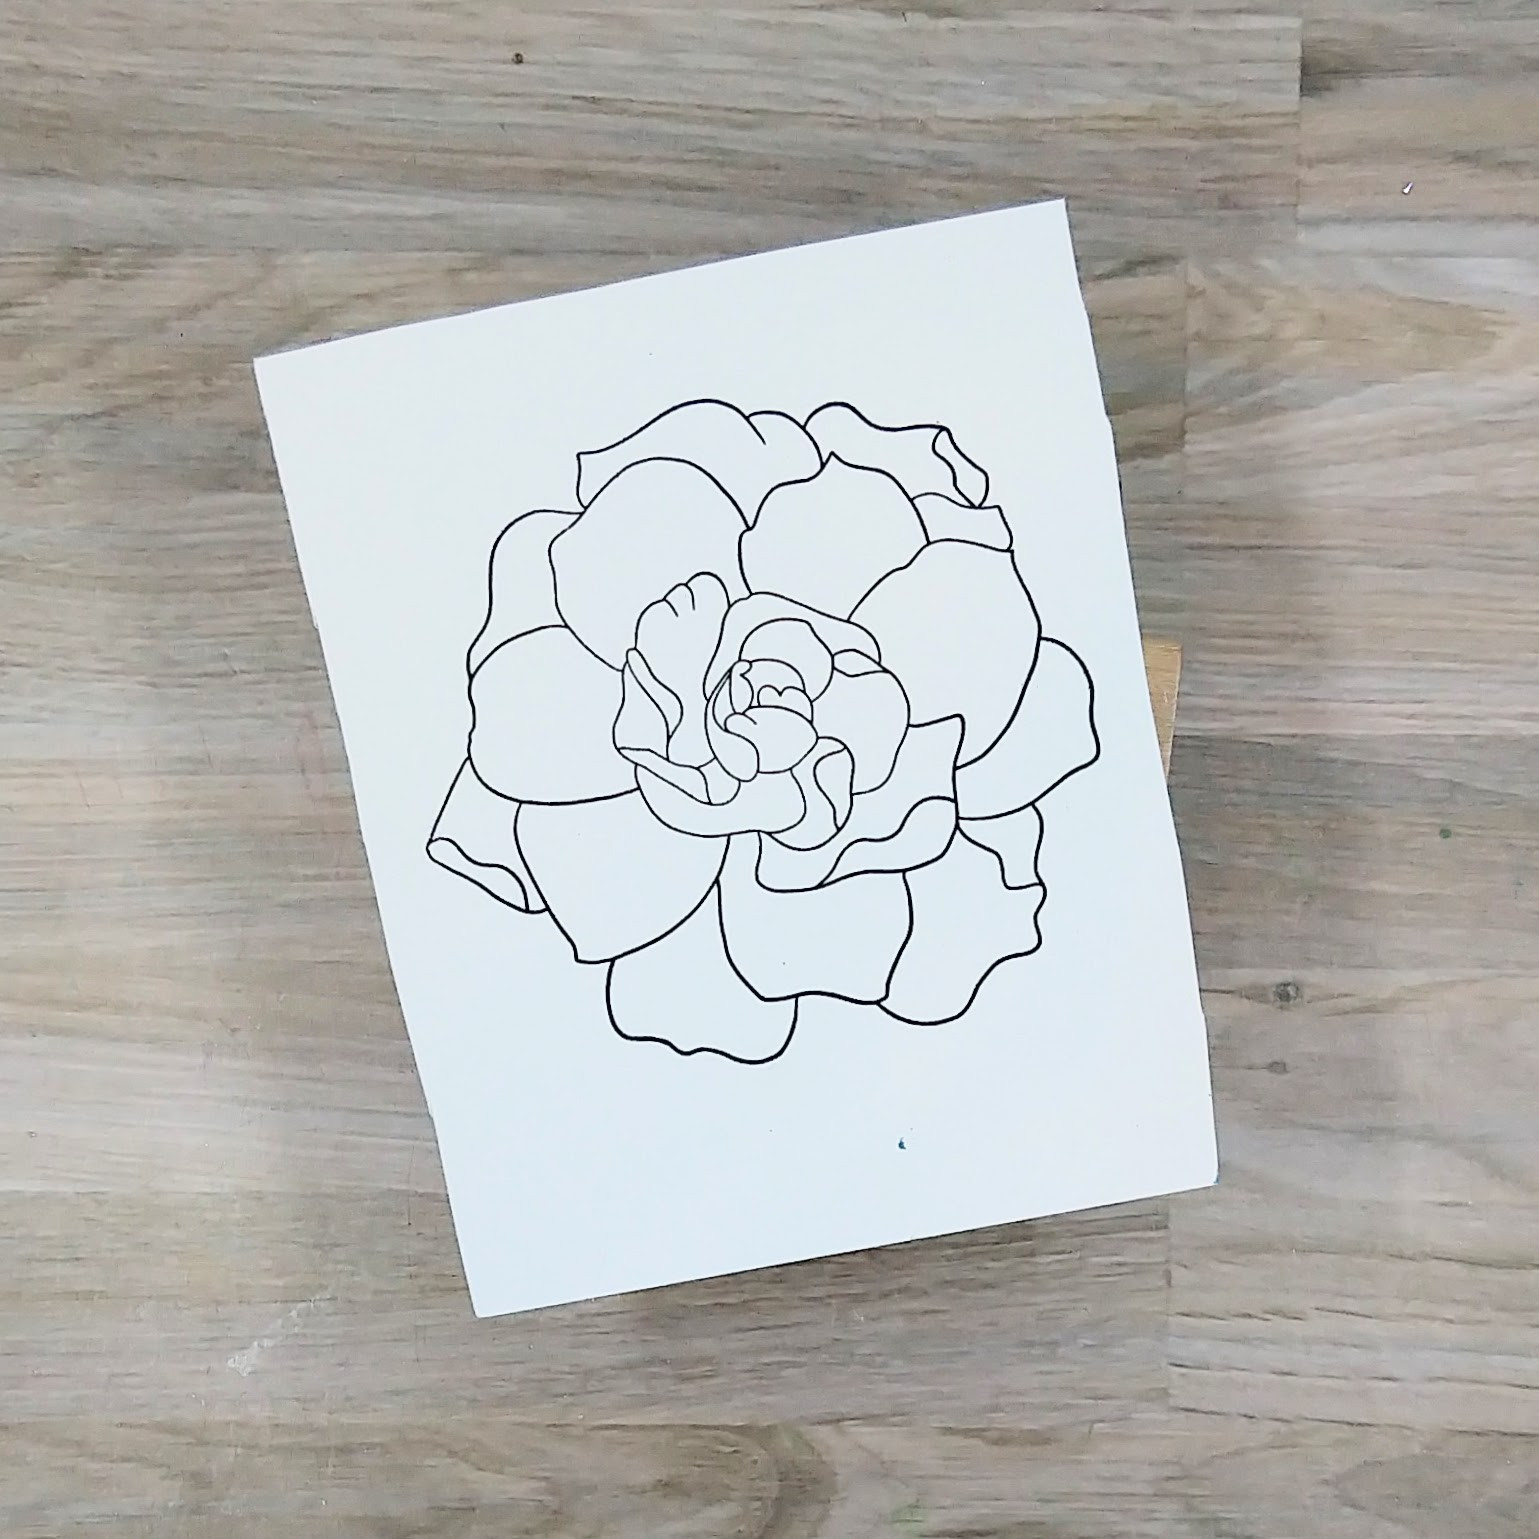
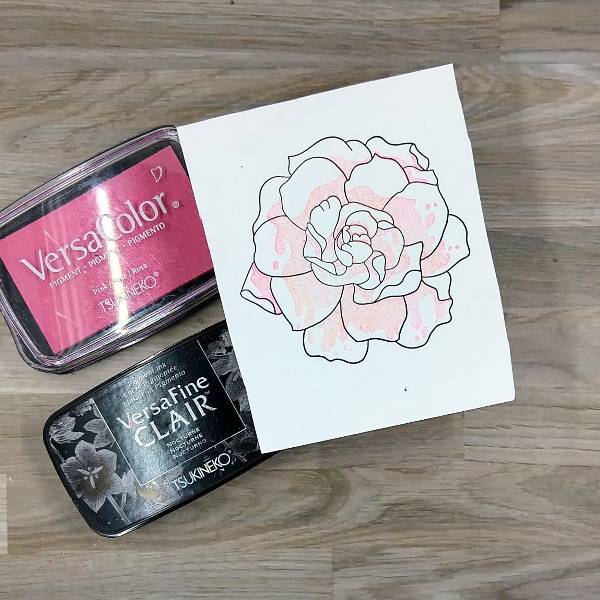
The next three steps use a layered floral stamp set. Stamp the outline of the flower with Nocturne VersaFine Clair ink onto another scrap of watercolor paper and then heat emboss with clear ink.

Step 3:
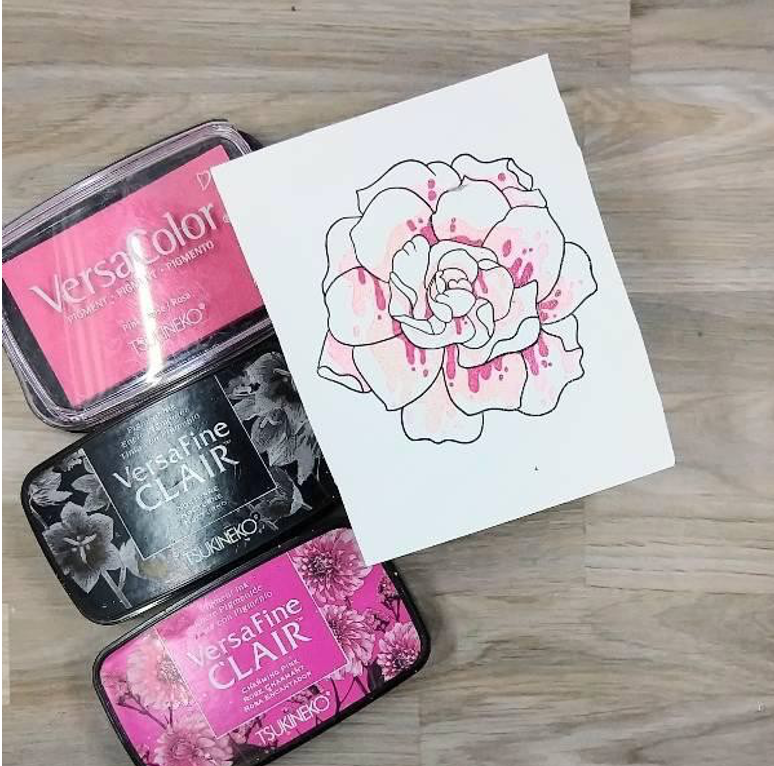
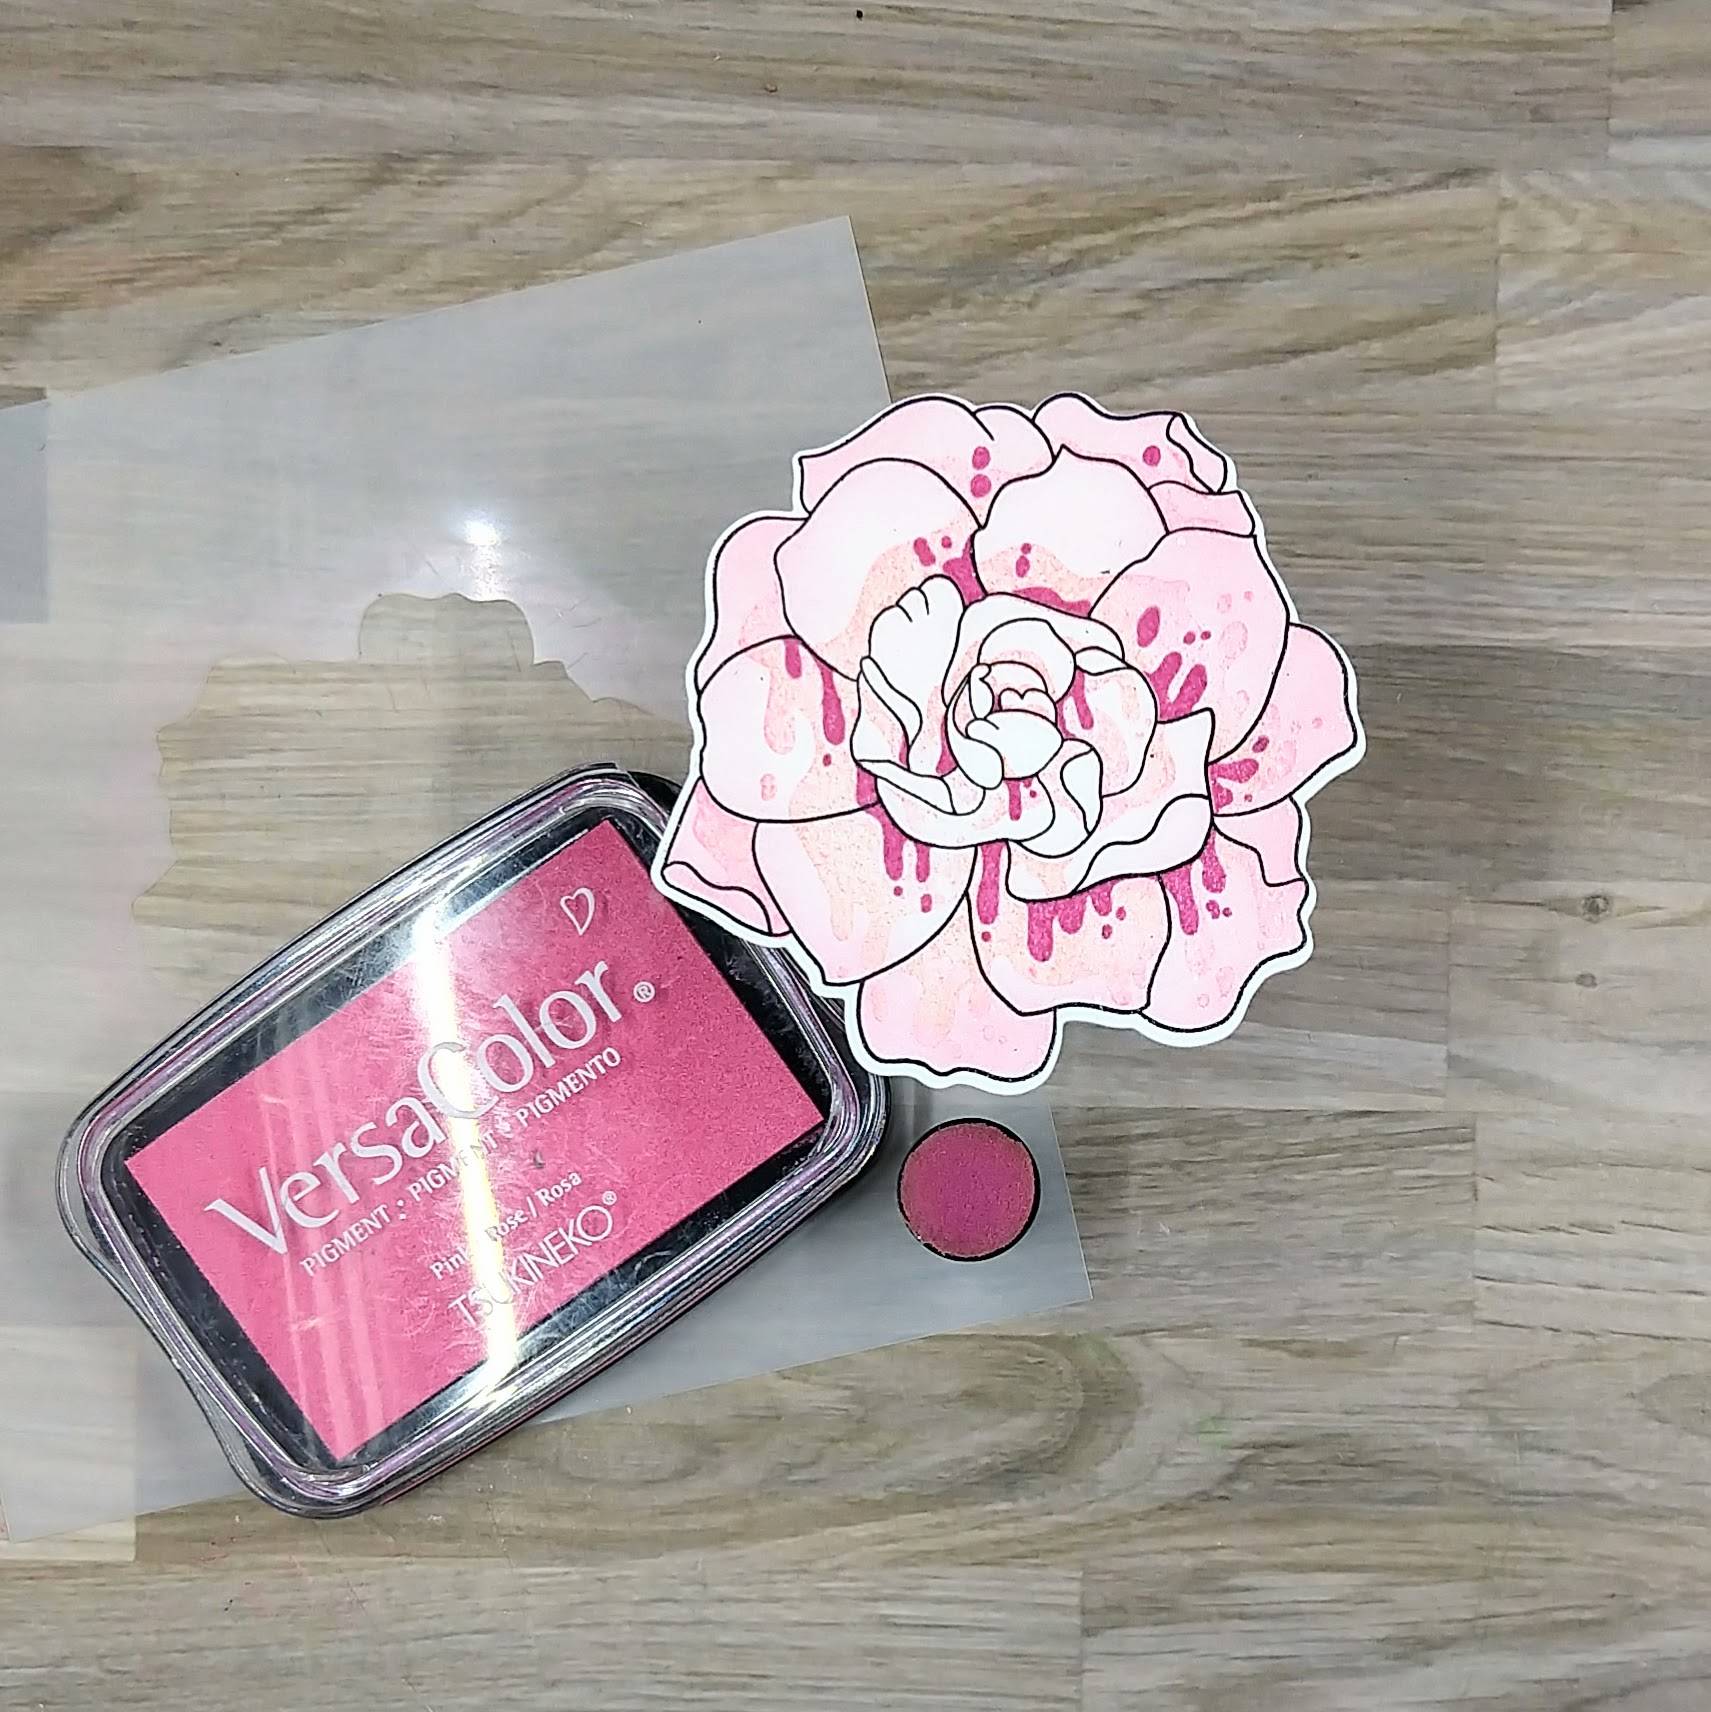
Stamp the second layer of the floral layer stamp set with Pink VersaColor ink onto the flower.

Step 4:
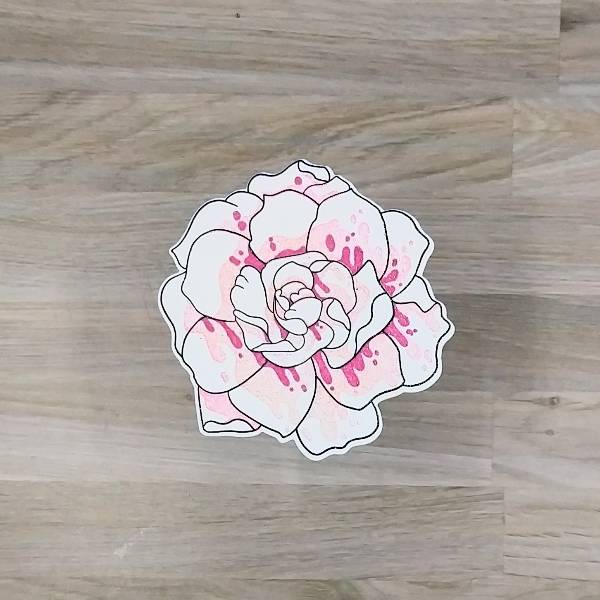
Stamp the third layer of the floral layered stamp set with Charming Pink VersaFine Clair ink. Then heat emboss with more clear embossing powder.

Step 5:
Die cut the flower with the corresponding die.

Step 6:
Use a sponge dauber to ink blend more Pink VersaColor ink onto the flower using a matching stencil–using more ink and pressure on the outer petals, and less ink and less pressure on the inner petals.

Step 7:
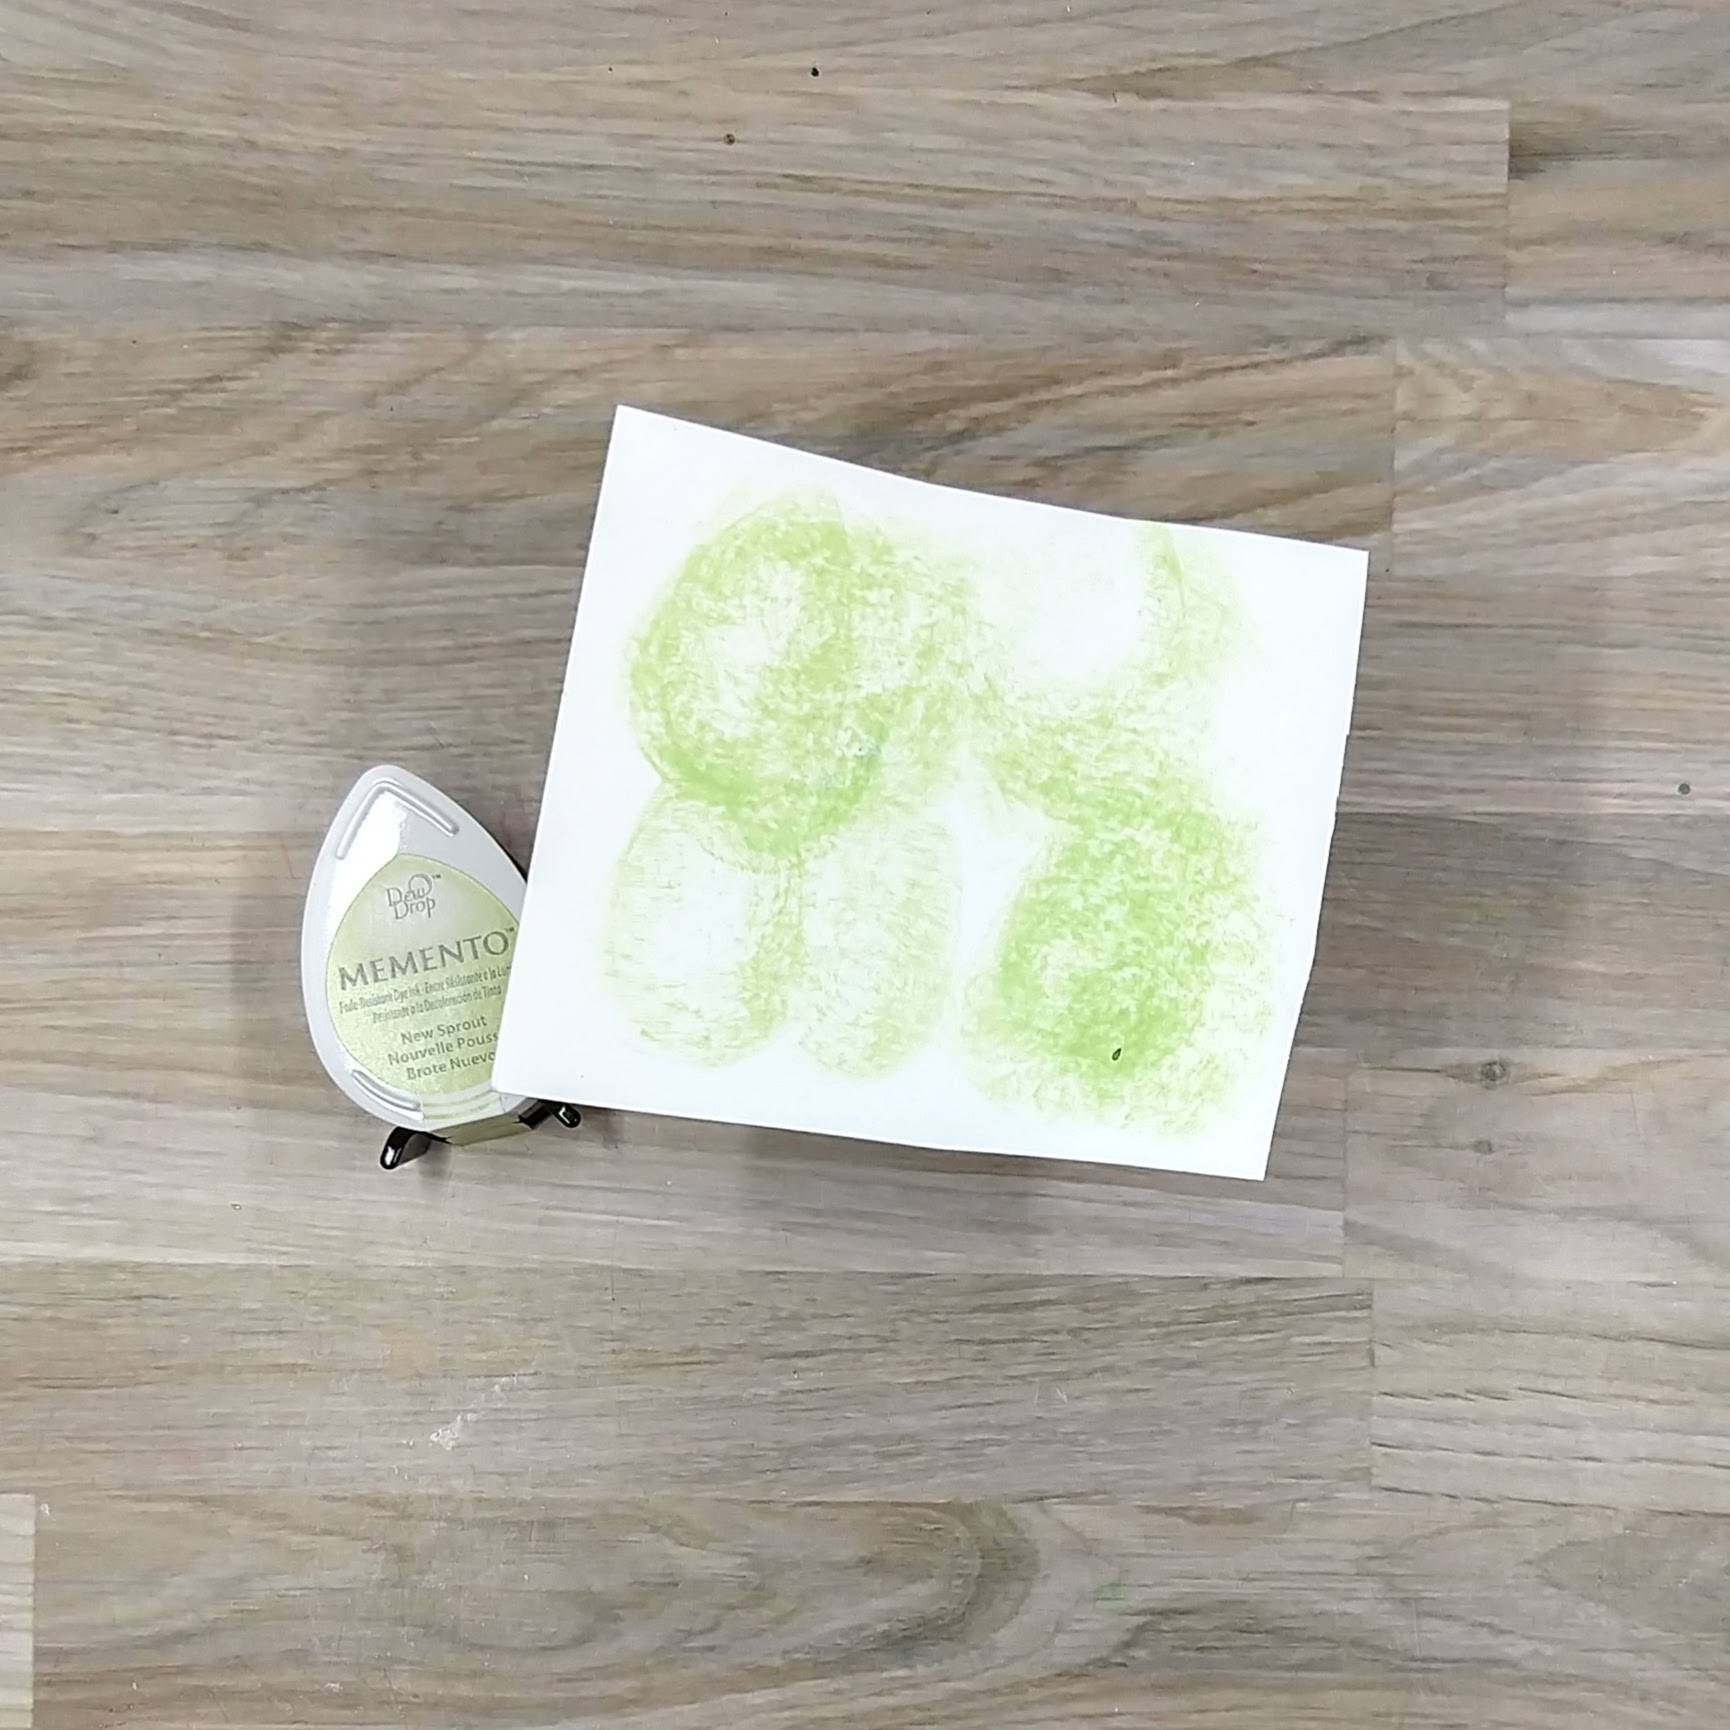
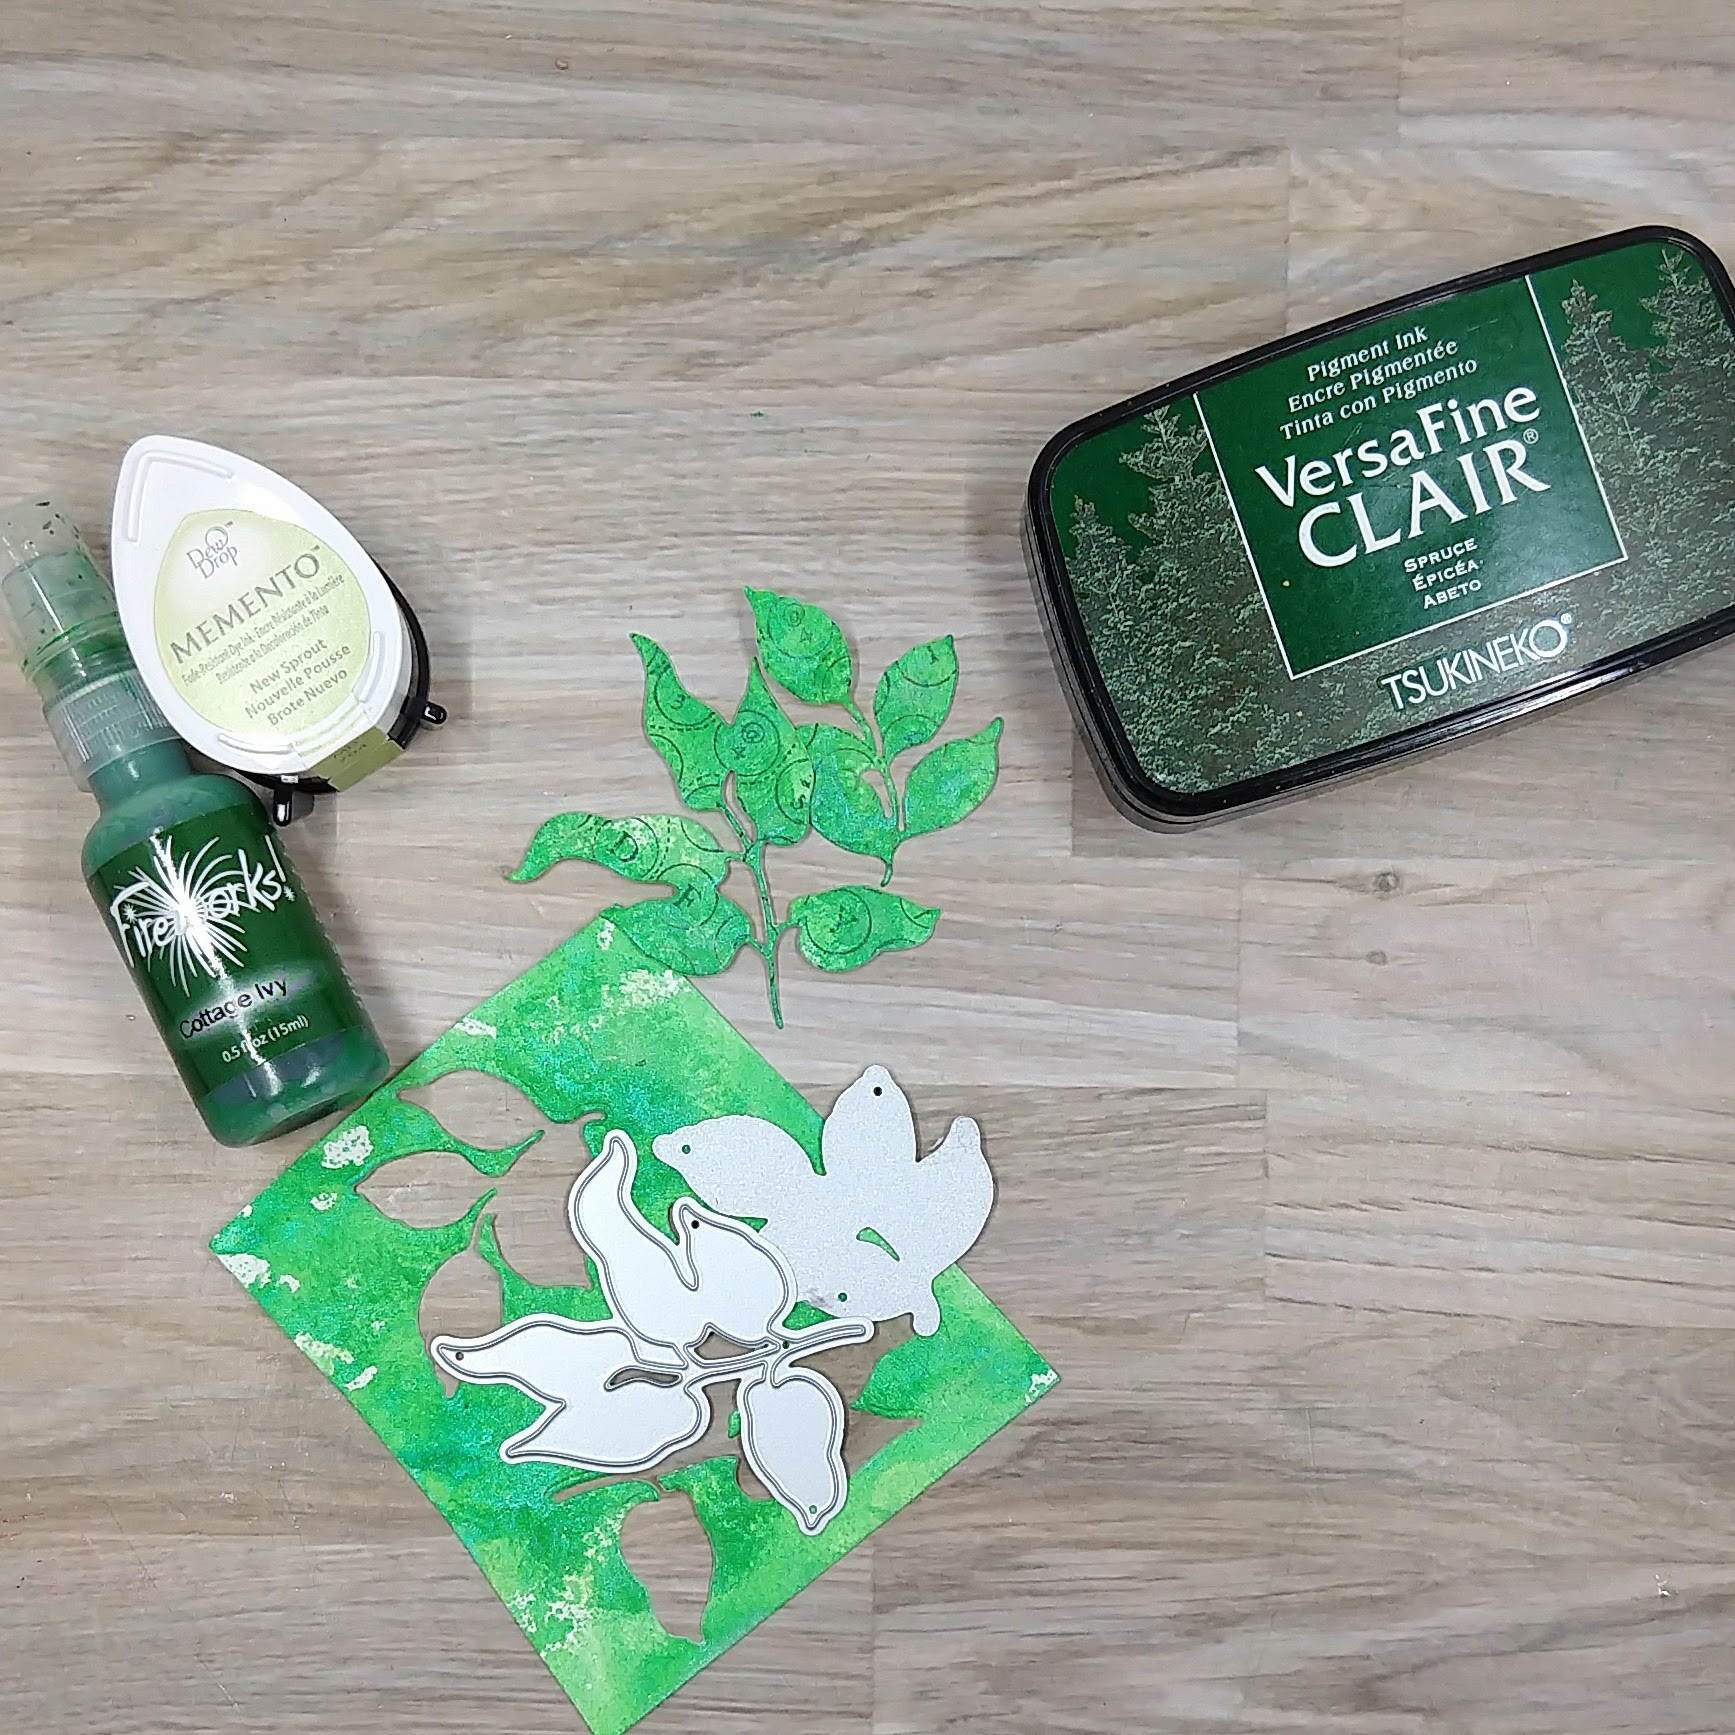
Press New Sprout Memento Dye Ink onto a scrap of watercolor paper to start to add green textured color onto the watercolor paper.

Step 8:
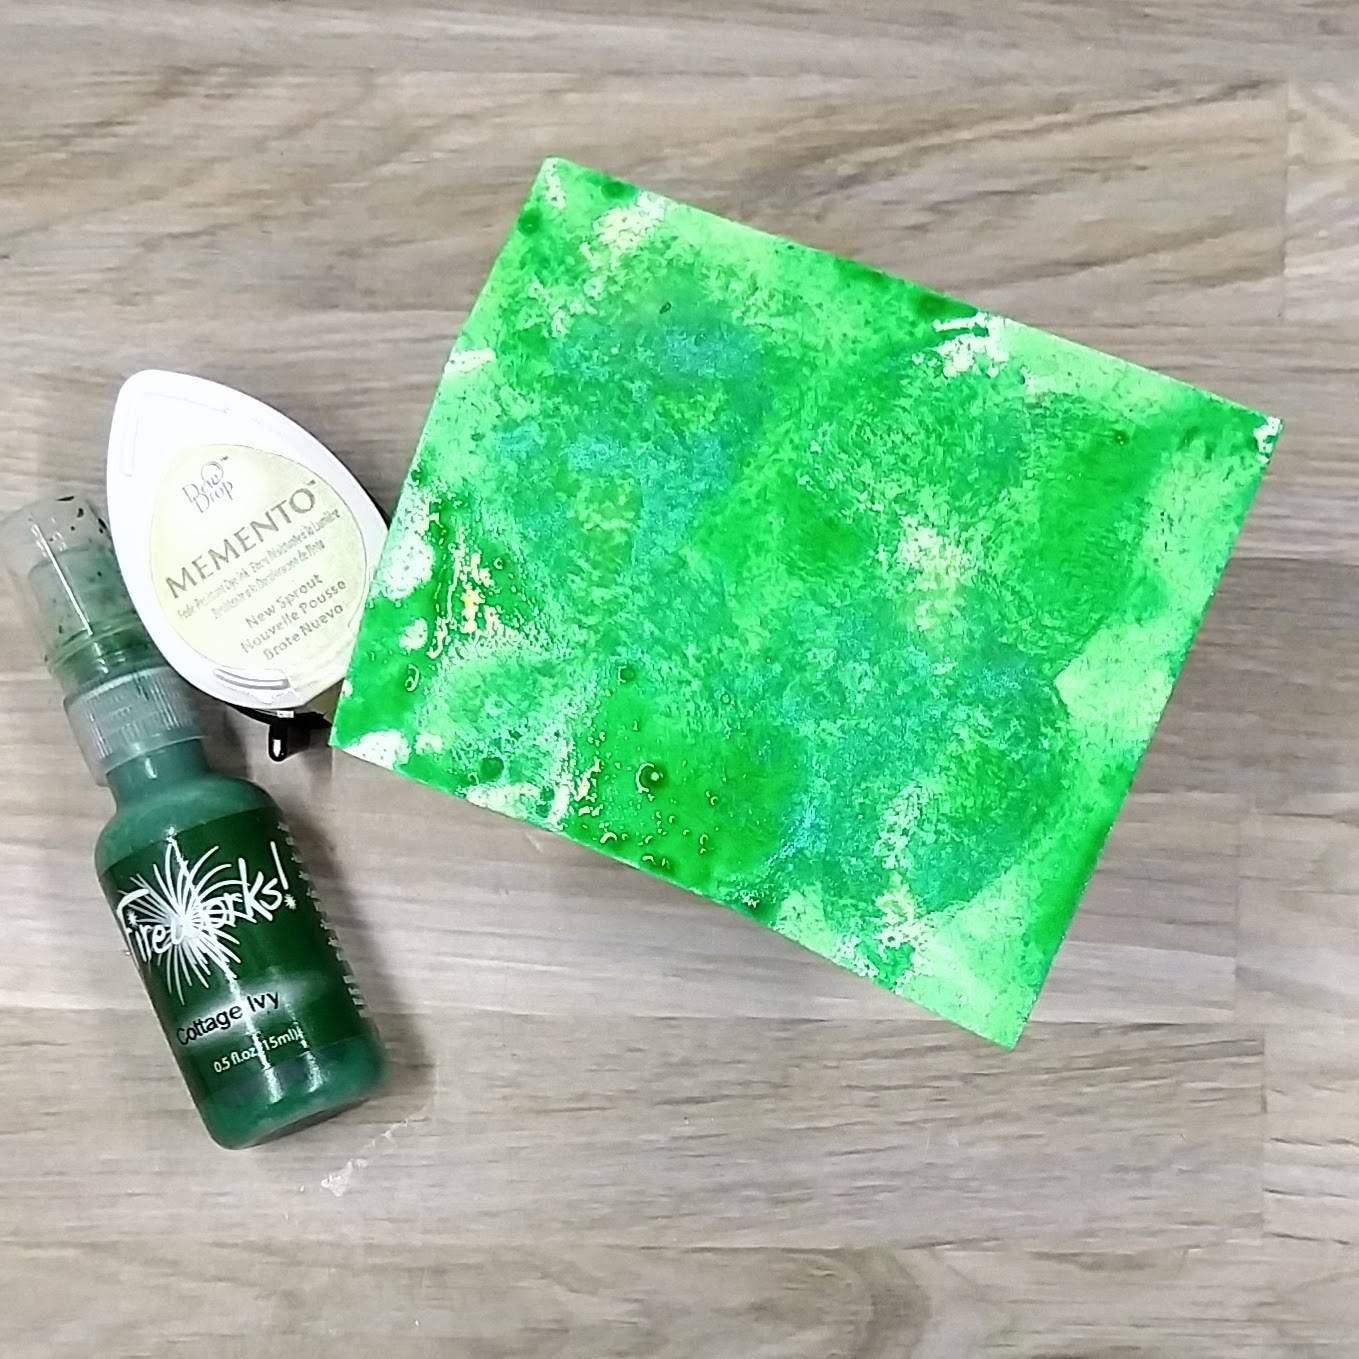
Spray Cottage Ivy Fireworks! Shimmery Craft Spray onto the same scrap of watercolor paper. Allow to dry.

Step 9:
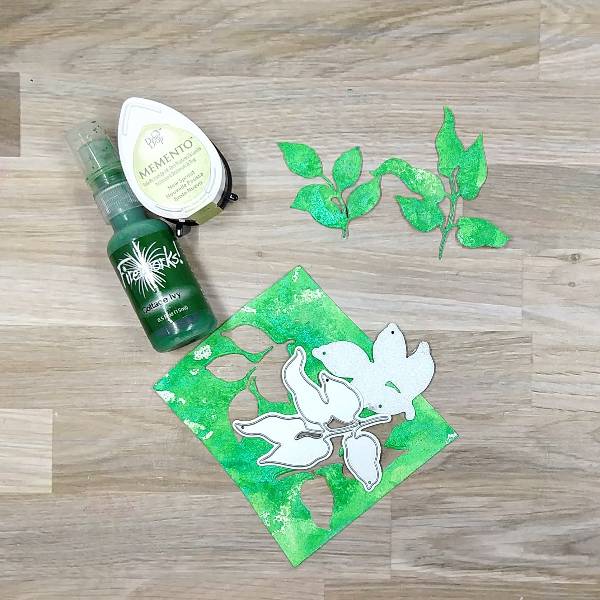
Die cut leaves out of the green watercolor paper using two leaf cluster dies.

Step 10:
Stamp Spruce VersaFine Clair Ink onto a woodblock typewriter key stamp and press the die cut leaves onto the stamp. Set the leaves aside to let the ink dry.

Step 11:
Die cut the inked watercolor paper from step 1 with the second-largest die in a nesting A2-sized die set.

Step 12:
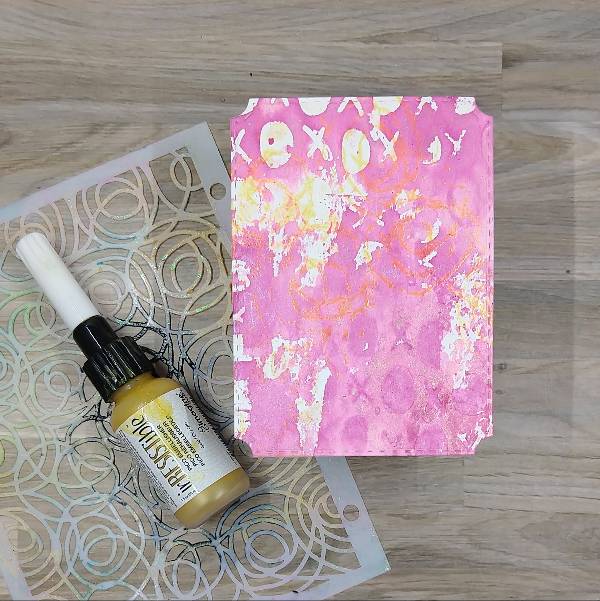
For more texture and interest on the panel, use the Gold irRESISTible Pico Embellisher’ fine tip applicator to add the medium directly onto part of the stencil. Then flip over the stencil and press it onto the watercolor panel. (You may want to put a paper towel over the stencil before pressing or you will probably get some on your hands.)

Step 13:
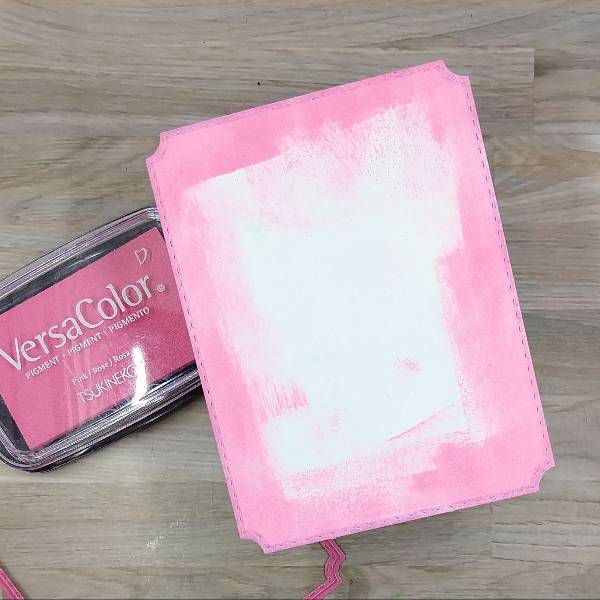
Run more Pink VersaColor ink along the edges of another piece of watercolor paper to make the edges pink. Then die cut the panel with the largest die from the nesting A2-sized die set from step 11.

Step 14:
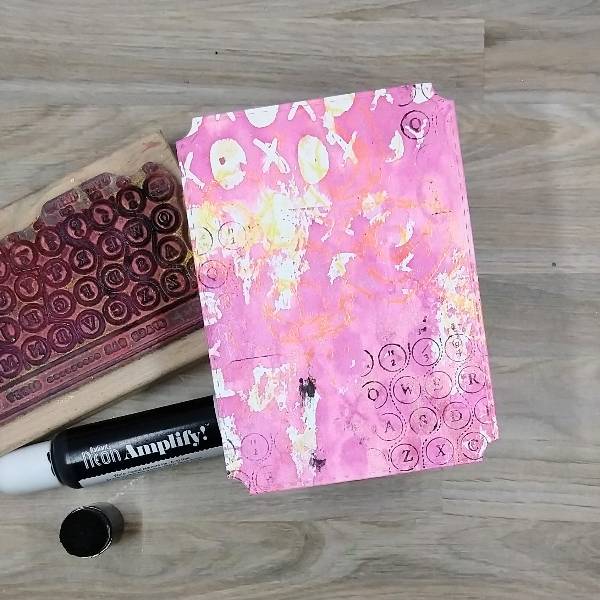
Add a small drop of Black Radiant Neon Amplify! onto another sponge dauber and press the dauber onto the same woodblock typewriter stamp and partially stamp the smaller panel multiple times.

A couple of smudges were mistakenly stamped onto the panel, which were mostly dealt with by splattering more Black Radiant Neon Amplify! mixed with water onto a piece of acetate and then splattered onto the panel.

Step 15:
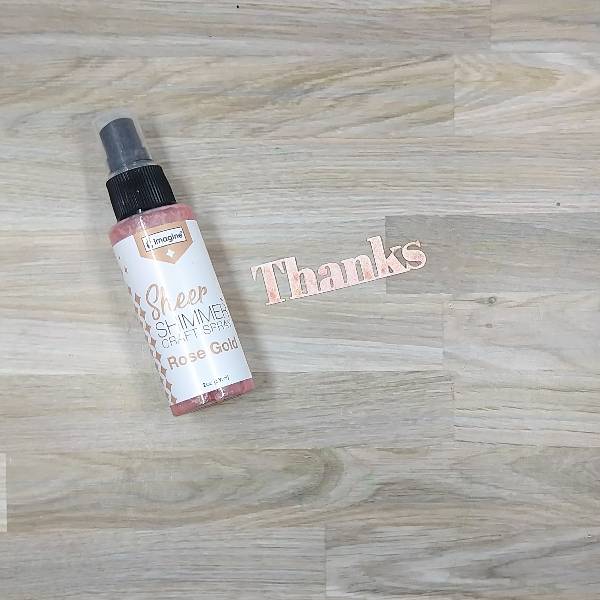
Die cut another piece of watercolor paper with a sentiment die and then spray the die cut multiple times with Rose Gold Sheer Shimmer Craft Spray.

Step 16:
Assemble the card by gluing the leaves and sentiment onto the smaller panel. Attach the flower to the panel with foam tape. Then glue the two panels together and glue them both onto an

A2-sized white card base. Finally, glue sequins around the flower.

Art Supplies

Imagine

• Amplify! Radiant Neon pigment ink – Black
• Fireworks! Shimmery Craft Spray – Cottage Ivy
• Fireworks! Shimmery Craft Spray – Sweet Plum (retired)
• irRESISTible – Gold Pico Embellisher
• Memento Ink – New Sprout
• Sheer Shimmer Craft Spray – Rose Gold
• VersaColor Ink – Pink
• VersaFine Clair Ink – Charming Pink
• VersaFine Clair Ink – Nocturne
• VersaFine Clair Ink – Spruce
• Sponge Daubers

Other

• Altenew – foam tape
• Altenew – die set – Amazing Things
• Altenew – die set – Just Leaves
• Altenew – stamp set – Amazing Things
• Altenew – stencil set – Amazing Things
• American Crafts – stencil – Storyteller Radiate
• Catherine Pooler – sequin mix – Sofia
• Pink & Main – die set – Notched Corner
• Simon Says Stamp – die set – Bold Thanks
• Old woodblock • typewriter key stamp
• Clear Embossing Powder
• Watercolor paper
• Die cutting machine
• Scissors
• Glue

Floral Thank You Card

By Anna Escalada York

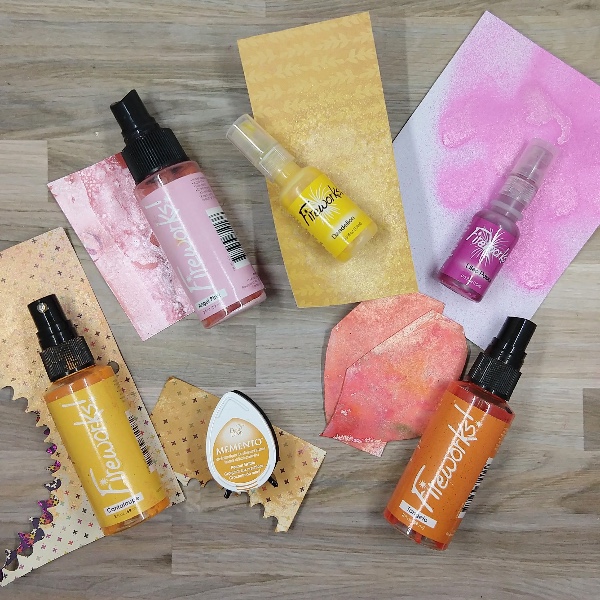
In today’s card, I made a thank you card with some new-to-me Memento markers and sprays.

Skill: Intermediate
Time: 1.5 hours

Directions:
Step 1:
Stamp the large floral image with Nocturne VersaFine Clair Ink on watercolor paper and then heat emboss with clear Mboss embossing powder.

Step 2:
Die cut the large floral image with the corresponding die cut.

Step 3:
The large floral image was colored by watercolor smooshing a variety of Frost Sheer Shimmer Craft Spray mixed with a variety of colors of Memento Dual Markers–Love Letter and Lilac Posies. After the watercolor smooshing dried, the large floral image was watercolor painted with a Northern Pine and Pistachio Memento Dual Markers mixed with more of the Frost Sheer Shimmer Craft Spray on the greenery. The flowers were colored with a mix of Rhubarb Stalk, Love Letter and Lilac Posies mixed with more of the Frost Sheer Shimmer Craft Spray. Finally, Tangelo Memento Dual Marker was mixed with more of the Frost Sheer Shimmer Craft Spray and watercolor smooshed onto the image.

Step 4:
Spray London Fog Fireworks! Shimmery Craft Spray onto another piece of watercolor panel through a stencil. Then spray Paris Dusk Fireworks! Shimmery Craft Spray on a diagonal through the same stencil through the same stencil while the ink was still wet.

Step 5:
Stamp the thanks sentiment with more Nocturne VersaFine Clair Ink on watercolor paper and then heat emboss it with more of clear Mboss embossing powder. Then die cut the sentiment with the corresponding die.

Step 6:
Die cut the sprayed background panel with the second-largest die from a nested A2-sized panel die set.

Step 7:
Glue the large floral die cut image onto the sprayed panel and then trim the edges of the floral die.
Step 8:
Mix Northern Pine Memento Dual Marker mixed with water and splatter onto the panel and floral die cut.

Step 9:
Die cut a piece of white glitter cardstock with the largest die from the same nesting die cut set.

Step 10:
Swipe Pistachio Memento Ink across the glitter cardstock to color it green.

Step 11:
Glue clear sequins and the sentiment die cut onto the upper panel. Then glued the green glitter cardstock behind the focal panel. To finish the card, glue the whole thing onto an A2-sized white card base.
Craft Supplies:

Imagine:
Fireworks! Shimmery Craft Spray – London Fog and Paris Dusk
Mboss – Clear
Memento Dual Marker – Lilac Posies, Love Letter, Northern Pine, Pistachio, Rhubarb Stalk, and Tangelo
Memento – Pistachio
Sheer Shimmer Craft Spray – Frost
VersaFine Clair ink – Nocturne

Other Products
Altenew – die set – Bougainvillea
Altenew – stamp set – Bougainvillea
Catherine Pooler – sequins – Crater Lake
Gina Marie Designs – Die set – Big and Little Chain Rectangle die set
Ink On 3 – Stencil – Pondie 6×6 stencil
Watercolor paper
White glitter cardstock
Die cutting machine
Paper Trimmer
Scissors
Glue