Create a Thank You Card in Warm Autumn Colors

By Alison Heikkila

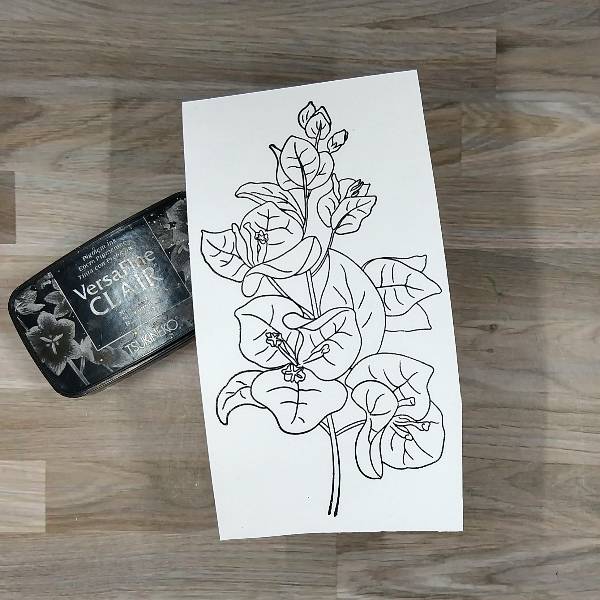
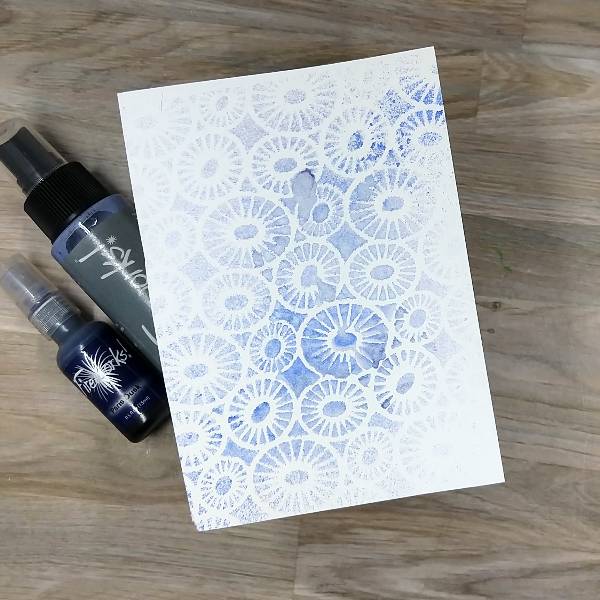
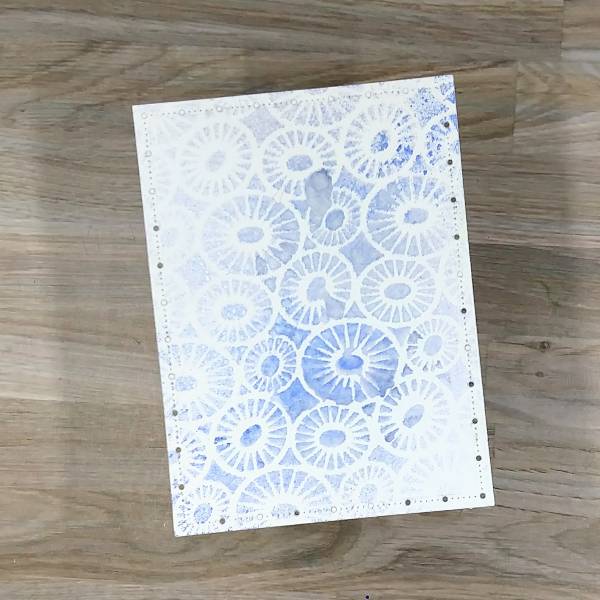
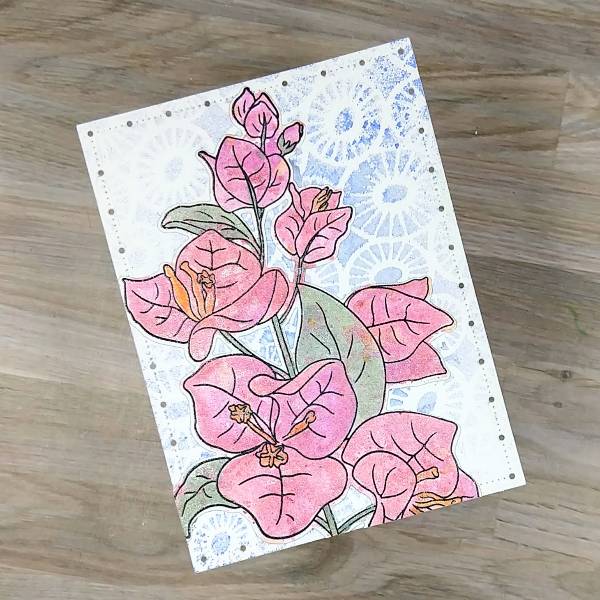
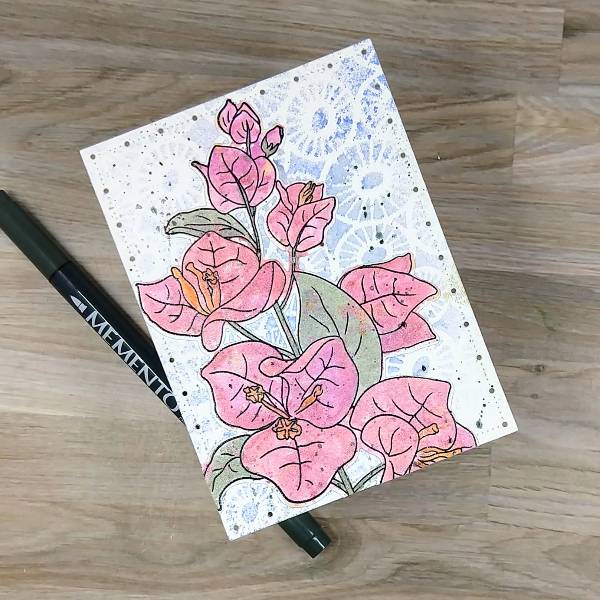
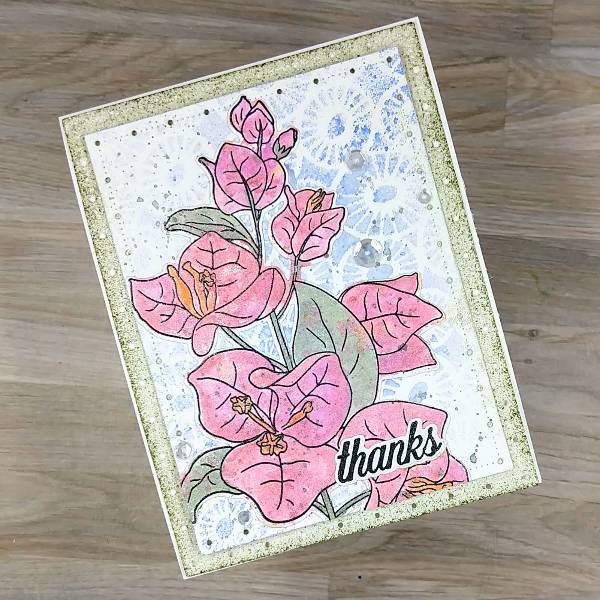
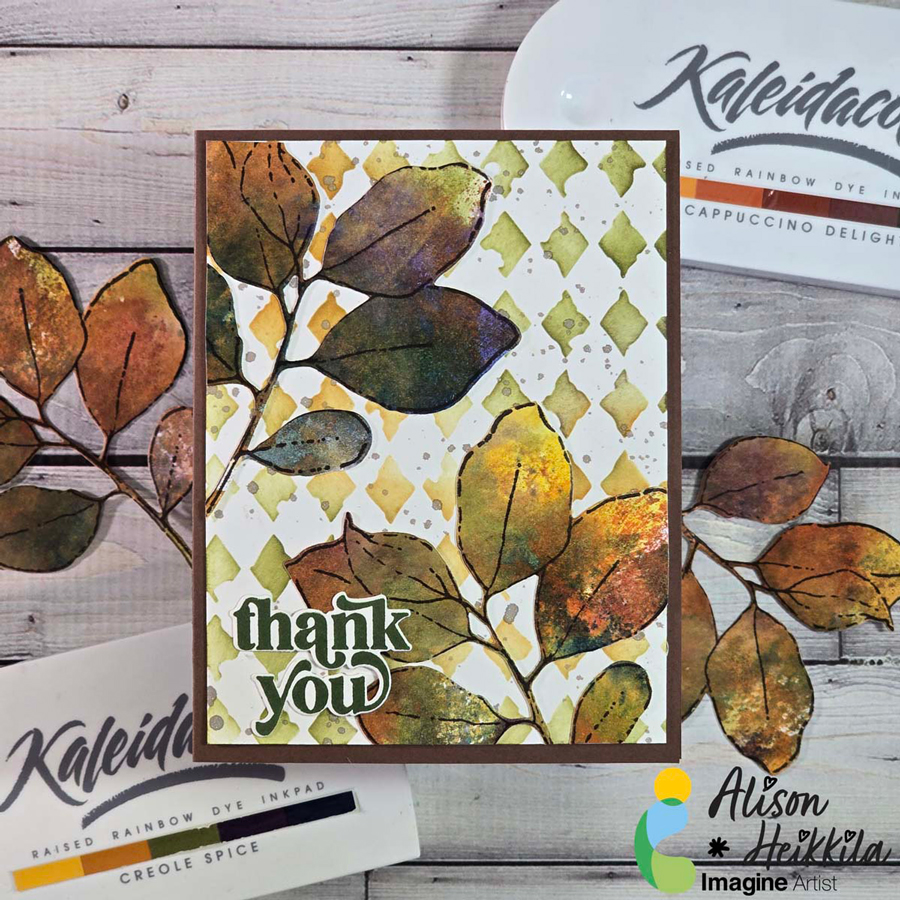
Hello! Alison Heikkila here, and my latest project for Imagine started as a Thanksgiving card, but it morphed into one that can be used at any time of year. I think it’s beautiful, and it’s got some really simple techniques that help you get fantastic results without a lot of products.

Skill Level: Beginner
Time to Complete: 20 Minutes

*Some affiliate links are used in this post. That means that if you shop through these links, I may receive a small compensation, at no cost to you.

Here is the YouTube video. If it doesn’t play properly, please click HERE.

Supplies:
Imagine:
Kaleidacolor Inks in Creole Spice and Cappuccino Delight
Fireworks! Spray in Rich Cocoa
VersaFine Clair Ink in Pinecone
VersaFine Clair Ink in Shady Lane

Other:
Sizzix and 49 & Market: Painted Leaves Stamp and Die Set
A Colorful Life Designs: Messy Harlequin Stencil
Pinkfresh Studio: Perfect Sentiment Stamp
Pinkfresh Studio: Perfect Sentiment Die
Strathmore: Smooth Bristol Cardstock
Bearly Arts Glue
The Rabbit Hole Designs: Cotton Tail Blending Brushes
Piece of clear acetate
Ivory and Brown Cardstock

I’m so pleased with the foliage. I really love these colors together. I hope you’ll give this a try! Please visit Imagine for more ideas on creative ways to use their products. Thanks so much for stopping by. Have an inspiring day!

Tent Cards with Easy Ink Blending Using VersaColor

By Amalia Montano

I love to color! I am an avid Copic marker fan and adore using  watercolor on stamped images. Sometimes I like taking a more liberal rather than literal approach to coloring images. If you do not like to color this is the video and project for you! Find some simple lined floral images and use sponge daubers to daub, rub, smear or pounce color on. Versacolor inks are blendable and provide jut the right dry time to create a smooth finish to your design. I used heat embossing with white MBoss powder on white cardstock so the outline would stand out but not overpower. This created a soft feminine hue to the image. This would also look great in black ink. Give it a try!

Skill: Beginner to intermediate
Time: 20 minutes

Craft Supplies:
Imagine Products
VersaColor In Pads in Canary, Rose and Cardinal
Sponge Daubers
VersaFine Clair Pinecone Ink Pad
MBoss embossing powder in Iridescent Opaque

Other Products Used
Heat Gun
Reverse Grip Tweezers

Another Tie-Dye Technique Using Kaleidacolor

By Linh @LVHandcrafted

– Hello friends! This is Linh (or LV Handcrafted on all the socials). Today I have a new video up on the Imagine Crafts YouTube channel showing how to create your own Tie-dyed backgrounds! This is SO amazing! And now I want all the colors of the Kaleidacolor ink pads.  Because they already come with 5 beautiful colors, you can quickly and easily whip up these fun tie-dyed backgrounds. The pre-made color combos are amazing but you can always buy a blank Kaleidacolor ink pad and make your own color combination like my rainbow one!

Skill: Beginner

Time: 5 minutes

Supplies Used

Imagine:

Kaleidacolor

  • Kaleidacolor – Caribbean Sea
  • Kaleidacolor – Berry Blaze
  • Kaleidacolor – Uninked ink pad
  • Dye Reinker – Crimson, Tangerine, Daffodil, Lime, Crystal Blue

Other Products Used

  • Lawn Fawn – “Thanks so much” die
  • The Greeting Farm – “Happy Birthday” die

See How to Build Your Own Customized Kaleidacolor Ink Pad + Thank You Card

By LV Handcrafted

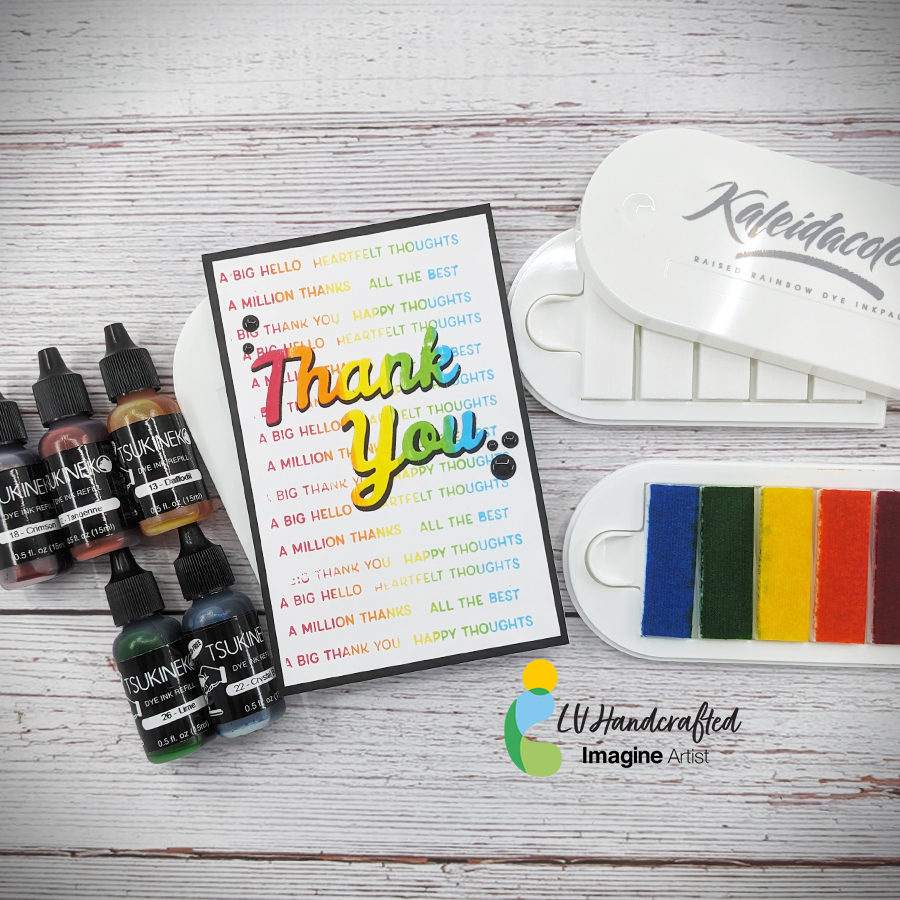
– Hello friends! This is Linh (or LV Handcrafted on all the socials). Let your imagination fly and make your own Kaleidacolor ink pad!  It is so easy to create any combination of 5 colors. Mix and match any set of dye ink refills to create your favorite color blends. These fun ink pads make it so easy to create ombre backgrounds and papers to die cut from.  For this card, I combined several small sentiment stamps and used my rainbow ink pad to ink up my stamps and create a custom rainbow sentiment background — you can’t do that with any other ink pad!

Skill: Beginner

Time: 10 minutes

Supplies Used

Imagine

• Kaleidacolor – Uninked ink pad

• Dye Reinker – Crimson, Tangerine, Daffodil, Lime, Crystal Blue

Other Products Used

• Spellbinders Thank You Die

• Spellbinders Sending You Stamp

• Kat Scrappiness Enamel Dots

Quick and Easy Thank You Card

By Martha Lucia Gomez

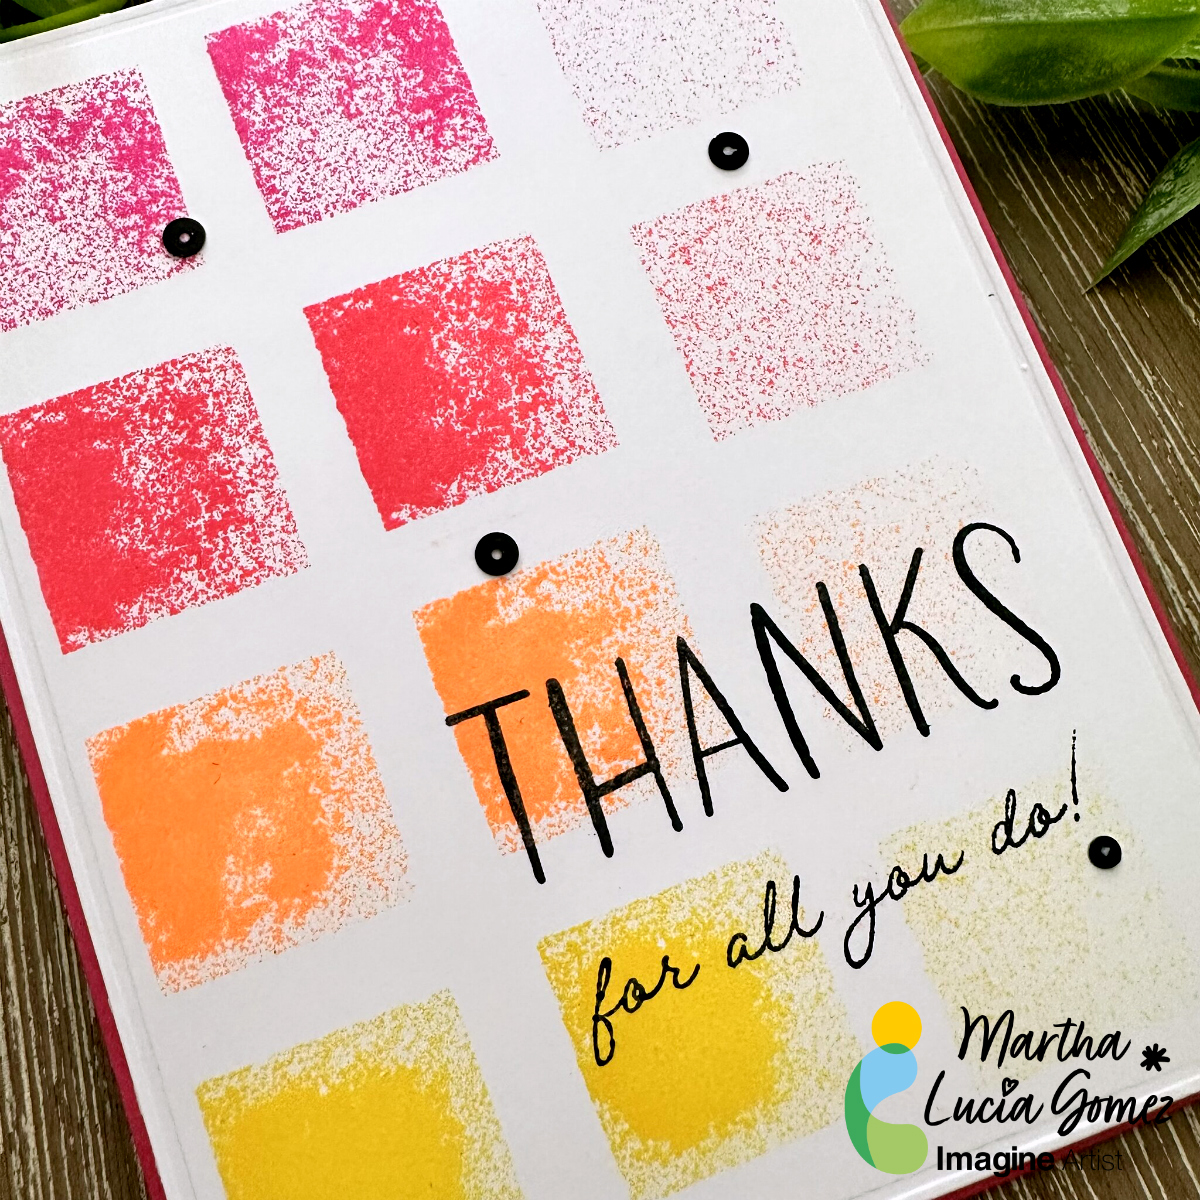
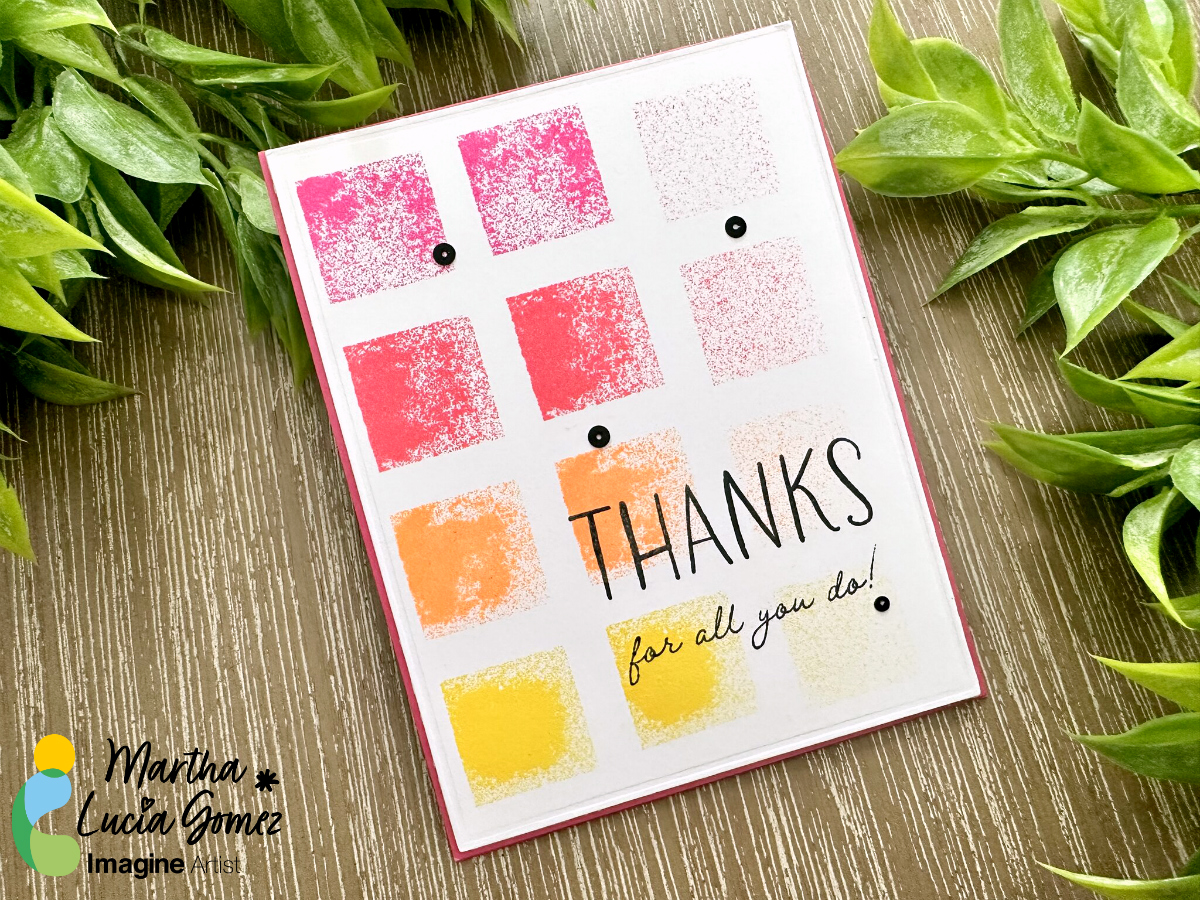
Hello crafty friends! Today, I have the easiest and simple tutorial to make a unique thank you card or any type of cards. Let me share the project with you.  

Skill: Beginning
Time: 60 minutes

Directions:

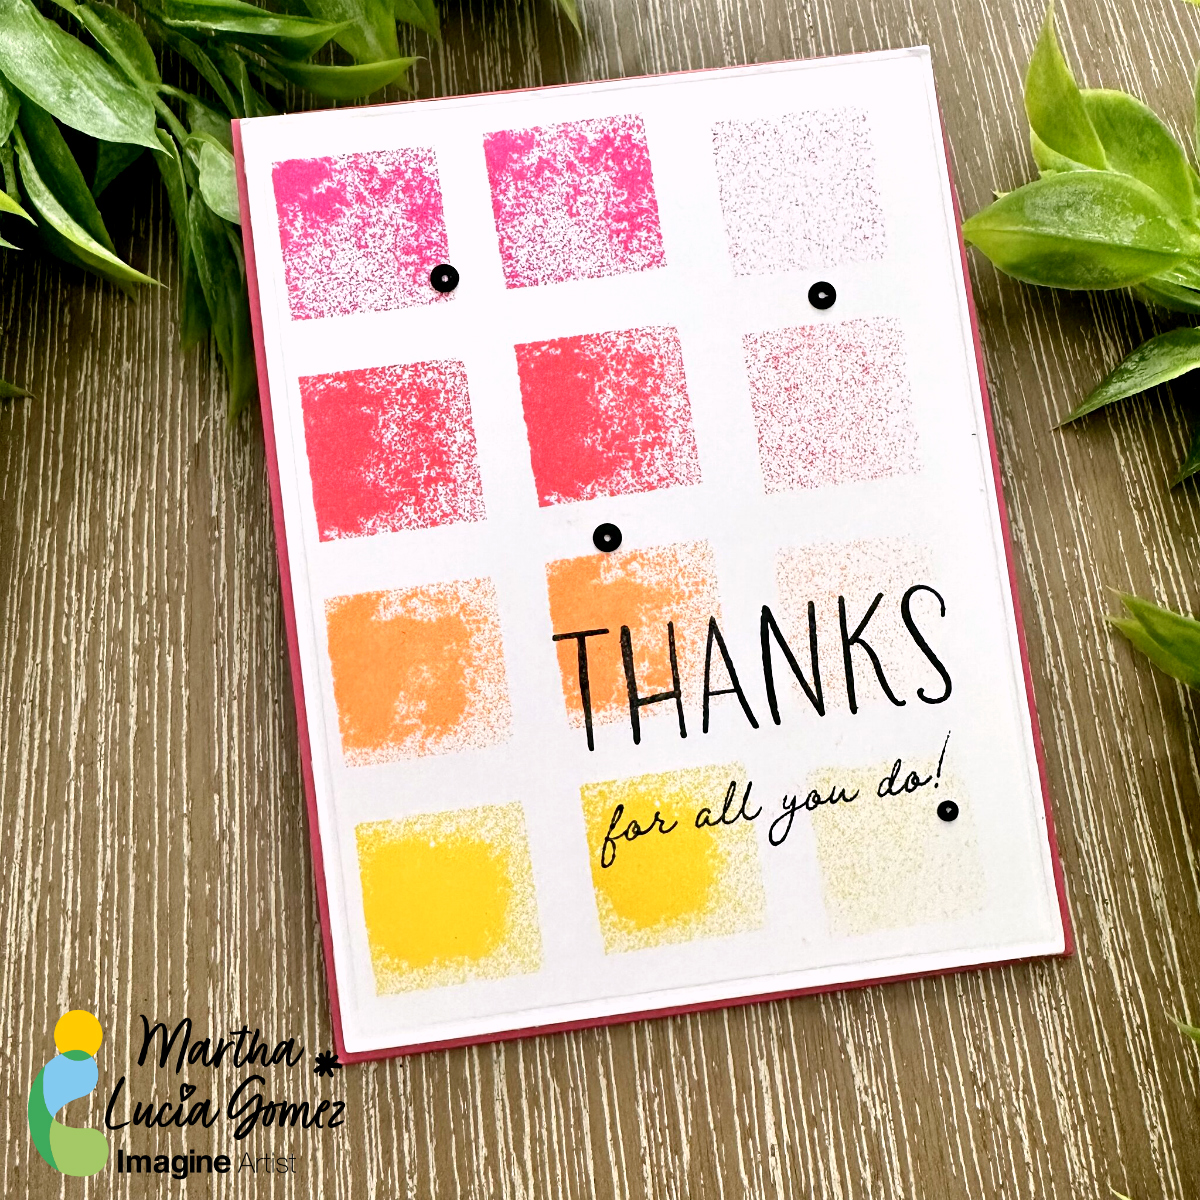
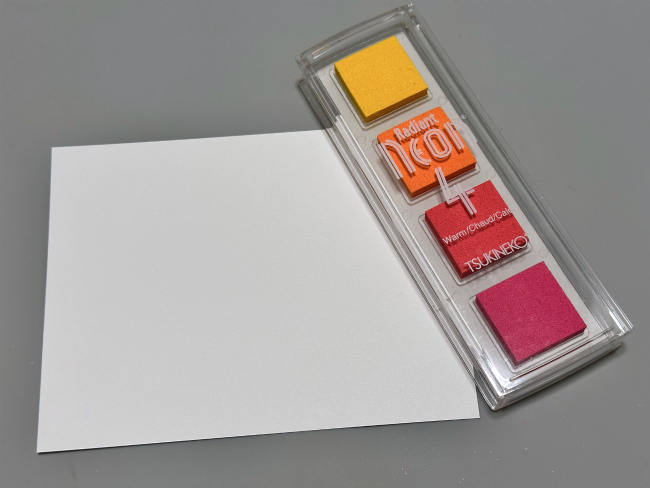
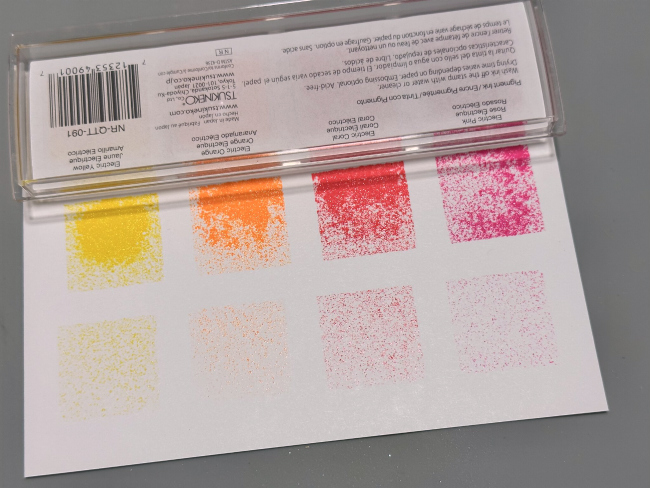
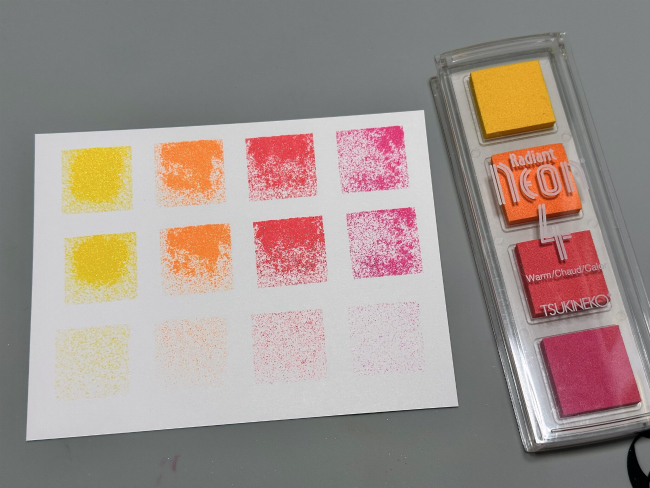
To make my model, I decided to use Radian Neon 4 Warm for two reasons. The first one is because I love the colors of this set of inks and the second, because Radian Neon brings the opportunity to create textures.

Step 1:

Select the colors of inks that you want to use in small sizes pads. For this idea, you can use any of our 4 Inkpads or small presentations like the Dew Drop of other inks, like Brilliance, VersaMagic, Delicata or Memento, just to mention some.  

Step 2:

Place the entire ink pad over the cardstock in the direction that you want the colors. I press mine three times over the card under different pression to obtain different textures in each color.

Step 3:

Let the ink dry naturally or speed the process with a heat tool. If you want, you can cover the stamped blocks of ink with clear embossing powder and emboss them with the heat tool, to obtain a better texture.

Step 4:

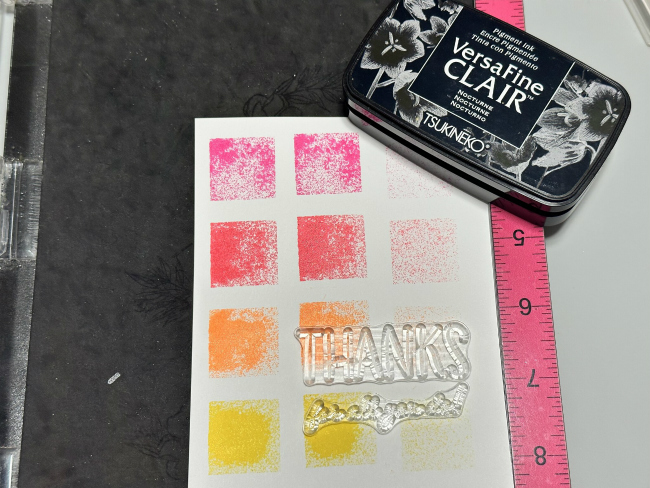
Stamp a sentiment over the color blocks using VersaFine Clair Nocturne to add a major contrast over your card.

Step 5:

Heat embosses the sentiment with clear embossing powder and paste the decorated layer over your card base.   

As you can see this is a really simple way to use your ink pads as stamps. Depending on the pression and intensity that you apply over the ink pad or 4Ink Pad, you will obtain different looks.

Thanks for stopping by and remember, you don’t need to create complicated projects. Just use the best inks and let your creativity shine!

Art Supplies:

Imagine:

Other:

  • Stamping Tool
  • White and colored cardstock.
  • Crafty Foam Tape

“Thank You for Your Service” Shaker Card

By LeeAnn McKinney

– Howdy friends and fellow crafters, LeeAnn here and today I have to share with you a fun and easy shaker card that I made using paper, a layering stencil, a shaker pocket and some shaker bits. 

Skill: Beginner

Time: 20 minutes

Art Supplies

Imagine

• Imagine Tear It! Tape

• VersaFine Clair – Nocturne

• VersaFine Clair – Paradise

• VersaFine Clair – Tulip Red

Other Products:

• A2 Shaker Acetate Sheets – https://shrsl.com/42wgx

• GinaK Designs White HeavyWeight Cardstock – https://ginakdesigns.com/product/heavy-base-weight-card-stock-white/?v=7516fd43adaa

• Accent Opaque 120lb Cardstock – https://www.amazon.com/Accent-188179R-Opaque-Thick-Cardstock/dp/B0114MUOOO

My Hero stamp from Verses has been retired