By Kyriakos Pachadiroglou
Beyond staining paper with Walnut inks, use them to stamp with foam stamps and as a drawing medium with the Fantastix brush tips for free hand designs on kraft wrapping paper. Seal the result and make the paper resistant with a layer of Creative MEDIUM. Celebrate the new year and create some awesome goals.
Skill: Intermediate
Time: 1 ½ hour
Directions
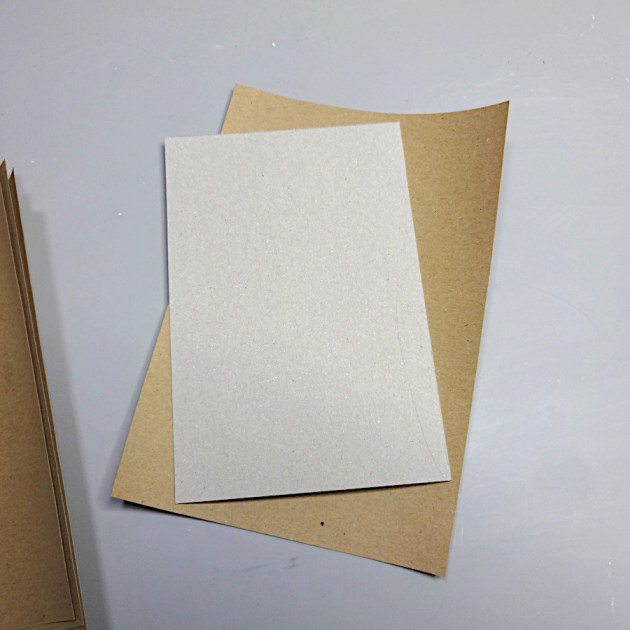
Step 1
Cut 4x6in pieces of the carton paper and 5x7in of the kraft paper. 4 of each to make 2 notepads.
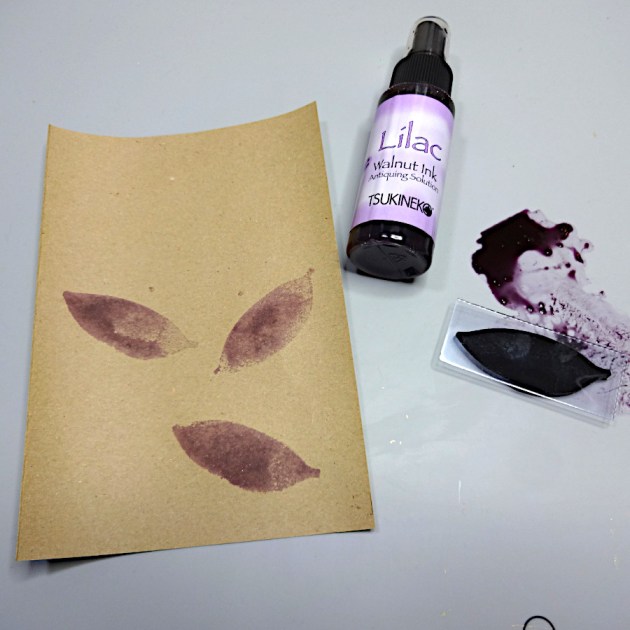
Step 2
Pour some Walnut Ink Lilac Posies on the craft mat and press the foam leaf stamp on it and stamp in a scattered pattern on the kraft paper. Try not to over soak the foam. (If you don’t have a leaf stamp, cut a simple, almond like, leaf shape from a piece of foam).
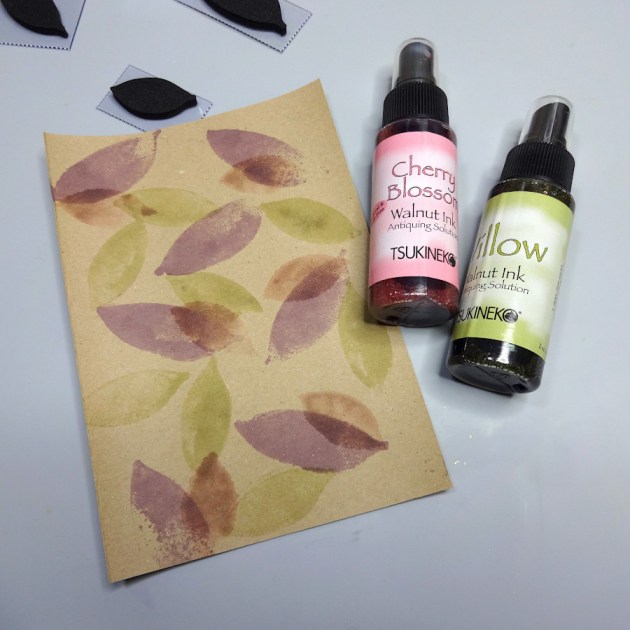
Step 3
Continue with smaller size leaves using the Cherry Blossom and Willow Walnut inks. Make two kraft paper pieces as above.
Step 4
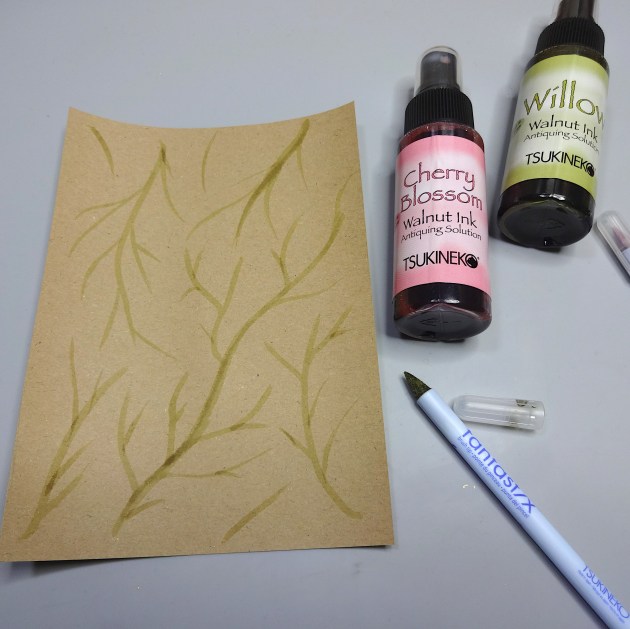
Dip three Fantastix brush tips in the Walnut Inks colors above and draw brunches with the Willow one.
Step 5
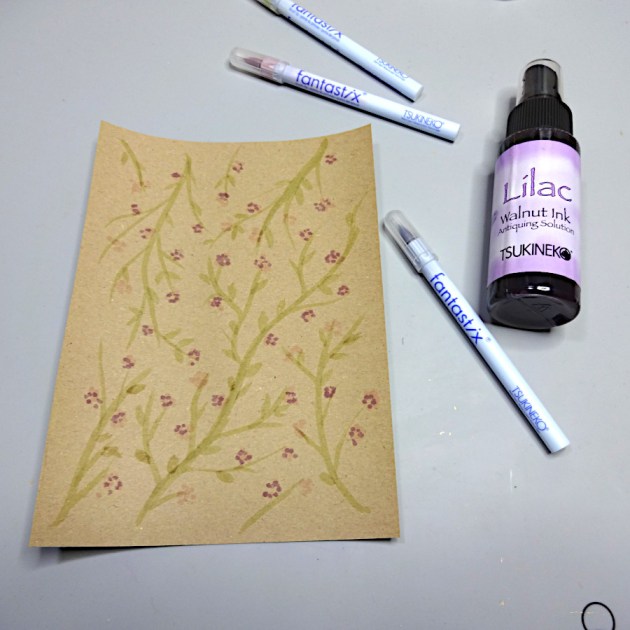
Add flowers (small dots can work to decorate) with the Cherry Bloom and the Lilac Posies. Make two of the kraft paper pieces as above.
Step 6
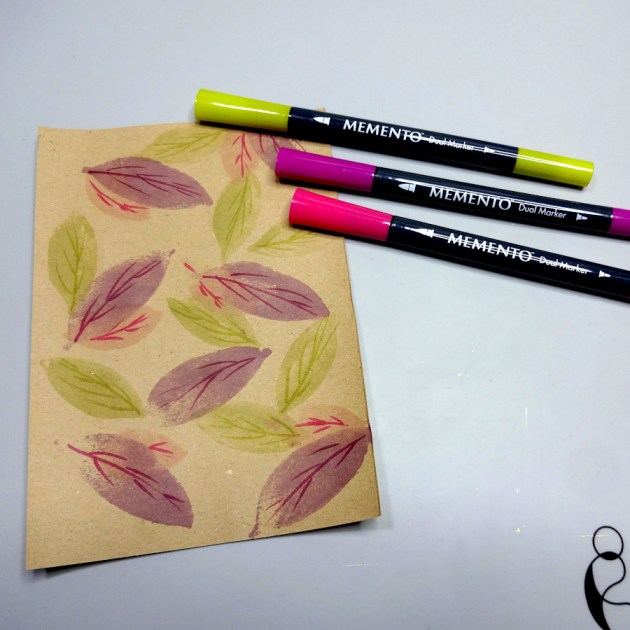
Decorate the leaves with the MEMENTO dual tips markers.
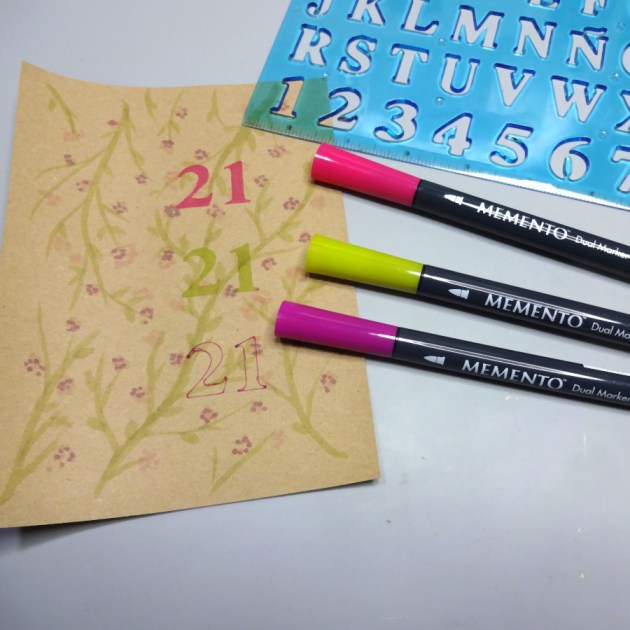
Step 7
Add the number 21 using the number stencil and the MEMENTO dual tips markers.
Step 8
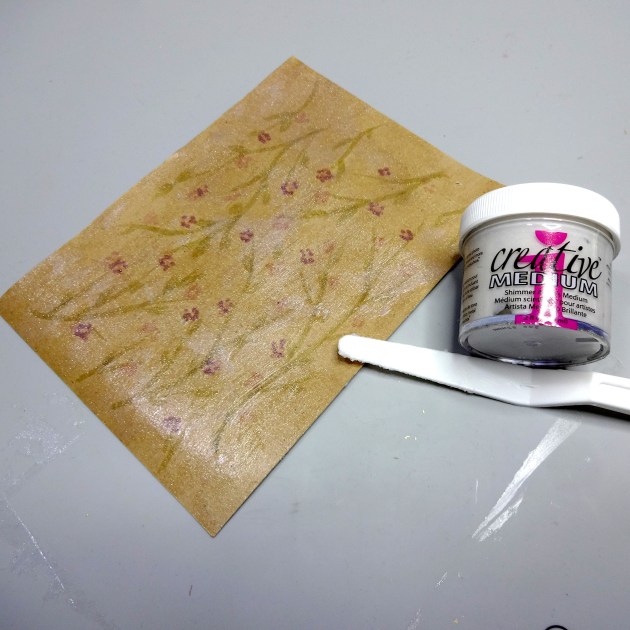
Cover the kraft papers with a long palette knife and Creative MEDIUM Shimmer and let them dry.
Step 9
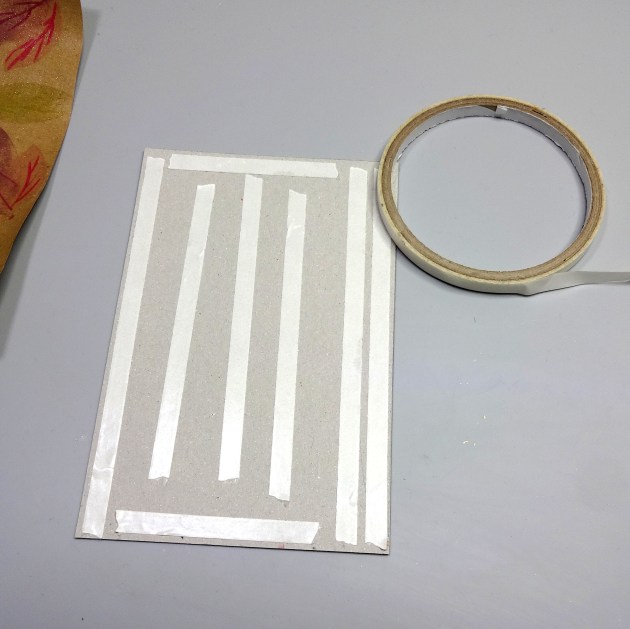
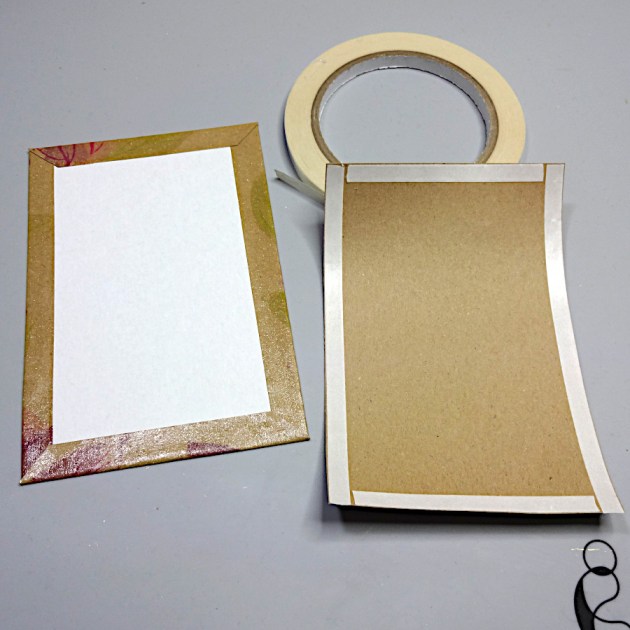
Place Tear It Tape on the carton pieces and set in the middle the kraft papers. (½ in should be left on every side).
Step 10
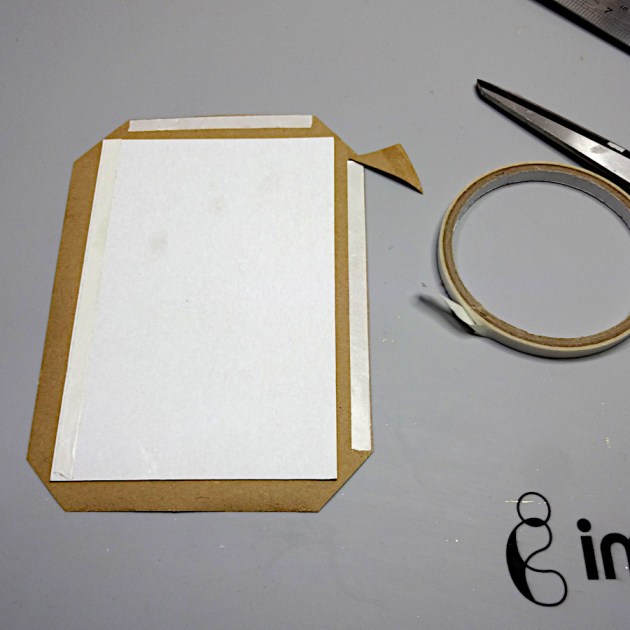
Add Tear It Tape to the edge of the ½ in kraft paper, cut the corners and fold to secure on the back of the carton paper. This step creates the book cover. Repeat process with the rest pieces.
Step 11
Cut 3 ¾ x 5 ¾ in pieces of kraft paper, place Tear It Tape and set to the back (inner) side of the book covers.
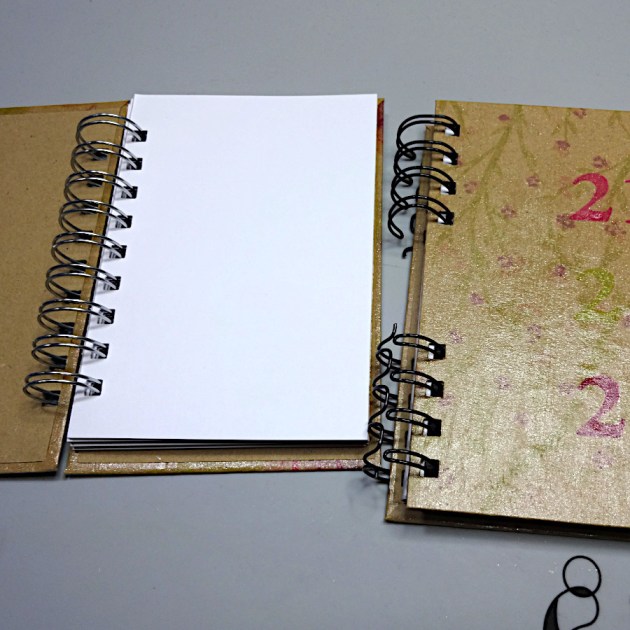
Step 12
Cut blank pages in 3 ¾ x 5 ¾ in size. Use a book binding machine or book binding tools to bind the notepads. Alternate punch holes with hole punch tool and add book binding rings to hold the pages.
Art Supplies
Imagine
- Creative MEDIUM – Shimmer
- Walnut Ink – Lilac, Cherry Blossom, Willow
- Fantastix – brush tip
- MEMENTO dual markers – Lilac posies, Pear Tart, Rose bud
- Tear It! Tape
- Palette knives
- Craft mat
Other
- Kraft wrapping paper
- Carton paper
- Foam stamps (or foam sheet)
- Blank A4 pages
- Numbers stencil
- Book binding machine and wires (or hole punch tool)