by LeeAnn McKinney
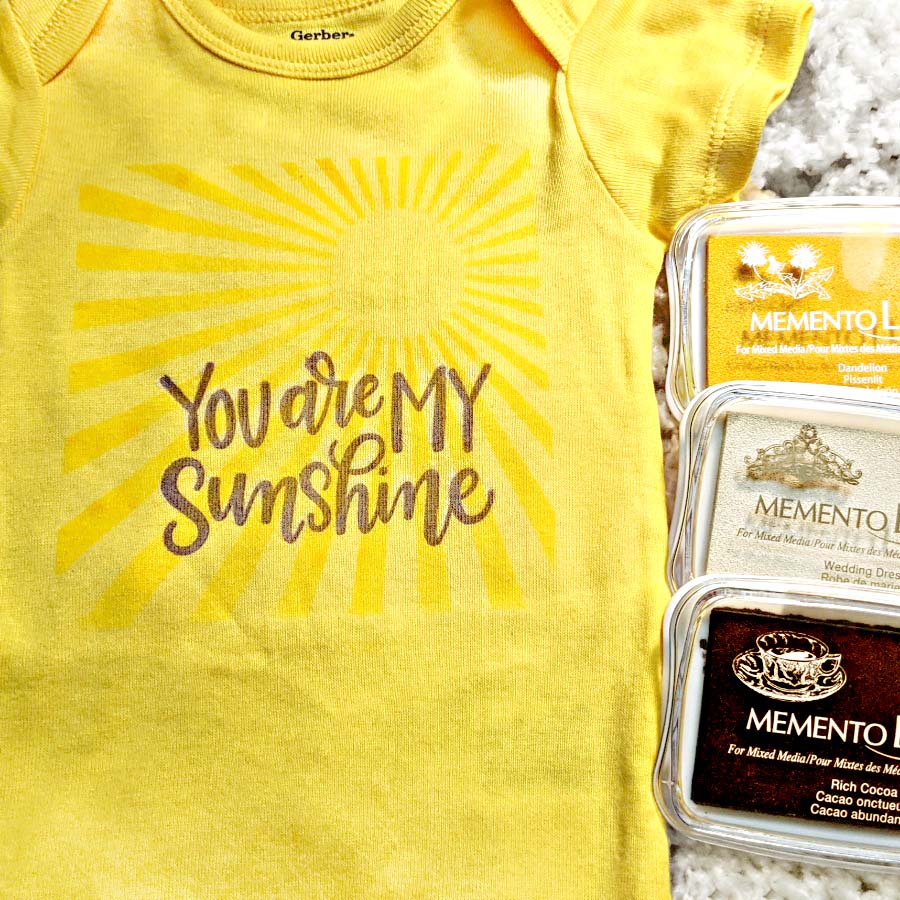
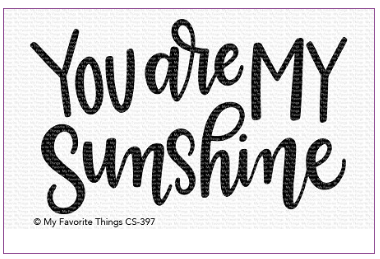
Today, I am bringing you not one(sie) but two(sie) projects I made using baby outfits and fabric-safe ink from Imagine. We have a new granddaughter in the family, and I used this opportunity to make these outfits for her and share how I did so. See how easy it is to create a handmade gift for your new little one in your life.

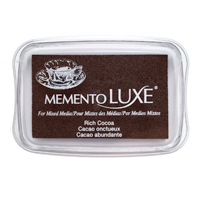 Memento Luxe in Rich Cocoa,Wedding Dress, Dandelion |
|
|---|---|
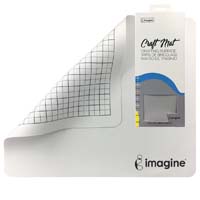 Craft Mat |
|
|
|
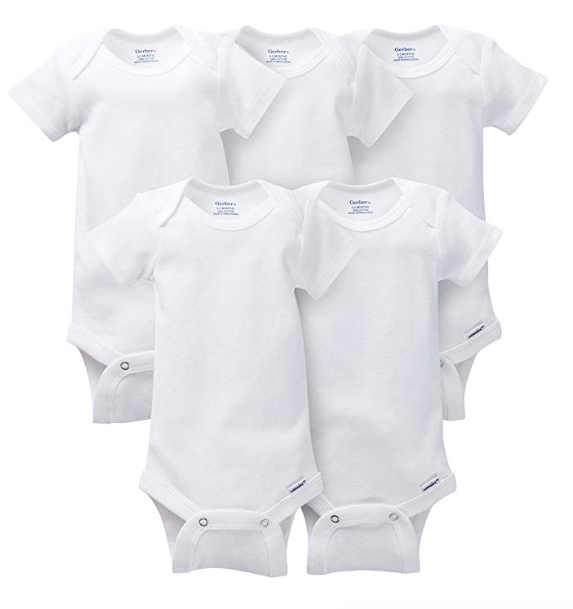
Baby Onesie |
Additional Onesie
- Memento Luxe – Dandelion, Rose Bud
- Fabrico Markers – Poppy Red, Emerald, Lemon Yellow, Real Black
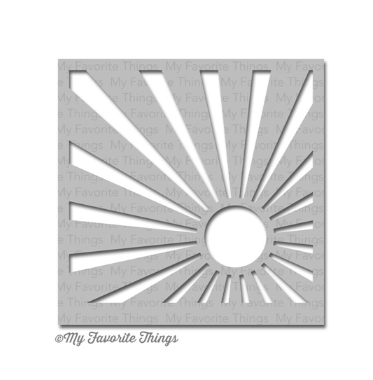
- Plaid Stencils