
by Roni Johnson

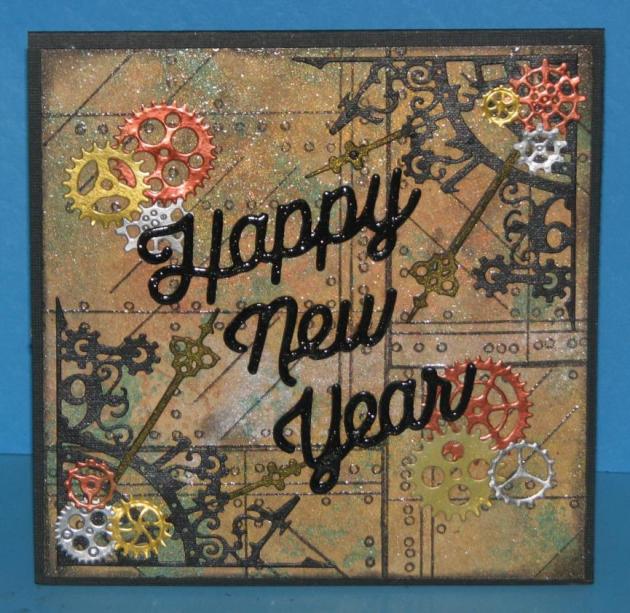
It’s almost time to welcome in the bright shiny New Year. I thought it would be fun to do so Steampunk style by creating a realistic looking metal plate for the background complete with an aged green patina.
Directions

Step 1
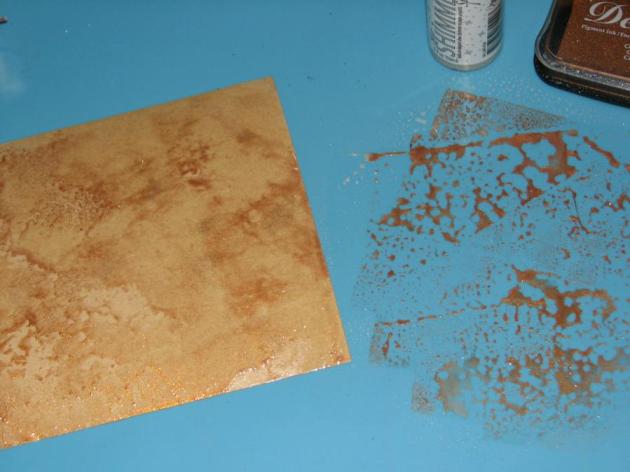
Press the Celestial Copper ink pad onto the craft mat; mist the ink with Sparkle Sheer Shimmer Spritz.
Step 2
Press a 6” x 6” piece of tan cardstock into the ink mixture. TIP: If there is ink left over on the craft mat, dab additional pieces of cardstock or tags to pick up the extra ink for use on other projects.

Step 3
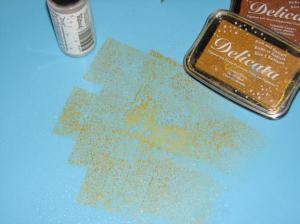
Repeat steps 1 and 2 using Golden Glitz and Dark Brown Shimmer inks letting it dry between colors.
Step 4
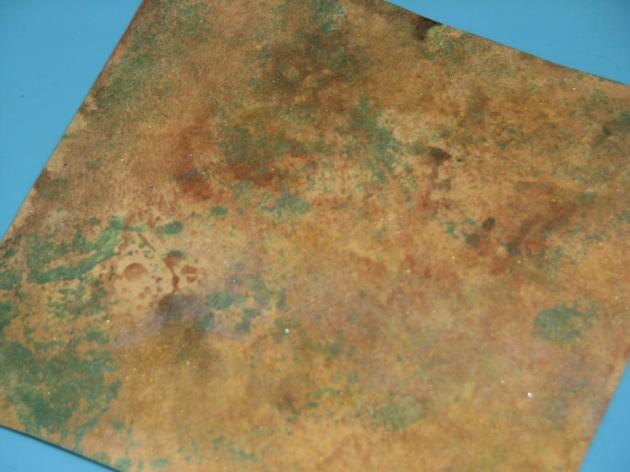
Repeat steps 1 and 2 a final time using Encore! Green Metallic Ink to add the aged metal patina to the inked cardstock.

Step 5
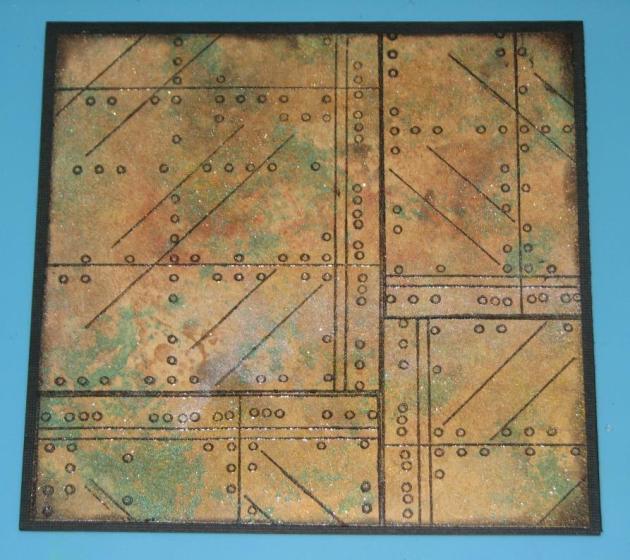
Stamp the metal plate image onto the inked cardstock using Black Shimmer Delicata multiple times until the piece of cardstock has been covered.
Step 6
Sprinkle Clear Embossing Powder over the entire piece; shake off excess powder and return it to the jar. Heat with embossing gun to melt the powder.
Step 7
Sponge Black Shimmer Delicata along the edges of the panel with a Sponge Dauber; mount onto black card base.
Step 8
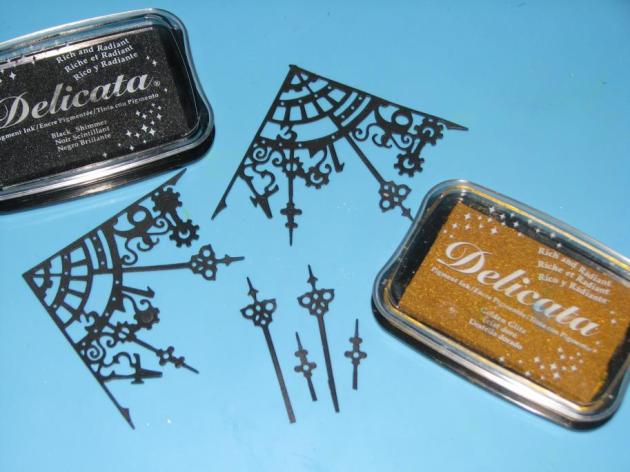
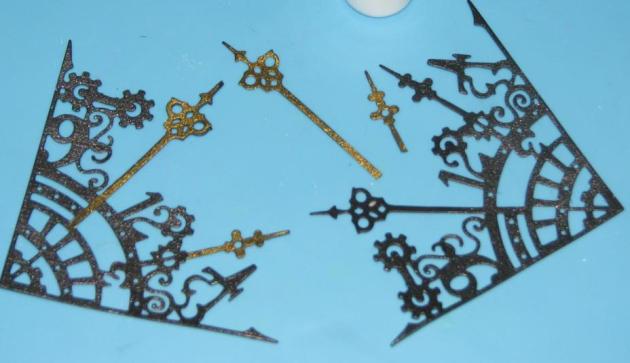
Cut 4 clock corner pieces from black cardstock. Trim the clock hands from two of the die cuts; ink the clock hands with Golden Glitz ink. Ink Black Shimmer ink on the two remaining corner pieces.
Step 9
Glue the gold clock hands onto the inked clock pieces.
Step 10
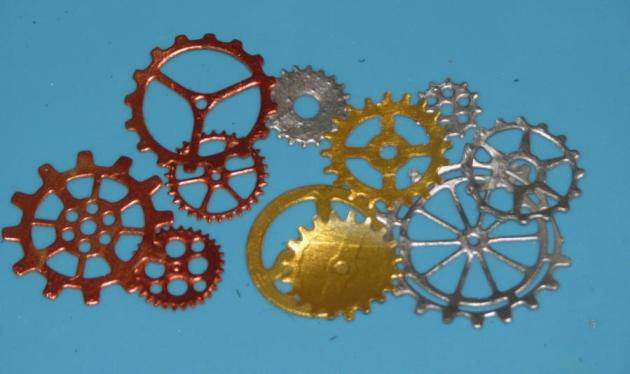
Spread a thin layer of Copper, Gold and Silver Creative Medium on scraps of cardstock; allow it to dry. Die-cut several gears from each color of the CM covered paper.

Step 11
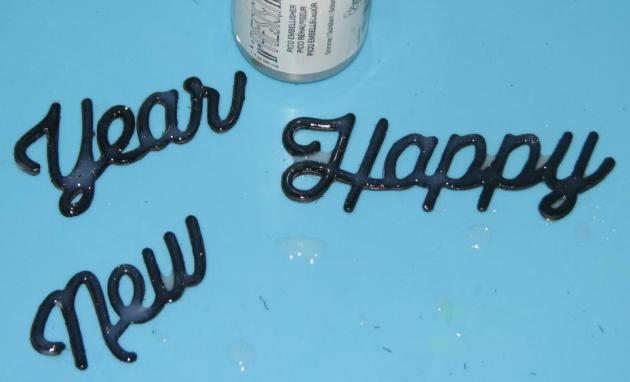
Die cut three pieces of each word – Happy, New and Year; glue the three pieces of each word together creating a raised sentiment.
Step 12
Cover each word with a layer of Sparkle irRESISTible Pico Embellisher.
Step 13
Adhere all the elements to the card front.
Supplies
Imagine
- Delicata – Black Shimmer, Golden Glitz, Dark Brown Shimmer, Cosmic Copper
- Sheer Shimmer Spritz – Sparkle
- Encore! – Green
- Embossing Powder – Clear
- Creative Medium – Copper, Silver, Gold
- irRESISTible Pico Embellisher – Sparkle
- Sponge Daubers
Other
- Memory Box – Gear Die
- X-Cut – Sentiment Die
- Susana’s Custom Art & Card Design – Clock Corner Die
- Just for Fun Rubber Stamps – Metal Plate
- Cardstock – black, tan
- Adhesive
- Heat tool
- Die cut machine
