
by Steph Ackerman

As Summer is on its way, it’s time to start thinking about the upcoming wedding season. For this project, I wanted to incorporate Creative Medium acrylic paste so I decided to do some experimenting. The iridescent material in pastes pops on the black chalkboard piece and creates a beautifully vibrant effect. To match all the colors, I also applied the pastes to cardstock to make flowers. Take a look at how I created a beautiful decorative sign using Creative Medium and VersaFine Clair.
Skill: Intermediate
Time: 1 hour + dry time
Directions

Step 1

Tape the stencil to the chalkboard, covering any parts of the stencil you don’t want to use with extra tape.

Step 2

Using a pallet knife, cover the stencil with Creative Medium Purple Iridescent.

Step 3

Remove the stencil and allow the Creative Medium to dry.

Step 4

Use a pallet knife to apply Creative Medium Iridescent Purple onto a strip of purple cardstock. Use a pallet knife to apply Creative Medium Metallic Gold onto a strip of green cardstock. Allow both pieces to dry before moving on to next step.

Step 5

Stamp flowers with VersaFine Clair Fantasia Ink on the strip of purple cardstock. Stamp leaves with VersaFine Clair Green Oasis Ink on the strip of gold covered green cardstock.

Step 6
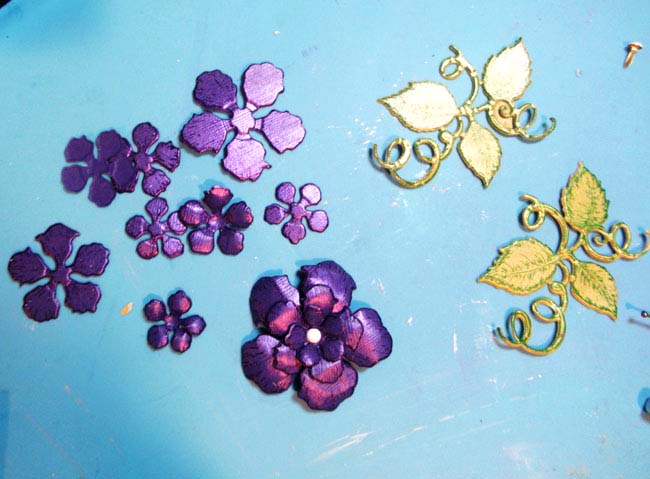
Using the coordinating dies, die cut the flowers and leaves. Assemble the flowers by shaping the petals with a stylus and piecing together with brads.

Step 7
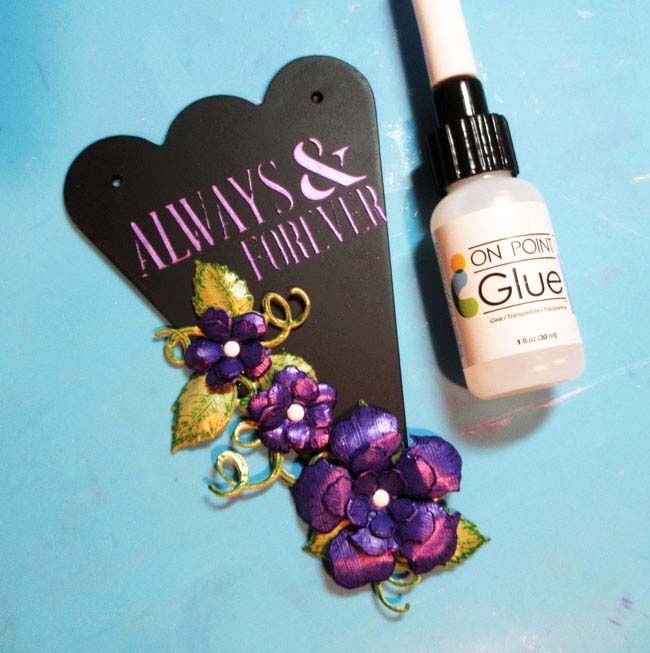
Use On Point Glue to adhere the flowers and leaves to the panel.
Step 8
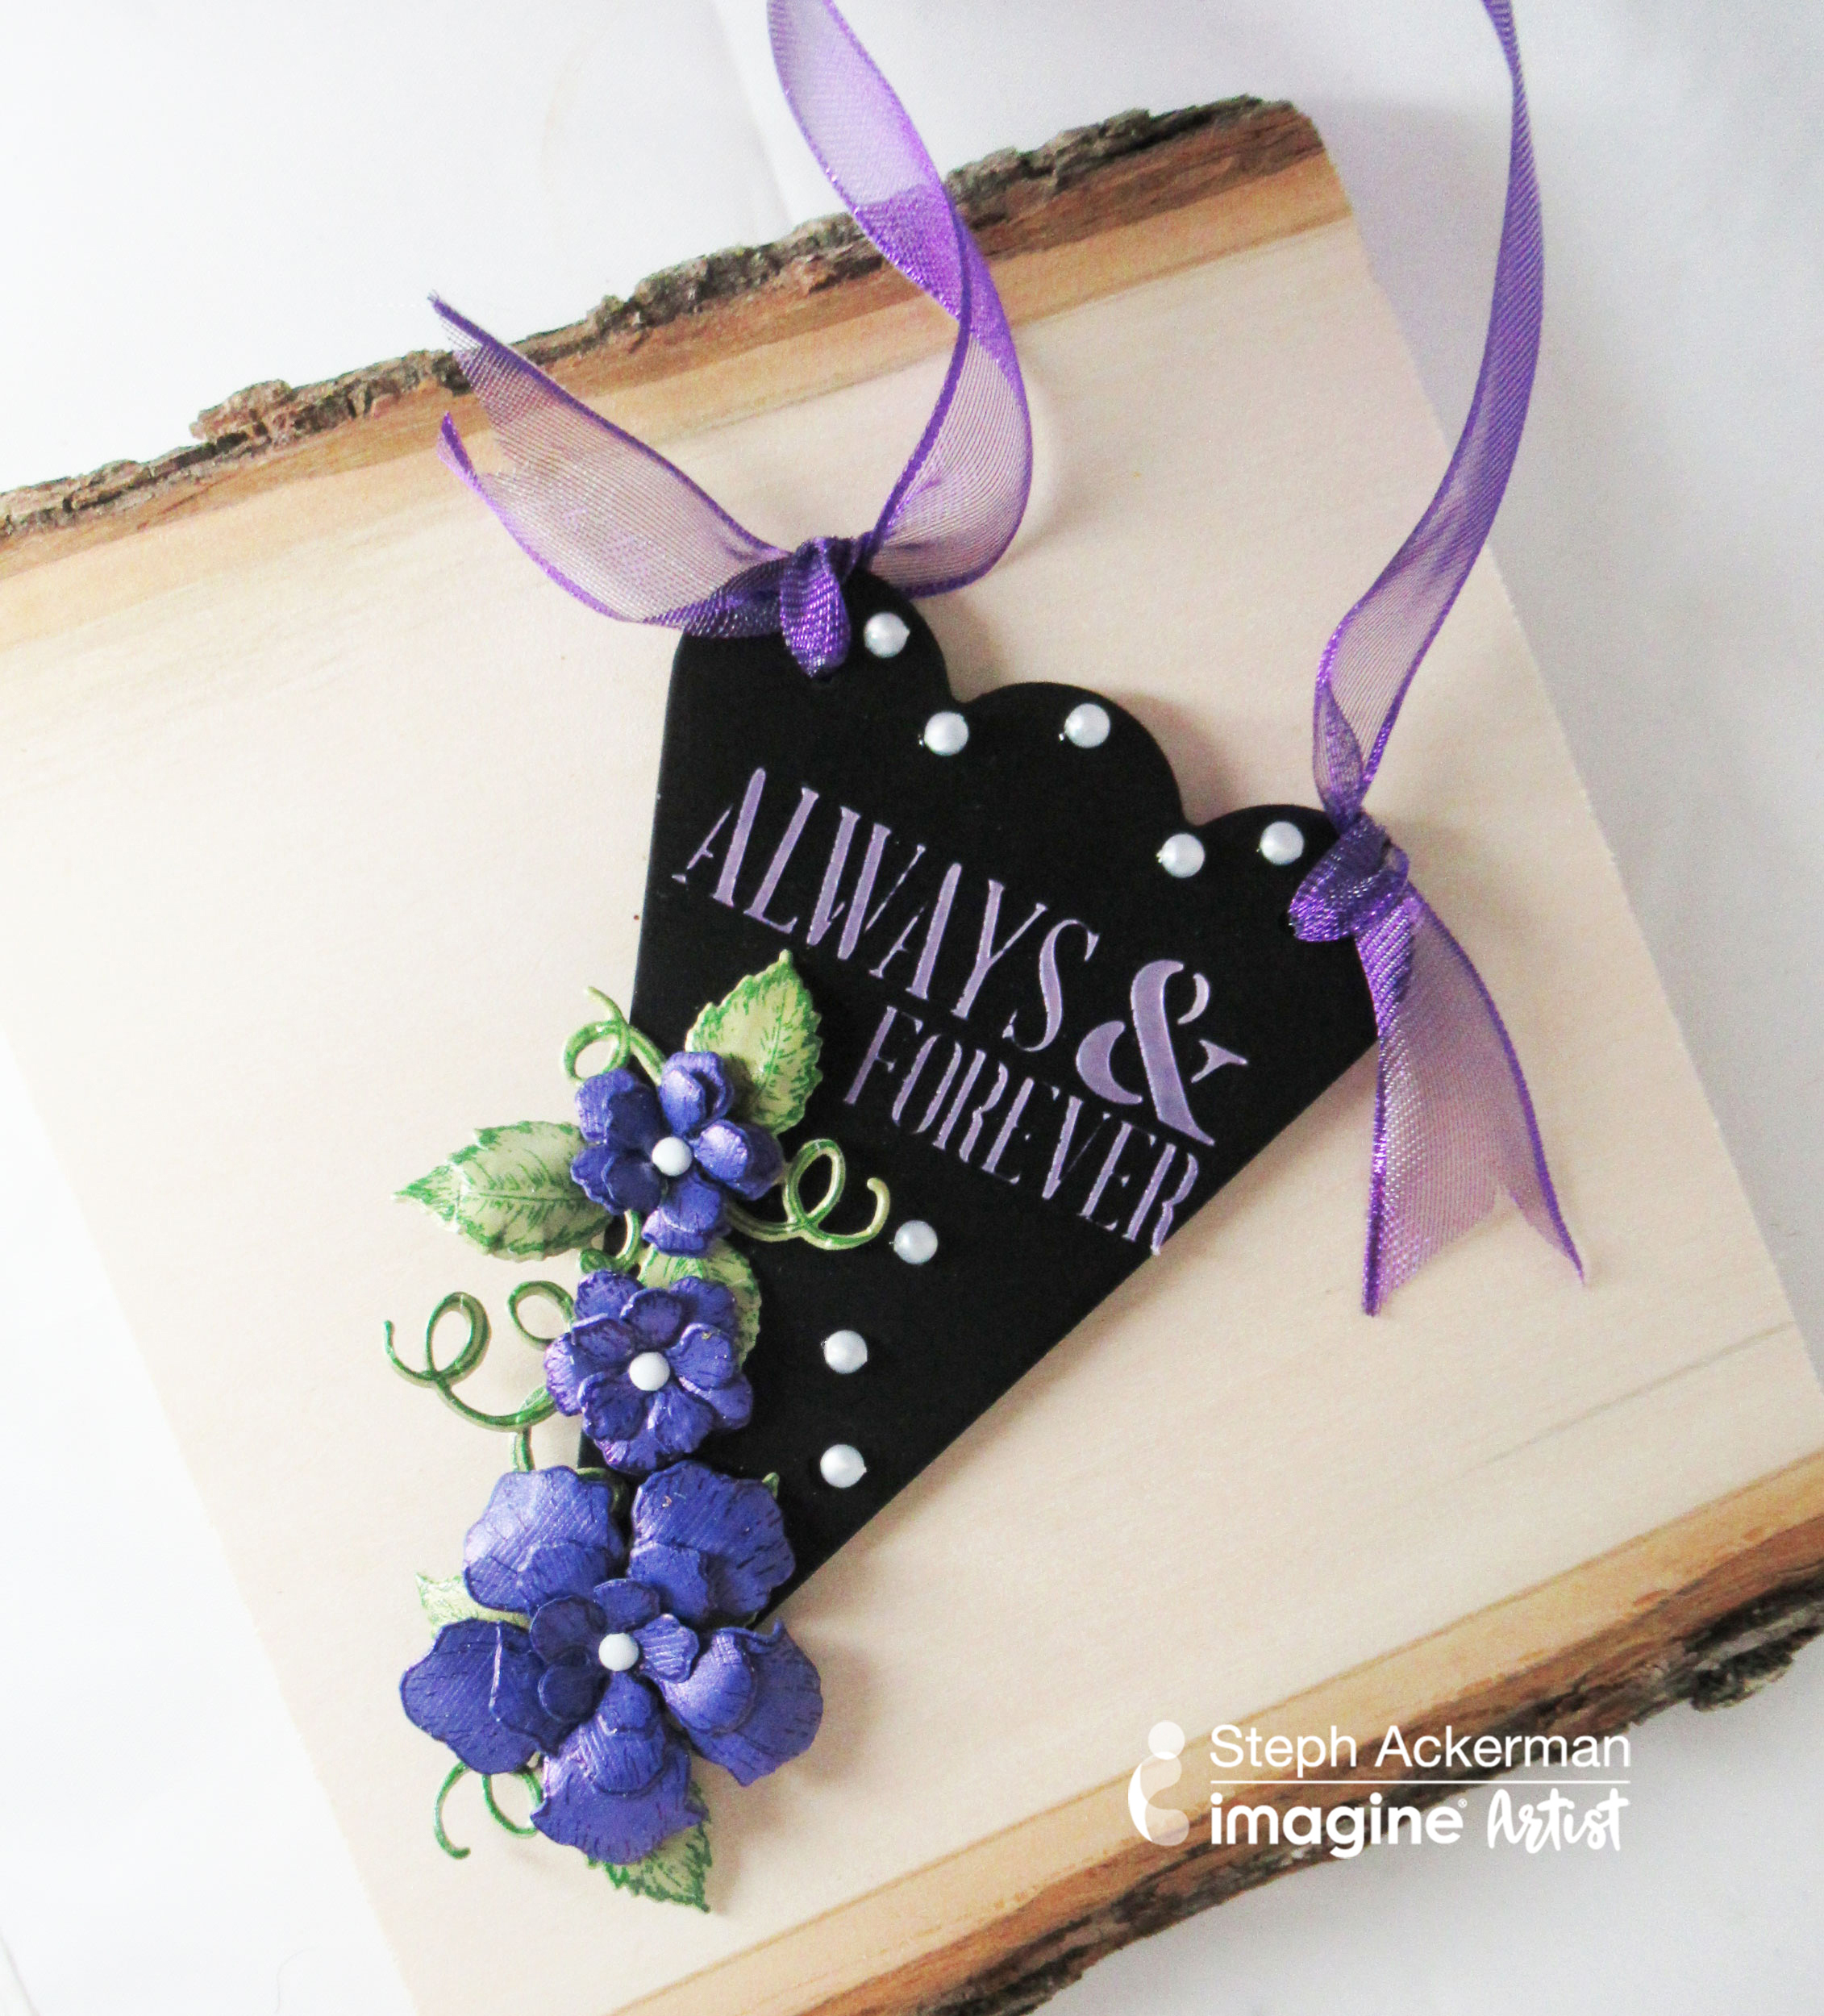
Tie purple ribbon to the panel. Use On Point Glue to adhere pearls about the panel. This piece would look great hanging on the back of the bride and grooms chairs, near a floral display or by the guest book. It would be easily customized to match the wedding colors of choice as well!
Supplies
Imagine
- VersaFine Clair – Fantasia, Green Oasis
- Creative Medium – Iridescent Purple, Metallic Gold
- On Point Glue
- Craft Mat
- Palette Knives
Other
- Chalkboard Panel
- Heartfelt Creations – Classic Rose Stamp Set, Classic Rose Die Set
- Cardstock – Purple, Green
- Brads
- Die cut machine
- Pearls
- Prima Marketing – Stencil
- Shaping stylus
- Ribbon


