
By Neva Cole
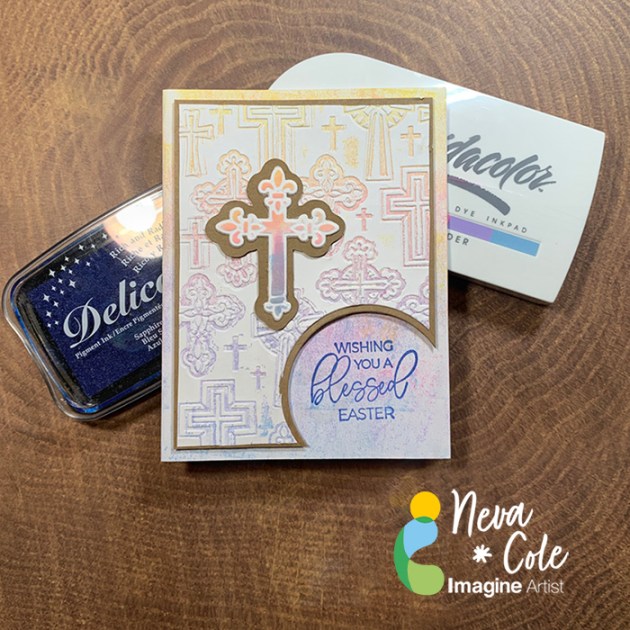
See how to use the Kaleidacolor ink pad to create a pastel Easter Card with subtle style that can be completed in a short amount of time. Layering with contrasting cardstock and texture added with embossing folders gives this card great dimension.
Skill: Beginner
Time: 30 Minutes.
Directions:
Step 1
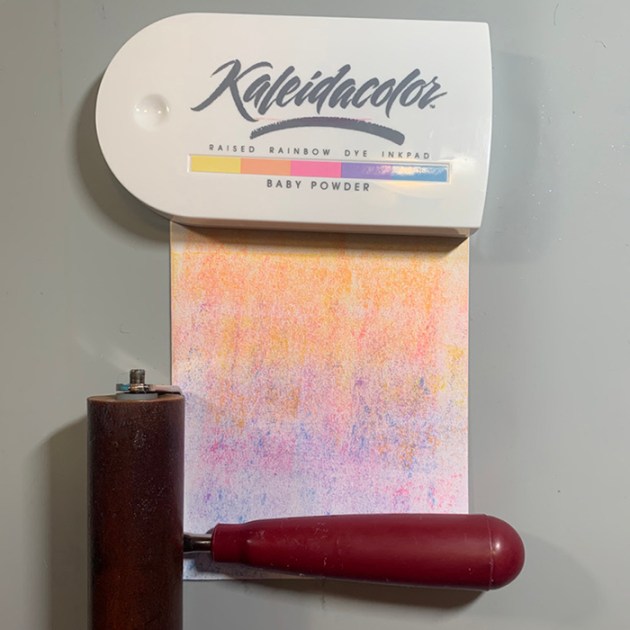
Trim white cardstock to 8.5″ x 5.5″ to make card base. Fold in half and use a rubber brayer to ink the front of the card with Kaleidacolor in Baby Powder. Move the brayer to fully cover the card and re-ink brayer as needed to create a well inked surface. Pay attention to direction of ink pad and brayer to avoid mixing the ink colors beyond the ombre look.

Step 2
Trace the outside of a cross die on craft cardstock to create a matching layering piece. Fussy cut the layer three time or use a electronic die cut machine to cut three layers. Glue the layers together with OnPoint Glue. Using a wet glue allows a little time to wiggle the layers into perfect position.
Step 3
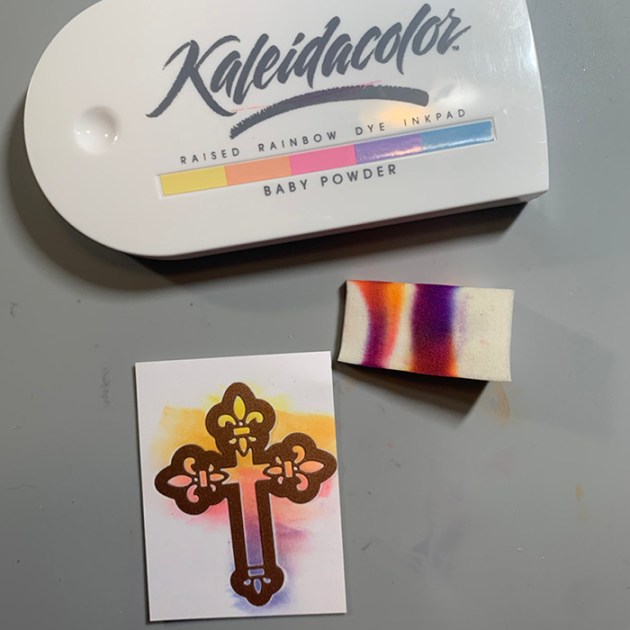
Place die on white cardstock and die cut and pressure emboss with rubber mat. Use a make-up sponge rolled to pick up ink in the same ombre of the Kaleidacolor ink pad and ink through the die onto the raised embossed areas. Die cut two more layers and glue the colored die cut to the top of the first two white layers.

Step 4
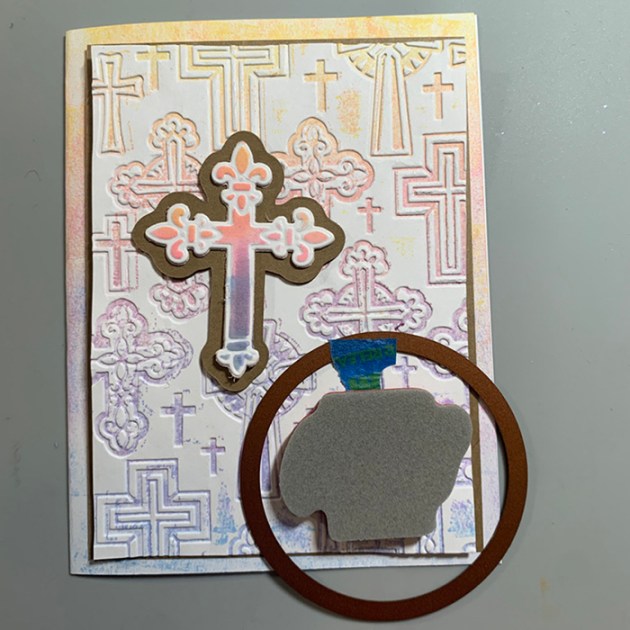
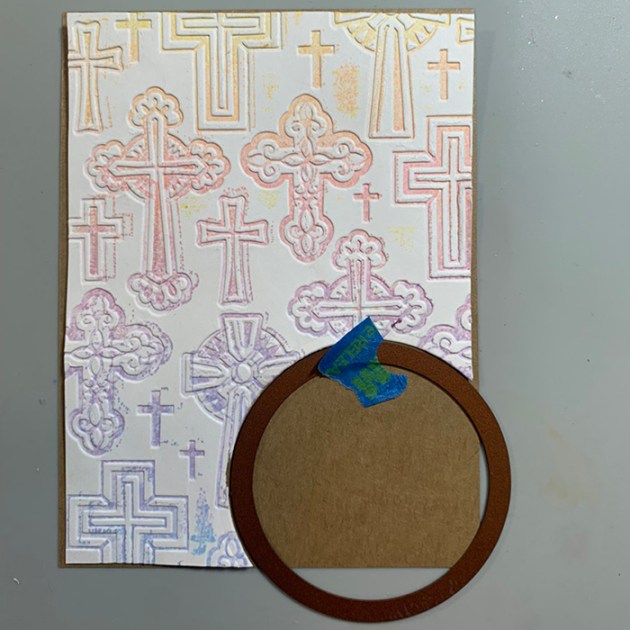
Ink the raised portion of the embossing folder with Kaleidacolor Baby Powder in the same color direction as the card base. Pressure emboss a 3.75″ x 5″ section of white cardstock. The ink will transfer to the indentations of the design.
Step 5
Trim a section of Kraft cardstock to 4″ x 5.25″. Layer the assembled parts of the card without adhering them together to determine the placement of the sentiment. I choose the appropriate size circle die to die cut the corner of the pressure embossed white cardstock.
Step 6
Using the next size smaller circle die and pressure embossed white cardstock to determine placement of the smaller circle die on the Kraft cardstock and die cut.

Step 7
Determine placement of sentiment and remove the layers.

Step 8
Stamp the sentiment in Delicata Sapphire Blue.
Step 9
Adhere the layers of the card together. The Kraft cardstock layer is adhered with dimensional foam adhesive. All the other layers used Tear It! Tape for best adhesion.
Art Supplies
Imagine
Other
- Brayer
- Spellbinders Crosses Two, Standard Circles Large and Small
- Darice Crosses Embossing Folder
- Scan n Cut
- Taylored Expressions Inside Scoop Easter Blessings
- Dimensional Foam Adhesive
- Make-up sponge
