Learn How to Upcycle Cork Coasters

by Elina Stromberg

Learn How to Upcycle Cork Coasters

A while ago, I found a pile of old cork coasters in my kitchen cabinet. I had not used them in years and was just about to throw them away, but then I realized they were perfect for small home décor items. Maybe the beautiful material made me change my mind. Nowadays cork is truly a trendy material in craft projects, so I thought I should try to turn the old coasters into something nice and new. And I’m so glad I did!

Skill: Beginner
Time: 30 minutes

Directions


Step 1

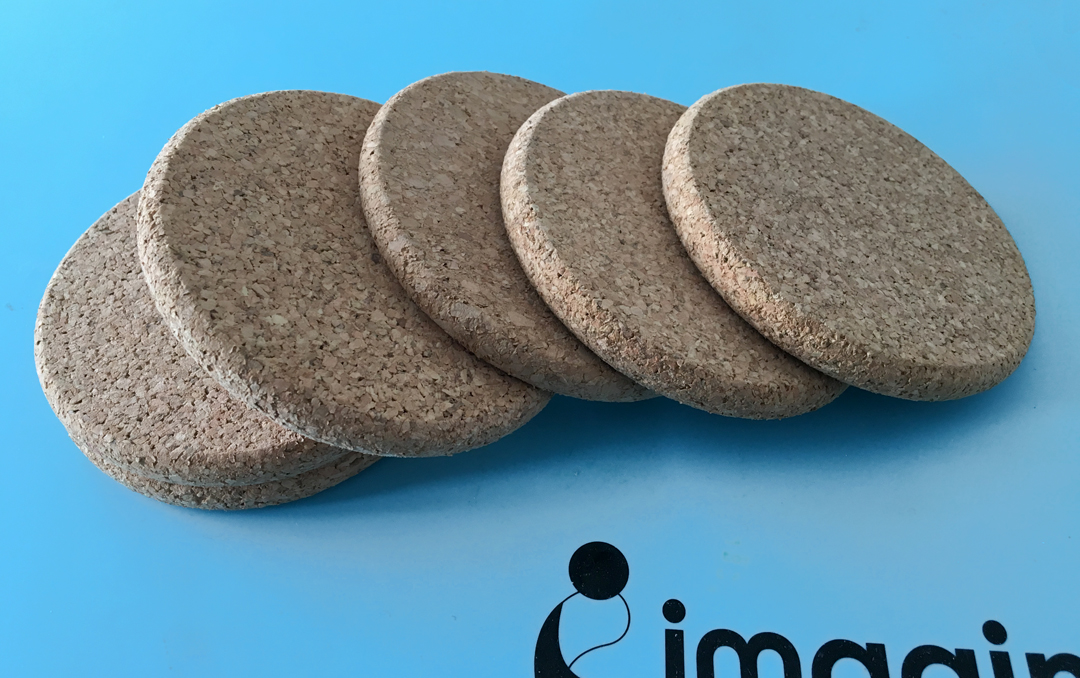
Remove dust and stains from the coasters.


Step 2

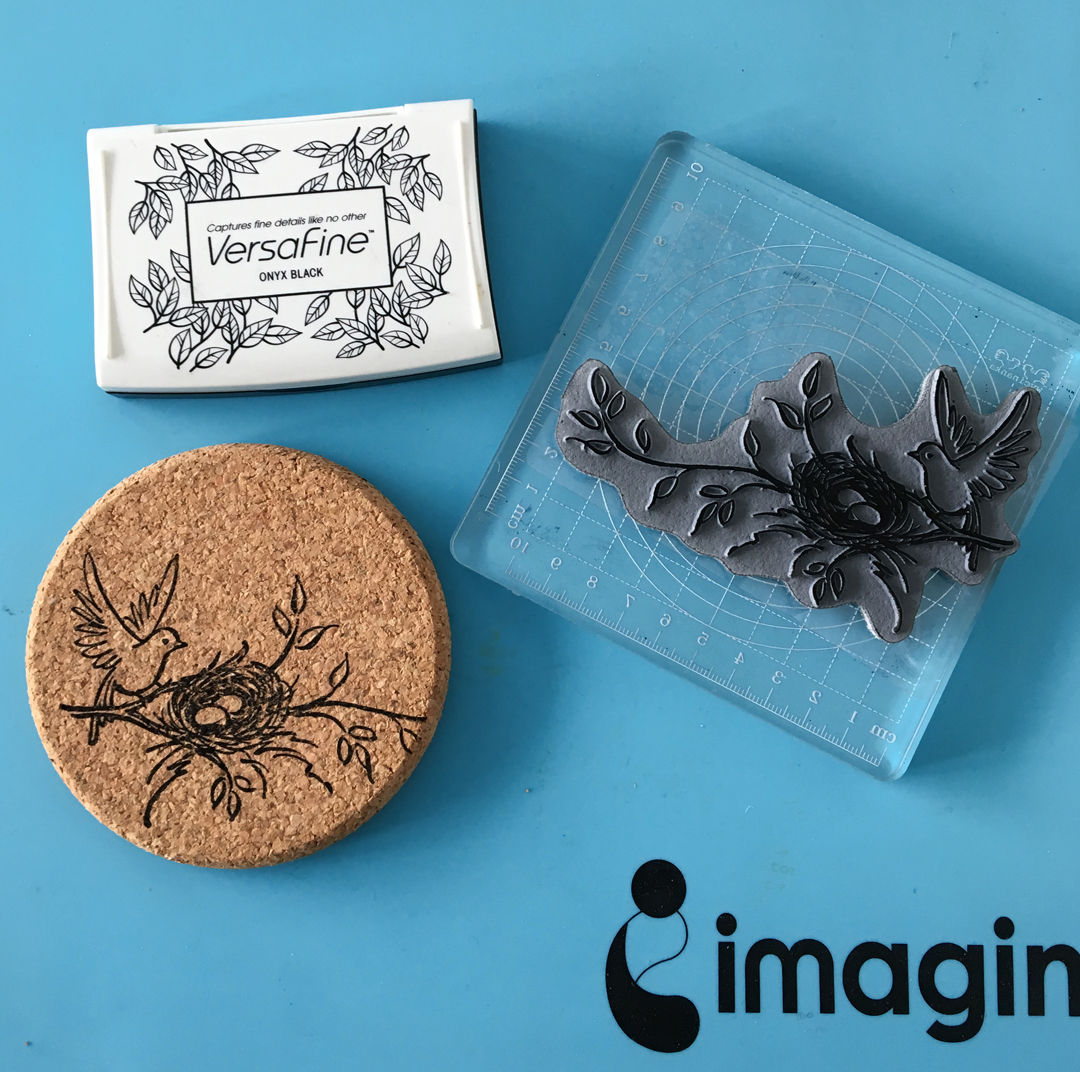
Stamp the images using Onyx Black VersaFine. When stamping, press the stamp firmly on the cork surface. VersaFine is a great ink for solid image stamping and since it is a dense ink it should stamp on the cork well.


Step 3

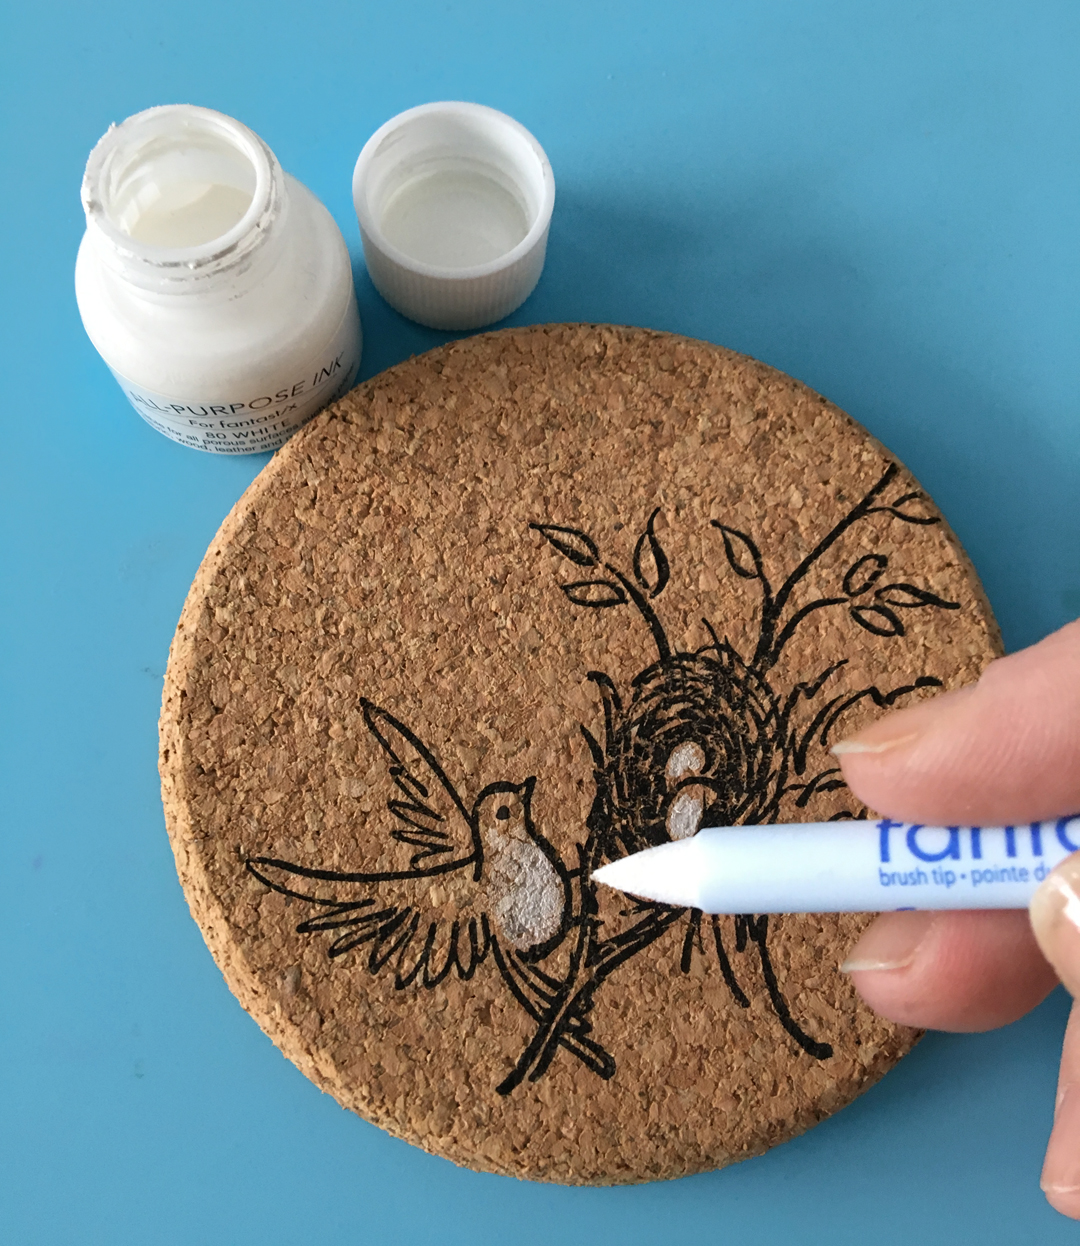
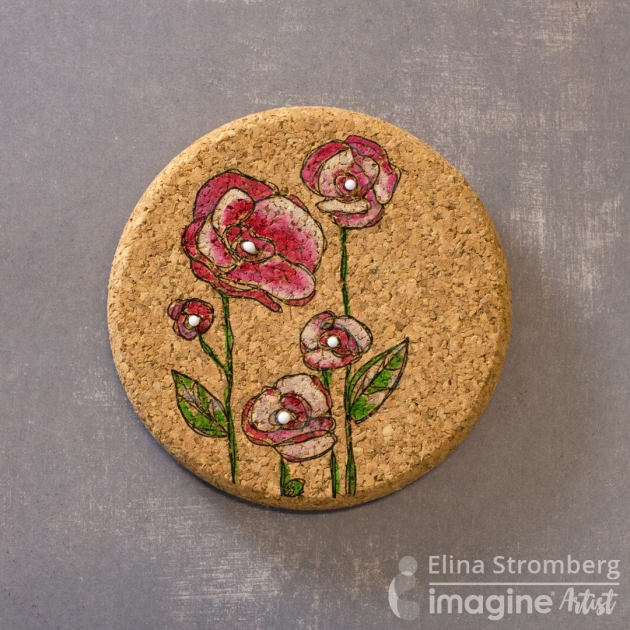
Color images with All-Purpose Ink. Use irRESISTible Pico Embellisher in Wedding Dress (white) for decorating the stamped and colored images with dimensional paint dots. Let dry.


Step 4

Using a new Fantastix, color in the leaves with All-Purpose Ink in Spring Green.


Step 5

To finish this project, continue stamping and coloring the remaining coasters in your set. You have the option of making all 4 or 6 of your coasters different or repeating the same image for all. If you want to hang the decorated coaster on the wall, attach a loop on the back of the coaster with a strong adhesive.

Supplies

Imagine
Other
  • Cork Coasters
  • Stampendous – Nesting Bird Stamp
  • Acrylic block for stamping

Use a Cute Lovebirds Theme in Wedding Decor

by Elina Stromberg

Use a Cute Lovebirds Theme in your Wedding Decor

It will soon be the season for beautiful summer weddings! I found a beautiful lovebirds stamp in my stash and used it for a set of simple and easy-to-make wedding cards. My paper crafting hobby was kick-started by my own wedding 15 years ago. I made birthday cards in the past, but other than that I had very little experience with the tools and the basic techniques of paper crafting. Therefore, creating all wedding invitations, menu cards, place cards, wedding candies and other decorations for our special day was quite an effort, and had I known more paper crafting basics, the task would have been much simpler! In this quick tutorial, I show how the same stamp can be used in different uses and colors so you can see how the same stamp might be used to create many different looks.

Skill: Beginner
Time: 15 minutes per card

Directions


Step 1

For this card set, I first stamped the lovebirds image a few times on semi-glossy office paper. I wanted to color the images using Promarker alcohol markers, so I chose a water-based black Memento ink for stamping. If I had used watercolors, I would have stamped the images with VersaFine oil-based pigment ink. Remembering that basic rule of thumb (alcohol markers work with water-based inks (some, not all); watercolors or other wet coloring techniques use with non-water-based inks) will make the coloring steps a lot much easier!


Step 2

Whenever I’m coloring stamped images, I usually use black stamping ink. However, the new VersaFine Clair inks work perfectly for stamped coloring projects. I love how this monotonous purple image turned out!


Step 3

I also created matching napkin rings using the very same love birds stamp. I think they turned out quite nice! I made one colored version and another even more simplified one for which I stamped the lovebirds on white paper with Delicata ink in Shimmering Silver. Elegant and easy!

Supplies

Imagine
Other
  • Lovebirds stamp
  • Acrylic block
  • Card bases
  • Glossy Cardstock
  • Cardstock
  • Double-sided tape
  • Scissors