By Alison Heikkila
I love to stretch my craft supplies, so finding new ways to use things always makes me happy. Today, I will share a fun way to use your luscious Radiant Neon and Delicata Metallic Inkers. This particular card was made for Valentine’s Day, but you can easily change out the colors, shapes, and stencil for any occasion.
Skill Level: Beginner
Time: 30 Minutes
Directions:

Step 1
Start by placing a heart shape onto your work surface. I used Gel Press Petite but if you don’t have any but you do have a Gel Press, you can easily free-hand cut or die-cut a shape of your choosing after you’ve made your print. Apply a drop or two of the Electric Pink Radiant Neon Inker on to the right side of the heart, and the Electric Coral Radiant Neon Inker on the left.

Step 2
Smooth and blend the colors with a brayer.
Sep 3
Lay the Houndstooth stencil on top of the heart and lay a piece of copy paper on top of that. Press the paper with your hand to lift the color from the open areas of the stencil. Pull the paper off, and you have the beginning of a print for a later date.
Step 4
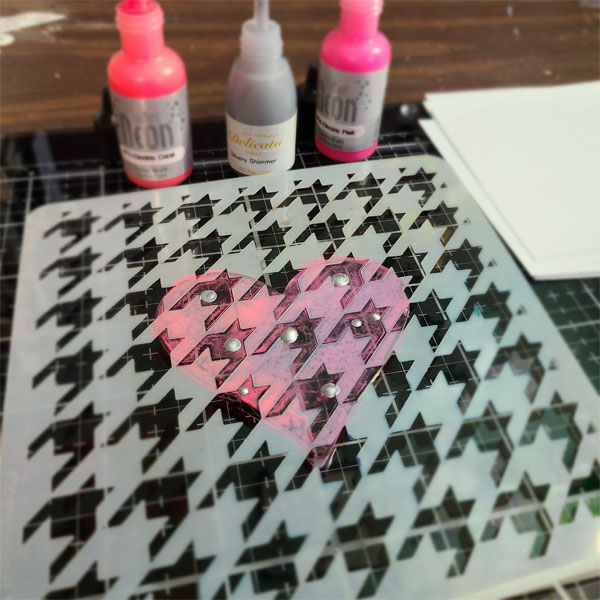
Leave the stencil in place and apply a few drops of Delicata Silvery Shimmer Inker onto the heart. Roll out the color with your brayer.
This photo shows how the ink colors look on the plate, before lifting the stencil.
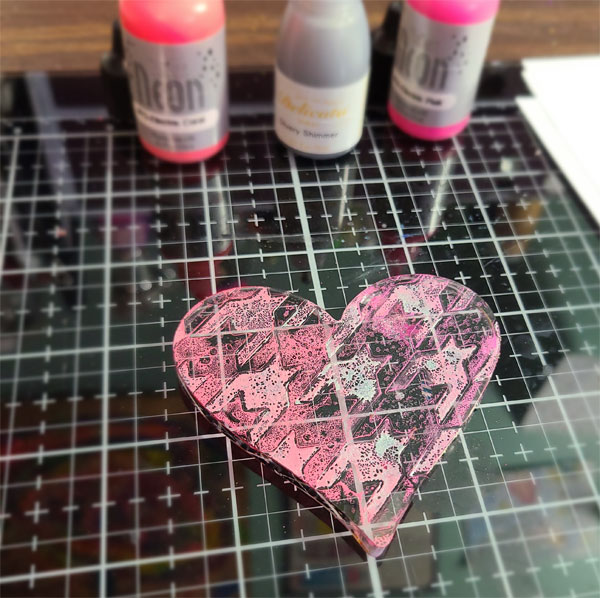
Step 5
Lift the stencil off of the heart and apply a new piece of copy paper to the heart. Smooth the paper onto the heart with your hands (or you can use your brayer), and pull the print. Now you have the positive and negative spaces filled with color, using only reinkers! once the paint is dry, you can cut the shape out. You may want to use a heat tool for this since this ink is a pigment ink and takes a long time to dry.
Step 6
For the stenciled panel, cut a piece of black cardstock to 4″ x 5 1/4.”
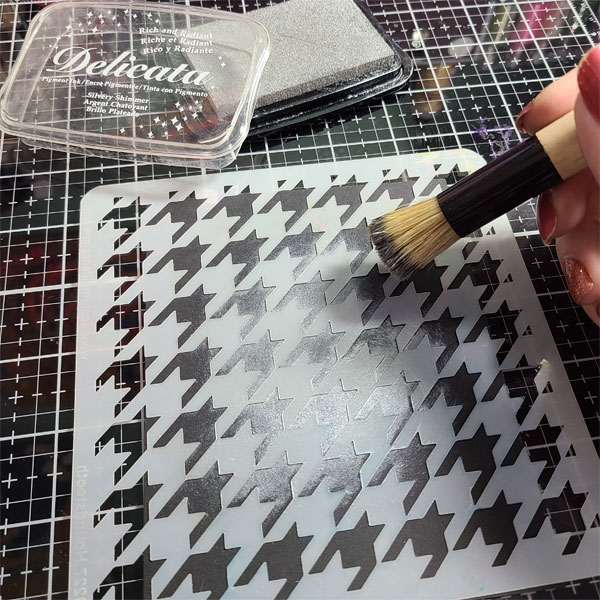
Step 7
Lay the Houndstooth stencil on top and apply Silvery Shimmer ink (I used the pad) to the center of the panel with a blending brush. I kept the color heavy in the middle and faded it as I worked my way out in circular motions.
Step 8
Stamp a sentiment in the lower right corner using the same ink.
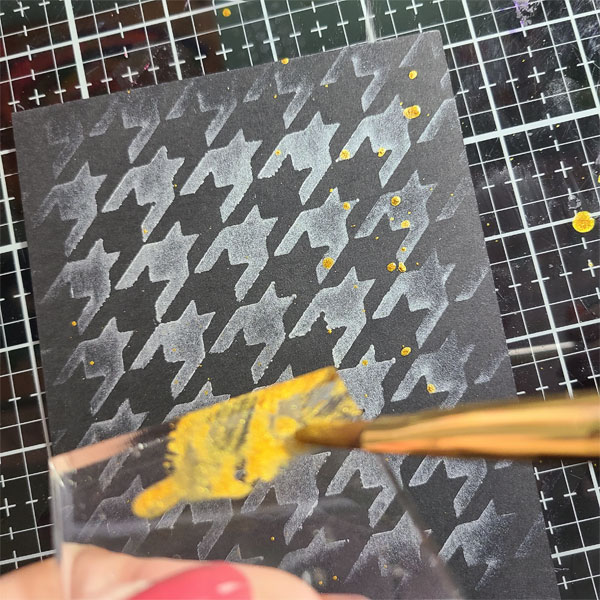
Step 9
Apply a few drops of the Golden Glitz Inker to an acrylic block and flicked the color off the block with a paintbrush.
Step 10
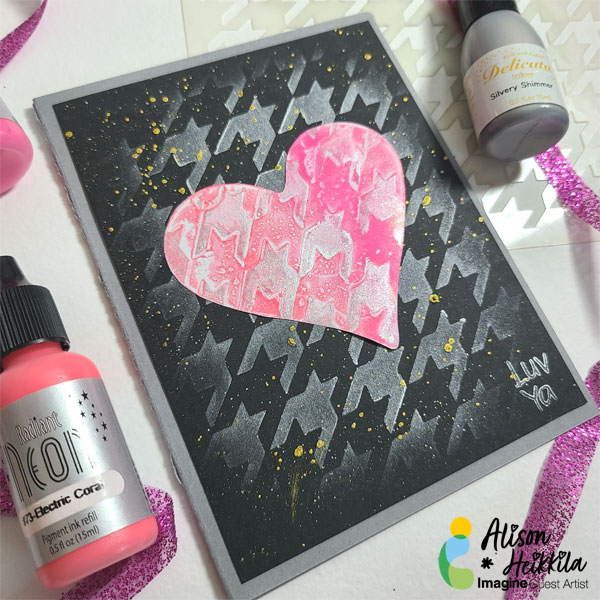
Once the panel is dry, apply it to a gray card base and adhered the heart on top, at an angle.
Supplies:
Imagine:
• Radiant Neon Inker – Electric Pink
• Radiant Neon Inker – Electric Coral
• Delicata Inker – Silvery Shimmer
• Delicata Inker – Golden Glitz
• Delicata Ink Pad – Silvery Shimmer
Other:
• A Colorful Life Designs – Houndstooth Stencil
• Gel Press – Petites: Lovely Days
• Speedball – Brayer
• Stampendous – POP Hydrangea Stamp Set
• Recollections – Black and Gray Cardstock
• Acrylic Block
• Makeup Blending Brush
• Copy Paper
• Paint Brush