At Creativation 2020, we introduced 5 new colors of the StazOn full-sized inkpads in a color release called On Trend. We scoured the color trends across different industries such as home decor, fashion, crafting, art, etc and decided on these 5 colors for the release.

On Trend Colors
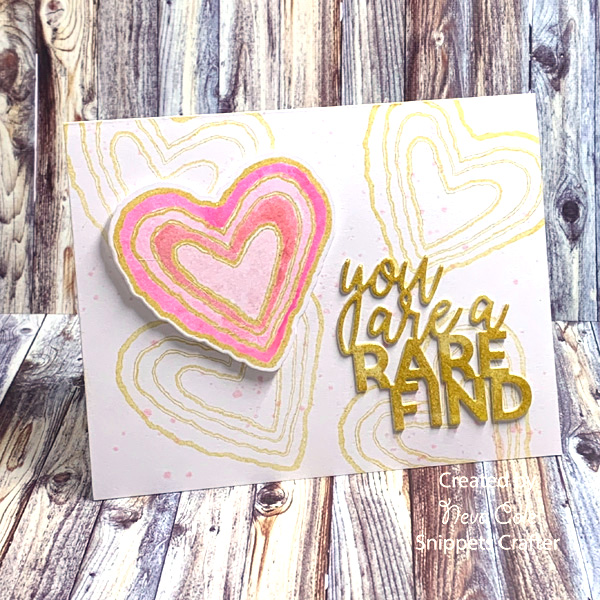
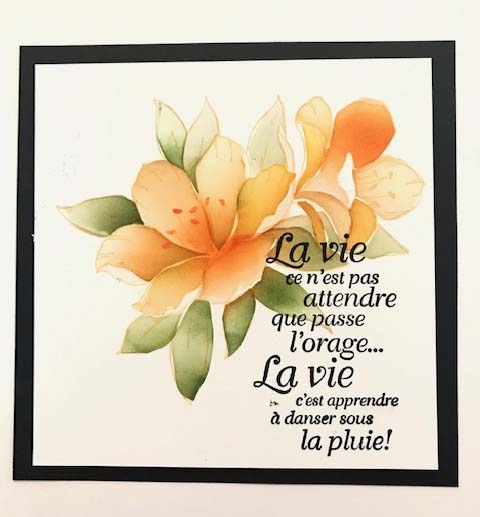
Cherry Blossom – soft pink. This is one of the first times we have offered a light, soft pastel pink in the StazOn line.

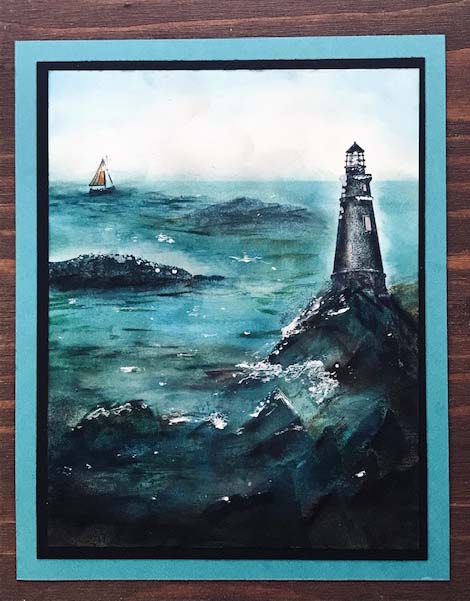
Caribbean Green – soft teal green. This color is a perfect compliment to soft pink and a great color for sea glass crafts.
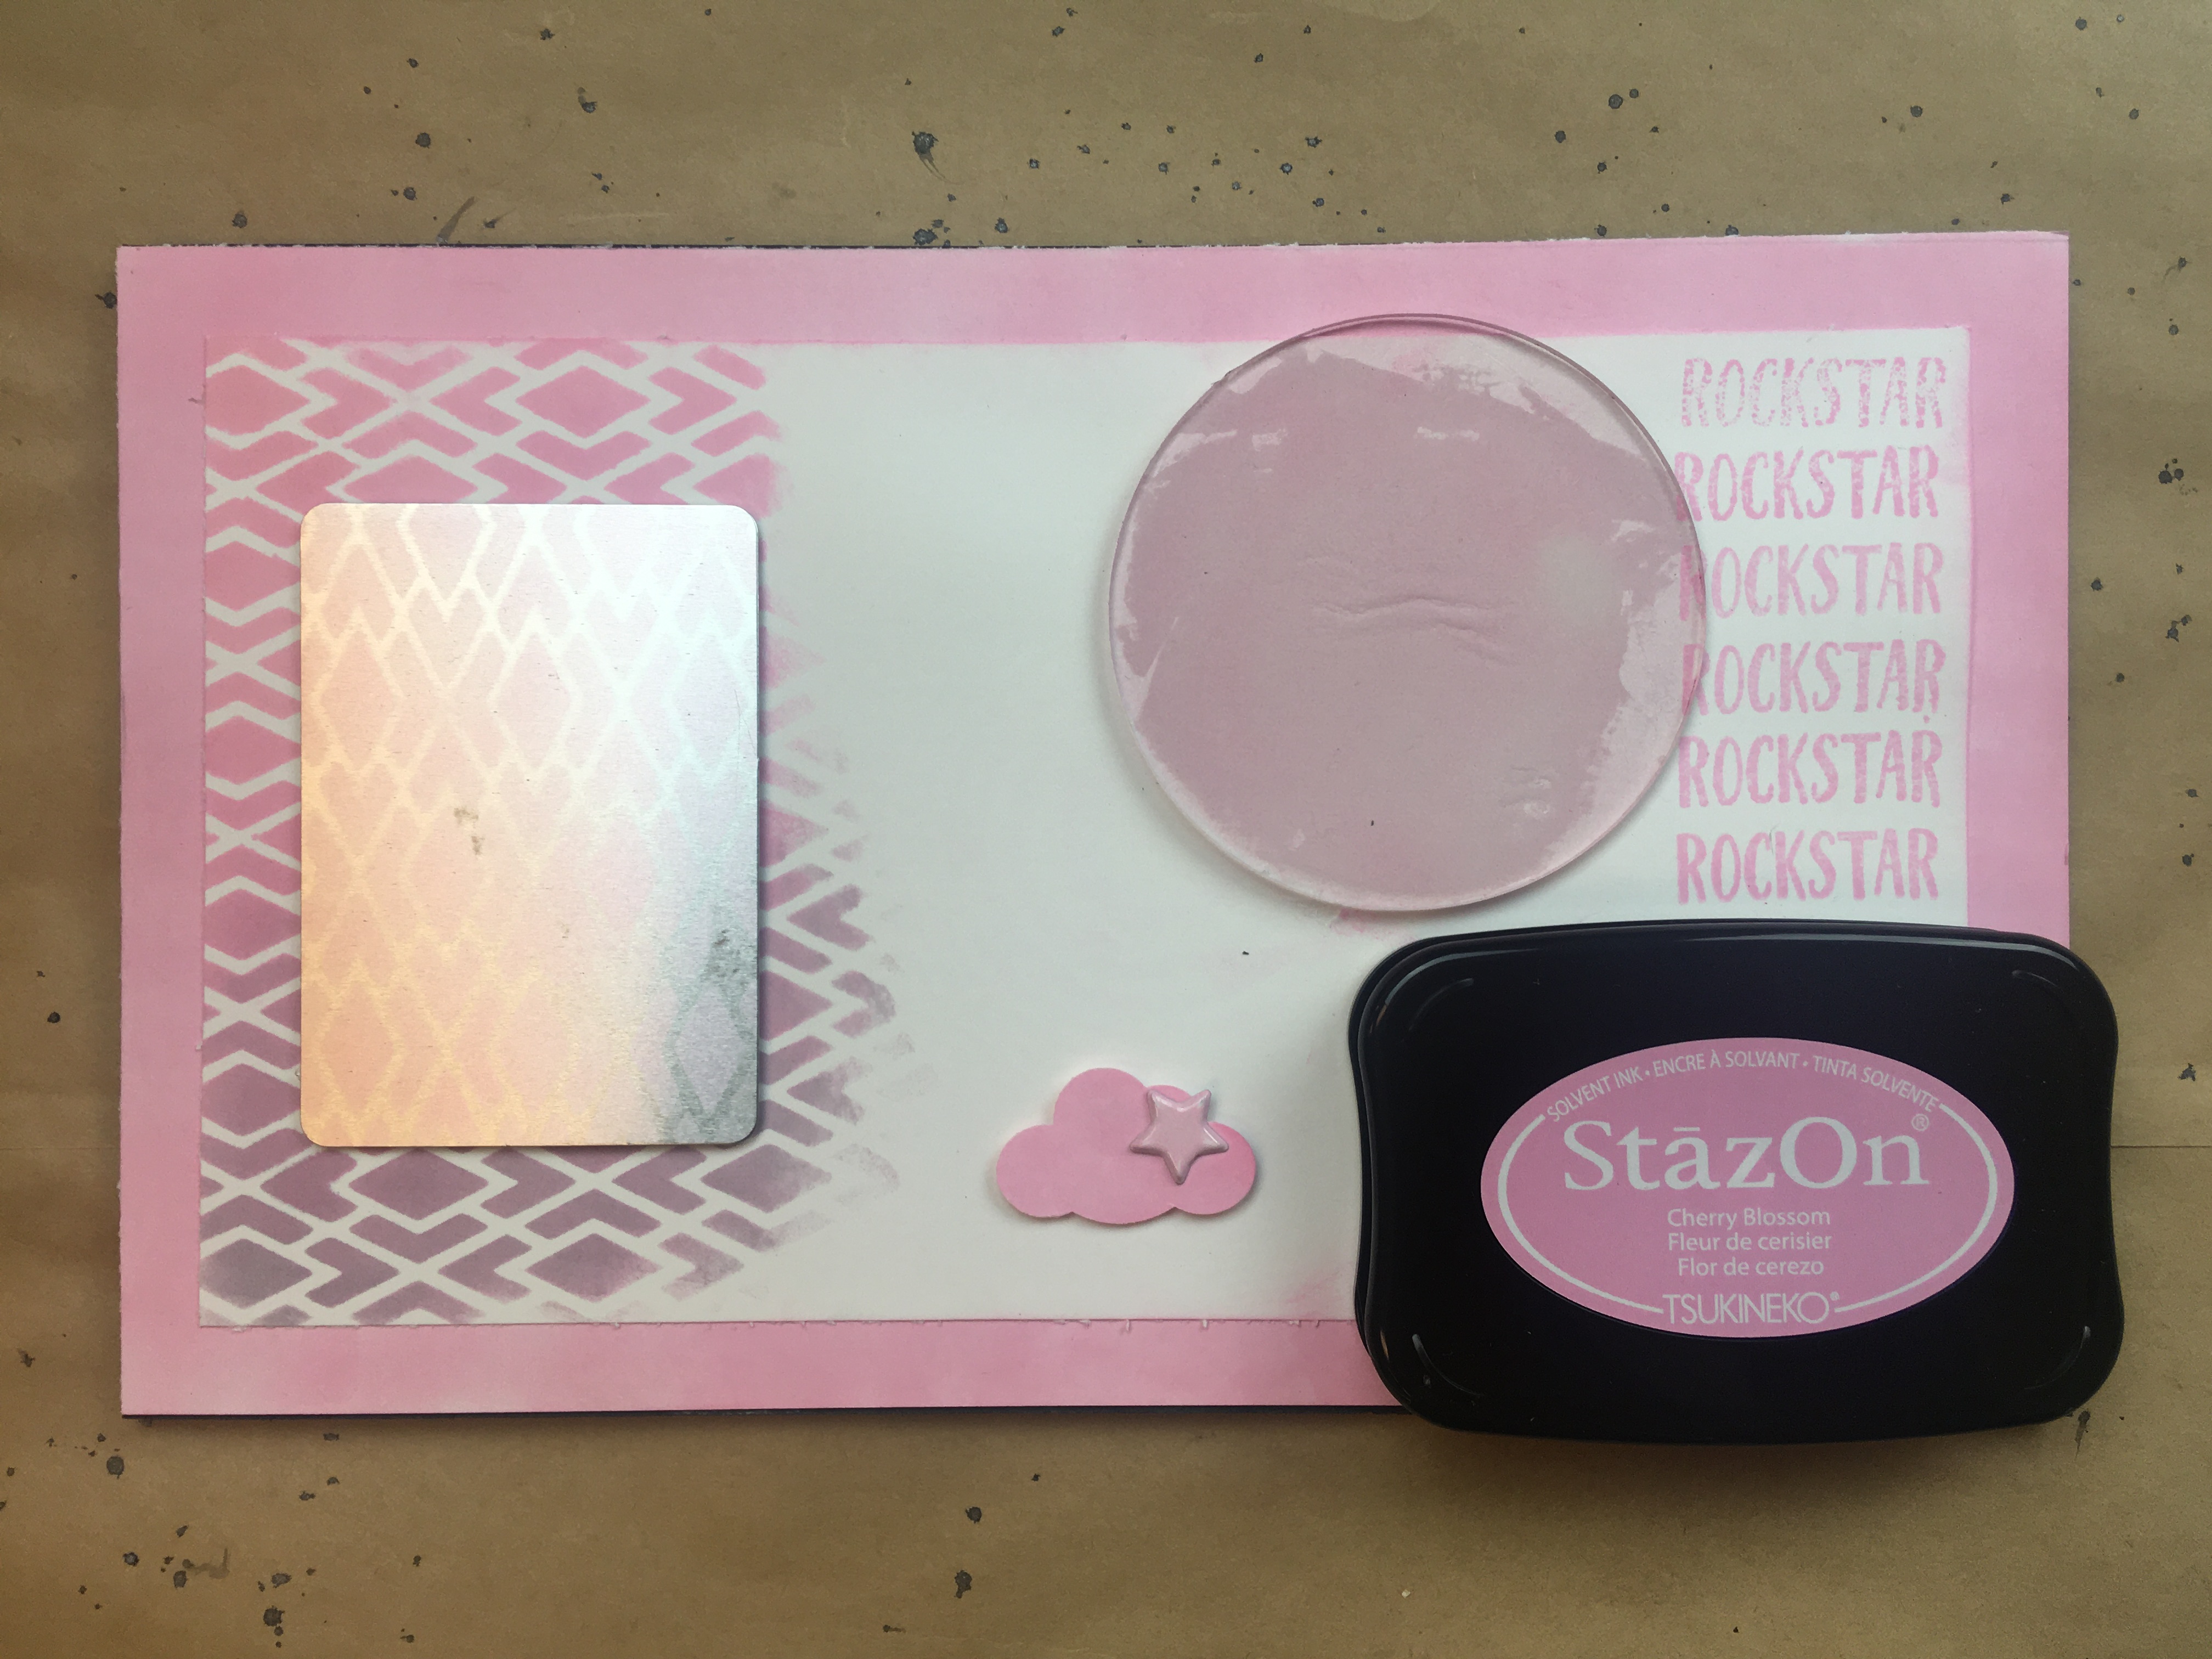
Bordeaux – deep wine color. This rich wine color is trending in all sorts of industries and we feel it will add plenty of character to mixed media projects.
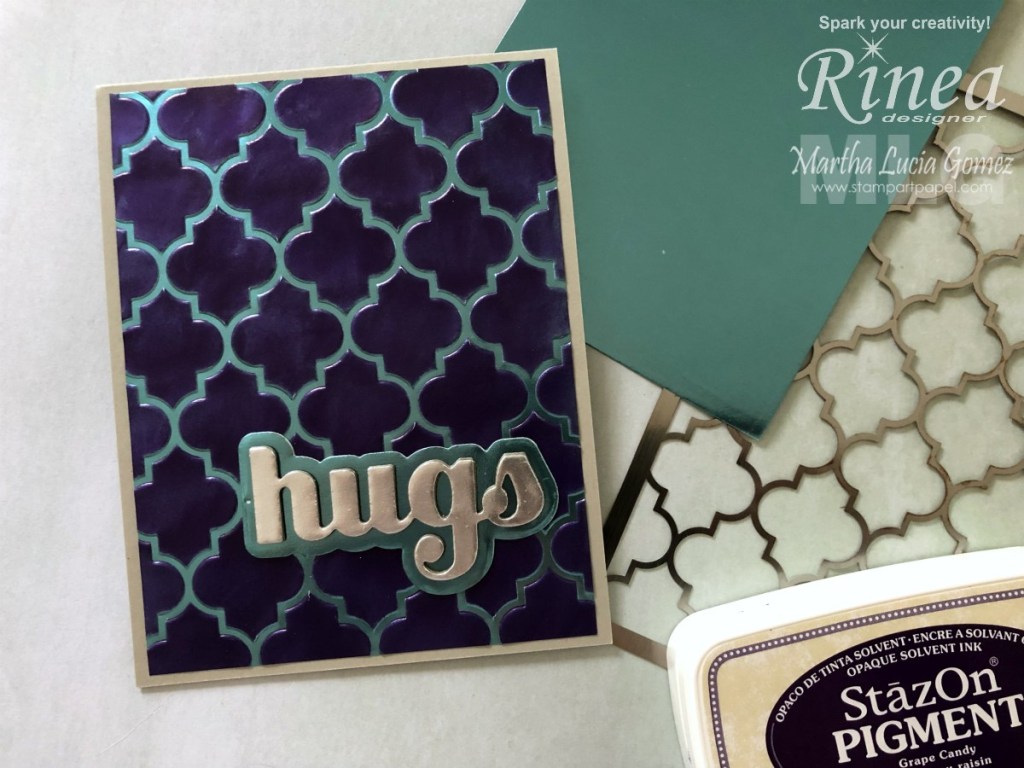
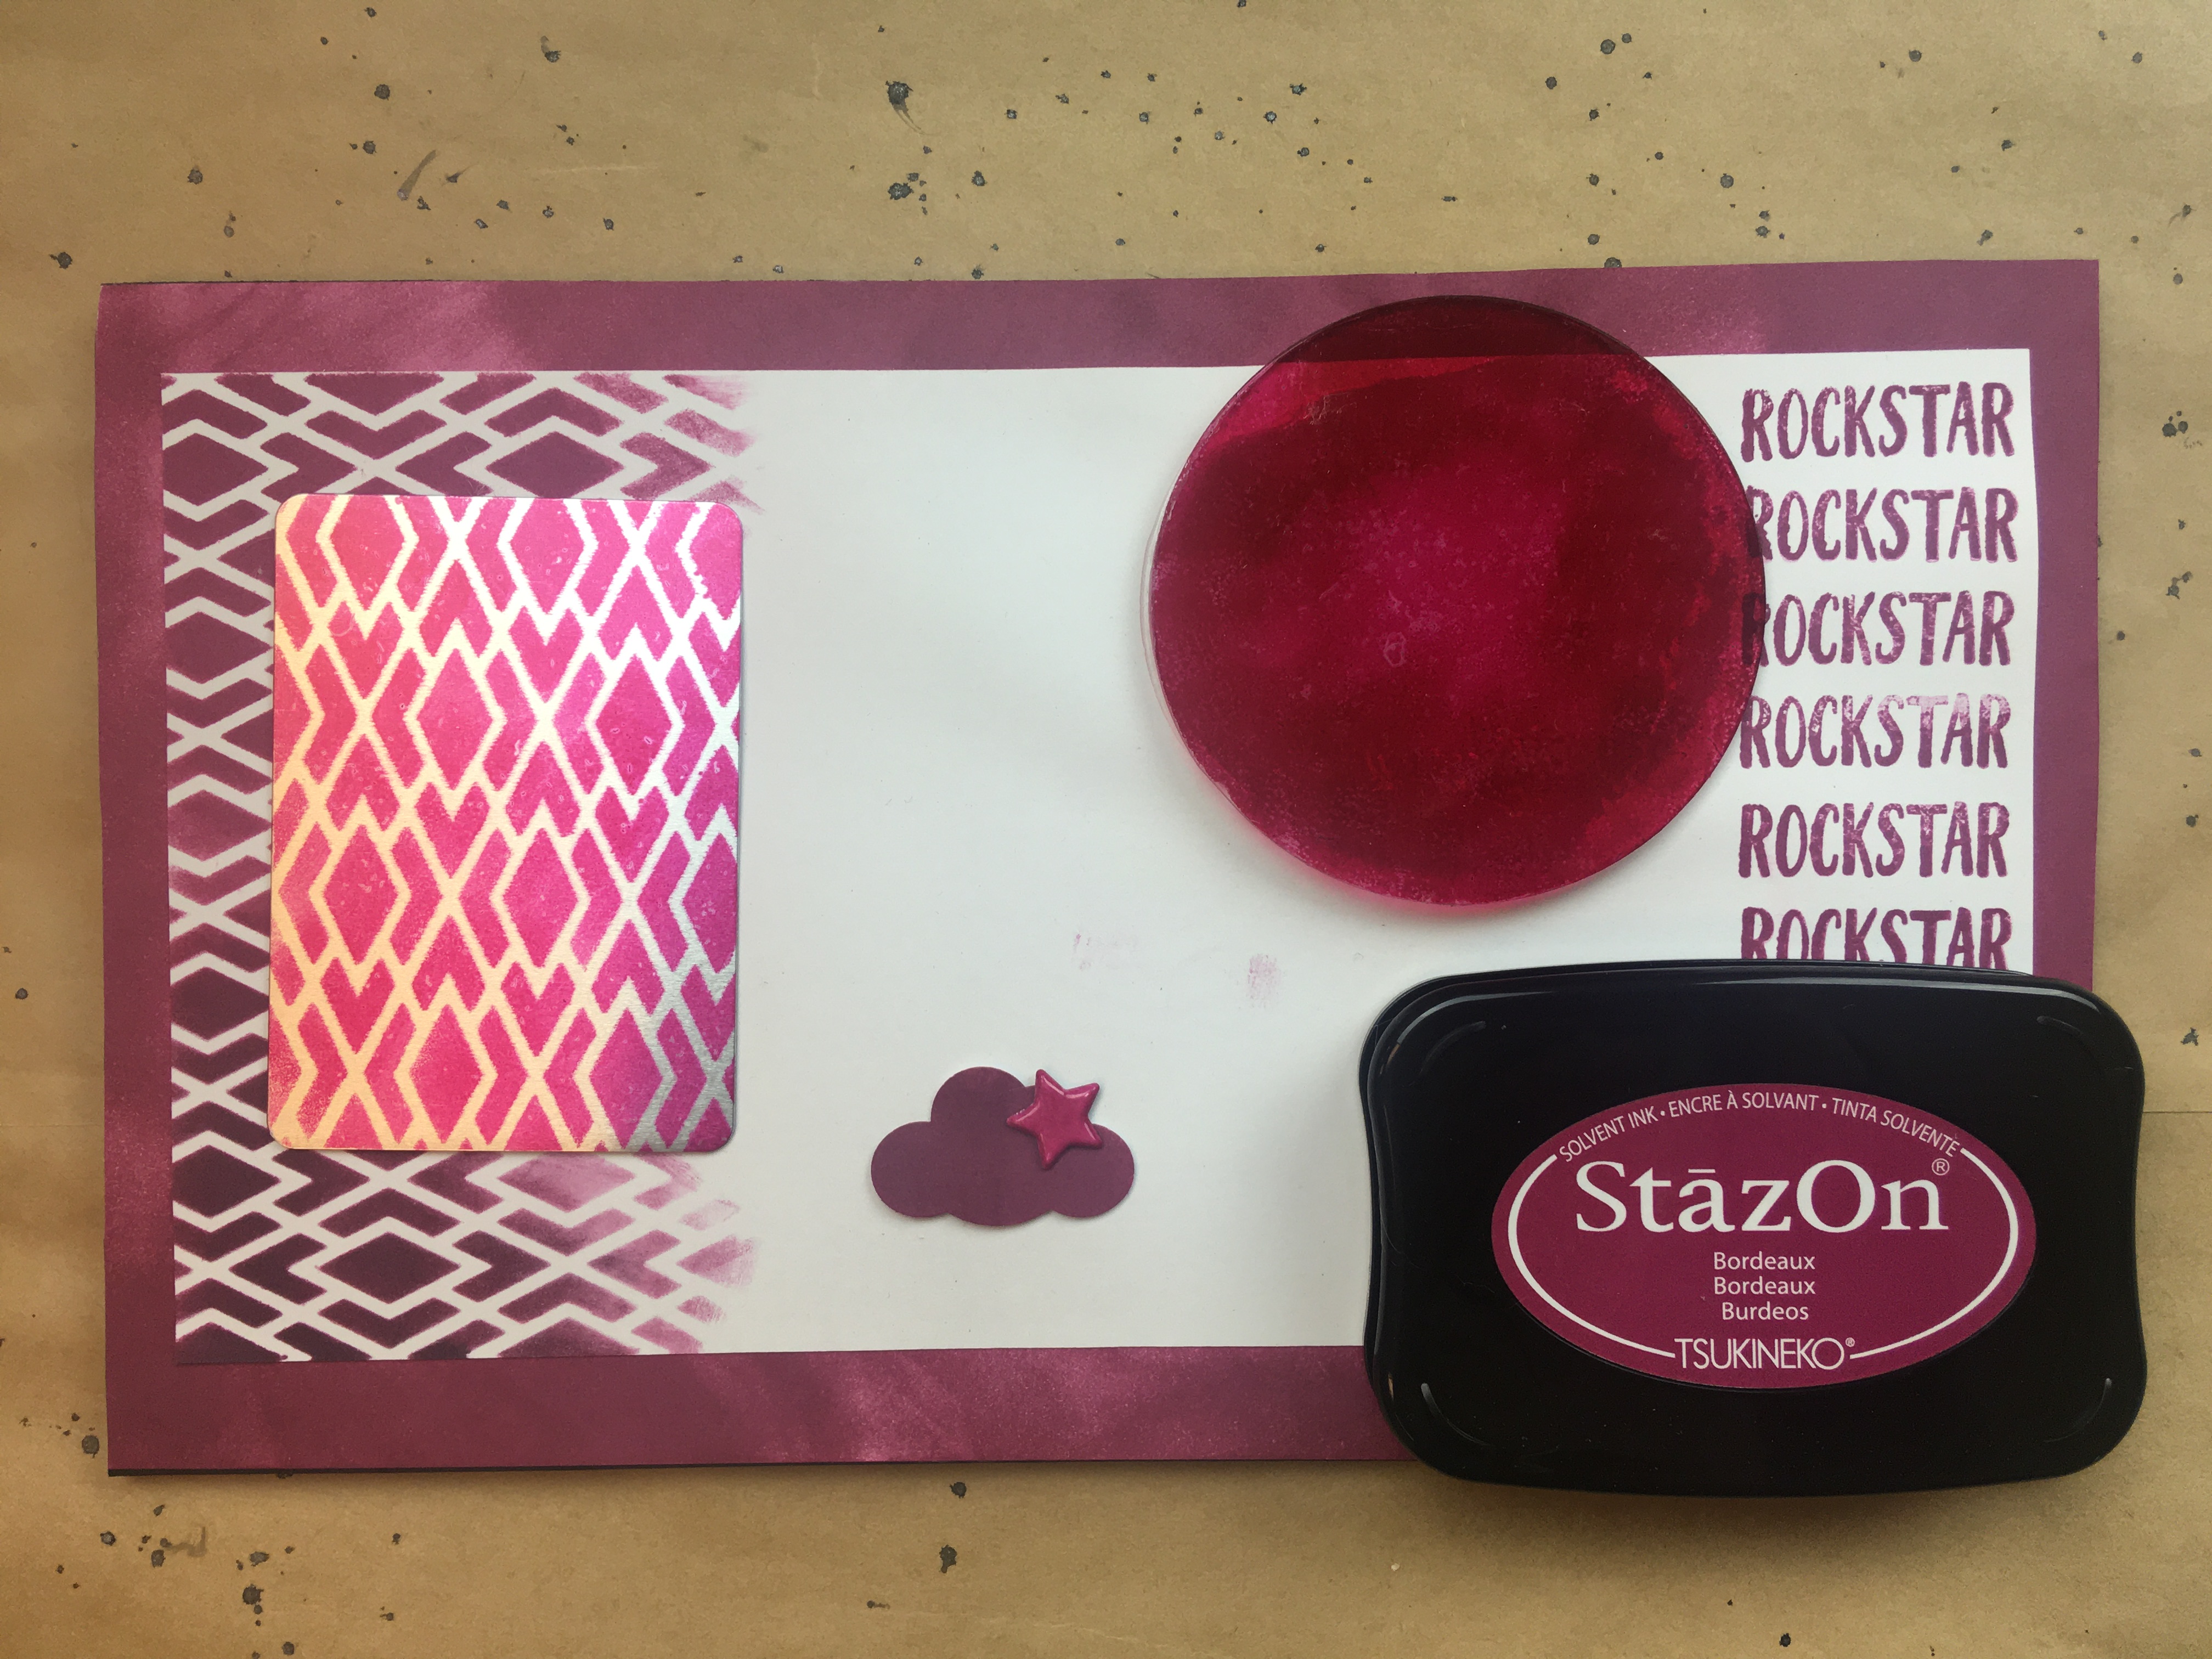
Plum – deep purple. Dark blues and purples are trending across cinema and fashion. We love this particular hue.
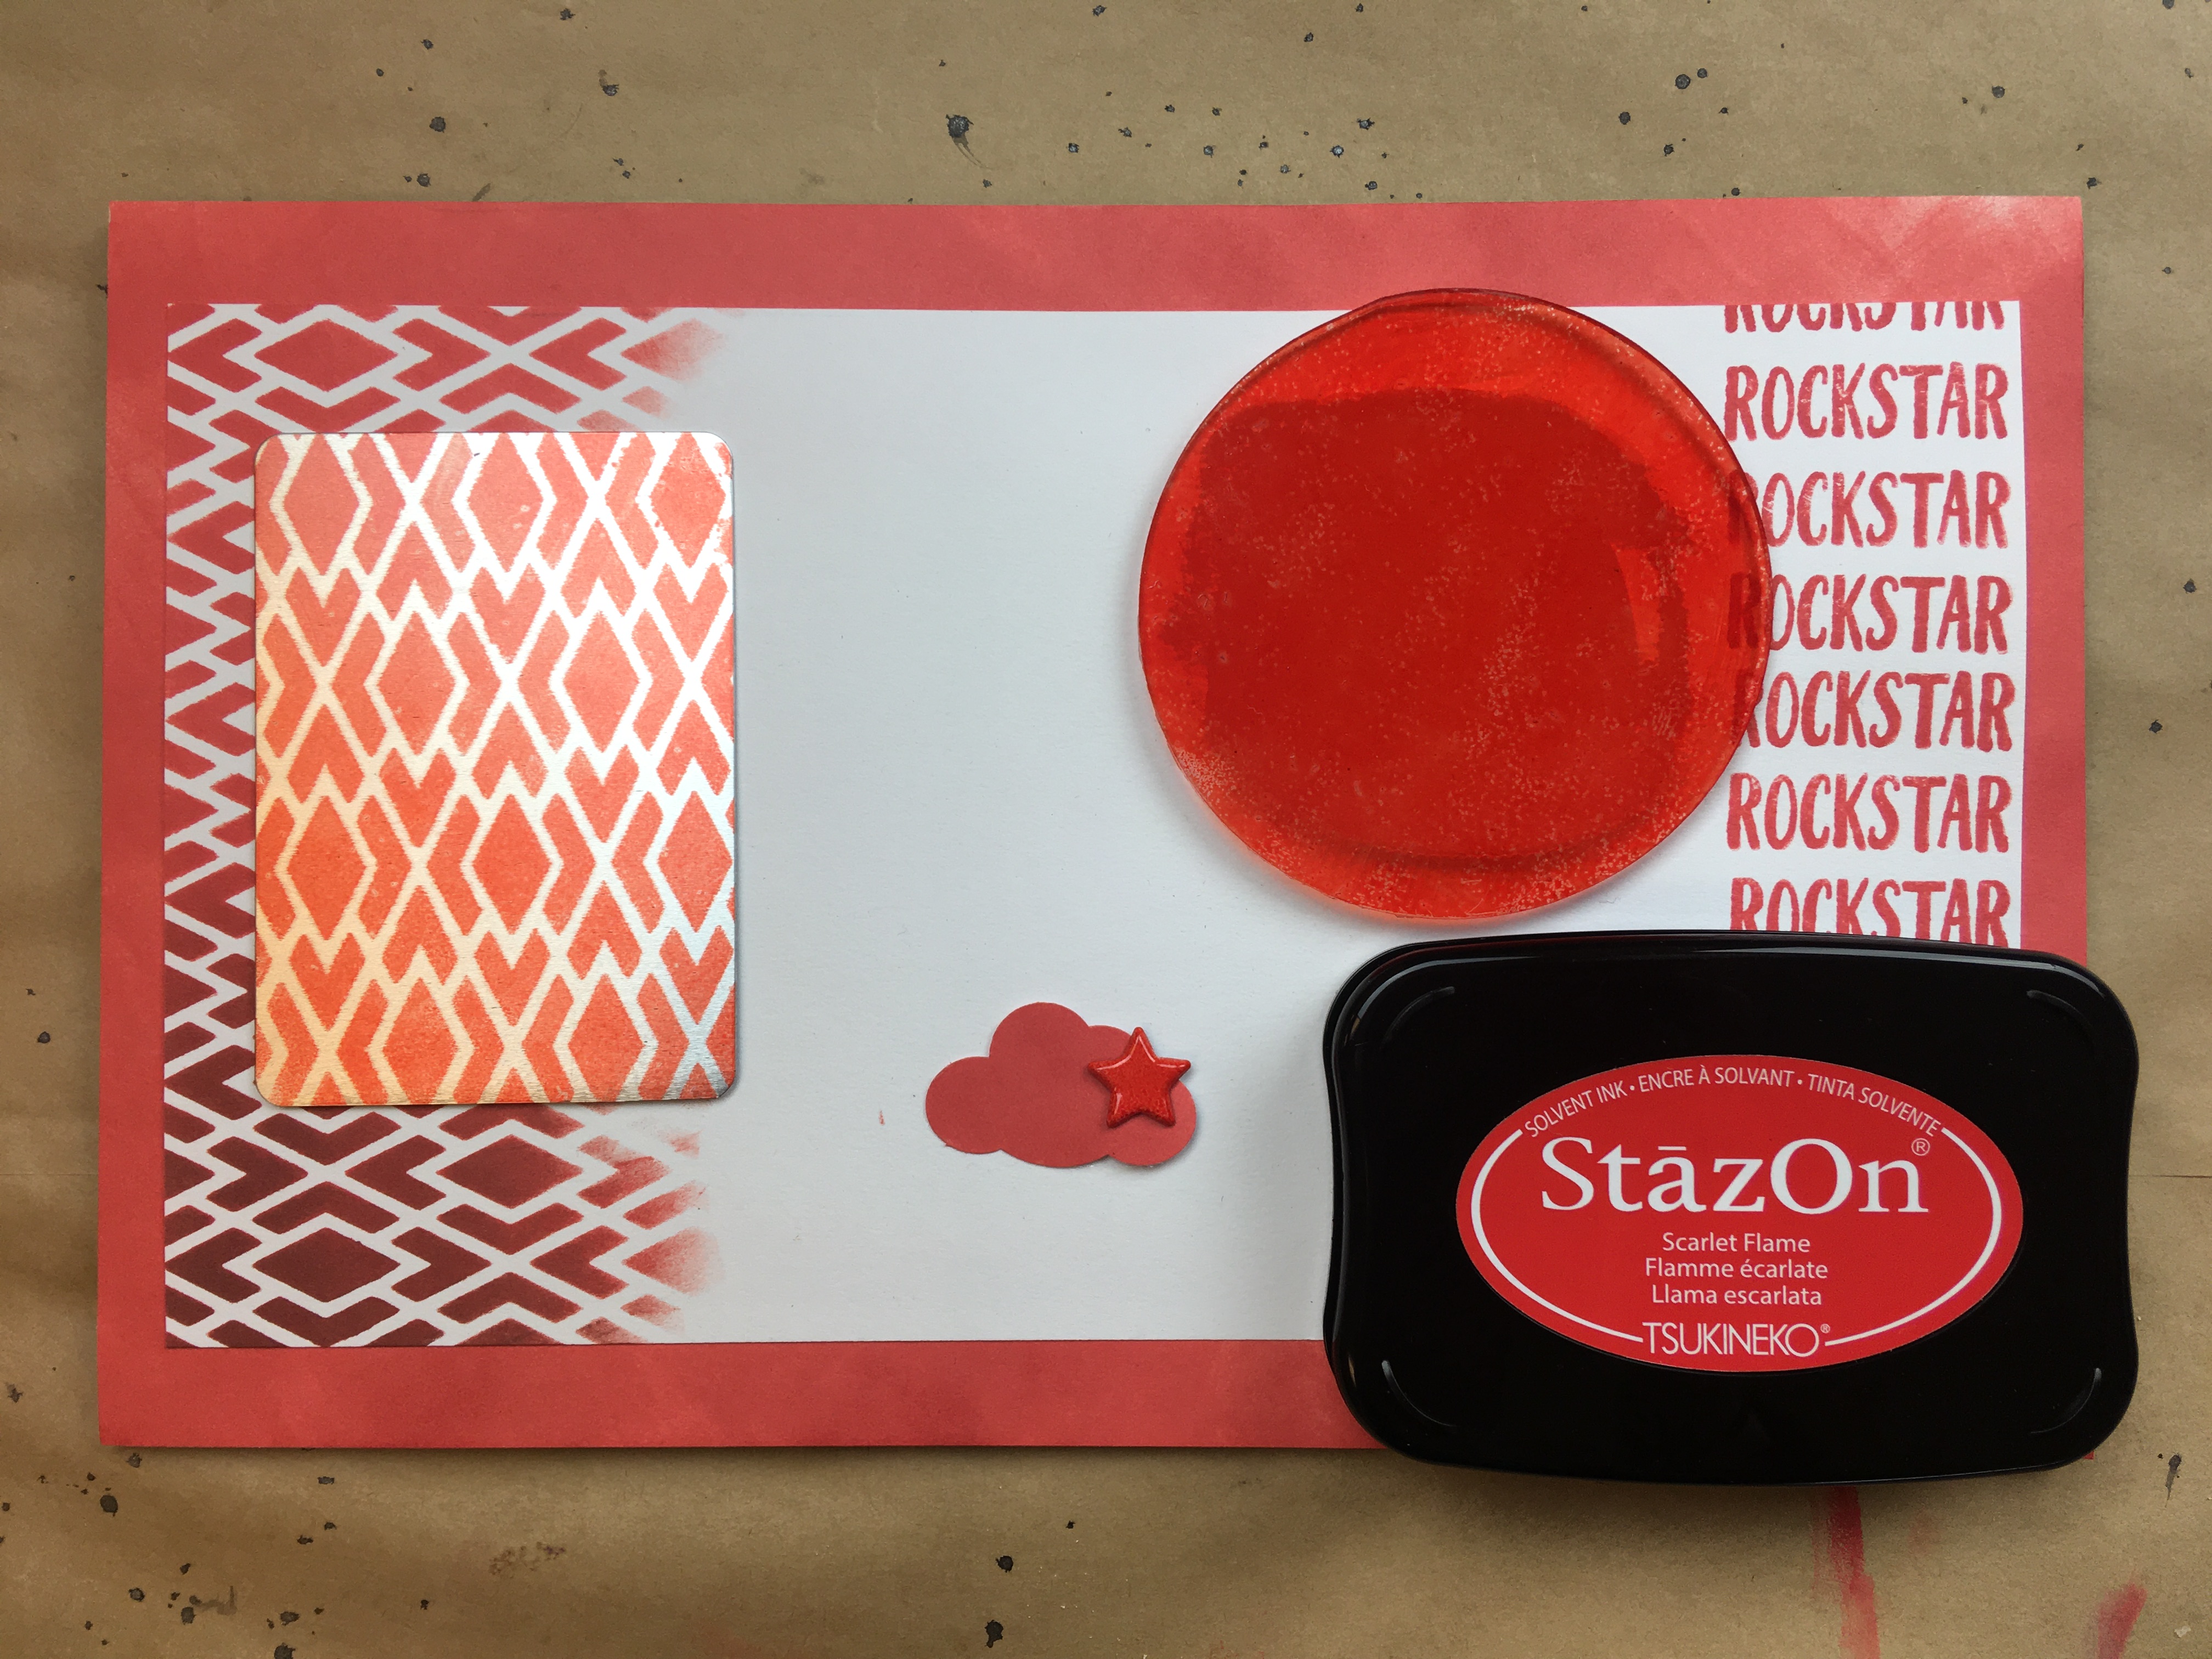
Scarlet Flame – bright red. Everyone needs a true red in their collection. Red is the color of passion and emotion – a perfect color to express love!
See our current selection of StazOn
New Colors will be available to purchase soon!
On Trend will be a limited 2-year release from 2020 to 2022 and the production of these inkpads will end. In 2022, we will research new color trends for a new set of colors.