
By Ceil Pritchett
Hello crafty friends!
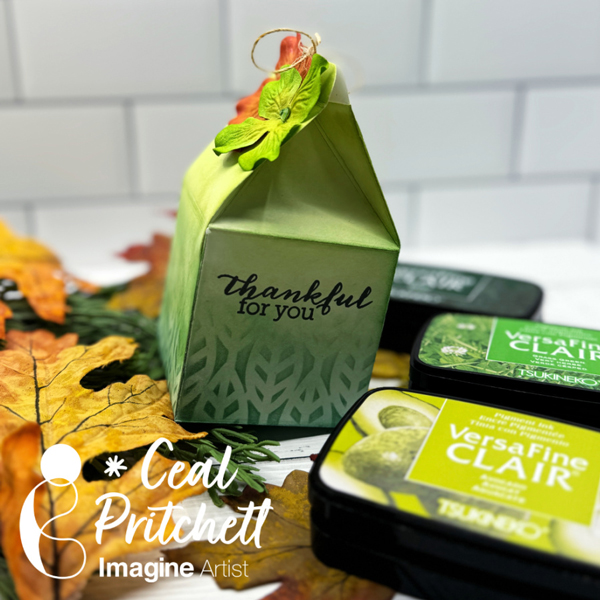
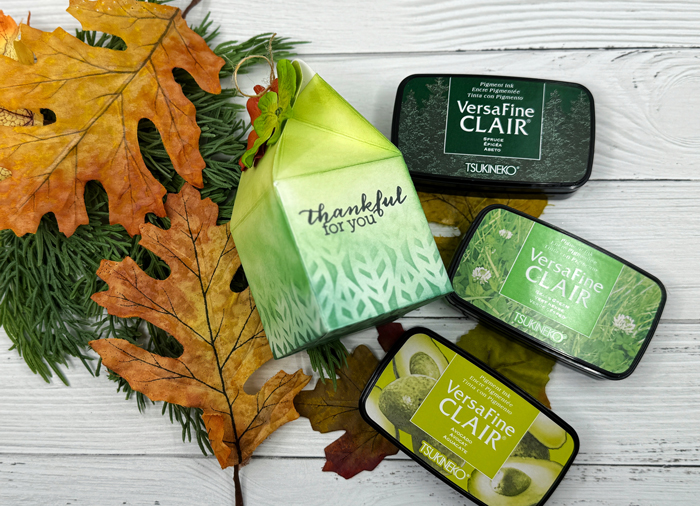
Today I am sharing how to create this milk carton treat box
Skill Level: Beginner
Time: 30 minutes
Directions:
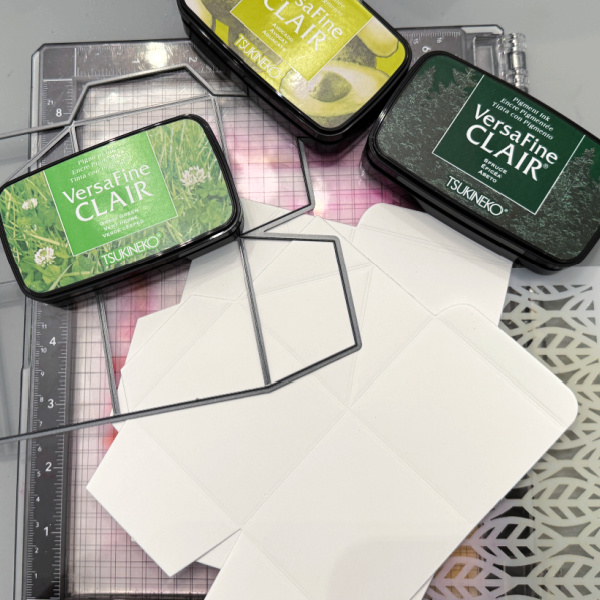
Gather your supplies. You will need a treat box die (I am using a tailored Expressions) a stencil and three colors of ink (I am using VersaFine Clair new colors) White cardstock cut to 6 x 8.5

Step 1:
Cut out two pieces of the die using white card stock. Place one of the pieces down on a stick mat to hold it in place. Place the stencil over it and ink the bottom third of the die with the darkest ink color.
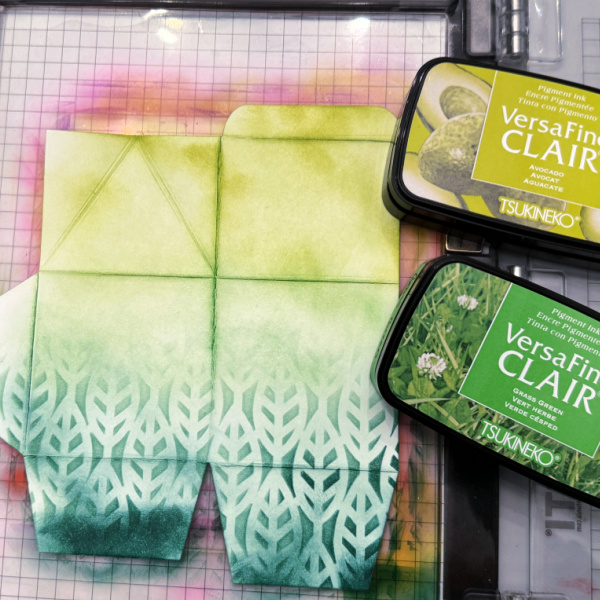
Step 2:
Remove the stencil and ink the next third using the medium color of ink and the last third with the lightest color of ink. Repeat this process for the next piece.
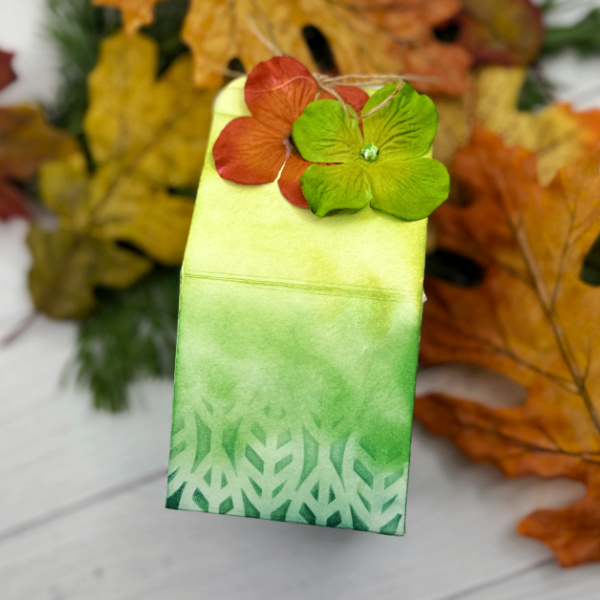
Step 3:
Assemble the carton and embellish. I used some embellishments from my stash.
Products Used:
Imagine products:
VersaFine Clair – Avocado, Grass Green and VersaFine Clair Spruce
On Point Glue
Other products:
Neenah Classic Crest Solar White 80lb Cardstock – CutCardStock
Milk carton die – Taylored Expressions
Stencil – Ink On 3
Embellishments
