
by Elina Stromberg
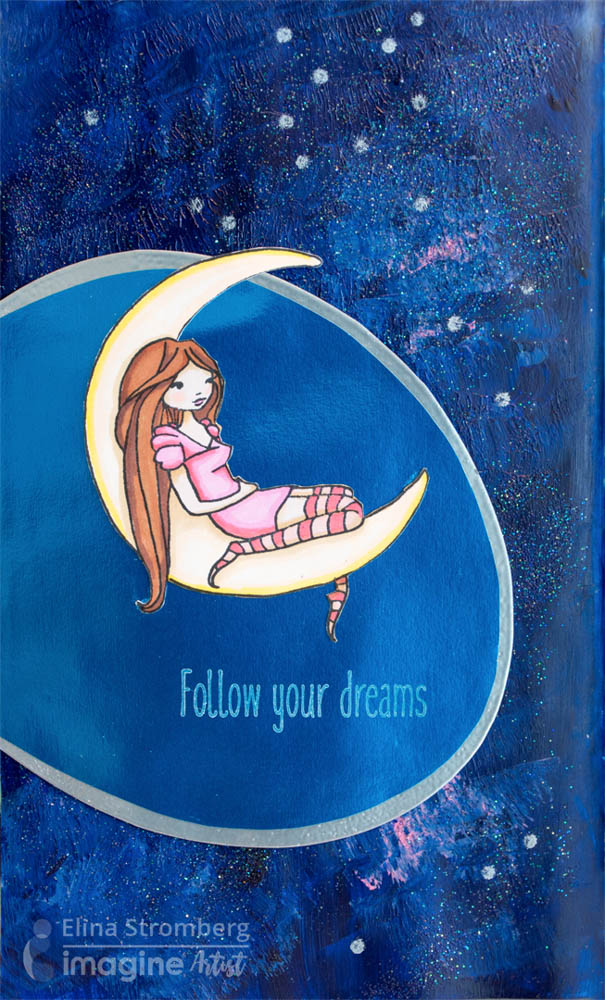
I love using stamped, colored and fussy cut images on my card projects, but they also make great collage elements for art journal pages. This page was inspired by a new stamp set I purchased a short while back. I liked the oval background illustration on the stamp package and decided to replicate it on my journal page. Instead of using the original pink and purple color scheme I decided to create a blue night scenery and to put the lovely girl and the moon on a sparkling and shimmering blue night sky background. I think that the versatile Rinea foil was a perfect choice for this project as was the white StazOn Pigment ink: It’s a creamy pigment ink suitable for all surfaces. I was happy to see how beautifully the white ink worked on the blue Rinea foil!
Skill: Intermediate
Time: 2 hours
Directions

Step 1
Stamp the main image on white cardstock. When coloring with alcohol markers, use water-soluble Memento ink for stamping. When using watercolors or watercolor pencils, use VersaFine Clair in Nocturne. Cut out the colored image with scissors. Draw an oval on white paper. Cut out and trim a slice from the left side. This straight line will be placed on the edge of the journal page. Use the white paper as a template to trace the same shape on blue Rinea foil. Cut with scissors. Then cut the foil oval slightly smaller than the paper template; remove approx. ¼ inch from the round edge.

Step 2
Decorate the round edge of the paper oval with heat embossing: Dab VersaMark on the edge and cover with Mboss embossing powder in Silver. Heat set with a heat tool.

Step 3
Mat the foil oval onto the white/silver paper. Stamp the sentiment on foil using StazOn Pigment inkpad in Snowflake.

Step 4
Paint the journal page background with blue acrylic paint. The oval main image area can be left unpainted. Add a hint of light blue and pink on the dark blue paint.

Step 5
While the paint is still wet sprinkle sparkling ‘Shimmery Night Sky’ Mboss embossing powder on the page. Let dry. Once dry heat set the embossing powder with a heat tool. Glue the ovals and “girl sitting on the moon” image on the page. Paint stars on the page background using white StazOn Pigment ink and a cotton swab. You can stop there or continue to craft until you are happy.
Supplies
Imagine
- Memento Inkpad – Tuxedo Black
- StazOn Pigment Inkpad – Snowflake
- VersaMark Inkpad
- Sponge Dauber
- Mboss Embossing Powder – Silver, Shimmery Night Sky
- Craft Mat
Other
- Rinea Foil Paper – Glossy Sapphire/Gold
- Carabelle Studio – ‘Follow Your Dreams’ Stamp set
- Promarker Alcohol Markers
- Piece of white paper
- Pencil
- Scissors
- Acrylic paint – Blue, Light blue, light pink
- Paintbrush
- Cotton swab
- Heat tool
- Glue
- Art journal book

