By Ceal Pritchett
Hello crafty friends!
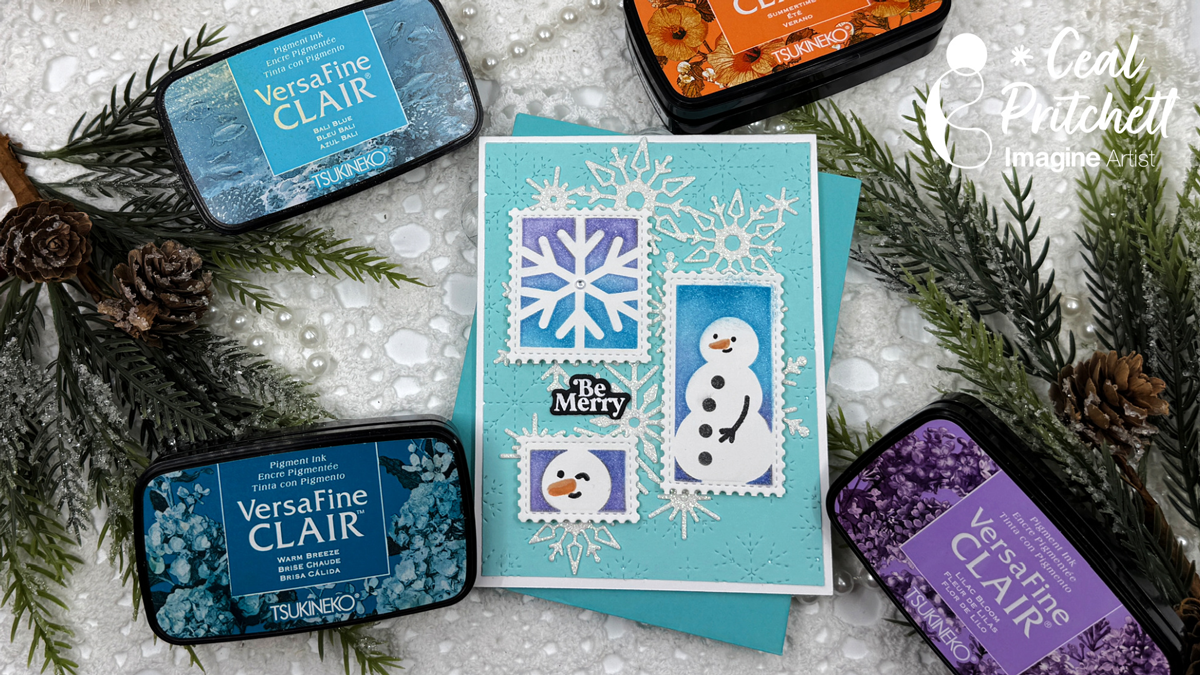
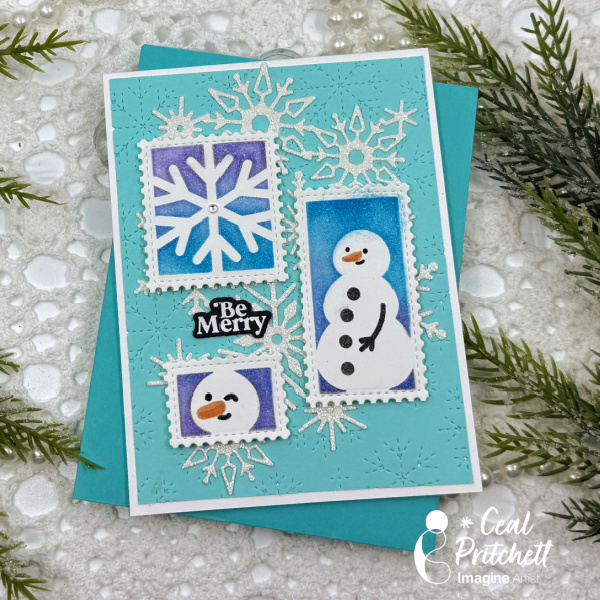
It’s Ceal here. Today I am sharing a postage collage Christmas card with you.
Skill: Intermediate
Time: 45 minutes
Directions:
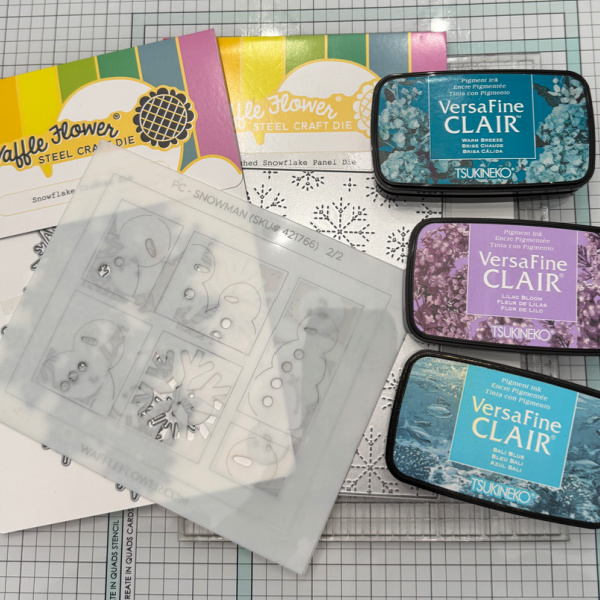
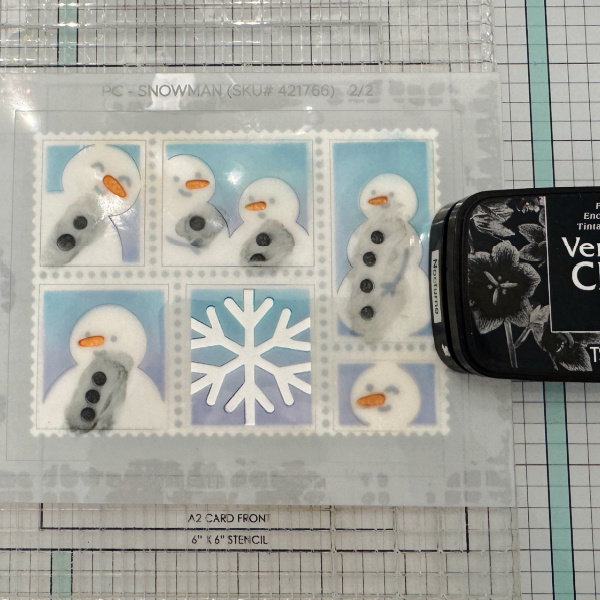
Gather your supplies. To make this card you will need a Postage Collage Layering Stencil, a snowflake cover plate die, a snowflake cluster background die and some inks. The inks I used are listed at the bottom of the tutorial.
Step 1:
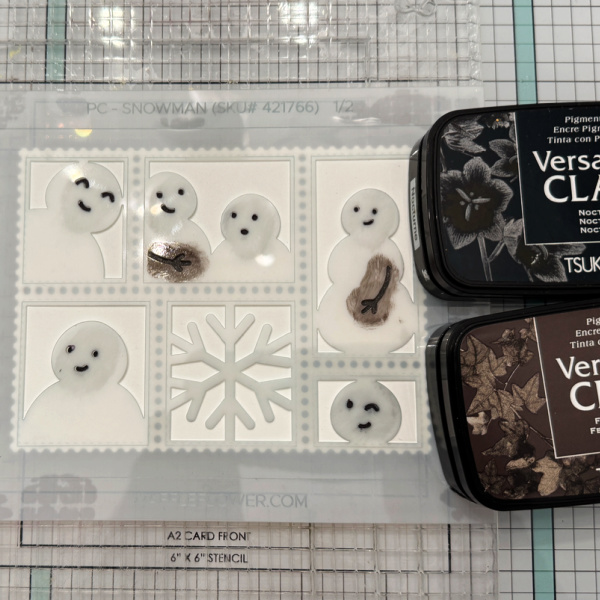
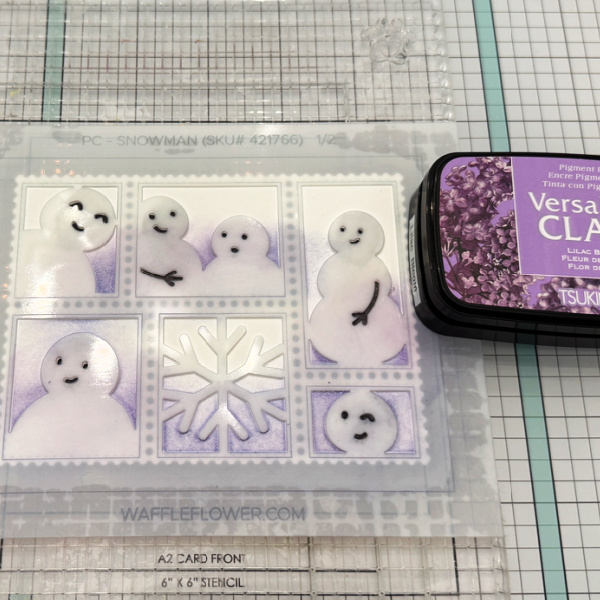
Cut out a postcard using a postage die. Ink blend VersaFine Clair Nocturne and VersaFine Clair Fallen Leaves for the eyes, mouth and arms on the first stencil.
Step 2:
Ink blend VersaFine Clair Lilac Bloom over the bottom portion of the first stencil.
Step 3:
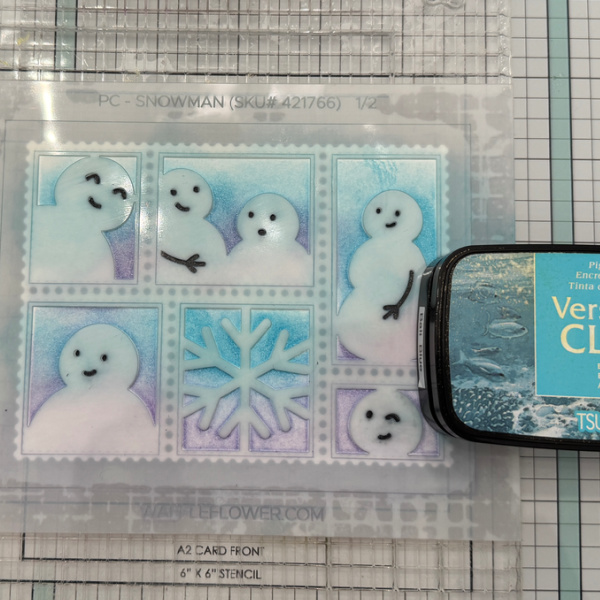
Ink blend VersaFine Clair Bal Blue over the middle portion of the first stencil.
Step 4:
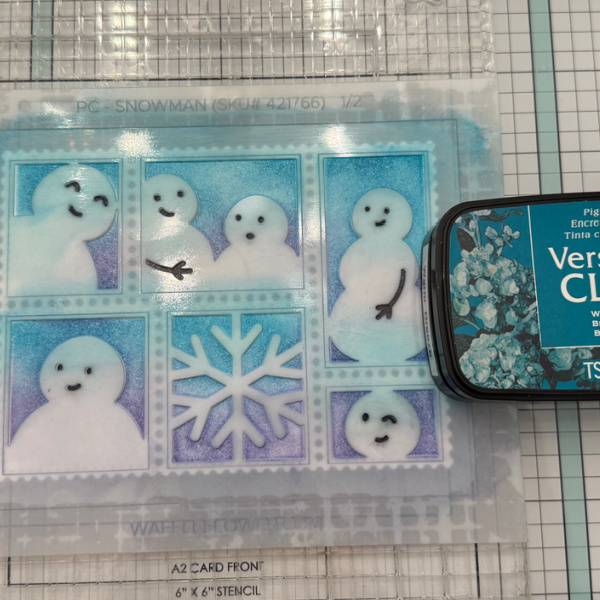
Ink blend VersaFine Clair Warm Breeze over the top portion of the first stencil.
Step 5:
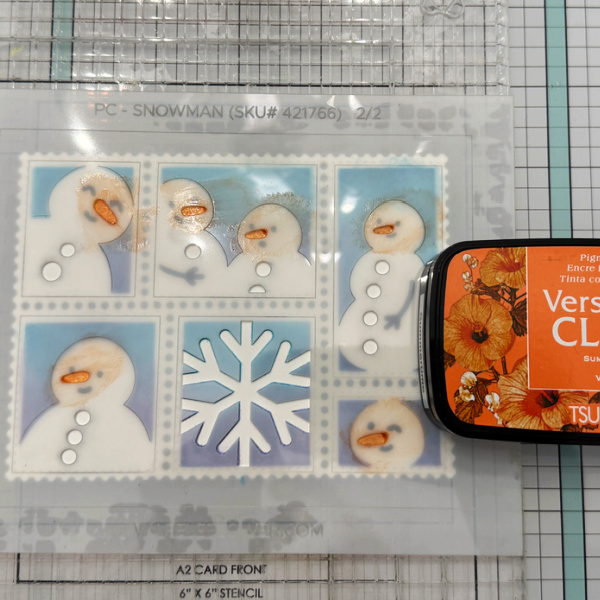
Ink blend VersaFine Clair summertime over the noses and VersaFine Clair Nocturne over the buttons on the second stencil.
Step 6:
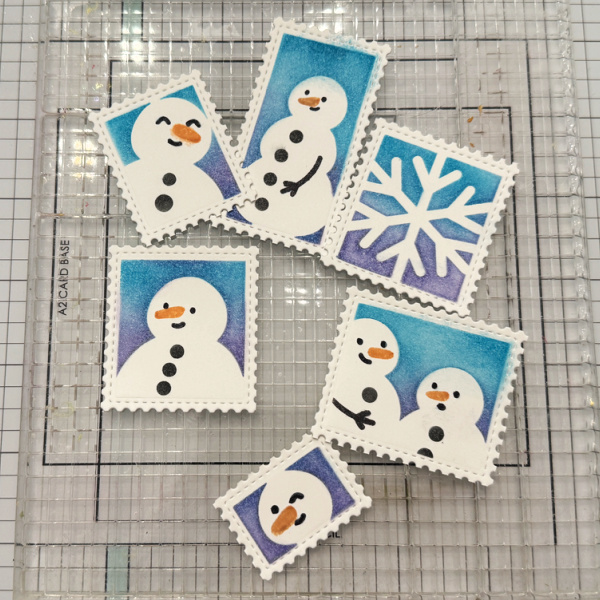
Cut apart the postage die to get individual stamps. Choose which ones you want to use on your project and save the rest.
Step 7:
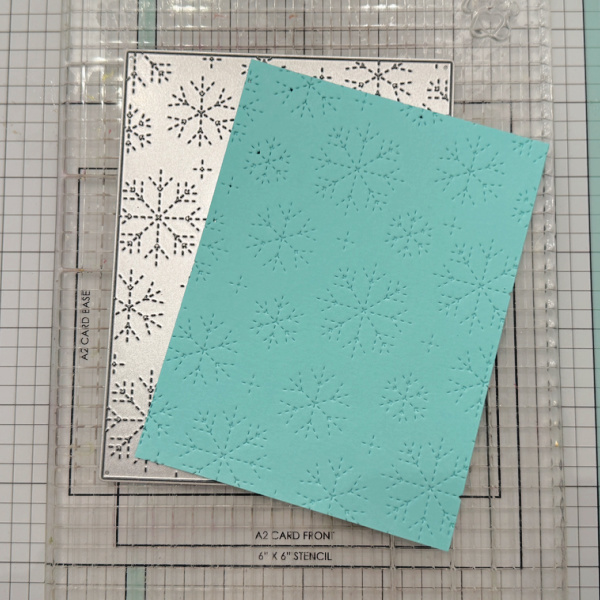
Cut out a background panel using the snowflake cover die.
Step 8:
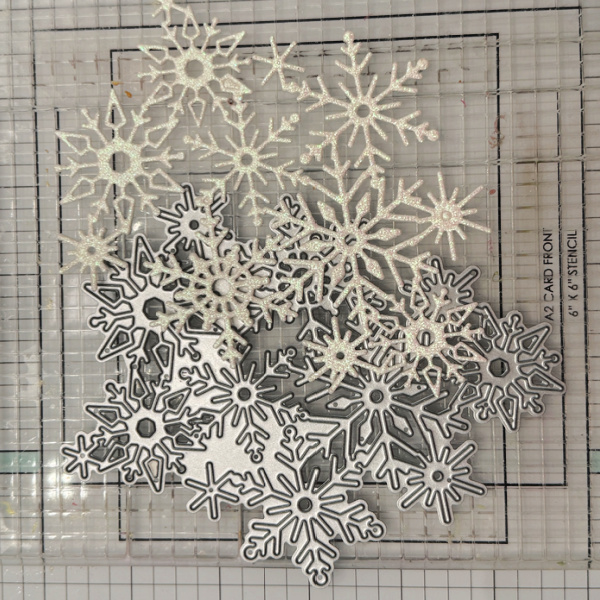
Cut the snowflake cluster out of glitter paper.
Step 9:
Stamp and emboss the sentiment, then put all the pieces together to create the card.
Craft Supplies:
Imagine Products:
VersaFine Clair
– Nocturne
– Fallen Leaves
– Summertime
– Warm Breeze
– Bali Blue
– Lilac Bloom
Other Products:
Postage die – Waffle Flower
Layering Postage Stencil – Waffle Flower
Snowflake Cover Plate – Waffle Flower
Snowflake Cluster die – Waffle Flower
Sentiment – Waffle Flower