
By Anna Escalada York
In today’s post, I made a card featuring earthy colors.
Skill: Intermediate
Time: 1.5 hours
Directions:
Step 1:
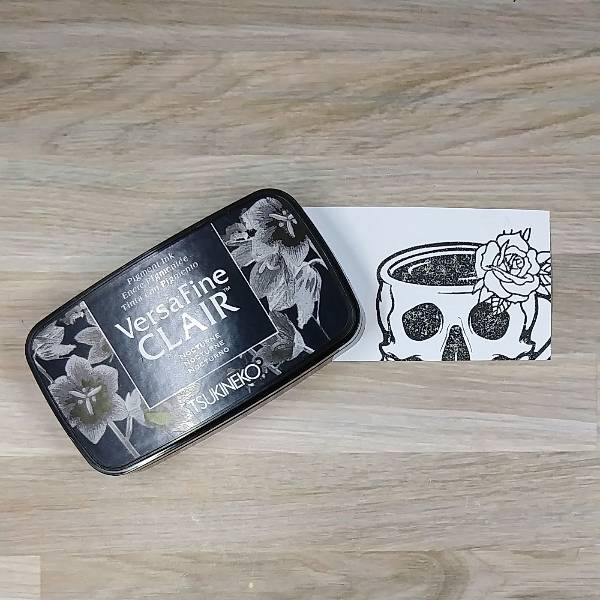
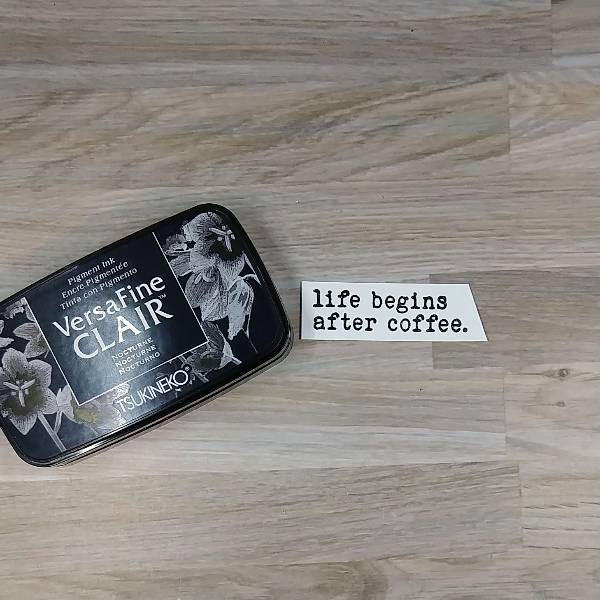
Stamp the top part of the main stamped image onto a piece of masking paper with Nocturne
VersaFine Clair ink. (If you don’t have masking paper, you can use a sticky note.)
Cut out the coffee (or the inside part of the coffee cup) of the masking paper and place it onto a
piece of watercolor paper over the corresponding part of the waterpaper.

Step 2:
Stamp the coffee cup image onto the watercolor paper with Nocturne VersaFine Clair ink,
making sure that the masking paper covered up the coffee in the cup.
(Optional step: Heat emboss with clear embossing powder.)

Step 3:
Remove the masking paper. Stamp the coffee in the cup with Acorn VersaFine Clair ink. (I
chose to mask the cup with the remaining masked paper before stamping.)
(Optional step: Heat emboss the coffee with more clear embossing powder.)
Step 4:
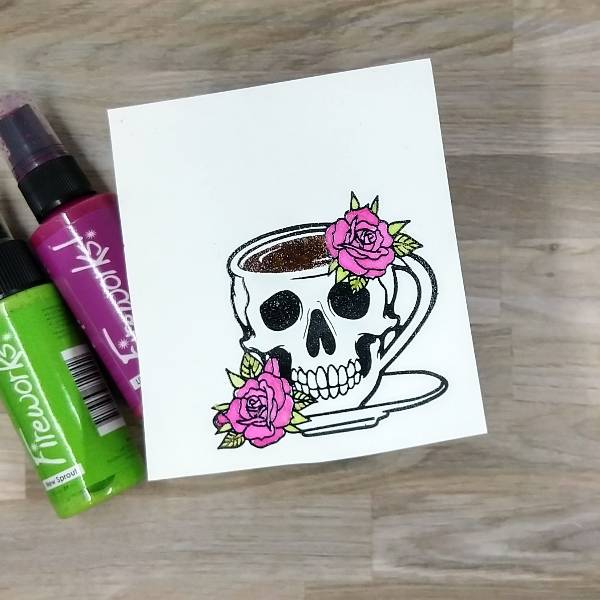
Spray Lilac Posies Fireworks! Shimmery Craft Spray onto a piece of acetate packaging and use
the spray to watercolor the stamped flowers surrounding the coffee cup. Repeat the process
with New Sprout Fireworks! Shimmery Craft Spray to paint the leaves.
Repeat the process one more time with Rose Gold Sheer Shimmer Craft Spray to paint the cup
and saucer.
Step 4.5:
Die cut the coffee cup with the corresponding die.
(Sorry that the pictures got messed up and you couldn’t see the pink shimmer paint from the
Rose Gold Sheer Shimmer Craft Spray or die cutting the cup. My camera was glitchy. You will
see the rosy pink shimmer in the next few steps.)

Step 5:
Die cut a piece of black watercolor paper (or black cardstock) for the matte layer of the card.
Step 6:
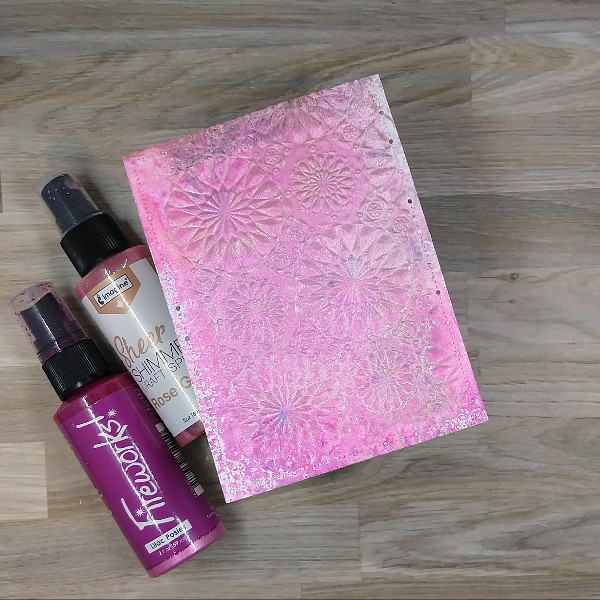
Spray Lilac Posies Fireworks! Shimmery Craft Spray and Rose Gold Sheer Shimmer Craft
Spray into an embossing folder and emboss a previously die cut watercolor panel. After
removing the watercolor panel, spray more Rose Gold Sheer Shimmer Craft Spray around the
panel and then allow the panel to dry.

Step 7:
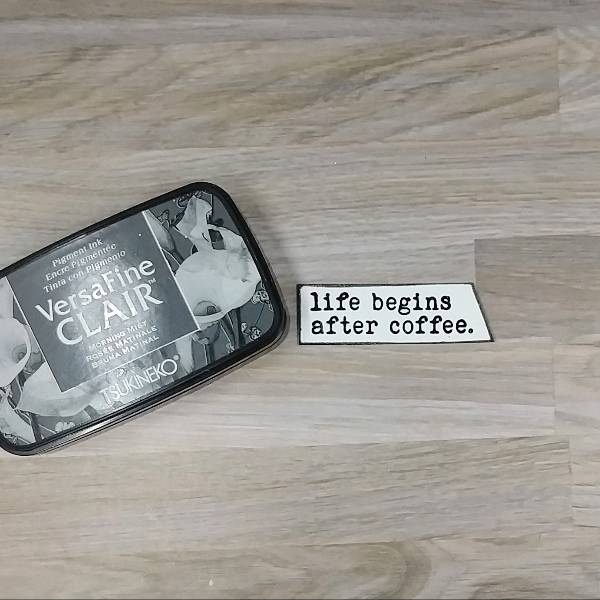
Using a sponge dauber, ink blend the edges of the sprayed and embossed panel with Morning
Mist VersaFine Clair ink.
Step 8:
Stamp a sentiment on a piece of watercolor paper with Nocturne VersaFine Clair ink. Trim the
edges with your paper trimmer.
(Optional step: Heat emboss with clear Mboss embossing powder.)
Then press the edges of the sentiment into the Nocturne VersaFine Clair ink to create a border.
Step 9:
I decided that I wanted to change the color of the border, so pressed the edges of the sentiment
into the Morning Mist VersaFine Clair ink pad.
(Optional step: Heat emboss with more clear embossing powder.)

Step 10:
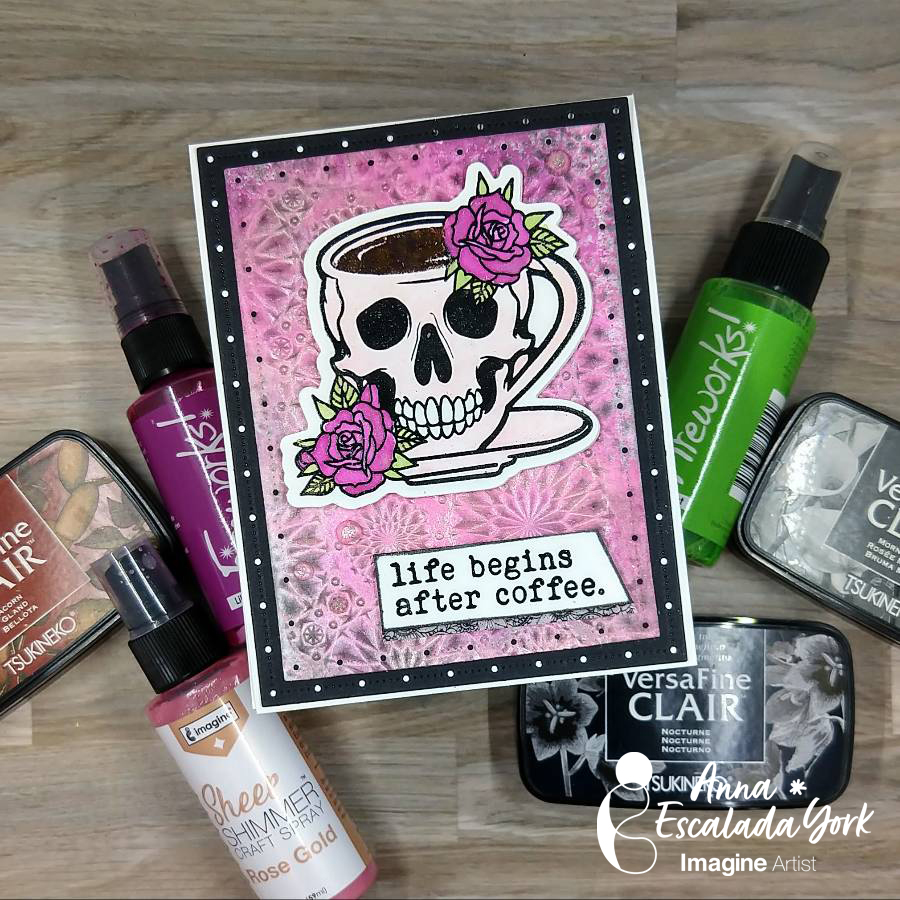
Glue the two panels together. Glue the coffee cup onto the pink watercolor panel. Attach a piece
of black and white washi tape just a little bit smaller than the sentiment strip and then glue down
the sentiment strip.

Step 11:
Glue sequins on the lower left and upper right corners of the card.

Step 12:
Finish the care by gluing the matte layer to an A2-sized white card base.
Art Supplies
Imagine
Fireworks! Shimmery Craft Spray – Lilac Posies, New Sprout
Sheer Shimmer Craft Spray – Rose Gold
VersaFine Clair ink – Acorn, Morning Mist, Nocturne
Sponge Daubers
For Optional Embossing:
VersaMark
Mboss – Clear
Other
Altenew – Masking Paper – Masking Paper
Erin Lee Creative – Stamp set – Coffee or Die
Erin Lee Creative – Stamp and die set – Stayin’ Alive
Gina Marie Designs – Die set – Big and Little Chain Rectangle die set
Legion – Paper – Stonehenge Black Aqua cold press watercolor paper
Sizzix – Embossing Folder – Mini Kaleidoscope by Tim Holtz
Trinity Stamps – Embellishments – Champagne Twinkle Stardust Rhinestones
Black and white washi tape
Watercolor paper
Paper Trimmer
Scissors
Glue
