
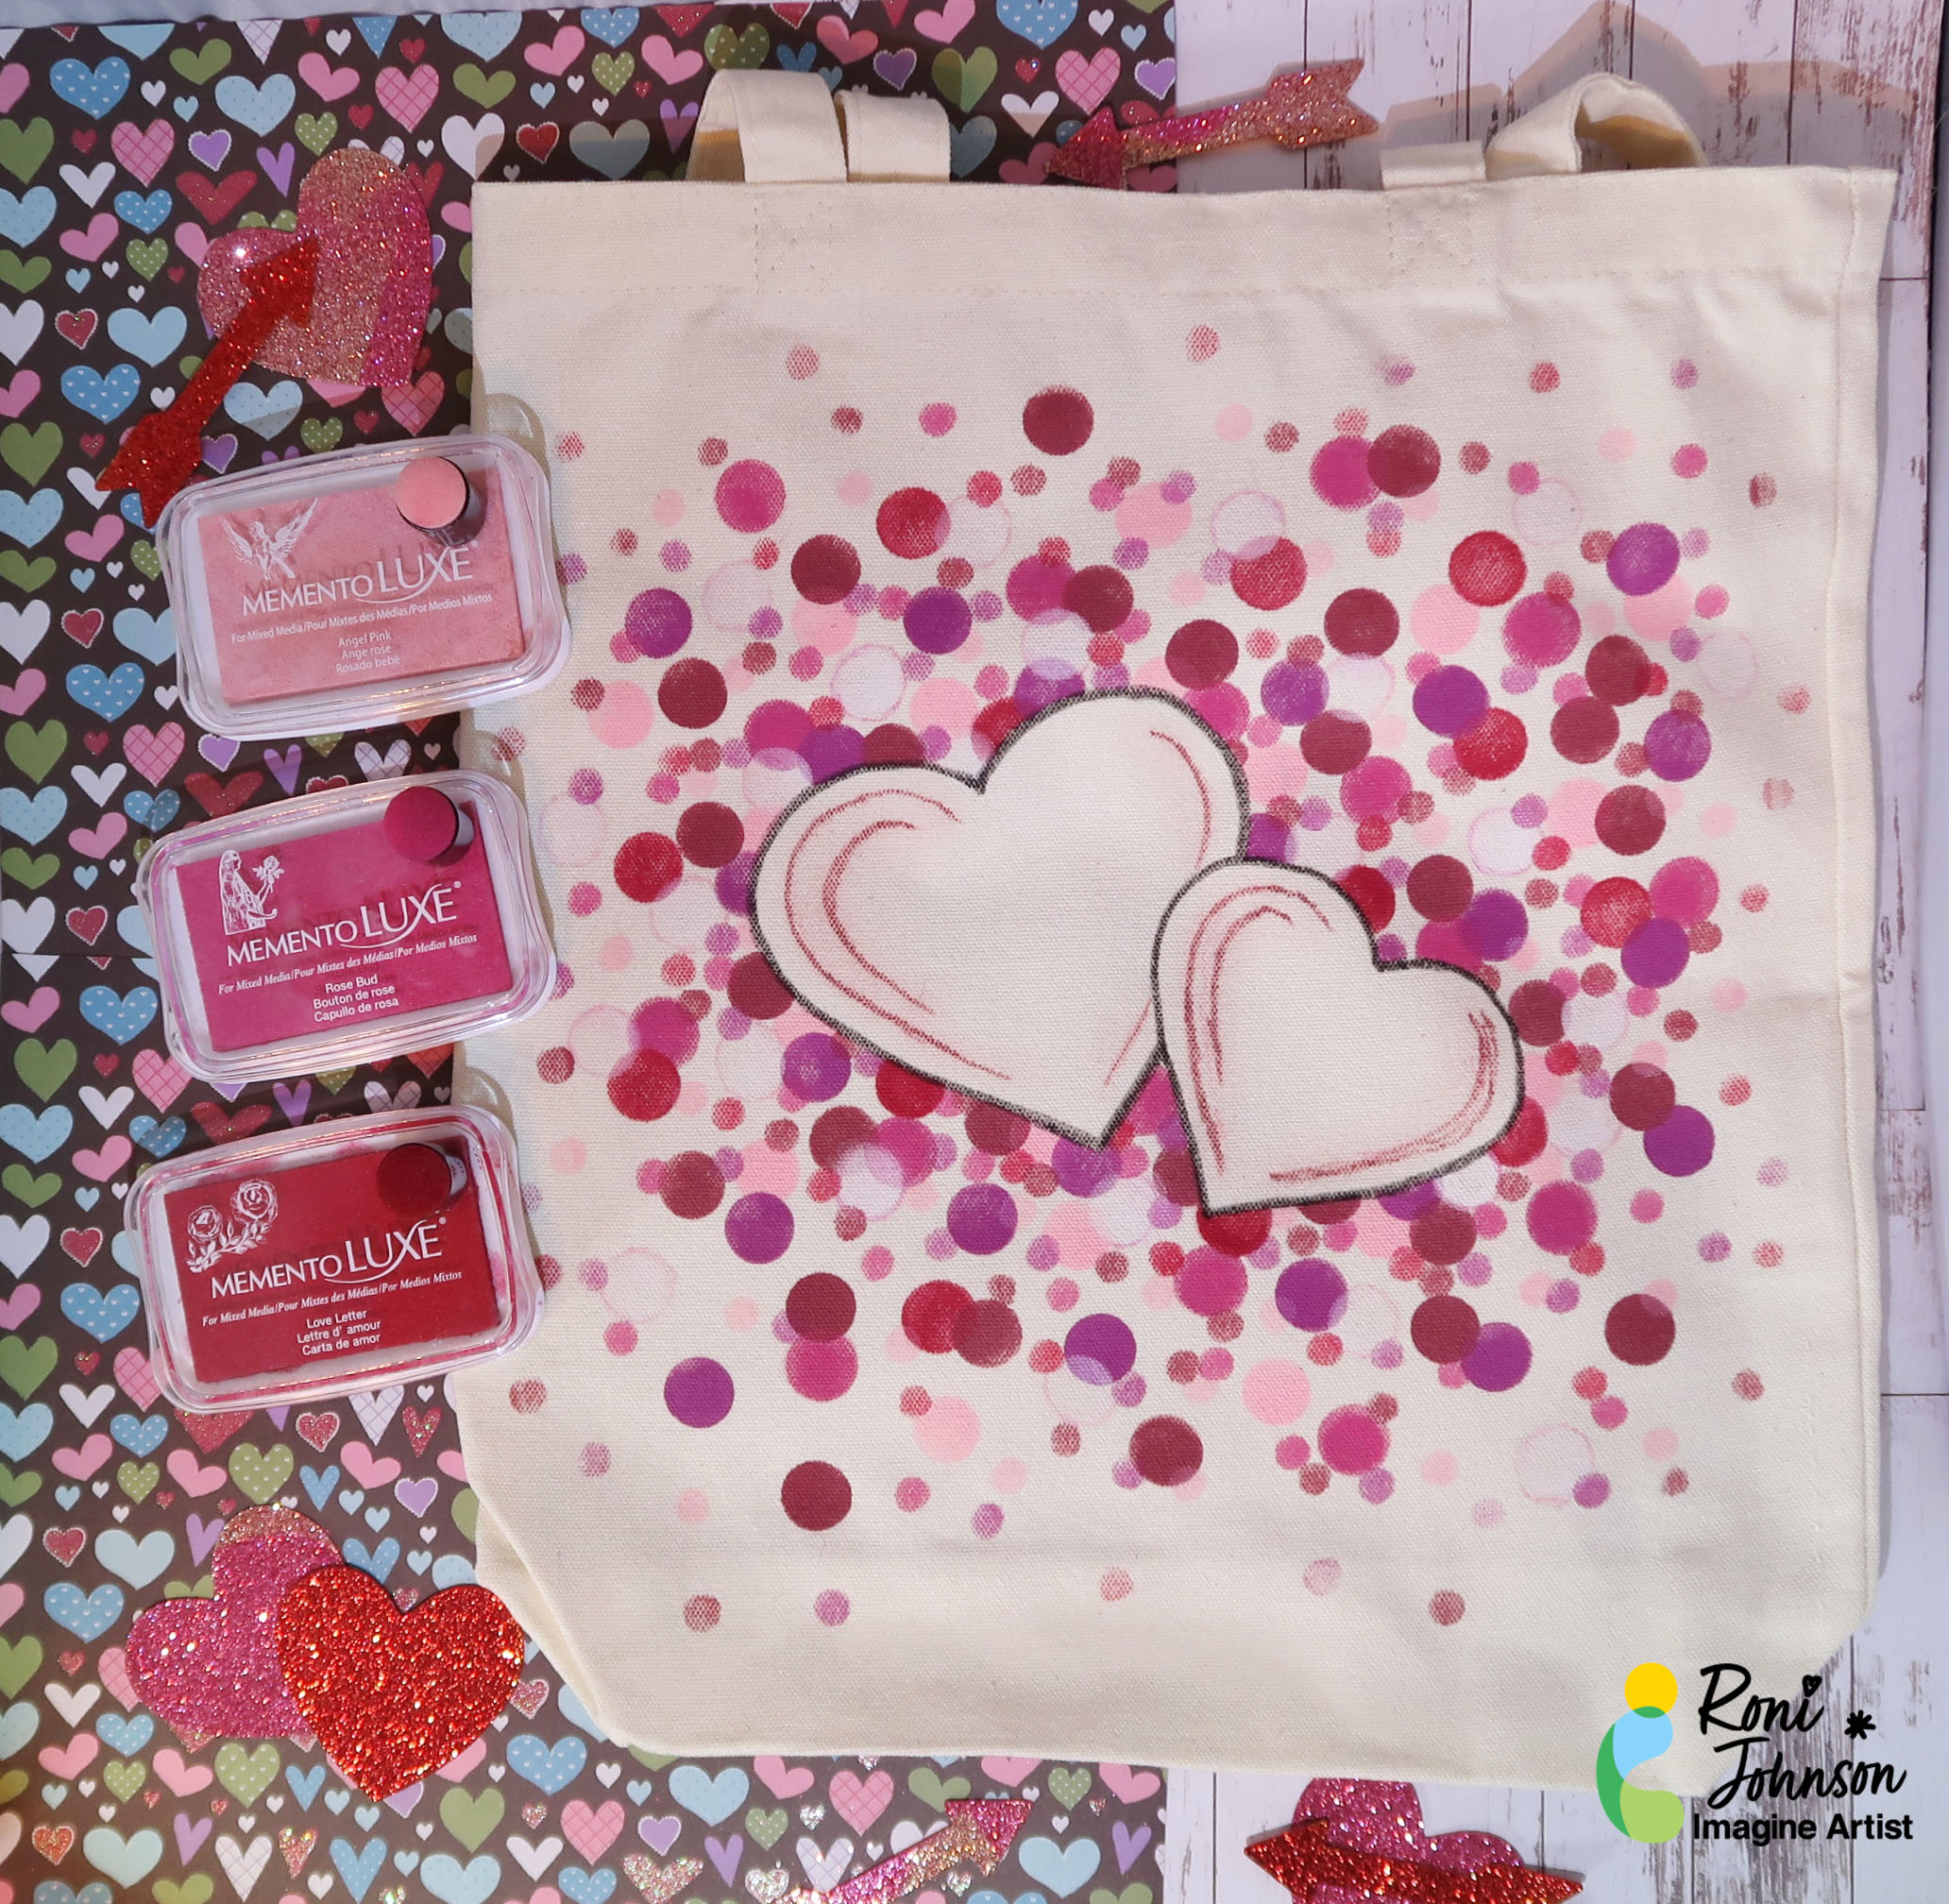
Learn How to Make a Hearts Canvas Tote Bag Using the Bokeh Technique

By Roni Johnson

In today’s tutorial, I show you how to make a hearts canvas tote bag using the Bokeh Technique using Memento Luxe Inks and Fabrico Markers. Today’s example is Valentine’s tote made using the Imagine Crafts Happy Valentine’s Day Free PDF Download. You can use this same basic technique for any holiday or occasion by changing the mask used.

Skill: Beginner

Time: 1 hour 30 minutes

Directions:
Step 1

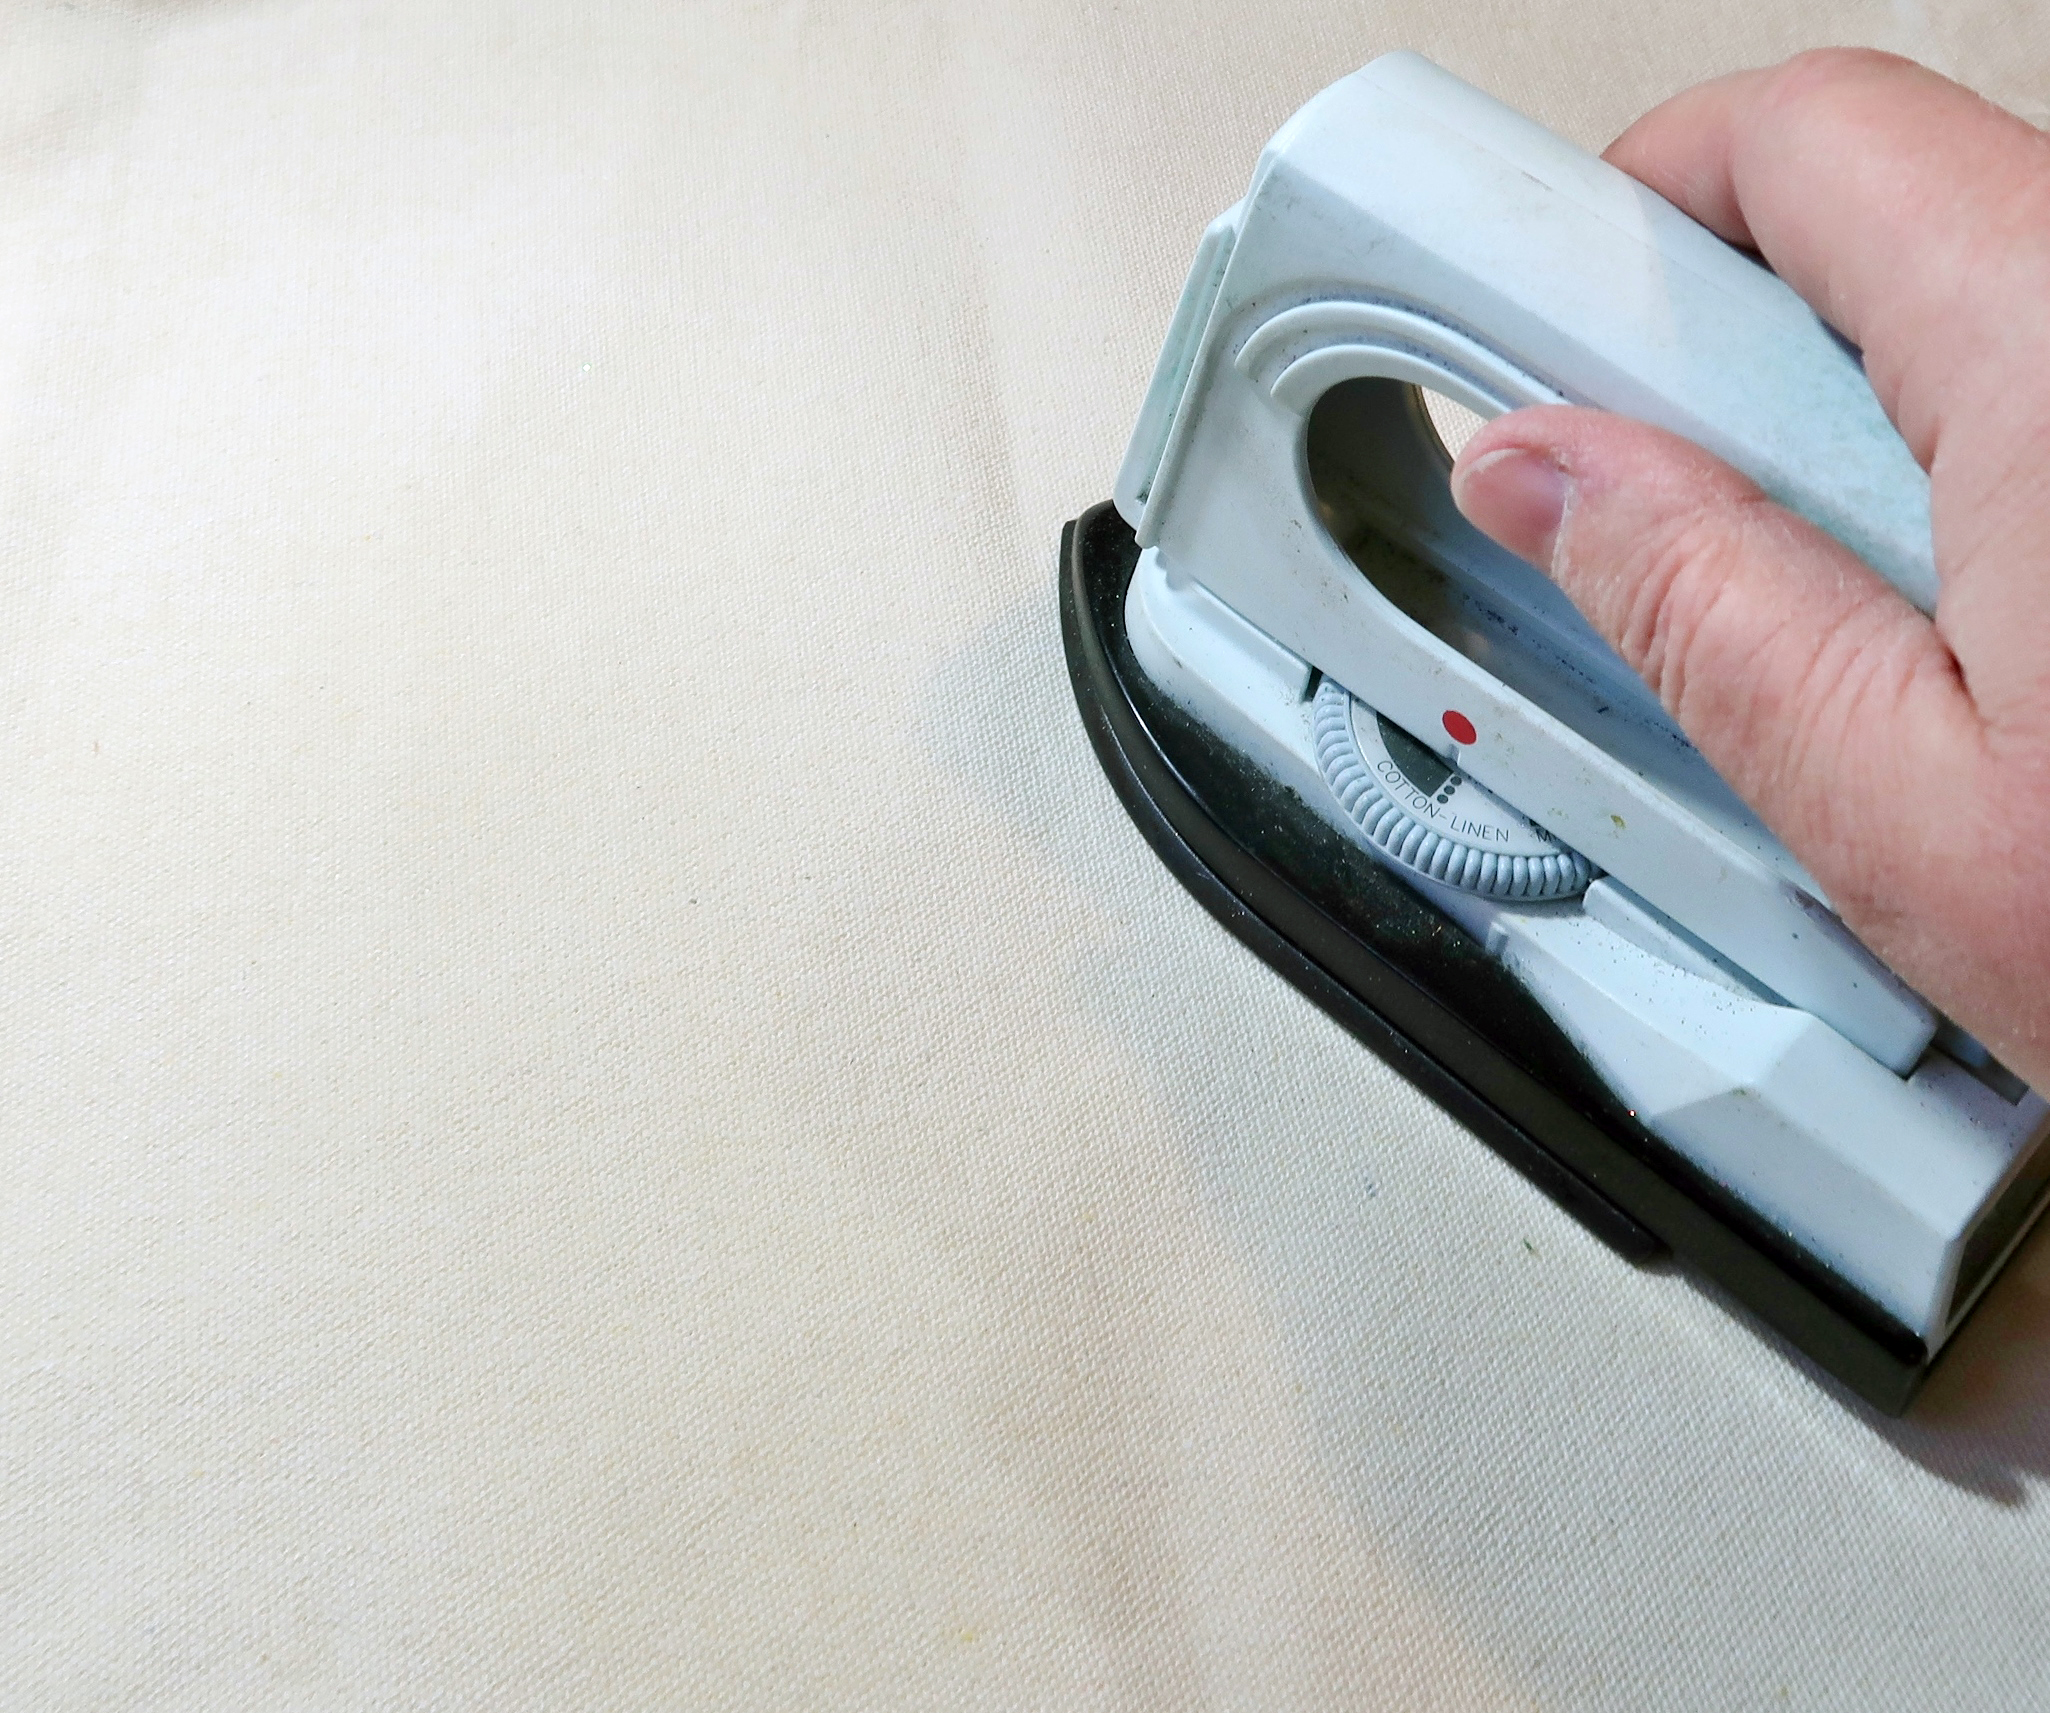
Iron the tote bag to remove all wrinkles.
Step 2

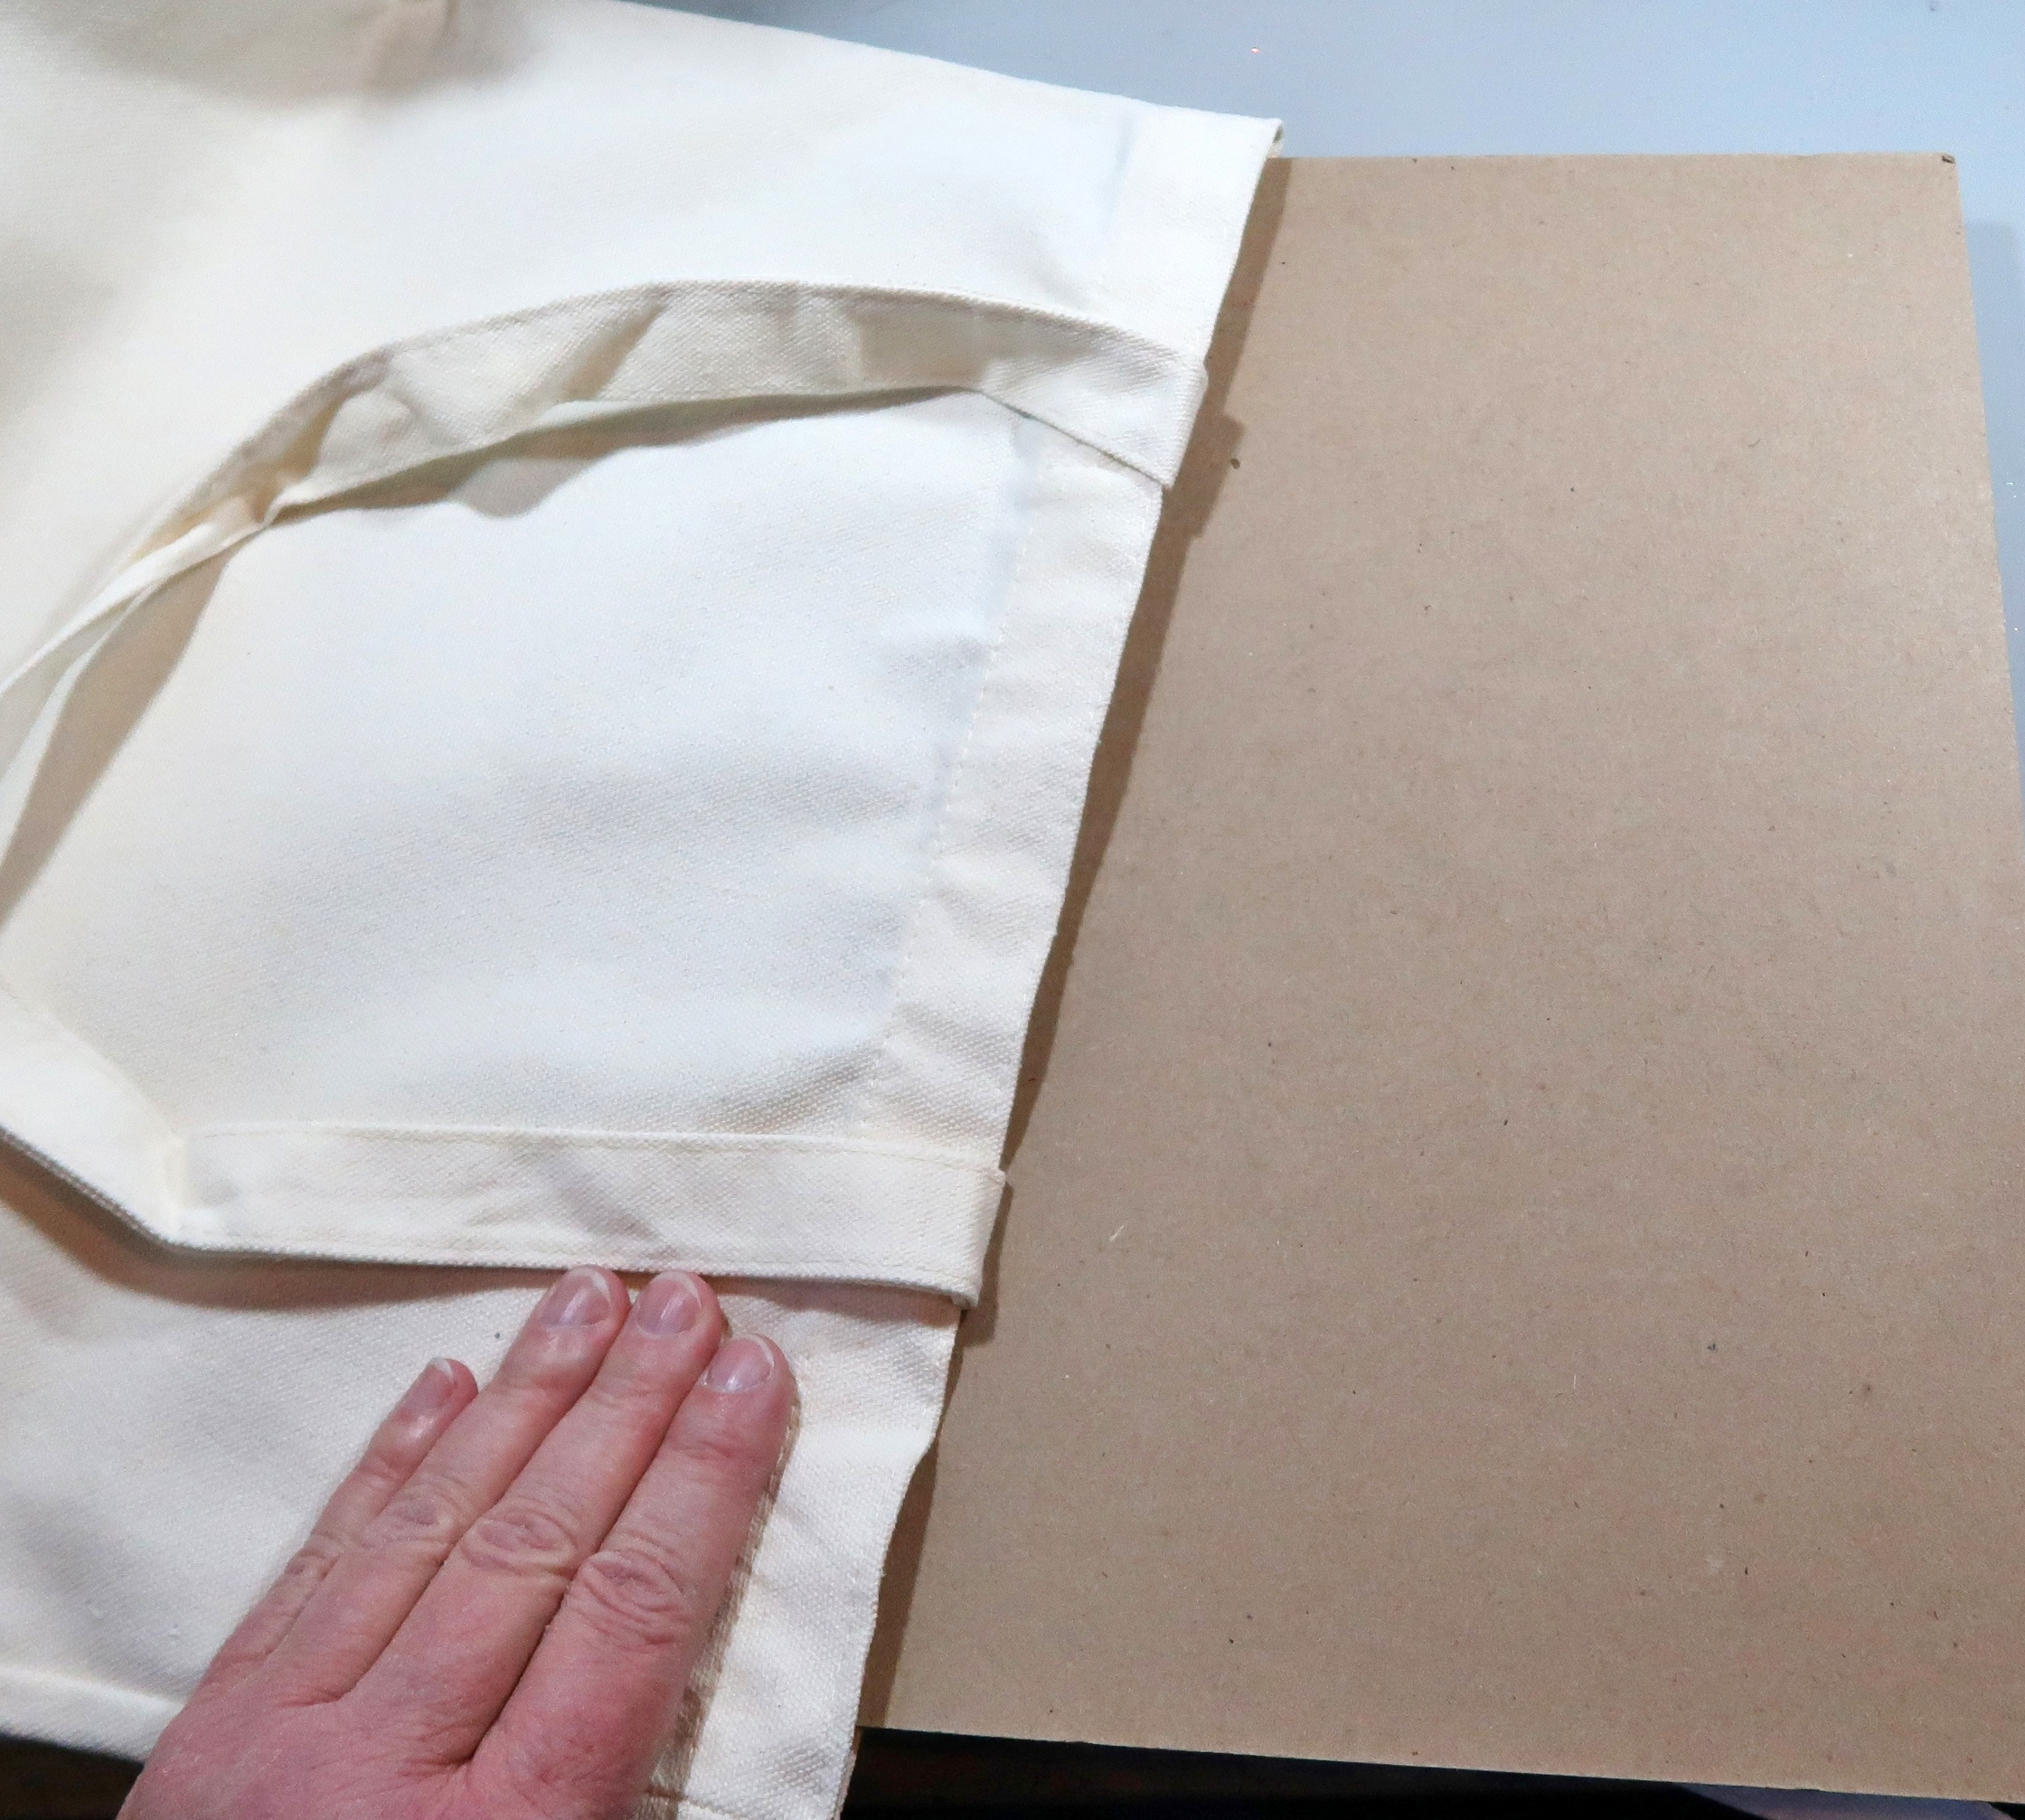
Insert a piece of cardboard into the tote bag to prevent ink from soaking through to the back of the bag.
Step 3

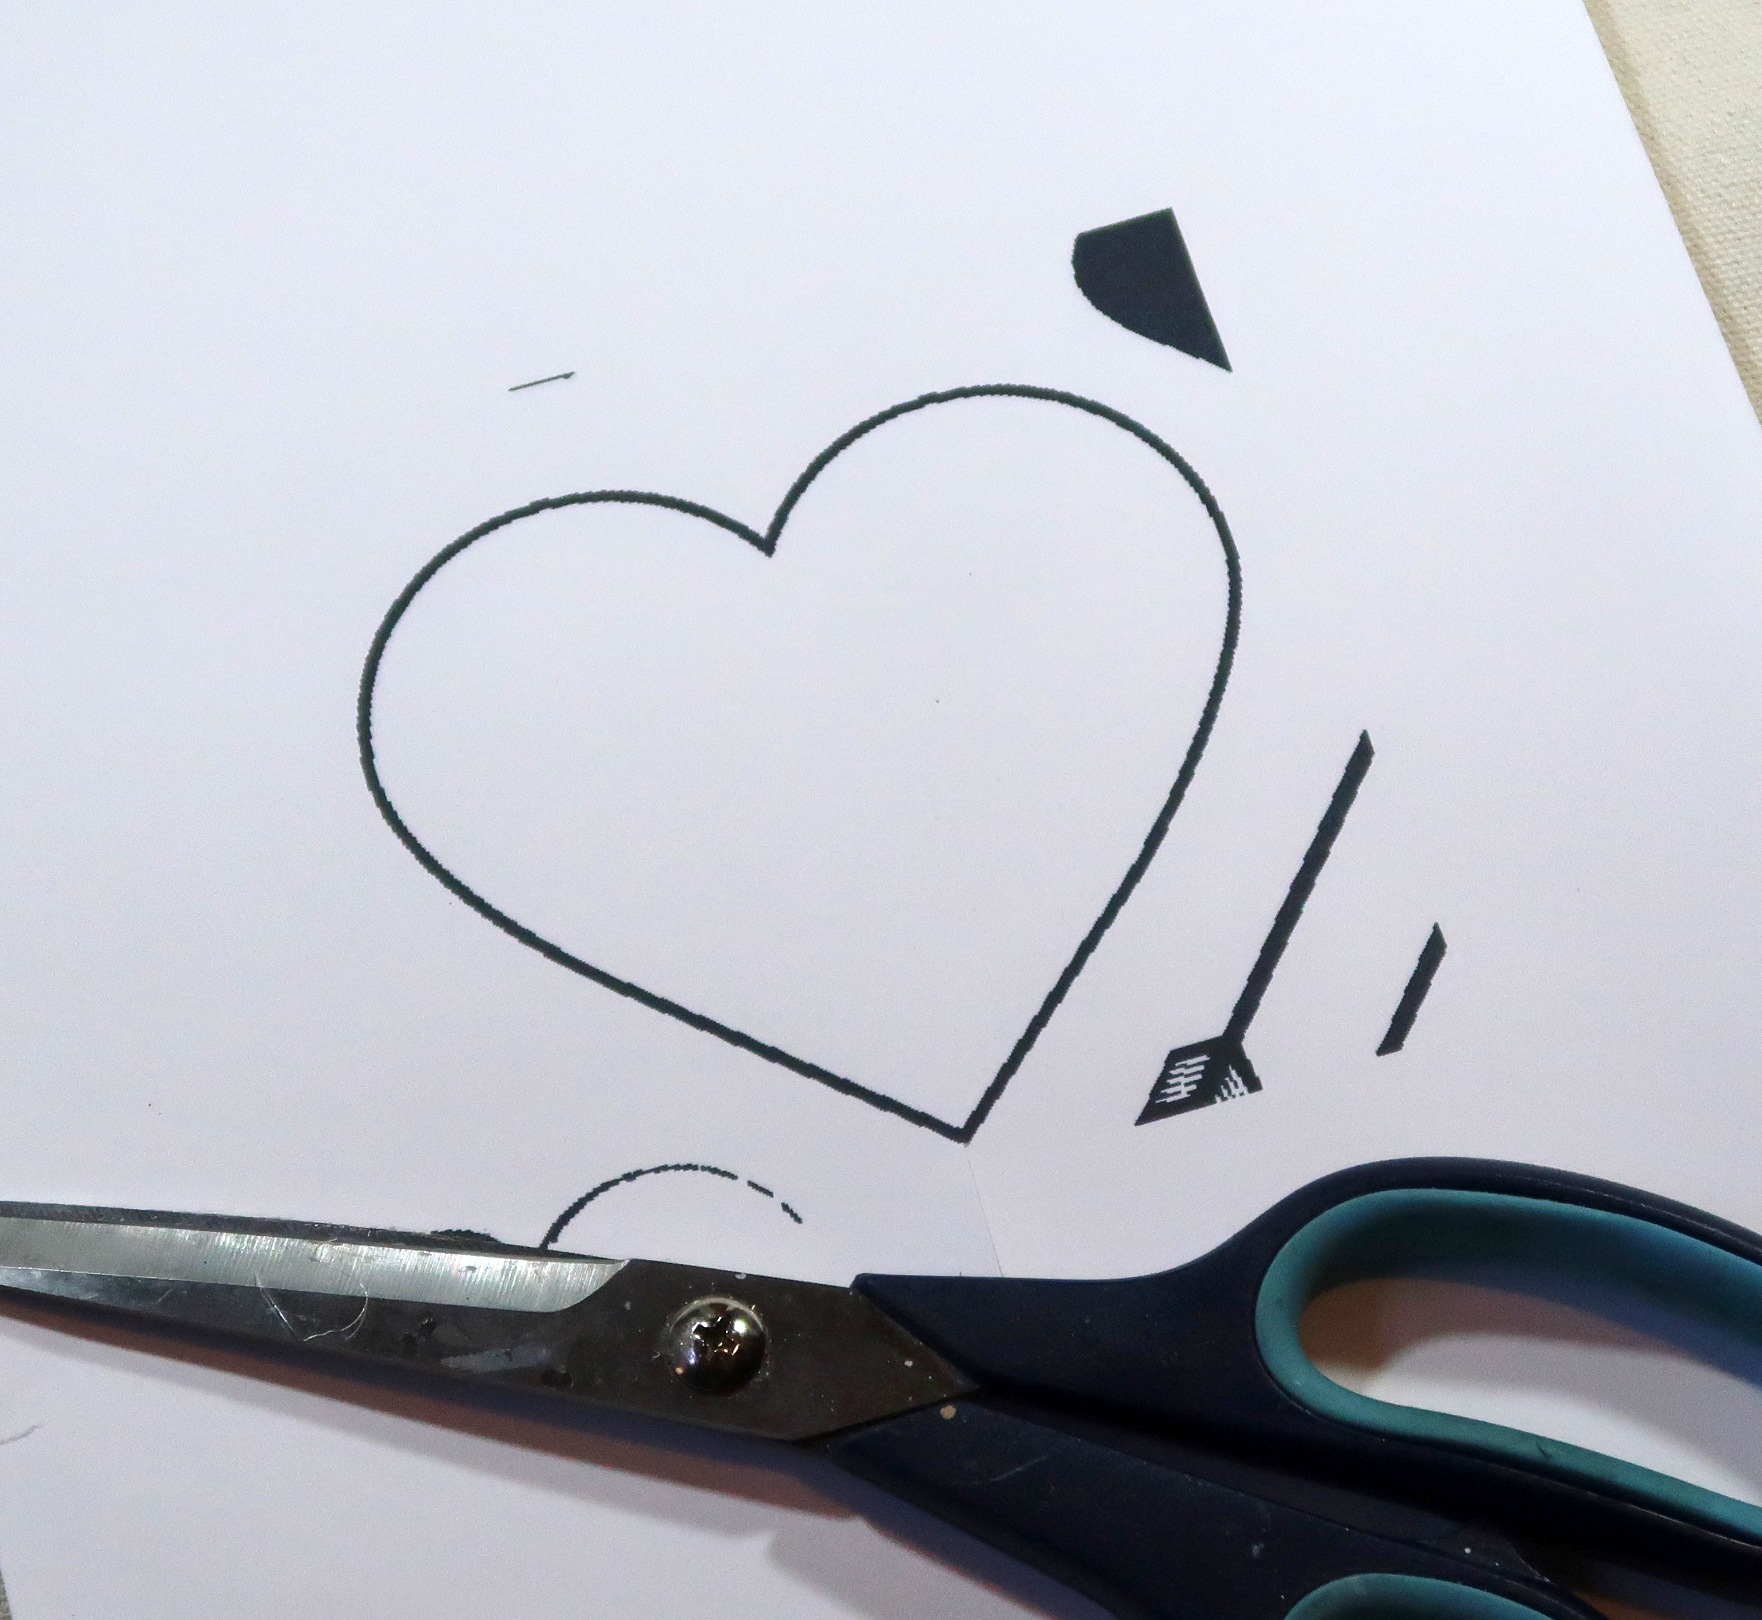
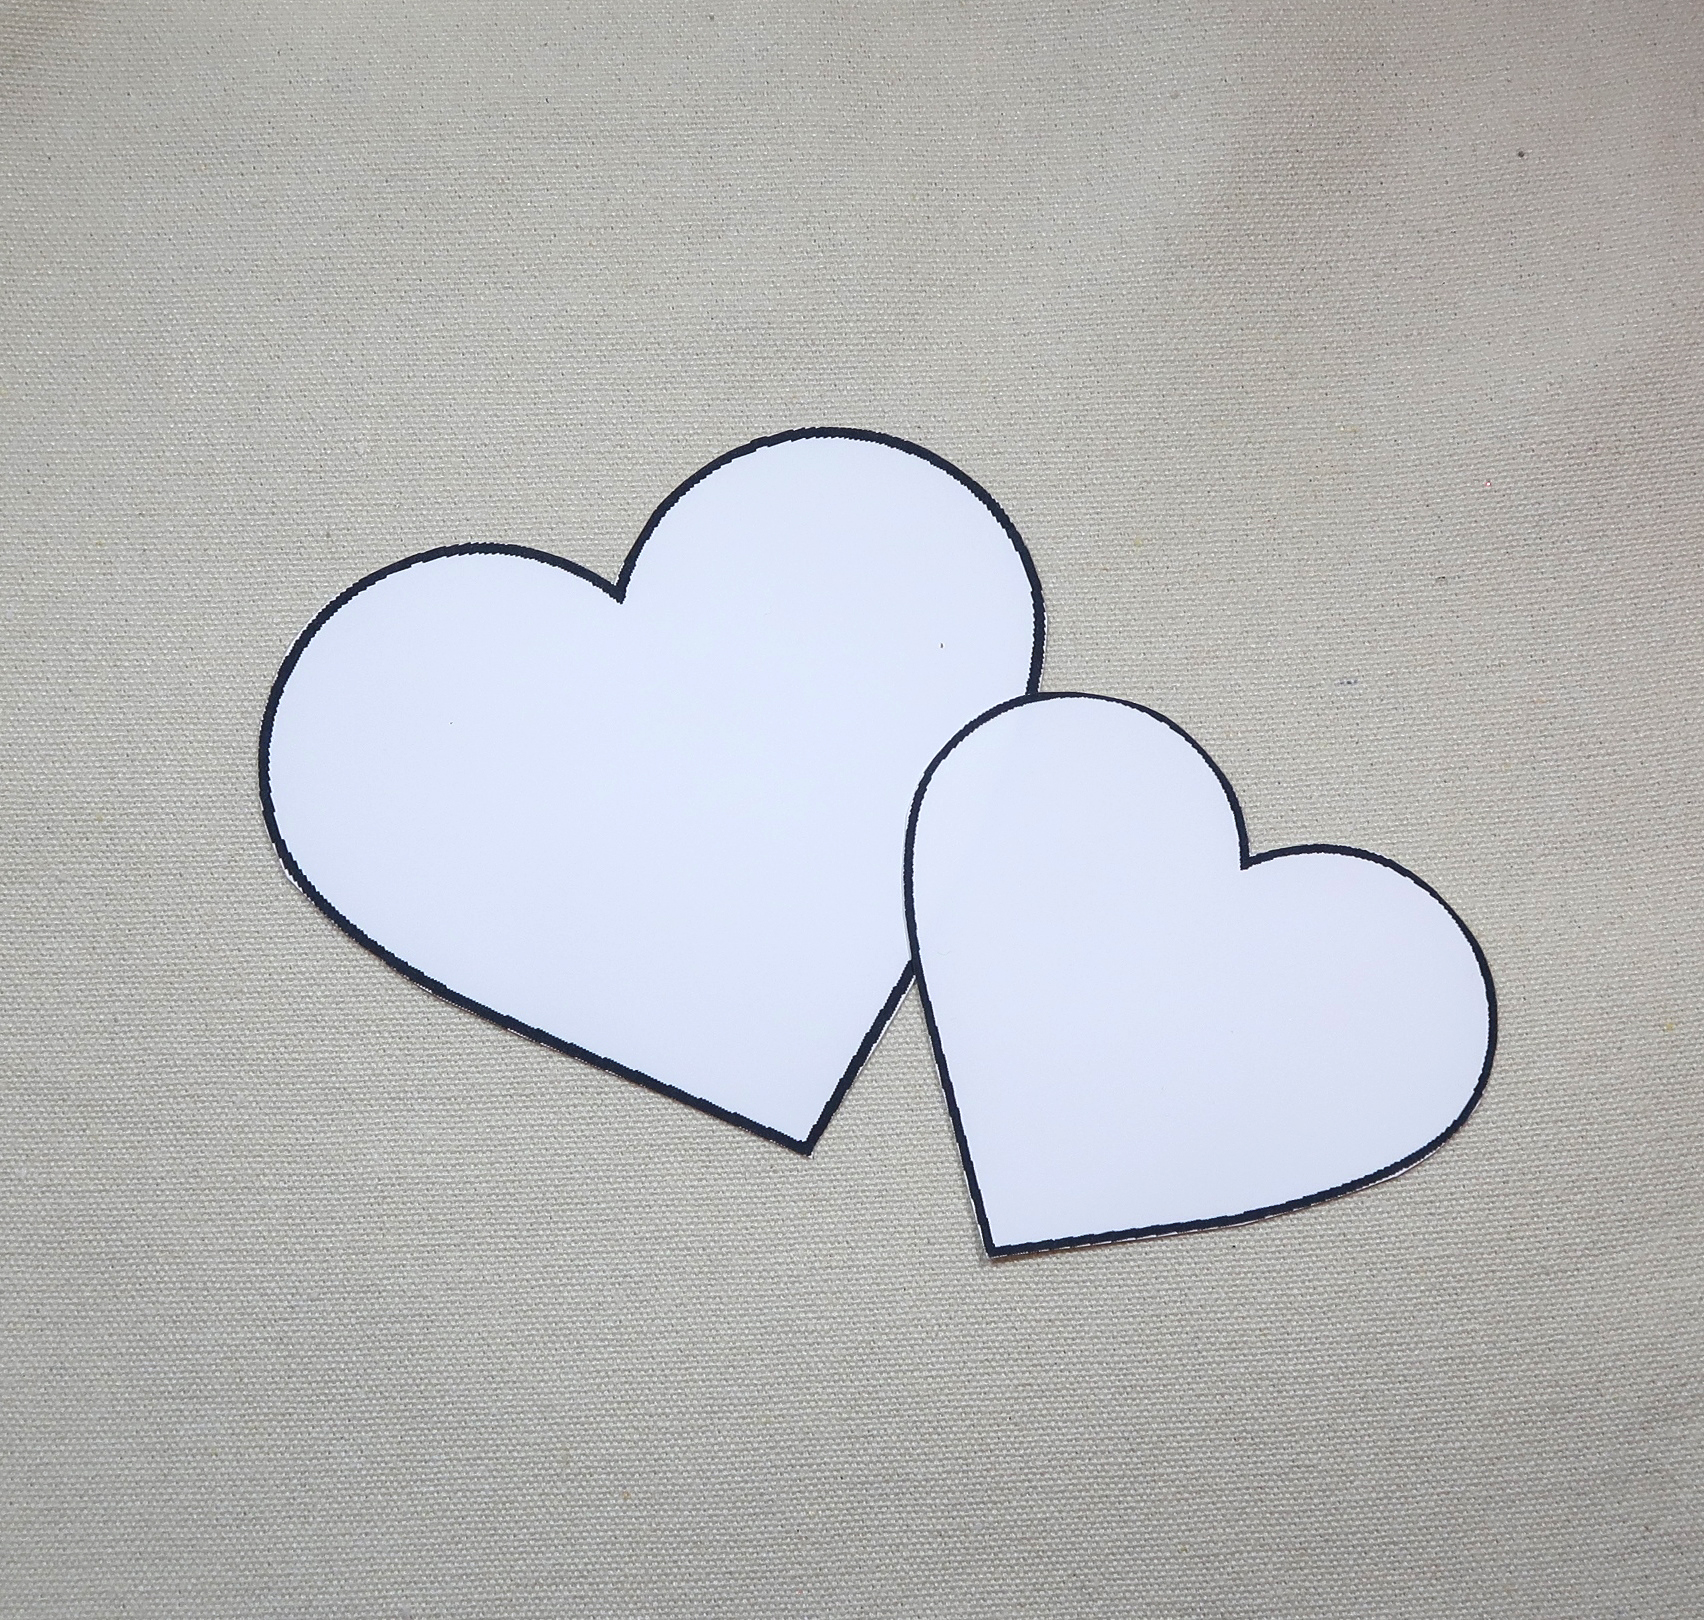
Print the desired heart from the PDF onto a piece of cardstock.
Step 4

Trim the heart mask(s) and adhere to the tote bag using repositionable adhesive.
Step 5

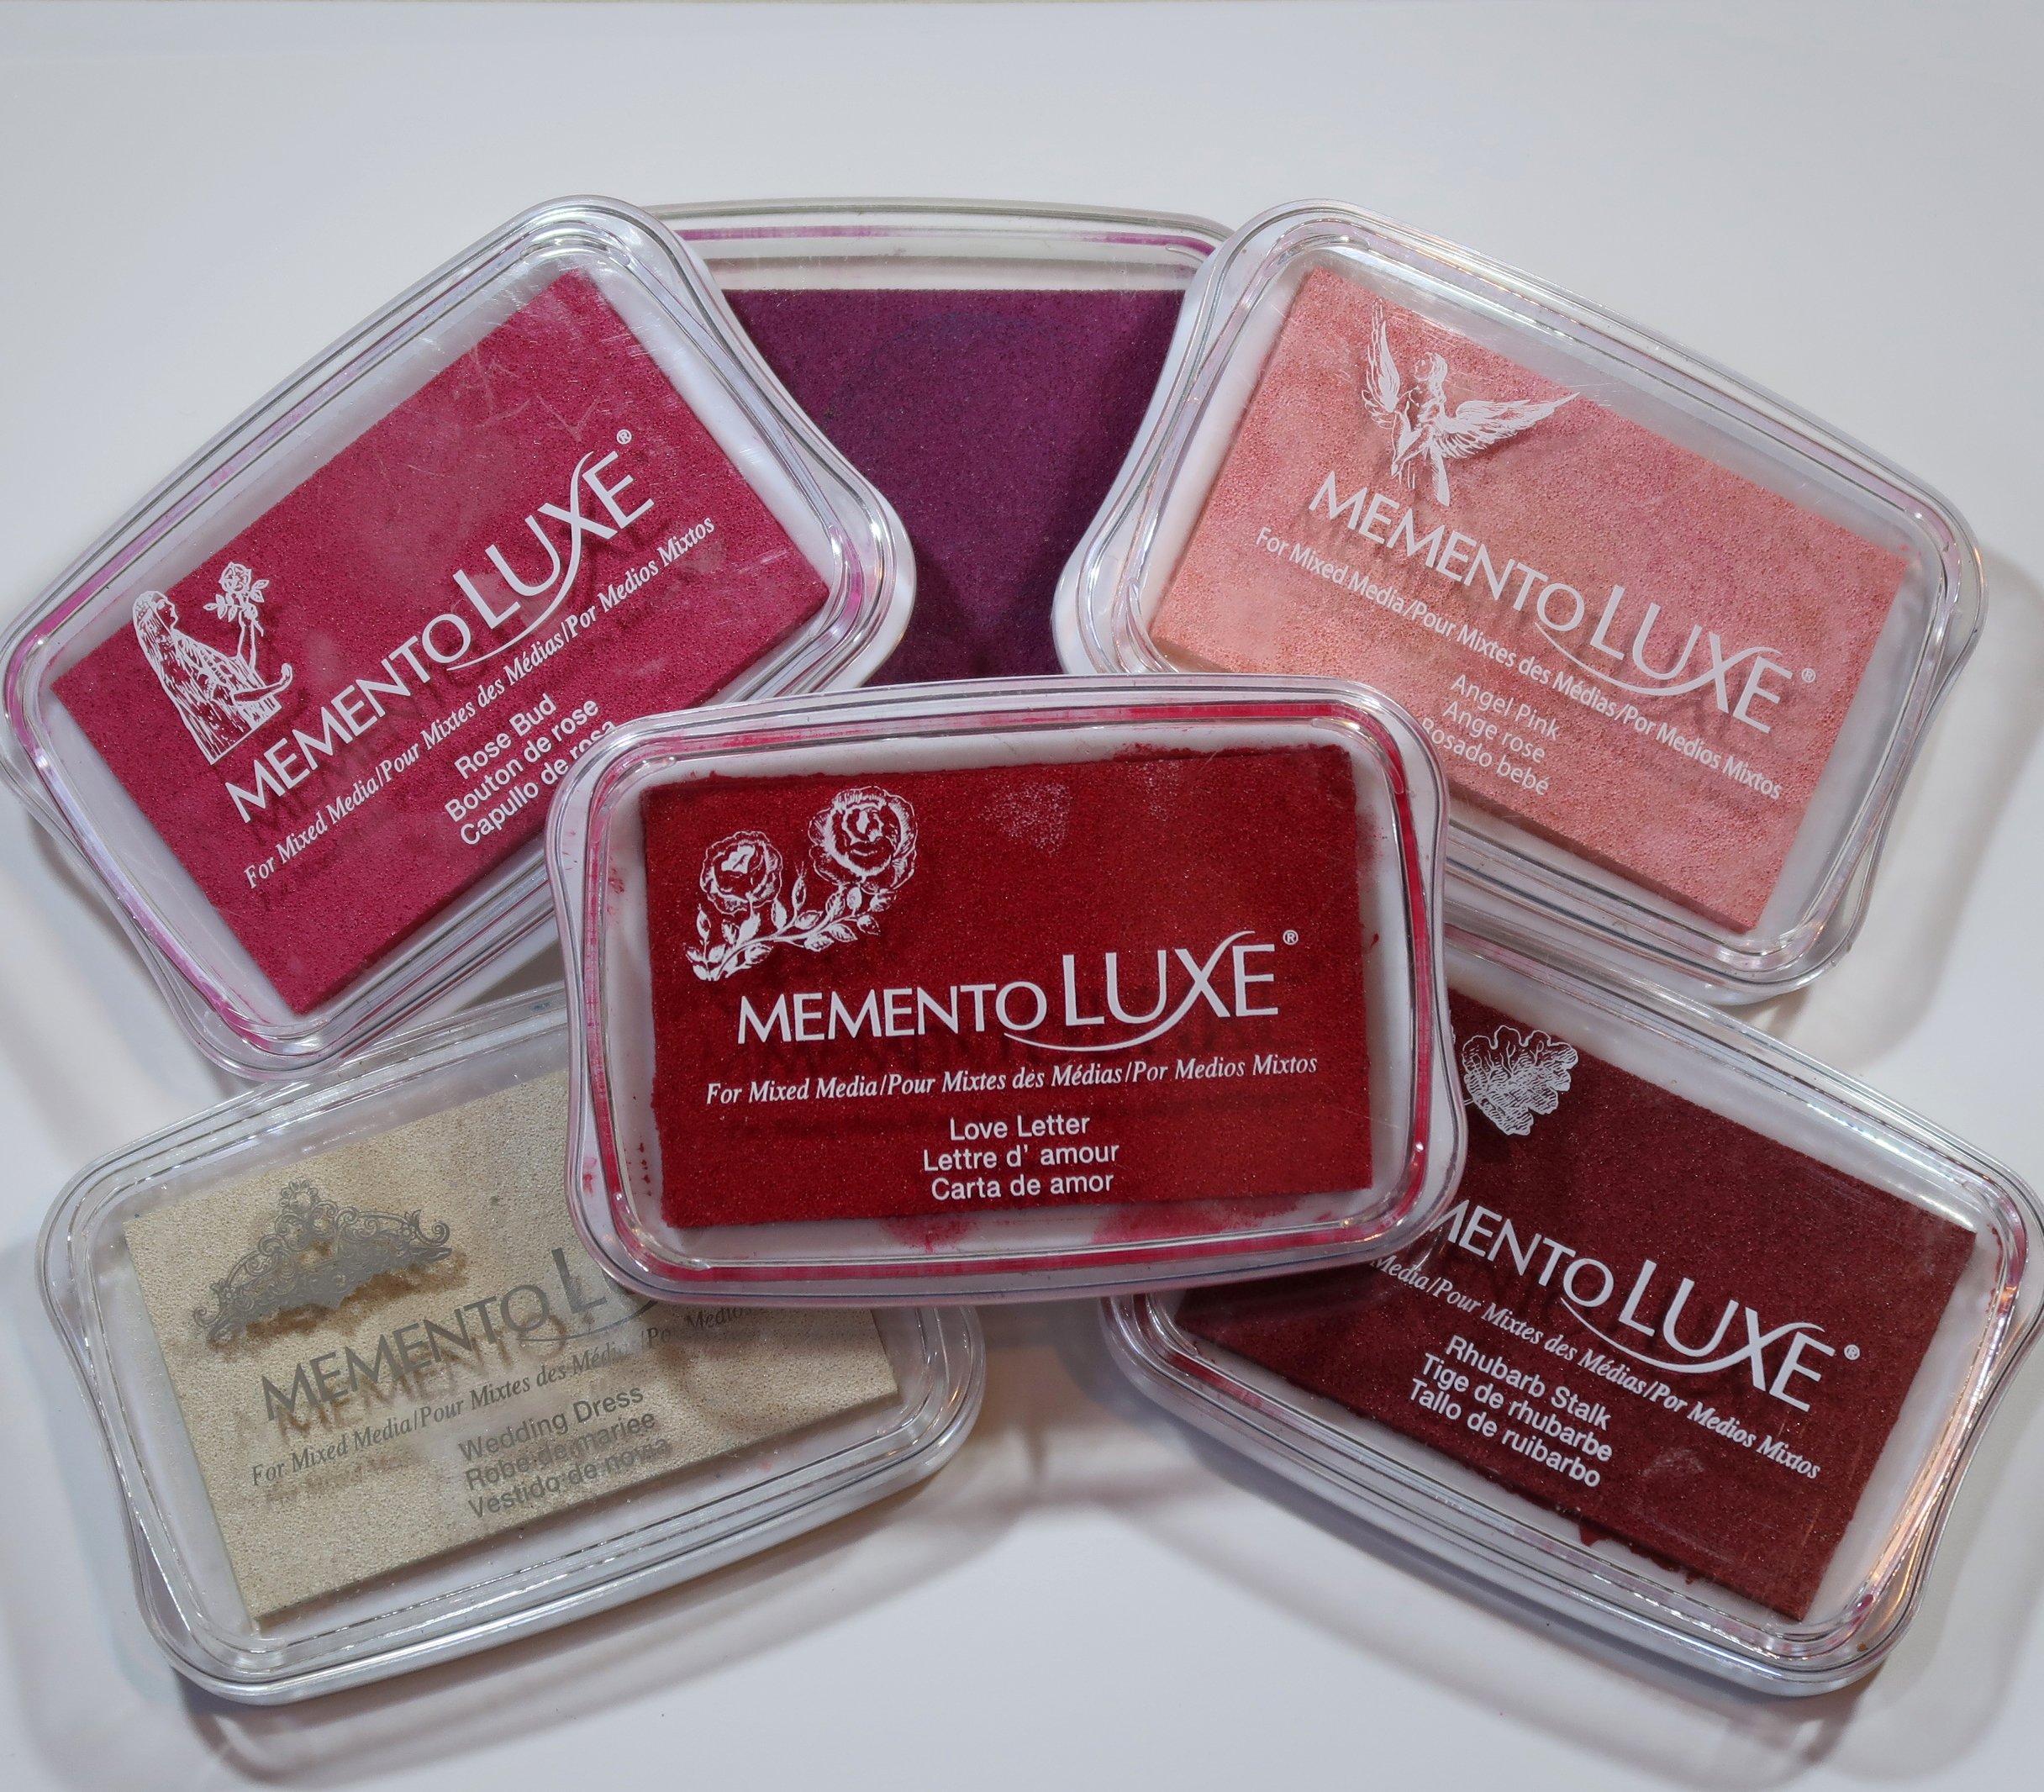
Gather the desired colors of Memento Luxe Inks.

Tip:

New or freshly-inked pads work best for this technique.
Step 6

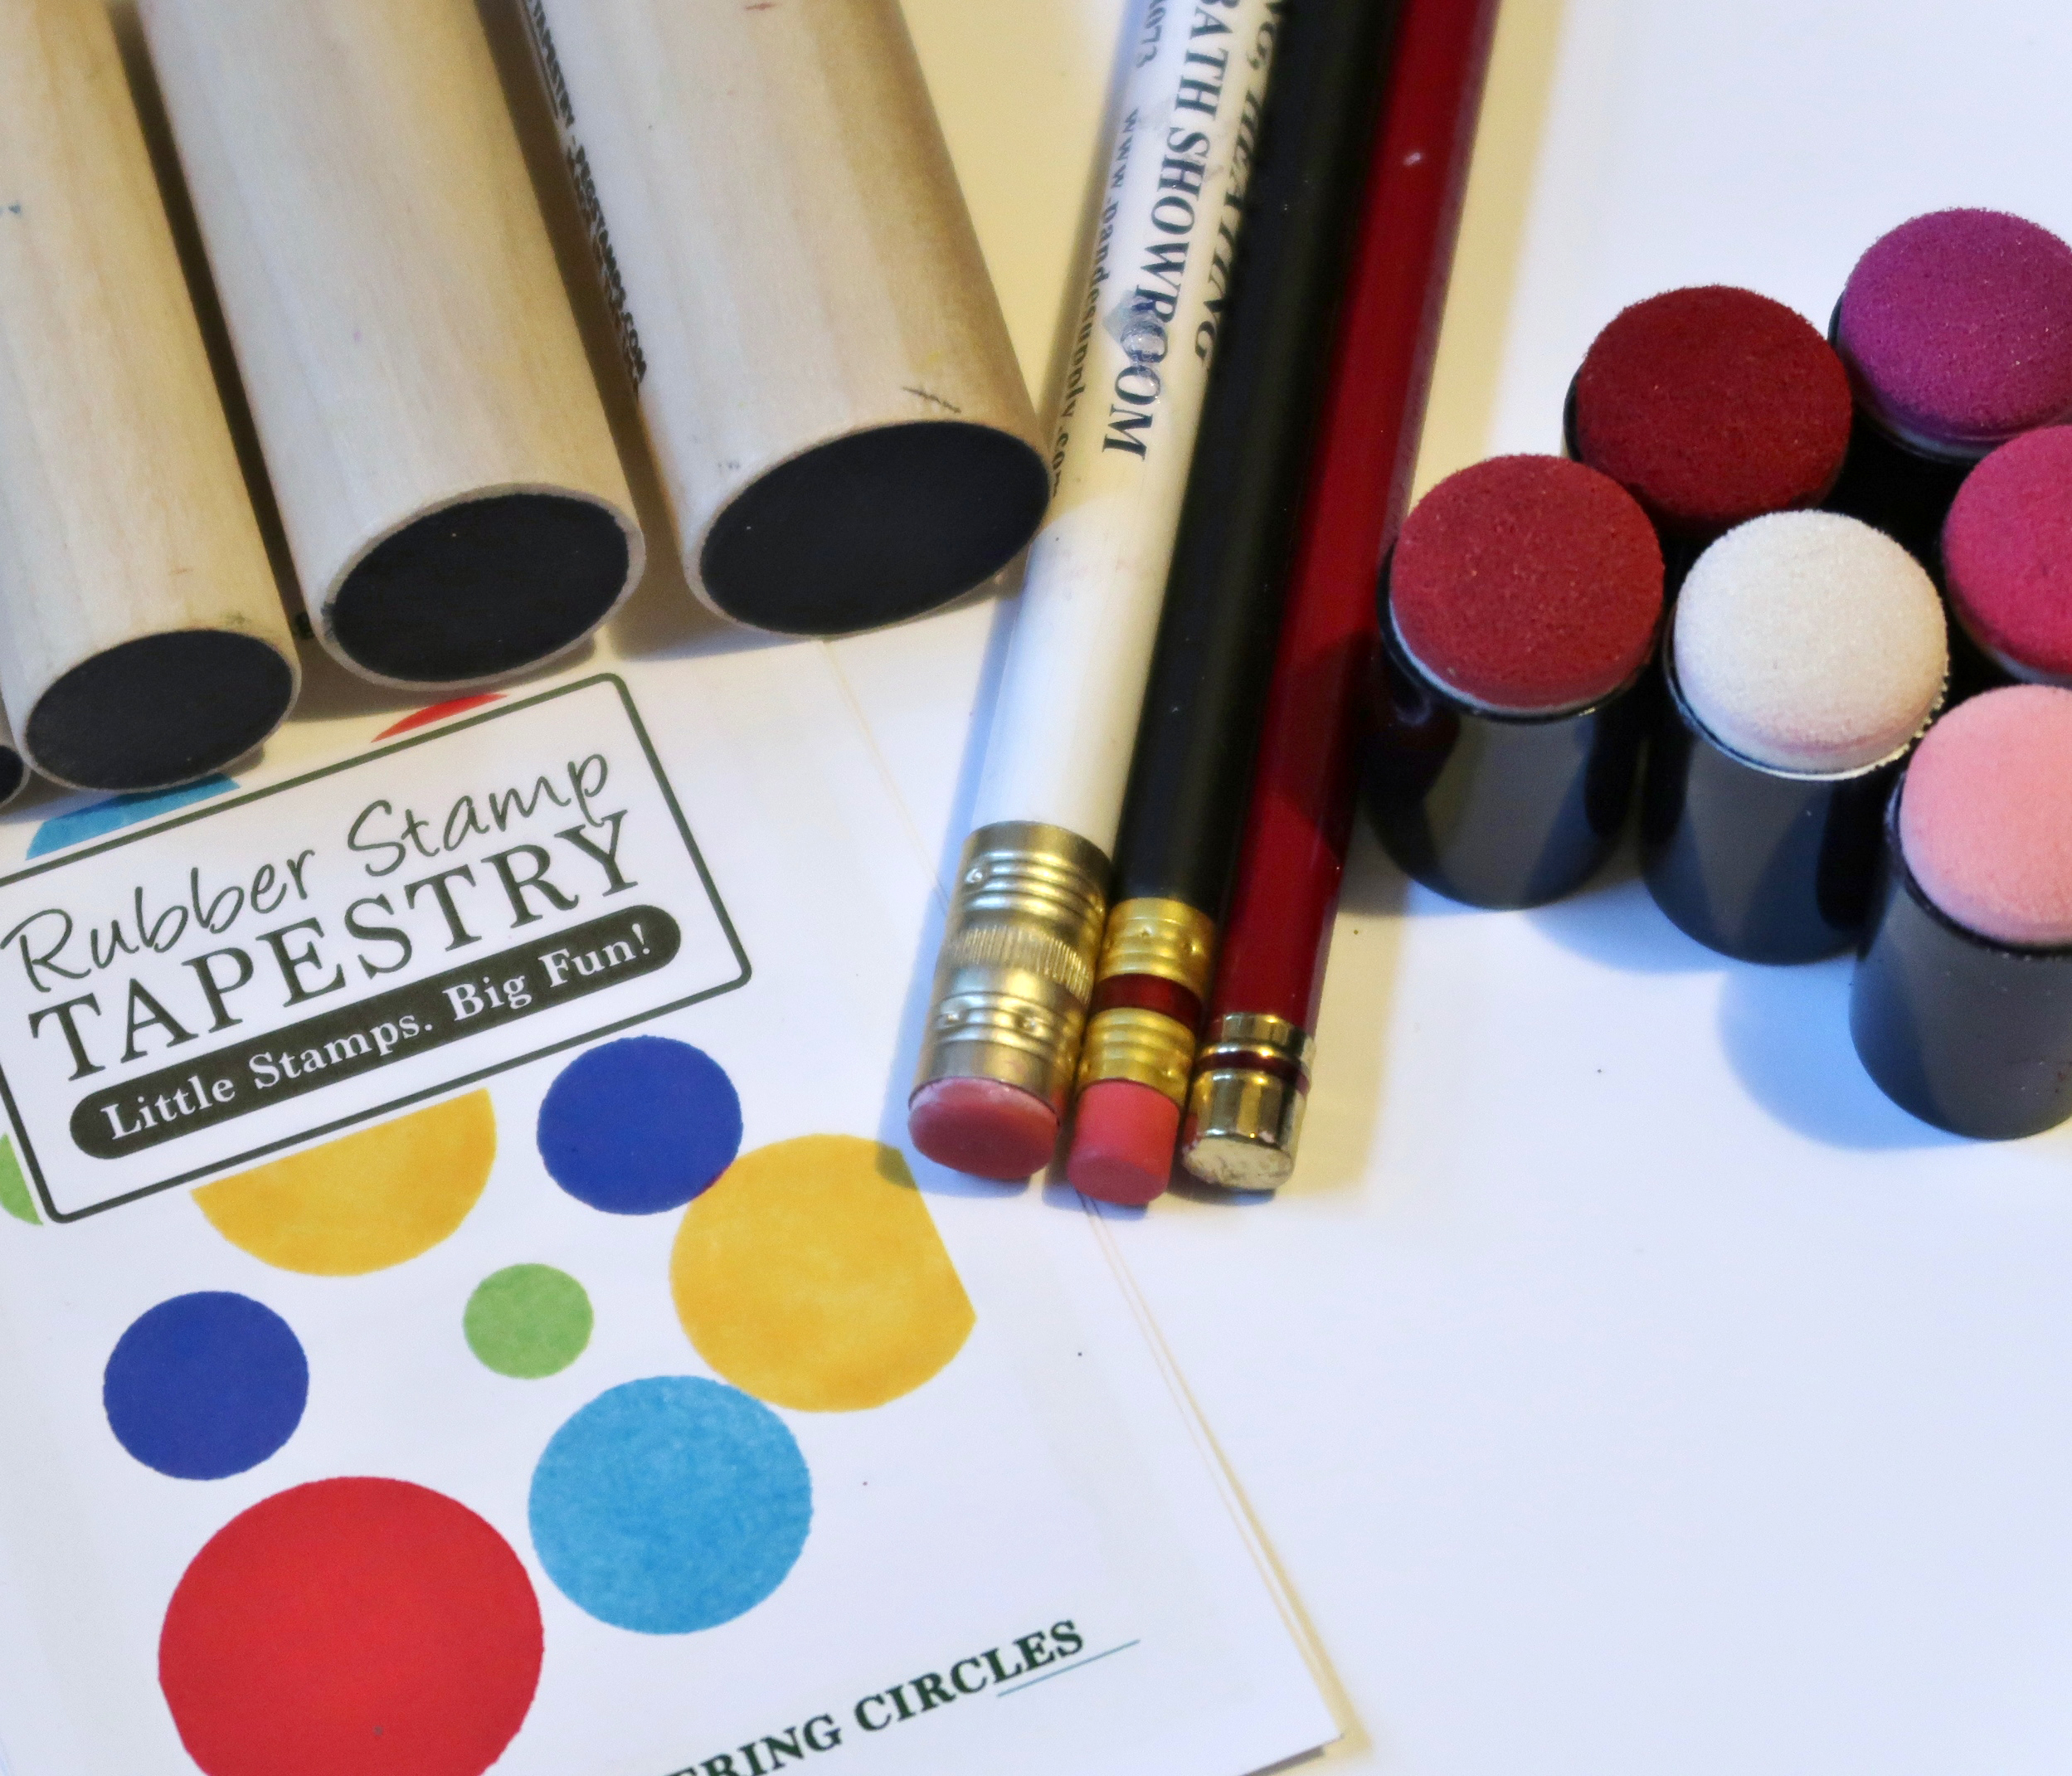
Gather desired stamps and/or tools to stamp the circles.
Pencil erasers, circle stamps, and Sponge Daubers work great for this technique.
Step 7

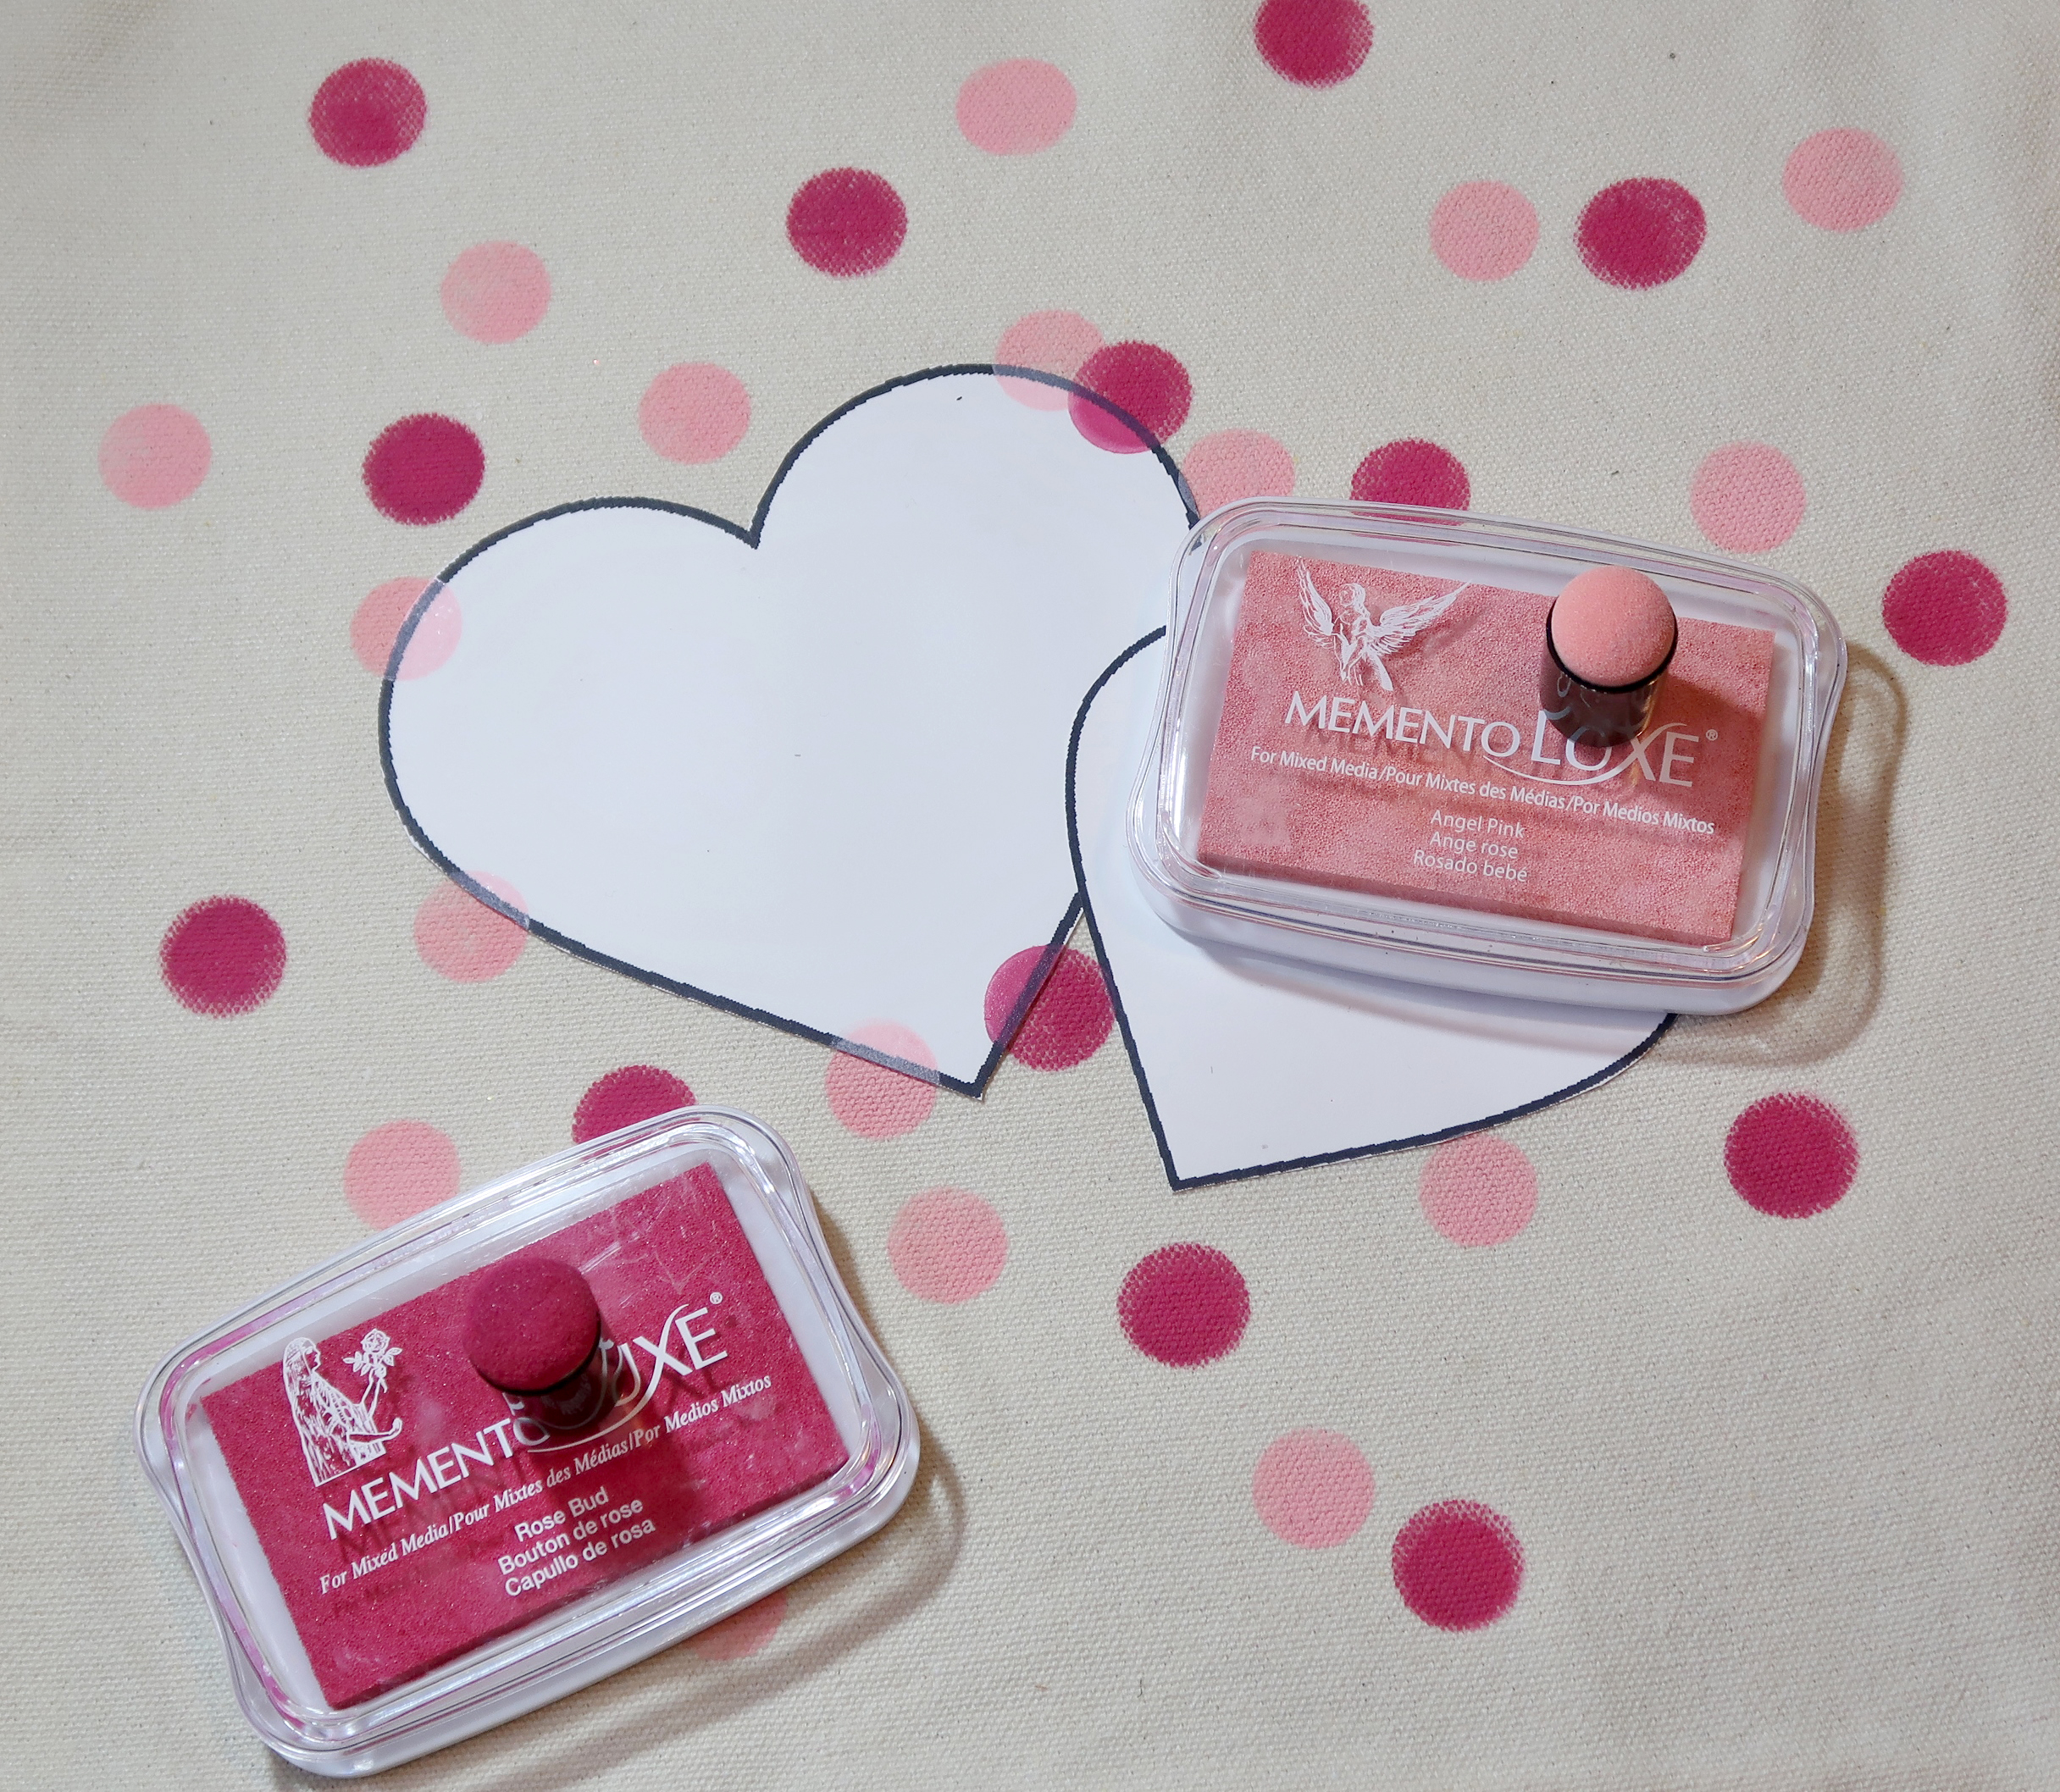
Pounce the desired tool onto the ink pad; press and hold for 10-15 seconds to allow time for the canvas to soak up the ink.

Tip:

Concentrate the dots of ink closer in the center and further apart as you work your way towards the edges.
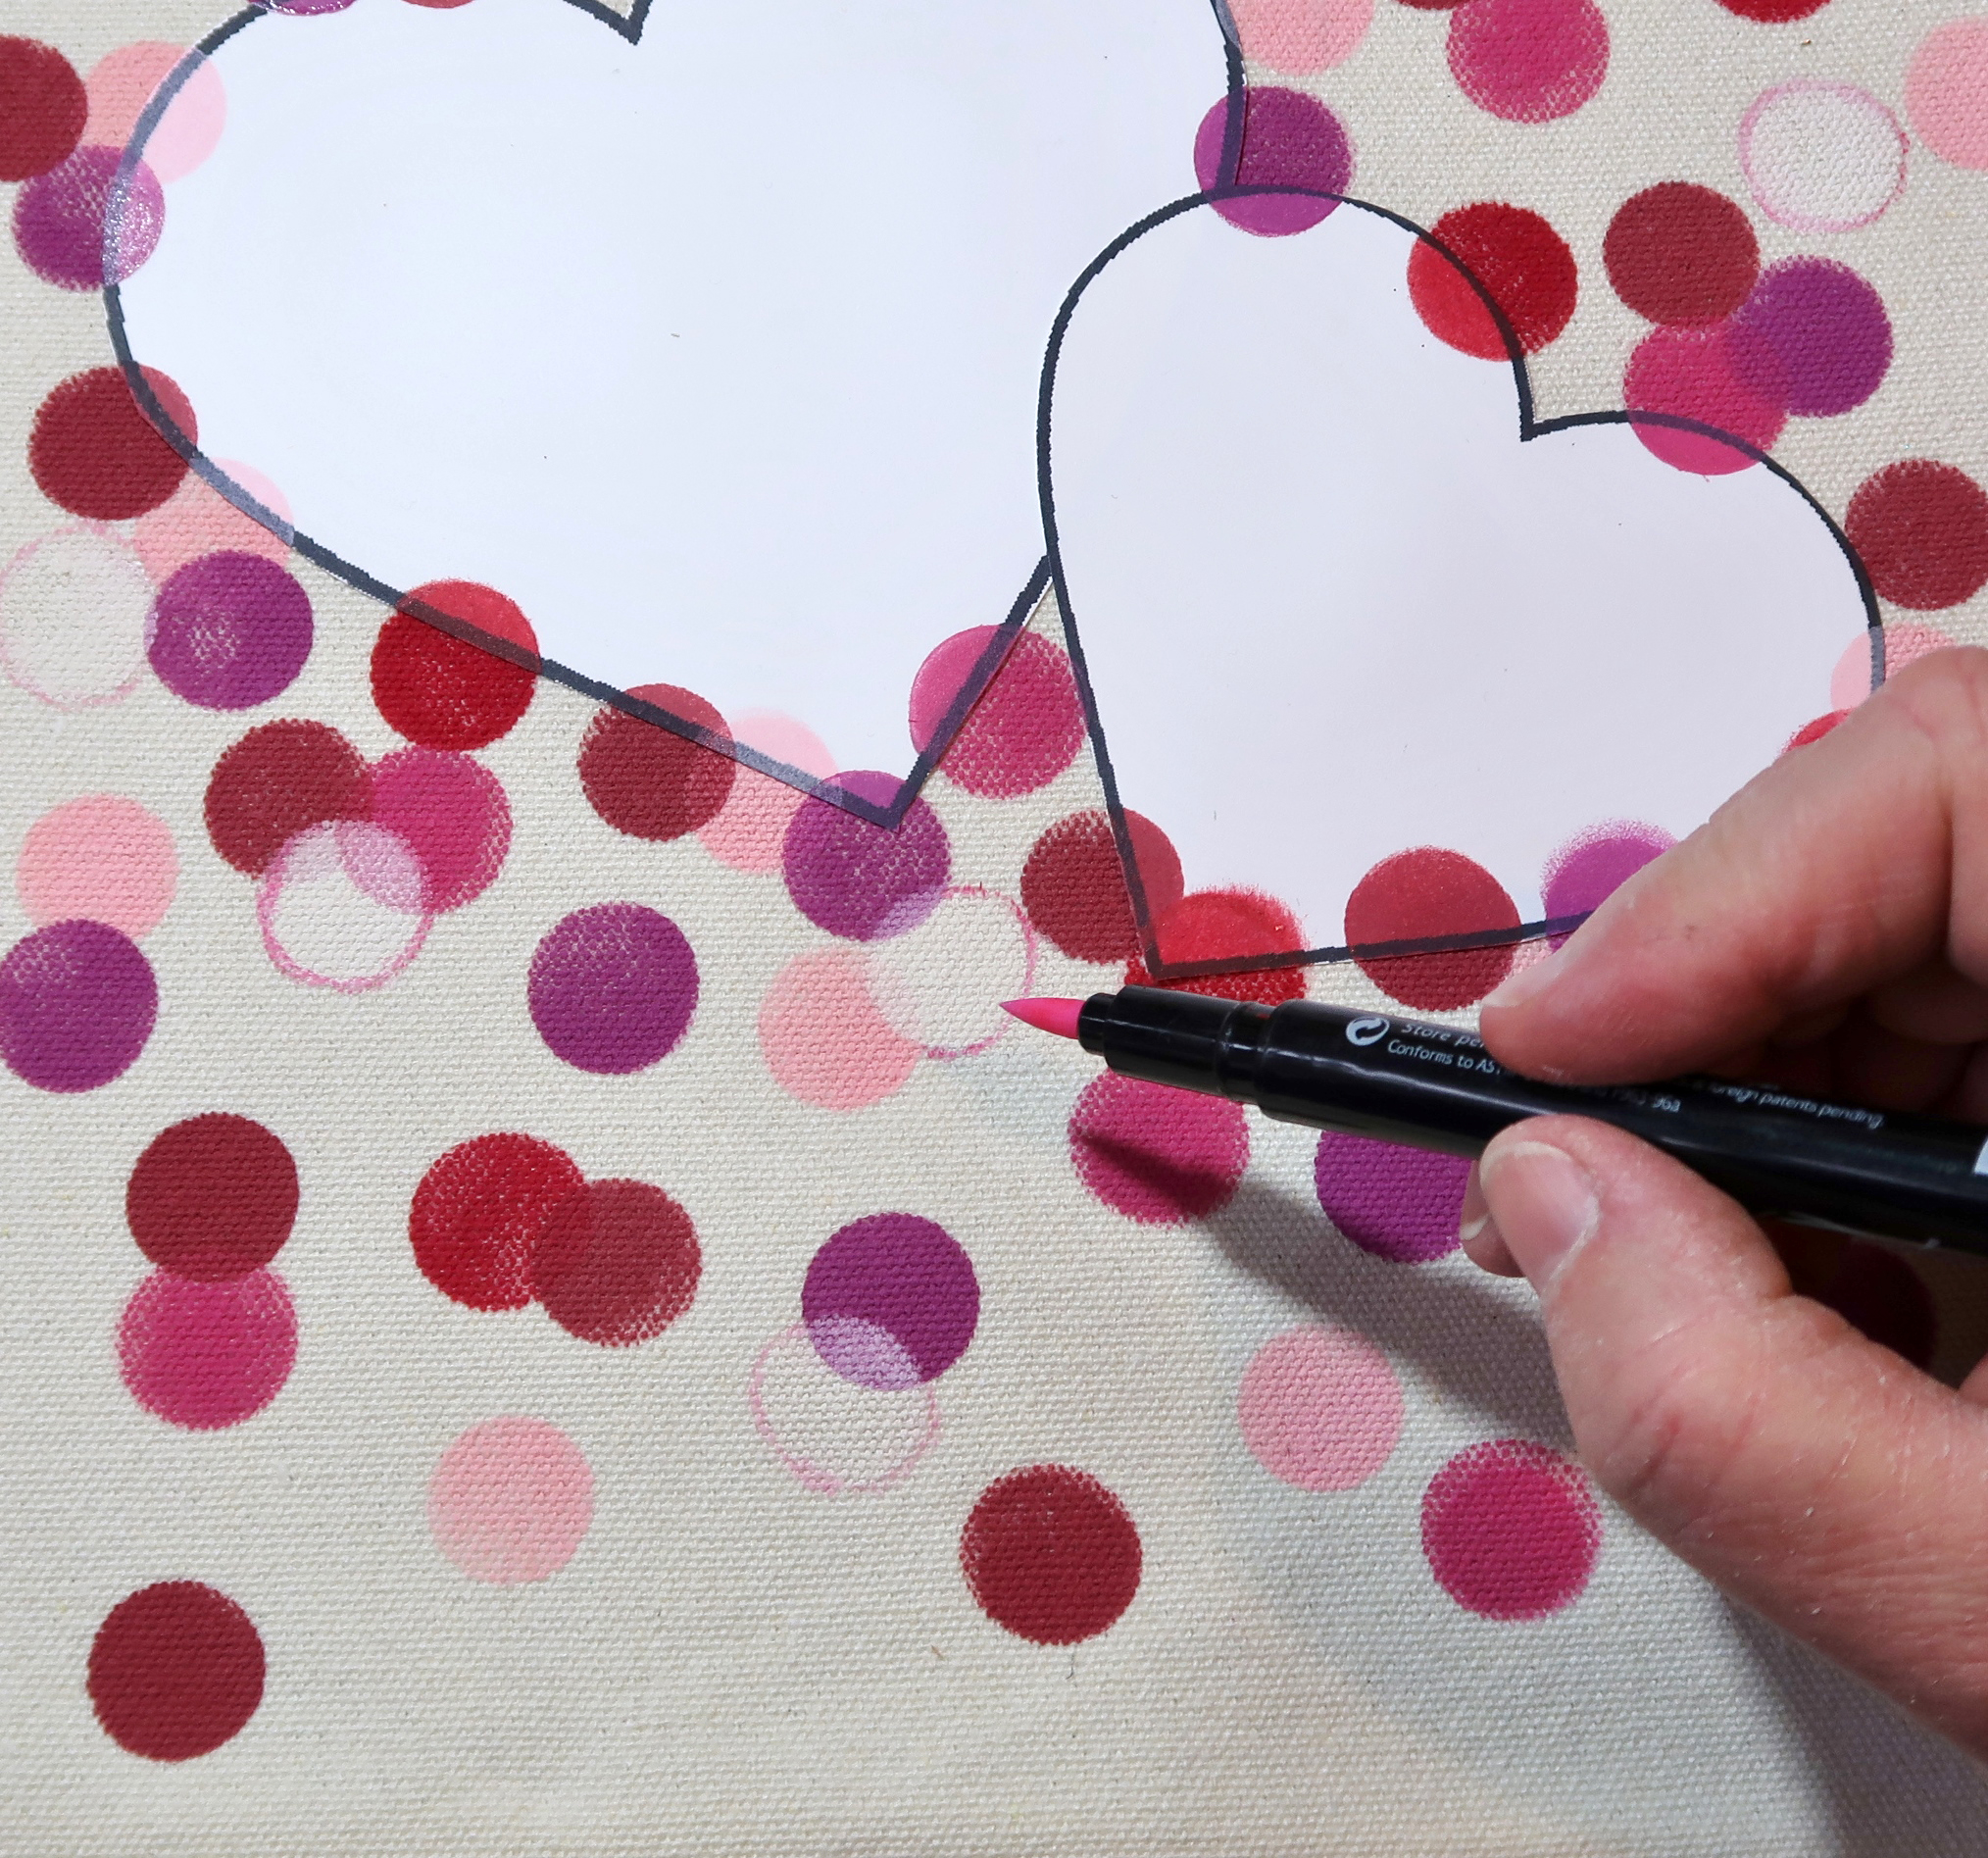
Step 8

Continue to add layers of dots with the desired color(s) of ink.

Tip: Highlight Wedding Dress (White) Memento Luxe ink on the canvas with Fabrico Marker (Bubble Gum).
This makes the white pop against the canvas and other colors of ink.
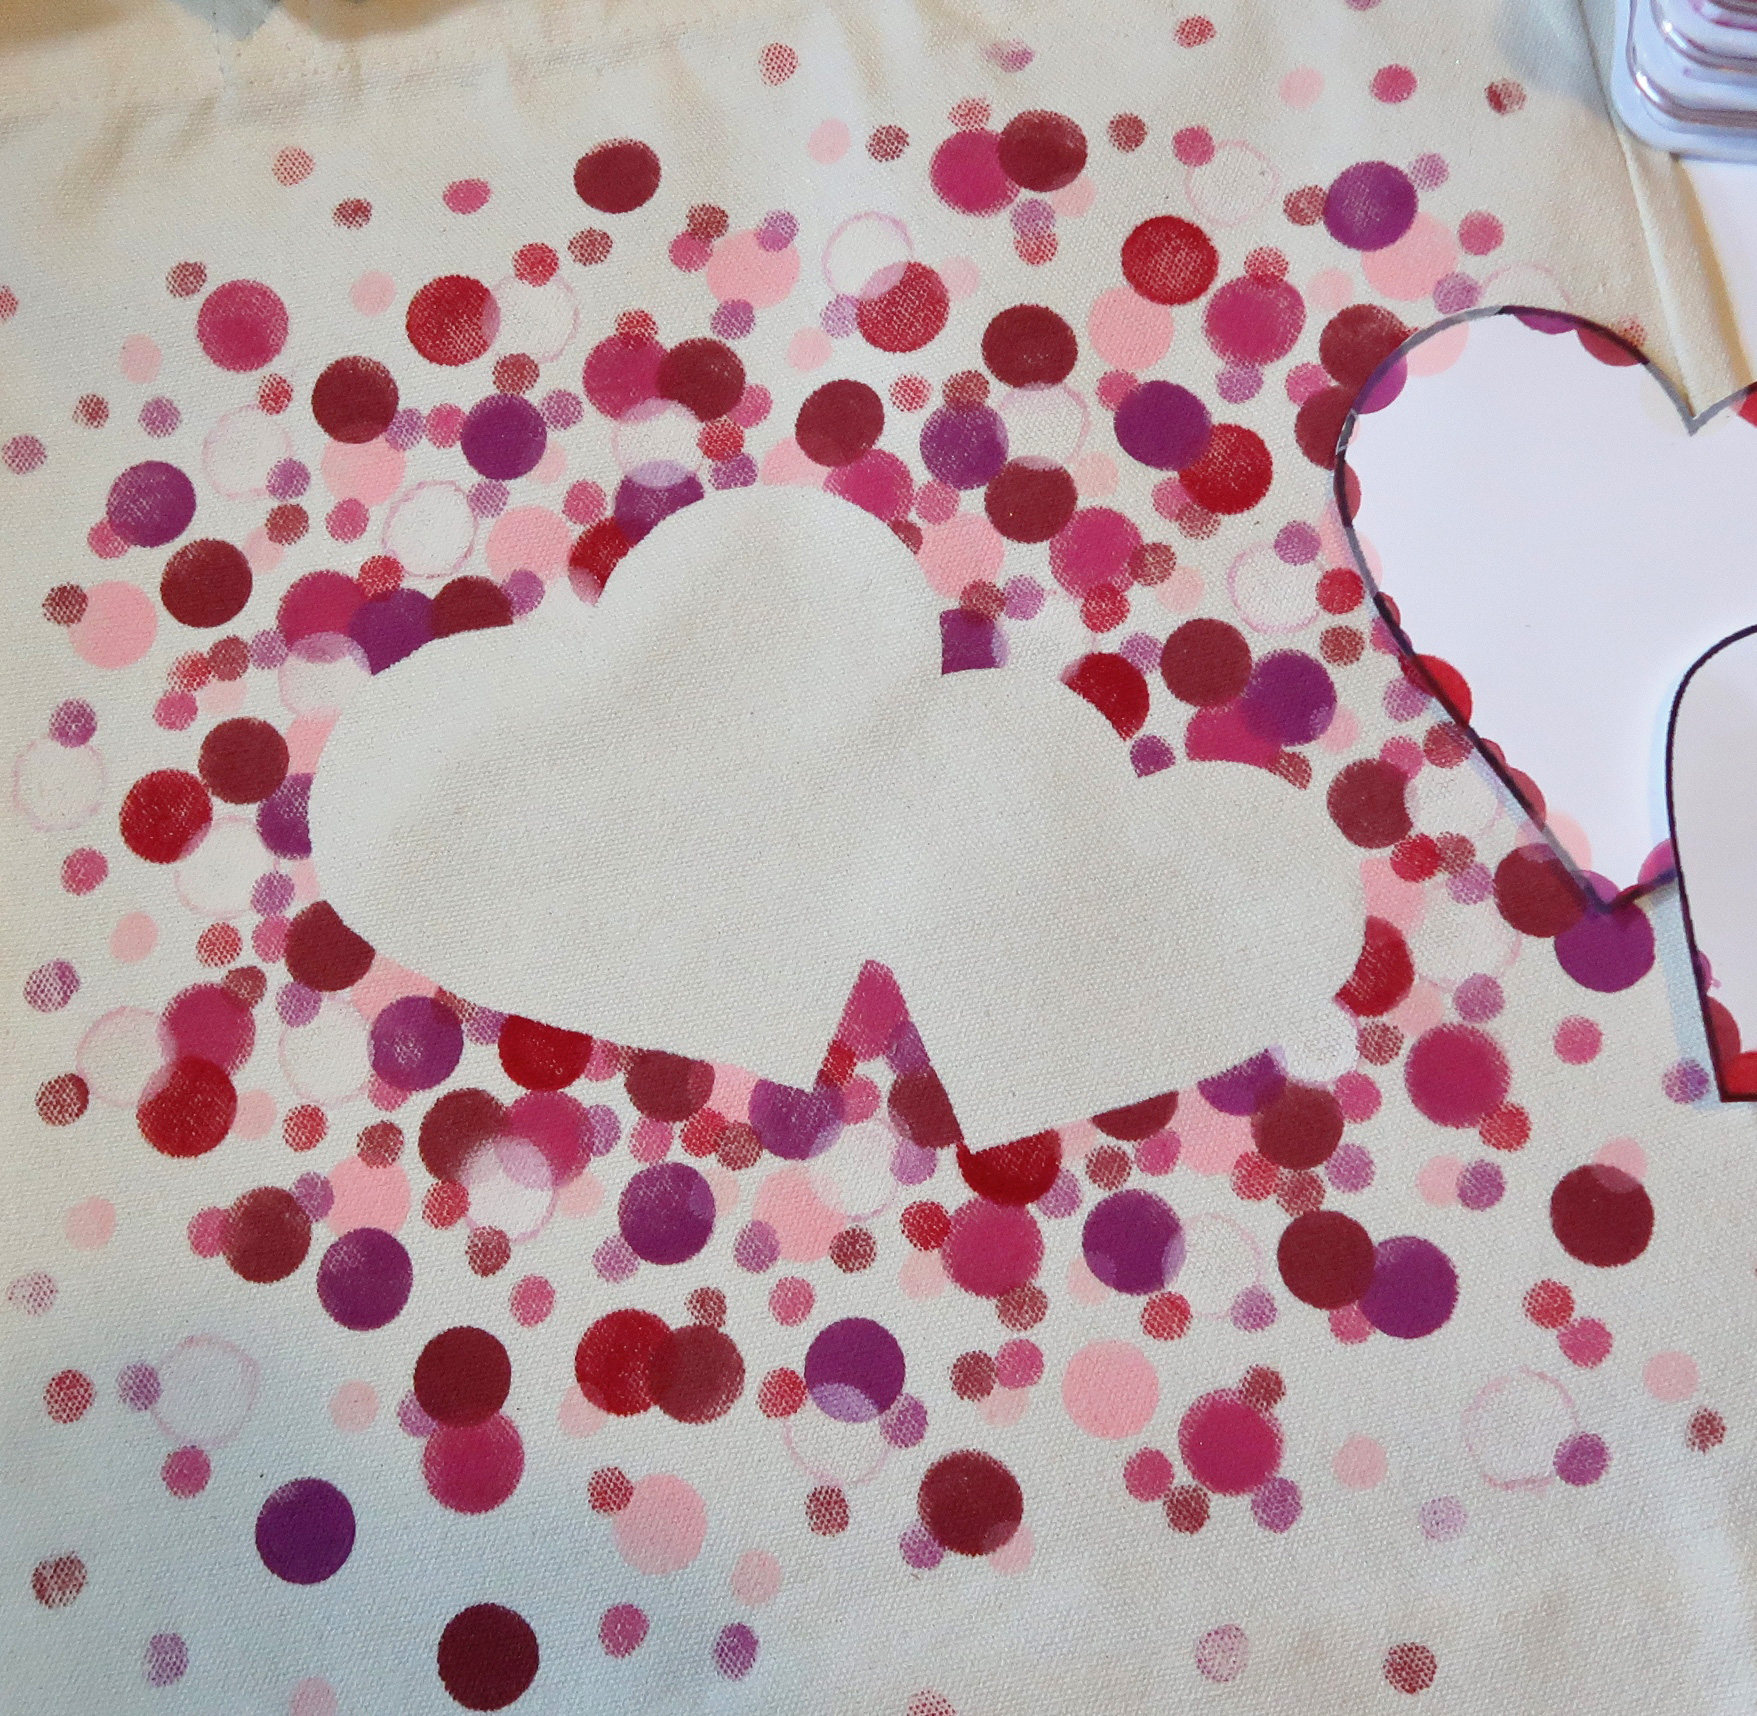
Step 9

Remove the masks and discard.
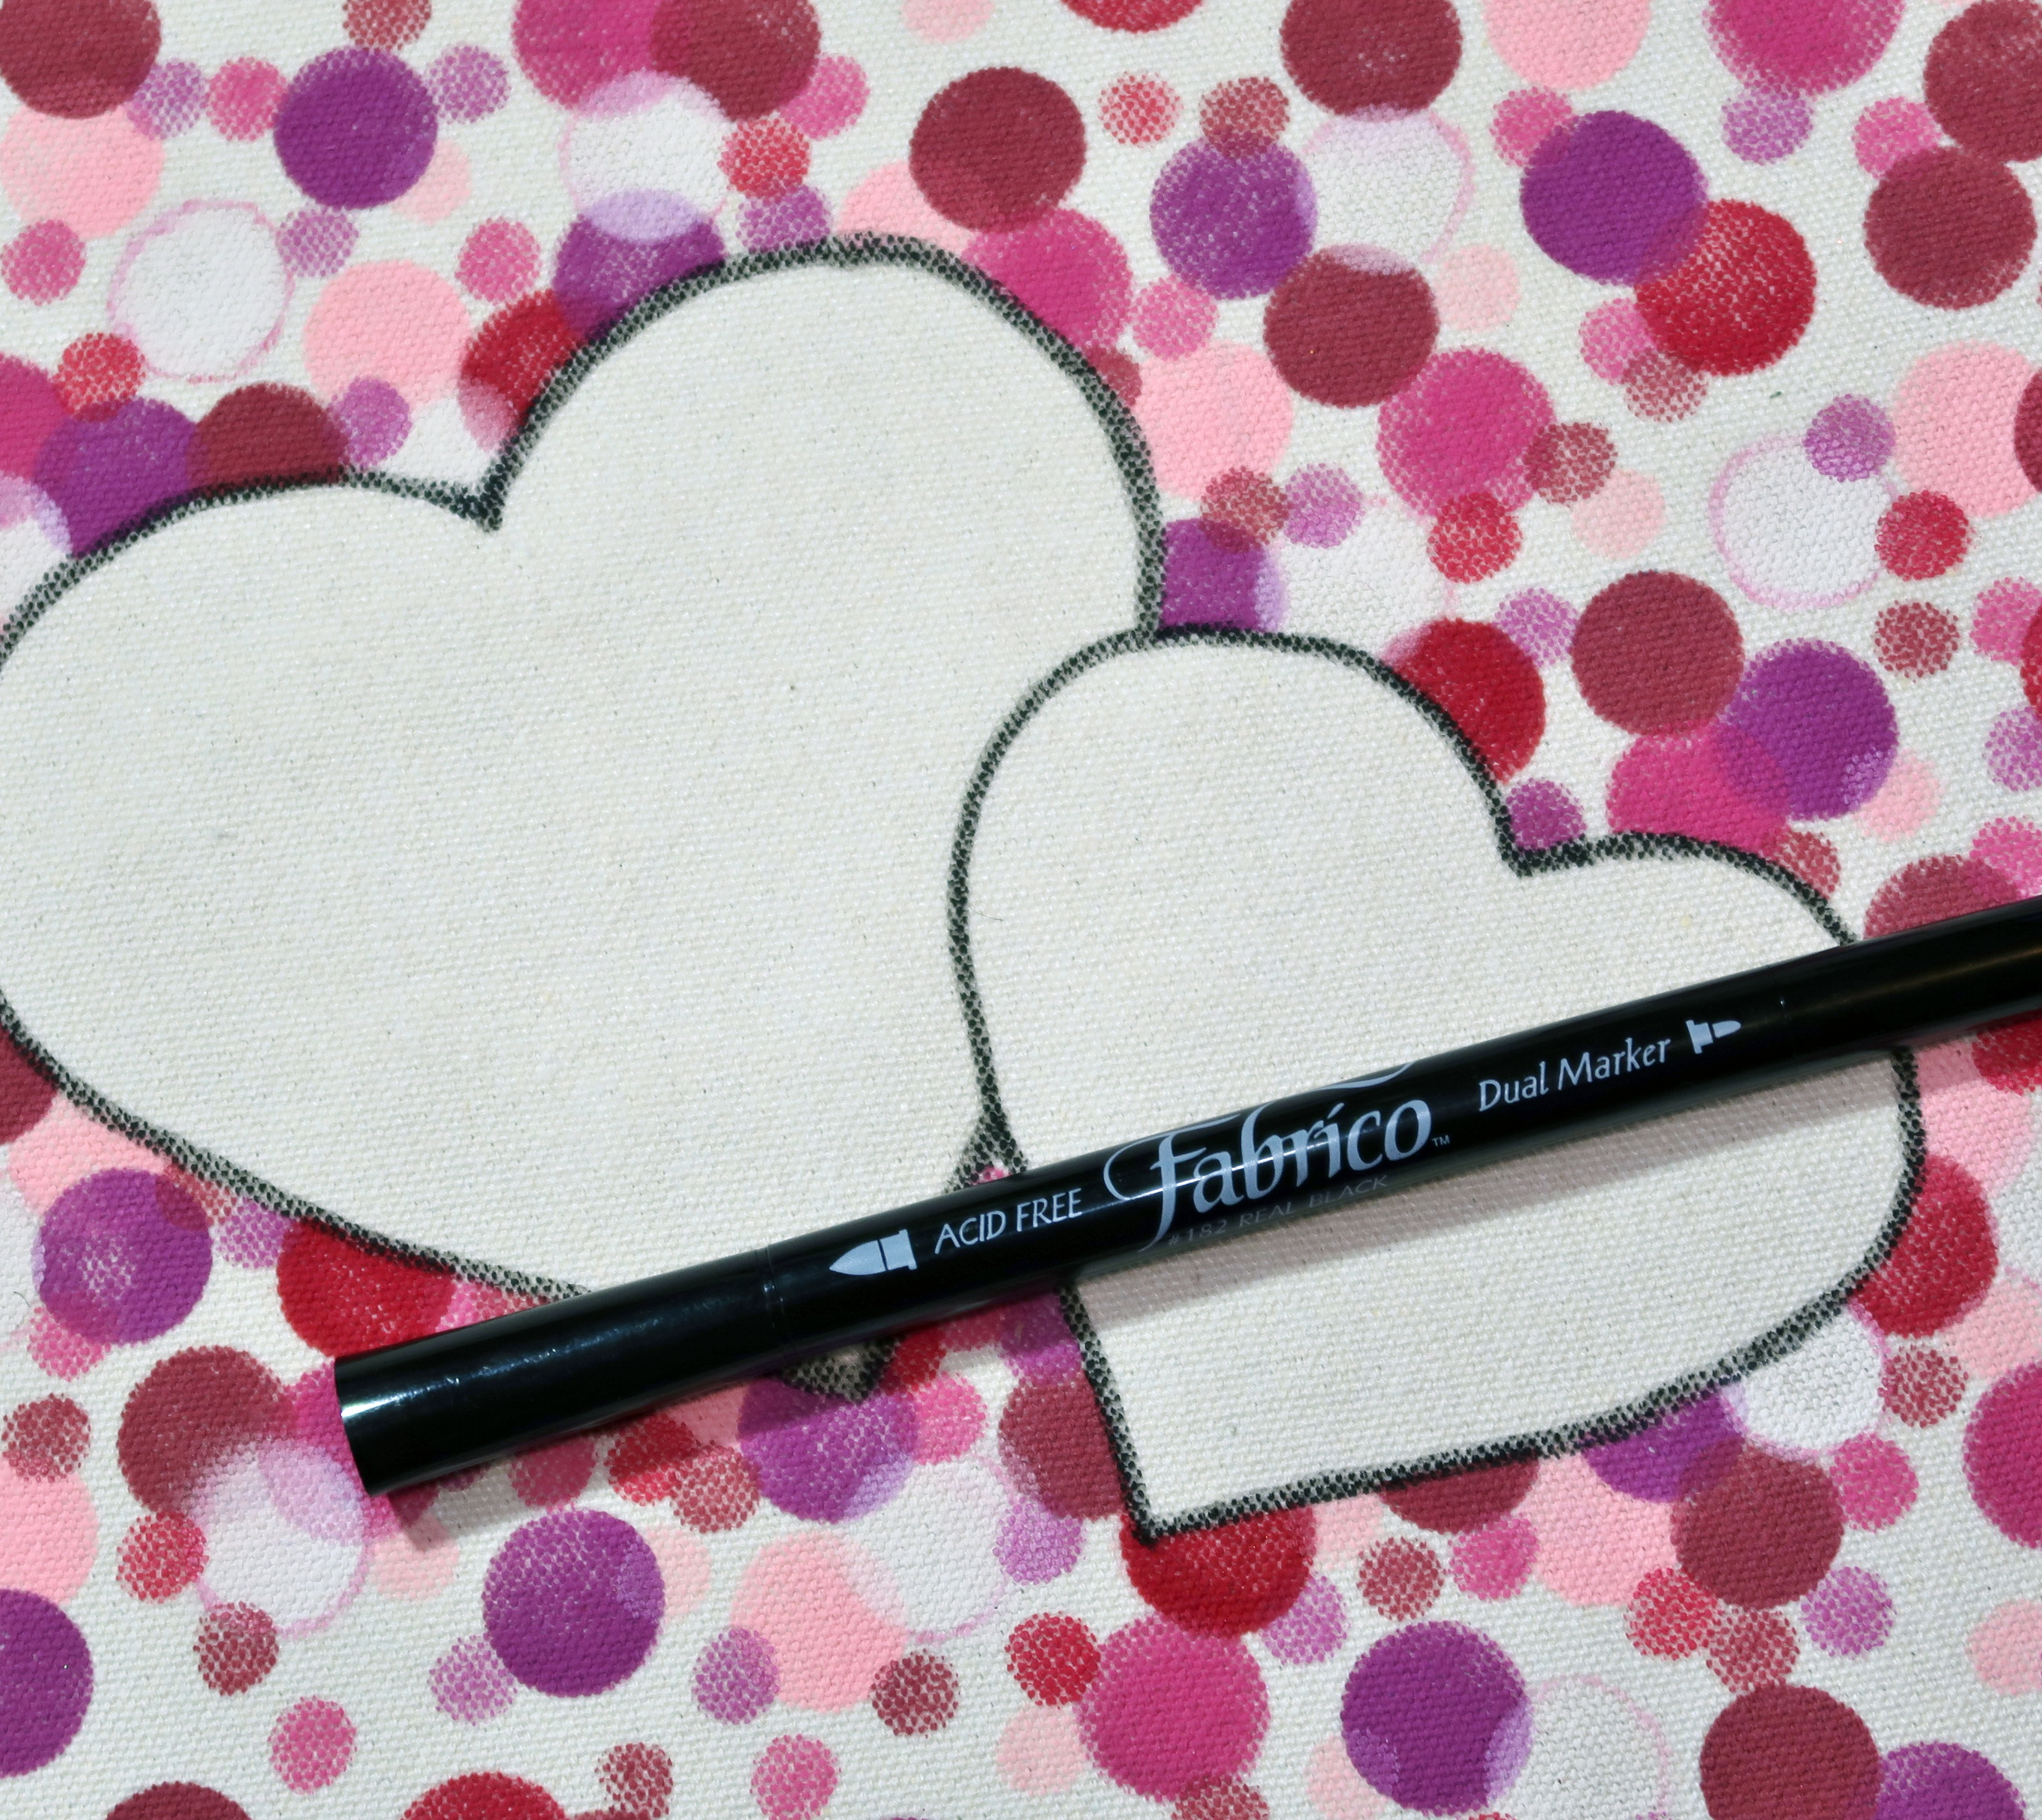
Step 10

Outline the hearts using Real Black Fabrico Marker. Add additional details with Fabrico Markers at this time if desired.

Step 11

Iron the canvas with the hottest setting allowable for the fabric to set the inks.


Art Supplies:

Imagine

Fabrico Marker – Bubble Gum, Poppy Red, Real Black

Sponge Dauber – 

Happy Valentine’s Day Free PDF


Other

Canvas Tote Bag

Iron

Cardboard

Pencil Eraser

Rubber Stamp Tapestry – Stamps – Layering Circles

White Cardstock

Repositionable Adhesive


Create a Fun and Fabulous Summertime Flamingo Card

by Kyriakos Pachadiroglou

Create a Fun and Fabulous Summertime Flamingo Card with VersaMagic inkpads

It is almost Summer! It is time to start looking ahead for calming moments in warm weather, summer colors and holiday memories. In today’s cardmaking project, evoke the spirit of summer with this flamingo theme “chill” card. Keeping the whiteness of the paper as the basic background color, I emphasize the pastel colors and give a bright outcome on the card. The VersaMagic inkpads allow the metallic wire and beads to show even more by giving a chalk effect on all surfaces.

Skill: Beginner
Time: 1 hour

Directions

VersaMagic DewDrop in Thatched Straw and Key Lime
Step 1

Emboss a 4 x 6-inch piece of white cardstock with the stripes embossing folder and lightly color with the VersaMagic DewDrop in Thatched Straw and Key Lime.


Step 2

Use a BrushStix to mix and color the flamingo plywood shape with the VersaMagic DewDrop in Red Magic and Thatched Straw.


Step 3

Continue by coloring the paper flowers with VersaMagic in Red Magic and Thatched Straw.

VersaMagic DewDrop Key Lime and the Fabrico Marker. Use a stylus to shape the leaves into a more realistic look.
Step 4

Die cut leaves from white and kraft cardstocks and decorate them with the VersaMagic DewDrop Key Lime and the Fabrico Marker. Use a stylus to shape the leaves into a more realistic look.

Color the "chill" wooden element with VersaMagic Red Magic.
Step 5

Color the “chill” wooden element with VersaMagic Red Magic.


Step 6

Make circles with the jewelry wire and glue them in the 4 x 6-inch card with a glue gun.


Step 7

Continue with the rest of the embellishments and using either the glue gun or Tear It Tape. Lightly ink the edge of the card panel with VersaMagic in Red Magic to match the flowers. Mount the 4 x 6-inch piece on the front of a 5 x 7 card base.

Supplies

Imagine
Other
  • 5 x 7 white card
  • Cardstock – white, kraft
  • Plywood embellishments
  • Paper flowers
  • Jewelry beads
  • Jewelry wire
  • Glue gun
  • Embossing folder – stripes
  • Sizzix – Leaves, Garden dies
  • Embossing machine