Let’s Make a Happy New Year’s Card

By Ceil Pritchett

Hello crafty friends!
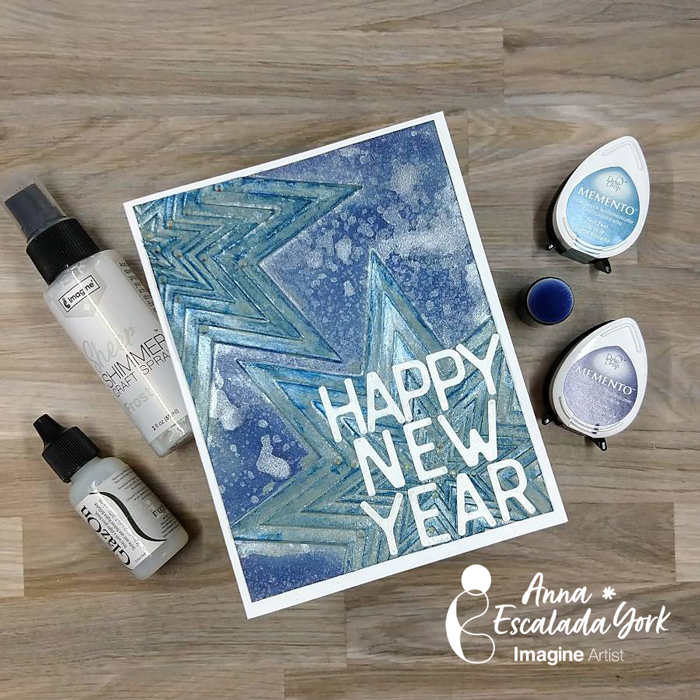
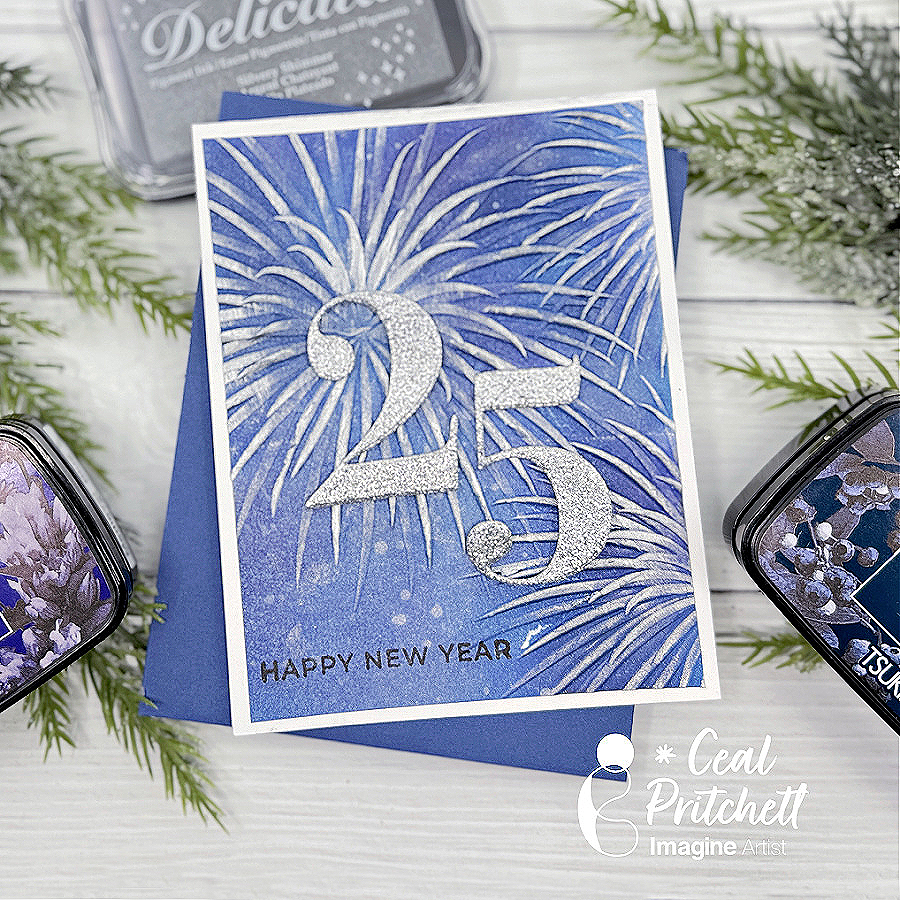
It’s Ceal, here. Today I am sharing a New Year’s card with yo.

Skill Level: Intermediate
Time: 45 mins

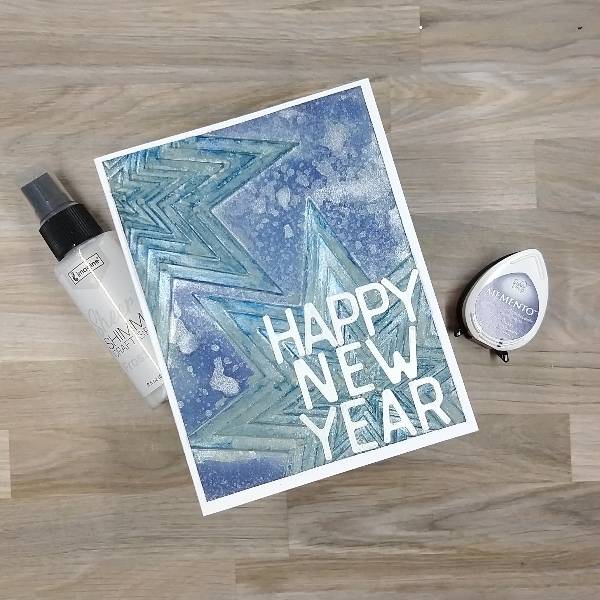
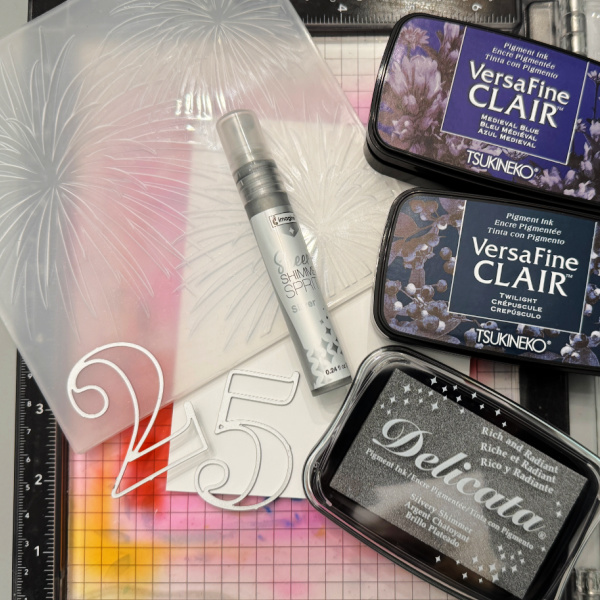
Directions: Gather your supplies. You will need an embossing folder, two different colors of dark ink, metallic ink, shimmer spray, number dies, and glitter paper.
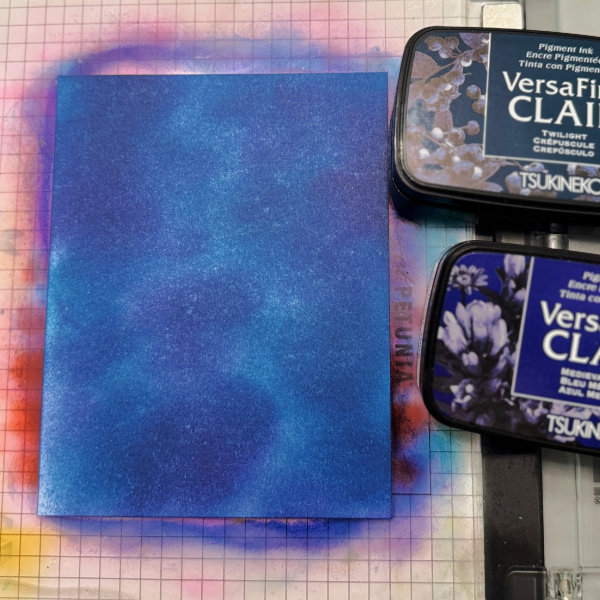
Step 1:
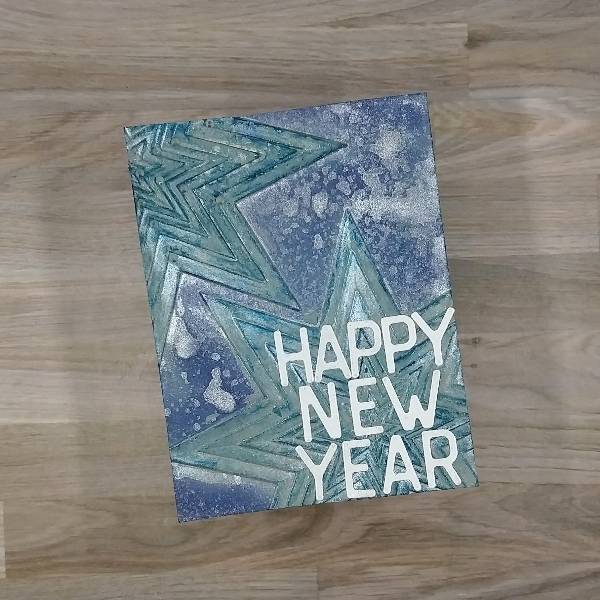
Blend the two dark inks together on a panel cut to 4x 5.25 to give the appearance of a night sky.
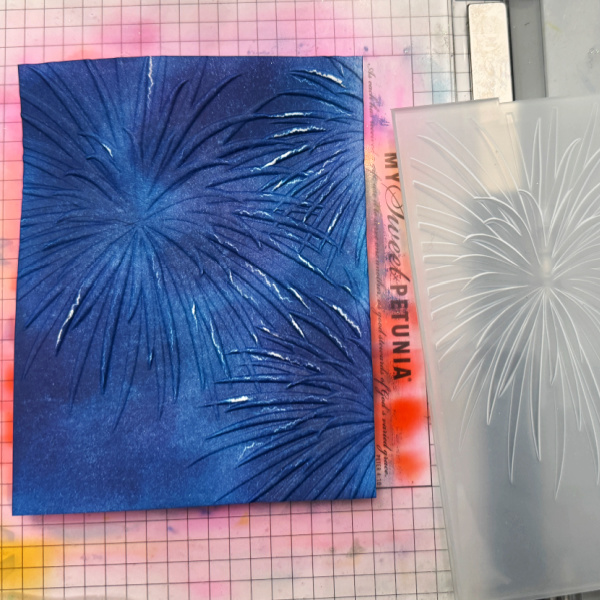
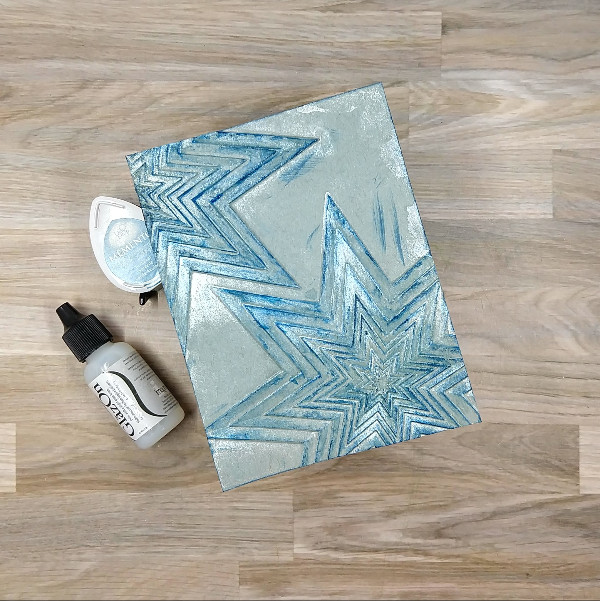
Step 2:
Run the blended panel through the die cutting machine with a 3D embossing folder.
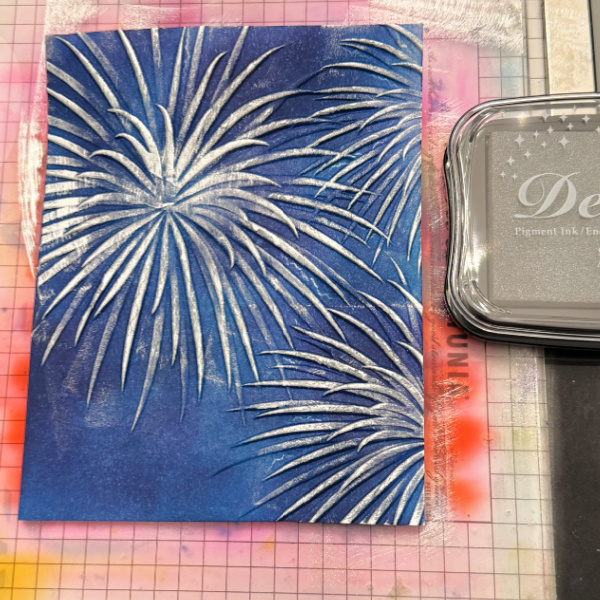
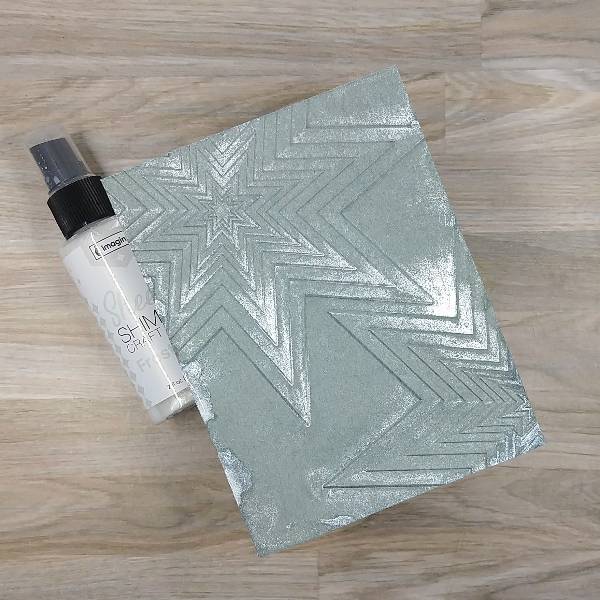
Step 3:
Rub a metallic ink pad over the raised areas of the panel.
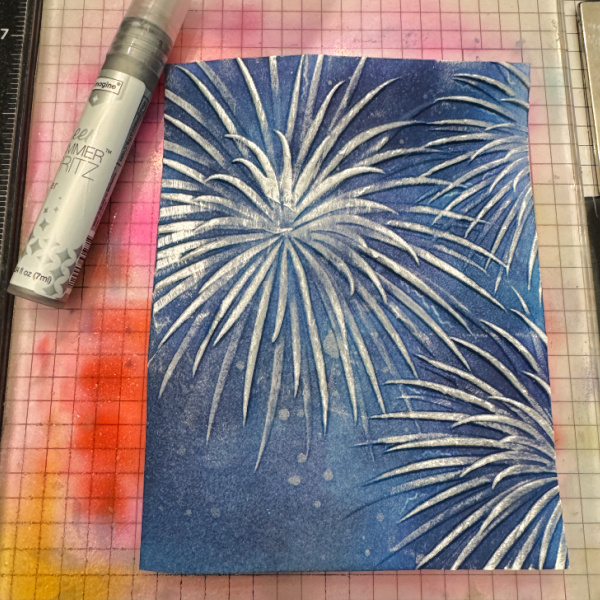
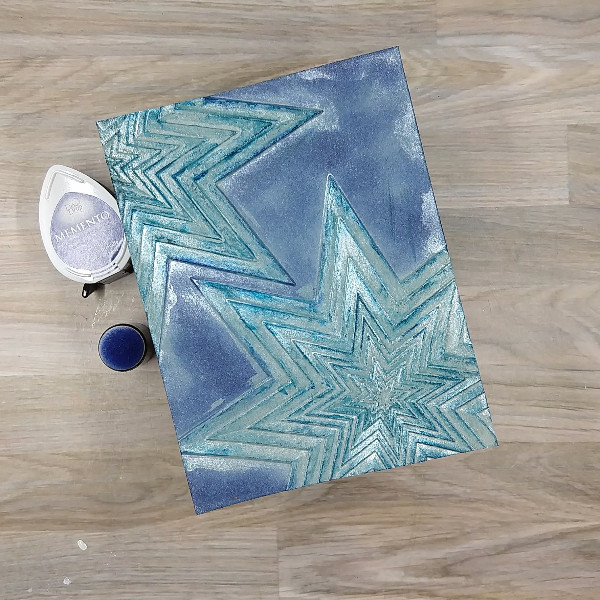
Step 4:
Spray a shimmer spray over the panel to give it more sparkle.
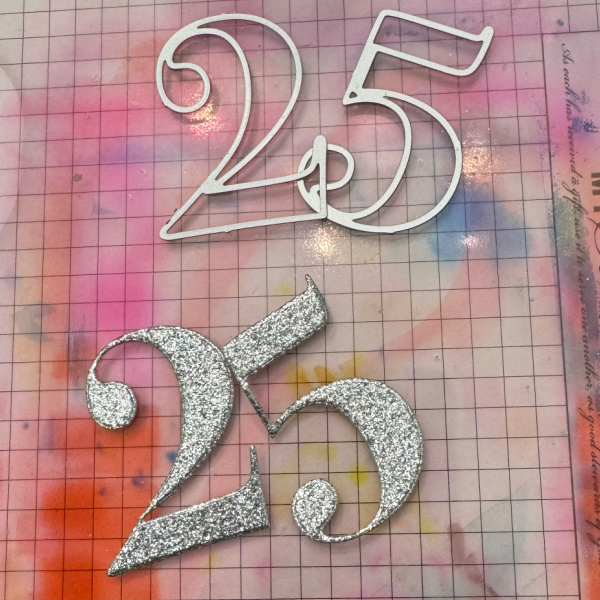
Step 5:
Cut the number 2 and 5 out of glitter paper.

Step 6:
Add number to the panel and adhere the panel to the card base. Stamp the sentiment on panel.

Supplies:

Imagine products:

VersaFine Clair – Medieval Blue, Twilight
Delicata – Silvery Shimmer
Sheer Shimmer Spritz – Silver
On Point Glue

Other products:

Fireworks embossing folder – Altenew
Fancy Die Number 2 – Hero Arts
Fancy Die Number 5 – Hero Arts
Happy New Year Stamp – Taylored Expressions
Glitter paper – Altenew

Let’s Make a New Years Card

By Anna Escalada York

Today I wanted to share a card with you featuring

Skill: Intermediate
Time: 1.5 hours

Directions:

Step 1:
Spray Frost Sheer Shimmer Craft Spray onto a piece of white watercolor paper and set aside to dry.

Step 2:
Trim a piece of gray watercolor paper to 4” by 5.25” with a paper trimmer. Then spray the panel and the inside of an embossing folder with more of the Frost Sheer Shimmer Craft Spray, place the gray watercolor panel inside of the embossing folder and then run the embossing folder through a die cutting machine. Allow the panel to dry.

Step 3:
Gently run a Teal Zeal Memento Ink pad across both of the embossed stars and around the edges of the panel. Using a small sponge dauber (or your finger), spread some shiny GlazOn onto both of the embossed stars to “lock in” the teal color.

Step 4:
Using a sponge dauber, ink blend Paris Dusk Memento ink around the panel (not on the stars).

Step 5:
Die cut letters to form the sentiment out of the the sprayed white cardstock from step 1.

Step 6:
Spray the panel with more of the Frost Sheer Shimmer Craft Spray and allow it to dry. Then glue the letters from the sentiment onto the lower right corner of the panel.

Step 7:
Glue the panel onto an A2-sized white card base.

Art Supplies

Imagine

GlazOn – clear
Memento ink – Paris Dusk, Teal Zeal
Sheer Shimmer Craft Spray – Frost
Sponge Dauber

Other

Altenew – embossing folder – Stellar Cascade
Sizzix – die set – Letterboard (666859)
White watercolor paper
Gray watercolor paper
Die cutting machine
Paper trimmer
Scissors
Glue

Delicata Pigment Inks Make Elegant New Year Cards

By Nancy May

Delicata Inks are simply stunning.  I’ve used several of them on my New Year cards today.
Let’s jump into the process and see how they turn out

~Nancy

Skill: Intermediate
Time: undetermined

Art Supplies

Imagine

  • Craft Mat
  • Memento Tuxedo Black Ink
  • Delicata Pigment Ink
  • Golden Glitz
  • Pink Shimmer
  • Ruby Red
  • On Point glue
  • Tear It! Tape

Other

  • Whimsy Stamps
    • Happy New Year Stamp set
    • Mini Slimline Notched Dies
    • Mini Slimline Notched Stitched Dies
    • Frame Labels Dies
  • Technique Junkies: New year New Hope Red Rubber Stamp

Quick and Easy “Happy New Year” Banner

By LeeAnn McKinney

Howdy friends and fellow crafters, LeeAnn here with a quick and easy project for you.

This “New Year’s” Banner is easy to make. I made it to hang in my craft room ushering in 2023.

Skill Level: Beginner

Time: 30 minutes

Art Supplies:

Imagine:

• Craft Mat

• On Point Glue

• Delicata: Golden Glitz

• Delicata Shimmery Silver

• MBoss Gold

• Mboss Embossing Powder Silver

• Tear It! Tape

• VersaFine Clair Nocturne

• StazOn Stamp Cleaner

Other Supplies:

• Darice Heat Tool

• Accent Opaque 120lb Cardstock