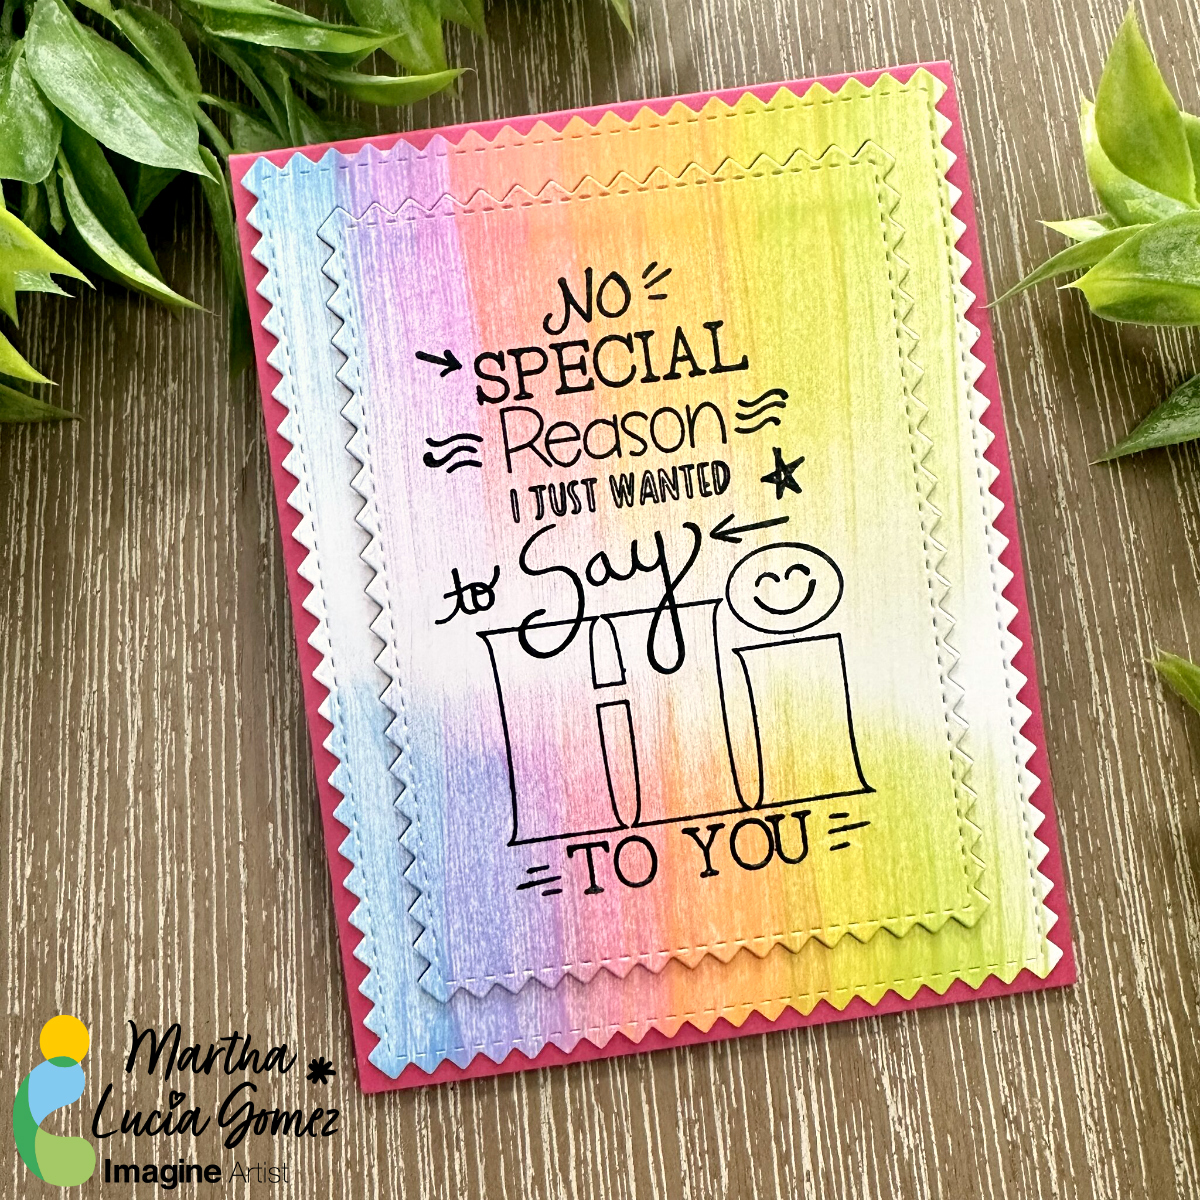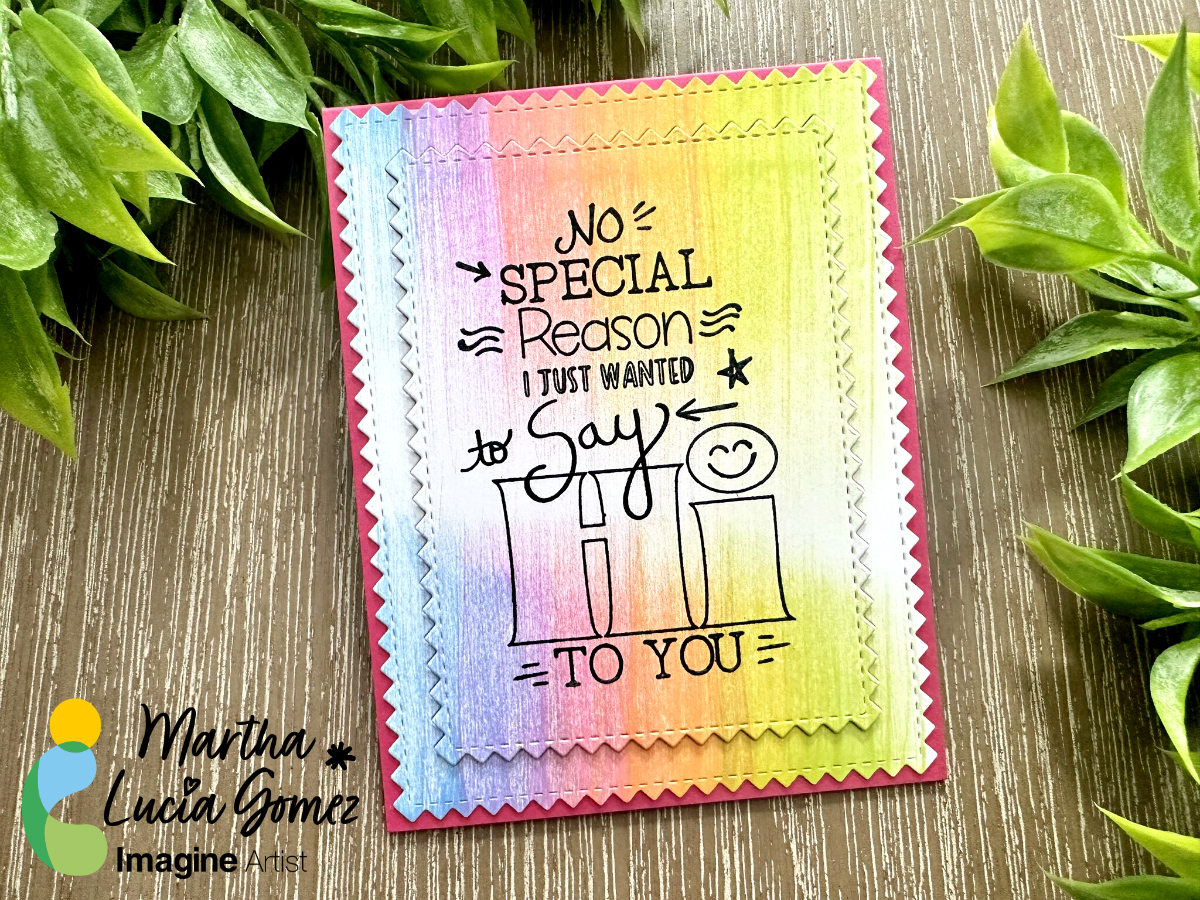
By Jessica Lin
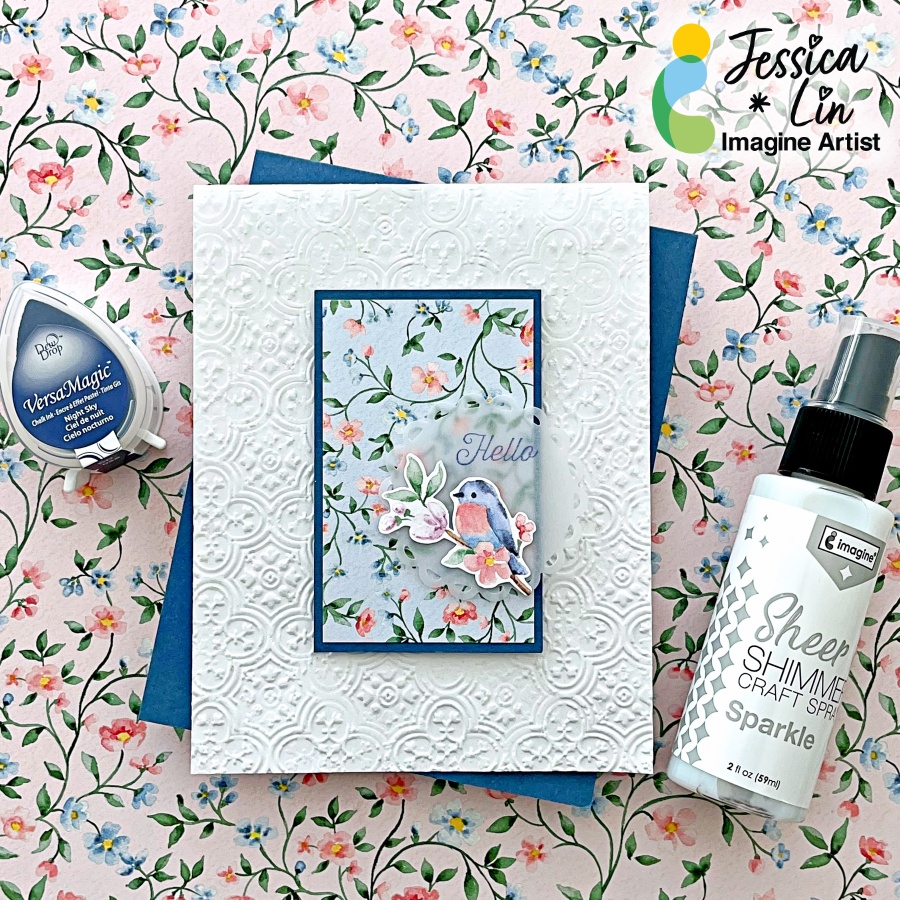
Let’s create a simple Easter card using some pretty patterned paper! The pastel colors and floral designs are too pretty to cover up! So I decided to stamp the sentiment on a piece of vellum. Stamping on vellum is tricky; but the VersaMagic ink pads work wonderfully. They don’t bead up and dry beautifully without fuzzy edges. Keep reading to see the final result!
Skill: Intermediate
Time: 30 minutes
Directions:
Step 1:
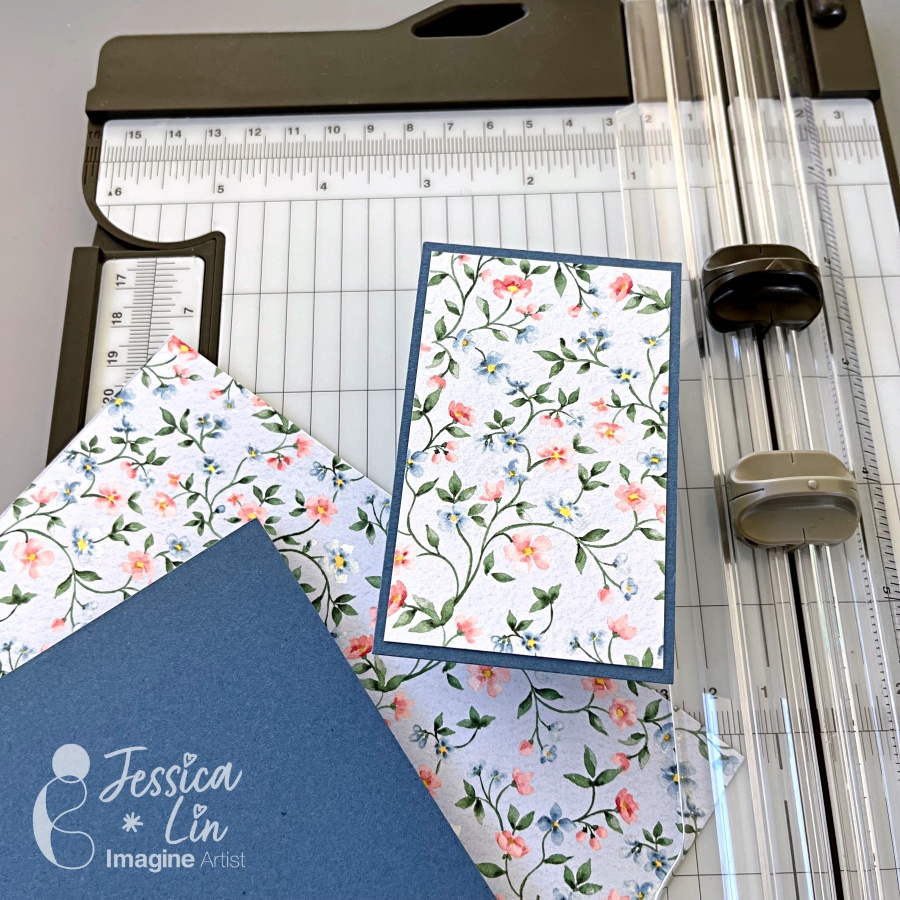
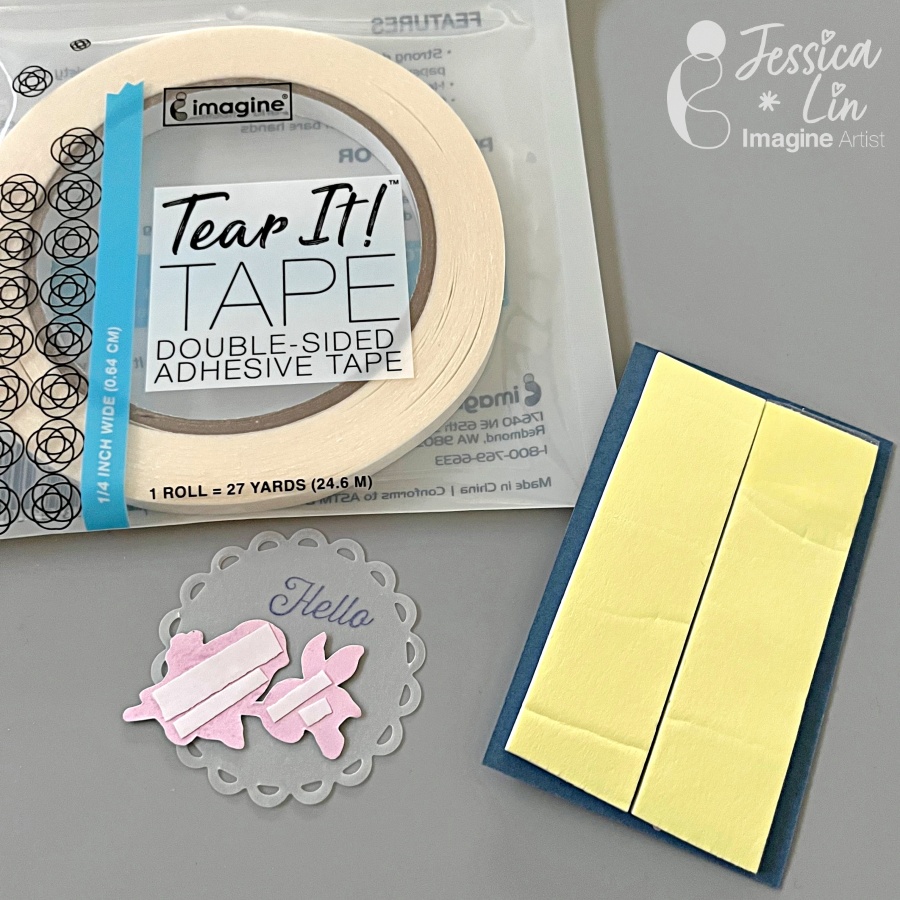
Trim a piece of patterned paper to 3 3/16’’ x 1 15/16’’ and a piece of matching cardstock to 3 6/16’’ x 2 2/16’’. I used Flight & Airy paper pack which coordinates with Misty Moonlight cardstock. Adhere the two pieces together with Tear It! Tape.
Step 2:
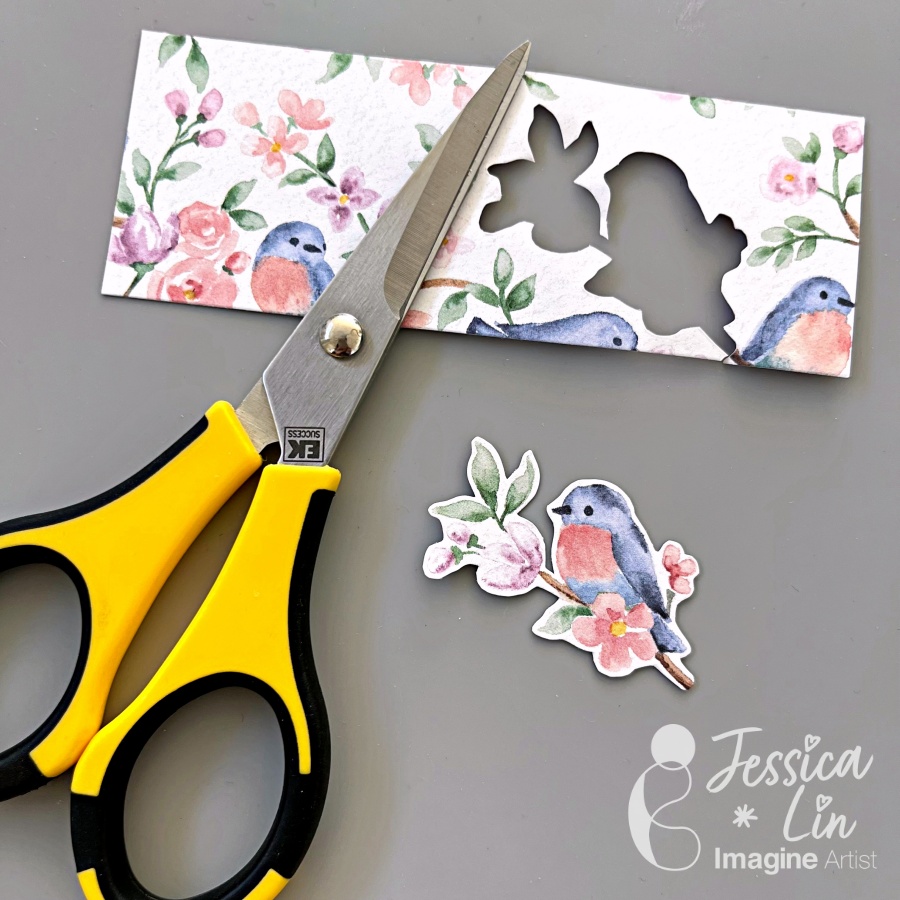
Use stamps or, in my case, patterned paper to create a focal image. Fussy cut around the image with a pair of paper snips. These scissors are sharp and my favorite for fussy cutting!

Step 3:
Die cut a piece of vellum with a circular die of your choice. I used Spellbinders Lacey Circle dies with the Stampin’ Up! Mini Cut and Emboss Machine.
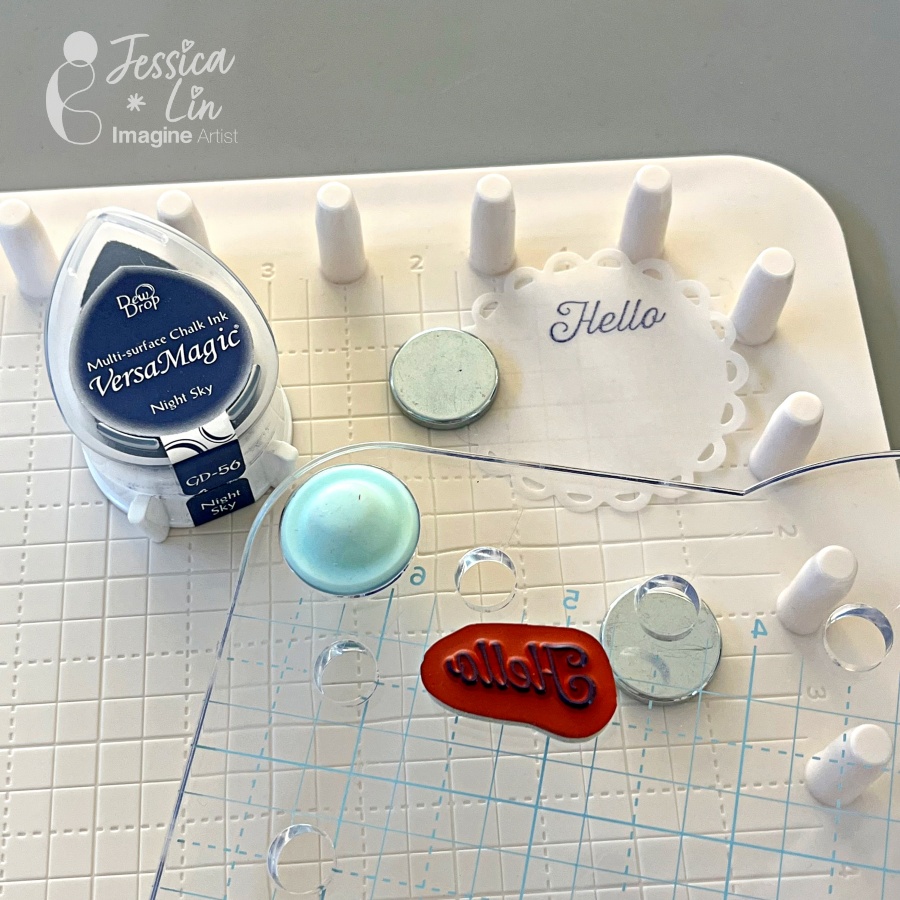
Step 4:
Stamp a small sentiment using VersaMagic Night Sky ink pad. The image is crisp and clear after stamping, so I didn’t need to restamp with the We R Precision Press.
Step 5:
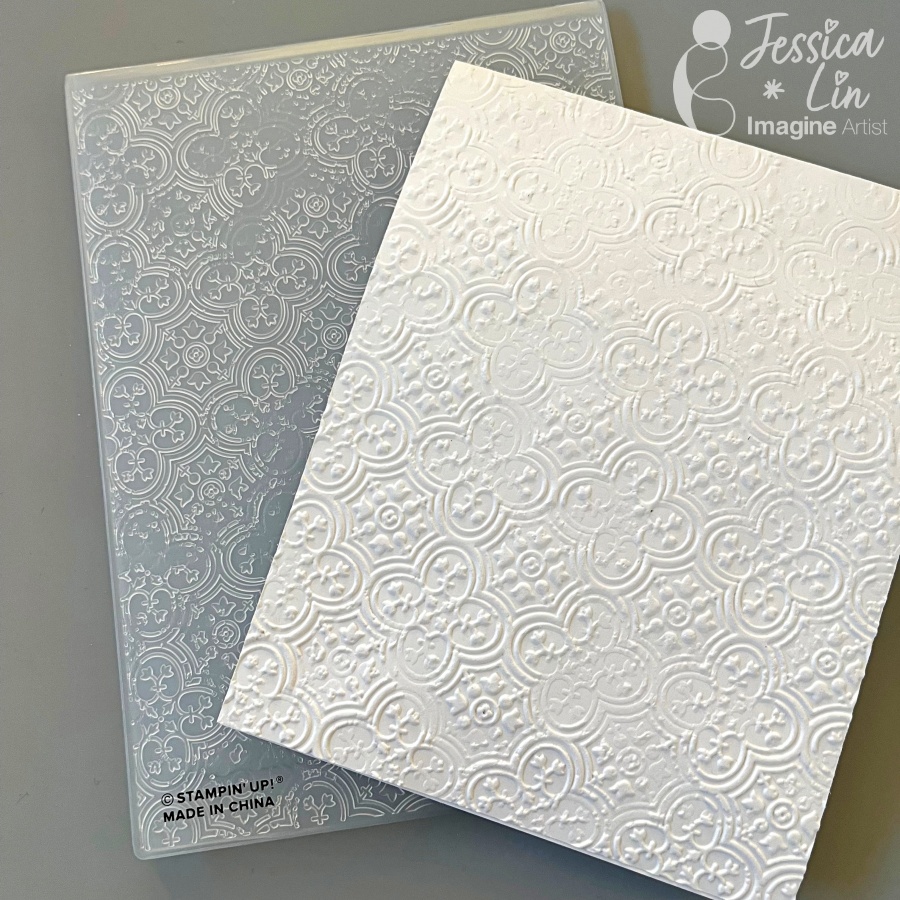
Emboss the card front with any embossing folder to add interest to the background. The Distressed Tile embossing folder is simply gorgeous!
Step 6:
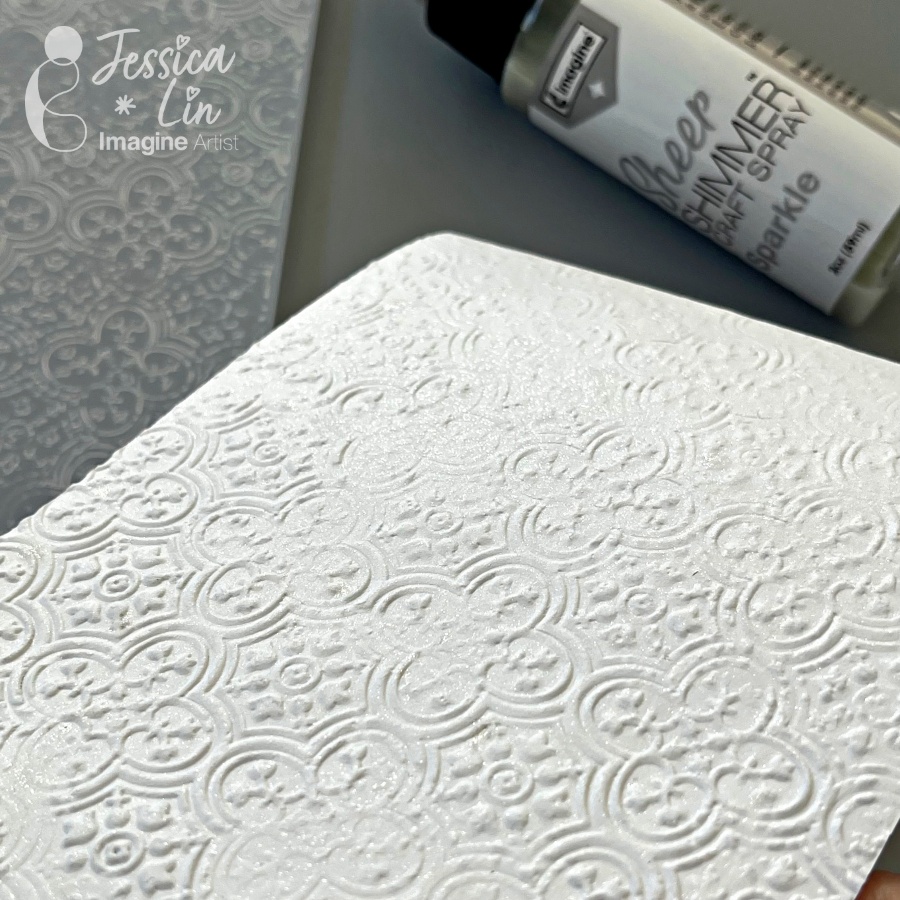
To add a wow factor, lightly spray the whole panel with Sheer Shimmer in Sparkle. It adds just the right amount of glitter mist to elevate your project.
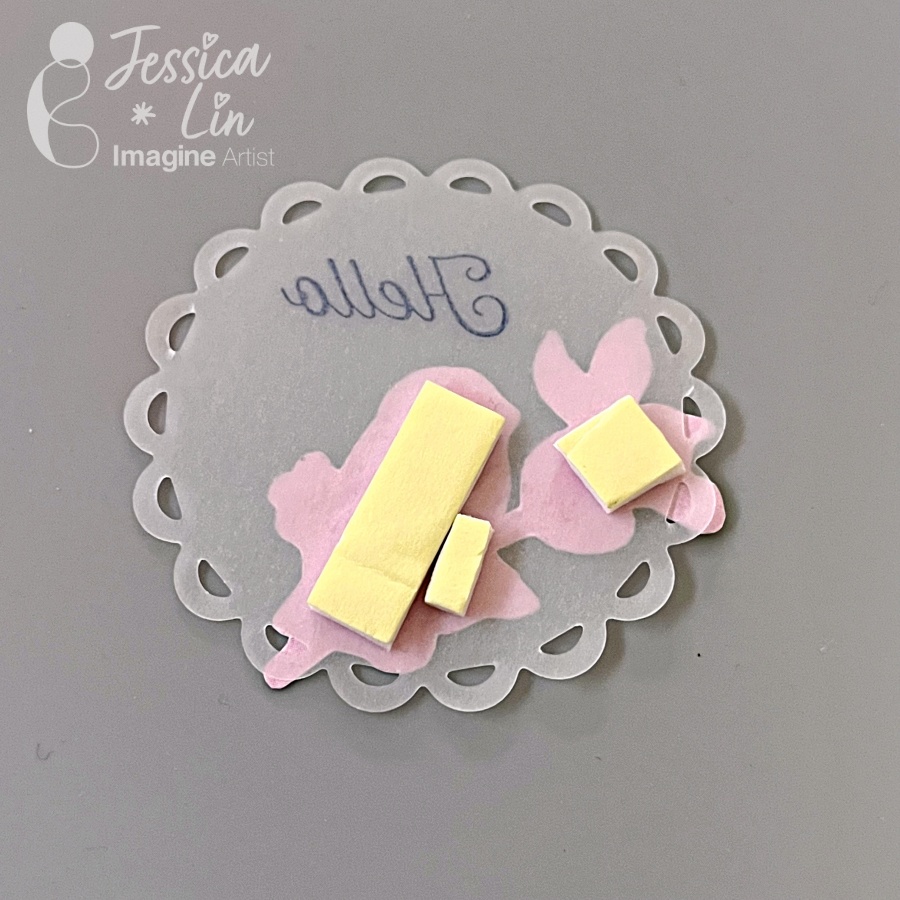
Step 7:
It’s time to assemble everything together! Apply Tear It! Tape and foam tape to the back and adhere them to the embossed card front. When adhering vellum pieces to your project, remember to only apply tape and/or glue in areas where it would be hidden. Otherwise the adhesive will show through the translucent vellum paper.
Craft Supplies:
Imagine Supplies:
Other Supplies:
- Spellbinders – Dies – Lacey Circle
- Stampin’ Up! – Tool – Mini Cut and Emboss Machine
- Stampin’ Up! – Embossing Folder – Distressed Tile
- Neenah – Cardstock – Solar White
- Stampin’ Up! – Patterned Paper – Flight & Airy
- Stampin’ Up! – Cardstock – Misty Moonlight
- Paper snips
- Vellum paper
- Foam tape