Watercolor with VersaMagic Inks for a Teacher’s Card

By Jessica Lin

Skill: Intermediate
Time: 45 hour

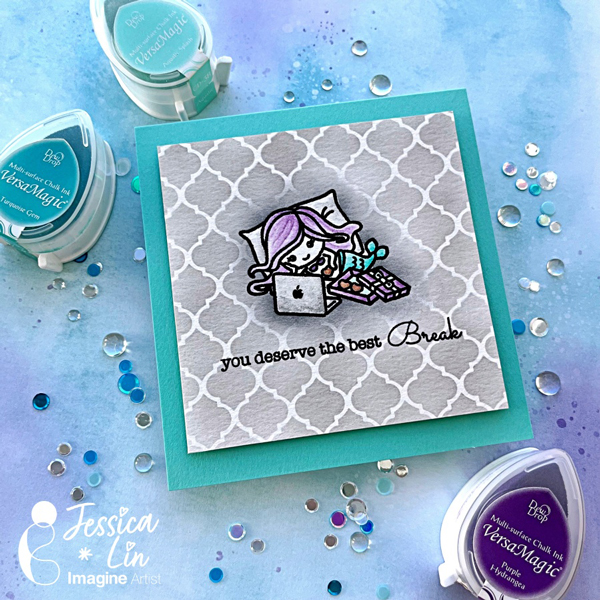
Hello hello! Back to school season is right around the corner, can you believe that summer flew by so quickly? Today I have a Teacher’s card to share with you and we are coloring with some of my favorite ink pads as well!

Step 1:
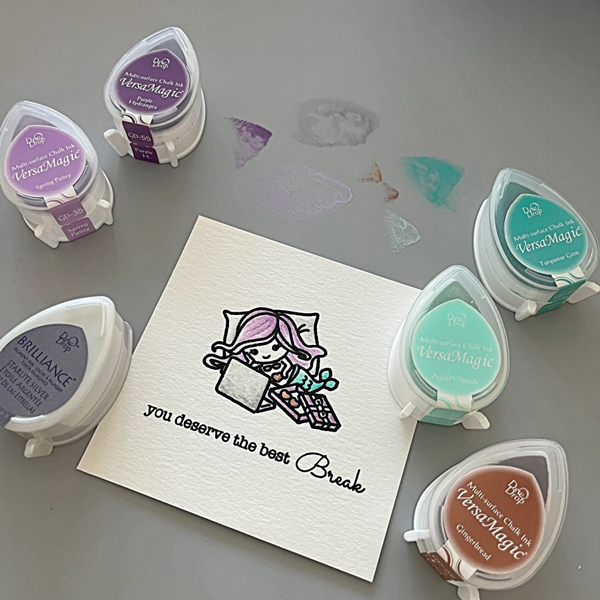
Stamp the mermaid image using VersaFine Clair Nocturne ink pad and heat emboss with clear Mboss powder. I also stamped 2 sentiments partially to create a new phrase.

Step 2:
Dab some ink on the Craft Mat and watercolor the image using a waterbrush.

Step 3:
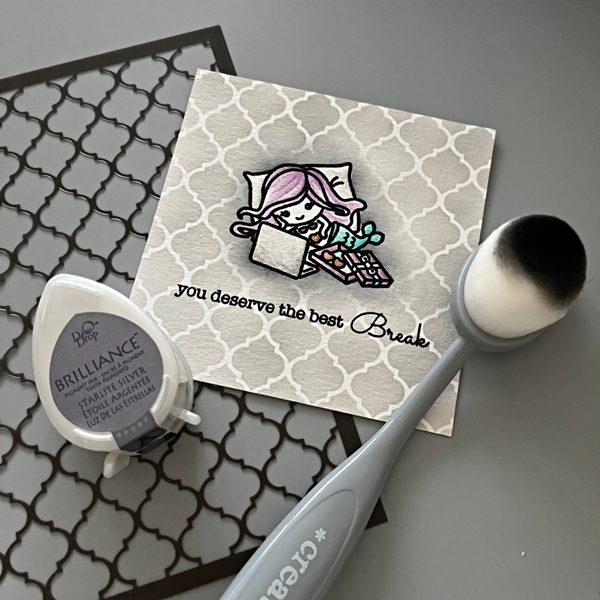
Mask the image with masking tape and blend Starlite Silver ink across the moroccan stencil. I also blended Memento Tuxedo Black ink around the mermaid image to create a shadow-glow effect.

Step 4:
Adhere the front panel to a square cardbase with foam tape, and the card is complete!

Products Used

Imagine Supplies:

Other Supplies:

  • Penguin Palace – Stamps – Take a Break
  • Stampin’ Up! – Stencil – Artistic Mix Decorative Masks
  • We R – Tool – Precision Press
  • Foam Tape
  • Heat Tool
  • Stampin’ Up! – Cardstock – Coastal Cabana

Rainbow Kindness Card

By Helen Gullett

Hello crafty friends! Today, I wanna share this easy and quick card idea for you. You can use stamps to create a fun background and focal point using small image stamps. Let’s make it together.

Skill: Beginner
Time: 15 minutes

Direction:

Step 1
Cut out a piece of 8.5 x 11 inch white heavyweight cardstock and make them your card bases.

Stamp the cloud image (or any small image stamp) directly on the front of the card base to create your background using Memento Ink (Summer Sky)

Step 2
It is easier to use a stamping tool when you use several stamps to build up an image. This stamping tool can help you to line up your image stamp perfectly.

For my rainbow, I used several small stamps to build it. I stamped each image one by one using VersaFine Clair ink pads (Tulip Red, Summertime, Cheerful, Verdant, Paradise, Fantasia)

Set aside for the inks to dry when you are done stamping, or you can use a craft heat gun to speed up the drying process.

Step 3
On another piece of white cardstock, stamp the cloud image outline and dots with VersaFine Clair (Warm Breeze)

Dry the stamped image with a craft heat gun and then fussy cut it with scissors.

Step 4
Trim the focal image into 3.5 inch x 3.5 inch.

Cut out a piece of dark blue cardstock slightly bigger than the focal image panel. I cut mine into 3 ¾ inch square mat.

Use the Tear It! Tape to add them to the front of the card.

Add some of the Teart It! Tape on a small piece of white fun foam to make your own 3D foam tape. I use it to add the cloud image on the card.

Isn’t that quick and easy to make this fun rainbow kindness card? I hope you will give it a try and send it out to encourage others with your handmade kindness card.

Thank you for stopping by our blog today. Have a fabulous day!

Craft Supplies

Imagine Crafts:

Others:

  • Sunshine and Rainbows Stamp Set (Dare 2B Artzy)
  • Acrylic stamping block
  • MISTI stamping tool
  • Paper trimmer
  • Micro-tip scissors
  • Hammermill 100 lb white cardstock
  • Neenah 80 lb dark blue cardstock
  • White fun foam