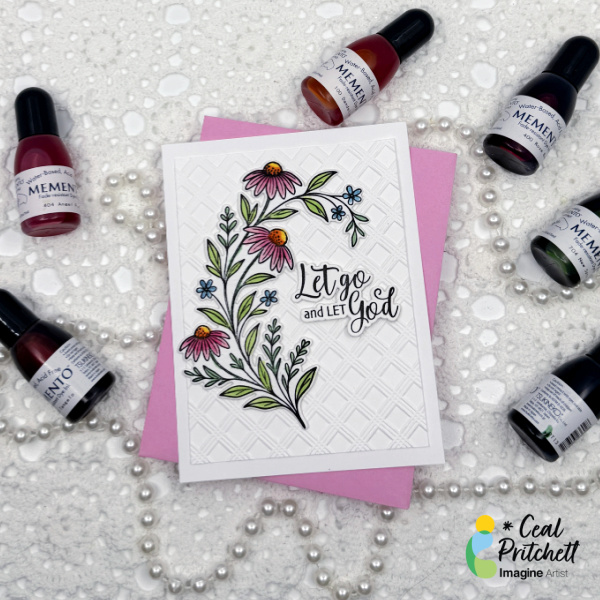
It’s Ceal, here. Today I am sharing a card that showcases my style which is clean and simple. This is also a watercolor card which I love to watercolor, it’s so relaxing.
Skill: Intermediate Time: 45 Minutes
Directions:
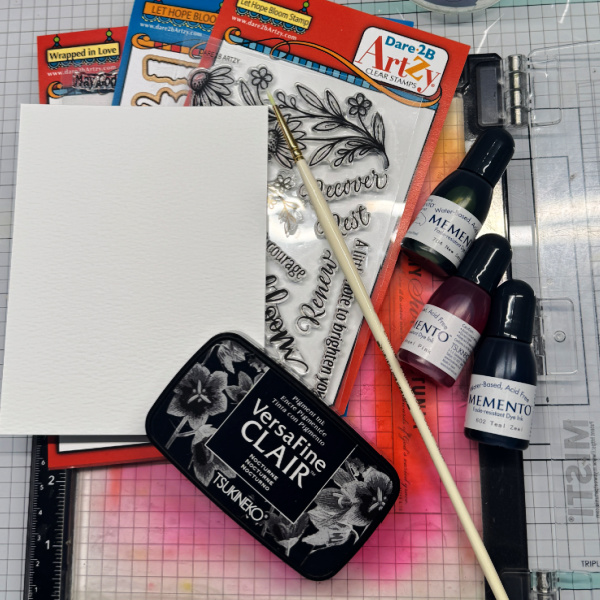
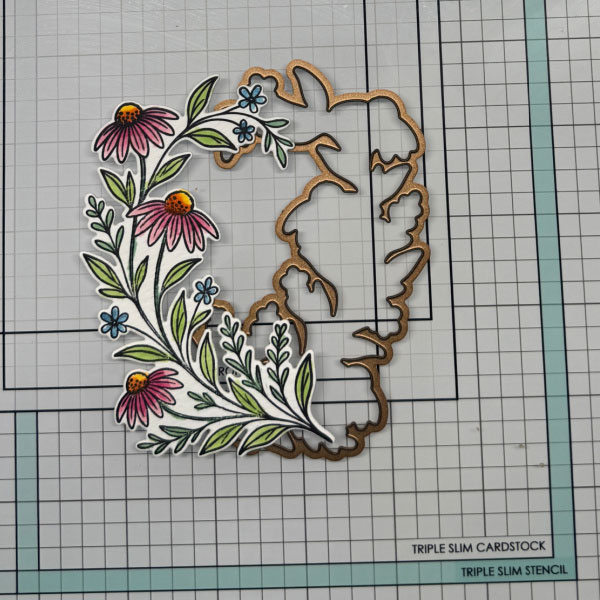
Gather your supplies. You will need a floral image stamp or a line image that you can color, several colors of water based re-inkers to watercolor with, small paintbrush, water friendly paper and a pigment ink.
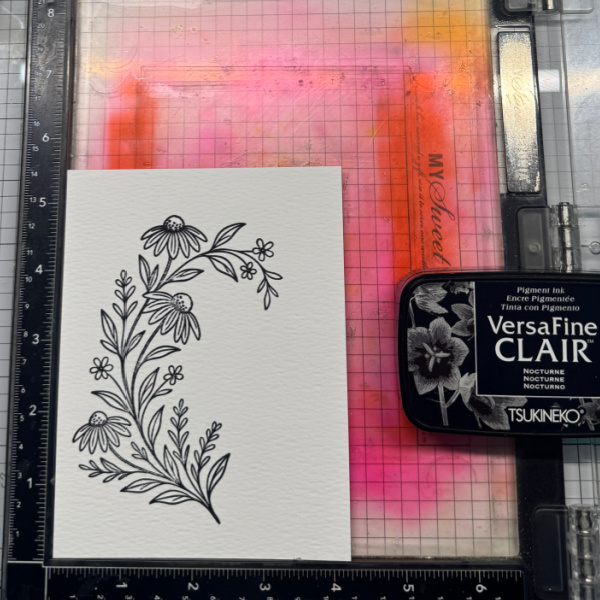
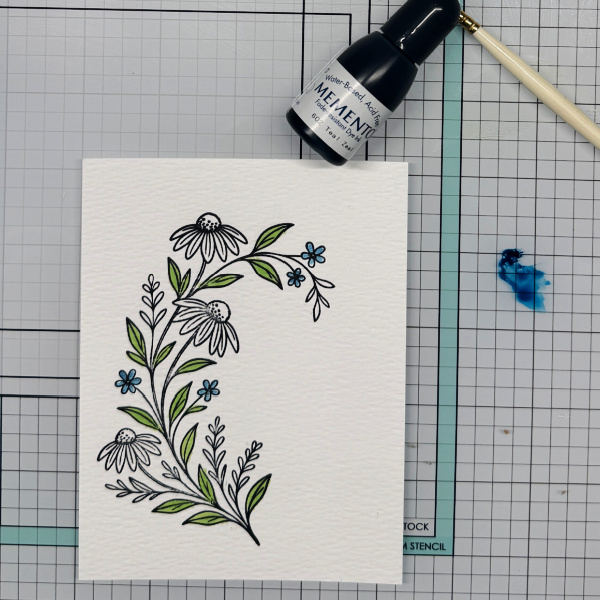
Step 1: Stamp the image with a pigment ink
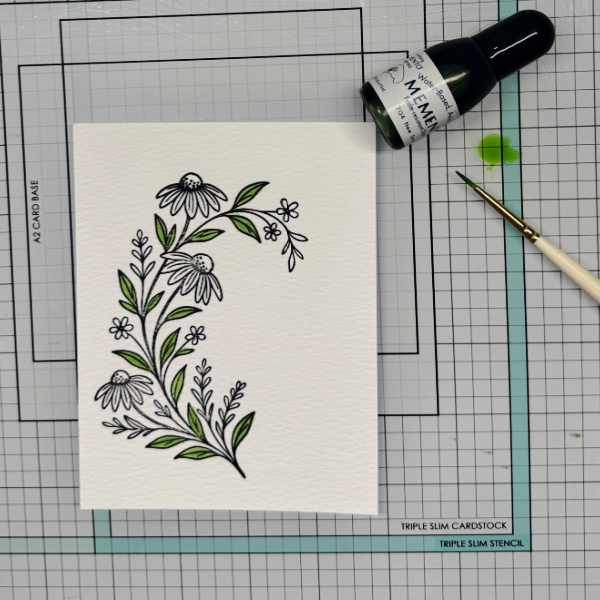
Step 2: Using a green re-inker paint the leaves on the floral image.
Step 3: Use a teal re-inker to paint the small flowers
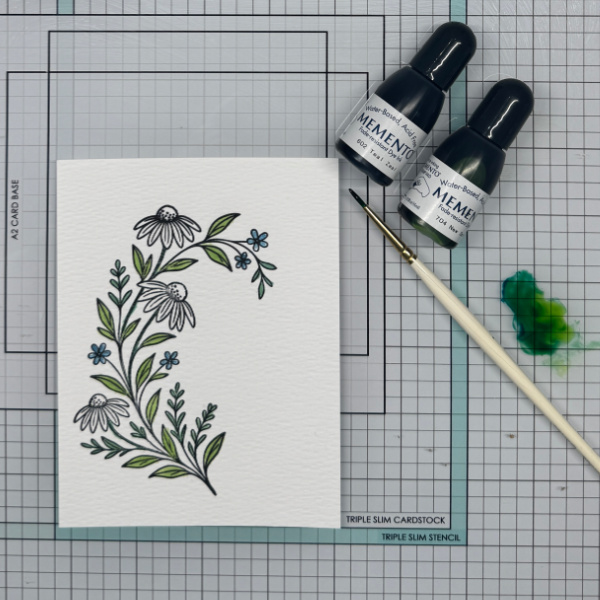
Step:4 Mix the teal ink and the green ink together to create a darker green ink to paint the different leaves.
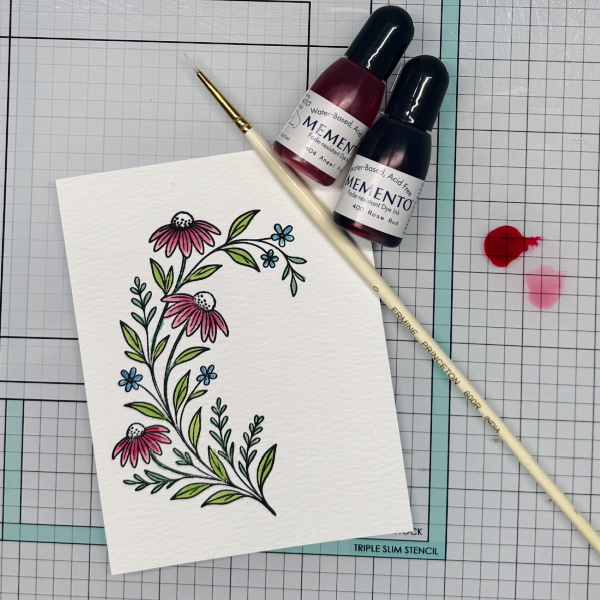
Step:5 Using a light and a bright pink re-inker paint the daisies.
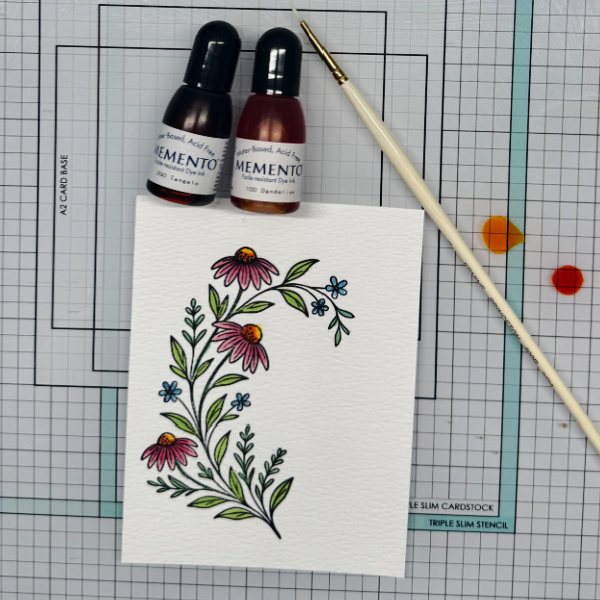
Step: 6 Using a yellow and orange ink paint the centers of the flowers, first yellow and then orange near the bottom.
Step: 7 After the image is painted use the coordinating die to cut it out.
Step: 8 Stamp a sentiment and cut it out with the coordinating die. Place all the elements on the embossed panel (I added an embossed panel at the end) and add the sentiment.
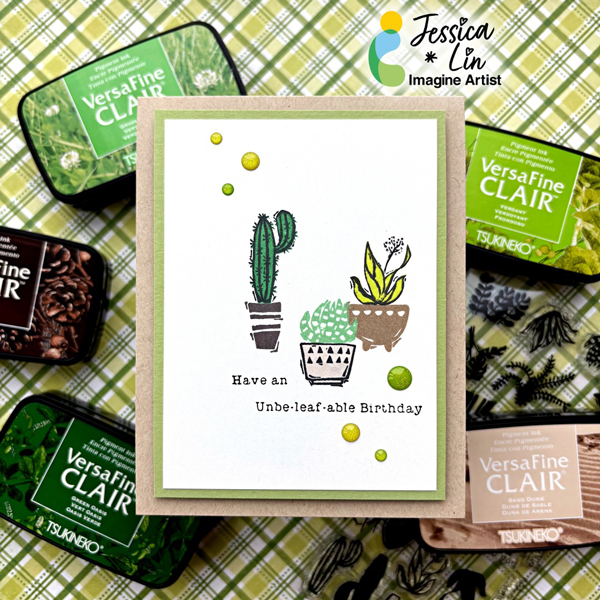
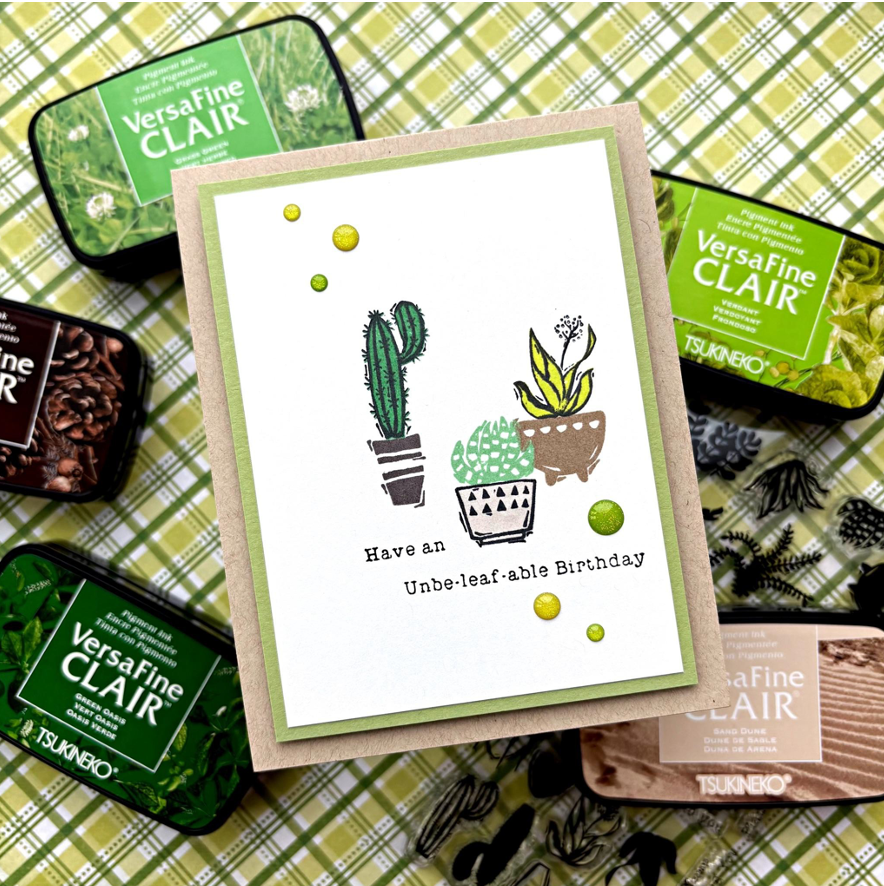
Hi everyone! It’s Jessica here. I am always looking for ways to create gender-neutral birthday cards, and I am so excited to share a beginner-friendly version today. This plant stamp set has some punny sentiments for Valentine’s Day, too. Some of the phrases are perfect for all-occasions, which makes this set so versatile to pair up with the potted plants images.
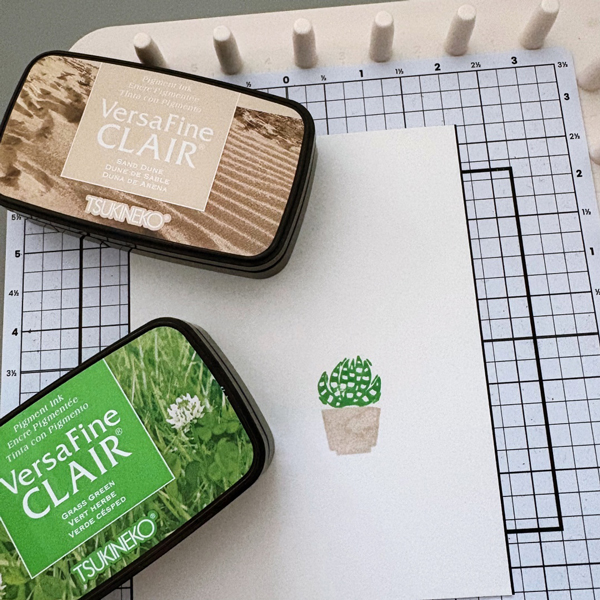
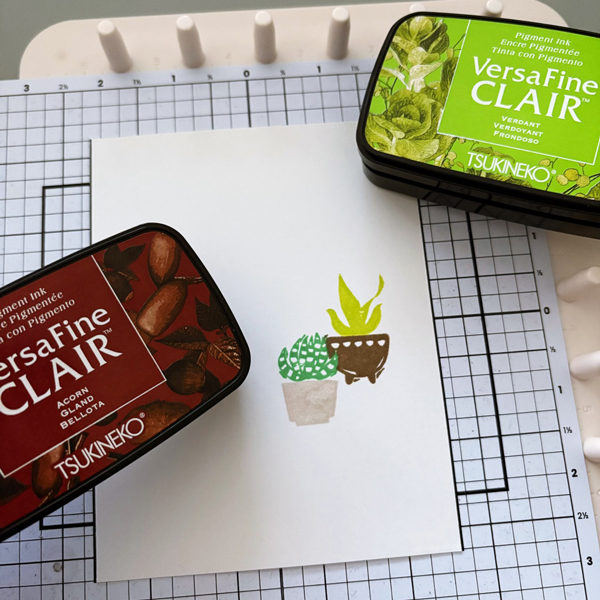
Step 1: Stamp the succulent plant with VersaFine Clair Grass Green ink pad. For the pot, use VersaFine Clair Sand Dune. Stamp another succulent image on a post-it note and fussy cut the image for masking in step 2. Tip: Stamp on the sticky edge of the post-it note so that the fussy cut image will turn into a temporary sticker
Step 2: Mask the stamped succulent image with the fussy cut sticky note. Then stamp the second plant pot with VersaFine Clair Verdant and Acorn. Masking the succulent plant creates the illusion that it sits in front of the second plant pot. I did not overlap the two plants very much, but you could stamp the two closer together to emphasize the spatial arrangement.
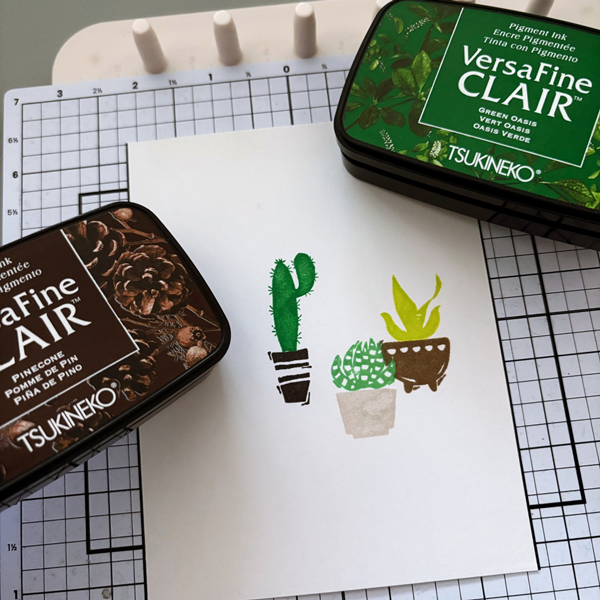
Step 3: For the third cactus plant, stamp with VersaFine Clair Green Oasis and Pinecone. I love the different shades of greens and browns in the VersaFine Clair line; they complement each other so well.
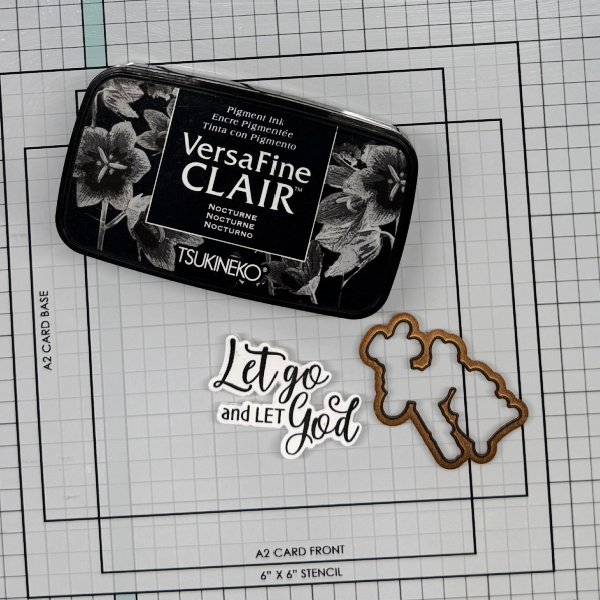
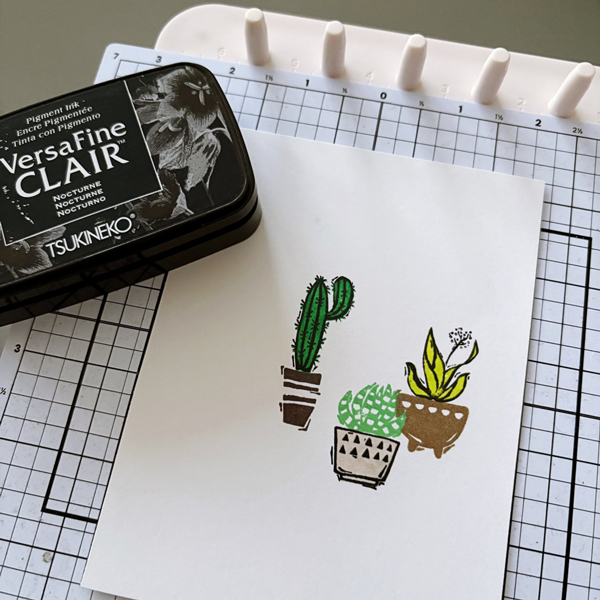
Step 4: Lastly, stamp the outline images with VersaFine Clair Nocturne ink pad. The super cute pun sentiment was also stamped with the same ink.
Step 5: Trim the stamped card panel to 3 ½’’ x 4 ¾’’. Adhere it to a 3 ¾’’ x 5’’ piece of green cardstock, then adhere both layers to a cardbase with foam tape.
Step 6: For the final finishing touch, add a few enamel drops from Doodlebug Sprinkles Limeade.
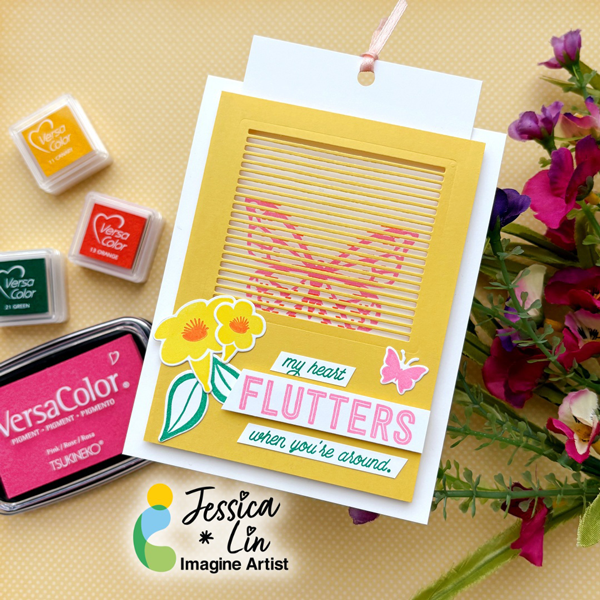
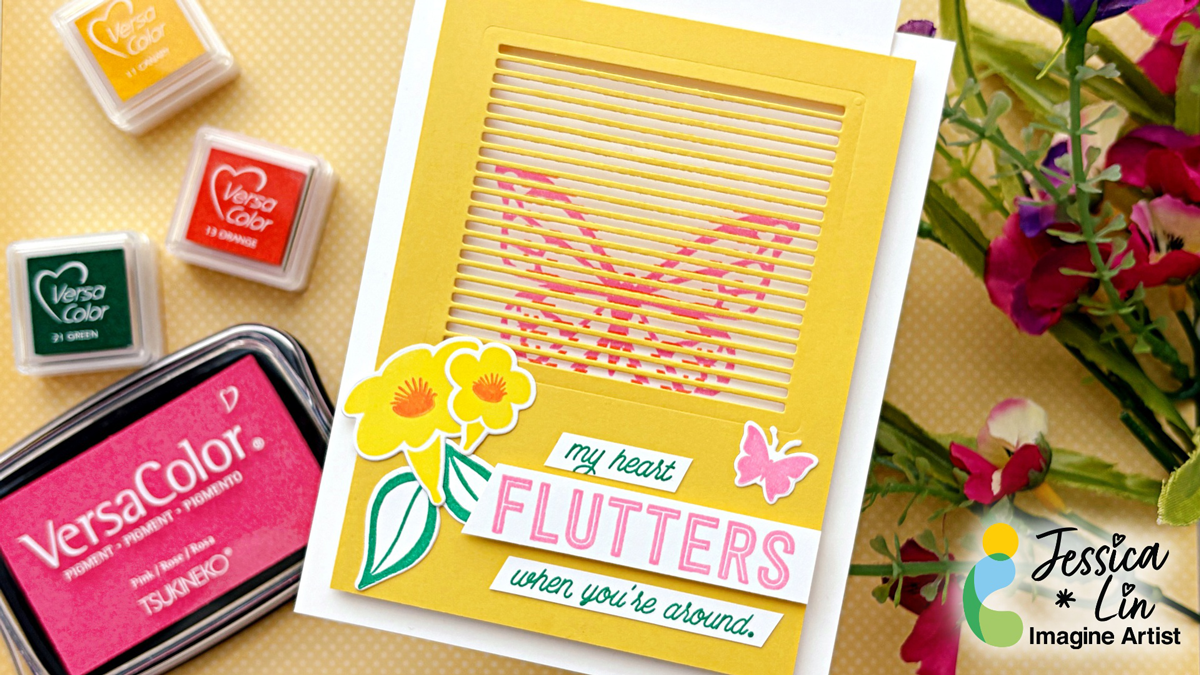
Hi everyone! It’s Jessica here. Interactive cards are so fun to make! Today, I am trying out a new kind of interactive mechanism that resembles stop-motion animation. I haven’t seen this type of papercraft before, and was surprised by the result. If you like interactive cards, be sure to check this out!
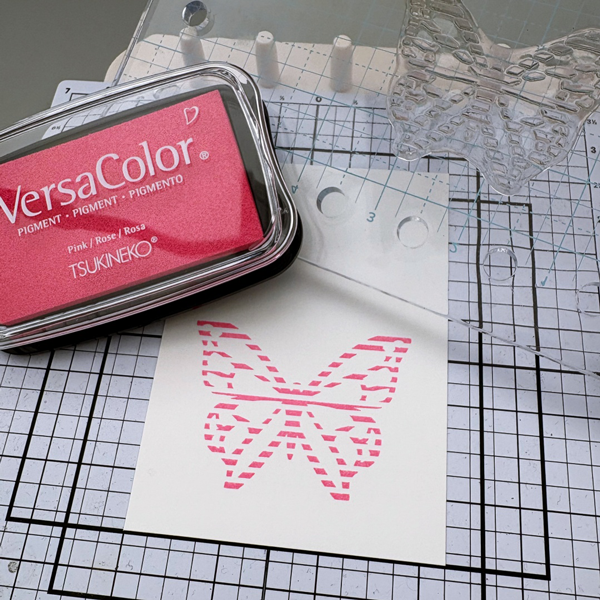
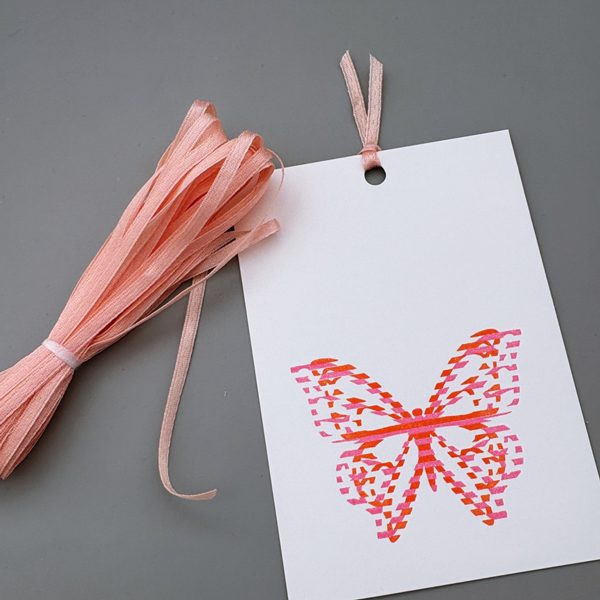
Step 1: On a piece of 3 ¼’’ x 4 ⅝’’ white cardstock, stamp the larger butterfly image with VersaColor Pink ink pad. Try to stamp it straight with the help of a stamp positioning tool or a T-ruler.
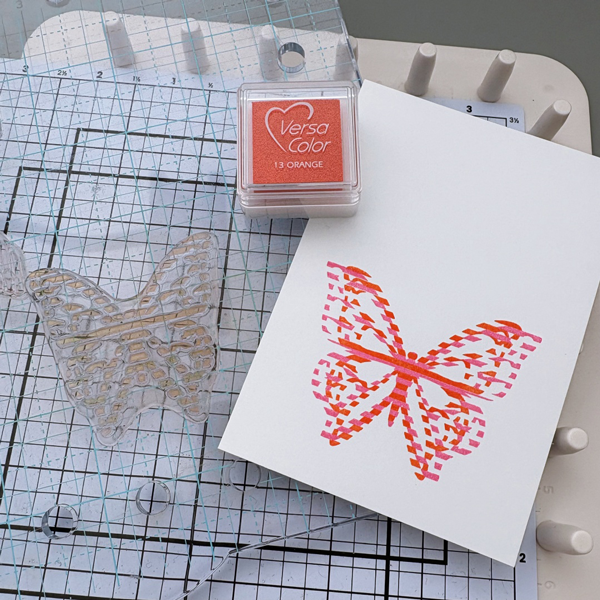
Step 2: Then, lining up the head and tail of the butterfly, stamp the smaller butterfly image with VersaColor Orange ink pad. The stamped image looks a little odd right now, but don’t fret, this was how the You Move Me stamp set from Stampin’ Up was designed.
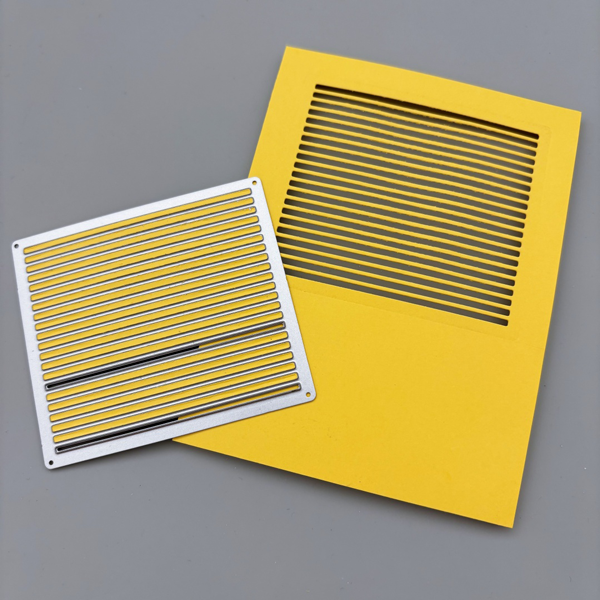
Step 3: On a piece of 3 ¾’’ x 5’’ yellow cardstock, die cut the window die from the coordinating die set. This window is going to be the key of the interactive mechanism. I die cut it towards the top of the card panel since I will be adding sentiment strips on the bottom.
Step 4: Adhere thin foam strips around the sides and bottom of the die cut panel. Don’t forget to leave the top open! TIP: lay the stamped panel on top of the die cut panel, and adhere the foam strips as close to the die cut panel as possible. This would leave less wiggle room for the stamped panel to move around, creating a smoother fluttering effect. After that, adhere the die cut panel to an A2 white cardbase.
Step 5: Punch a hole on the top of the stamped panel and add a small piece of ribbon on top.
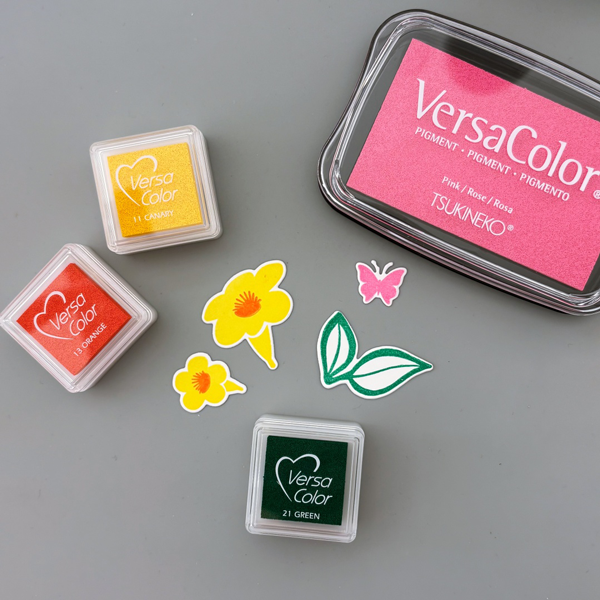
Step 6: Stamp additional floral elements with VersaColor Pink, Orange, Canary, and Green ink pads. Die cut each image with coordinating dies.
Step 7: Stamp the sentiment with VersaColor Pink and Green ink pads. Adhere them to the front of the die cut panel, and this fun, interactive card is complete!
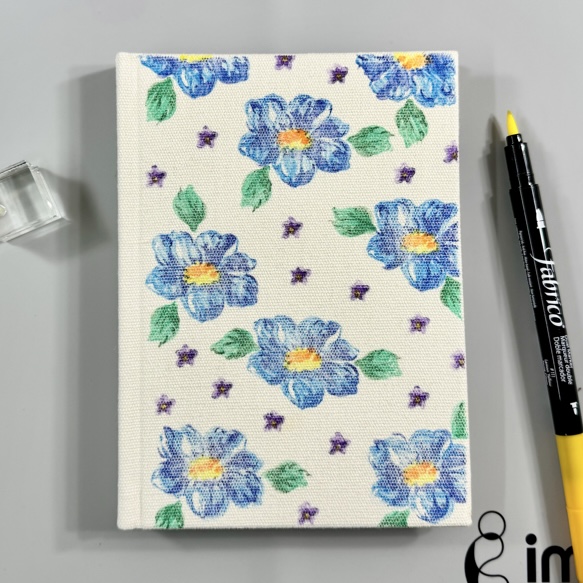
~ Hello crafty friends! Every year, I would need a new journal to start the new year and this time I got a new blank canvas journal that I wanted to personalize. So today, I wanna share with you how to personalize your own canvas journal. It is very easy and fun for sure.
Let’s get crafting!
Skill: Beginner Time: 15 minutes
Direction:
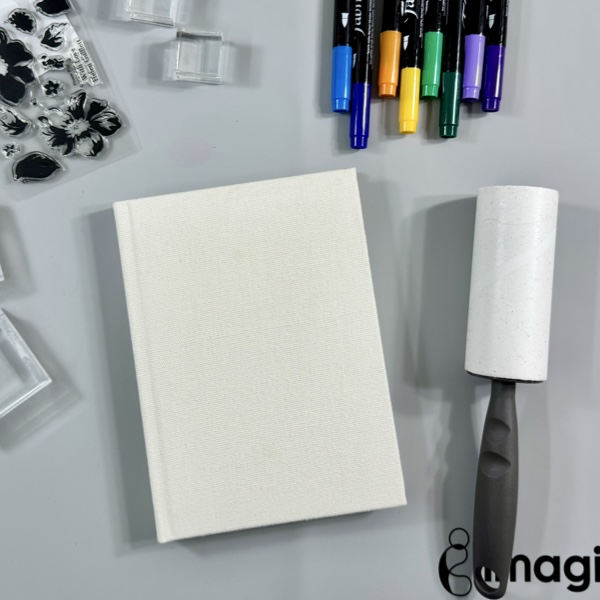
Step 1
Get the blank canvas journal out of its plastic packaging and then use a link roller to clean the canvas cover well from dust, lint, and threads. This step to make the next stamping steps easier and nothing would get stuck on your stamp later.
Step 2
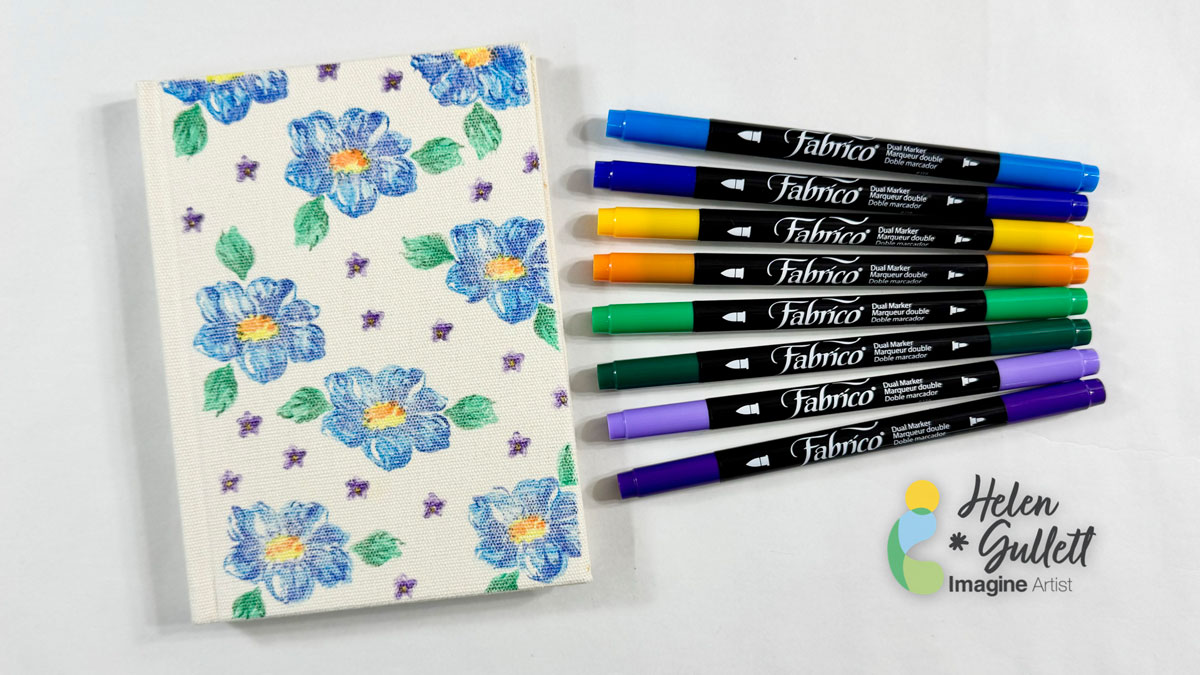
I worked with a layer stamp set, you can use any stamp set you want to personalize your canvas journal.
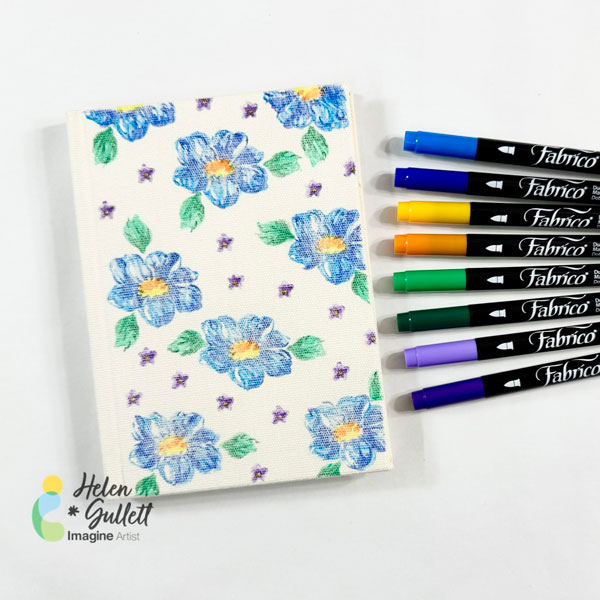
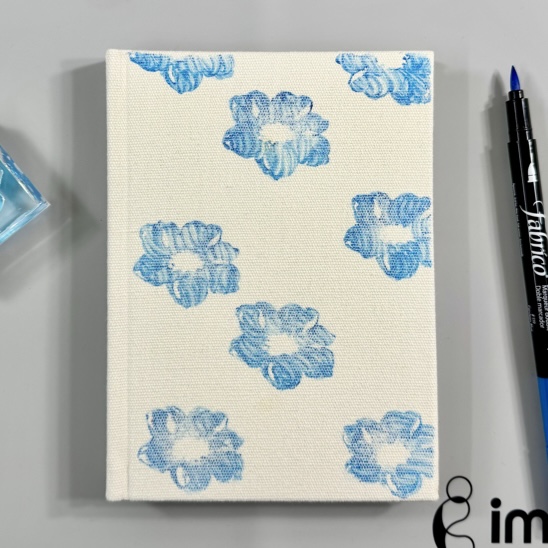
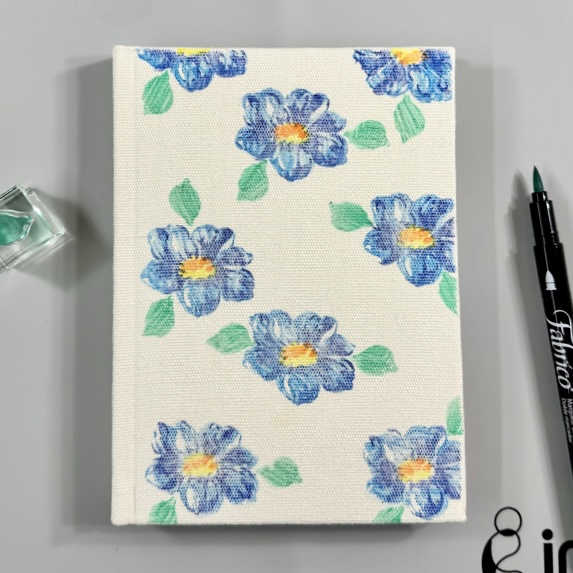
The first step is stamping the first base layer of the big flower. Put the flower stamp on a stamping acrylic block, and then cover it with some ink using the Cerulean Blue Fabrico Marker. Then stamp it on the canvas cover. Make sure to press it down strongly and evenly, do not wiggle it around to get a good impression on canvas.
Repeat the stamping until you cover the whole canvas journal cover.
Step 3
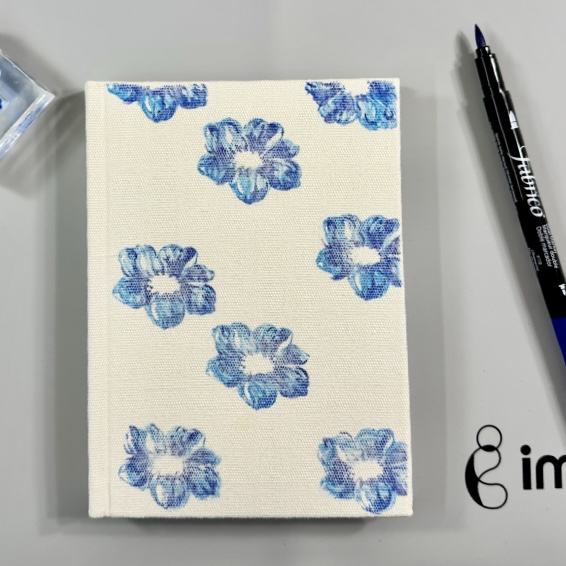
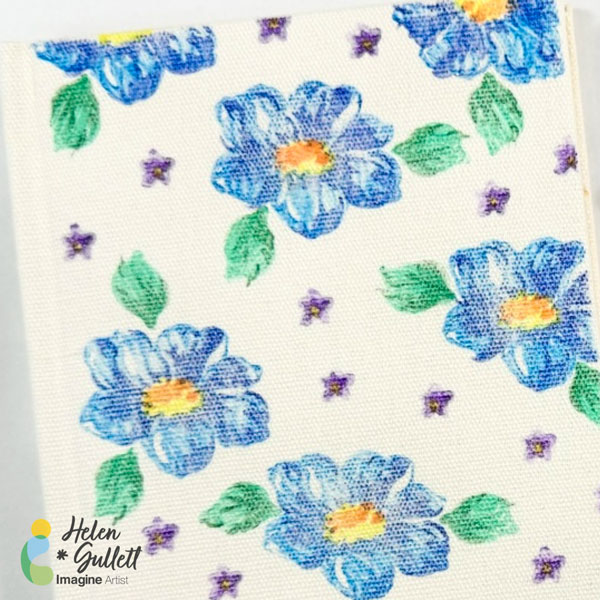
To stamp the second layer of the flower, put the flower stamp on a stamping acrylic block, and then pick a second darker color. I used the Ultramarine Fabrico Marker. Cover the whole stamp with the ink and then stamp it on the canvas cover. Make sure to press it down strongly and evenly, do not wiggle it around to get a good impression on canvas.
Repeat the stamping until all flowers are stamped with the second layer image.
Step 4
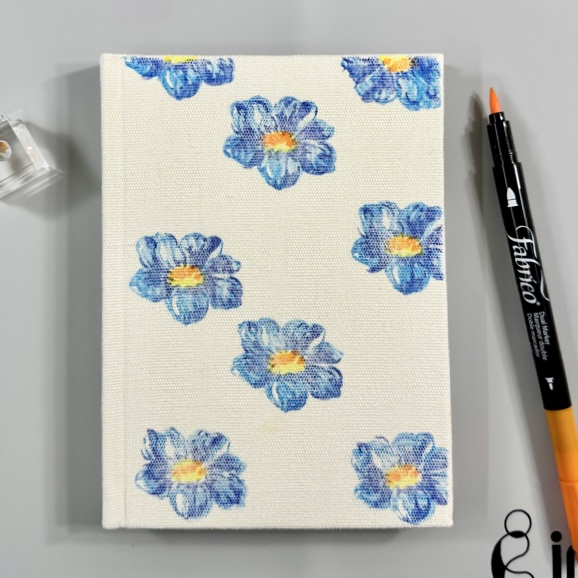
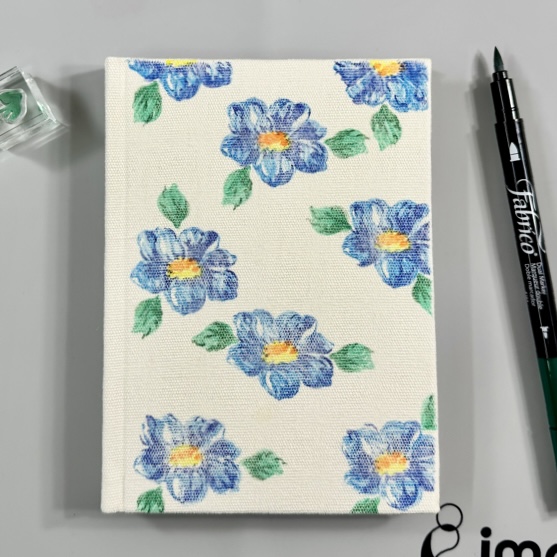
Next, stamp the middle part of the flower. Put the base layer (solid) of the middle part of the flower stamp on a stamping acrylic block, and then cover it with some ink using the Lemon Yellow Fabrico Marker. Then line it up in the middle of the flower, and stamp.
Make sure to press it down strongly and evenly, do not wiggle it around to get a good impression on canvas.
Repeat the stamping until you cover the whole canvas journal cover.
Step 5
Then, grab the second layer of the middle part of the flower and put it on a stamping acrylic block. Use the Tangerine Fabrico Marker to stamp it on top of the base layer.
Make sure to press it down strongly and evenly, do not wiggle it around to get a good impression on canvas.
Repeat the stamping until you fill all the flowers.
Step 6
Use the Emerald Fabrico Marker to stamp the first base layer of the leaf.
Put the leaf stamp on a stamping acrylic block, cover it with some ink, and then stamp it on around the flower as many as you want.
Make sure to press it down strongly and evenly, do not wiggle it around to get a good impression on canvas.
Repeat the stamping step until you like how it looks.
Step 7
For the second layer of the leaf, I use the Forest Fabrico Marker.
Put the stamp on a stamping acrylic block, cover it with some ink, and then stamp it on each leaf.
Make sure it lines up with the base image first, and then press it down strongly and evenly, do not wiggle it around to get a good impression on canvas.
Repeat the stamping step until all leaves are stamped.
Step 8
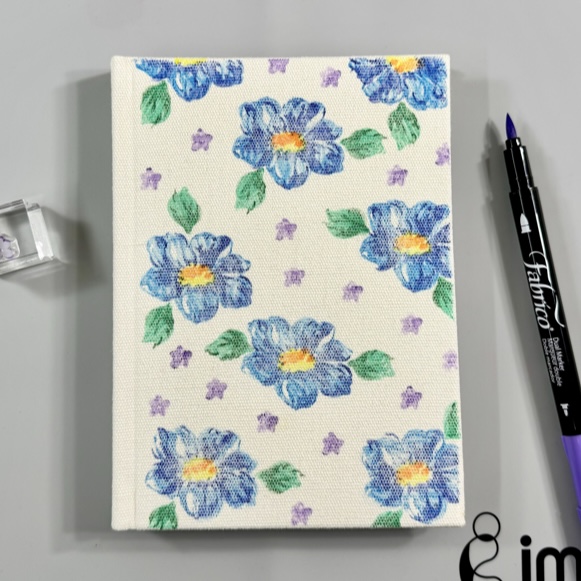
Now stamping the tiny flowers to fill in the empty spaces.
Put the base layer of the tiny flower stamp on a small stamping acrylic block, cover it with some ink using the Wisteria Fabrico Marker, and then stamp it until it fills out the empty spaces on the cover.
Make sure to press it down strongly and evenly, do not wiggle it around to get a good impression on canvas. Repeat the stamping step.
Step 9
Next is to stamp the second layer of the tiny flower. Put it on a small stamping acrylic block, cover it with some ink using the Peony Purple Fabrico Marker, and then stamp it until all second layers of the tiny flower are stamped.
Make sure to press it down strongly and evenly, do not wiggle it around to get a good impression on canvas. Repeat the stamping step.
Step 10
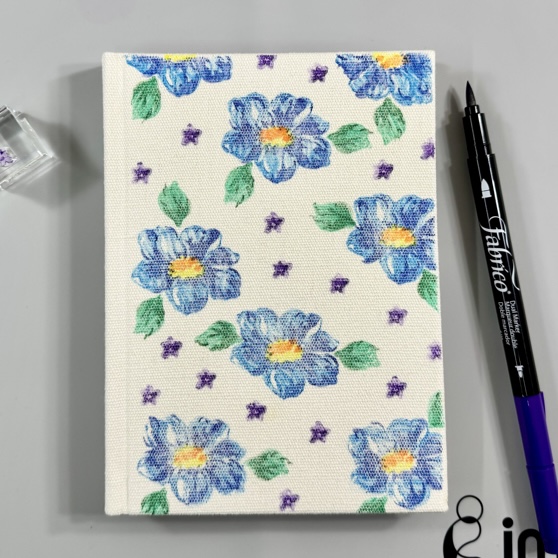
Last step of this process is stamping the middle part of the tiny flower.
Put the stamp on a small stamping acrylic block, cover it with some ink using the Lemon Yellow Fabrico Marker, and then stamp it on all the tiny flowers.
Make sure to press it down strongly and evenly, do not wiggle it around to get a good impression on canvas. Repeat the stamping step.
If you want, you can use a craft iron to heat set the ink to the canvas. But without ironing, the ink will dry permanently in 24 hours (do not get it wet).
Being able to personalize our own canvas journal is a fun project and also, you can make it for gifting, too.
I hope you will give this technique a try and play around with different colors. Thanks so much for stopping by our blog today.
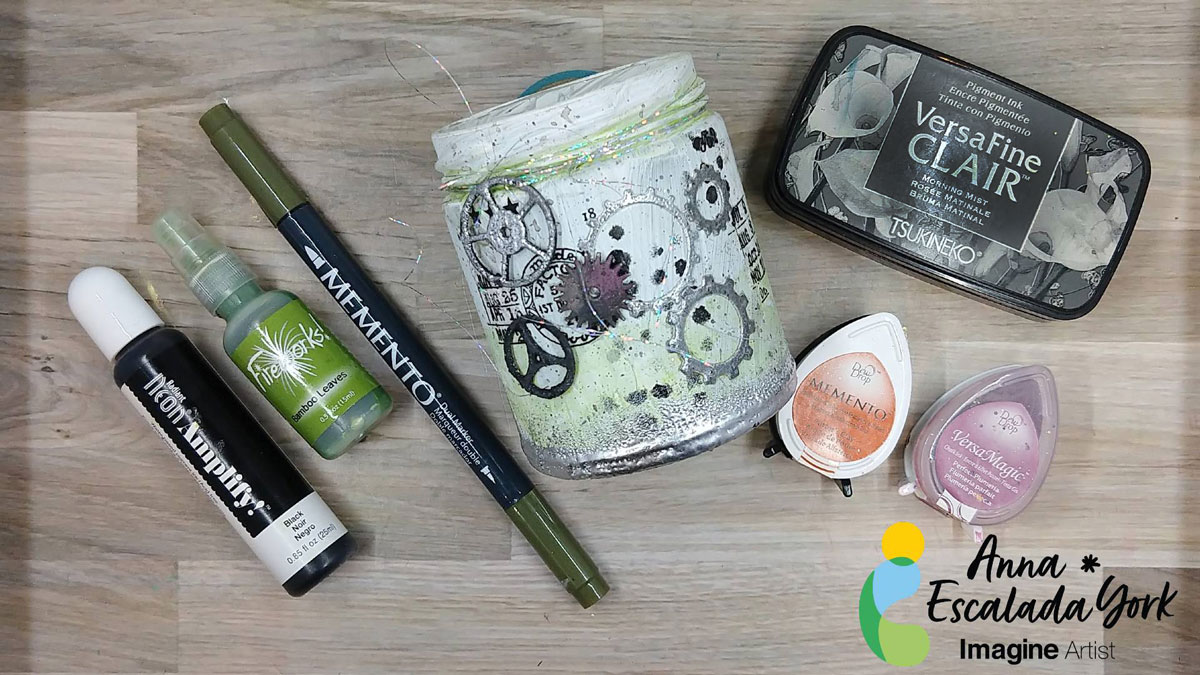
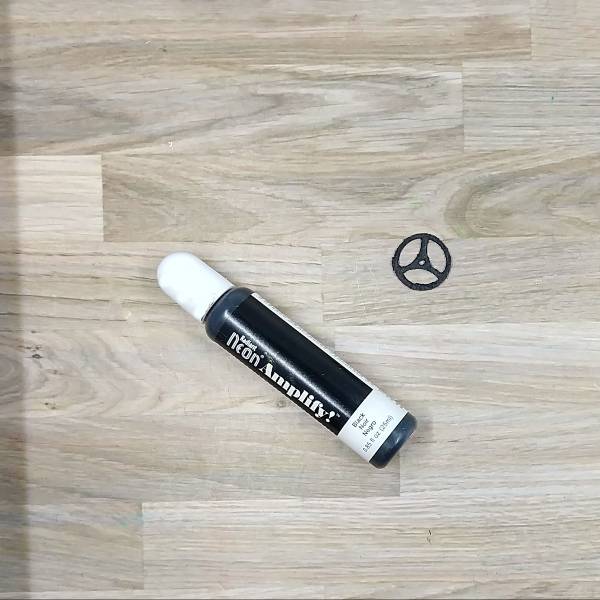
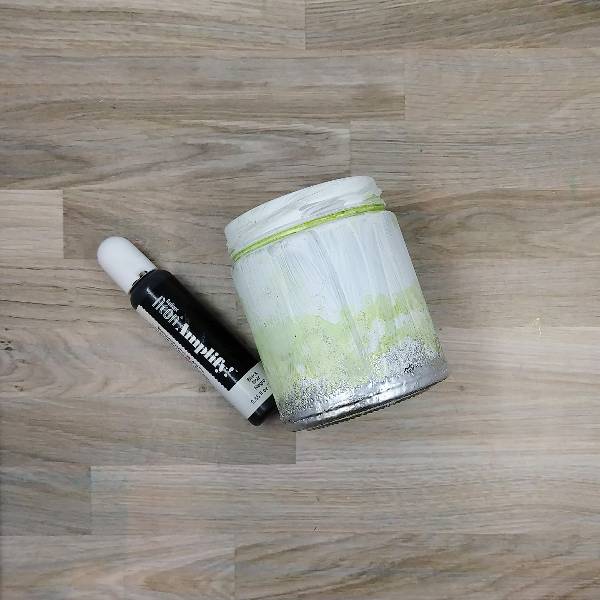
My teen is hard to please, but recently they expressed interest in having a small jar to use for candles. They really like a grungy steampunk vibe and their favorite color is green and so tried to personalize this for them.
Add a dab of black Amplify! onto a brass metal gear and heat with a tool. Because I heated the Amplify!, it puffed out and made Amplify! gritty and puffy, which worked well for the jar’s gritty look.
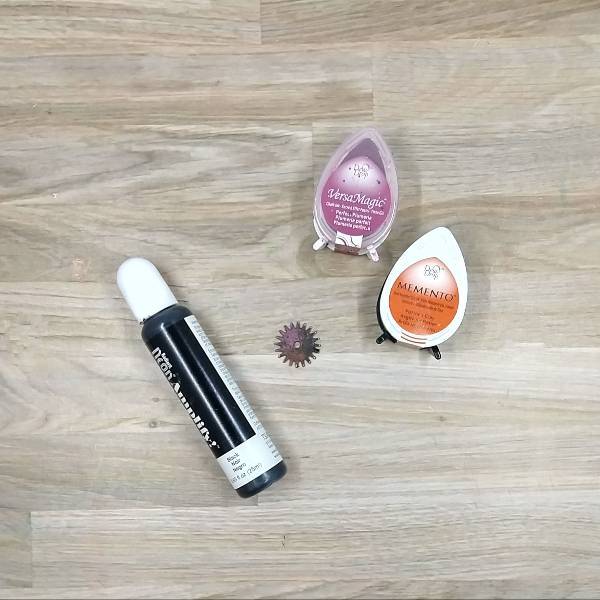
Step 2:
Repeat step one with a second gear. Then press another gear into both a Potter’s Clay Memento ink pad as well as Perfect Plumeria VersaMagic ink pad to make the gear look like it had rusted over.
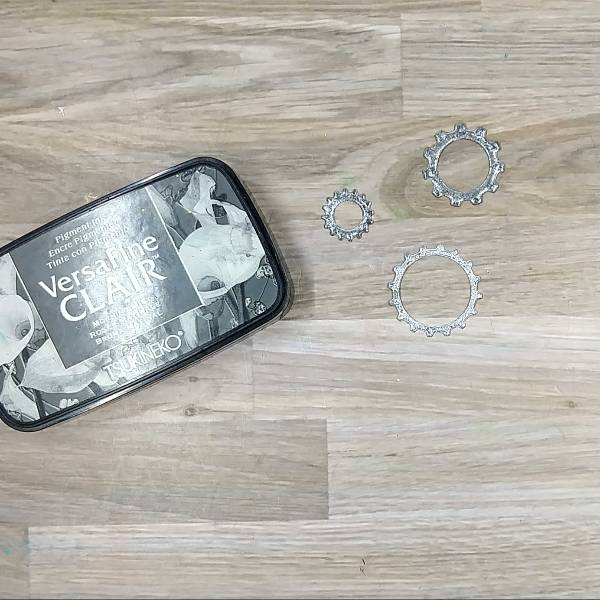
Step 3:
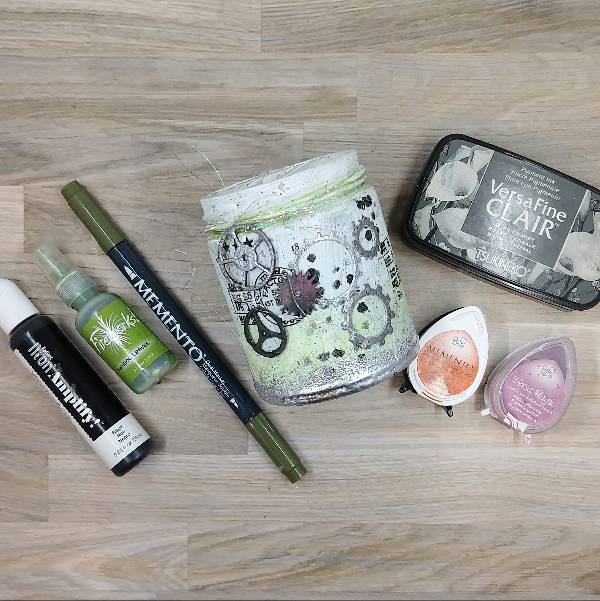
Die cut watercolor paper with gear dies. Then press each of the gears into Morning Mist VersaFine Clair ink. Heat emboss all three of them with silver embossing powder.
For the two top gears in the picture, press the gears back into the Morning Mist VersaFine Clair ink and then heat embossed them with clear embossing powder to create a darker or tarnished silver color on those two gears.
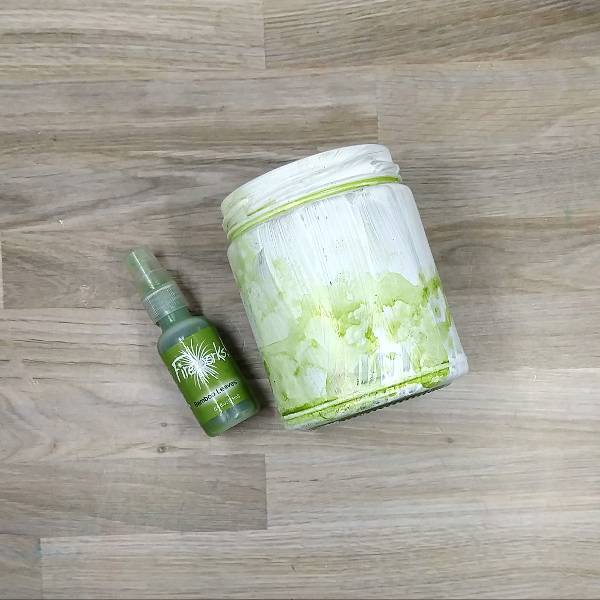
Step 4:
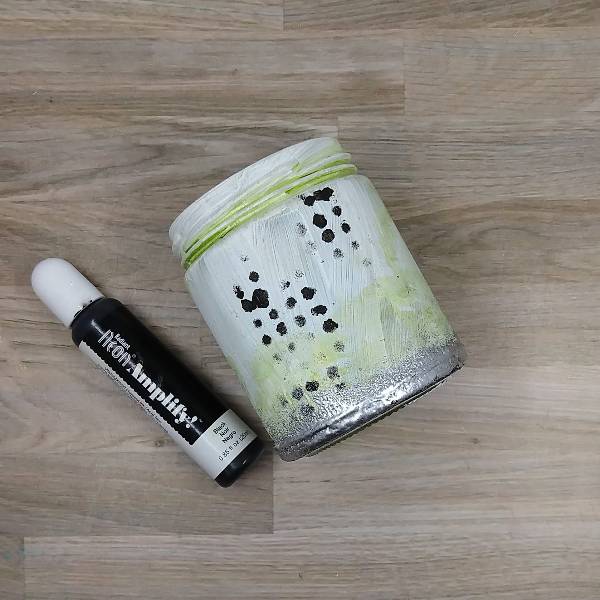
Paint a cleaned jar with gesso. Let it dry overnight. Then spray the jar with Bamboo Leaves Fireworks! Craft Spray and spin the jar to help move the spray around the jar. Repeat to color the whole bottom part of the jar and allow to dry.
Step 5:
Using a sponge dauber, add a thin layer of black Amplify! To the bottom part of the jar and then used the wet Amplify! to adhere silver embossing powder and then heated the powder to create a silver bottom to the jar.
Step 6:
Use a circular stencil and the same sponge dauber to add more black Amplify! to the center of the jar (on one side) and use a heat tool to dry.
Step 7:
Add rub on stickers next to the black circles. Glue the watercolor die cut gears over the stenciled black circles and then glue the two smaller metal gears over the top of them. Attach the largest gear by tying it onto the neck of the jar with silver thread. Splatter the jar with Northern Pine Memento Dual Tip Marker to finish the project.
Other Products • Golden – Gesso Semi-Opaque Acrylic Primer • Tim Holtz and Idea-ology – Remnant Rubs • Tim Holtz and Idea-ology – Sprocket Gears • Sizzix – die set – Vault Industrial • Circle stencil in my stash • Clear Embossing Powder • Silver Embossing Powder • Silver thread • Glue • Watercolor paper
Hello everyone! Today I am sharing how I made this filmstrip valentines card using some Memento inks.
Skill: Intermediate Time: 1 hour
Directions:
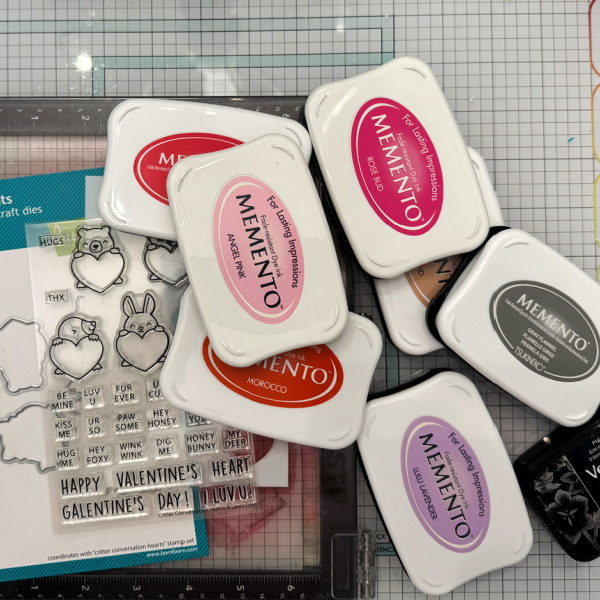
Gather your supplies. To make this card, you will need a valentines set (preferably with small images to fit in the film strip), a film/postage strip die, and sereral colors of ink.
I started with a white top folding A2 card base and a white panel for the images. I used a set from Lawn Fawn that has coordinating stamp, coloring stencils and dies. I used Memento inks in several colors to color the images and a stamp/film strip die.
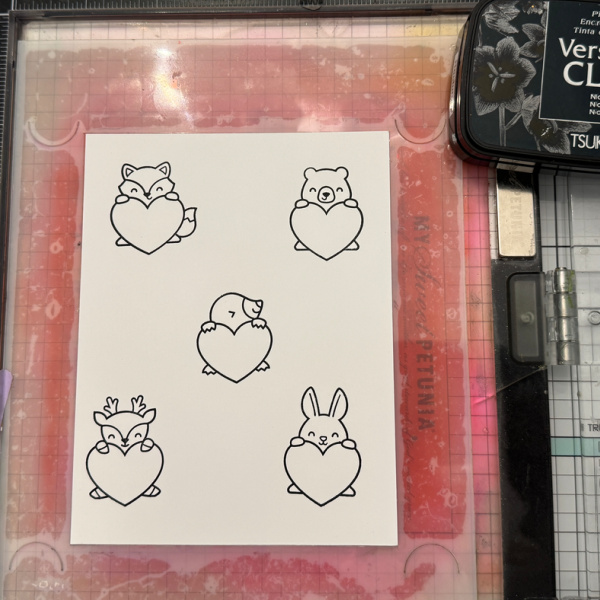
Step 1: Stamp the images in VersaFine Nocturne ink on a panel of white cardstock.
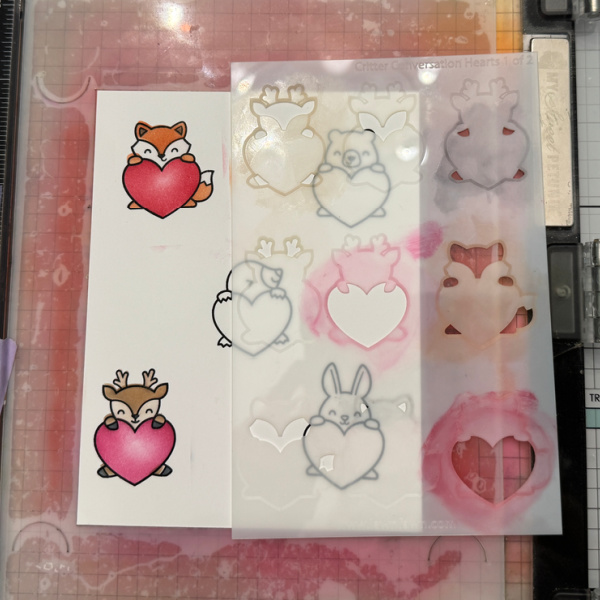
Step 2: Using stencil No. 1, color the images in the desired colors. I used Morocco for the fox and Desert Sand for the deer.
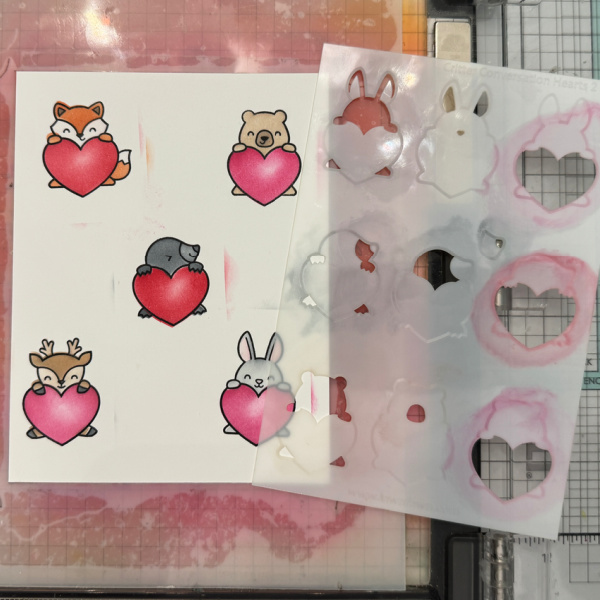
Step 3: Using stencil No. 2, color the remaining images in the desired color. I used Desert Sand for the bear and Gray Flannel for the seal and Bunny just heavier handed on the seal. I used Angel Pink for the ears.
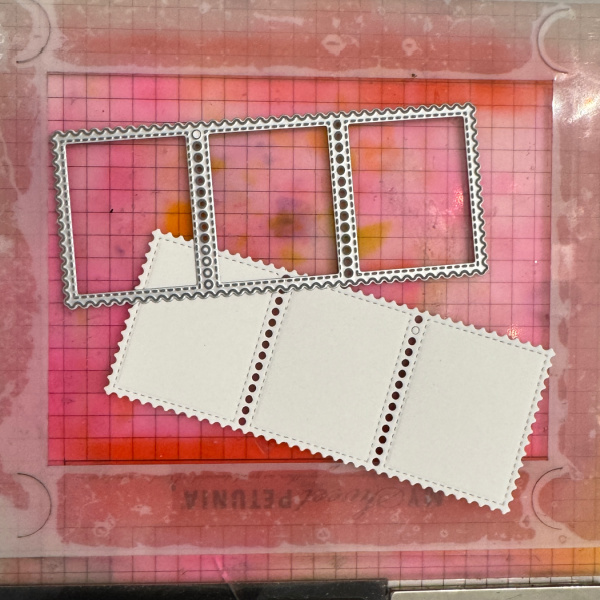
Step 4: Using the coordinating dies and a die cutting machine, cut out the images.
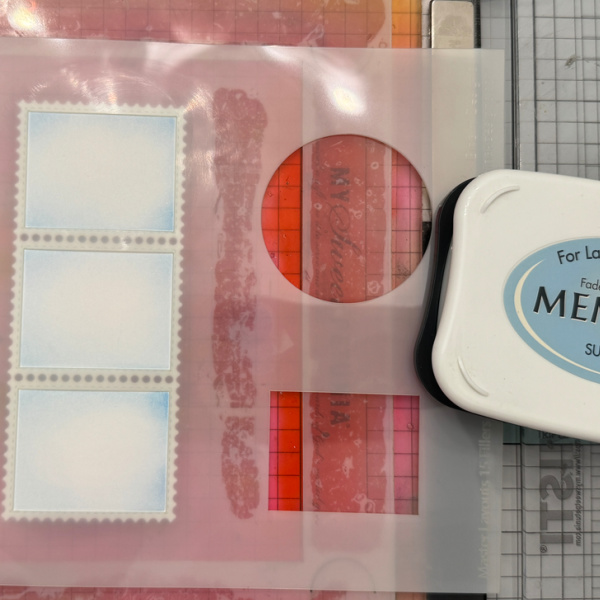
Step 5: Cut out the postage/film strip and then color with coordinating stencil. I used Summer Sky.
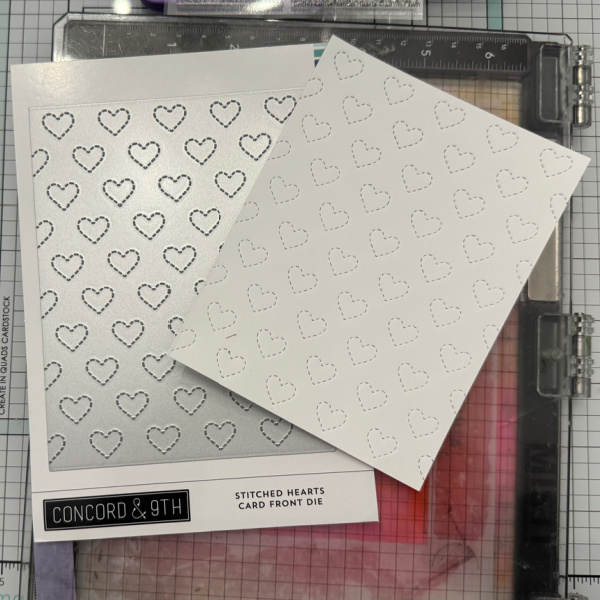
Step 6: Cut out a background using a heart cover plate.
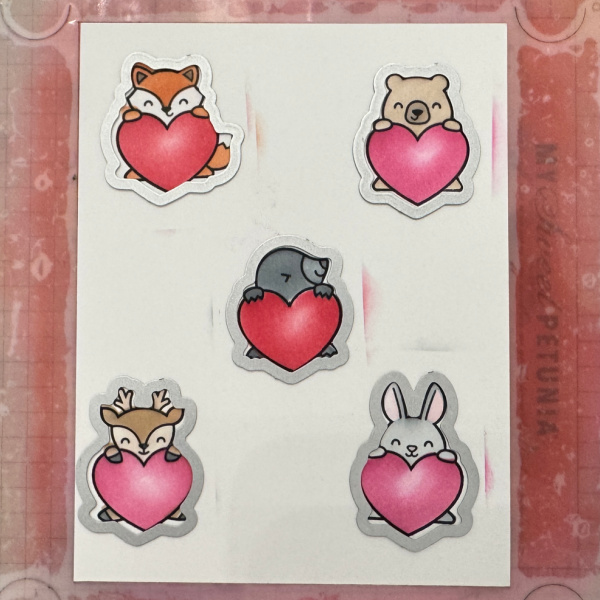
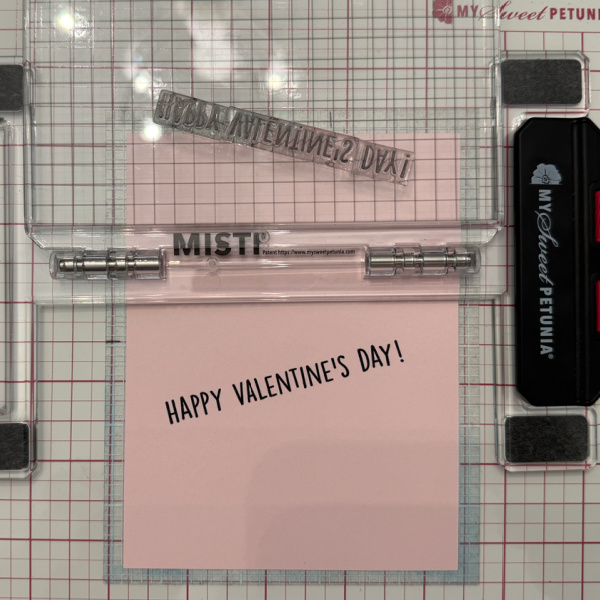
Step 7: Stamp the greeting and then cut down at an angle. Put all the elements together on the card base.
The postage/film strip will hang over a little and will need to be trimmed. You can prevent this by madding a horizontal card rather than a vertical one.