See How to Make Clear Card Elements with StazOn Pigment Ink

by Lindsay Adreon

See How to Make Clear Card Elements with StazOn Pigment Ink

I love to send cards to people, but adding in unexpected touches is one of my favorite things to do! Today’s card has one of those surprises – a completely clear front! Using the new StazOn Pigment ink and acetate, I was able to create my own patterned acetate using Waffle Flower stamps to make the front of the card really unique!

Skill: Advanced
Time: 1 hour

Directions

Supplies

Imagine
craft matImagine Craft Mat stazon pigment inkpadStazOn Pigment in Piano Black
StazOn Pigment in Lemon Drop StazOn Pigment in Grape Candy
Other
  • Acetate
  • Waffle Flower – Plaid Play Stamp Set
  • Paper Smooches – Sentiment Sampler Stamp Set
  • Acrylic Block
  • Copy paper
  • Cardbase
  • Scissors or Cutting Tool
  • Foam Tape

Learn How To Make A Hello Spring Card

by Elina Stromberg

Learn How To Make A Hello Spring Card

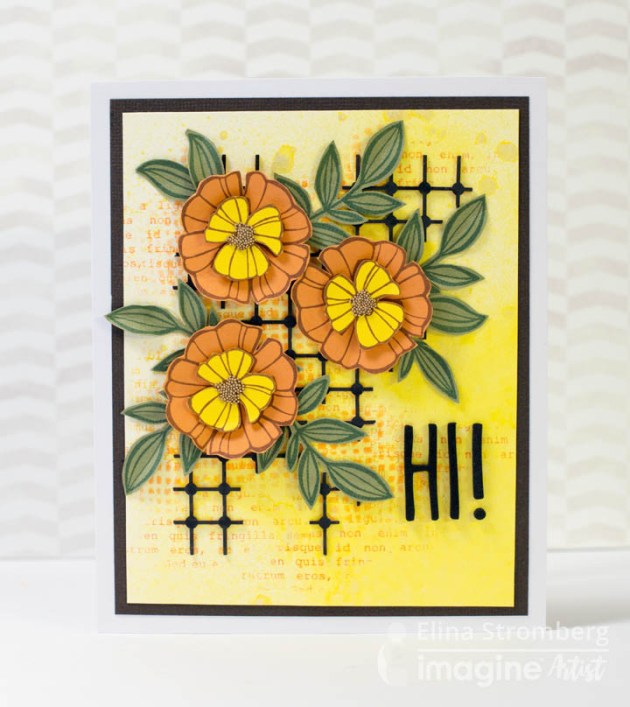
Here in Finland, the winters are usually quite long, and when you now look out from the window you still see piles of snow even if it is already March! On a grey late winter day when spring and summer seem to be still quite far away, you can turn your mind already into spring mood: For that, you only need a few stamps, your favorite bright ink colors and some colorful pieces of scrap paper. When you spend a short moment stamping, cutting, and layering your colorful hand-made elements on a beautiful flower card I’m sure you will soon feel your mood rising. Happy and pleased with your creation you quickly feel that actually spring is just around the corner!

Skill: Beginner/Intermediate
Time: 1.5 hours

Directions


Step 1

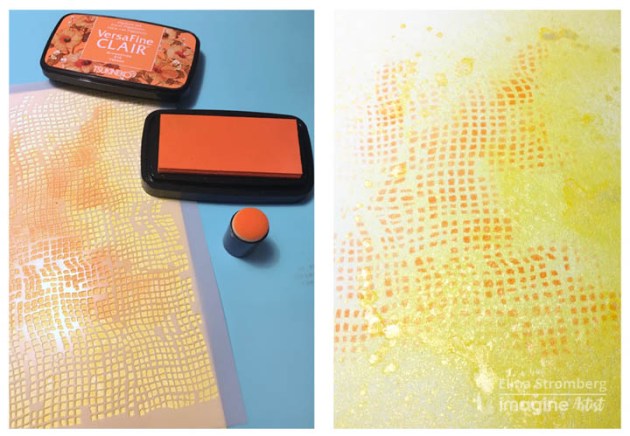
Mist a piece of watercolor paper with Fireworks Shimmery Craft Spray in Dandelion. Let dry. Place a stencil on the colored paper. Use VersaFine Clair in Summertime and a Sponge Dauber to stencil random patterns on the paper. Do not cover the entire area but leave areas unpatterned.


Step 2

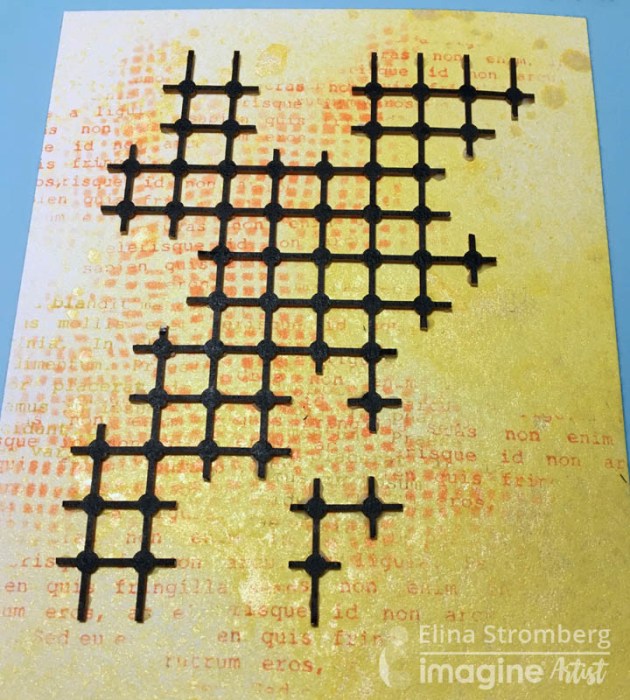
Shape a chipboard grid by cutting out some parts with scissors. Color the plain chipboard with a Fabrico Pen in Real Black.


Step 3

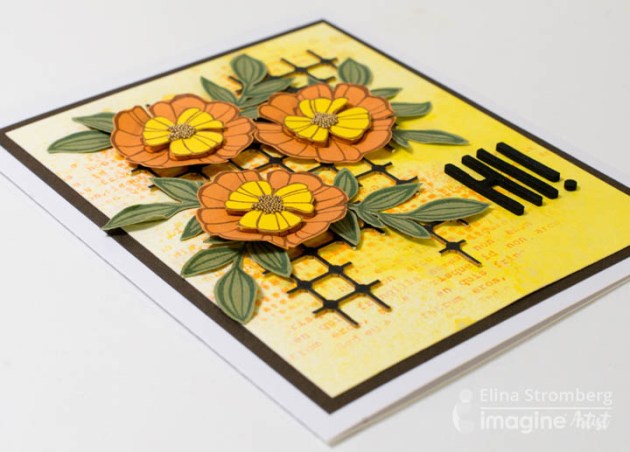
Stamp patterns on the yellow stenciled paper, using the same orange ink. Glue the colored chipboard grid on the paper.


Step 4

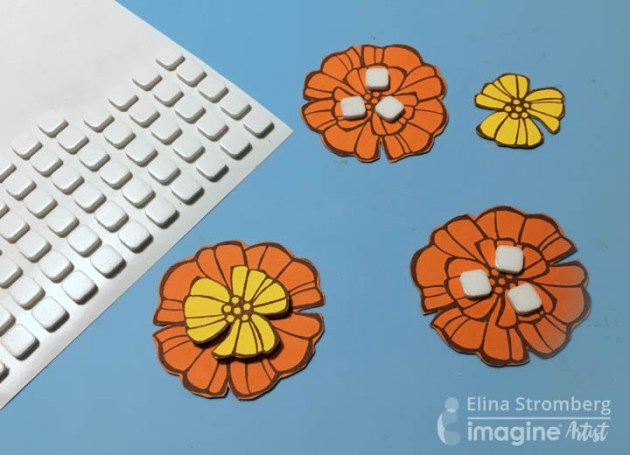
Stamp flowers and leaves on pieces of colored cardstock. Stamp each flower twice; first on orange paper and then on yellow. Cut out. Layer each flower center on a base flower. Attach using 3-D foam stickers.


Step 5

Glue flowers and leaves on the card front. Write greeting word with foam letter stickers. Mat on dark brown cardstock and attach to card base.

Supplies

Imagine
Other
  • Chipboard grid
  • Dutch Doobadoo – Stencil ‘Burlap’
  • Stampin’Up – Stamps ‘Falling Flowers’
  • Wycinanka – ‘Lorem Ipsum’
  • 3-D foam stickers
  • American Crafts – Foam letter stickers
  • Microbeads
  • Glue
  • Scissors
  • Watercolor paper
  • Cardstock in dark brown, yellow, orange, green
  • White card base

Watch a Video on How to Use StazOn Pigment to Stamp on Kraft Paper

by Kassy Tousignant

Watch a Video on How to Use StazOn Pigment to Stamp on Kraft Paper

The new StazOn Pigment ink is here!! Yay! I am so excited to share this wonderful new ink with you! I can hardly contain myself. I made a simple, springtime, gnome card to show you some of the versatility of this new ink. I stamped Peacock Feathers on kraft cardstock and Lemon Drop on a metal tag and both look great! This ink will work on porous and non-porous surfaces, dries quickly, and is OPAQUE, and sooo crisp! I really don’t know what else you need… Ok, I’m done gushing…for now. 🙂

Skill: Beginner
Time: 15 minutes

Directions

Supplies

Imagine
Other
  • Twine and string
  • 3d foam tape
  • Flowers
  • Patterned paper
  • Zots
  • Kraft Cardstock

Learn To Make This “Happiness Is..” Cats Handmade Card

by Iris Rodriguez

Learn To Make This "Happiness Is.." Cats Handmade Card

This card was inspired by my cat. An awesome, adorable orange tabby named O’Malley. If you first looked at the picture of this card and noticed the sentiment “happiness is…” and your answer was orange tabbies; that is the right answer, of course, lol! I made this card in a monochromatic style by inking spots of yellow and orange Memento inks, then added a layer of Orange Zest StazOn Studio Glaze. The glaze covers the paper with a nice vibrant, translucent color. I find that it unifies the background nicely. Perfect for my unified looking orange cats card.

Skill: Intermediate
Time: 30 minutes

Directions


Step 1

Ink random spots of the Dandelion then the Cantaloupe Memento inks with the Inkblusher.


Step 2

Ink random spots of Tangelo then Lady Bug Memento inks with the Inkblusher.


Step 3

Squeeze a line of the Orange Zest StazOn Studio Glaze. Using a plastic scraper or an old credit scrape the glaze across the paper.


Step 4

After painting and inking the background, stamp the sentiment; cut to the desired size and assemble card.

Supplies

Imagine
Other
  • Cardstock paper
  • Laurel Burch Rubber Stamp – Whiskers
  • Crackerbox and Suzy Stamps – Happiness Is

Learn How To Create A Layered Rose Stamp With Stazon Pigment

by Arjita Sepaha Singh

Learn How To Create A Layered Rose Stamp With Stazon Pigment

I have used one of my all-time favorite Rose stamp for today’s card project. I love this stamp because of its realistic layering effect. To achieve this beautiful layering I used a couple of ink types today. I used the Memento Inkpads, our brand new Stazon Pigment inks, Radiant Neon inkpad, and VersaMagic inkpads & I was very happy to see the final outcome and the way they all work together.

Skill: Intermediate
Time: 30 minutes

Directions

Supplies

Imagine
Other
  • Altenew Stamp & Die set – Vintage Roses
  • Card Stock – White, Kraft
  • Scissors
  • Misti Stamping Tool
  • Double-sided Tape

Learn to Create a Card with All-Purpose Ink Blowing

by Lindsay Adreon

Learn to Create a Card with All-Purpose Ink Blowing

I love to create fun backgrounds with new techniques to be the main focal point on my cards. In this video, I’m sharing a really fun and creative way to use the All-Purpose Inks from Imagine to create one of a kind backgrounds! And all you need is a straw!!

Skill: Intermediate
Time: 1 hour for 2 cards

Directions

Supplies

Imagine
Other
  • Watercolor paper
  • Painter’s Tape
  • Straw
  • Water Mister
  • Deco Foil – Gold, Bronze
  • Concord & 9th Hello Lovely
  • Inspired by Stamping Smile Die
  • Die Cutting Machine