Learn How To Upcycle Old Computer Parts Into A Beautiful Collage

by Jowilna Nolte

Learn How To Upcycle Old Computer Parts Into A Beautiful Collage

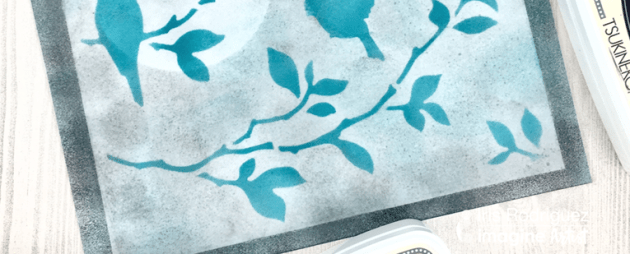
StazOn ink has always been one of my favorite for mixed media projects, but the addition of StazOn Pigment has been a true game changer. I used the ink on several surfaces for this Teal and Magenta upcycled project, and I simply love the outcome of the StazOn Pigment ink on these surfaces.

Skill: Intermediate/Advanced
Time: 30 minutes

Directions


Step 1

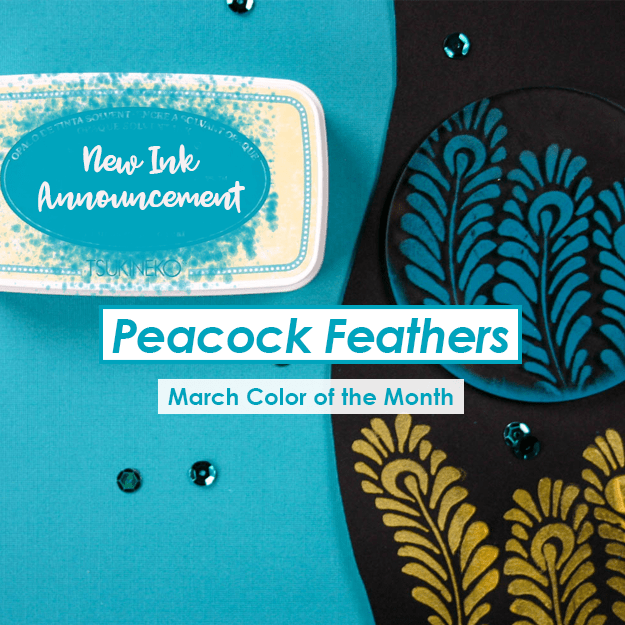
Ink the resin wings using a sponge dauber with StazOn Pigment Peacock Feathers.


Step 2

Ink a metal disk by lightly tapping the ink pad onto the metal repeatedly. I did not cover the entire surface but left some open spaces.


Step 3

Once the ink on the disk is dry, stamp flower images onto the disk using Snowflake StazOn Pigment ink. Note: The ink pulled some of the pink ink off the metal leaving a silver flower impression which looked quite amazing.


Step 4

Die-cut white cardstock leaves and color them using your ink pads with the direct to paper method.


Step 5

Color flowers using All-Purpose inks on choice.


Step 6

Adhere the die-cut leaves, wings, and flowers to your metal disk using gel medium. Add thread, gold glitter, and other elements to finish off your project.

Supplies

Imagine
Other
  • Metal disk – recycled hard drive part
  • Joy Clair stamps
  • Flowers – Little Birdie, Prima
  • Scrap and Decor – Resin Wings
  • Prima – Leaf die-cut
  • Die-cut machine
  • Kaisercraft – DIY Cuts
  • PrimaGel – Gold glitter
  • Little Birdie Crafts

Watch a Video on How to Use StazOn Pigment to Stamp on Kraft Paper

by Kassy Tousignant

Watch a Video on How to Use StazOn Pigment to Stamp on Kraft Paper

The new StazOn Pigment ink is here!! Yay! I am so excited to share this wonderful new ink with you! I can hardly contain myself. I made a simple, springtime, gnome card to show you some of the versatility of this new ink. I stamped Peacock Feathers on kraft cardstock and Lemon Drop on a metal tag and both look great! This ink will work on porous and non-porous surfaces, dries quickly, and is OPAQUE, and sooo crisp! I really don’t know what else you need… Ok, I’m done gushing…for now. 🙂

Skill: Beginner
Time: 15 minutes

Directions

Supplies

Imagine
Other
  • Twine and string
  • 3d foam tape
  • Flowers
  • Patterned paper
  • Zots
  • Kraft Cardstock

See How To Upcycle A Tin With Stazon Pigment Ink

by Roni Johnson

See How To Upcycle A Tin With Stazon Pigment Ink

Did you hear about the new StazOn Pigment Ink? A quick drying opaque ink that you can use on all of the surfaces that you use the original StazOn ink. This will take your mixed media game to a whole new level of fun. Today am sharing a mermaid themed gift tin that I made for my daughter in law. It’s got layer after layer of StazOn Pigment Ink as well as a few other fun products from Imagine like Goosebumps spray, irRESISTible Pico Embellisher, On Point Glue.

Skill: Intermediate
Time: 1 hour

Directions


Step 1

Prepare the tin you will be working with by sanding off any artwork. 180 or 220 grit sandpaper works well for this process. Wash and dry the tin to remove dust, debris, and oils from your skin.


Step 2

Use sponge daubers and StazOn inks to build layers of color beginning with the darkest layer on the bottom. Mariner Blue was applied to the very bottom rim of the lid to create the deepest and darkest part of the ocean. Let dry. Shamrock Green was the next layer which overlapped the Mariner Blue a bit and was applied approximately half way up the tin. Peacock Feathers was used for the third layer of ink, it was pounced darkest above the green but was also pounced over both the Shamrock Green and Mariner Blue to help blend the colors together. Snowflake was applied on the upper quarter of the lid, it was then lightly pounced into the Peacock Feathers to bring a look of natural gradation.


Step 3

The mermaid stamp was inked with Piano Black StazOn Pigment ink and immediately stamped on the lid. Due to the fact that the lid has a slightly curved surface, I have found that it works best if you hold the lid in one hand and the stamp in the other and bring them together. This allows you to see that the stamp is making contact as you press the stamp around the contour of the lid. Let the ink dry completely.


Step 4

Spritz the lid with Clear Goosebumps Texture Spray to create an illusion of water. Let this medium dry before moving on. Use Wedding Dress irRESISTible Pico Embellisher to create bubbles in the water.


Step 5

Use a sponge dauber to color the side of the lid with StazOn Pigment in Mariner Blue and to frame the stamped image on top of the lid.


Step 6

Selectively apply On Point Glue to the lid and lightly sprinkle glitter over the wet adhesive. Let the glue dry completely, shake off excess glitter and replace it for future use.

Supplies

Imagine
Other
  • Upcycled Tin Container
  • Sandpaper
  • Unity Stamp Co – Mystical Mermaid
  • Fine Glitter

Color of the Month is Peacock Feathers

Color of the Month for March is Peacock Feathers! We love this bright teal color and feel it is the perfect color to kick off the spring season. Not quite green, not quite blue, we really feel teal is in its own color category. Along with this beautiful color hitting your eyes all month long, we are featuring a whole new ink line to be announced this Tuesday, March 5th, 2019. So stay tuned for that super fun announcement!

In the meantime, we have a couple of inkpad brands to recommend to add to your teal collection. Try VersaFine Clair in Warm Breeze. It is a beautiful solid stamping ink and will look great for block printing or large surface coverage. If you need a beautiful ink for blending try VersaMagic in Turquoise Gem. The heavy pigment load and long open time are perfect for blending across a background. If you enjoy working with fabric projects then try the Fabrico Marker in Tropical Lagoon.

We hope you try some of these inks, in the meantime here are some sneak peeks for March

Mermaid Tin by Roni Johnson 

sneak-peak-mar 2019-iris

Bird Stencilled Card by Iris Rodriguez

Stay tuned for the New Product Announcement on Tuesday!