Create a Bright and Beautiful Card Using the New Dewlets from Imagine

by Melissa Andrew

Create a Bright and Beautiful Card Using the New Dewlets from Imagine

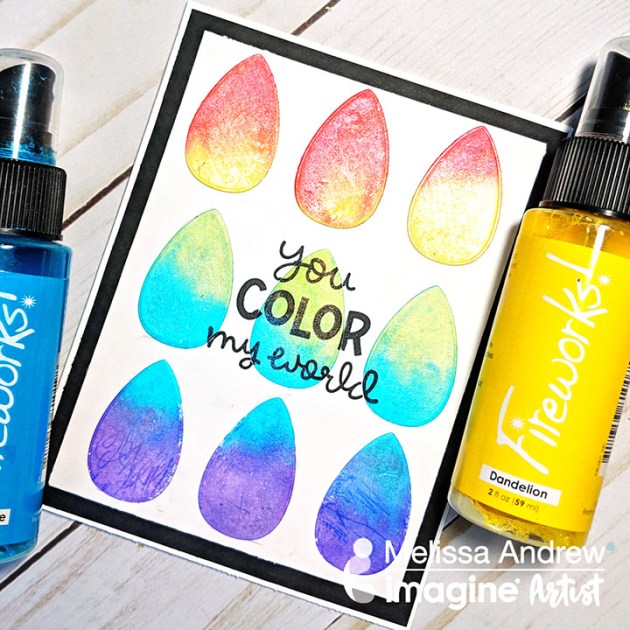
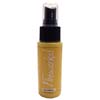
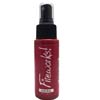
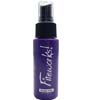
In today’s video, I create a fun and colorful card using Imagine’s Fireworks Sprays and the new Dewlets. I love the adorable Dew Drop ink pads from Imagine and was inspired to create a fun rainbow raindrop theme card that reads You Color My World!

Skill: Beginner
Time: 1 hour

Directions

Supplies

Imagine

Dewlets

Imagine Craft Mat

Fireworks Shimmery Craft Spray Bahama Blue

Fireworks Shimmery Craft Spray in New Sprout

Fireworks Shimmery Craft Spray in Dandelion

Fireworks Shimmery Craft Spray in  Lady Bug

Fireworks Shimmery Craft Spray in Grape Jelly

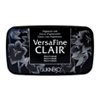
VersaFine Clair in Nocturne

On Point Glue

Tear It! Tape

Other
  • Lawn Fawn – Color My World stamp set
  • Cardstock – white, black
  • Bristol Smooth Card
  • Die Cutting Machine
  • Heat Tool
  • Paper Towels
  • Paper Trimmer

Make A “Sending Good Vibes For 2019” New Years Card

by Iris Rodriguez

Make A "Sending Good Vibes For 2019" New Years Card

The New Year is upon us. Wow! Where does time go? As we think about our New Year’s resolutions and plans; don’t forget to send well wishes to friends and family with this easy, fun and whimsical card using a few supplies.

Skill: Beginner
Time: 30 minutes

Directions


Step 1

Spray Fireworks Shimmery Craft Spray in Lady Bug, Bamboo Leaves, Summer Breeze and Dandelion over a stencil. Set aside to dry.


Step 2

Stamp the New Years sentiment. Another option is to print a sentiment or favorite quote out. This is what I have done in this case. I downloaded a free Hippy font style from the internet, added to my Microsoft Office software. I then, cut the sentiment, darkened the edges with VersaFine Clair in Nocturne. Finally, I adhered the sentiment onto the card using On Point Glue and finished assembling the card.

Supplies

Imagine
Other
  • Watercolor paper
  • Sentiment stamp
  • DecoArt Americana Stencil

Mythbuster: Creative Medium is Only Good for Mixed Media Projects

by Steph Ackerman

Mythbuster: Creative Medium is Only Good for Mixed Media Projects

When people think of heavy acrylic pastes like Creative Medium, they tend to assume it can only be used on mixed media projects. I would like to bust that myth by showing you that Creative Medium is also an excellent product to use in card making. Placing a light layer of Creative Medium on your paper can transform the look and feel of your cards. 

Skill: Beginner or Intermediate
Time: 1 hour

Directions


Step 1

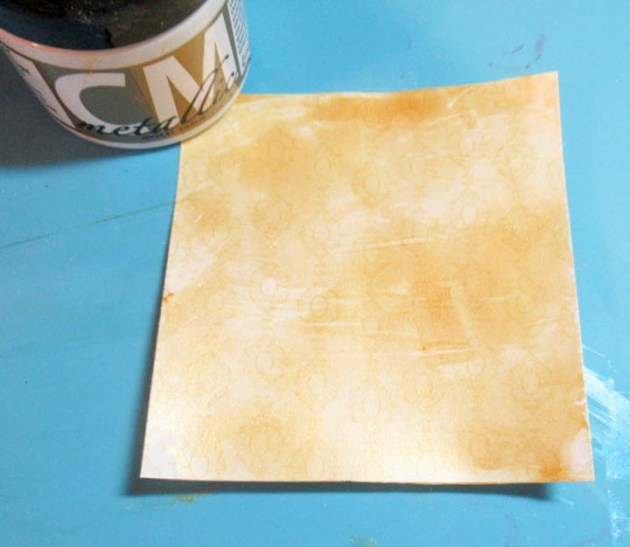
Creative Medium can be used to transform any paper. Here I used Creative Medium in Gold Metallic to add a gold shimmer to patterned paper.  

Step 2

Use a palette knife to spread a light layer of Creative Medium on paper then place the paper aside to dry. Creative Medium will not wrinkle your paper and will dry flat.


Step 3

I used 3 different colors of Creative Medium in Gold, Iridescent Blue and Silver on assorted papers which consisted of stripes, small prints, and large prints, light and dark papers. Again, a light layer is all that is needed for your papers to achieve amazing results. Let the papers dry thoroughly before continuing. 


Step 4

On the Silver Creative Medium backgrounds, I used an assortment of techniques. I used a brick stencil and spritzed over it with Fireworks Shimmery Craft Spray in Lilac Posies. On another, I used a large script stamp with VersaFine Clair ink in Nocturne. On another, I used the Scor-Pal to create the grid effect. As you can see Creative Medium works with dye ink sprays, stamping and scoring and it doesn’t affect the initial application. 


Step 5

On the Gold Creative Medium backgrounds, I used a large brick background stamp with VersaFine Clair ink in Fallen Leaves, embossed snowflakes and lightly inked with Bahama Blue ink and, I used a star stencil with Silver Creative Medium. Each of these show again how you can completely transform your cardstock. 

Step 6

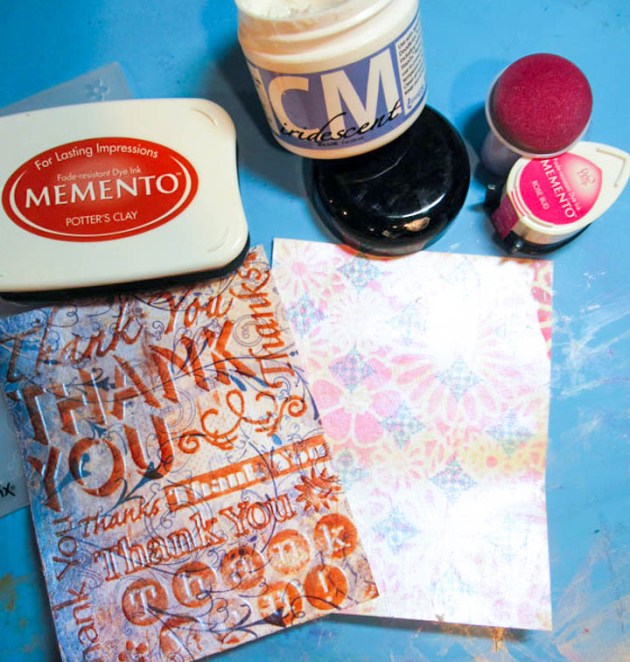
Finally, I experimented with the Creative Medium in Iridescent Blue backgrounds. I used a Thank You embossing folder, then lightly inked with Memento Potter’s Clay. And the second one, I used Rose Bud with a floral stencil. So if you have cardstock or scrapbook paper you don’t particularly like or has an out-dated look, consider using Creative Medium to change it up and add some new life to them! Enjoy!

Supplies

Imagine 
Other 
  • Embossing Folders – Cuttlebug, Sizzix
  • Scoring Tool – Scor-Pal
  • Stamps – Just For Fun Rubber Stamps (script); Joy Clair (Brick)
  • Stencils – The Crafter’s Workshop
Learn How to Use Vertigo Surfaces to Create Ornaments

by Roni Johnson

Learn How to Use Vertigo Surfaces to Create Ornaments

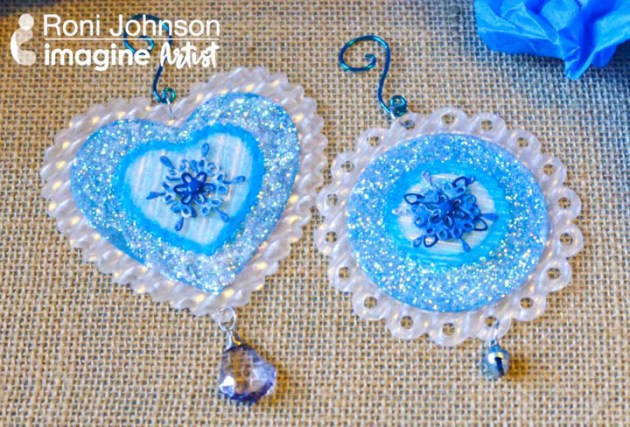
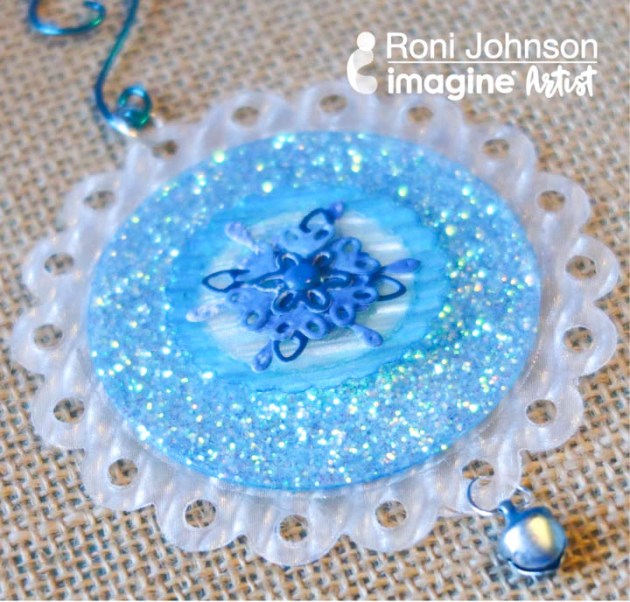
It’s almost time to start decorating the Christmas tree and in preparation for this fun family event, I have started making new ornaments. Inspired by the color of the month – Frosted Blue – I thought it would be fun to create an ornament or two using Imagine’s Vertigo film paired with Imagine’s various mediums in lovely shades of blue.

Skill: Intermediate
Time: 30 minutes + dry time

Directions


Step 1

Die-cut 3 hearts in 3 different sizes of any given shape. I am using Xcut hearts both in scallop and plain. I used 3 different styles of Vertigo film – (large to small) – Prism, Taffeta and Tilted.


Step 2

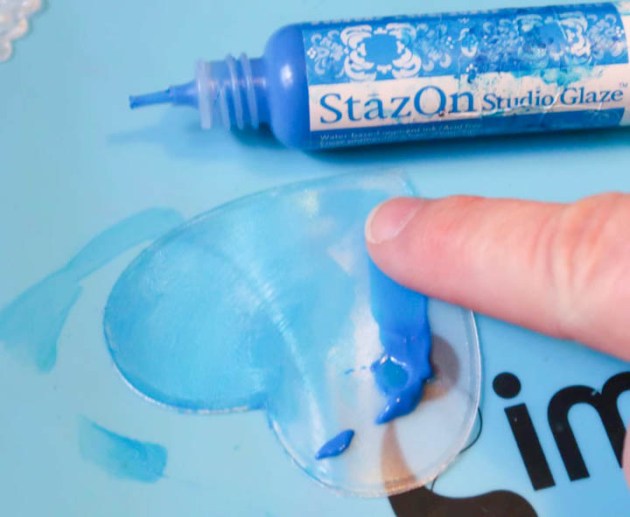
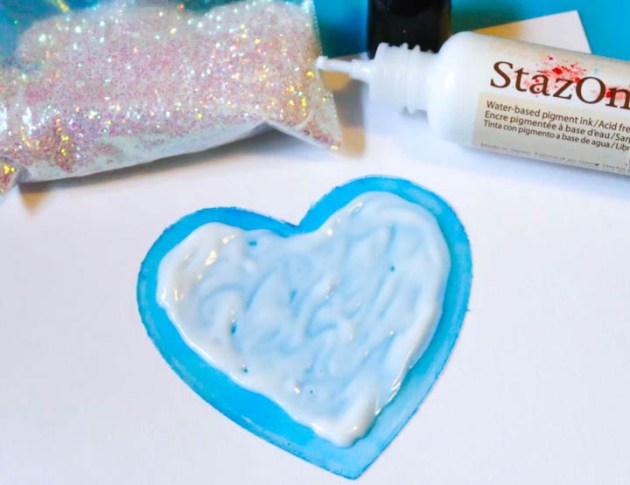
Rub a thin layer of Blue Hawaii StazOn Studio Glaze over the medium size shape and let dry.


Step 3

Once the glaze has dried, spread a second layer of Cotton White Studio Glaze over Blue Hawaii. Sprinkle a generous layer of Iridescent White Flitter Flakes over the glaze. Let the glaze dry then shake off the loose flitter.


Step 4

Affix the medium size heart to the large heart.


Step 5

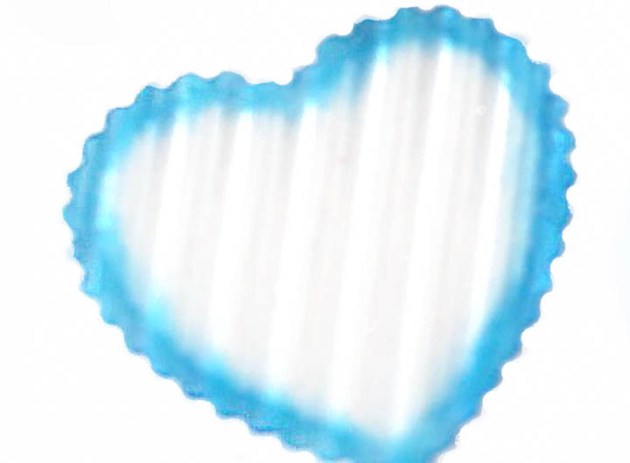
Rub Blue Hawaii StazOn Ink to the outer edges of the small heart.


Step 6

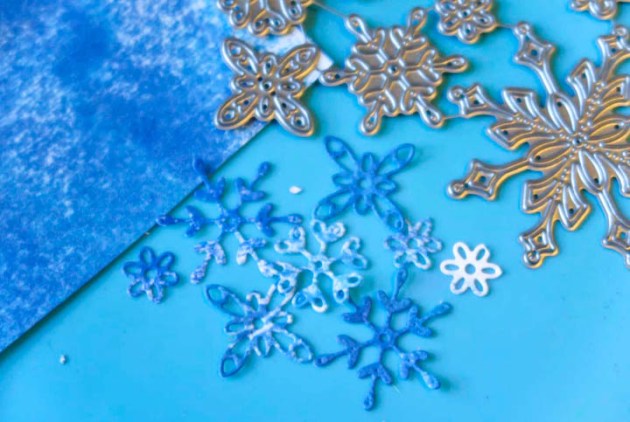
Sponge Paradise, Blue Belle and Medieval Blue VersaFine Clair ink on a piece of white cardstock.


Step 7

Die-cut several small snowflakes from the inked cardstock.


Step 8

Use a brad to attach desired snowflakes to the center of the ornament.


Step 9

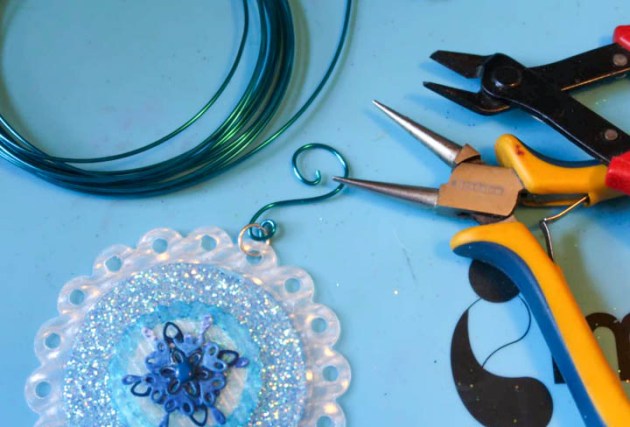
Attach jump-rings and any additional embellishments as desired. Make a hanger for the ornament from blue wire using jewelry tools.

Supplies

Imagine
Other
  • Meyers Imports – Iridescent White Flitter Flakes
  • White Cardstock
  • Jewelry tools – wire, jump rings, pliers
  • Mini Bell
  • Decorative brad
  • Die-cut Machine

See How To Make A Snowman Card

by Elina Stromberg

See How To Make A Snowman Card

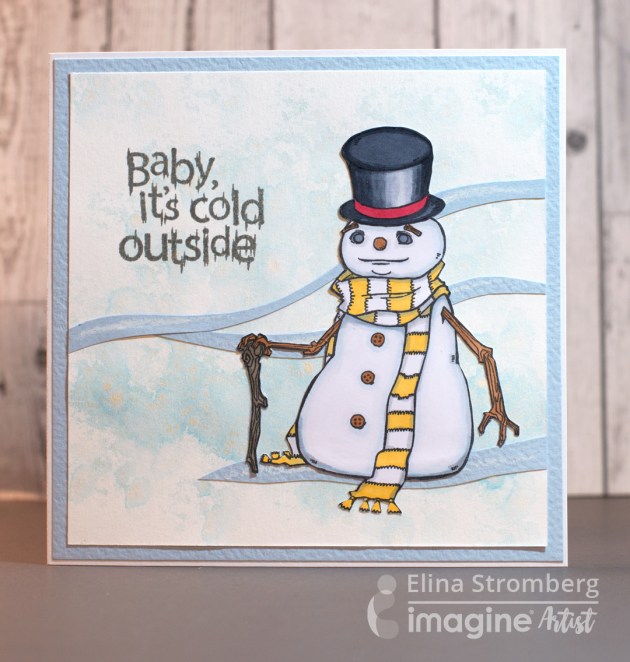
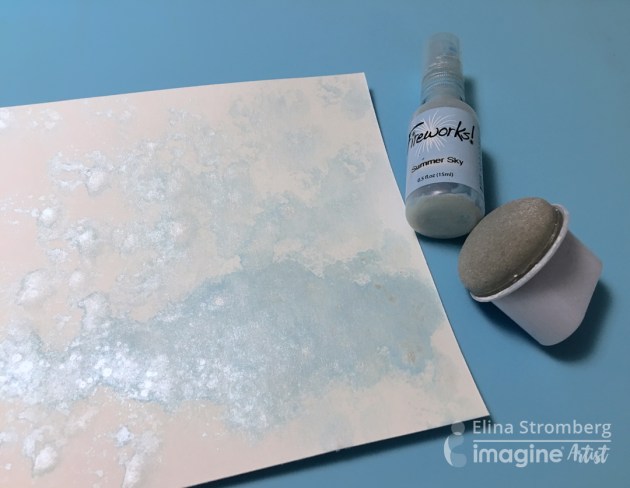
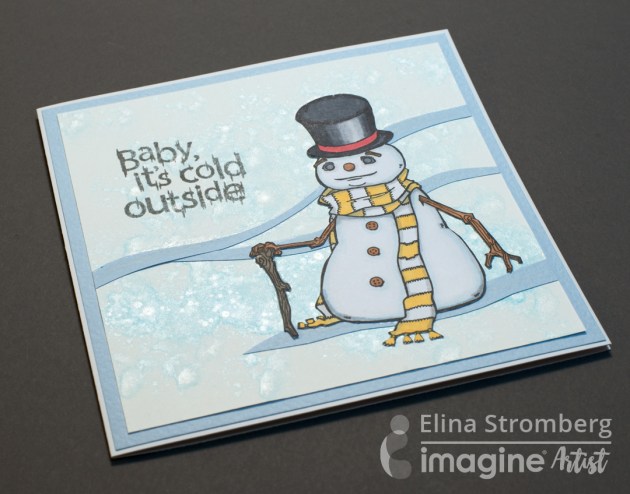
Our color of the month is ‘Frosted Blue’. Imagine provides several product options for playing with this cool color. I decided to use ‘Summer Sky’ Fireworks Spray for creating a light blue background for my winter-themed card. In addition to the beautiful soft blue color, Fireworks adds a lovely shimmer to your project that is just perfect for a frosty, icy blue winter themed card!

Skill: Intermediate
Time: 1 hour

Directions


Step 1

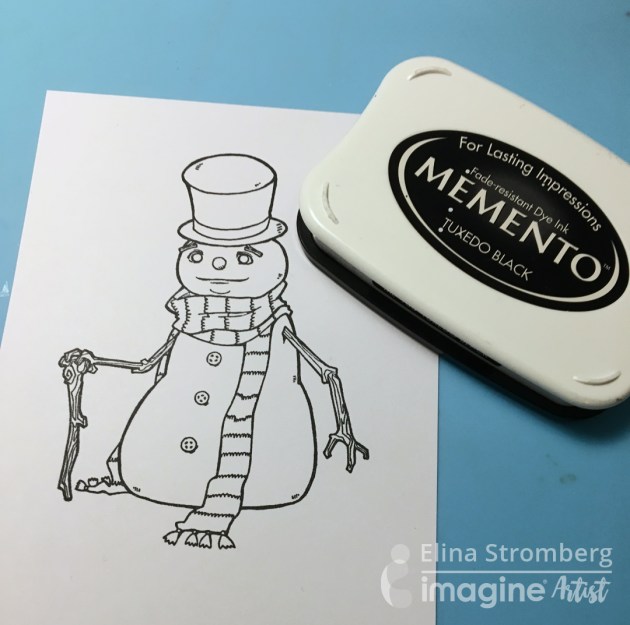
Stamp and color the snowman image on white paper. When coloring with alcohol markers (like Promarkers, Copics), use water-based ink for stamping. Memento Tuxedo Black is my No. #1 choice for the task!


Step 2

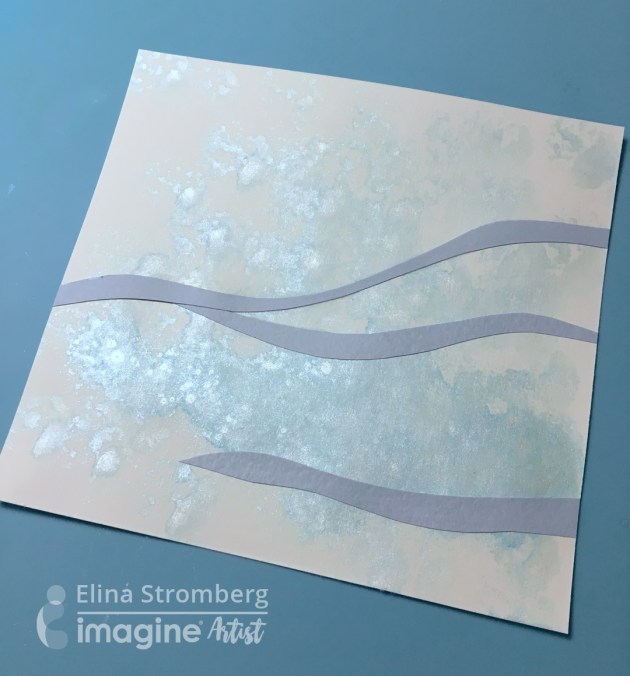
Pour a small drop of Fireworks Shimmery Craft Spray on the Craft Mat. Dab the color on the card front panel with a Jumbo Dauber. Don’t cover the entire card front with the color but leave some areas blank. Let dry.


Step 3

Create a hill scenery on the card background. Cut wavy strips of light blue paper and glue them on card front panel. Mat card front on light blue paper, and attach card front to card base.


Step 4

Stamp the sentiment and paste the snowman figure to the front of the card.

Supplies

Imagine
Other
  • Card base
  • Light blue paper
  • Snowman stamp
  • Sentiment stamp
  • Promarkers (for coloring the main image)
  • Glue or double-sided tape
  • Scissors

See How to Create a Snowflake Spinner Card

by Jennifer Vanderbeek

See How to Create a Snowflake Spinner Card

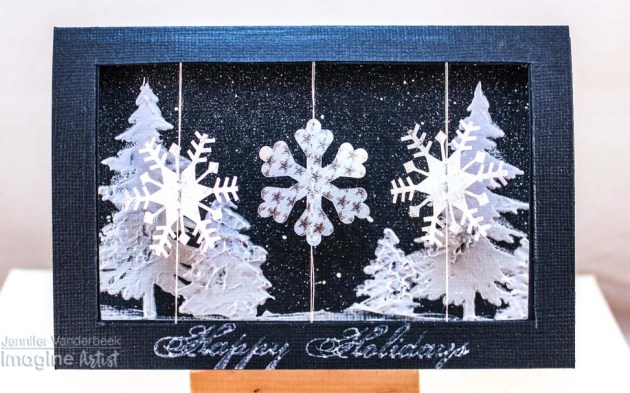
I adore blue and silver as a holiday color scheme (or any time of year, for that matter), so for the Frosted Blue color challenge, I created this card with a frosted-looking inside scene (courtesy of Creative Medium mixed with VersaColor) and a fun spinner element in the front-panel frame. The Rinea foiled paper is sturdy enough to hold its shape, even when cut so delicately, making this card a real display piece for the holidays.

Skill: Advanced
Time: 1 hour

Directions

Supplies

Imagine
Other
  • Navy Linen Cardstock
  • Rinea Foil Paper – Silver Starstruck
  • Stampers Anonymous – Tree stencil
  • Paint Brush
  • Electronic Die Cut Machine
  • Craftables – Snowflake SVG Cut File
  • Bo Bunny – Sentiments Stamps
  • Darice – Heat Tool
  • Acrylic Block
  • Fiskars – Paper Trimmer, Scissors
  • Straight Pin
  • Foam Square
  • Needle & Thread